/


Latest Post

Little Ladybug Spinner Card!!


This fabulous spinner card was made by my friend Susie Wood; she sent one to me as we like to make cards for each other to share with our customers.  I love her style so much.  Visit her blog here. 

Isn't it adorable?!  It's classic Red, Black & White; perfect for the Ladybug set. The center circles are 1 3/4" and 2" in size. The Black piece is 4" X 3 1/4" in size and that circular opening is 2 3/8" using the Circles Collection dies and punches.

This cute stamp set is FREE with any $300 order placed during Sale-a-Bration; January through March 2020.  If you don't think you can swing that large of an order I have a few suggestions for you. 

  1. Have a workshop/party and invite your friends. Their orders will add up so you can earn it free!
  2. Place one big order (if you can). You'll get 6 free $50 Sale-a-Bration items at the same time and earn $36 in free hostess benefits. 
  3. Have a book party; inviting your fellow stamping friends to order. I can open a host code so all of the orders can be shipped to each person's ome. Sale-a-Bration is a great time to order!  Free products for each $50 you spend.
  4. Purchase the starter kit and join as a Demonstrator!  Then you get 20% off your $300 order so you're really spending just $240 to earn this set!  Plus you would get 6 free Sale-a-Bration items at the same time and $36 in free hostess benefits. 

All you need for a spinner card is a window, something to spin and some string or thread.  She used our Silver metallic thread here.  The window is made with our Circles Collection Framelits. 

Watch the FB live replay video below to see how it's done. 

You might wonder where the black polka dots came from. She used a sponge dauber!  So easy!! 

Below you can see both cards I demonstrated on my Facebook Live this week.  Click below to see it. Be sure to follow my page so you don't miss it each week on Tuesday's at 11 am CT. 

~~~

Three January Specials just for you! 

1. All January online orders will earn a ticket in the drawing for a free Little Ladybug stamp set!

2. All online orders will receive a 10 cards pdf tutorial in an email.


3. And if your order is over $65 you'll get a free Coastal Weave embossing folder too!

January Host Code is GEEFZCZV

Order online here

All Posts

  • See how the Josephs Coat Technique is done; with video & free project sheet


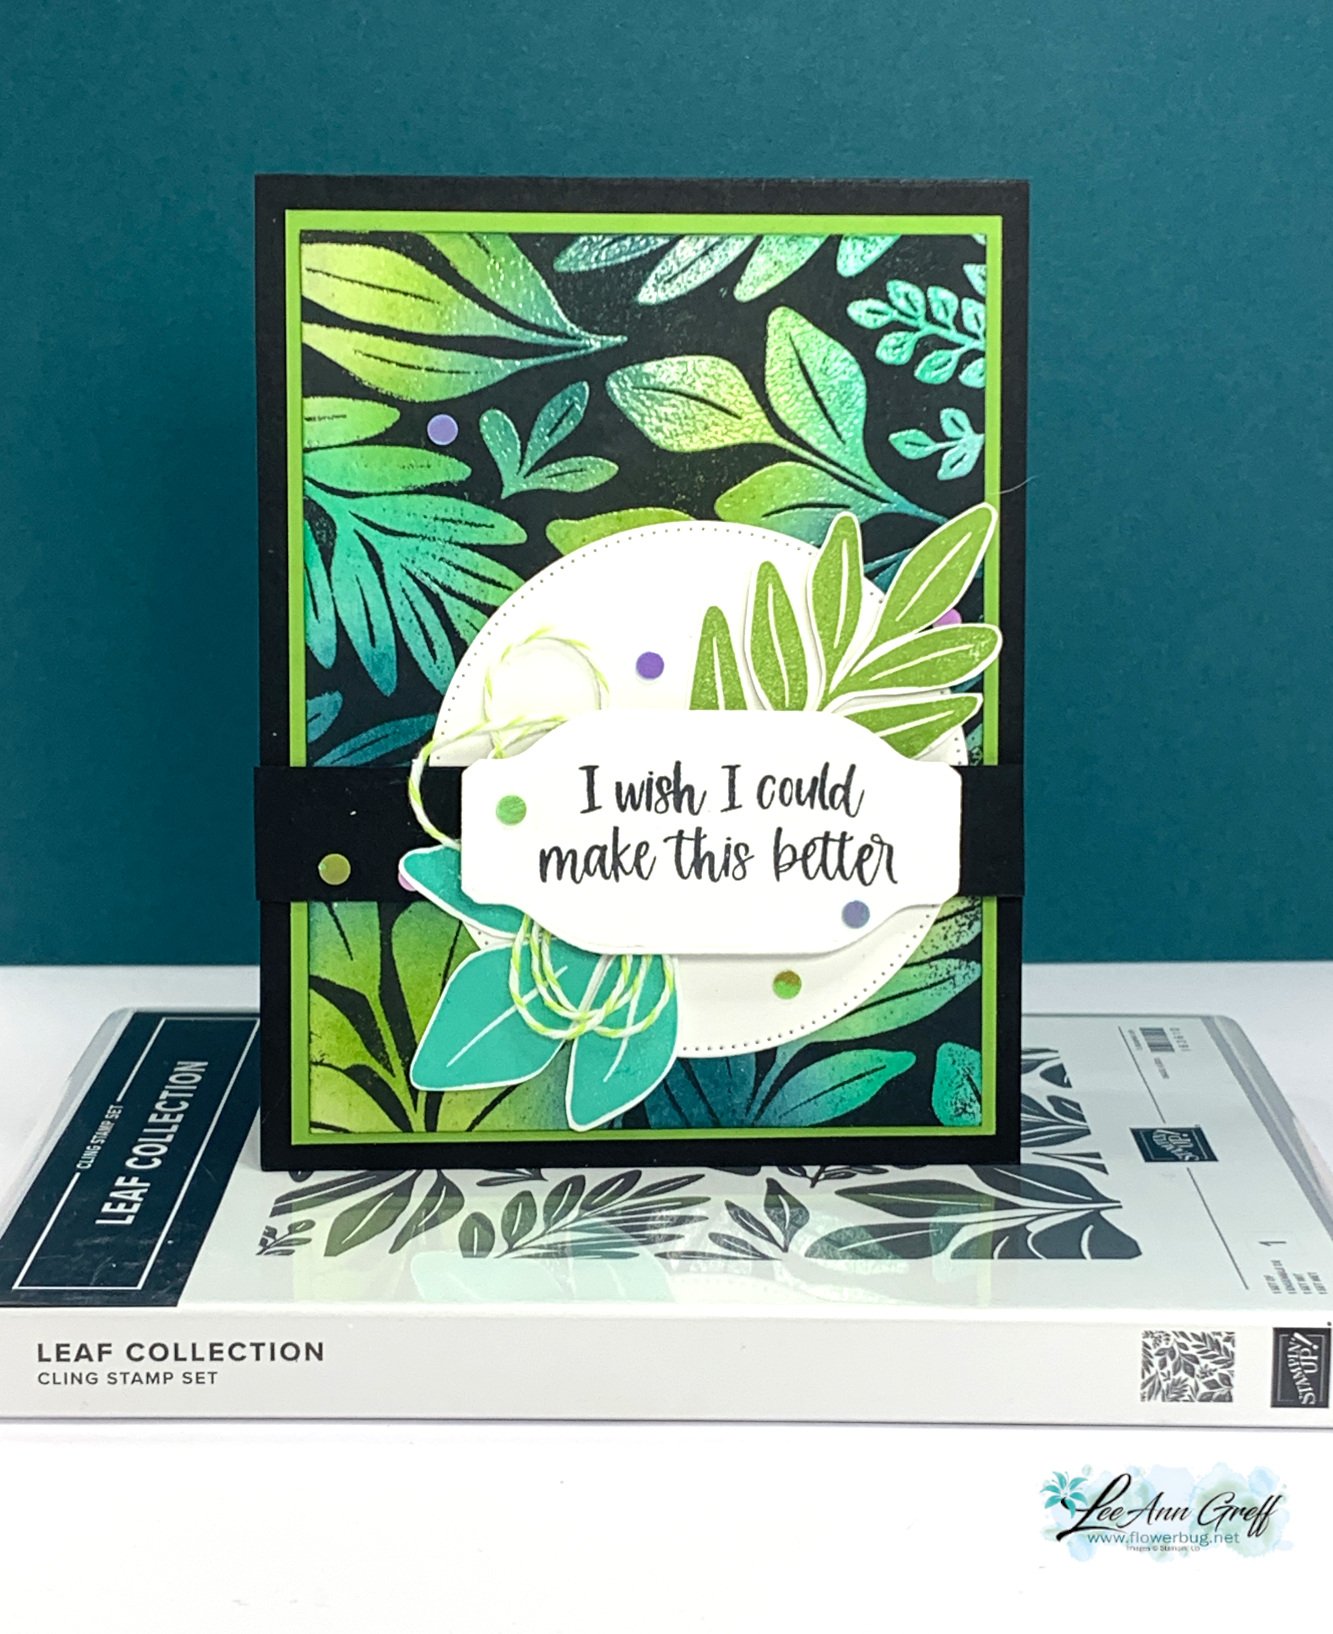
    Here's another project made on last week's Live video; it's the Josephs Coat technique using the new, upcoming Leaf Collection stamp.  

    That greeting stamp & scalloped oval die-cut are from the new Unbounded Love bundle from the upcoming 2024 Annual Catalog. I showed how to do this technique in the video here.  I also have a free project sheet with directions. 

    Here are the steps:

    1. Sponge ink all over a neutral piece of card stock – Pretty Peacock, new Summer Splash and lastly Granny Apple Green. 
    2. Wipe off any excess ink with a tissue to remove moisture.  Swipe with an embossing buddy.
    3. Ink your stamp in Versamark ink. Heat emboss with Clear embossing powder.  
    4. Use a water-based ink pad like Memento Black and rub or tap the ink over it all.  This is called 'Direct to Paper'. 
    5. With a damp tissue or paper towel, wipe off excess ink from the embossed area. It will not stay on the embossed area. 
    6. Finish your card as you'd like. 

    I inked the stamp again in a few colors – Granny Apple Green & Summer Splash, and fussy cut some leaves out for accents. Dies used above include Something Fancy & Stylish Shapes. 

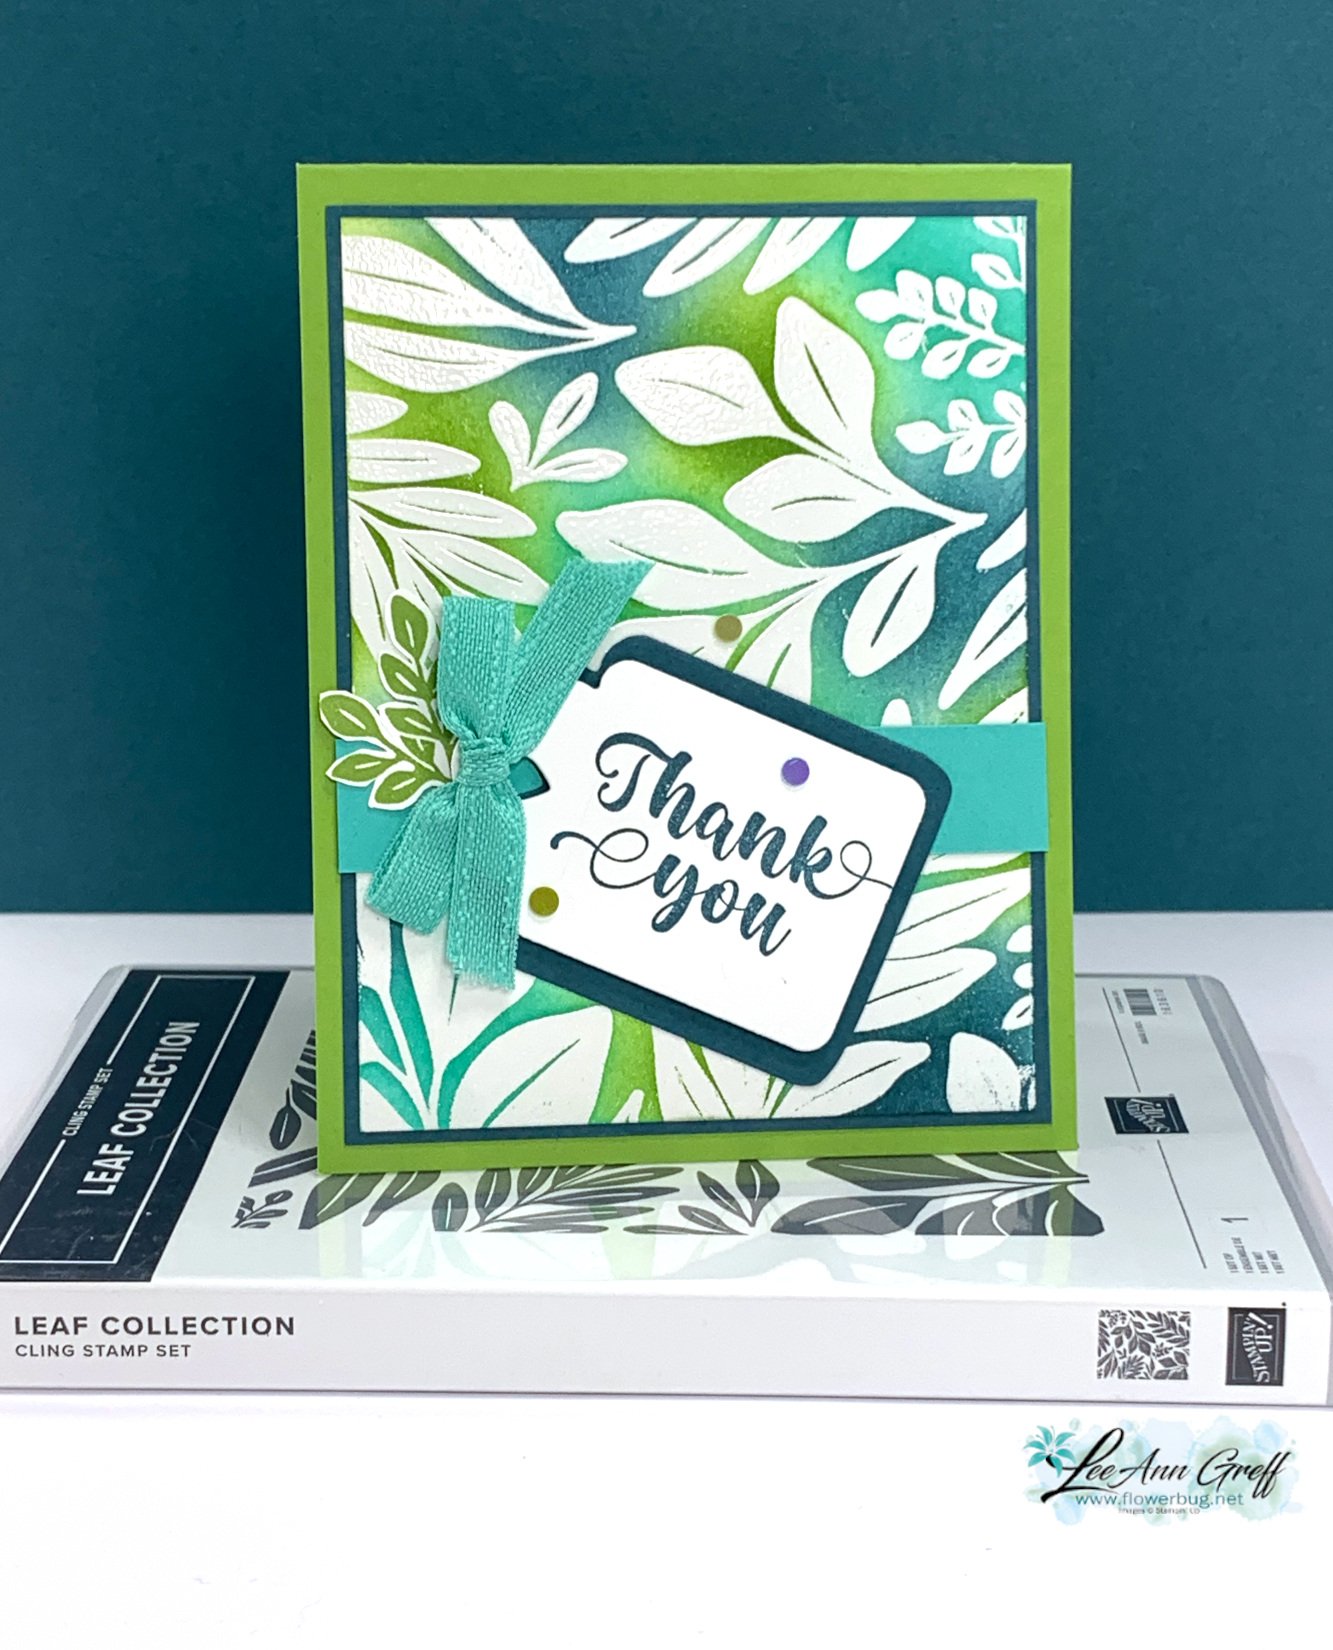
    The card below features an emboss resist technique.  Same colors but the steps are different. 

    1. First I stamped using Versamark ink onto White card stock and heat embossed with clear embossing powder. 
    2. Then I added ink over the clear embossing; using Blending Brushes. Inks include: Summer Splash, Pretty Peacock and Granny Apple Green.  *This must be water-based ink!
    3. Use a damp tissue or paper towel to wipe off excess ink that will not stick to the embossed areas. Done! 

    The greeting is from the Irresistible Blooms stamp set (online exclusive) and the tags are from the Something Fancy dies (carrying over). 

    Click here for the free project sheet:   Download Leaf Collection Josephs Coat cards

    Which card do you prefer above?  Left or right? 

    Below is the video on how I made this card along with a few resist techniques featuring new Annual Catalog products. I hope you watch it AND subscribe to my YouTube channel too. 

    ~~~

    April Specials: 

    *current host code link:   D6QRFZ7J

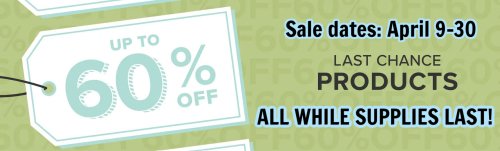
    Here's a link to the Last Chance list 

    A free gift with orders in April:

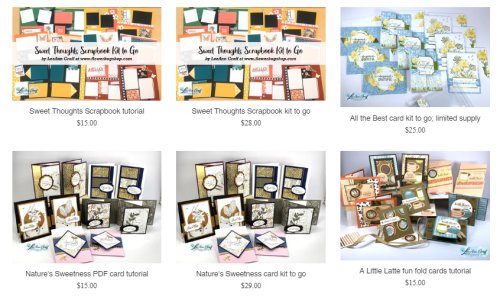
    Check out my available Kits & Tutorials here:

    All online orders in April will receive a free multi-project tutorial!

    Leave a Reply

    Your email address will not be published. Required fields are marked *

  • The Clearance Rack has lots of new items! Run (don’t walk) to see it all


    Woo hoo!  The Clearance Rack has been updated with new products at amazing prices!  Don't wait another minute to check it out; they're while supplies last. Items can go FAST!! 

    Click here to shop. 

    Remember that you can shop the Last Chance items at the same time.

    And the kit collection too!  

    ~~~

    April Specials: 

    *current host code link:   D6QRFZ7J

    Here's a link to the Last Chance list 

    A free gift with orders in April:

    Check out my available Kits & Tutorials here:

    All online orders in April will receive a free multi-project tutorial!

    Leave a Reply

    Your email address will not be published. Required fields are marked *

  • Let’s Chat is cute & nostalgic! See the video & free project sheet


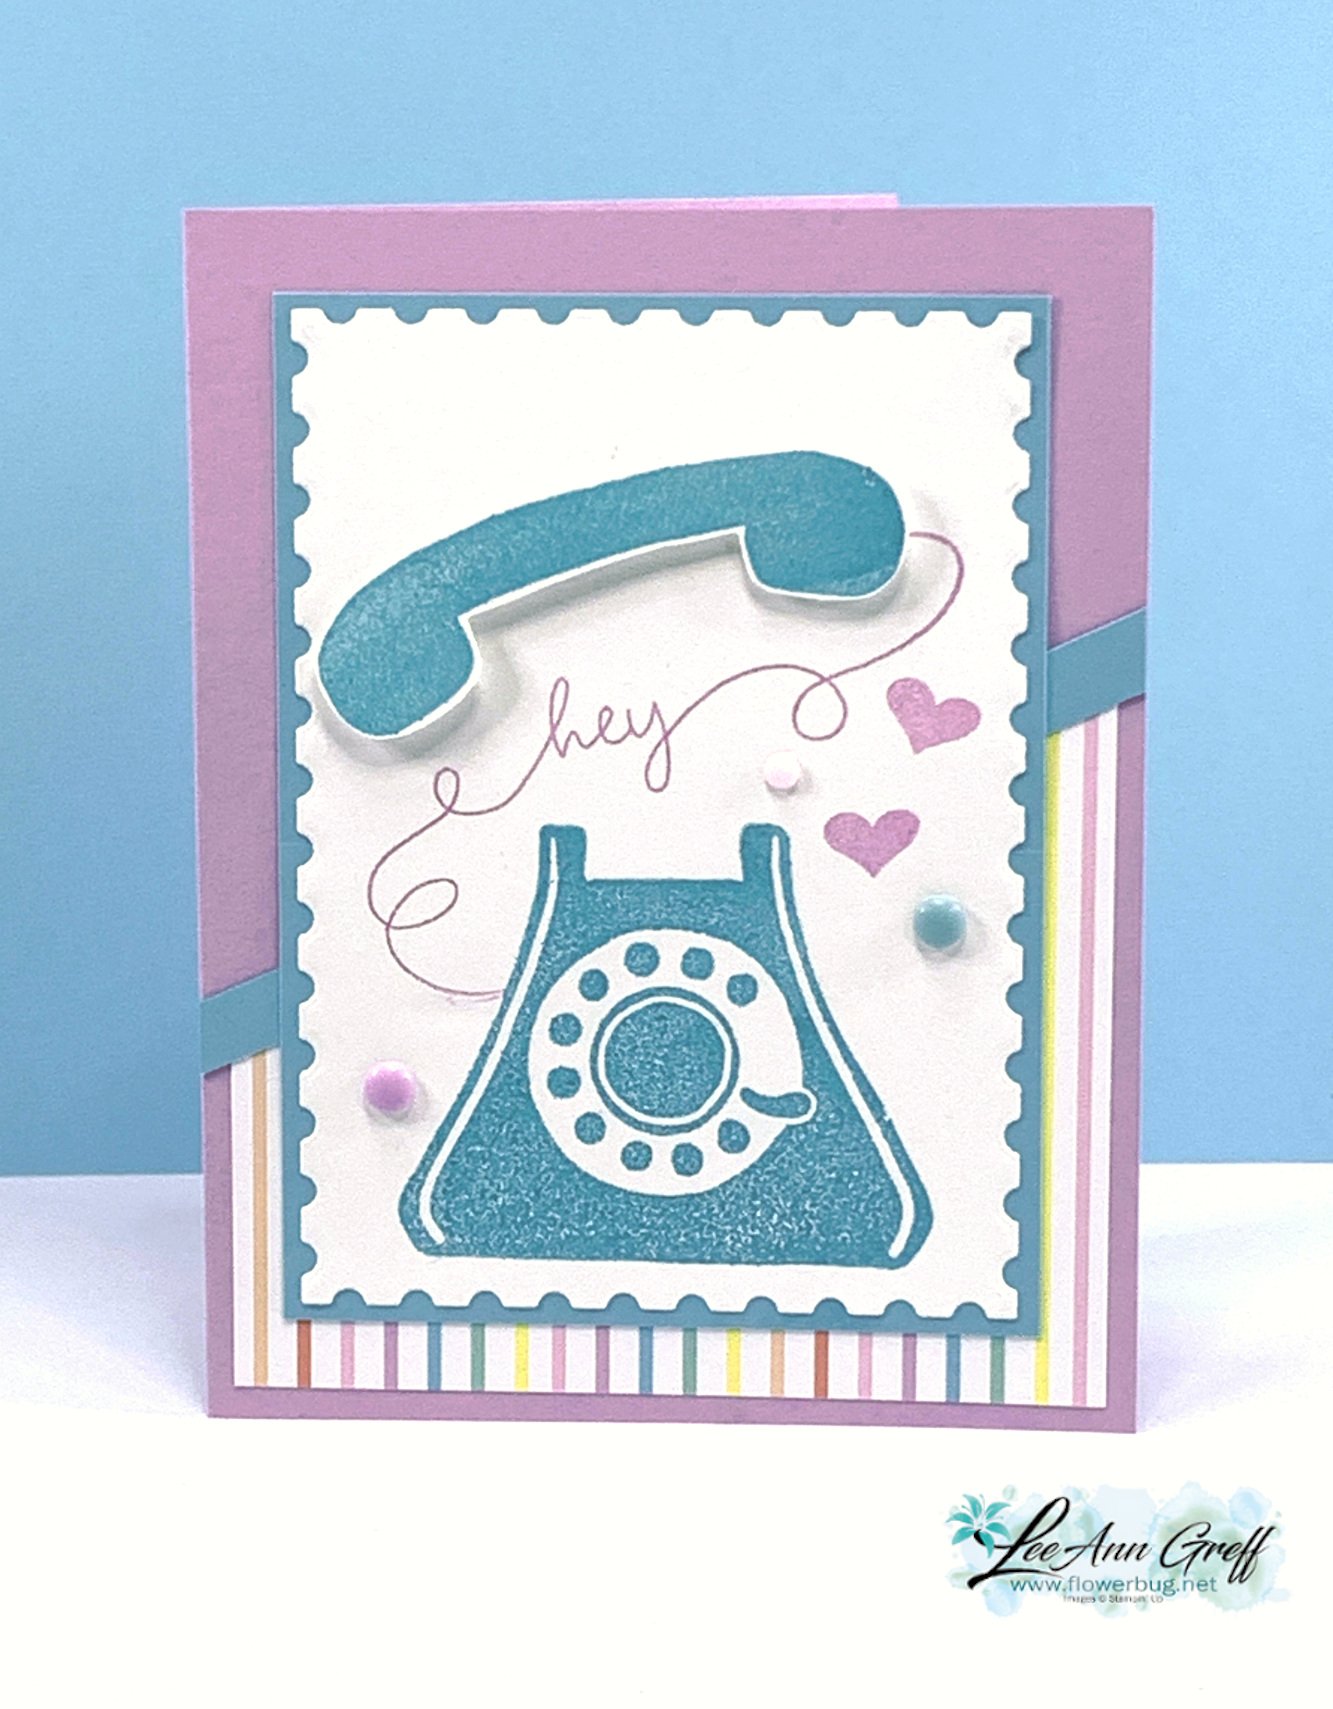
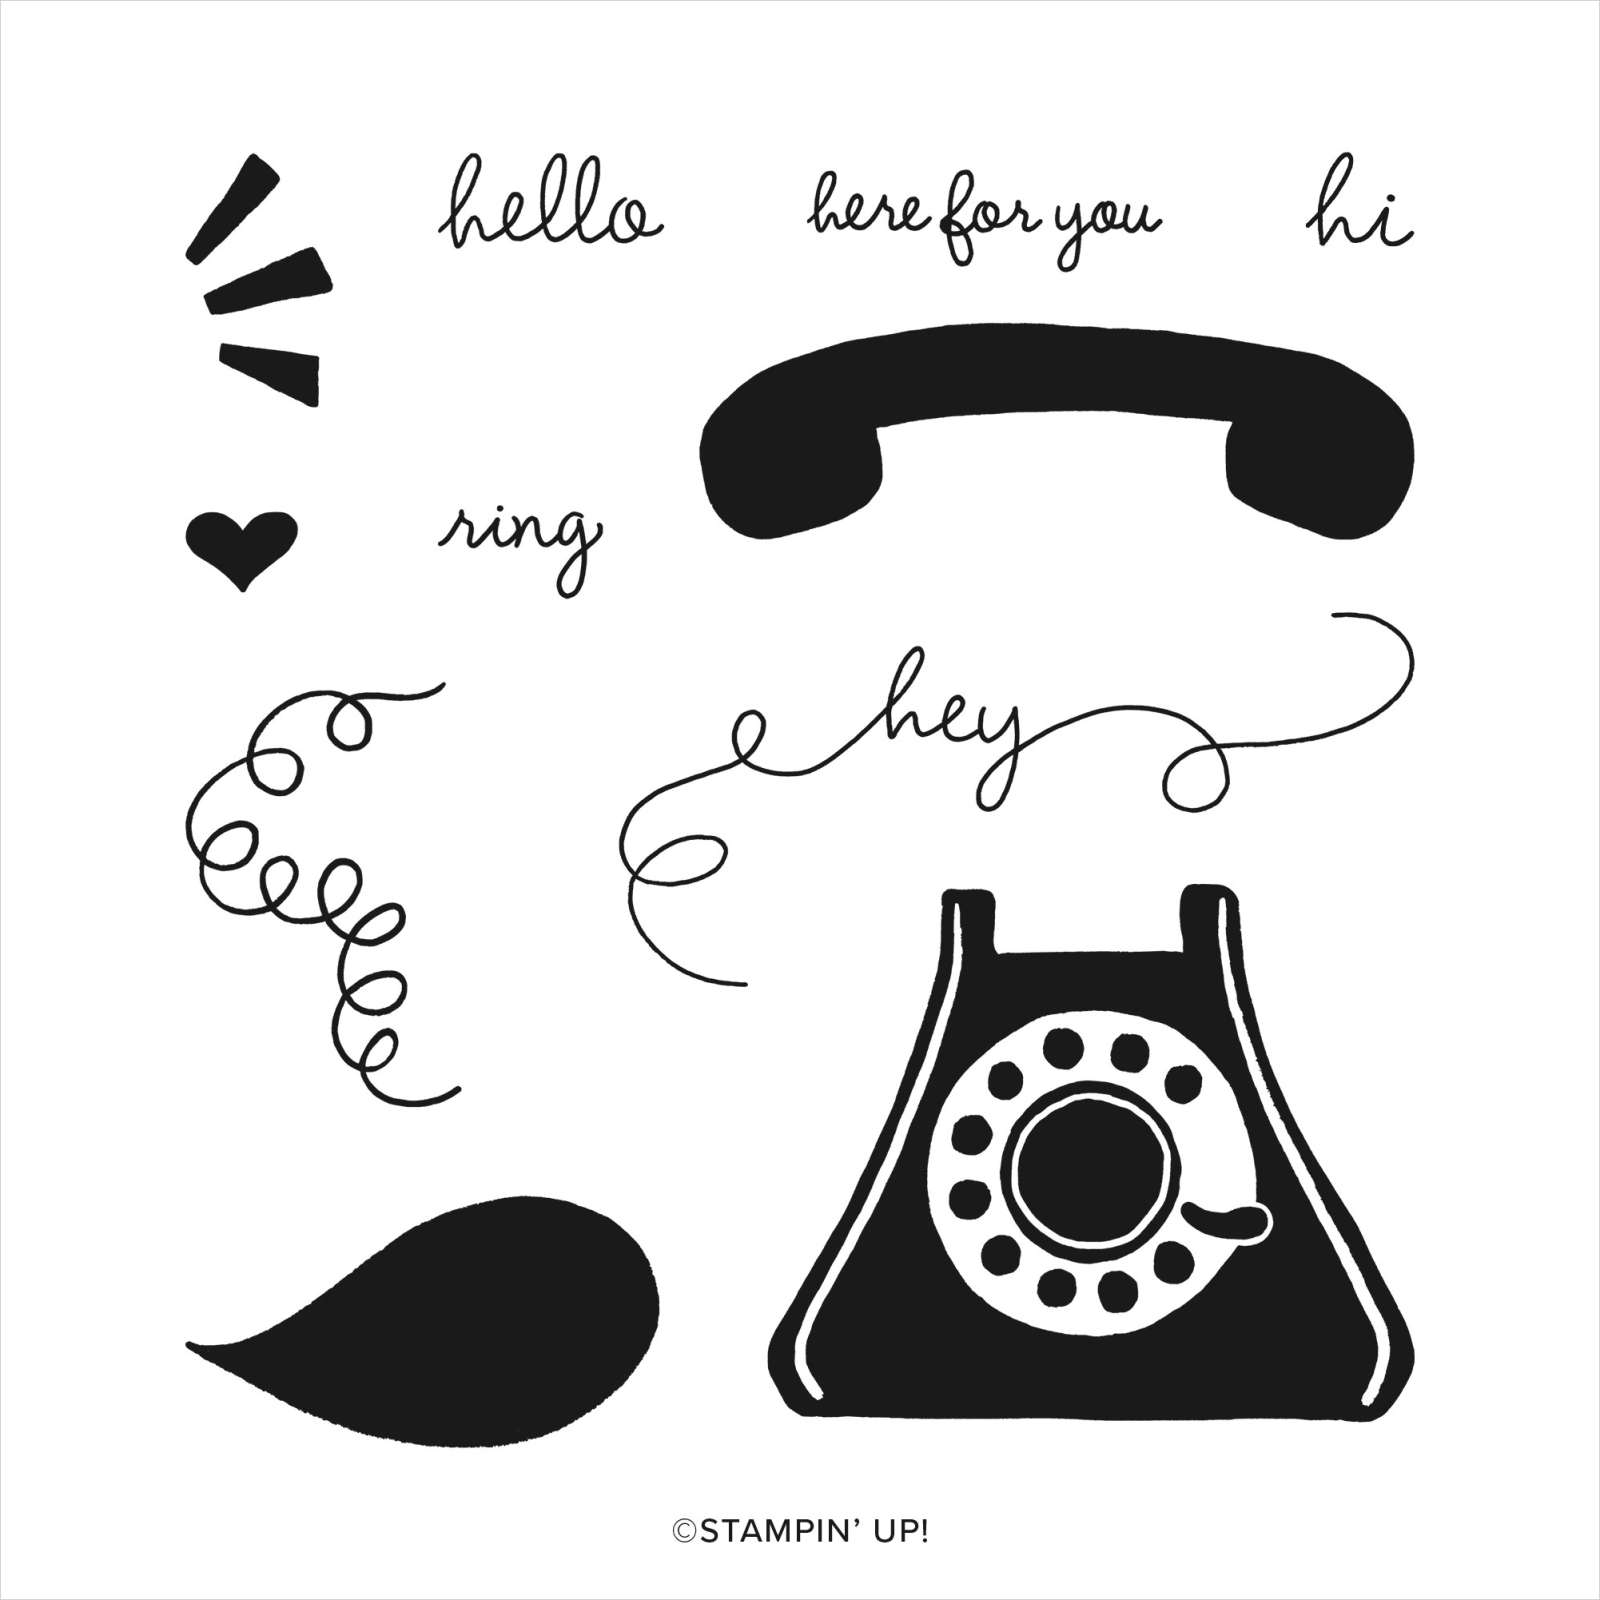
    Today I'm sharing one of the Club cards we made during my April Card Clubs. I chose the 'Let's Chat' stamp set seen here. 

    I love this set!  Between the fun old-fashioned telephone, the greetings and the curvy 'cord' images it's a blast to create with. 

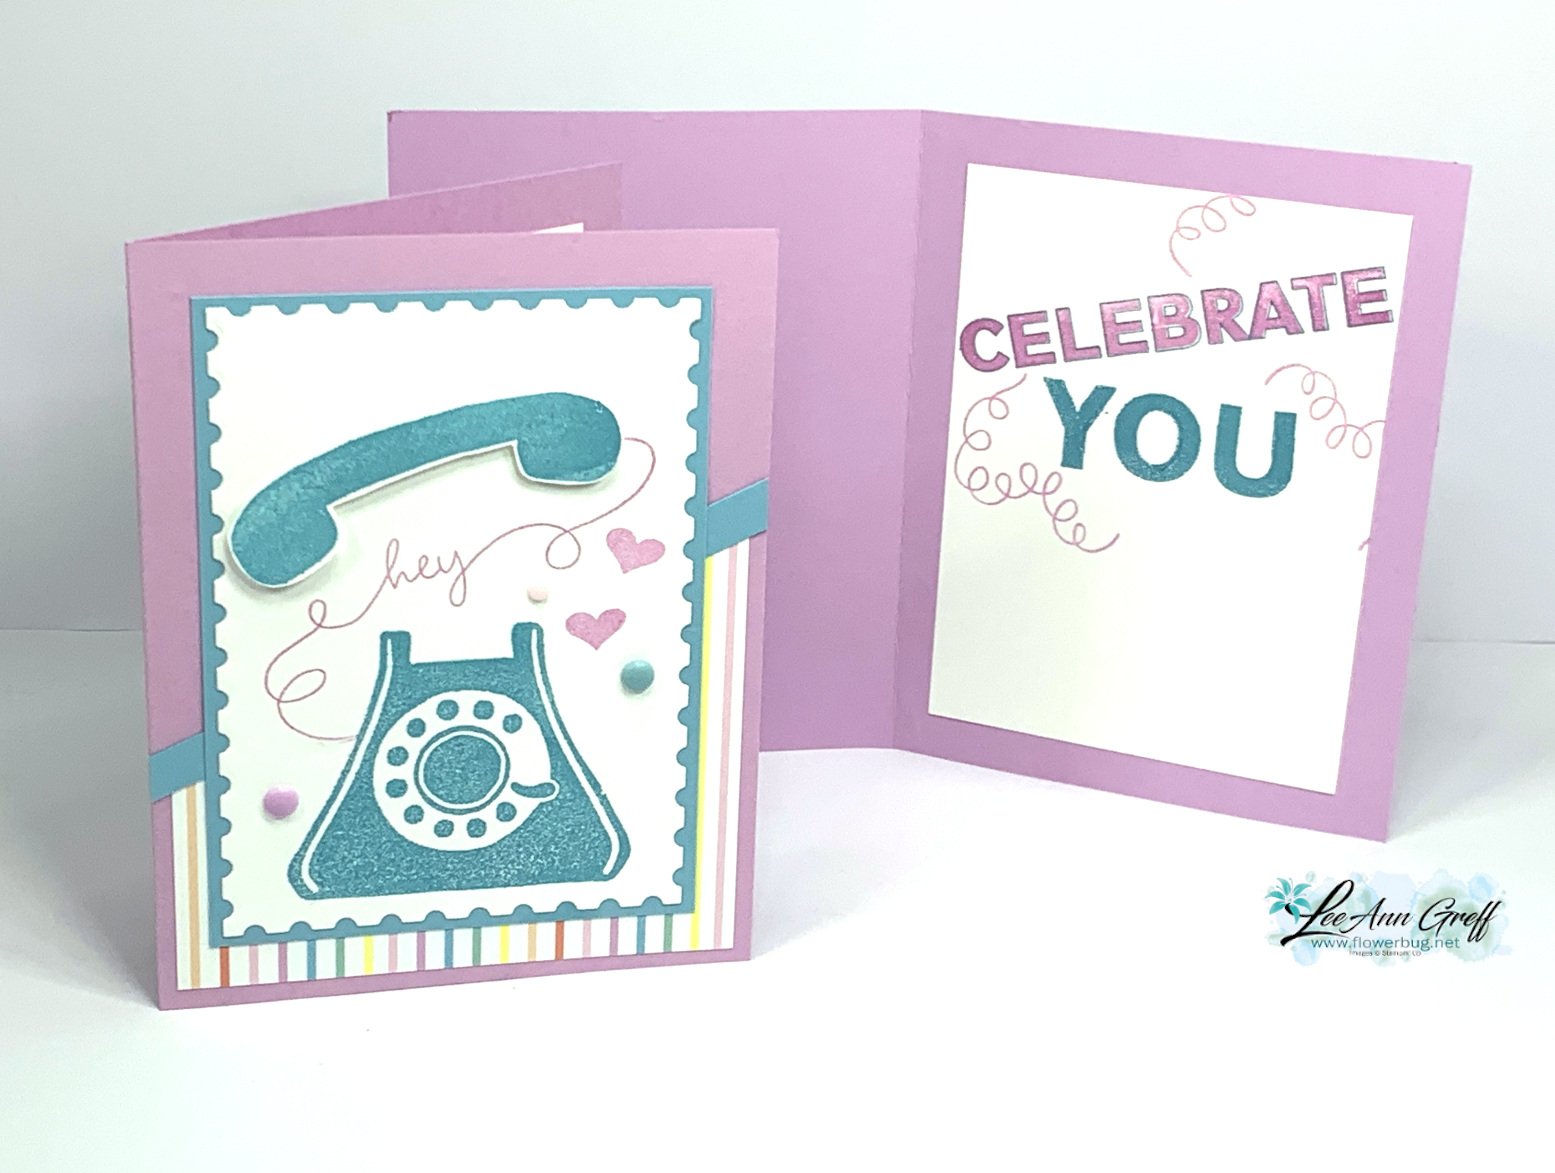
    I chose to use the retiring Hot Air Balloon designer paper seen here for my color palette of Fresh Freesia & Balmy Blue. We did fussy cut the head set to add at the top with Stampin' Dimensionals. 

    For the inside of the card I used the Happy Little Things stamp set seen here.  I really like the many greeting combinations you can make. t's one of our online exclusives.  

    If you'd like the free project sheet click on this link: Download April 24 Let's Chat

    Below is the video on how I made this card along with a few resist techniques featuring new Annual Catalog products. I hope you watch it AND subscribe to my YouTube channel too. 

    ~~~

    April Specials: 

    *current host code link:  W62MPU2R

    ~~~

    Here's a link to the Last Chance list 

    A free gift with orders in April:

    Check out my available Kits & Tutorials here:

    All online orders in April will receive a free multi-project tutorial!

    Leave a Reply

    Your email address will not be published. Required fields are marked *


Notice: LeeAnn Greff, Independent Stampin’ Up! Demonstrator, Manager. The content of this website is my sole responsibility as an independent Stampin’ Up! demonstrator and the use of, and content of, the classes, services, or products offered on this website is not endorsed by Stampin’ Up! Copyright 2025