The colors are Bermuda Bay, Early Espresso and Pumpkin Pie; one of my favorite color combo's for Fall. I added some sponging and a pretty die-cut from the Ornate Frames die seen here. The Linen thread behind the greeting is simply a big bow.
This card is included in my August card kit to go. The kit includes the Life is Beautiful stamp set AND an 8 cards pre-cut kit. You have through August 20th to get this kit and the pdf tutorial is also included. It's just $28; a steal for a stamp set AND cards kit! Read all about it here.
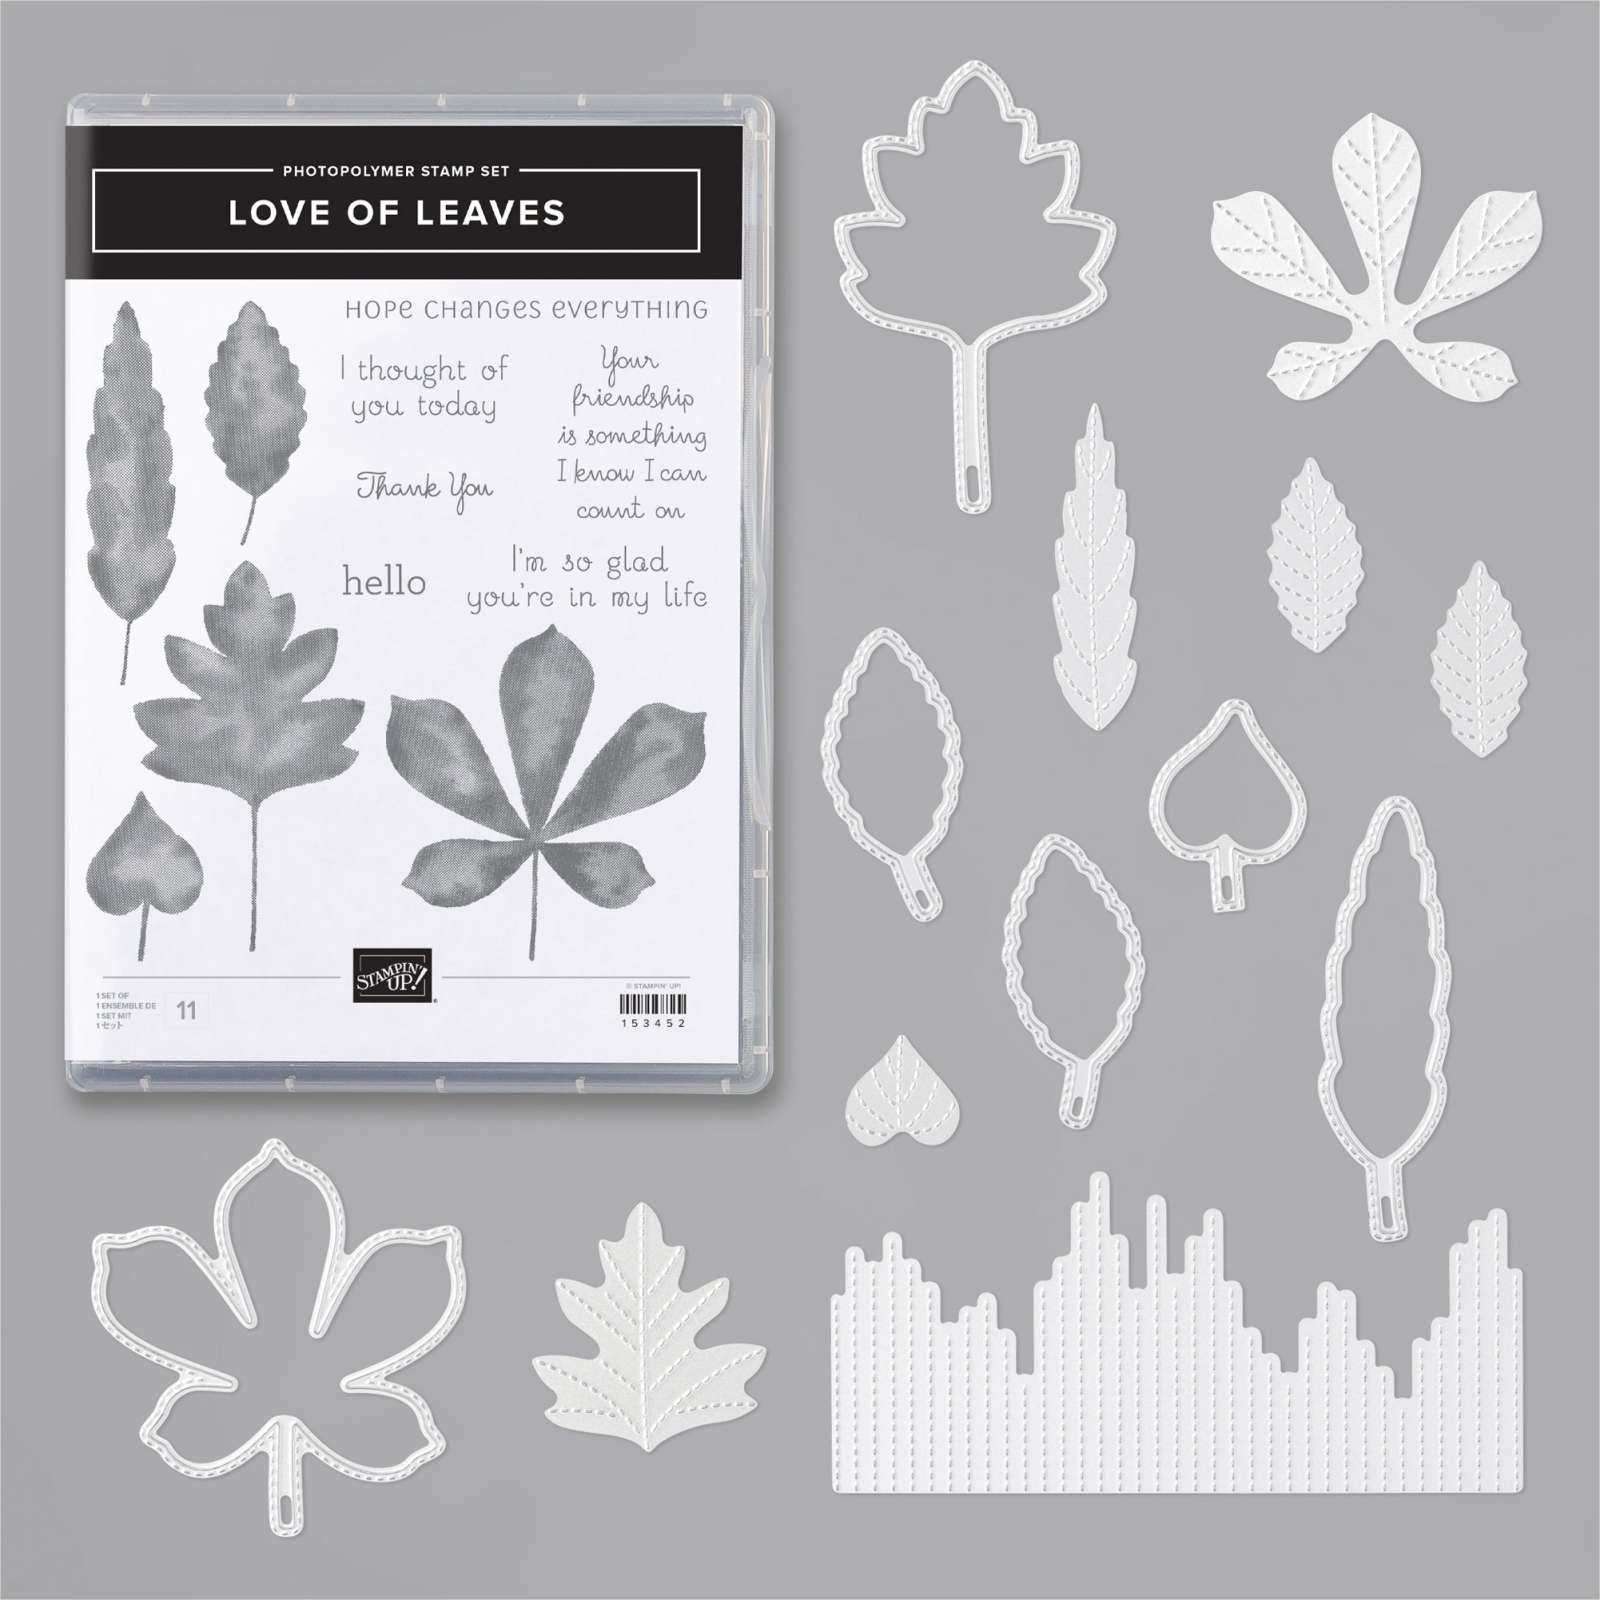
Did you notice the stitching on the bottom of this card? That's done with the Love of Leaves dies seen here:
It includes directions, photos and measurements for 12 cards!
All Posts
Paper Scraps & Window dies; a perfect match up for incredible card ideas!
I hope you had a wonderful Easter weekend. We spent it with most of my kids – played games, made meals and watched a few shows. It was nice & relaxing.
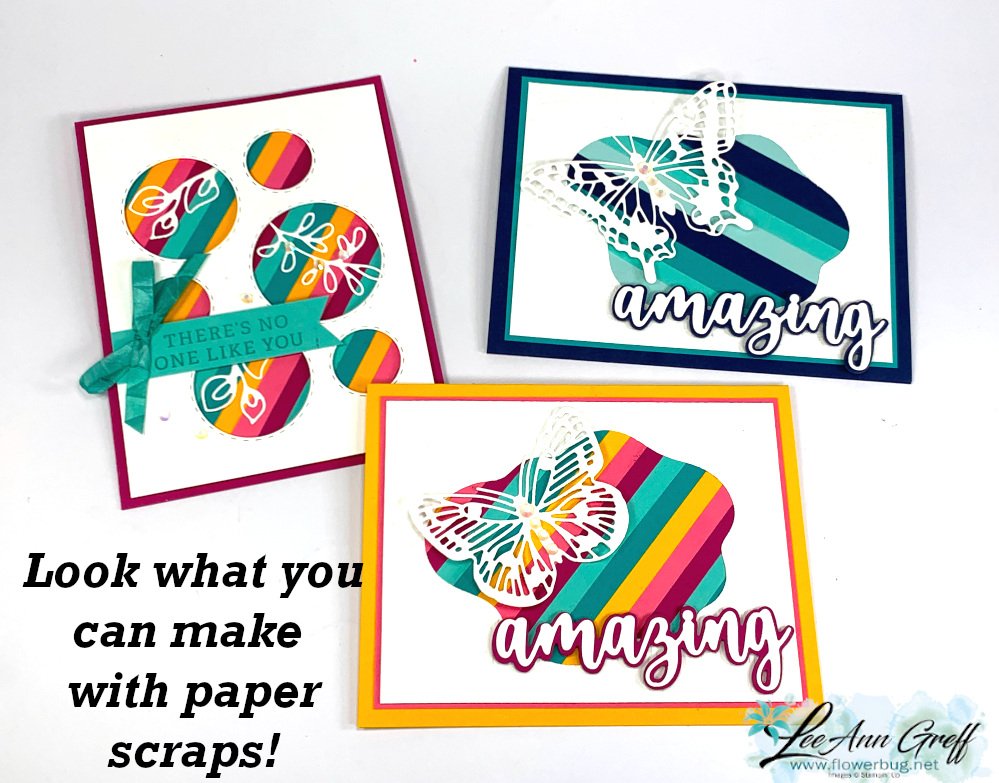
Here's another card I made with leftover scraps of card stock. I shared this technique on my weekly Live video. See it here for tips.
On this colorful version I used mostly retiring colors of Bermuda Bay, Mango Melody, Polished Pink as well as Coastal Cabana and the returning Berry Burst.
Here's the video I shared how to make the window card with the Picture This dies. Plus two other cool projects using up card stock strips! Click on the photo below. Don't forget to subscribe to my YouTube channel!
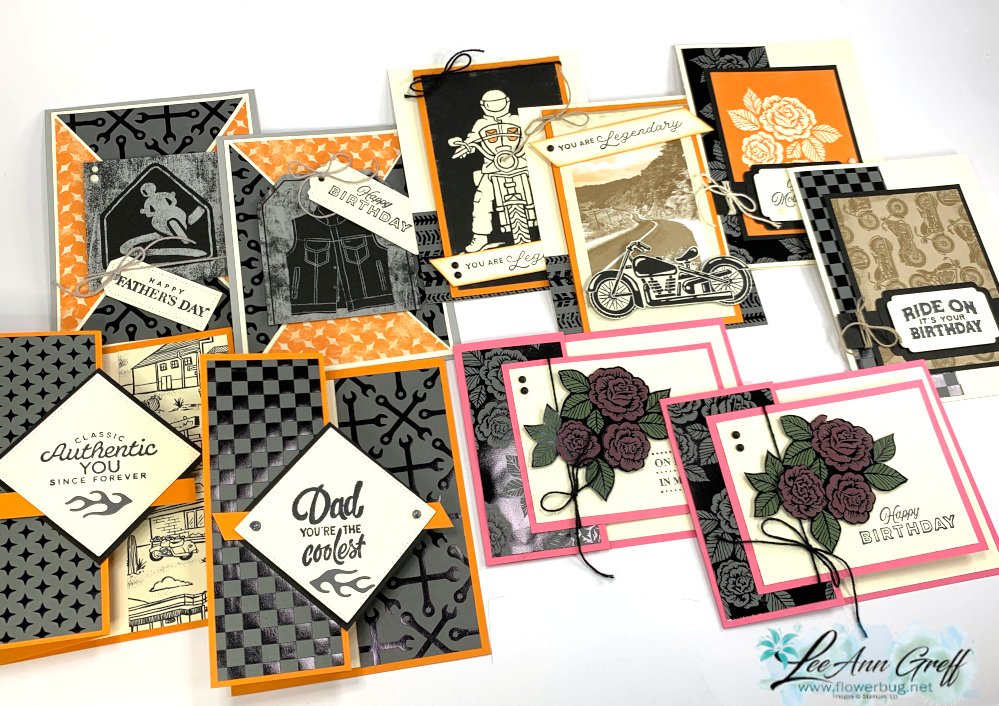
Ready to Ride card kit to go; it’s for both guys & gals!
I chose the Ready to Ride specialty designer paper for one of my April card kits to go; it has wonderful black foil designs on one side and fun prints on the other. It even has a few flowers for the gals; it's not all about men here!
These cards include multiple fun folds as I like to do; they add a fun element for both the creator and the recipient.
There 2 each of 5 designs in this card kit. There's a pre-cut kit to go option AND a PDF tutorial only optionin my store here.
The pre-cut kit to go includes 1/2 pkg. of the Ready to Ride specialty DSP (6" X 12"), a share of both Classic Matte dots and Baker's Twine Essentials pack. The pre-cut card pieces, die-cuts and punched pieces are all included.
Supplies needed:
Black ink & adhesives
a paper trimmer to cut your new DSP (using the measurements in the tutorial).
Greeting images – I used the Legendary Ride and Celebrating You stamp sets, but you can substitute any greeting images you already own.
The PDF tutorial is added on free and includes step by step directions, photos, measurements and a supply list. It's $20 in product for just $28! The tutorial is sent to you via email immediately after payment from my Shophere.
The other option is my PDF tutorial seen here. It's $15 and it's emailed to you immediately after payment.
The neat thing about my kits and tutorials are that you get great ideas for creating; whether it's with this theme or others.
Check out this fun & unique way to use up those card stock scraps!
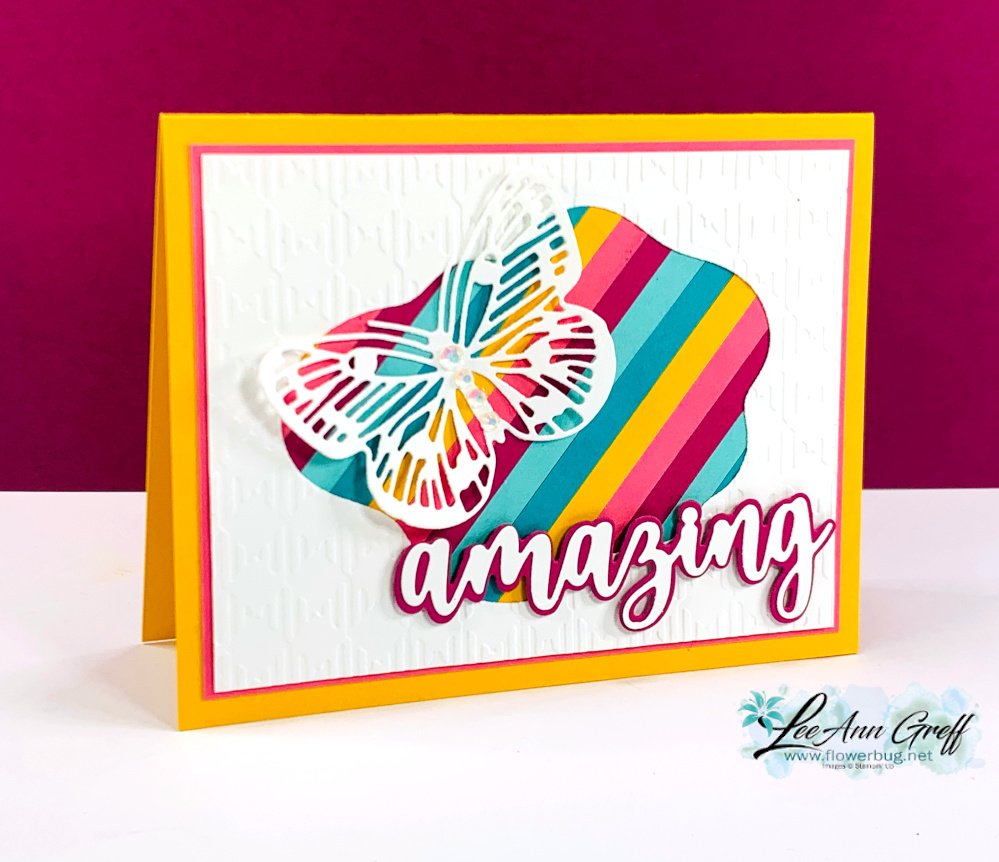
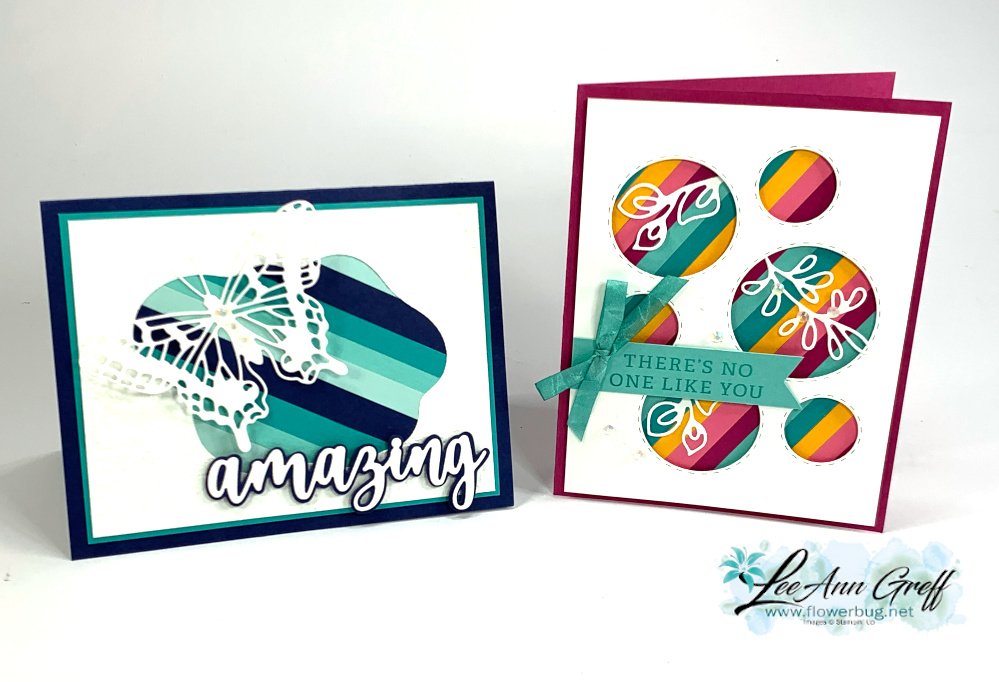
Look at this gorgeous card! It's so bright, colorful and just plain fun! I made it on this week's Live video. My theme was to feature Bermuda Bay (a favorite of mine) and some sets of retiring dies I'll miss a lot!
I used the 'Picture This' dies seen here for the multiple circle windows. The White delicate leaves die-cuts are from the Splendid Stems dies; which I thought were still current! Oops!
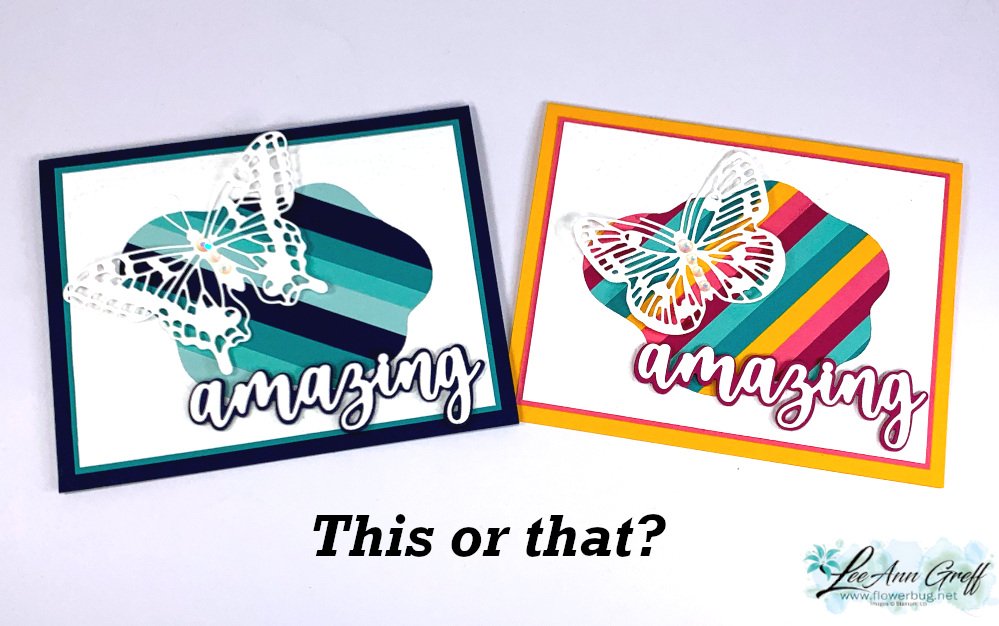
Isn't it striking? It's almost like a rainbow effect with these bright colors. I adhered 1/4" strips of card stock to another layer of White (under the White window die). It's slightly smaller than the top one. Watch the video hereto catch my tips on this technique
I used Coastal Cabana, Bermuda Bay, Mango Melody, Polished Pink and Berry Burst. The only two colors that will be in the next catalog are Coastal Cabana and Berry Burst! But I know we'll learn to love the new color line too. It's always sad to say goodbye to some of our favorites.
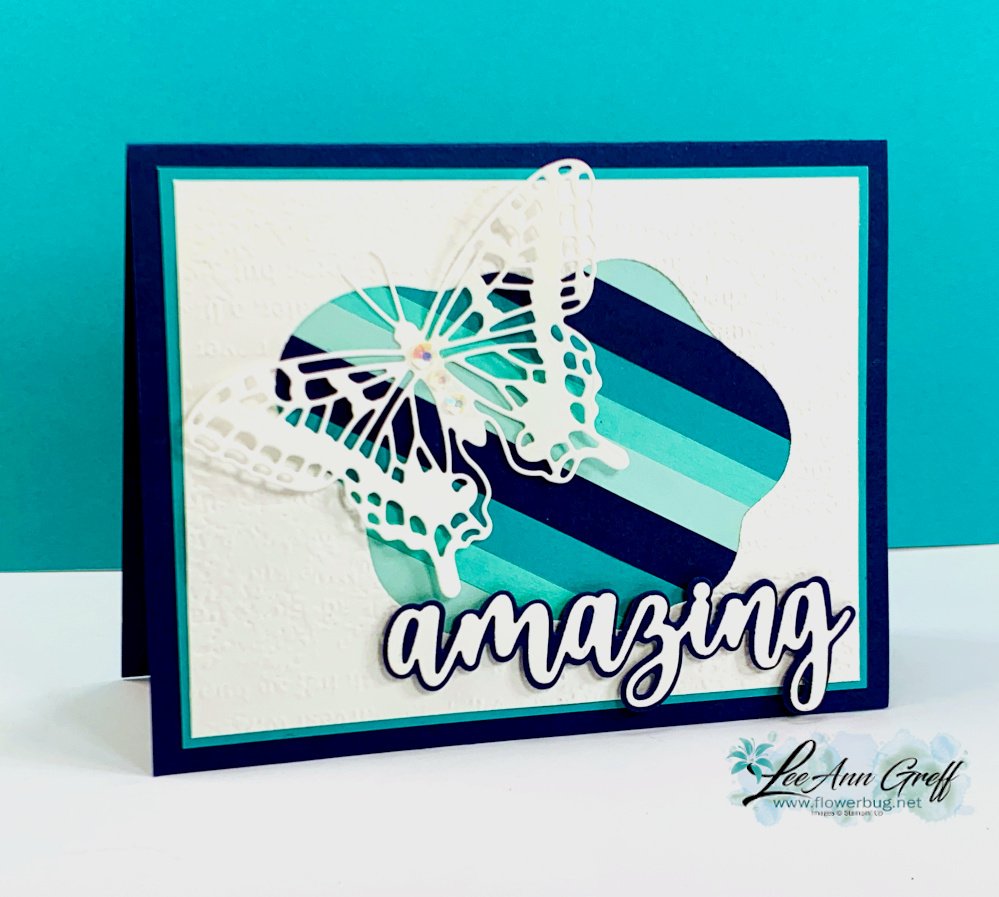
Next I shared a fun card featuring blues/greens and theLayering Diorama dies.They're discounted to $20.30 now.
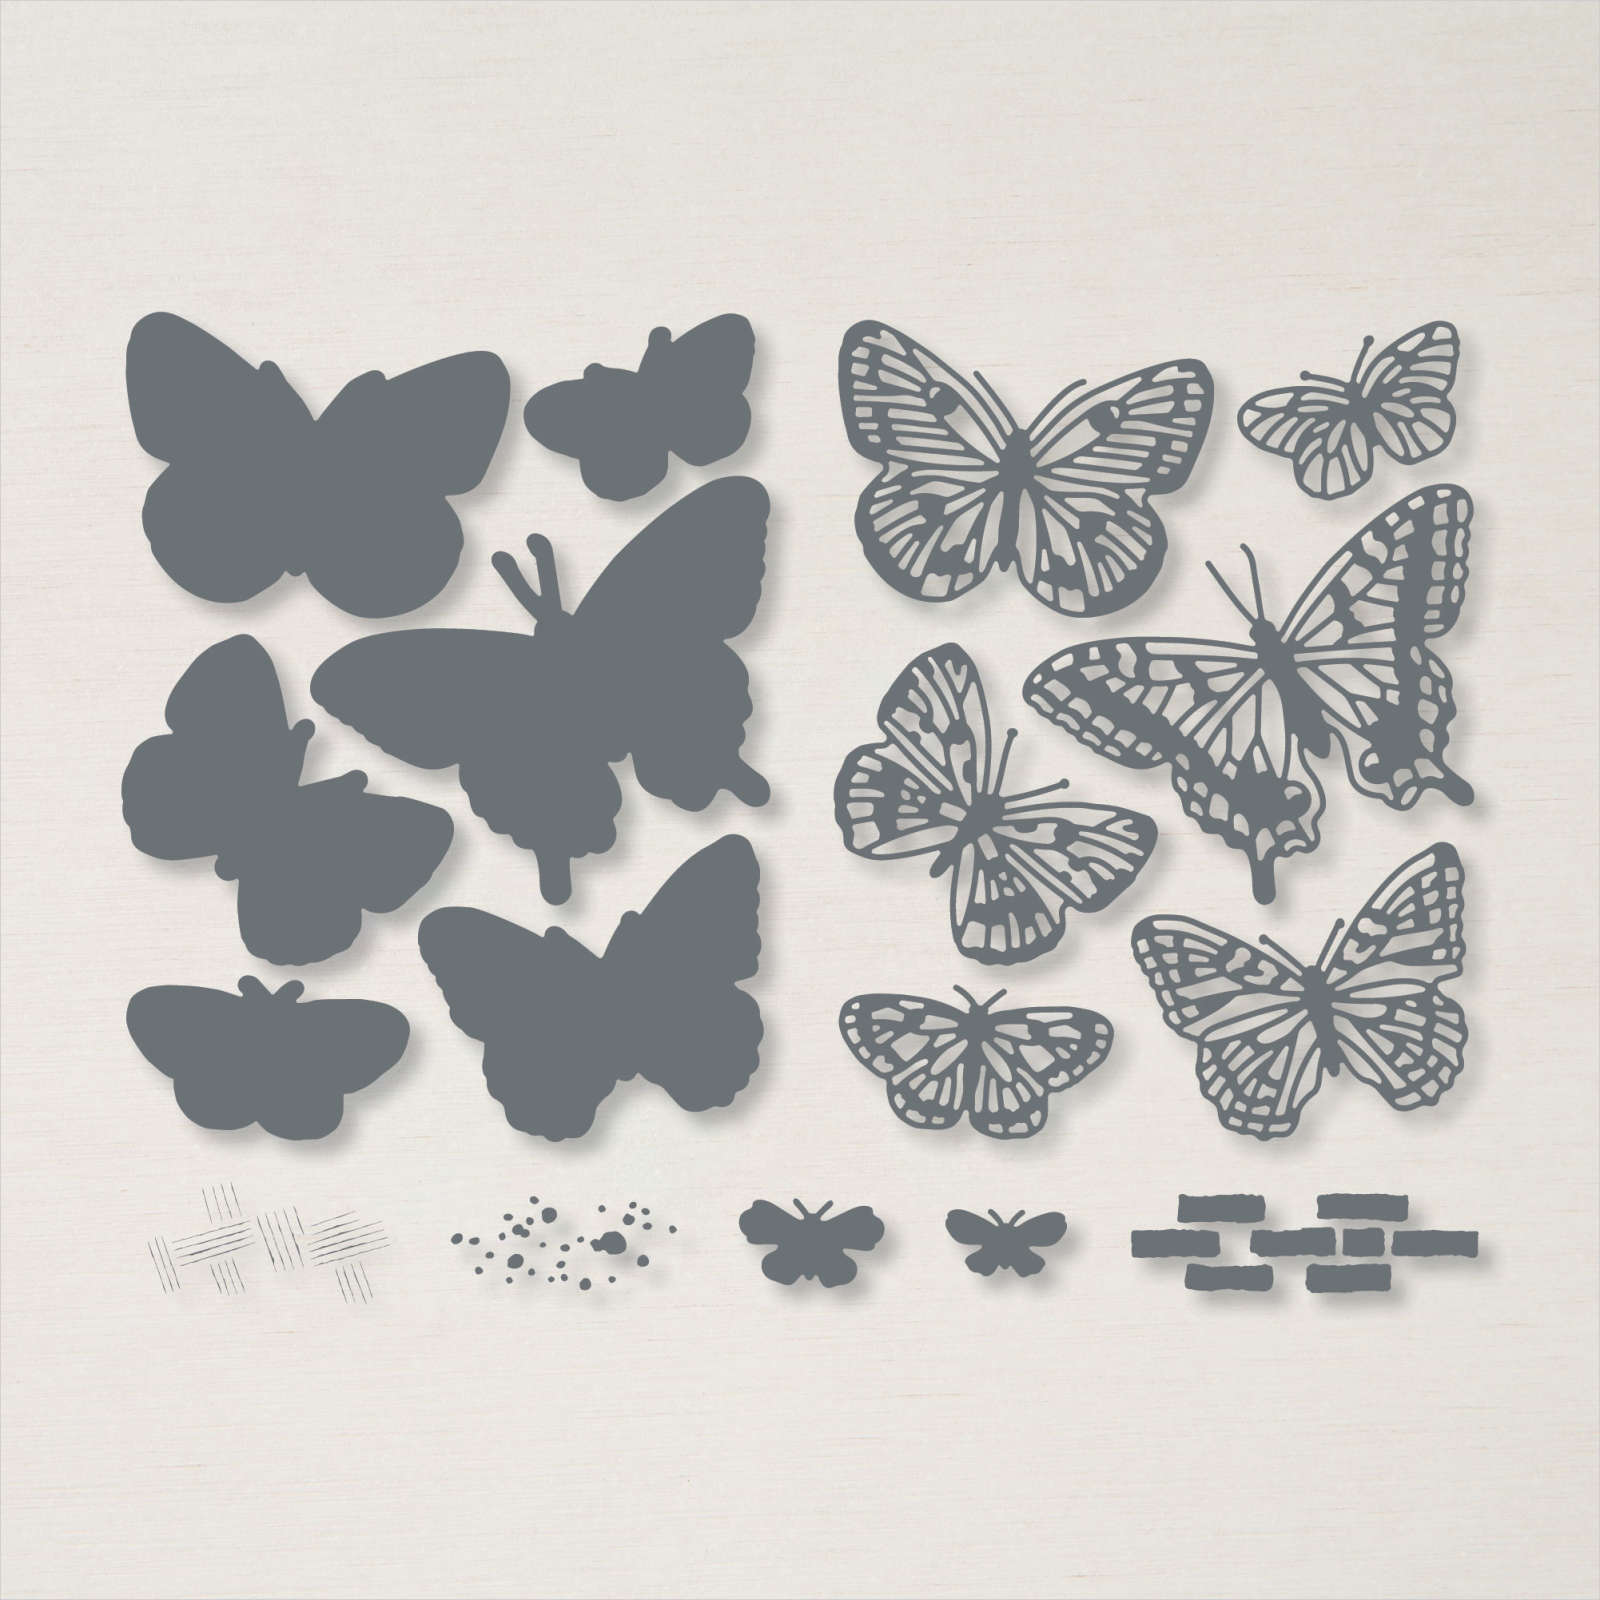
And the Brilliant Wings dies shown above which include tons of butterflies in both solid and detailed dies that layer perfectly. They were $44 and are now just $17.60. See them here.
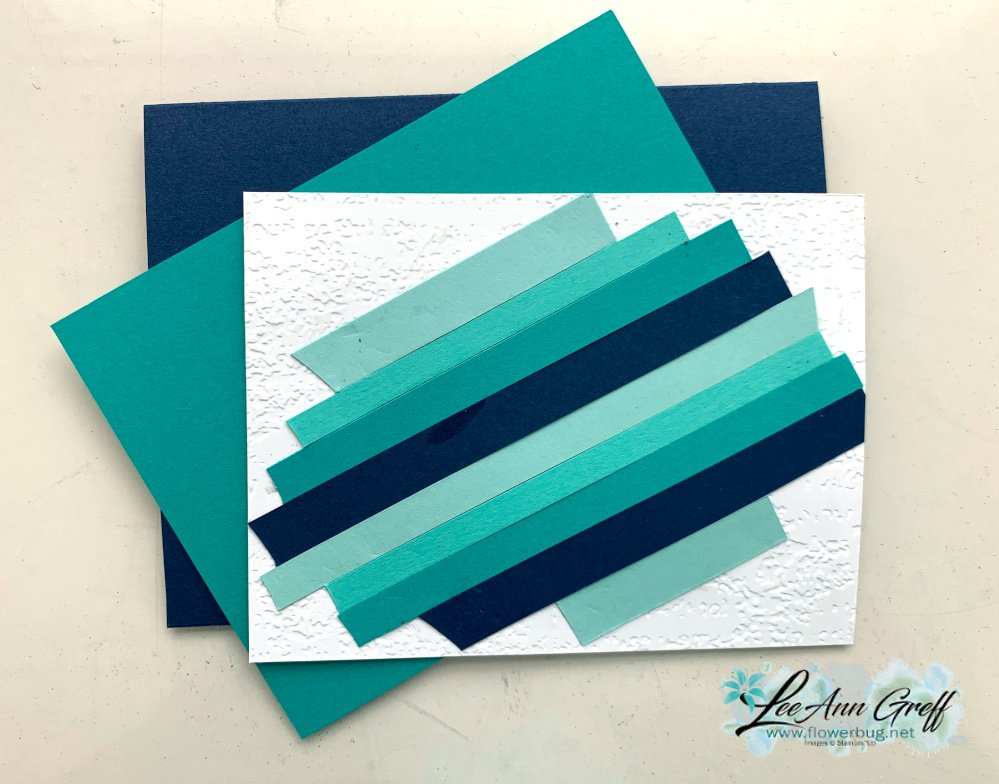
Here's how I adhered the strips to the back of the White die-cut piece. I die-cut the Layering Diorama shape first and then added these strips on the back side. It's a super fun way to show off your die-cut shape and use up those scraps you just cannot throw out!
Here's the video I shared how to make the window card with the Picture This dies. Plus two other cool projects using up card stock strips! Click on the photo below. Don't forget to subscribe to my YouTube channel!
Notice: LeeAnn Greff, Independent Stampin’ Up! Demonstrator, Manager. The content of this website is my sole responsibility as an independent Stampin’ Up! demonstrator and the use of, and content of, the classes, services, or products offered on this website is not endorsed by Stampin’ Up! Copyright 2025























Leave a Reply