/


Latest Post

Leaves of Holly card with a gift card option & video


We made this pretty Christmas card at my November Card Clubs.  It features the Leaves of Holly bundle seen here. 
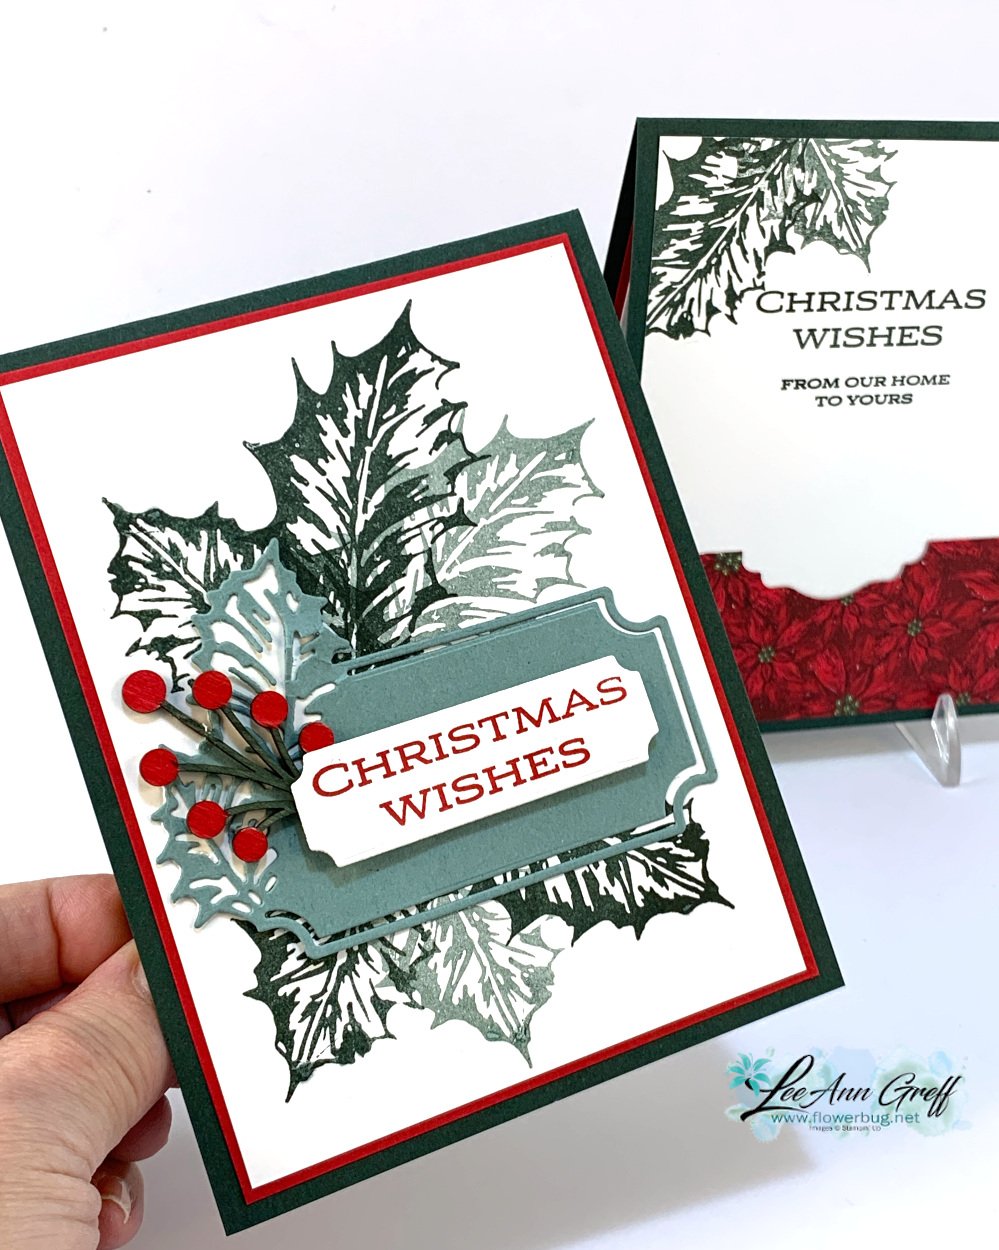
I chose these colors – Evening Evergreen, Real Red, White & Soft Succulent.  I sure love the dies in this set; the greeting label with the attached holly leaves is special. 

*Unfortunately the Holly Berry dies are unavailable right now; they expect they'll be back in stock around December 19th.  
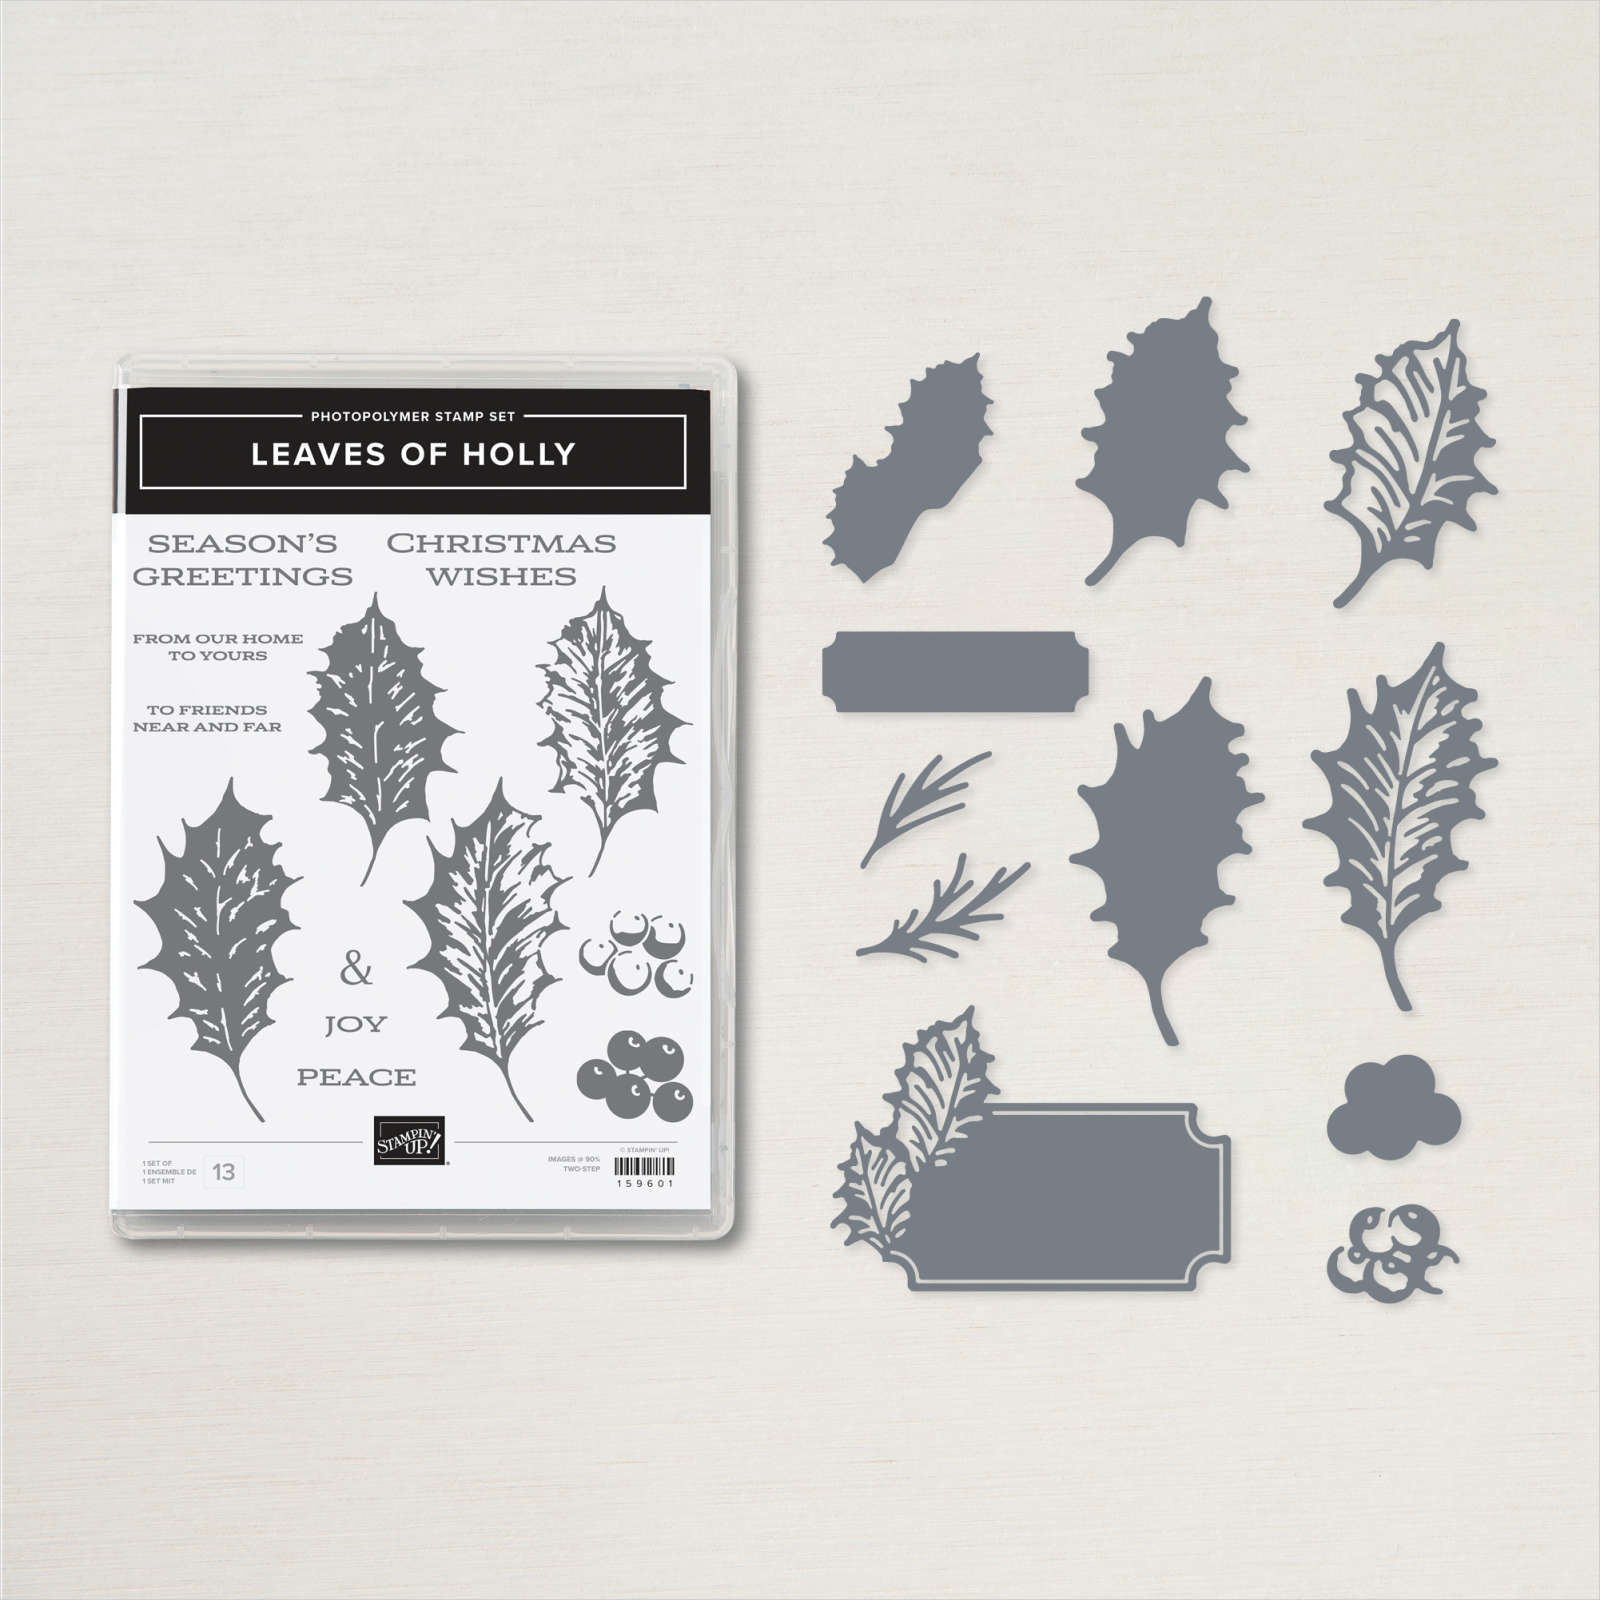
I think this is a classic Christmas bundle you'd find yourself using often.  It's retiring on December 1st and while supplies last. 

I gave my gals a choice of 'berry' options.  On the left card below we added two die-cuts from the bundle.  On the right card we added a Textural Element that is colored with Blends markers.  It was almost a tie on which option they chose.  

I stamped the two more open leave images 2-3 times each in the two green colors and added the greeting element over them.  You can see how in the video below.  It's actually an easy card to make. 

If you want to add an easy gift card option to any card simply add a strip of DSP across the bottom of the inside. Punch the center with any circle or decorative punch and aAttach it with glue on the outer and lower edges only.  


Click here to watch it or on the photo below.  There's a special wiper fun fold card shown too!  

~~~

Order online here

Host code link: KA9ZYZB6

November Specials: 

Check out the Last Chance items from the Holiday Catalog; it starts December 1st
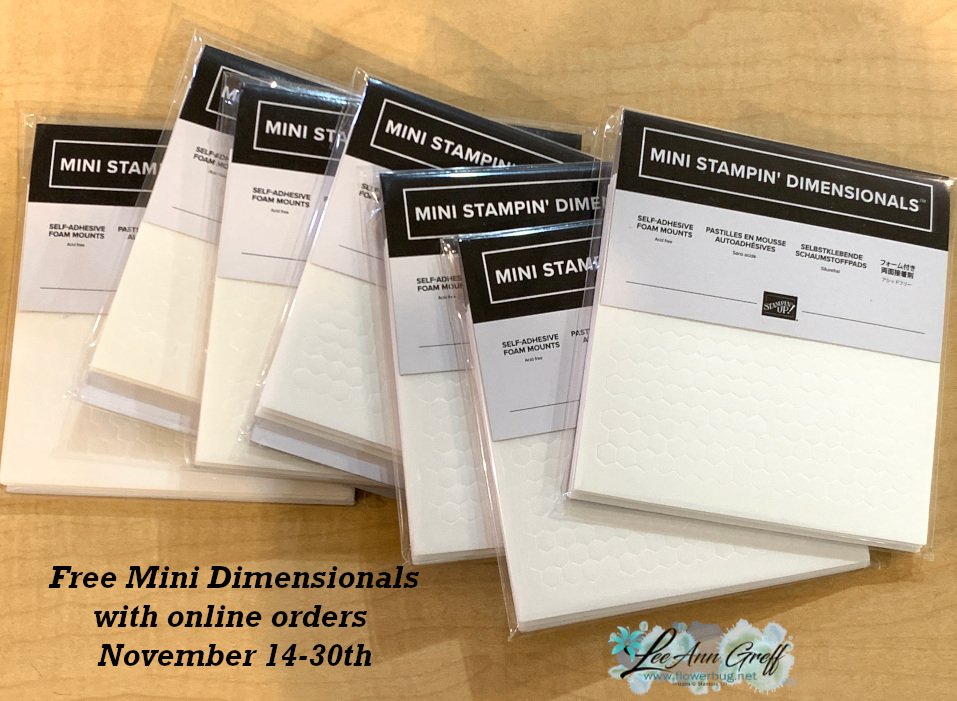
1. Get a pack of mini Stampin' Dimensionals from me with online orders over $55!

2. All orders in November will receive a big project tutorial – a collection of 12 cards featuring this new collection of products.

Earn free products with my loyalty rewards! 

Click here to download yours and earn a $50 shopping spree!
All Posts

  • Fancy Easel Fold card with the Arrange a Wreath bundle


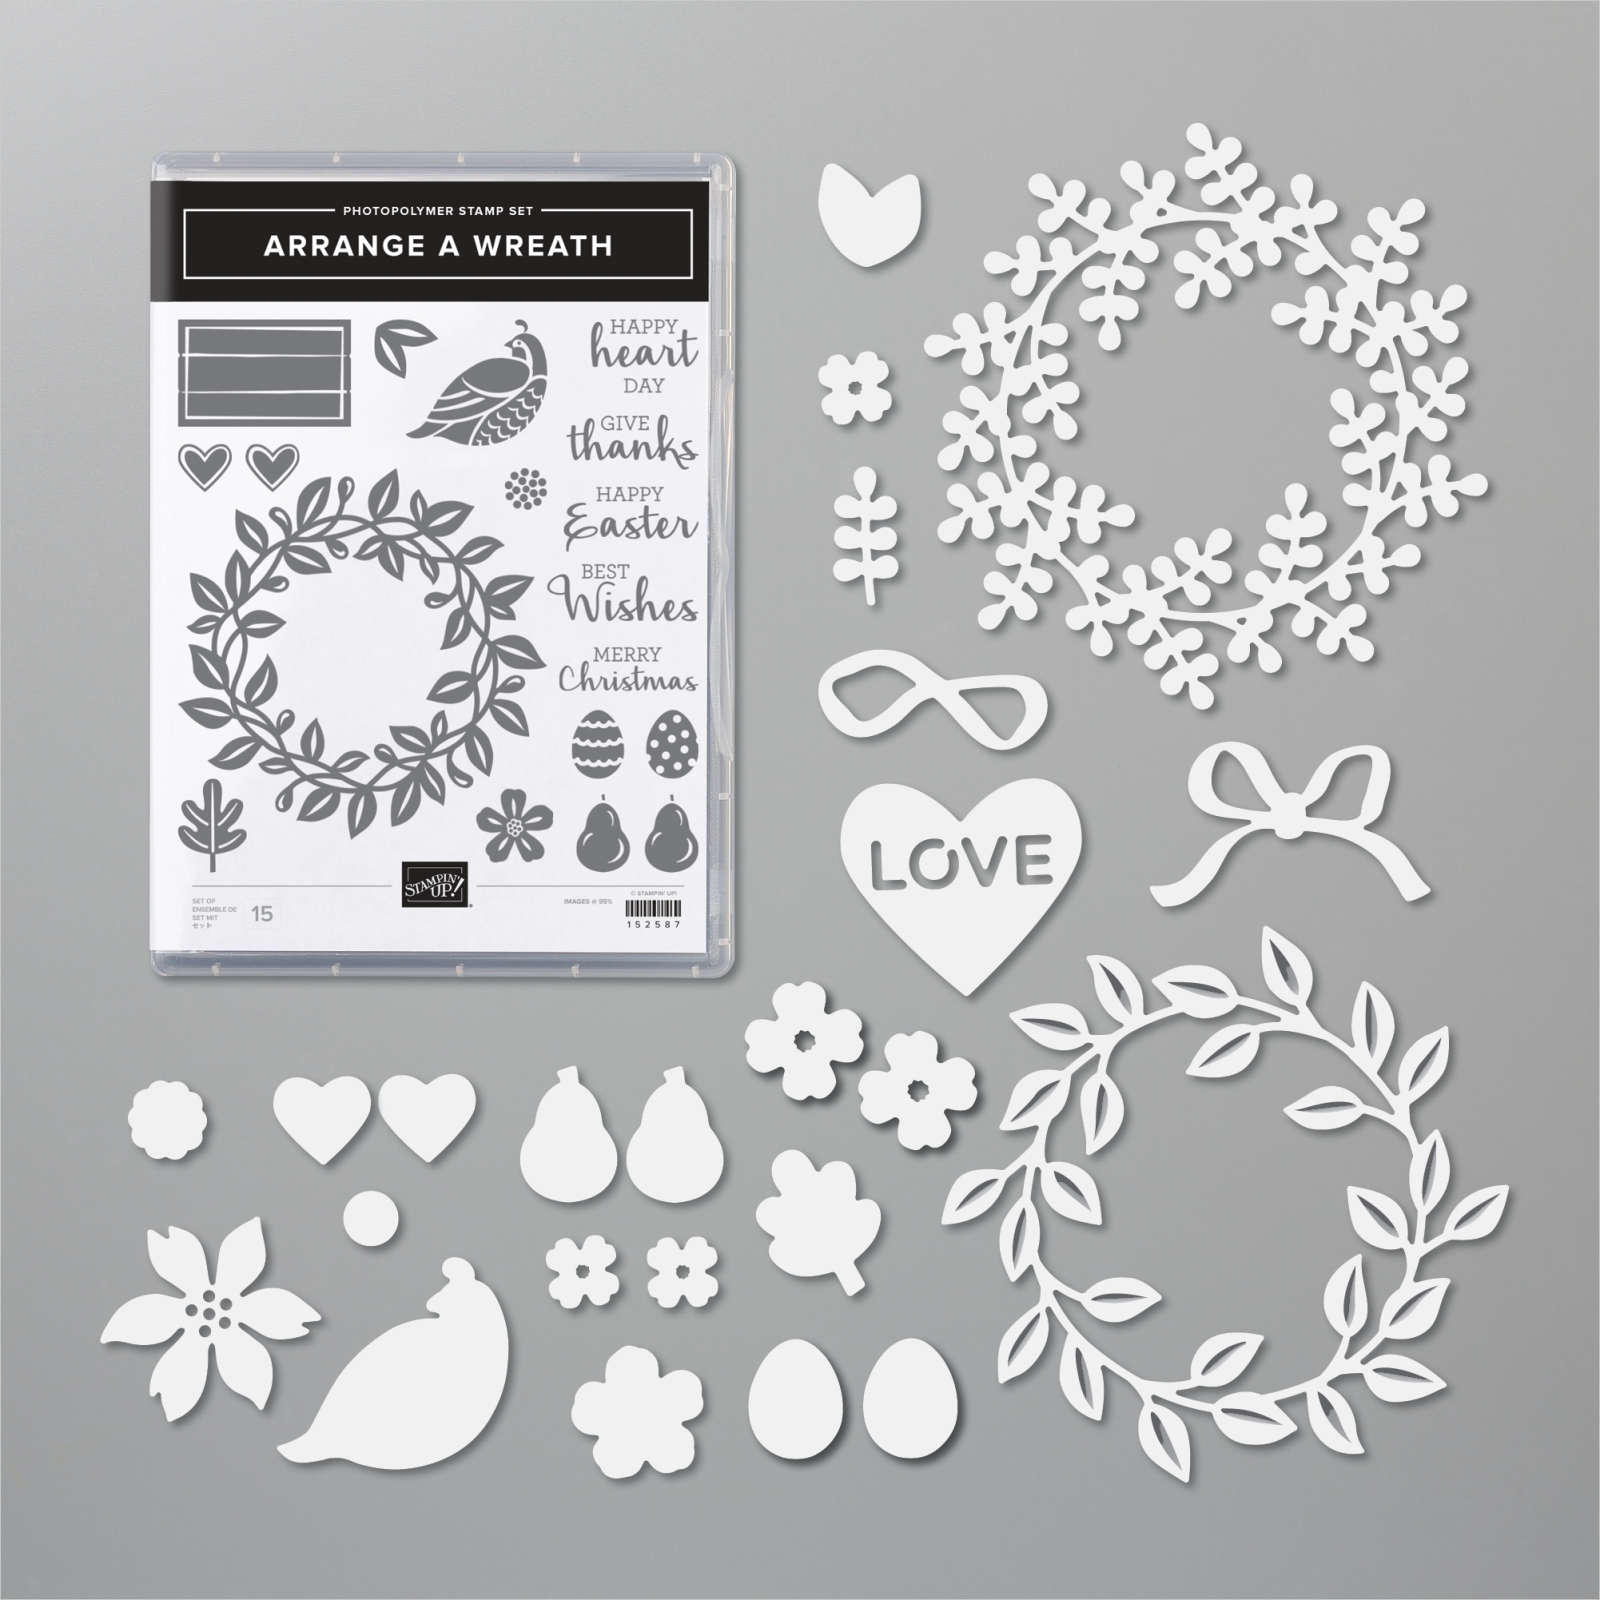
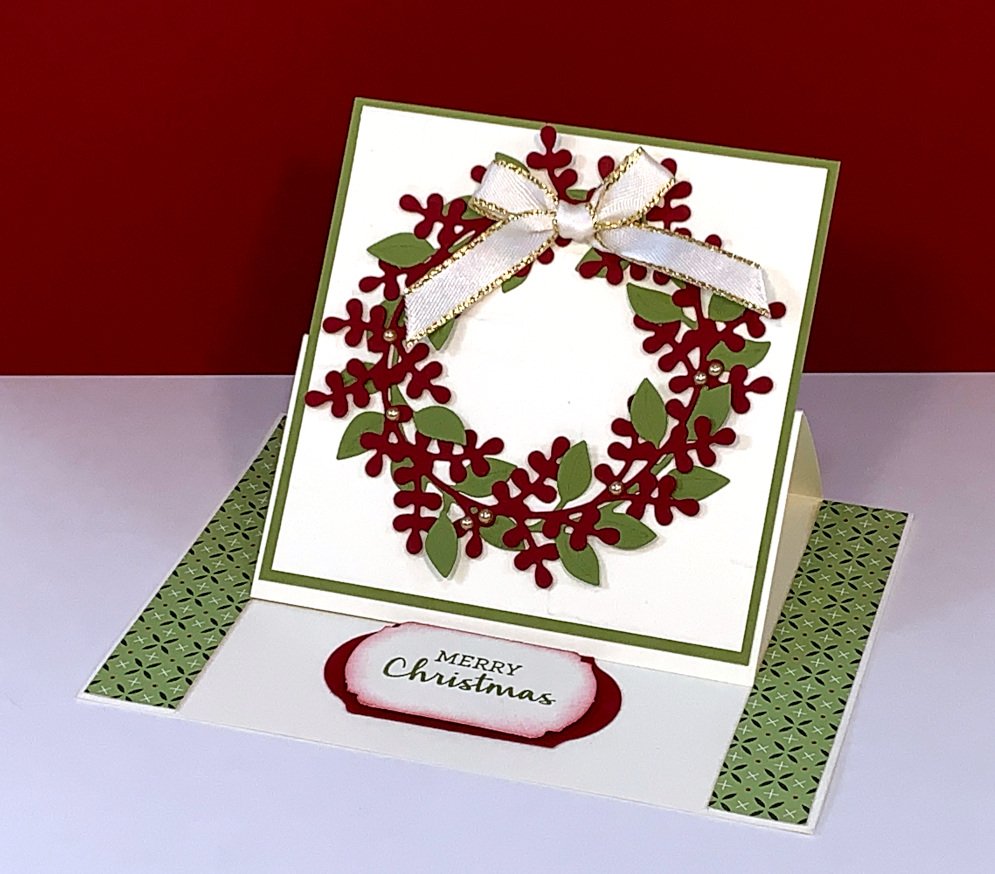
    We made this fancy fold card at October card clubs. The Easel really shows off the wreath from the Arrange a Wreath bundle in the Annual catalog. You can see it in the video below. 

     
    You can see the Arrange a Wreath bundle here.  It has a ton of seasonal options in it. 
     
     
    Measurements:
    • 5 1/2" X 8 1/2" scored in half at 4 1/4" first. Then cut on one half of the card at 3/4" from each edge to the score line. Now score the large, center area for the easel in half at 2 1/8"
    • Very Vanilla 3 3/4" X 3 1/2"
    • Old Olive 4" X 3 3/4"
    • Cherry Cobbler & Old Olive 3 3/4" squares for the wreath die-cuts plus scraps for the greeting punches
    • Heartwarming Hugs Designer Paper 5/8" X 4" (2 pieces)
     
     
    The video below includes this fun fold card and the Box Fold card we made too!  

    ~~~

    November Specials!

    Current Host code is JRZFR4QU


    All online orders receive my FREE Curvy Celebrations 22 project PDF Tutorial! 

    Leave a Reply

    Your email address will not be published. Required fields are marked *

  • Curvy Christmas; paired with the Curvy Dies


    I've always loved the look of curves and swirls so these new Curvy Celebrations products are right up my alley.  I've made so many projects I could share one each day for weeks! 

    Here's one of my favorites.

    See what I mean?  The curves make this project 'stand out' special.

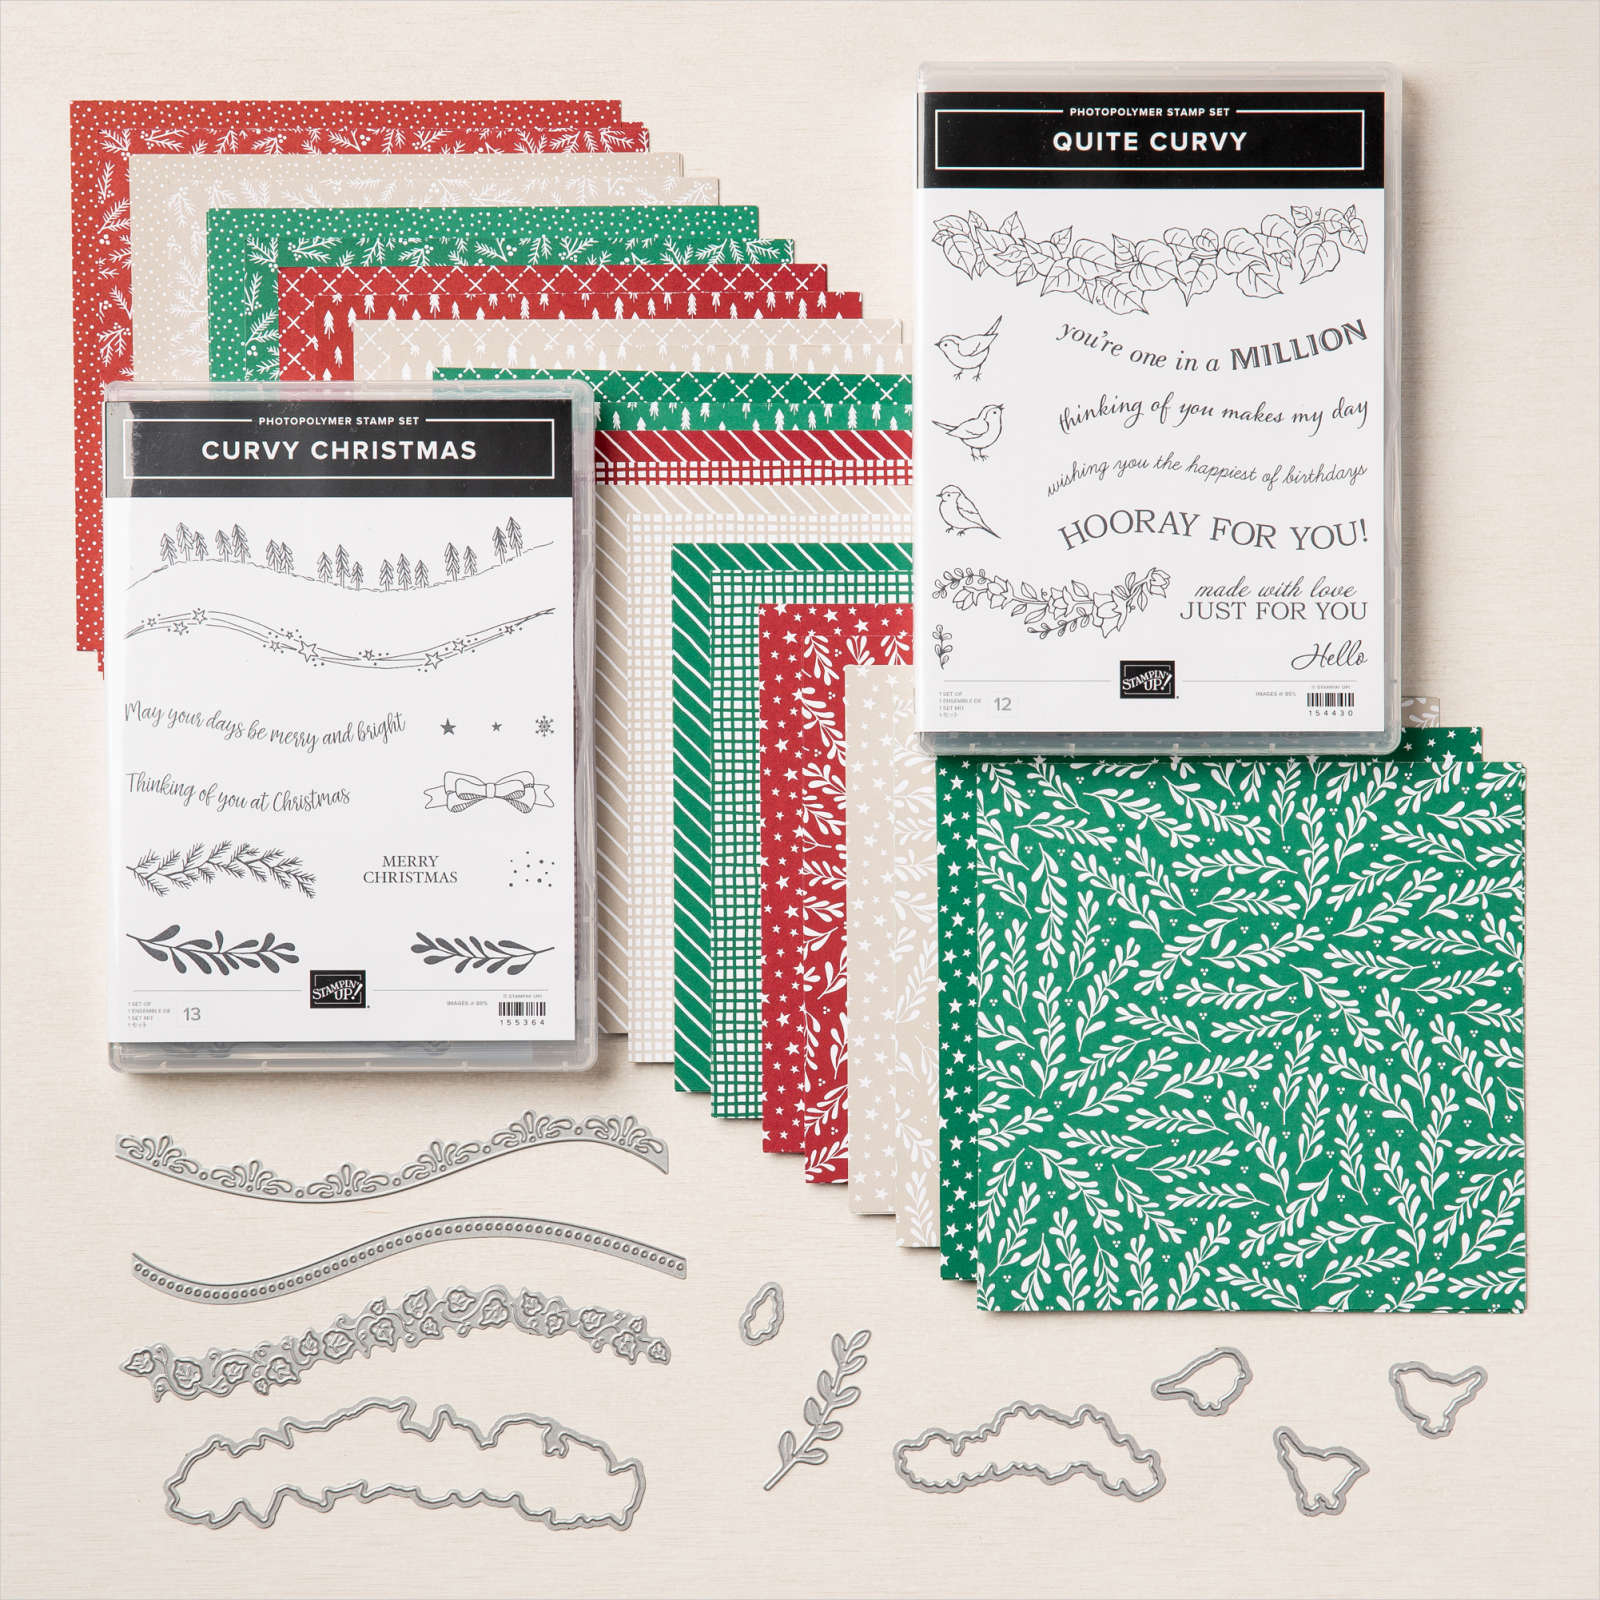
    My colors are Night of Navy, Sahara Sand and White.  The designer paper is from the new Classic Christmas 6 X 6" pack seen here.  This is only available through January 4th or while supplies last.  

    The same is true for the Curvy Christmas stamp set seen here.  It will not be in the upcoming catalog so get it now while you can. 

    As you can see I cut two pieces of Navy card stock using the dotted curved die.  I heat embossed the greeting and the long stars image.  I die-cut two White sprigs from the same Curvy Dies and added them with a double Linen Thread bow.  

    Here's another great reason to get any of these items now; everyone who places an online order (or orders any of the Curvy Celebrations items) will receive a free 22 project PDF full of ideas for their new products! 

    I chose to get it all at once with the entire Curvy Celebrations bundle seen here.  

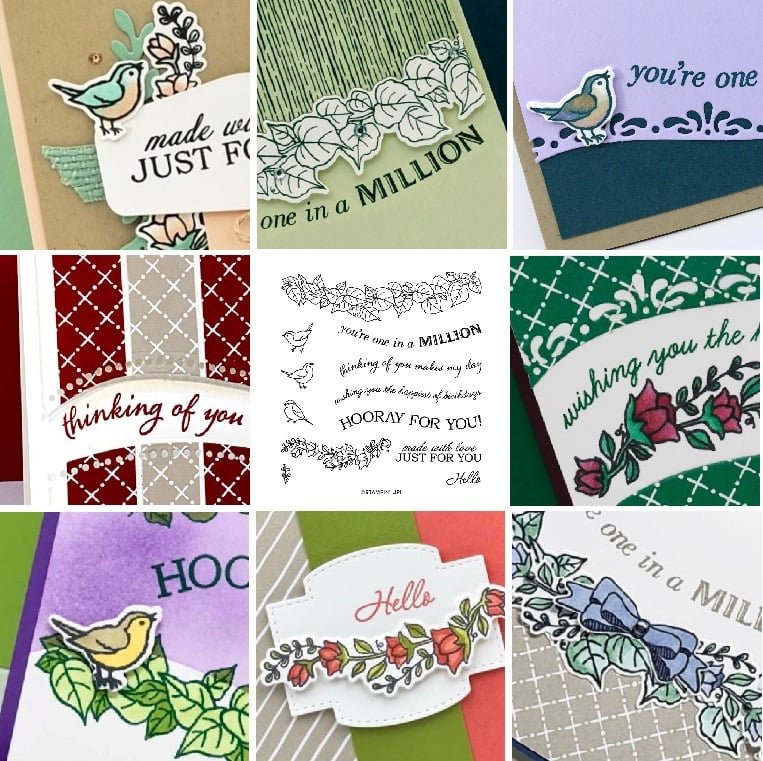
    Here are some sneak peaks of the projects in the free PDF: 

    Above are ideas featuring the Quite Curvy set and below are projects with the Curvy Christmas set. 

    ~~~

    November Specials!

    Current Host code is JRZFR4QU


    All online orders receive my FREE Curvy Celebrations 22 project PDF Tutorial! 

    Leave a Reply

    Your email address will not be published. Required fields are marked *

  • Curvy Celebration ideas!


    Here are a few more projects I made with the Curvy Celebrations products. 

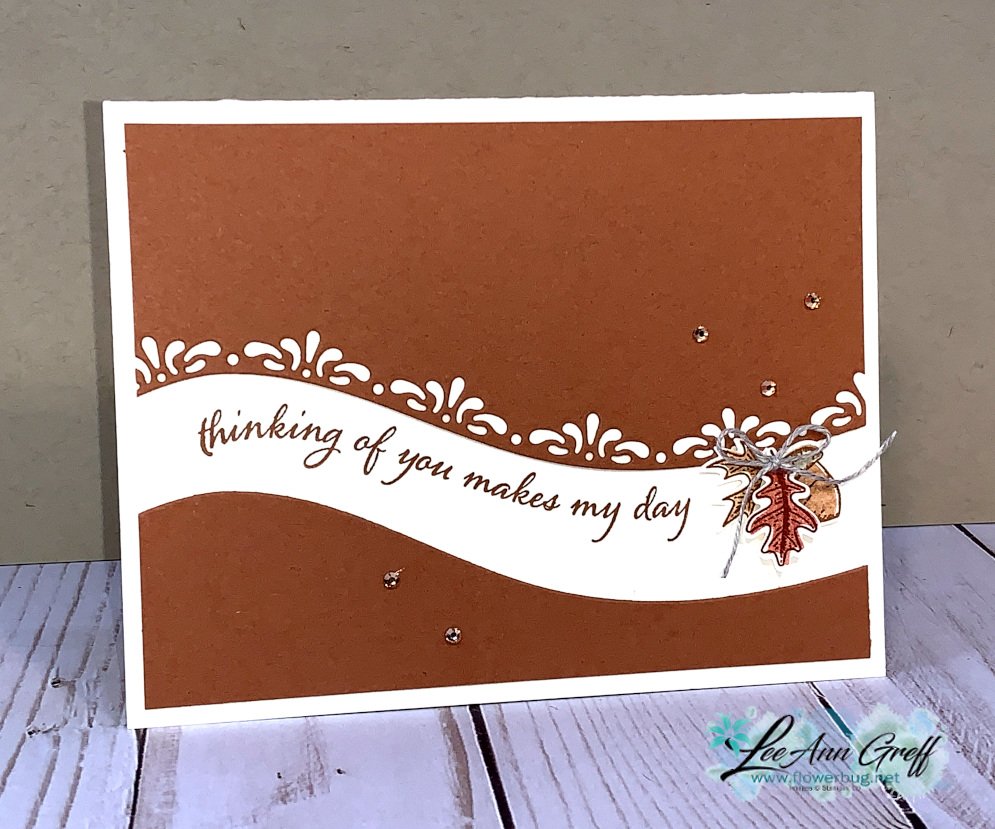
    Above is a super simple card made by cutting just one piece of Cinnamon Cider card stock in half with one of the Curvy dies.  Separate them on the Vanilla card and add a curvy greeting.  Finish with a few punched leaves from the Beautiful Autumn punch bundle. 

    On this card I added the White curvy die-cut layer to a piece of Artistry Blooms designer paper and finished it with a few Blossom punches and Artistry Blooms sequins.  Easy!

    The card above features my strips technique I shared here in this video.  So fun and a great way to use scraps of Designer Paper! 

    Here's another great reason to get any of these items now; everyone who places an online order (or orders any of the Curvy Celebrations items) will receive a free 22 project PDF full of ideas for their new products! 

    I chose to get it all at once with the entire Curvy Celebrations bundle seen here.  

    Here are some sneak peaks of the projects in the free PDF: 

    Above are ideas featuring the Quite Curvy set and below are projects with the Curvy Christmas set. 

    ~~~

    November Specials!

    Current Host code is JRZFR4QU


    All online orders receive my FREE Curvy Celebrations 22 project PDF Tutorial! 

    Leave a Reply

    Your email address will not be published. Required fields are marked *


Notice: LeeAnn Greff, Independent Stampin’ Up! Demonstrator, Manager. The content of this website is my sole responsibility as an independent Stampin’ Up! demonstrator and the use of, and content of, the classes, services, or products offered on this website is not endorsed by Stampin’ Up! Copyright 2025