Once your order reaches the $75 point (before shipping & tax) you get both Free Shipping AND can add a POTM for just $5. There are 3 choices right now – 2 packs of DSP and one stamp set.
Being a part of Stampin' Up!'s community of crafters and creators is the best part of this stamping hobby. And right now there's an exciting opportunity because when you choose the Starter Kit between 3–31 May to become a Stampin’ Up! demonstrator you will receive the following 2022–2024 In Color products in their Starter Kit for FREE:
****Remember that most Demonstrators are 'happy shoppers' – in it mostly for the discount and fun!
Benefits of the Starter Kit:
New demonstrators can select any standard eligible Stampin’ Up! products up to the $125 in value for just $99.
The Starter Kit also includes $66.50 of FREE 2022–2024 In Color products.
New team members who join Stampin’ Up! get to be a part of our amazing community of Stampin' Up! crafters with exclusive FB groups including my Flowerbug's Team! Plus, they get to enjoy sharing simple and fun crafting experiences with others, early access to products, and exclusive access to training events.
You’ll also get a free Paper Pumpkin kit!
The Starter Kit includes business resources like catalogues, brochures, order forms, and postcards.
My Flowerbug's Team is incredible, generous, talented and kind.
My Team members get all of my current and past tutorials FREE!
We have optional swaps, monthly challenges, lots of sharing and Prize Patrol too!
You can be any kind of Demo you want; there's no need to run a business. You're in charge and can simply enjoy the discount or hold events and make a little income. I'll support you either way!
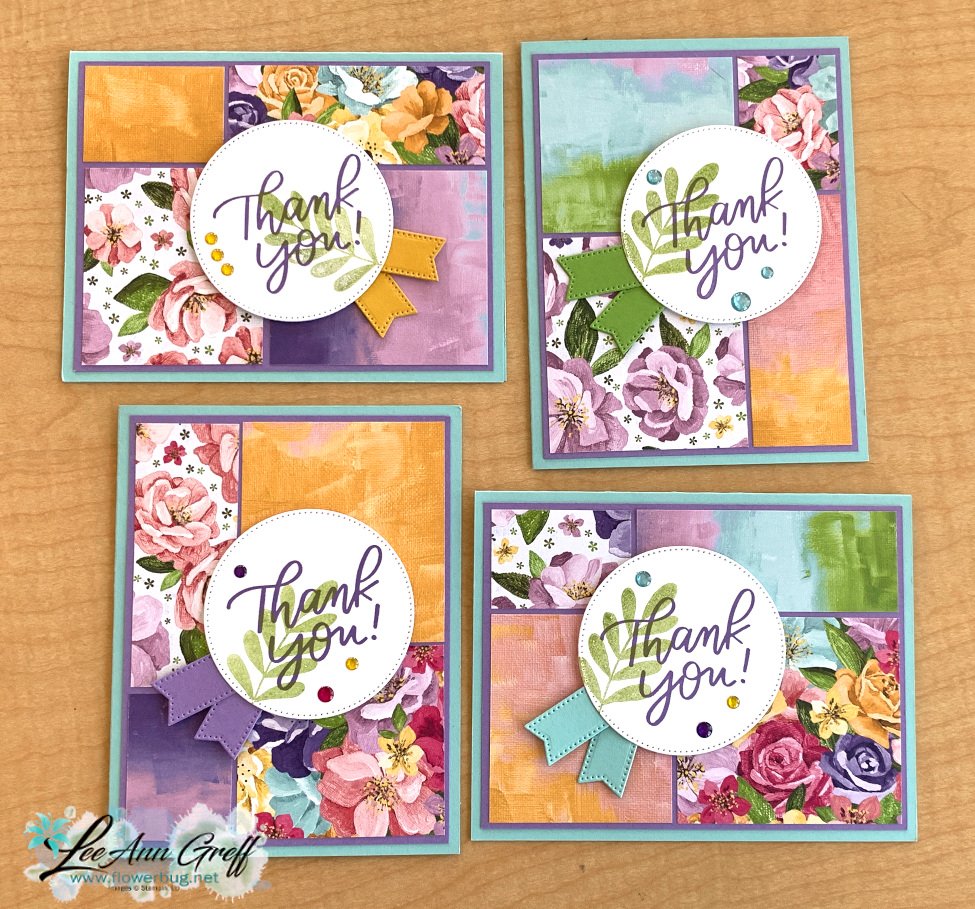
3 sets of quick Stack & Cute cards; with video & template!
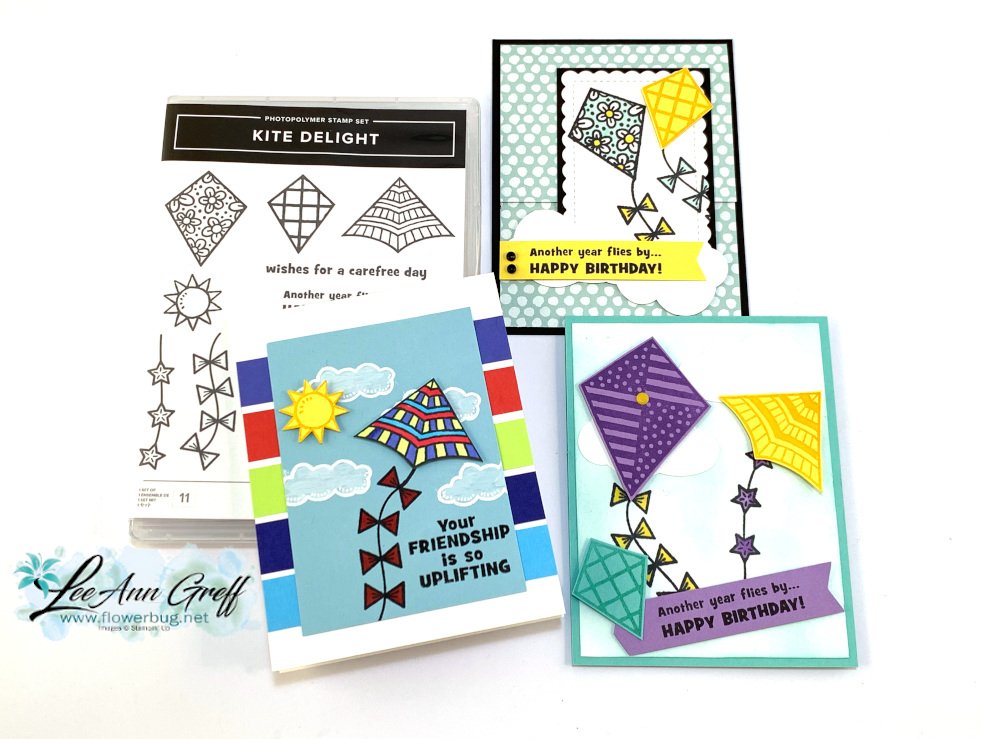
One week ago I shared my Stack & Cut cards in a FB live video. I couldn't stop at one set since they're so quick & easy. I made 3 different sets of cards! Click hereto watch the video.
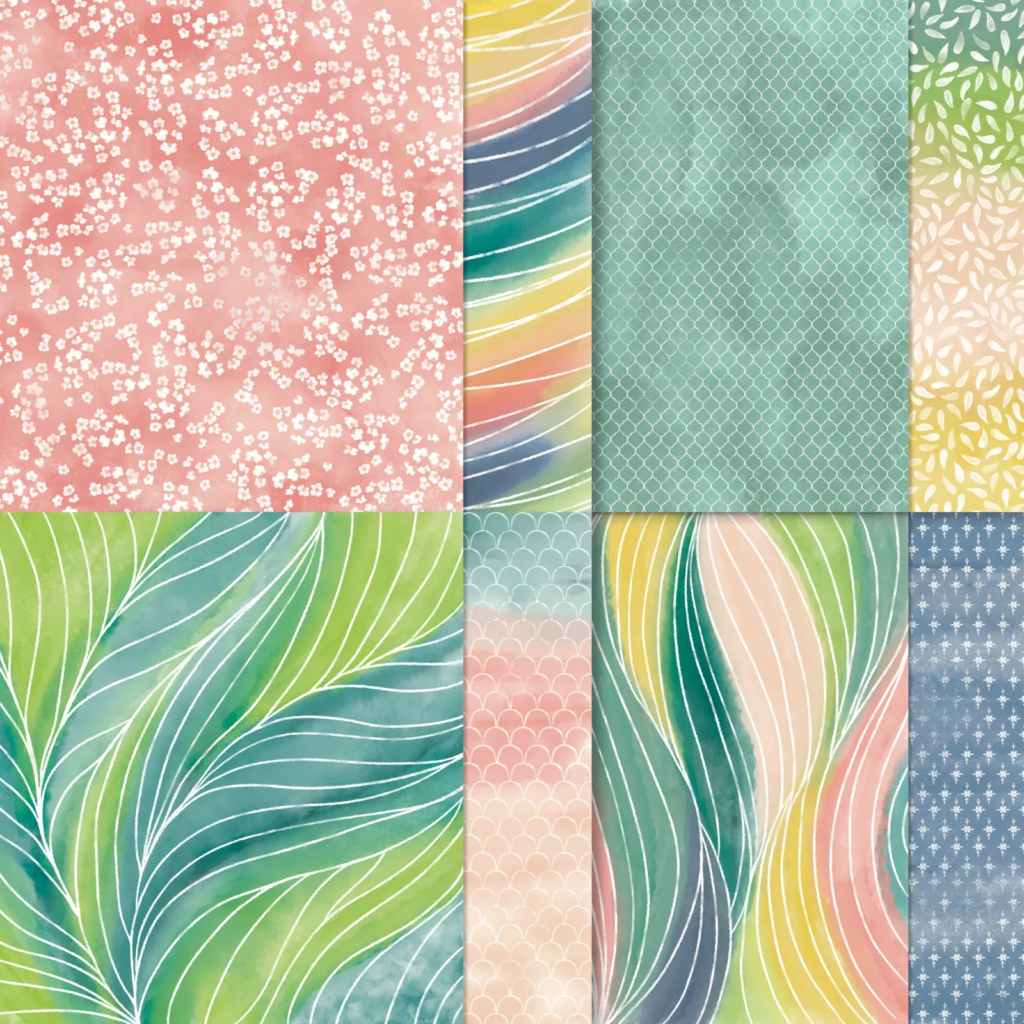
This first set features the Hues of Happiness designer paper from the upcoming new Annual Catalog by Stampin' Up! It goes live tomorrow and you can all start ordering (collecting) new products!
The card bases are Pool Party and the large layer is Highland Heather. I used a variety of circle dies for the main greeting. The stitched banners are from a new set of dies called Stylish Shapes; it's filled with stitched circles, squares and banners.
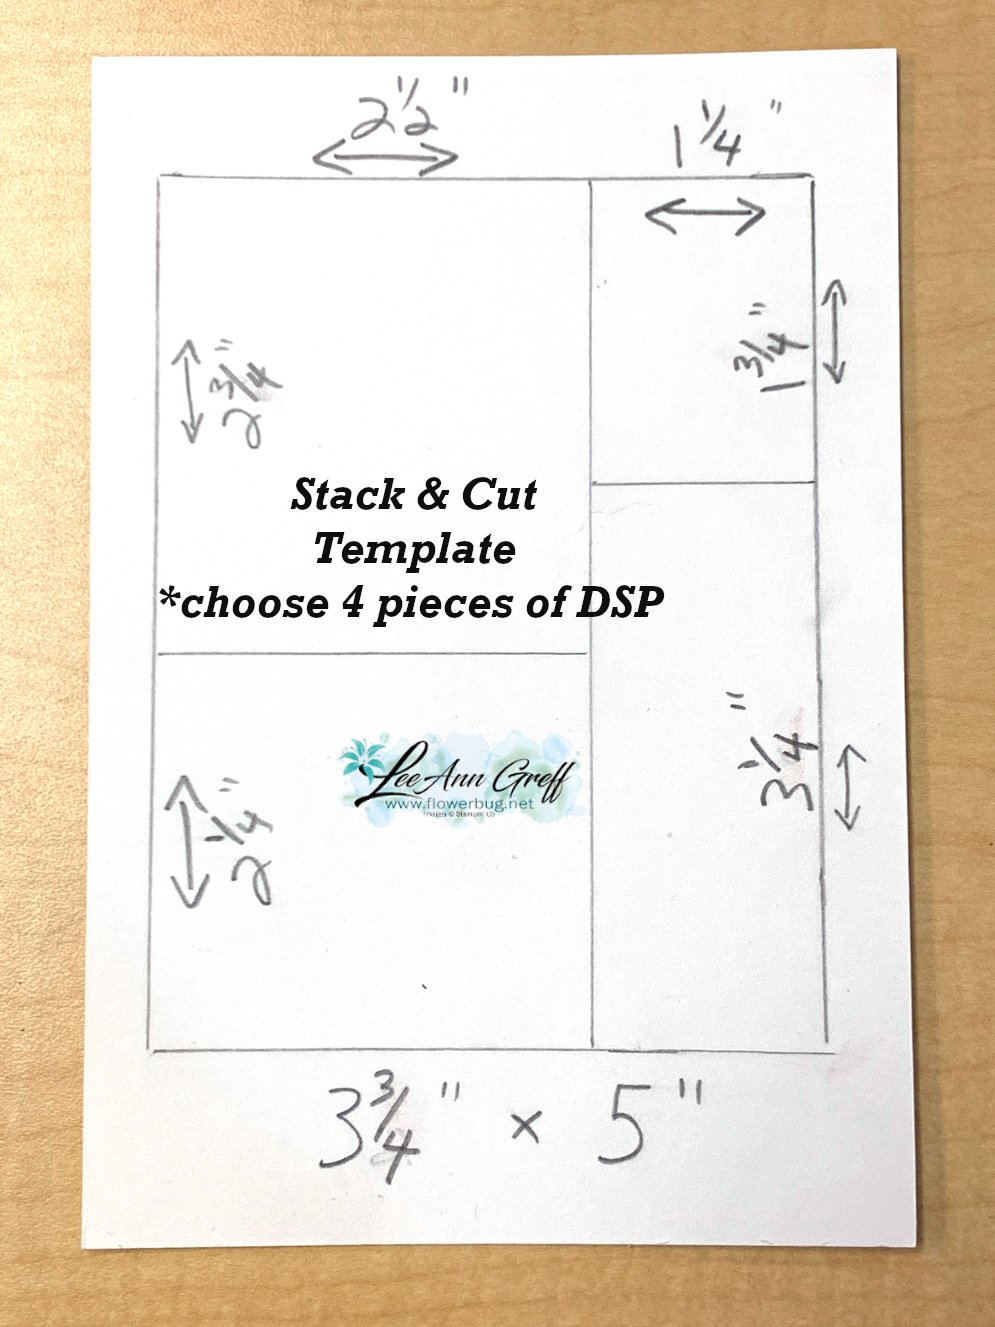
Here's the template I used for the 'Stack & Cut' pieces. Choose 4 sheets of DSP and cut two at once. They're layered on a 4" X 5 1/4" piece then added to your main card base. So quick & easy and it uses up that Designer Paper you're hoarding!
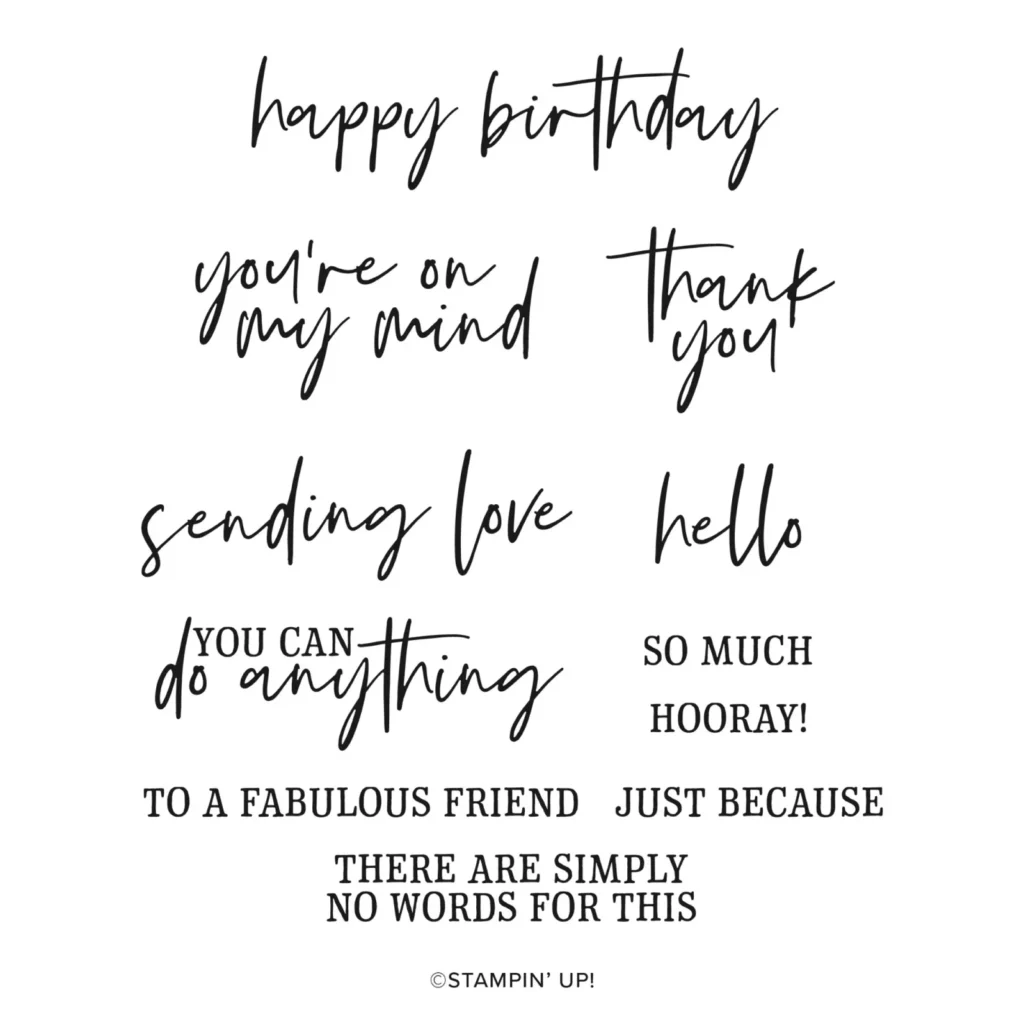
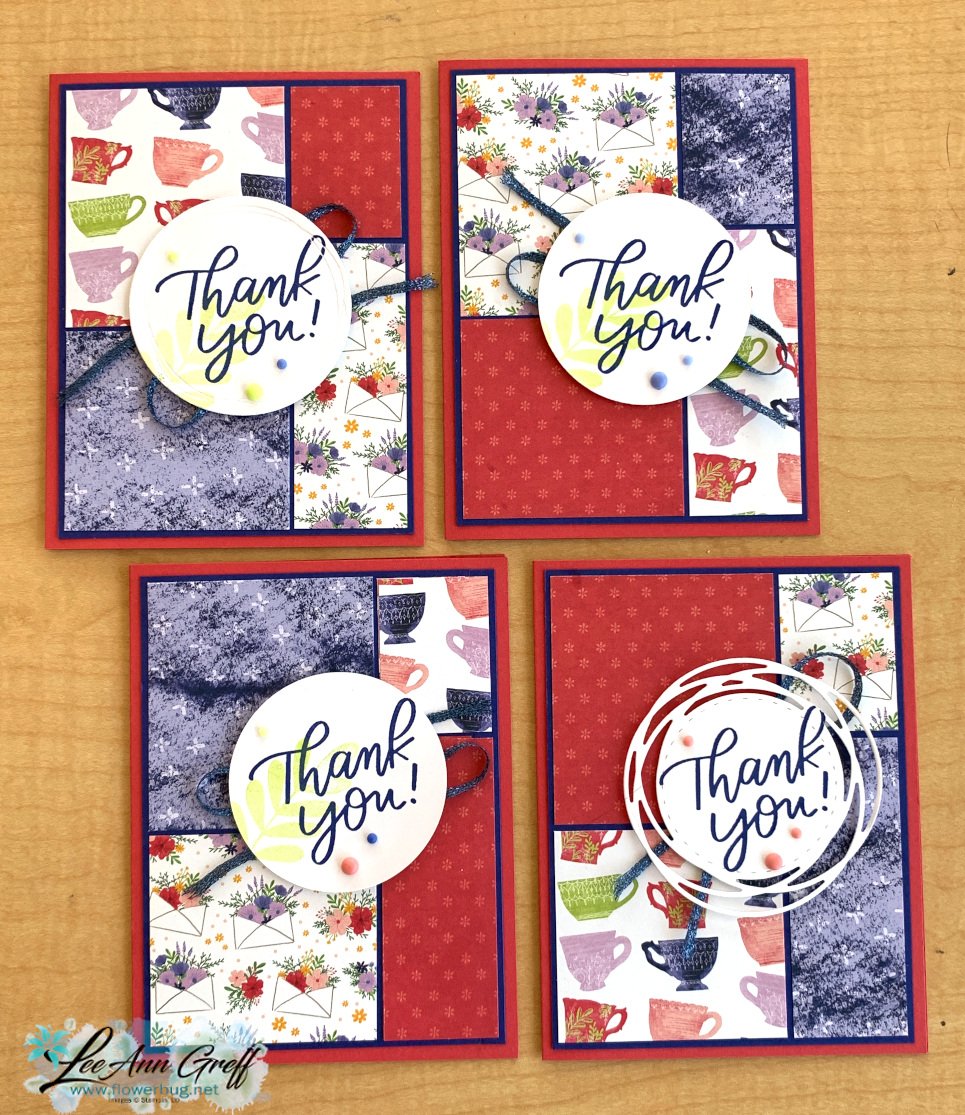
The 2nd set of cards features the Tea Boutique designer paper. It's a 6 X 6" stack filled with all of the new In Colors! The greeting is from the Good Feelings stamp set.
Here are all of them in one photo. If you make a set of these cards please share them here in my FB group by May 8th to get in on Prize Patrol for a free embellishment. I'd love to see YOUR version of these neat cards.
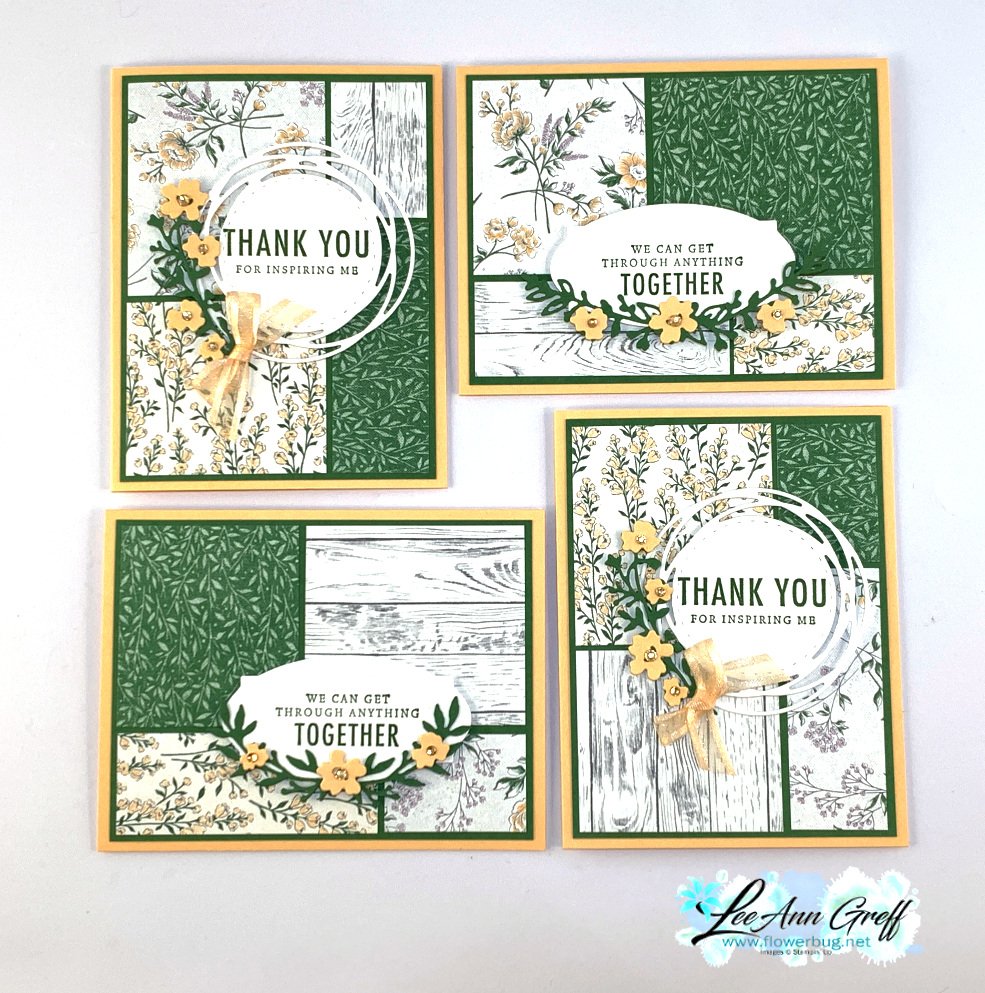
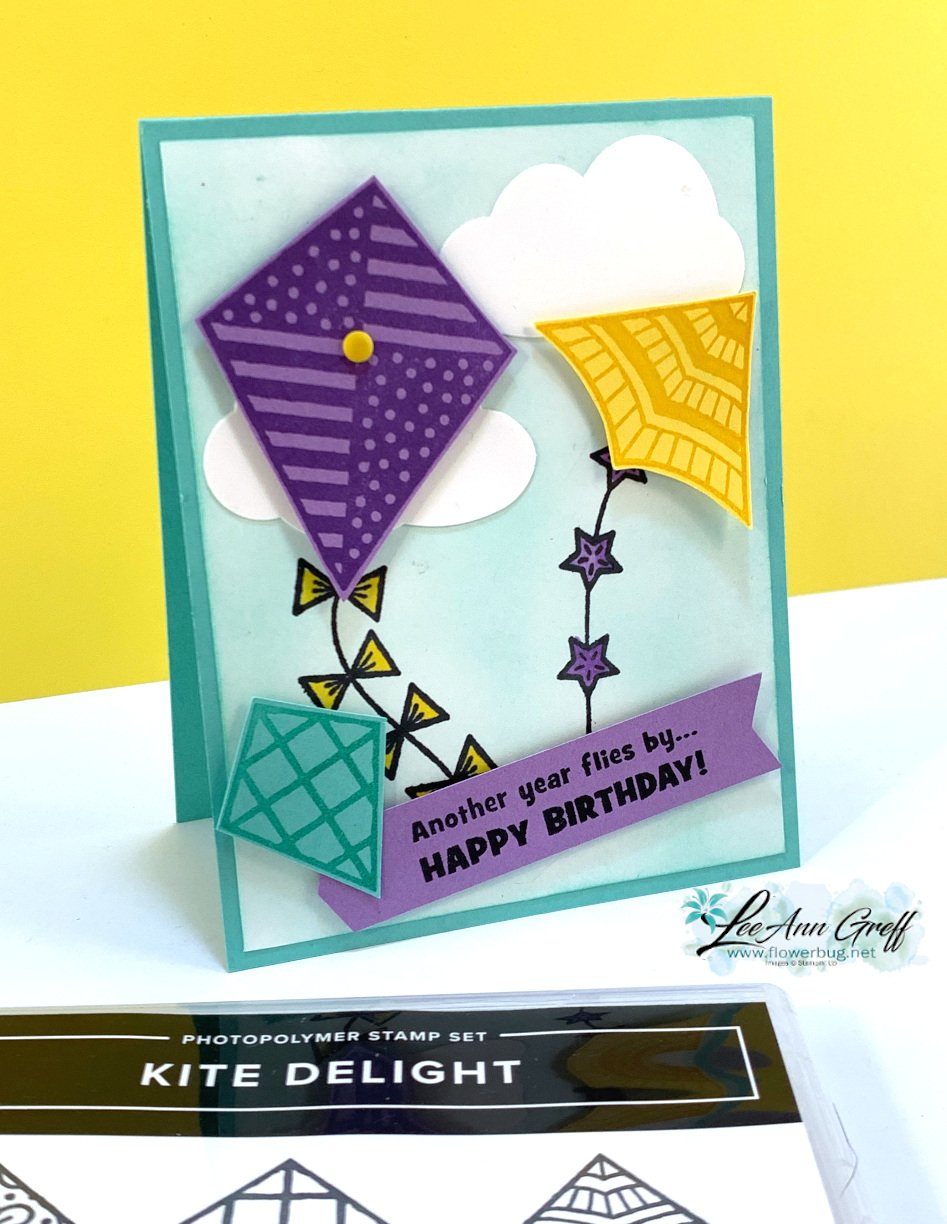
And lastly here is the first set I made with the Heart & Home DSP from the January-June catalog. This paper is filled with soft prints and a variety of whitewashed wood on each sheet. The colors include Pale Papaya, Garden Green White & Smoky Slate. The greetings are from the Blessings of Home bundle; which is carrying over into the new Annual Catalog.
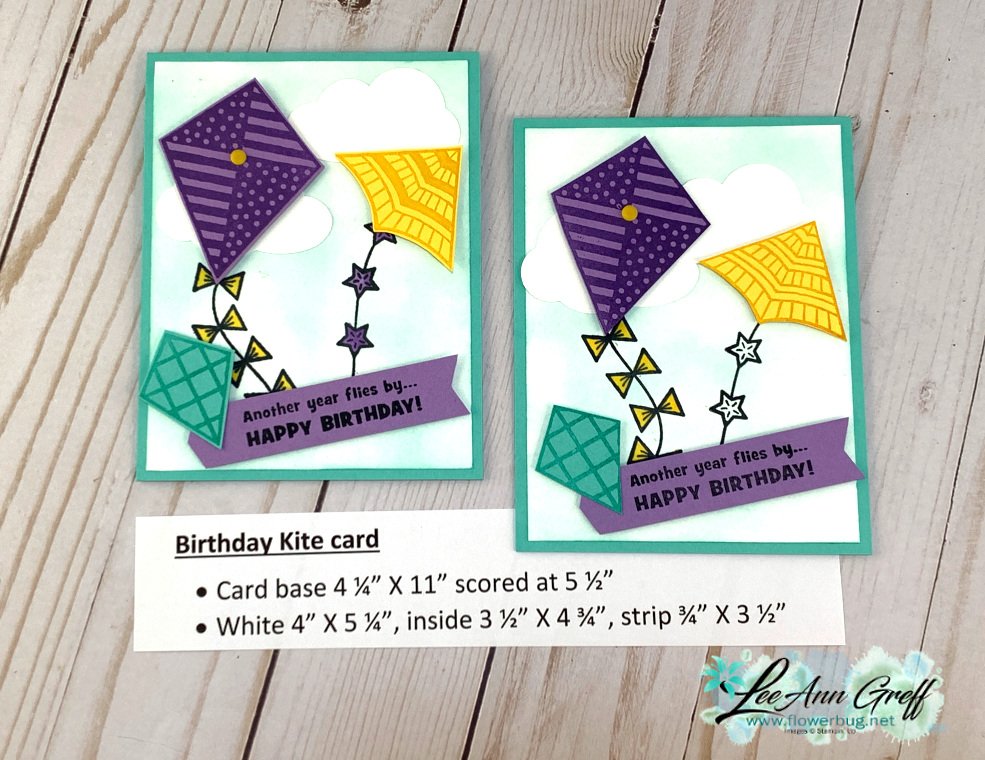
I used a Blending Brush and Coastal Cabana ink to create a soft sky background. Then the kite tails were stamped using Black Memento ink and colored in with Blends markers. Each kit was stamped using the coordinating color of card stock – Highland Heather, Daffodil Delight and Coastal Cabana. They are fussy cut since there is not a set of dies to match. I don't mind this at all since they're easy to cut out.
This stamp set is NOT carrying over into the new catalog and will retire at the end of May. See it here:
Notice: LeeAnn Greff, Independent Stampin’ Up! Demonstrator, Manager. The content of this website is my sole responsibility as an independent Stampin’ Up! demonstrator and the use of, and content of, the classes, services, or products offered on this website is not endorsed by Stampin’ Up! Copyright 2025


Leave a Reply