/


Latest Post

Inked Embossing Folder technique; it’s SO pretty!


I decided to play with an old favorite technique where you add ink directly onto an embossing folder 'before' you run it through the die-cutting machine.  I shared how on the FB Live video here.

This first card features the Polished Pink CS & ink.  

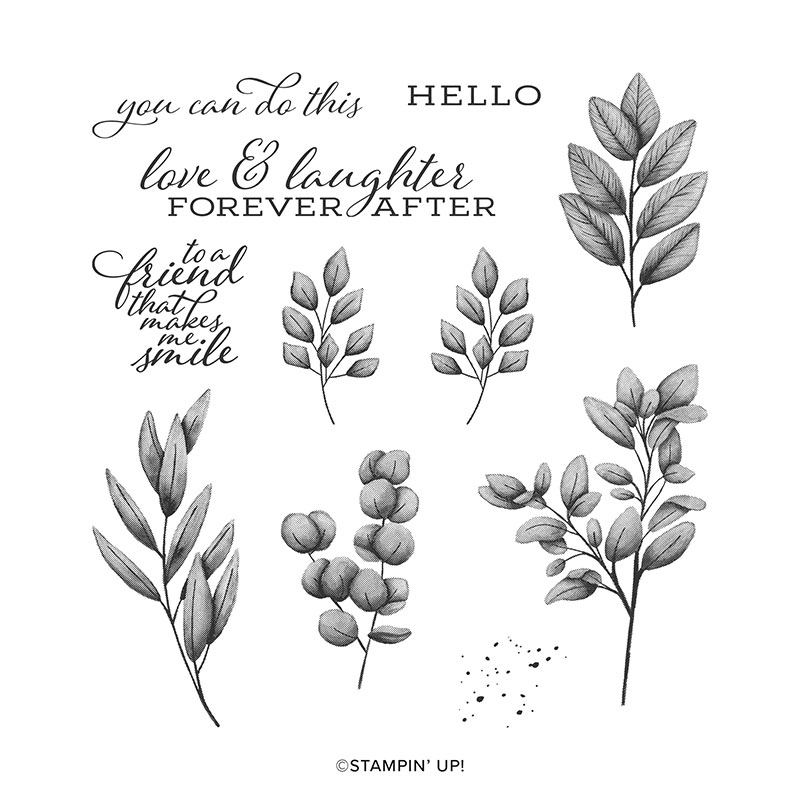
I used two new products in our 2021-22 Annual Catalog; the Pretty Embossing folder and the Create with Friends stamp set seen here.  That pretty die-cut label is from the Potted Succulents dies seen here. 

This Pretty Embossing folder seen here is my free giveaway for online orders over $50 this month (before tax & shipping) using the host code seen below.  

I made one in each of our newest In Colors; Evening Evergreen, Fresh Freesia, Pale Papaya, Soft Succulent and the Polished Pink. 

I shared a video with other techniques using the Pretty Embossing folder my FB Live here.  Or click on the photo/link below.

I cannot stop playing with these fabulous new In Colors.  They are my absolute favorite grouping for many years!  And that ribbon!!! See the entire new 2021-23 In color line here. 

Measurements:

  • White card base 4 1/4" X 11" scored at 5 1/2"
  • Evening Evergreen CS 3 1/2" X 4 3/4"

*Below is the video to see how to do this and get my tips on being successful. 

June Specials:

The last chance list is out!  Check out the retiring and discounted products here. 


Host code: RB3VHBUK  Click here to order

Use this host code if your order is under $150. If it's over you'll still get the embossing folder but you'll also earn host benefits! Better yet, choose the Starter Kit and choose $125 in product and FREE Shipping as well!  Click here!

*All online orders in May receive a free PDF full of project ideas with 2 new catalog suites! 

All Posts

  • Celebrate Sunflowers Triple Panel Card with video!


    I made this card on Facebook Live last night on my weekly Monday night 'Stamp with Me'.  It's such a fun technique!  

    I love blues and browns together and chose to use Just Jade, Early Espresso, Crumb Cake and Pool Party with the Celebrate Sunflowers stamp set (seen here).  What do you think of this color combination? One of my favorite things about creating is coming up with unique color combos.  

    I have some great tips on doing this technique.

    • Start out with three colors of card stock measuring 3 1/2" X 4 1/2". 
    • Cut these into three strips 1 1/2" wide. 
    • Lay them together and adhere a piece of copy paper to the back side to keep them held together while stamping. 
    • Stamp large and small images all over the three colors of card stock with Soft Suede ink. *Always stamp the largest image first! 
    • Or use Designer Series Paper instead of stamps! 
    • Adhere to the Early Espresso layer (4 3/4" X 5").  Then to the full 5 1/2" X 8 1/2" card base. 

    The pool party greeting strips are either 3/4" or 1" wide by about 4" long.  I used the new Pick a Punch (seen here) on the ends and added a thin strip (about 1/4") of Early Espresso card stock under it as an accent.  I finished it with a double bow made with our Linen Thread. 

    You can watch this video here: 

    ~~~

    The new catalog is here!!! 

    Get my Lovely You pdf tutorial free with any online order in June


    It includes directions, photos and measurements for 10 cards!


    June Host code is 7H2FW9FG

    Get a free pkg. of Elegant Faceted Gems from me if your order is over $55. 

    Order online here


    Leave a Reply

    Your email address will not be published. Required fields are marked *

  • Blossoms in Bloom; another pretty cards duo


    Today I have a pair of cards made with the 'Split Technique'. This is where you stamp or die-cut once to get two cards.  

    I used the Blossoms in Bloom bundle seen here, cutting out two sets of floral dies. I'm sharing lots of projects featuring this incredible bundle this week. 

    I sponged the thicker die-cut with Highland Heather, Coastal Cabana and Bermuda Bay.  Then I adhered the thin die-cut over the sponged one using liquid multipurpose adhesive.  Next I cut the full, layered die-cut in half so I could place each half on a card.

    What do you think of this color combination?  I like to find unique combinations when I play with Stampin' Up!'s gorgeous variety of colors.  

    The Many Layered Blossoms dies includes two large dies and several smaller flowers.  The two large dies include both a finely cut and a thicker blossom die for effortless layering.  I cut out once of each; both from Whisper White card stock. 


    The Highland Heather layer is textured with the new Tasteful Textile 3D embossing folder.  It's very subtle and gives a delicate textile pattern. 

    The greeting die-cut banner is from the Tasteful Labels dies; stamped in Bermuda Bay ink. 

    ~~~

    The new catalog is here!!! 

    Get my Lovely You pdf tutorial free with any online order in June


    It includes directions, photos and measurements for 10 cards!


    June Host code is 7H2FW9FG

    Get a free pkg. of Elegant Faceted Gems from me if your order is over $55. 

    Order online here


    Leave a Reply

    Your email address will not be published. Required fields are marked *

  • Forever Fern video; an easy trio of gorgeous cards


    I can't stop playing with the Forever Fern stamp set!  It's so easy to make beautiful cards with and with some of my favorite 'go to' color combos.

    If you like this set of cards check out another stunning set here; it has a kit to go option while supplies last! And a project tutorial available here. 

    I made these cards and recorded it on video so you could see how fast they can be.  There are three different card layouts all using the same three colors.  Granny Apple Green, Gorgeous Grape and Bermuda Bay inks with these same card stock colors plus Coastal Cabana and Whisper White.  

    The White greeting die is from the Tasteful Labels dies.  I hand cut the larger one. 

    Measurements for this card:

    • Granny Apple Green 5 1/2" X 8 1/2" card base
    • Gorgeous  Grape  3 3/4" X 5"
    • Whisper White 3 pieces at 3 1/2" X 1 1/2"

    I used a masking & sponging technique here and added a die-cut from the Flourishing Fern dies too.

    Measurements:

    • Coastal Cabana card base 5 1/2" X 8 1/2"
    • White 3 1/2" X 4 3/4"
    • Gorgeous Grape 3 5/8" X 4 7/8"

    A simple card base of Gorgeous Grape 5 1/2" X 8 1/2" and White at 5 1/4" X 4".  Did you catch that I sponged the corner of the left one?  Which do you prefer? 

    ~~~

    June Specials

    The new catalog is here!!!  


    Get my Lovely You pdf tutorial free with any online order in June

    It includes directions, photos and measurements for 10 cards!


    June Host code is 7H2FW9FG

    Get a free pkg. of Elegant Faceted Gems from me if your order is over $55. 

    Order online here

    Leave a Reply

    Your email address will not be published. Required fields are marked *


Notice: LeeAnn Greff, Independent Stampin’ Up! Demonstrator, Manager. The content of this website is my sole responsibility as an independent Stampin’ Up! demonstrator and the use of, and content of, the classes, services, or products offered on this website is not endorsed by Stampin’ Up! Copyright 2025