/


Latest Post

Inked & Tiled with a gorgeous background with video & blending tips!


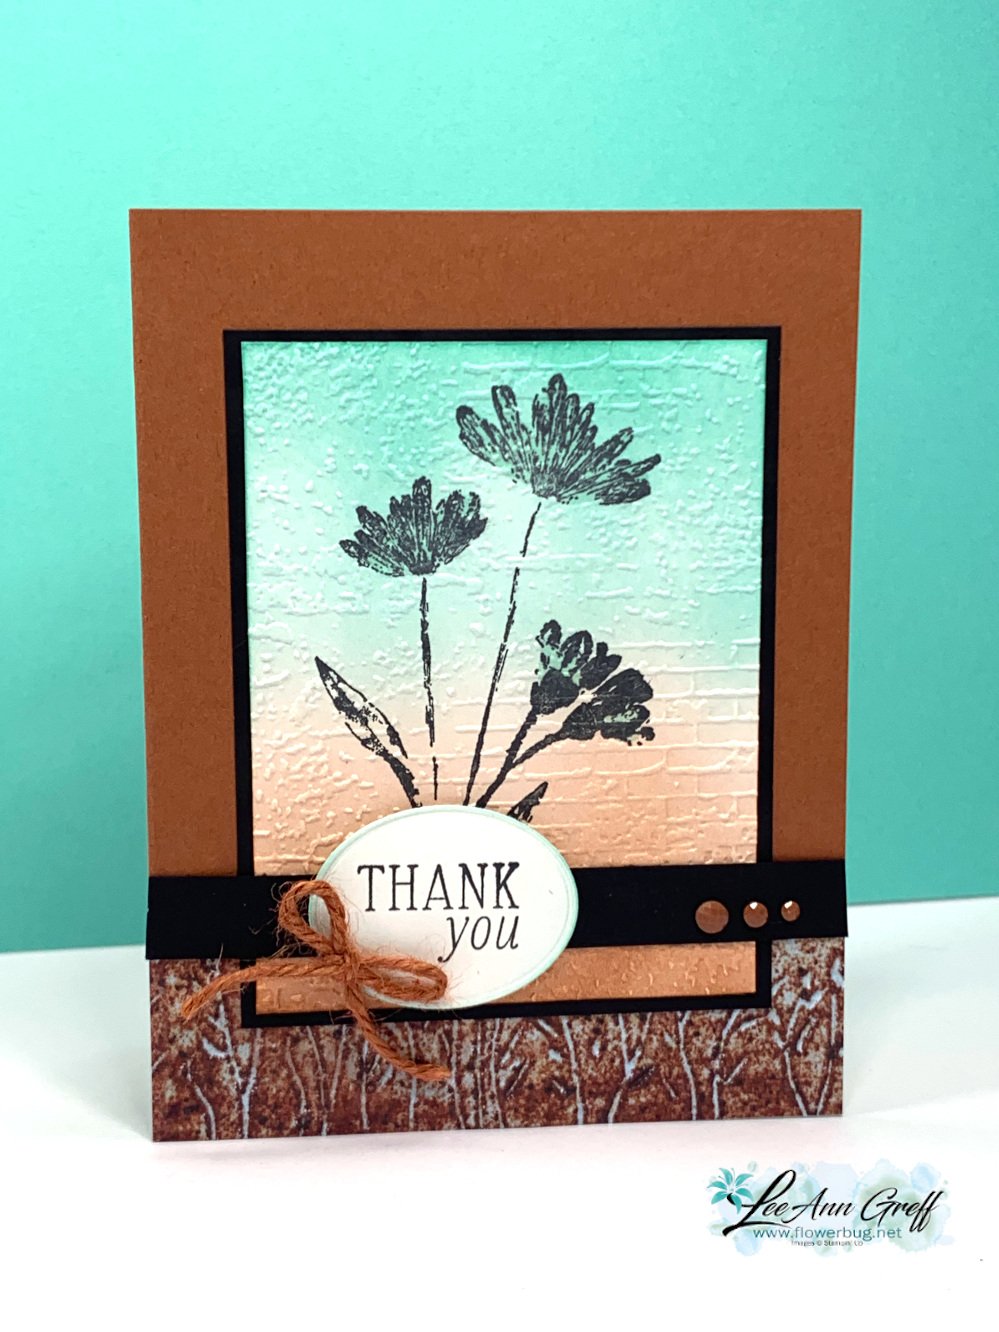
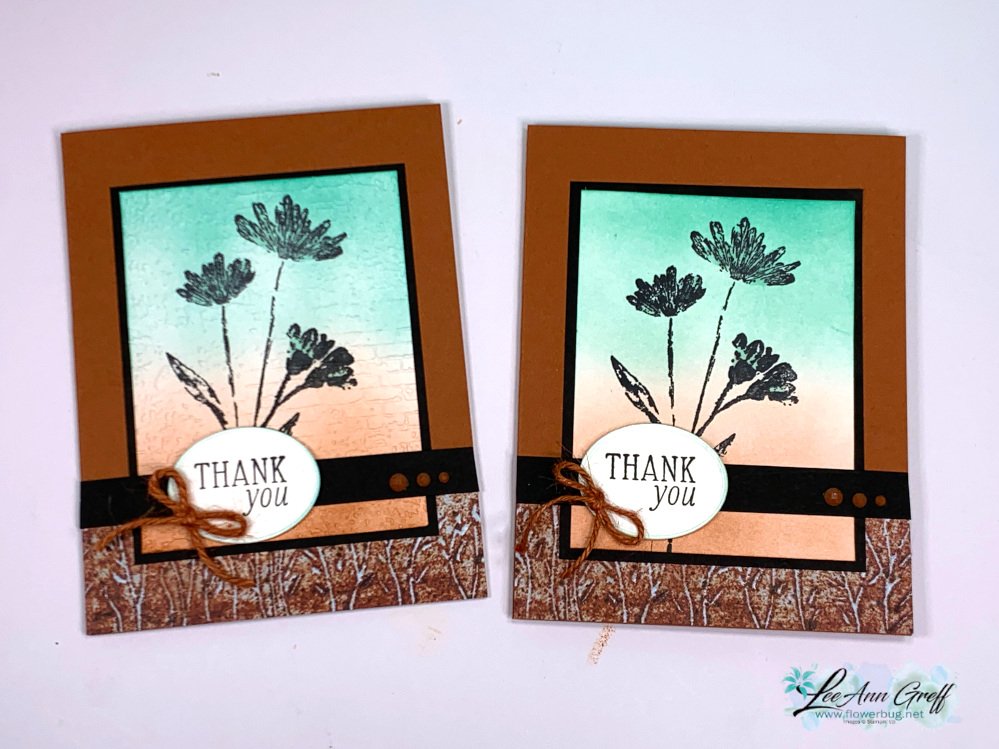
Today I'm sharing one of my favorite cards I've made this month. These colors are so me!  I needed to make 28 of these for the Norway cruise with Stampin' Up! We have to option of joining a card swap and I always try to do something unique for this special swap. 

I chose the new Copper Clay with Black and Coastal Cabana. Aren't they beautiful together? 
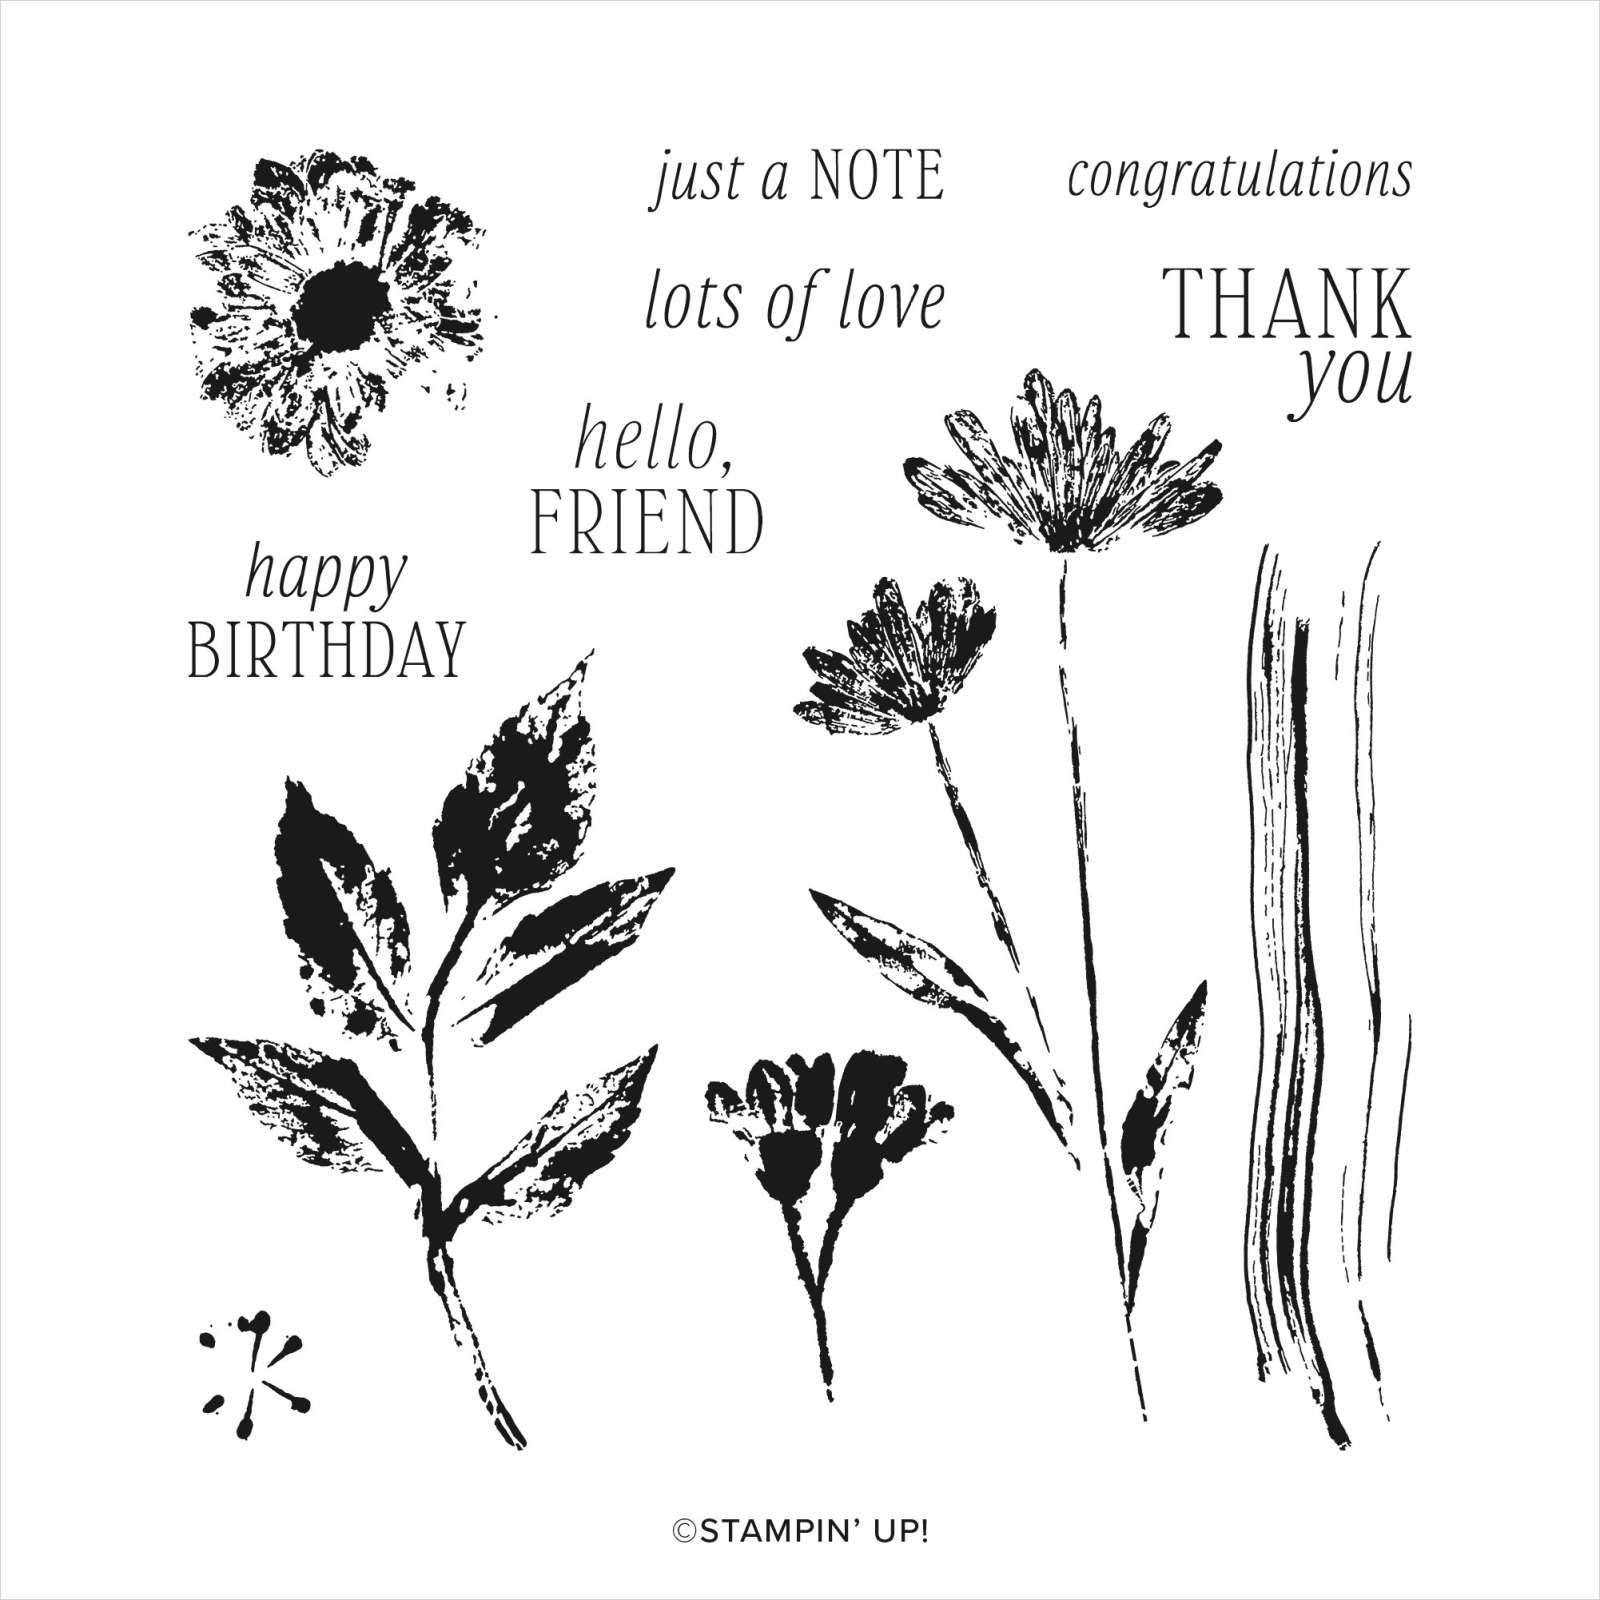
This card features the new Inked & Tiled stamp set seen here. It actually comes in a bundle with two punches. But I didn't use those here.  
After I stamped the flowers in Black ink I used Blending Brushes to add both Coastal Cabana and Copper Clay ink.  We have both regular and small Blending Brushes now.  For a background like this I recommend the larger set of brushes. See them here.

Tip: when wanting a smooth blend, I recommend adding ink to your brush and start off of your paper. Slowly work your way on with a soft, gentle swirling motion. Adding pressure can give you blotches or other marks.  It's also helpful to have a fully inked pad.  *Remember that is helps to add ink a little at a time. It can be a slow process! 


Isn't that texture gorgeous with the blended background?!  

When I was creating this card I made the card on the right first.  If you look closely the stamped panel does not have any texture on it.  Adding the Exposed Brick embossing created the perfect finish!  


In the video I share two other beautiful cards made with the Inked & Tiled stamp set.  
You can watch me make this card on the video here. Or click on the photo below to watch. 

~~~

May Specials:

*current host codes: ZHZ6CPYU or AJVB3B3V 

Get a free updated cardstock color sampler with online orders over $55 using a host code.

Offer good while supplies last:  

I have one spot left in my new catalog designer paper share. 

Get 80 sheets of 6 X 6" DSP – all from the new catalog for just $28.50 plus shipping.  Reserve your spot here. 

Earn free products with my loyalty rewards! 

Click here to download yours and earn a $50 shopping spree!

All Posts

  • WOW Christmas card swaps!


    I've been so proud to share my Flowerbug's Team Christmas card swaps the past few days. Here are more beauties for you!

    Roxann made this gorgeous Poinsettia card using Vanilla, Merry Merlot & Gold foil  Absolutely stunning!  

    Tracey made this adorable fireplace stocking card using the Sweet Little Stockings bundle.  

    She used the In Good Taste DSP for the mantle & hearth, white felt & Pattern Party DSP for the stockings. 

    Annette made this pretty card using the Peaceful Place DSP and the Delightful Tag Topper punch to connect the two halves. A beautiful monochrome card in grays & silver. 

    Tammi brought this neat fun fold card.  It was her first swap and she did an amazing job!

    She used the Whimsical Trees stamp set & Whimsy & Wonder DSP in Mint Macaron, Polished Pink & White with the pretty Iridescent snowflakes too.  

    Look how it opens!  The designer paper measures 4" X 10" and is scored at 2", 6" & 8" 

    ~~~

    October Specials

    Host code: EXBDBRGY

    *click here to order

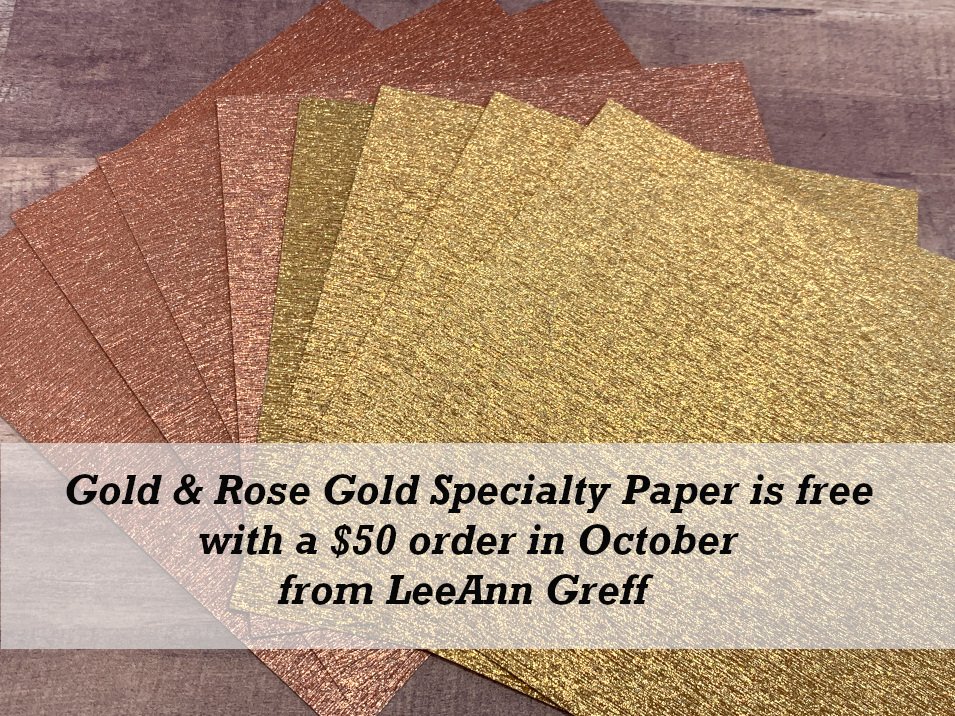
    Get a free package of Gold & Rose Gold Metallic specialty paper from me with a $50 online order in October! 

    All online orders will receive my October Gingerbread & Peppermint PDF tutorial free! 


    Leave a Reply

    Your email address will not be published. Required fields are marked *

  • More fabulous Flowerbug’s Christmas cards


    I shared some of my Team Christmas card swaps yesterday here.  And today there's more beauties; all made with stamps from the 2021 Holiday Stampin' Up! catalog.

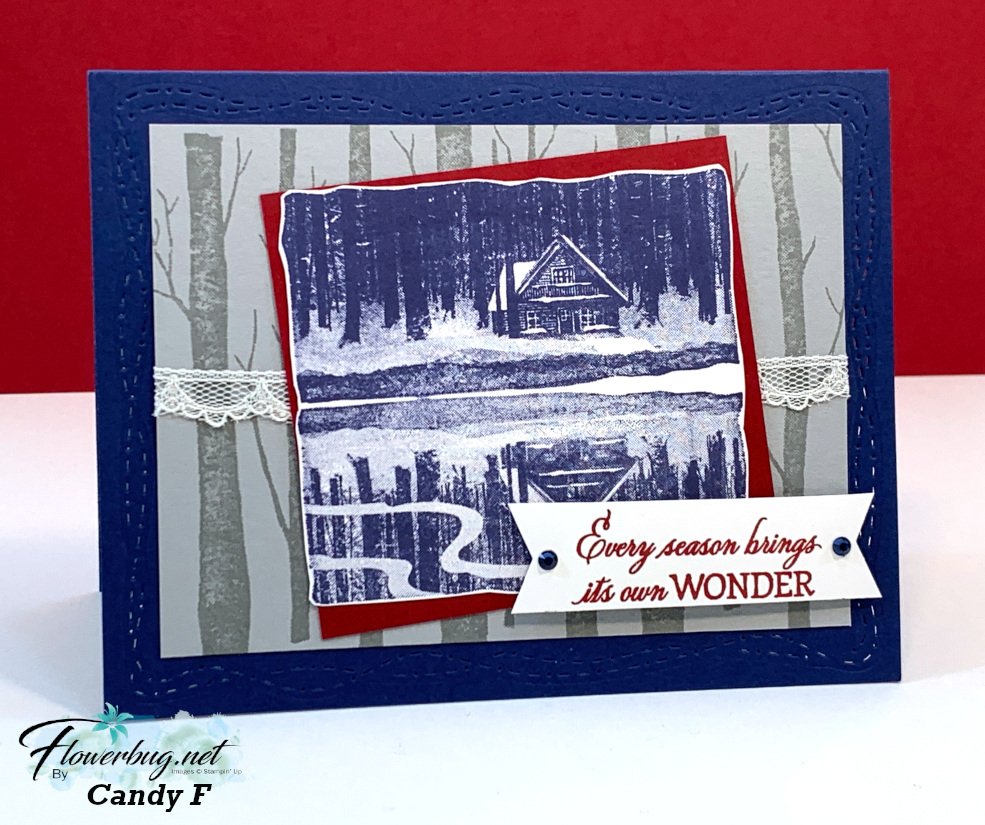
    this first card was made by Candy using the Reflected in Nature stamp set & Welcoming Woods.  I LOVE her colors of Navy, Cherry Cobbler, White & Smoky Slate.  A gorgeous card!

    Next is a super neat fun-fold window card made by Candace.  She used the Penguin Place bundle in Navy, Coastal Cabana, White & Black. The penguins are extra special punched from Black glimmer paper. 

    At first glance it looks like a regular card front.  But wait…. look!

    She cut a window on the front using our Stitched Rectangle dies revealing the cute penguin layer inside.  They're actually attached to a second card base inside that flips down. 

    She used the Whimsy dies to add a stitched border to each inside layer. Love this detail. 

    Isn't it cool?!  

    Measurements:

    • Navy card base 4 1/4" X 11" scored at 5 1/2"
    • Coastal Cabana inside card base 5 1/4" X 8" scored at 4"
    • White pieces 4 3/8" X 2 7/8", Navy layer is also 4 3/8" X 2 7/8" inside

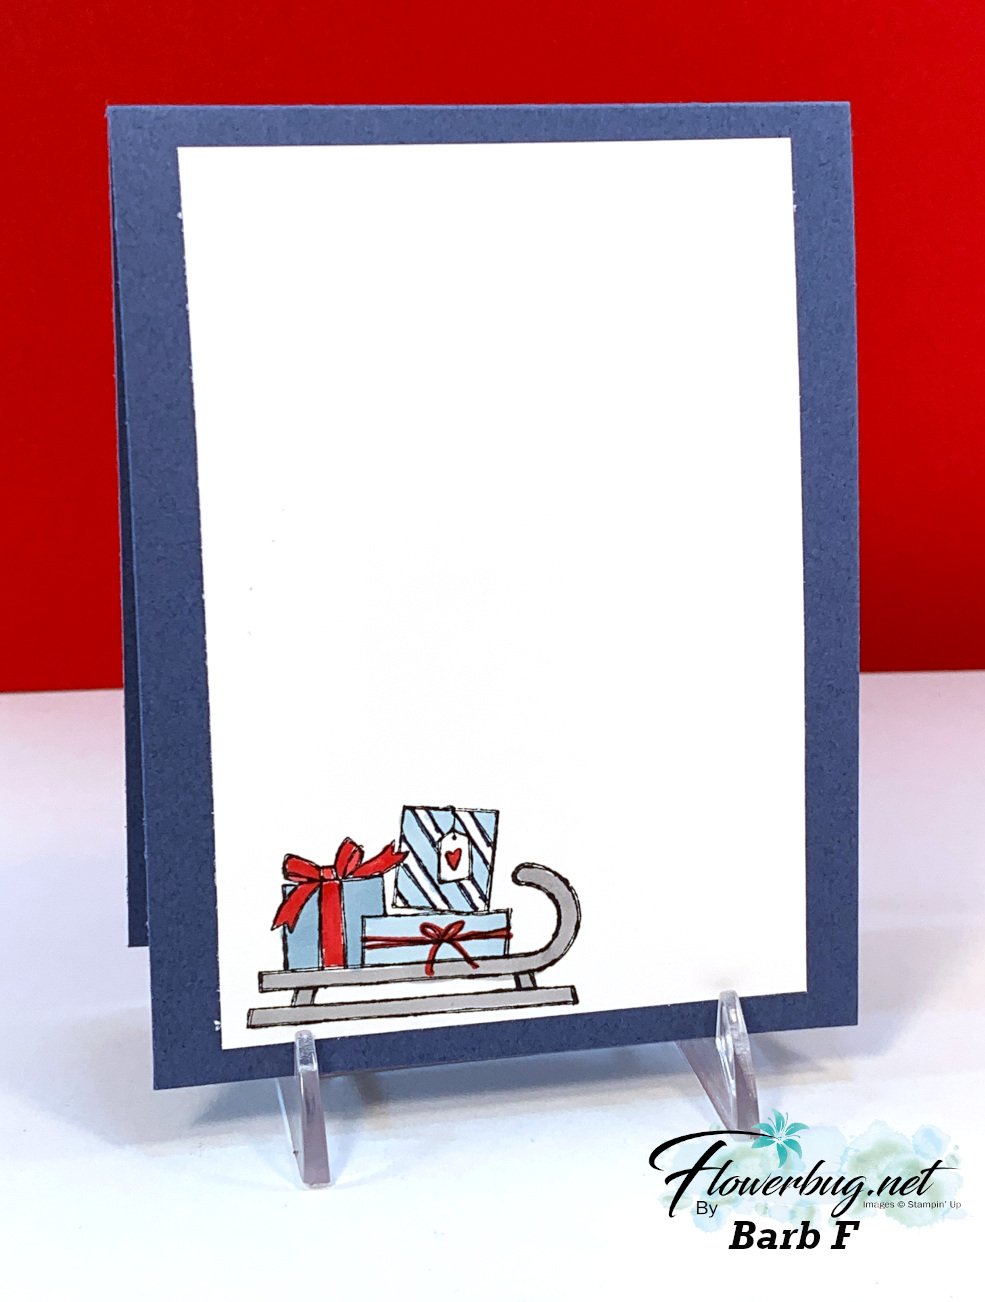
    Barb made this unique card using the Be Jolly stamp set.  Her colors are Misty Moonlight, Red & White.  

    She heat embossed the stars on the front layer with White embossing powder. She also sponged the edge.  She used our Layering Circle dies for her Santa.  But look how it flips open to reveal a greeting!

    Such a fun surprise and it's just a 1/2" flap hidden under the front layers.  So smart! 

    Here's the inside view: 

    I love sharing what my Flowerbug's Team make; they're fabulous stampers! 

    ~~~

    October Specials

    Host code: EXBDBRGY

    *click here to order

    Get a free package of Gold & Rose Gold Metallic specialty paper from me with a $50 online order in October! 

    All online orders will receive my October Gingerbread & Peppermint PDF tutorial free! 


    Leave a Reply

    Your email address will not be published. Required fields are marked *

  • Christmas card swaps!


    I love sharing the cards my Flowerbug's make for our Team swaps.  We had a great turnout for the October meeting and swap. 

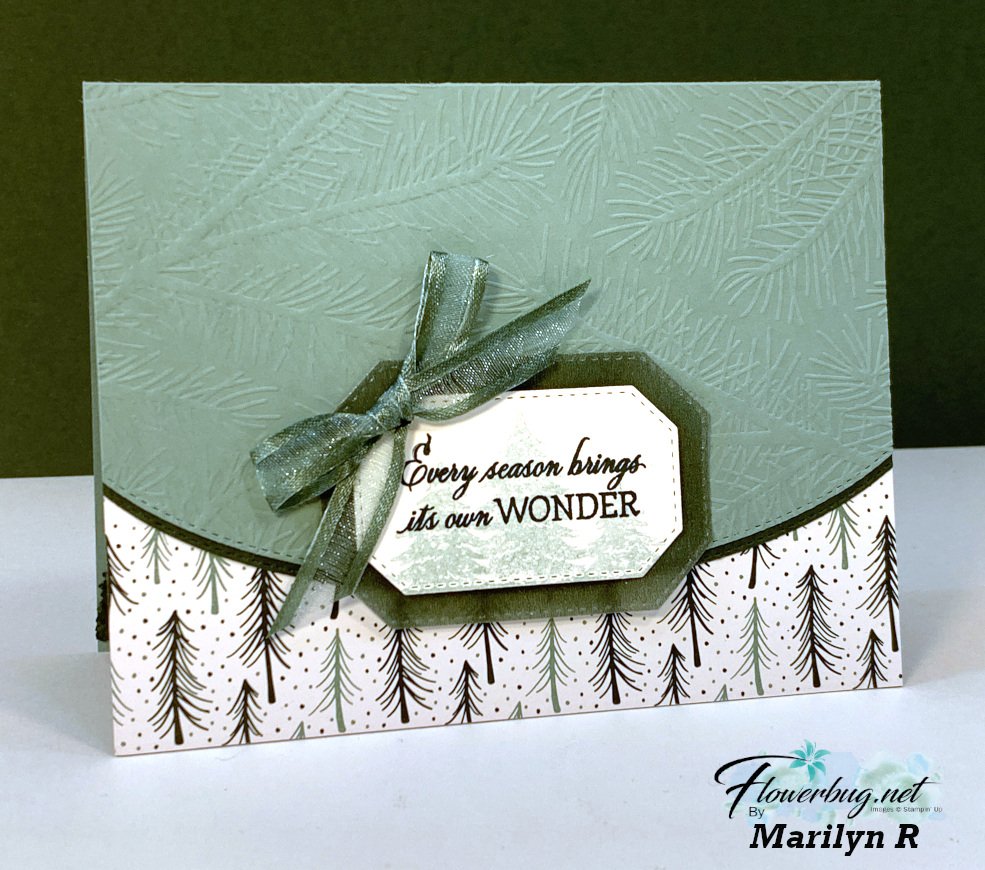
    Marilyn made this first card using the Welcoming Woods stamp set.  Her colors are Soft Succulent, White & Evening Evergreen.

    Products used are all from the 2021-22 Annual Stampin' Up! catalog:

    • Wintry 3D embossing pair seen here
    • Hippo & Basic Border dies
    • Tidings of Christmas 6 X 6" DSP 
    • 2021-23 In Color Shimmer Vellum
    • Soft Succulent ribbon

    And here's the inside. She punched a strip of Evening Evergreen CS with the Evergreen Border punch and then textured it with the Evergreen Forest 3D embossing folder! 

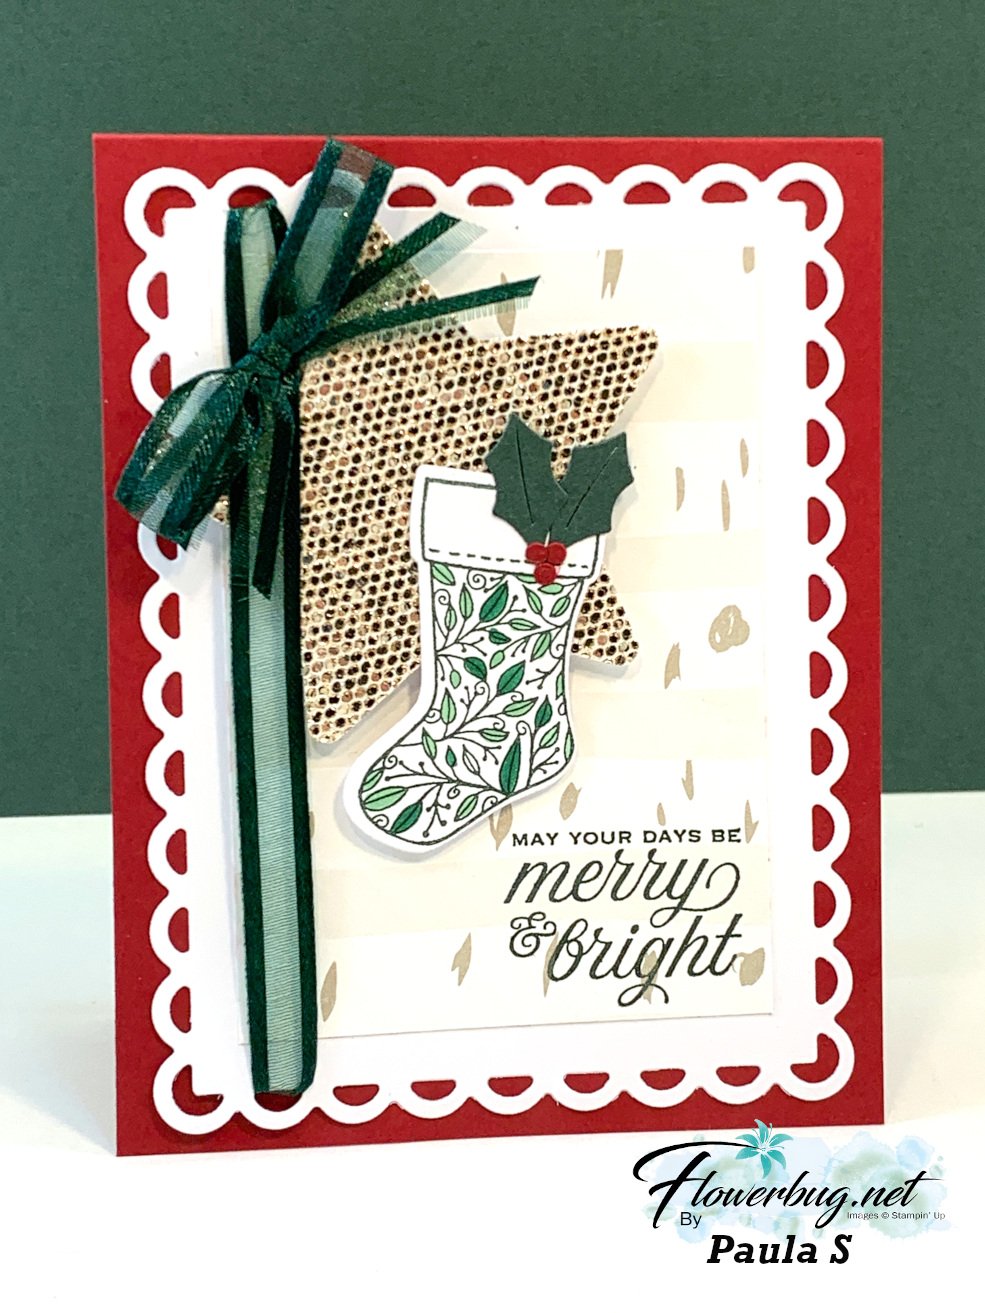
    Next is a card made by Paula featuring the Tidings & Trimmings bundle in the Annual catalog.  

    Her colors include Real Red, Evening Evergreen & White. The star is cut from the Be Dazzling specialty paper in the previous Sale-a-Bration catalog. 

    I love how she wove the ribbon through the scalloped openings in the die-cut.  This die is from the Scalloped Contour dies seen here. 

    ~~~

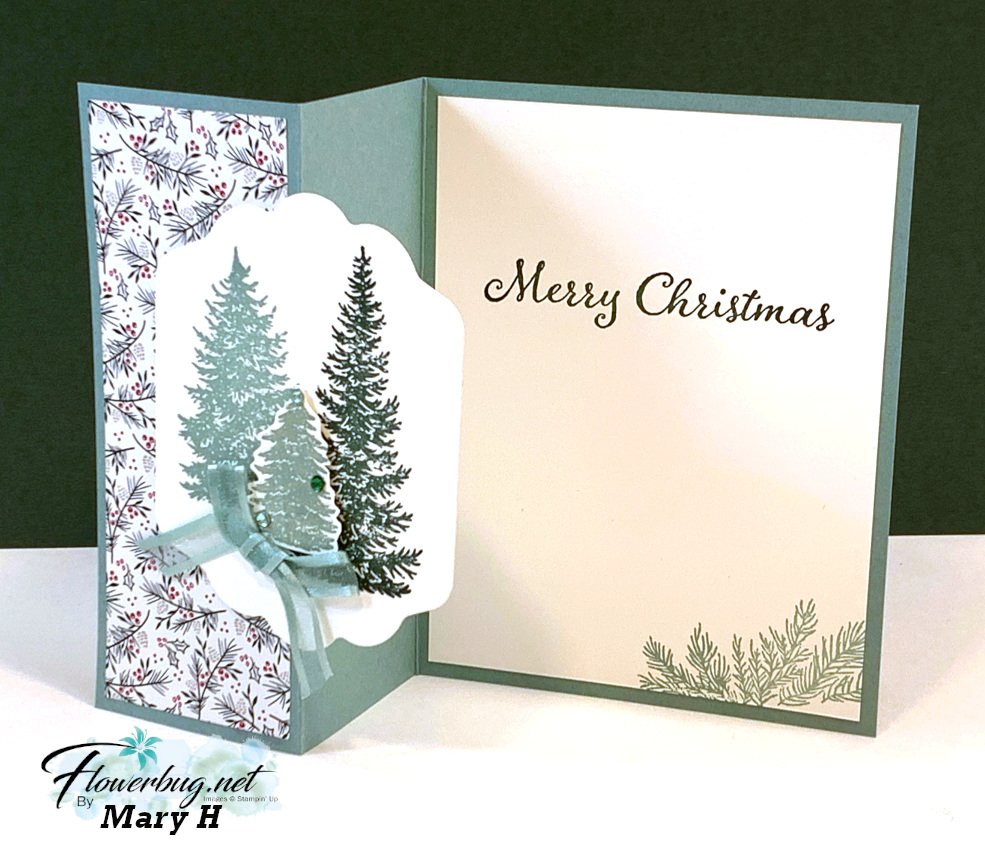
    Next is a pretty card made by Mary featuring the Evergreen Elegance stamp set; also in the Annual Catalog.  

    It's a fun fold card where you fold back the front flap of the card.  

    The designer paper is also the Tidings of Christmas and that nice large White die-cut is from the Seasonal Labels dies seen here.  They coordinate with the wonderful Christmas Season stamp set. 

    ~~~

    October Specials

    Host code: EXBDBRGY

    *click here to order

    Get a free package of Gold & Rose Gold Metallic specialty paper from me with a $50 online order in October! 

    All online orders will receive my October Gingerbread & Peppermint PDF tutorial free! 


    Leave a Reply

    Your email address will not be published. Required fields are marked *


Notice: LeeAnn Greff, Independent Stampin’ Up! Demonstrator, Manager. The content of this website is my sole responsibility as an independent Stampin’ Up! demonstrator and the use of, and content of, the classes, services, or products offered on this website is not endorsed by Stampin’ Up! Copyright 2025