/


Latest Post

Inked & Tiled with a gorgeous background with video & blending tips!


Today I'm sharing one of my favorite cards I've made this month. These colors are so me!  I needed to make 28 of these for the Norway cruise with Stampin' Up! We have to option of joining a card swap and I always try to do something unique for this special swap. 

I chose the new Copper Clay with Black and Coastal Cabana. Aren't they beautiful together? 
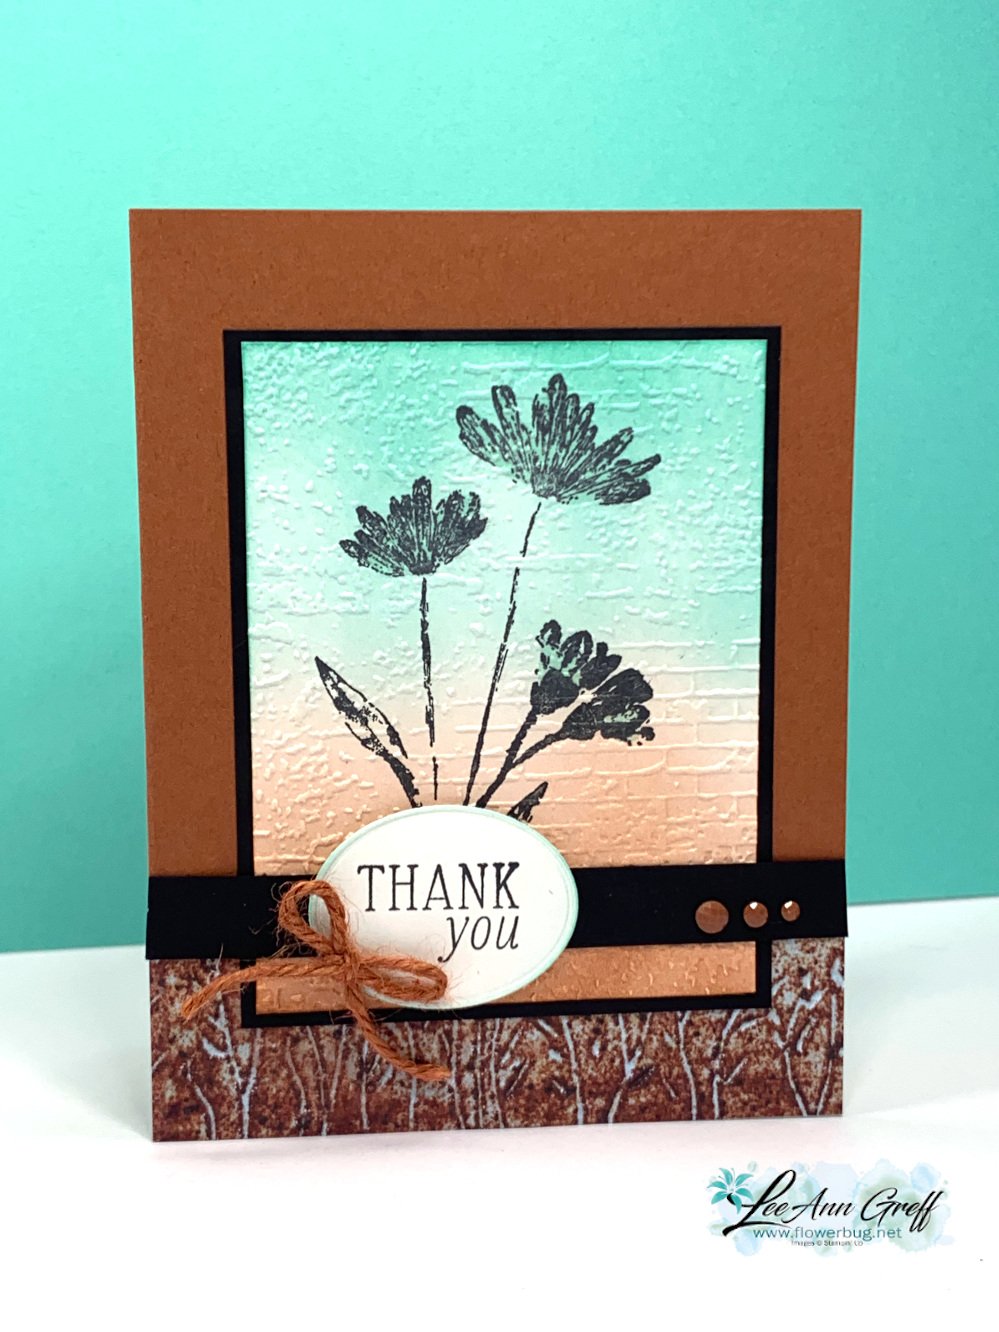
This card features the new Inked & Tiled stamp set seen here. It actually comes in a bundle with two punches. But I didn't use those here.  
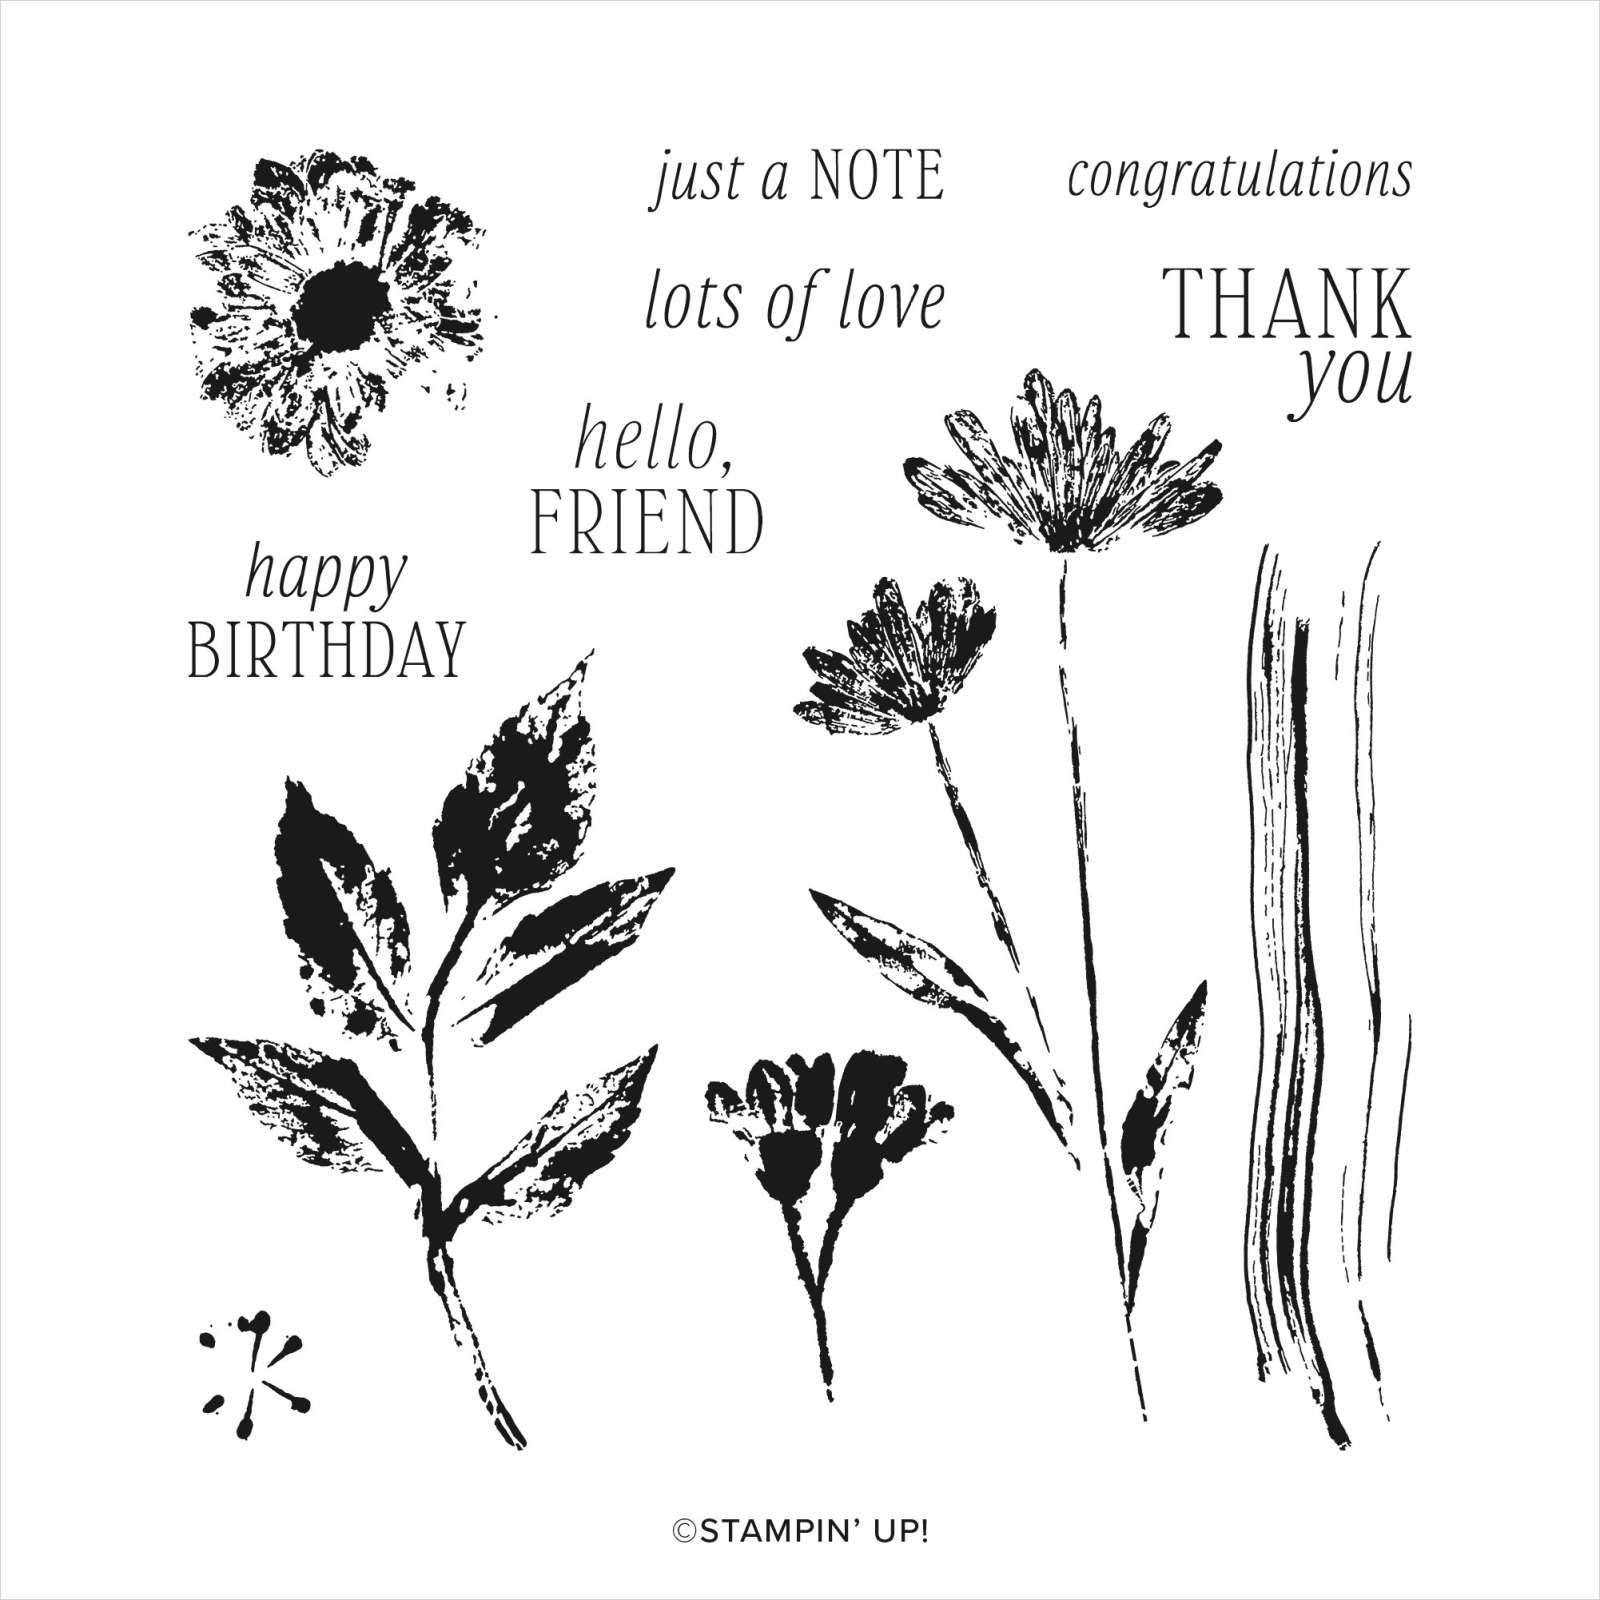
After I stamped the flowers in Black ink I used Blending Brushes to add both Coastal Cabana and Copper Clay ink.  We have both regular and small Blending Brushes now.  For a background like this I recommend the larger set of brushes. See them here.

Tip: when wanting a smooth blend, I recommend adding ink to your brush and start off of your paper. Slowly work your way on with a soft, gentle swirling motion. Adding pressure can give you blotches or other marks.  It's also helpful to have a fully inked pad.  *Remember that is helps to add ink a little at a time. It can be a slow process! 


Isn't that texture gorgeous with the blended background?!  

When I was creating this card I made the card on the right first.  If you look closely the stamped panel does not have any texture on it.  Adding the Exposed Brick embossing created the perfect finish!  


In the video I share two other beautiful cards made with the Inked & Tiled stamp set.  
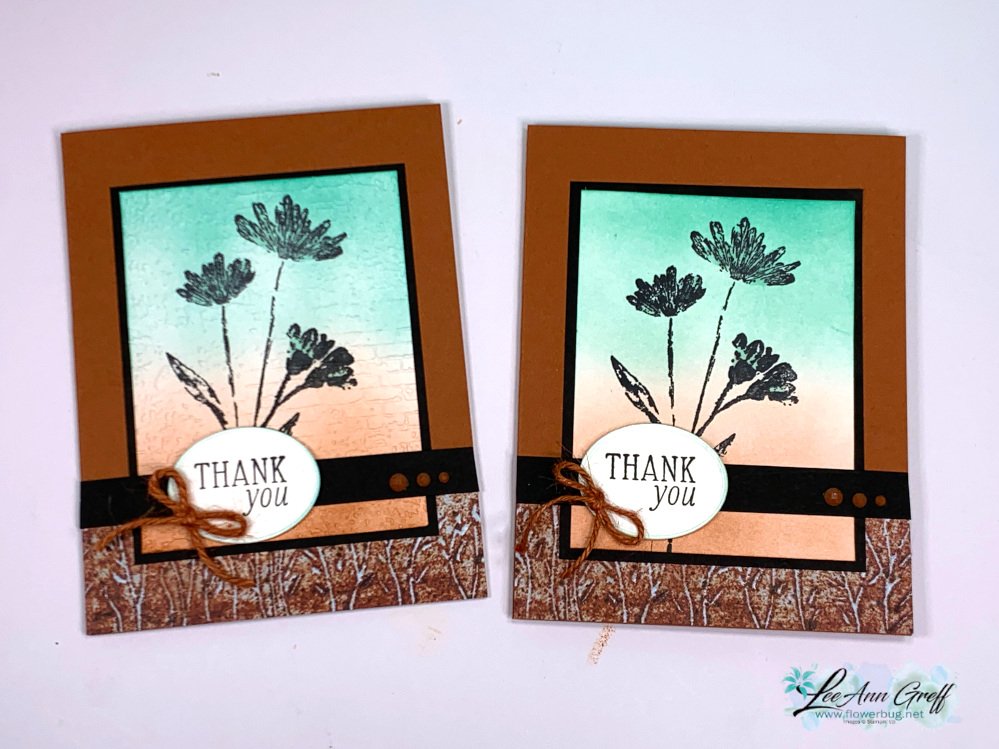
You can watch me make this card on the video here. Or click on the photo below to watch. 

~~~

May Specials:

*current host codes: ZHZ6CPYU or AJVB3B3V 

Get a free updated cardstock color sampler with online orders over $55 using a host code.

Offer good while supplies last:  

I have one spot left in my new catalog designer paper share. 

Get 80 sheets of 6 X 6" DSP – all from the new catalog for just $28.50 plus shipping.  Reserve your spot here. 

Earn free products with my loyalty rewards! 

Click here to download yours and earn a $50 shopping spree!
All Posts

  • More Earthen Textures card ideas


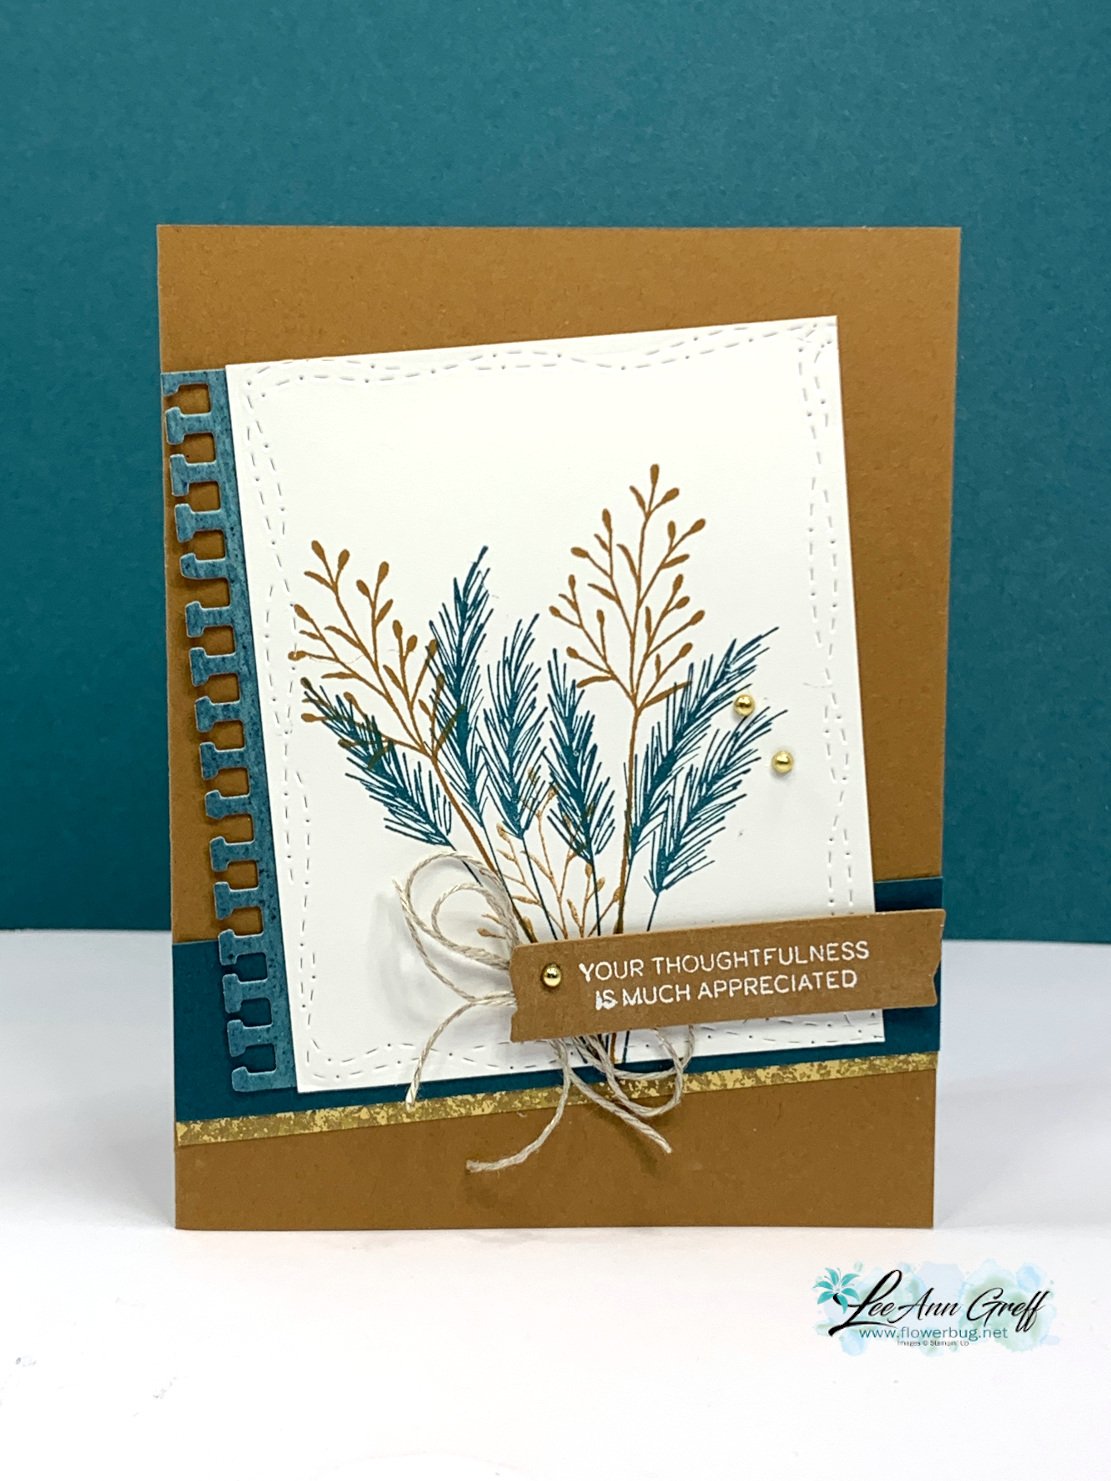
    Here is another simple but pretty card I made on last week's Live video. 

    It features the Earthen Textures stamp set & dies bundle.  Unfortunately the dies are in low inventory so they may be unavailable soon.   But they'll be back I'm sure.  You can see them here.  

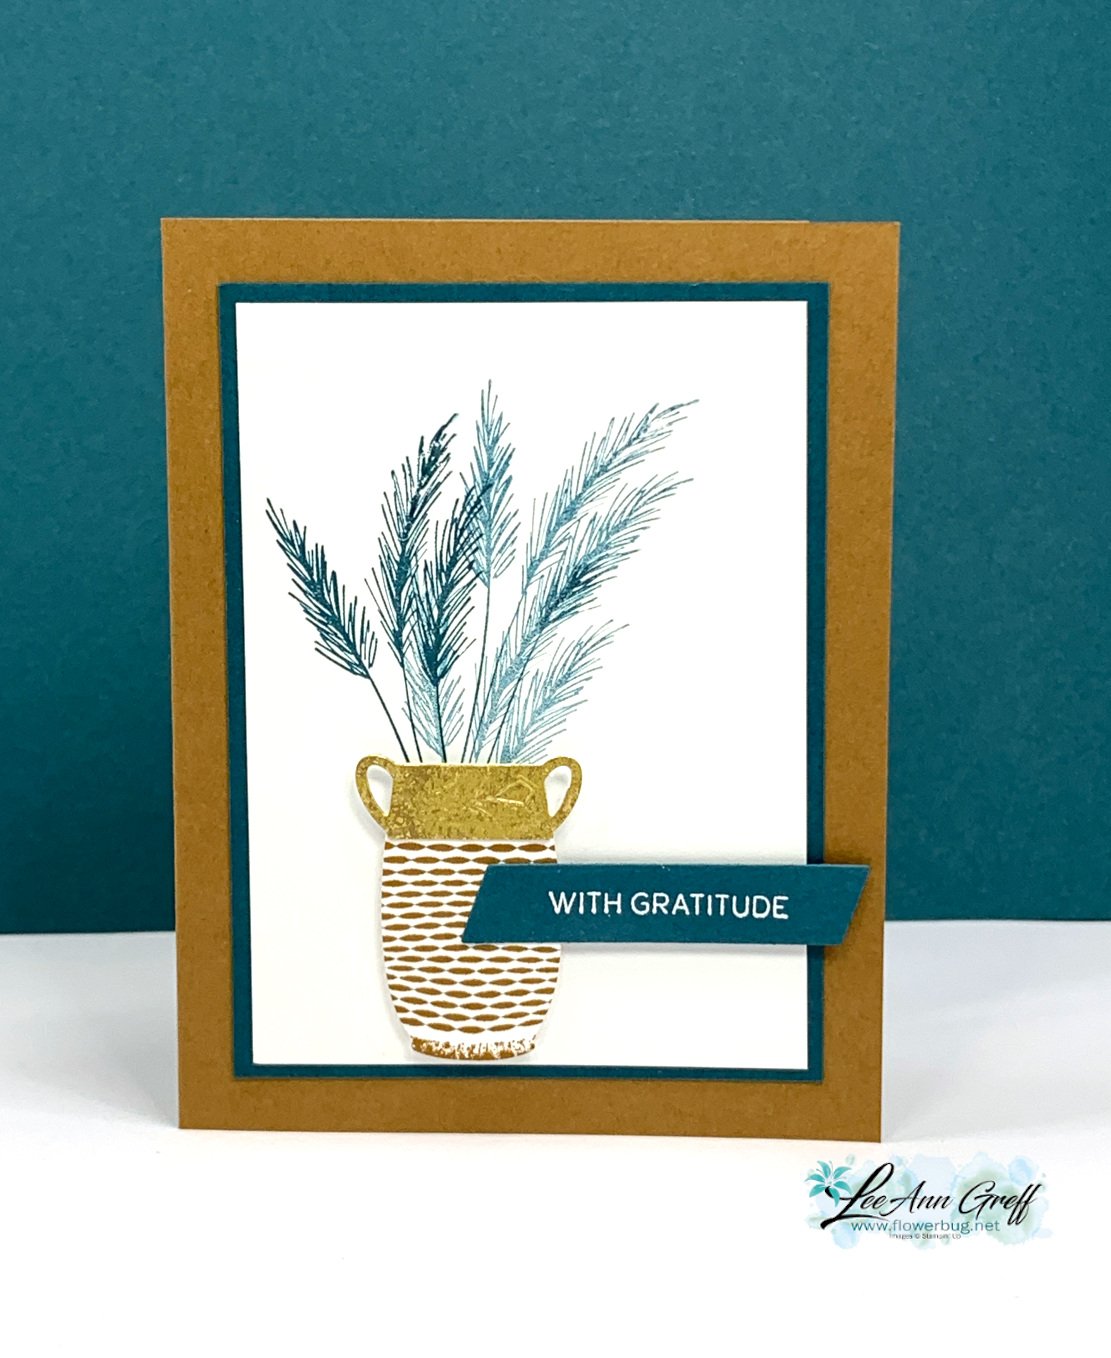
    I'm not quite ready for fall yet but I do love this color combination of Pecan Pie & Pretty Peacock.  A little touch of gold adds some elegance with the Gold Distressed paper and Festive Pearls.  I added more detail with a stitched edge with the Stitched with Whimsy dies. That notebook die-cut edge is from the Gorgeously Made dies seen here.  

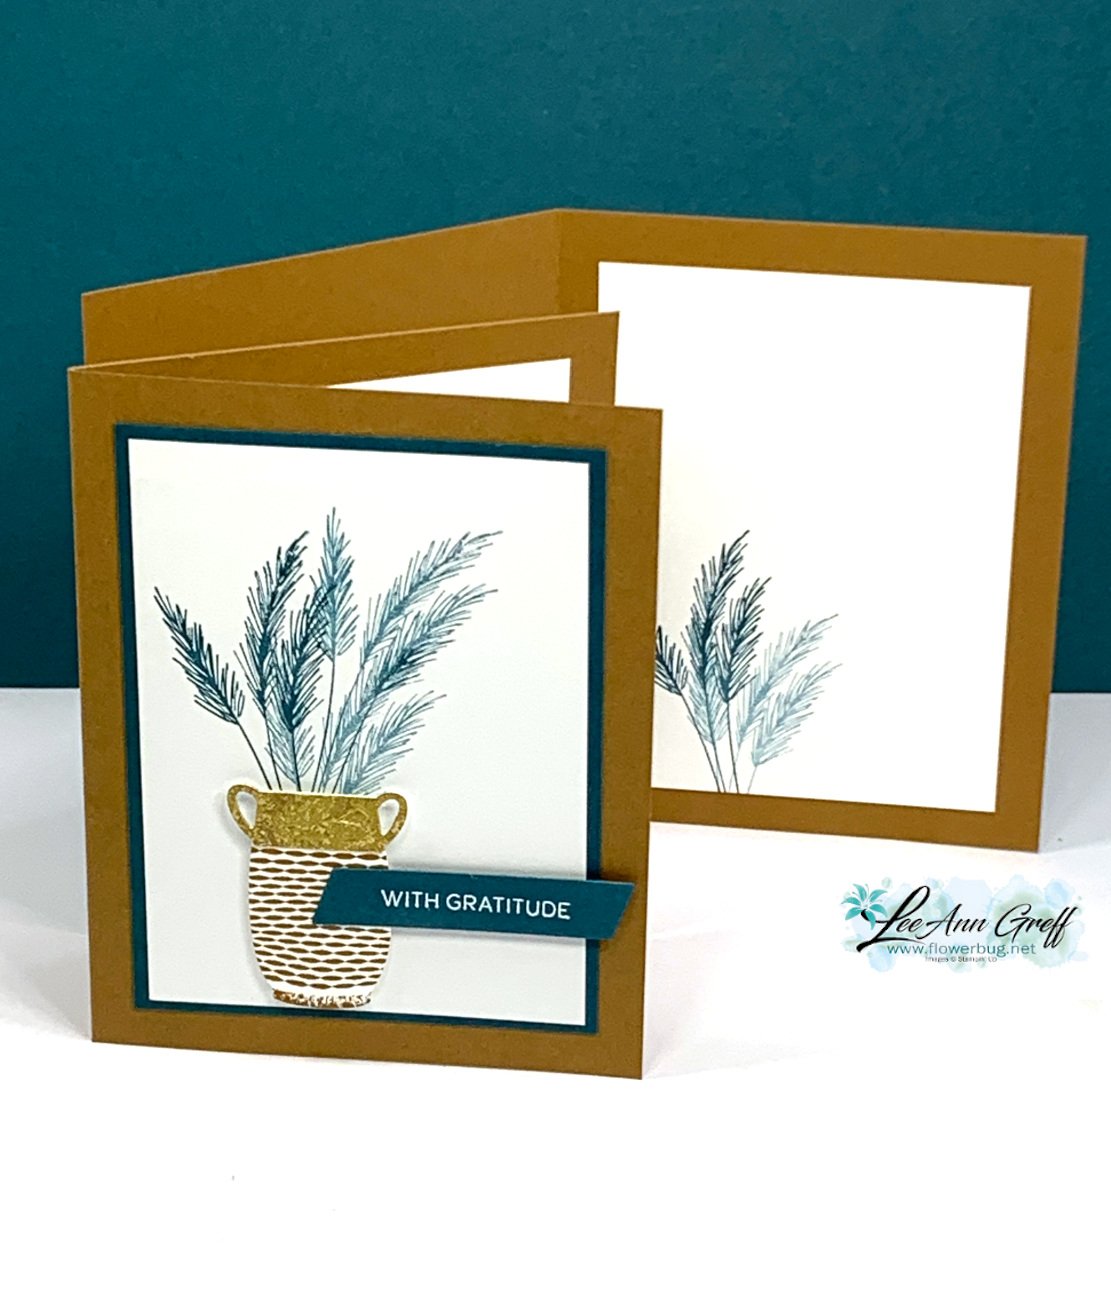
    And here's a very simple version with a similar layout: 

    I didn't even add any bling or embellishments to this one.  I think it needs something… maybe gold pearls? 

    I stamped the vase in Pecan Pie on Basic White and die-cut it out.  Then added another die-cut of the handles from our Gold Distressed paper. The greeting is heat embossed with White embossing powder on Pretty Peacock card stock. 

    The nice thing about this layout is you can get 5 card fronts from one 8 1/2" X 11" paper when using my 5 at a time layouts.  See them here on this post. 

    You can see more Earthen Textures cards on the video here.  Don't forget to subscribe to either my FB page here to join in the Live's each Tuesday morning.  Or follow me on YouTube here.  

    ~~~

    August Specials: 

     *current host codes: KY99RPXP 

    ShopwithLeeAnn.com

    Redeem your Bonus Days coupons in August!  

    Free Gift with orders in August: 

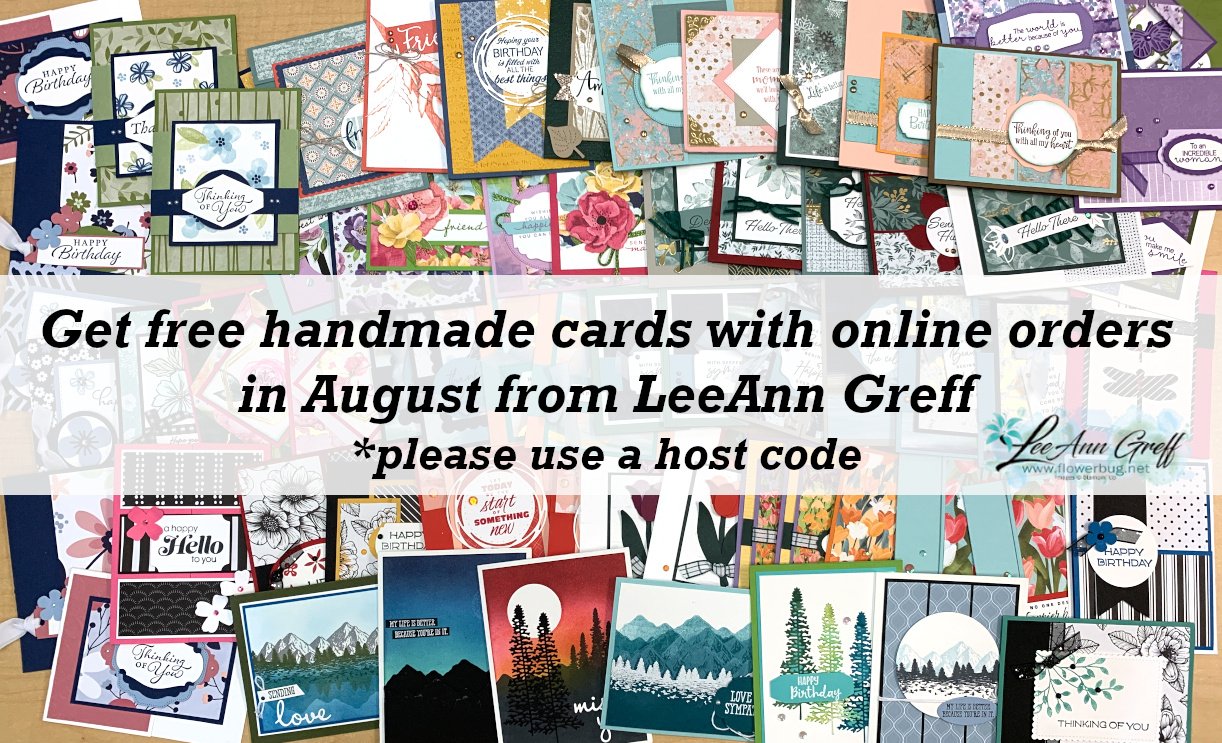
    Get a pack of at least 5 beautiful cards with orders over $50 this month. 

    The more you order the more cards you get!

    *cards are previous card kits to go; over the top and many fun folds.  

    Leave a Reply

    Your email address will not be published. Required fields are marked *

  • Alcohol blends technique with video tutorial


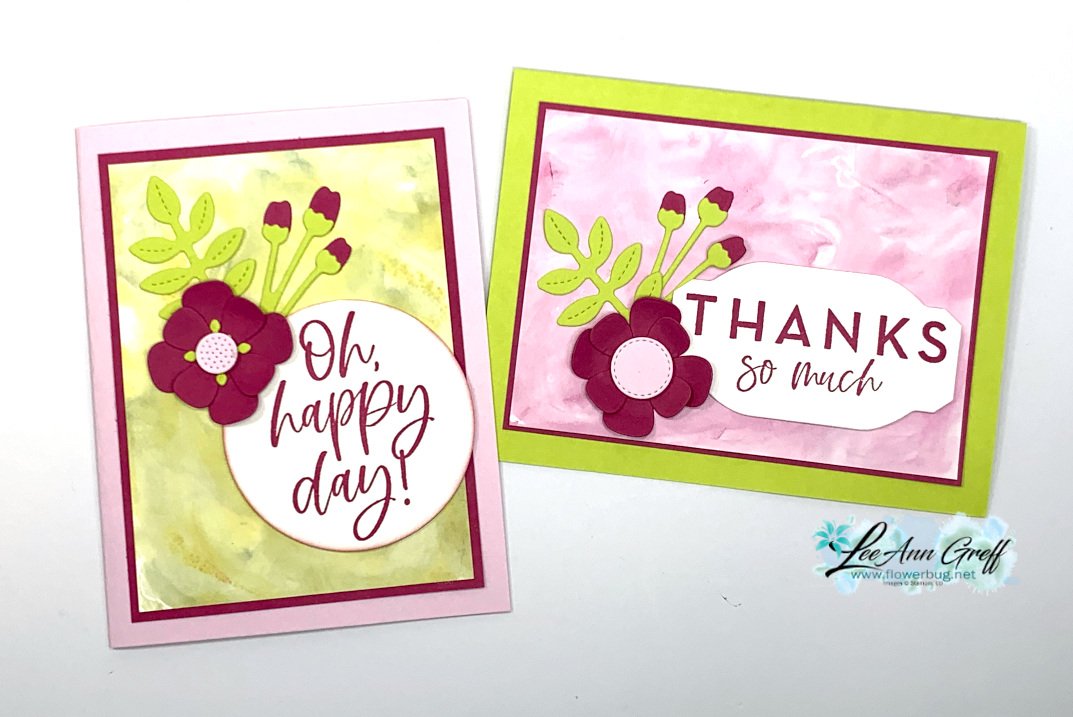
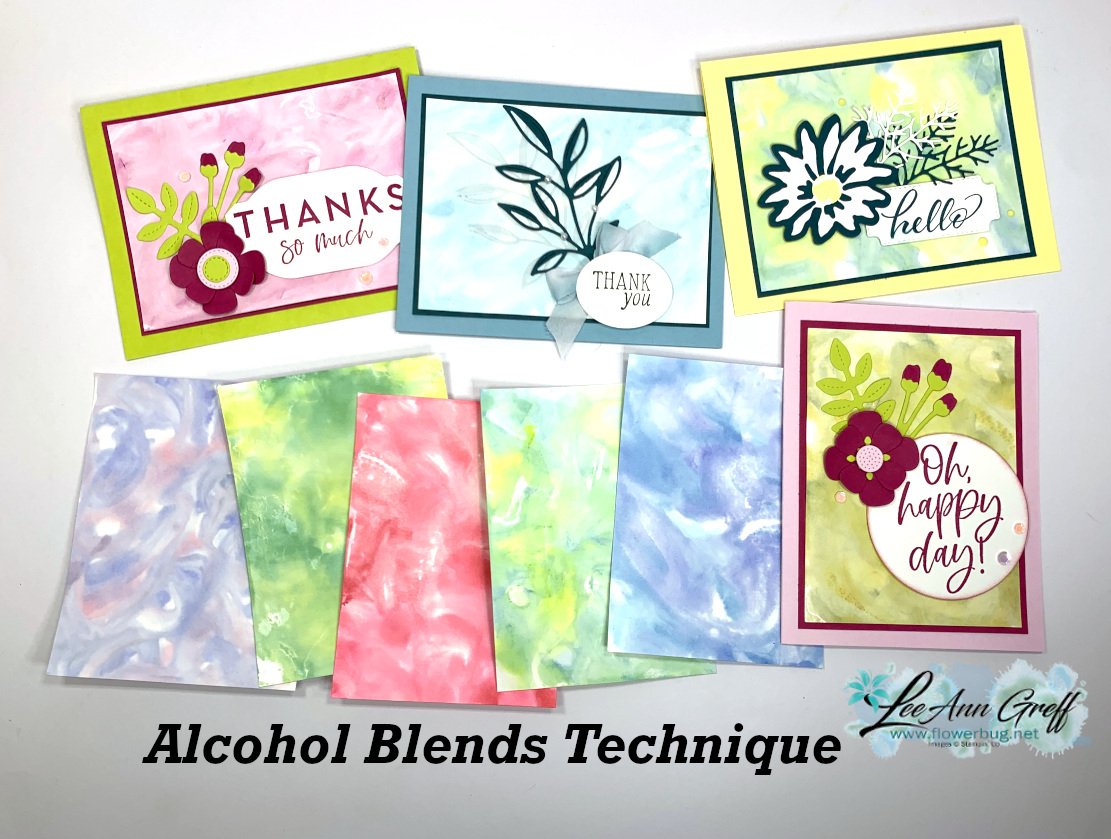
    I shared this fun technique on a recent video; I call it the Alcohol Blends Background.  

    For the cards above I added pretty floral die-cuts from the Paper Florist dies.  The greetings are from the Kindest Expressions stamp set.  The background colors were made with the following Blends: Left card Mossy Meadow & Lemon Lime Twist. Right card was Berry Burst & Blackberry Bliss.  

    To achieve this cool background you need Blends or alcohol markers and rubbing alcohol in a spritzer bottle. I used regular Basic White card stock and a clear plastic folder to work on. You can watch the video here.  

    I tried many color combinations; you can see some of the finished cards below plus the backgrounds too. 

    I shared this technique on Monday night's Live and challenge my followers to share a card featuring this technique on my Stamp & Share Facebook group.  Share yours here by August 27th to get in on the door prize drawing. 

    *Follow me on Facebook here or on YouTube here.  

    ~~~

    August Specials: 

     *current host codes: KY99RPXP 

    Free Gift with orders in August: 

    Get a pack of at least 5 beautiful cards with orders over $50 this month. 

    The more you order the more cards you get!

    *cards are previous card kits to go; over the top and many fun folds.  

    Leave a Reply

    Your email address will not be published. Required fields are marked *

  • Bright & Beautiful Memories & More cards; choose the kit to go or the PDF tutorial


    I LOVE creating with our Memories & More cards and envelopes.

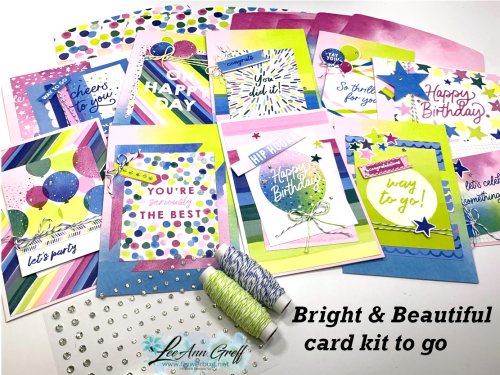
    I knew the Bright & Beautiful cards with the matching cards & envelopes would make great & colorful cards but I am amazed at how fabulous they turned out.  And how quick and fun it was to make them. 

    Aren't they gorgeous? So bright and colorful. 

    The tutorial includes photos of each card and the cards needed.  This kit is perfect for quick birthday or other celebrations you may need.  There is no stamping needed; the cards or pre-cut adhesive stickers say it all.  

    *All you need to finish these cards is adhesive, scissors and a paper trimmer. (some easy cuts are included in the PDF tutorial)

    When I create my kits, I include extra products valued around $20 and feature them all in my projects. The cost for it all is just $28 plus shipping. The tutorial only is $15. 

    Here's what's included in this kit:

    • 10 Bright & Beautiful cards and envelopes
    • 1/2 package of the Bright & Beautiful Memories & More cards & adhesive die-cuts
    • 1/2 pkg of basic clear rhinestones
    • 2 spools of Baker's twine
    • 1 sheet of mini Stampin' Dimensionals 
    • the free PDF tutorial – sent via email 

    Get the product based kit to go here.  Choose the PDF tutorial here. 

    Order this kit by August 20th.  It is mailed out at the end of the month.  But the PDF tutorial is sent to you immediately after purchase.  

    I get a ton of positive feedback on my pre-cut kits & tutorials; try one!  *See them all here.

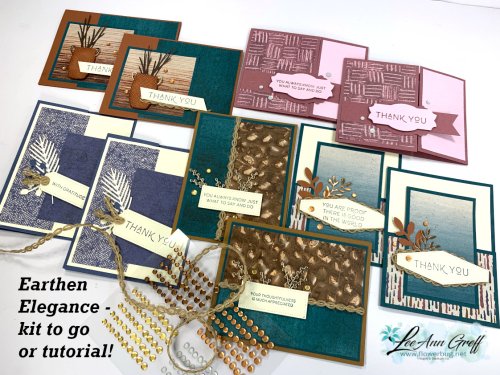
    You can choose one or more kits and save on shipping!  Below is the other kit I'm offering this month; it features the pretty Earthen Elegance designer paper. See it here.


     ~~~

    August Specials: 

     *current host codes: KY99RPXP 

    ShopwithLeeAnn.com

    Redeem your Bonus Days coupons in August!  

    Free Gift with orders in August: 

    Get a pack of at least 5 beautiful cards with orders over $50 this month. 

    The more you order the more cards you get!

    *cards are previous card kits to go; over the top and many fun folds.  

    Leave a Reply

    Your email address will not be published. Required fields are marked *


Notice: LeeAnn Greff, Independent Stampin’ Up! Demonstrator, Manager. The content of this website is my sole responsibility as an independent Stampin’ Up! demonstrator and the use of, and content of, the classes, services, or products offered on this website is not endorsed by Stampin’ Up! Copyright 2025