/


Latest Post

How to make a forest of trees from the Wisteria Wishes stamp set!


I thought the flower image in the Wisteria Wishes stamp set would make wonderful trees. So I played around and here's the finished card: 
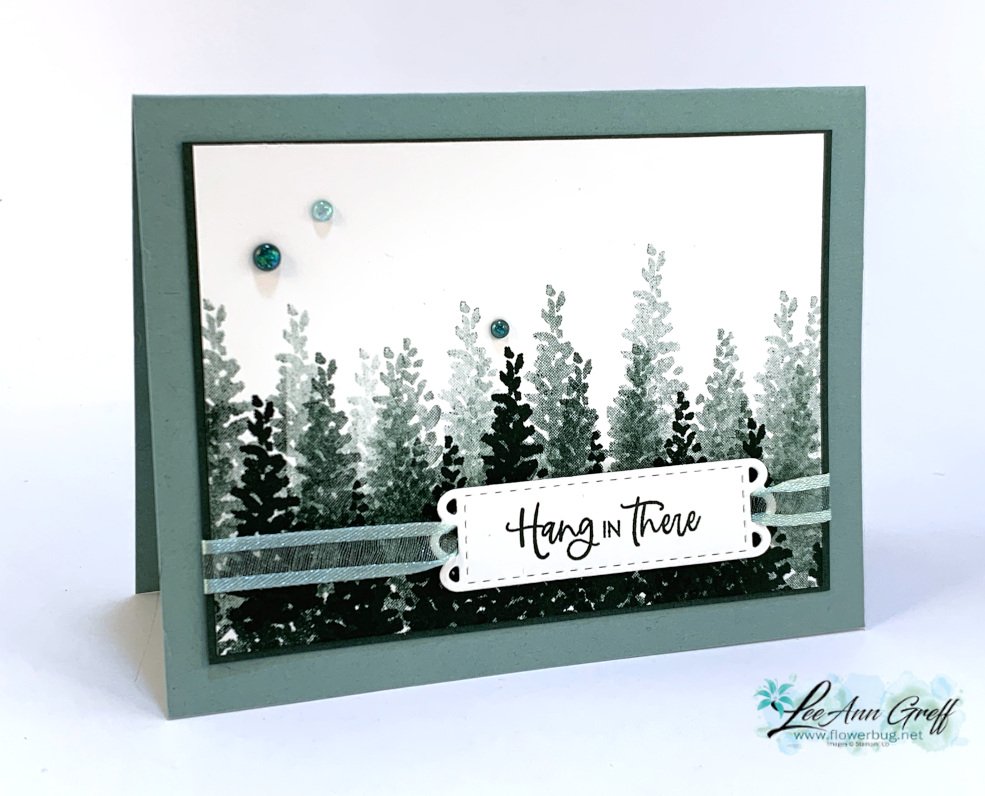
I chose to use just one ink color of Evening Evergreen. I made this card in the video below; or click here to see it. 

Tips on creating the trees:

  • Starting at the bottom with the 3 flower image (turned point side up) stamp in full strength Evening Evergreen ink making sure you stamp some images higher and some lower.  Ink every time filling in the very bottom fully.
  • Now ink the same image and stamp off once before stamping slightly higher than the first 'trees'.  
  • Now ink the image again and stamp off twice before stamping even higher making sure you alter the height now & then.  
  • Wallah; you've created a forest of trees!  

Did you know that Evening Evergreen and Soft Succulent are a perfect color combination?  Stamping off once or twice can give you almost an exact Soft Succulent color tone.  
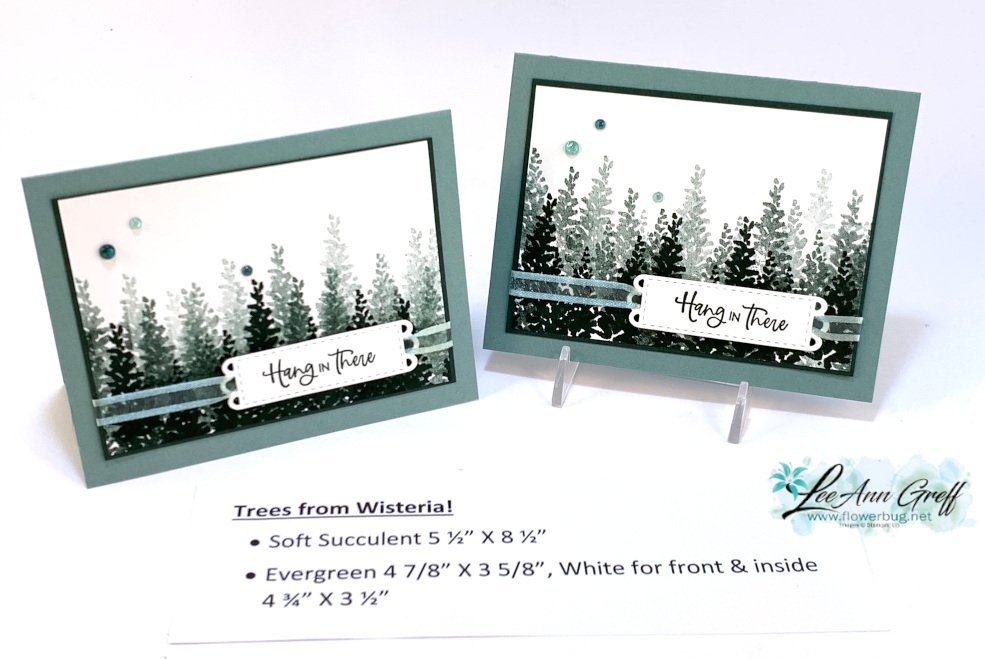
You could make a bunch of these cards quickly and they're perfect for any occasion but to me they'd be great sympathy or men's cards. 

Here are the other two cards I made with this bundle.  It was super fun to play with! 

Click on the photo below to watch the video. 

~~~

Last Chance items are selling out!  


Kits Collection BOGO – buy 1 get 1 50% off!  

Host codes: 9F9AJHYG

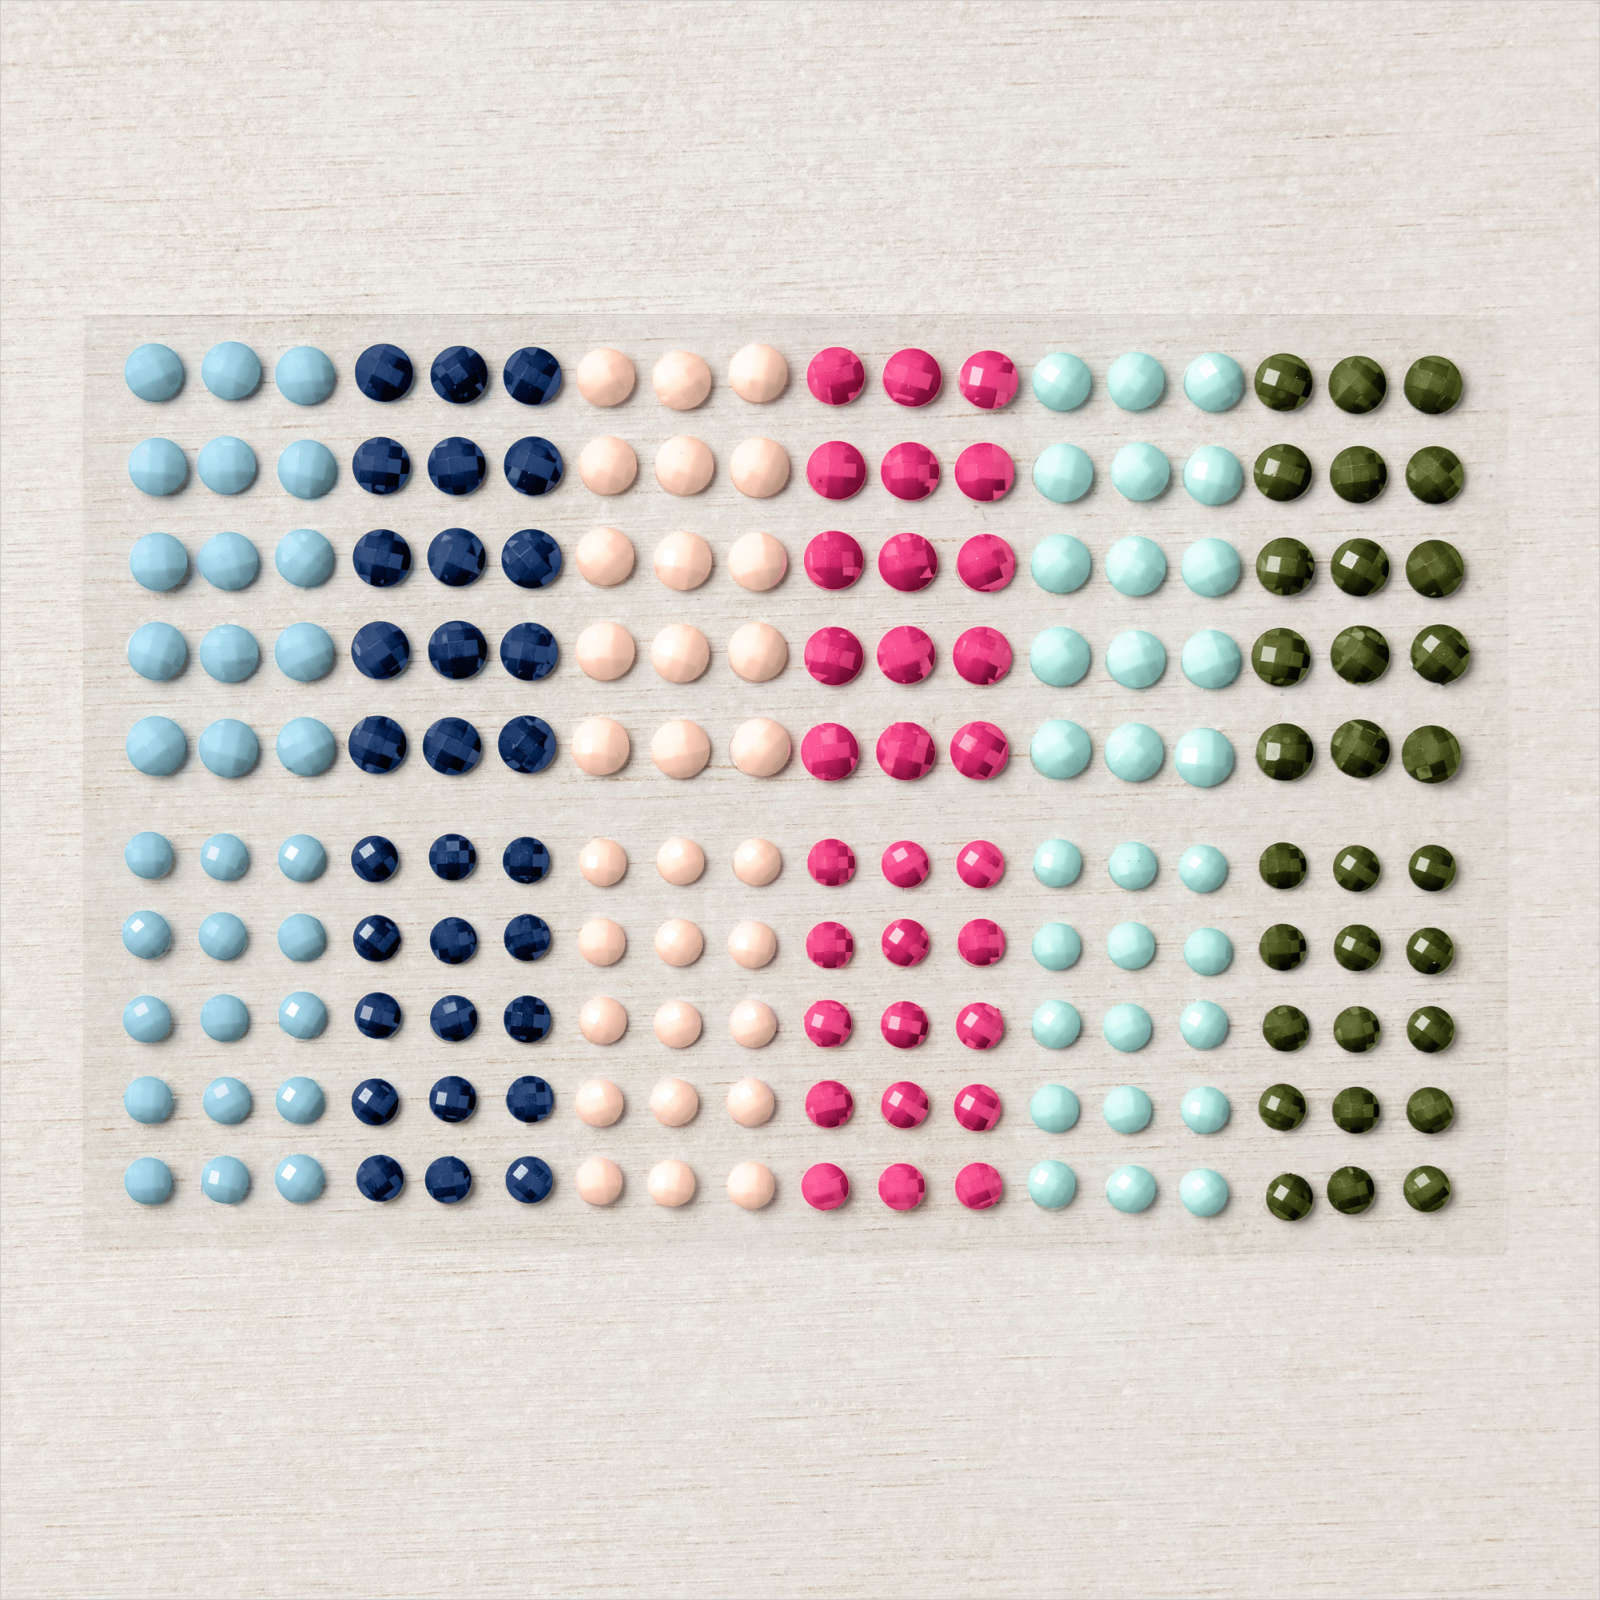
If your order is over $50 you'll receive a set of Solid Faceted Gems from me. *click here to order 
Earn free products with my loyalty rewards! 

Click here to download yours and earn a $50 shopping spree!  

All Posts

  • Fun with Plenty of Pattern masks with techniques & video too


    I hope you enjoyed your holiday weekend!  We sure did. The kids come home for Christmas from other cities in North Dakota and we have some fun traditions like an appetizer showdown, presents, lots & lots of games & yummy food.  My kids are still here so the fun continues another day yet! 

    ~~~

    Here is another card idea with the Plenty of Pattern masks I shared on last week's FB Live here. 

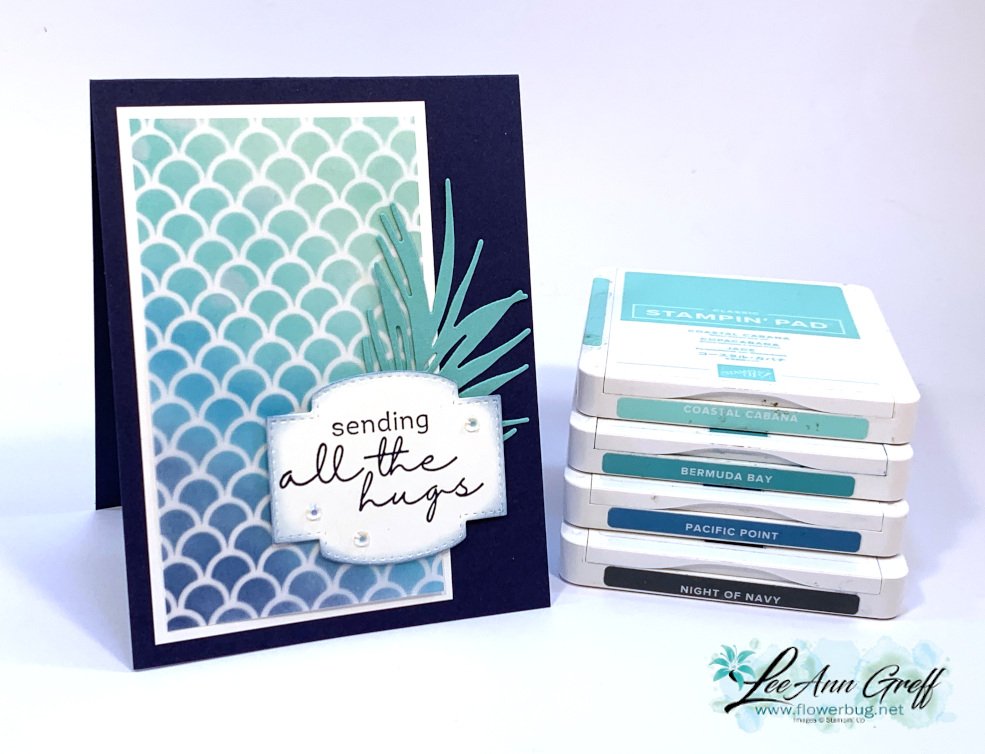
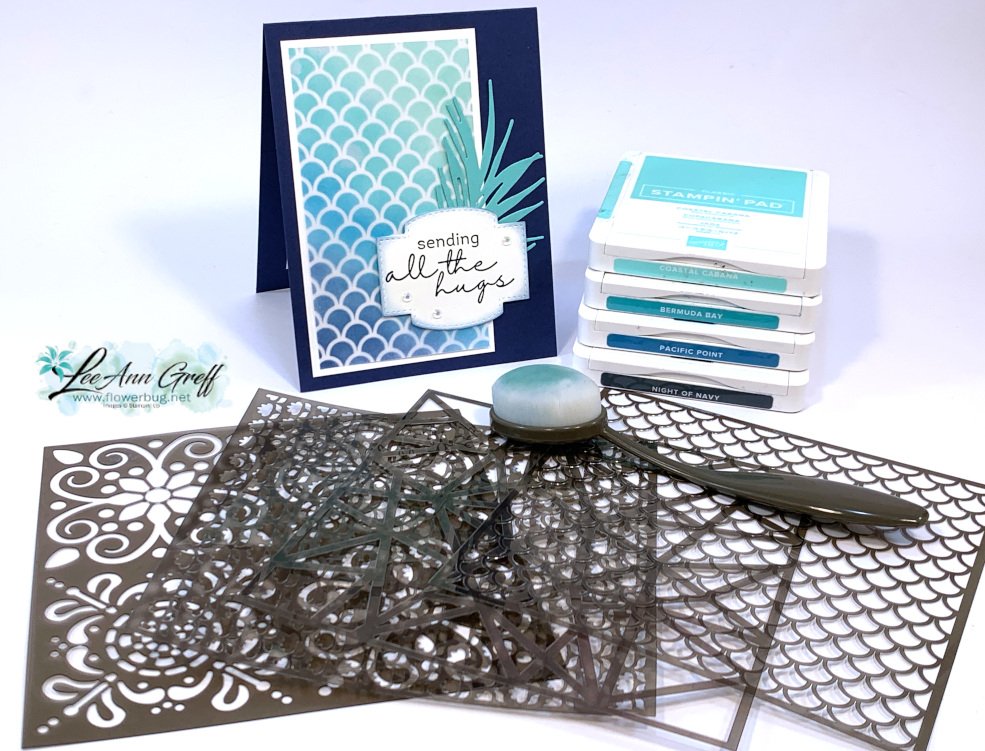
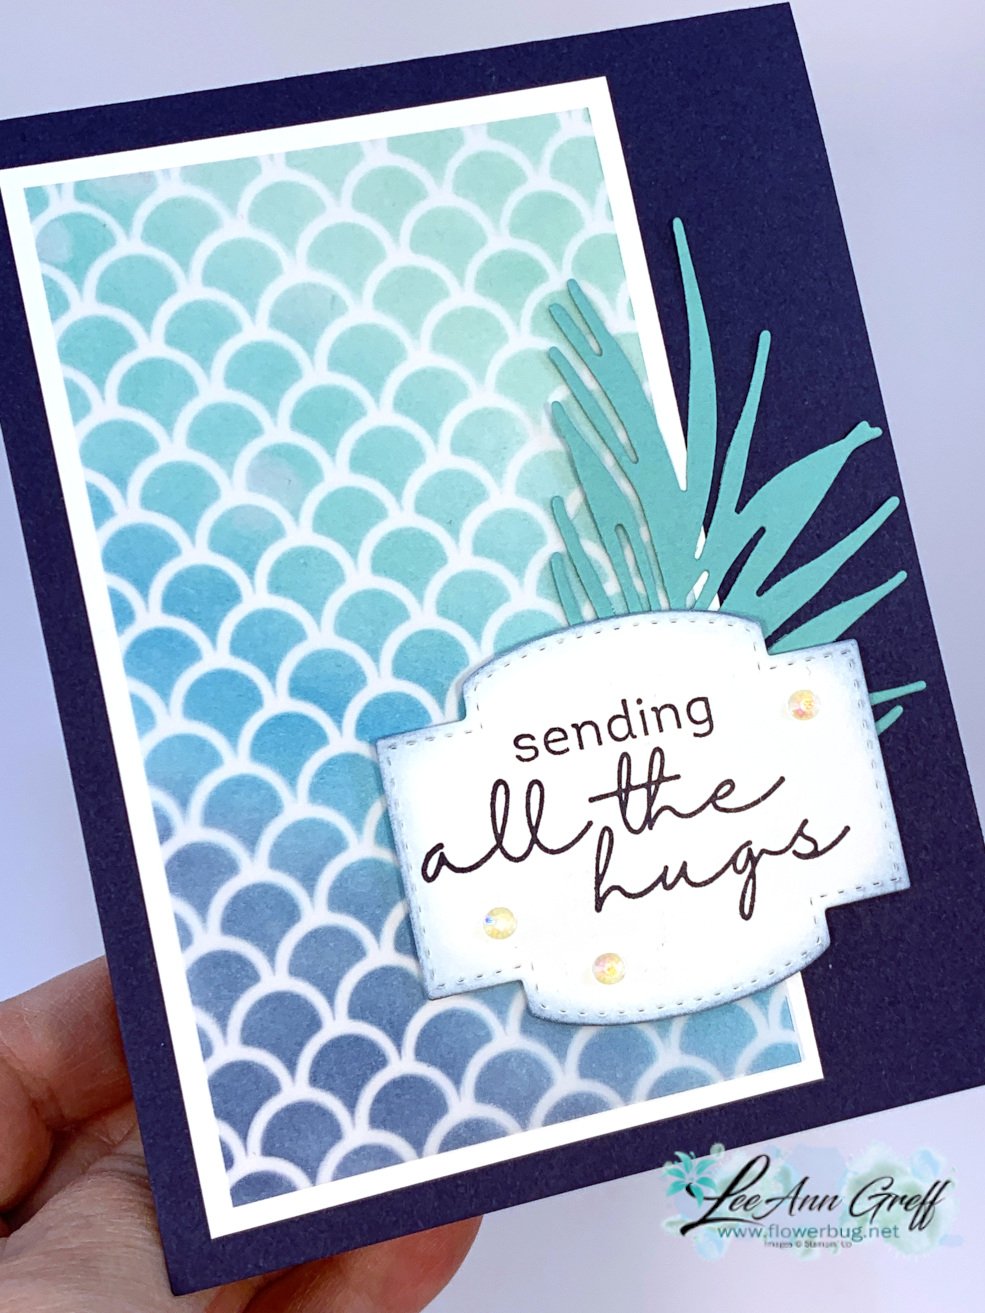
    This card features an ombre' effect on Vellum card stock using the Plenty of Patterns masks and a new bundle from the upcoming 2022 Jan-June catalog

    For the ombre' effect I used Night of Navy, Pacific Point, Bermuda Bay and Coastal Cabana inks along with Blending Brushes. You can see how it's done on the video here.  


    I kept is super simple otherwise.  I layered the sponged vellum on a piece of White CS and added a greeting and leaf die-cut. 


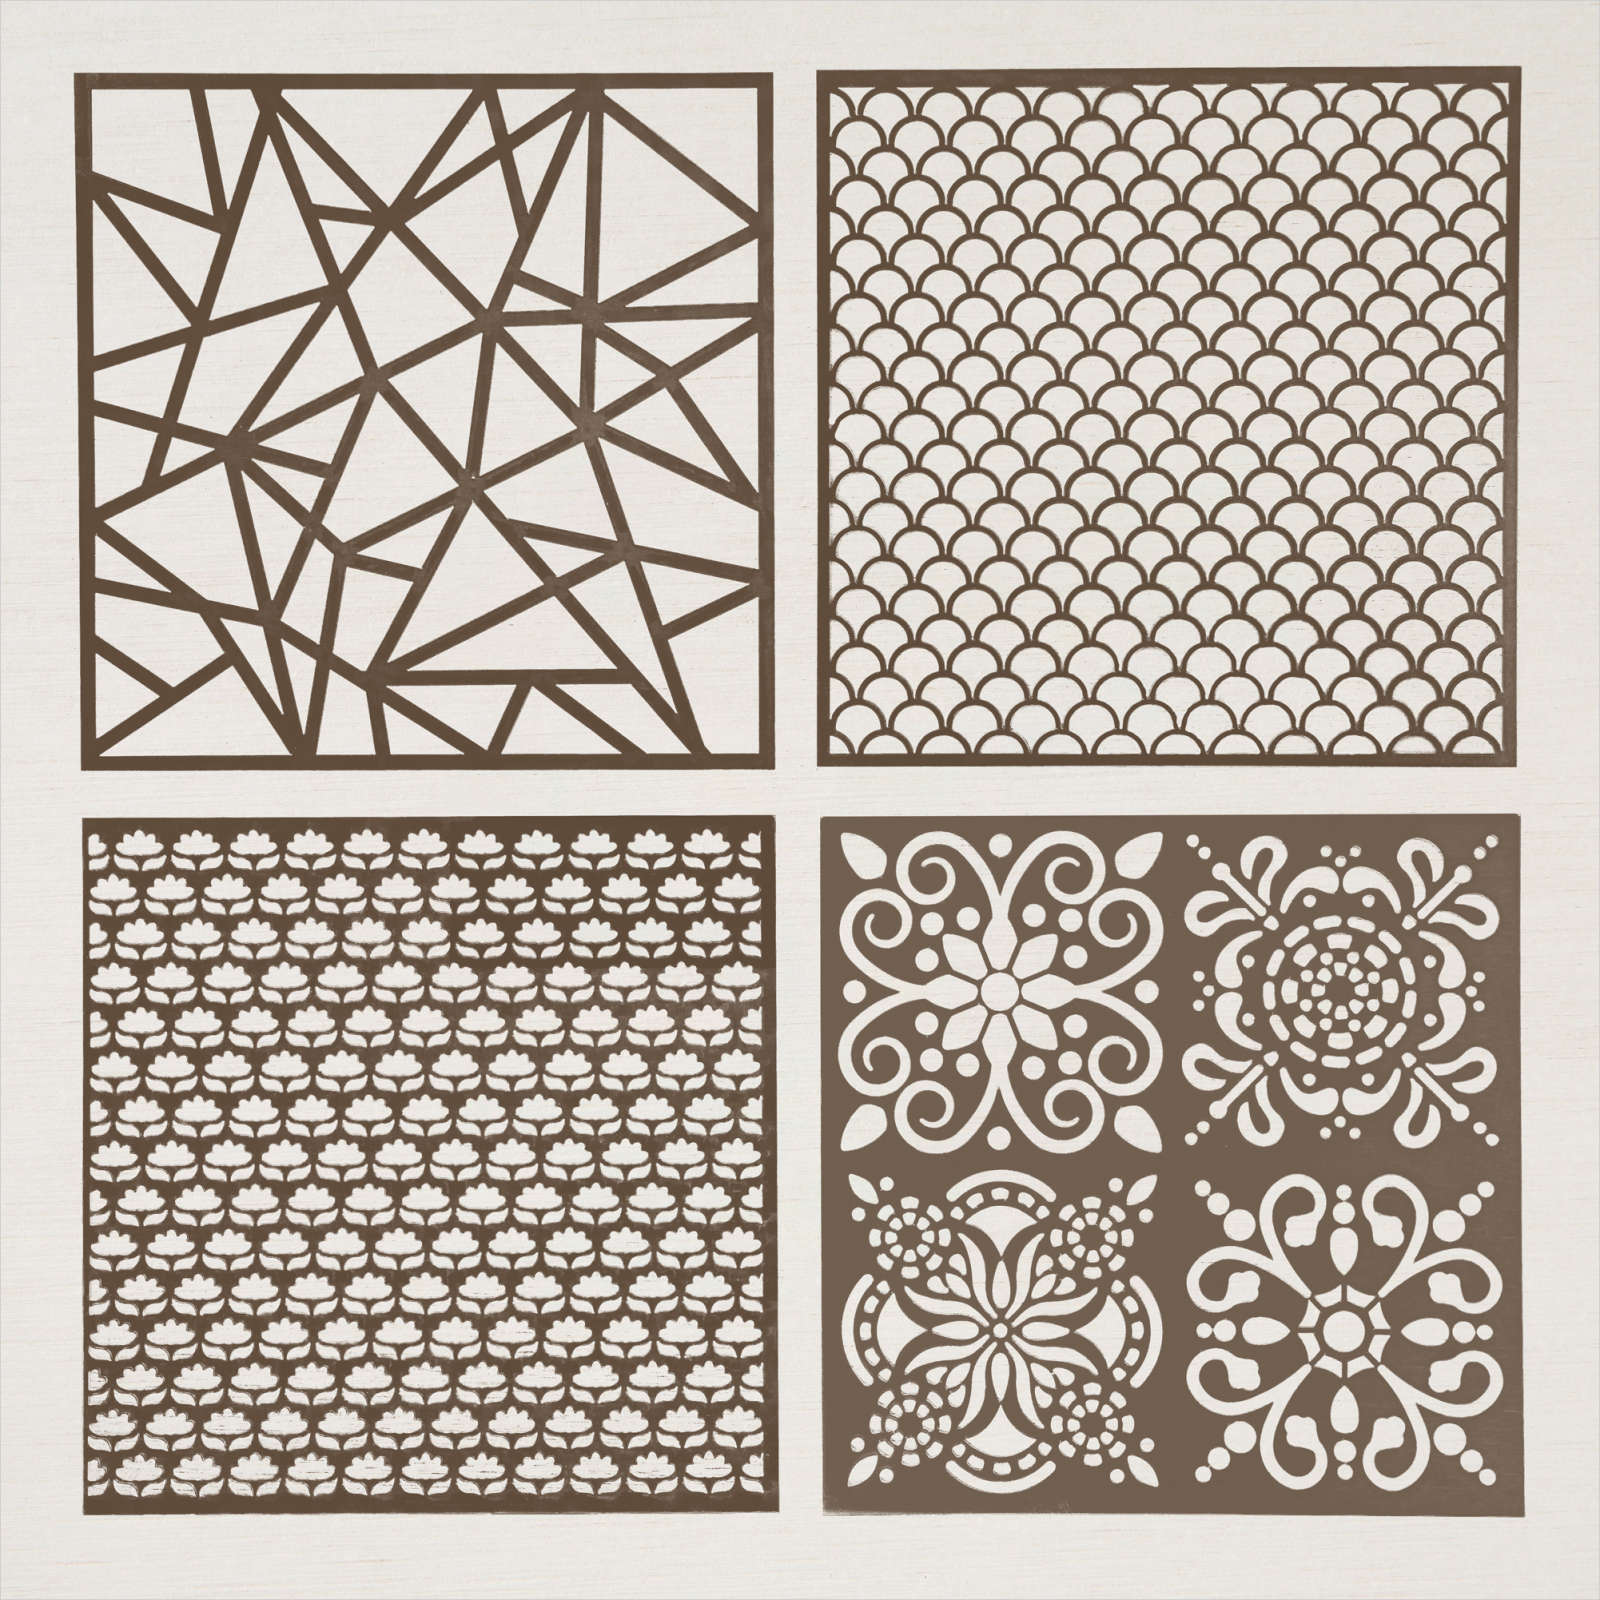
    You can see the Plenty of Pattern masks I used here.  They are so fun to play with; especially if you like sponging or techniques. 

    The neat leaf die-cut is in the Artfully Layered bundle in the upcoming 2022 Jan-June catalog as well as the greeting. 

    Below is the video with these projects & lots more! 

    ~~~

    December Specials:

    Host code:  T9YW6QCC

     *click here to order 

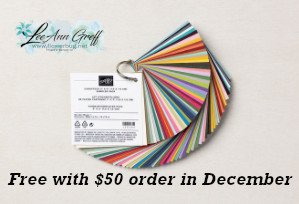
    Use the host code above & get a free card stock sampler ring with a $50 order in December! 

    See the last chance list here

    See the July-December catalog carry over list here

    Leave a Reply

    Your email address will not be published. Required fields are marked *

  • Gingerbread & Peppermint fun fold cards – easy to replicate!


    Merry Christmas!!  I hope you enjoy a wonderful holiday.

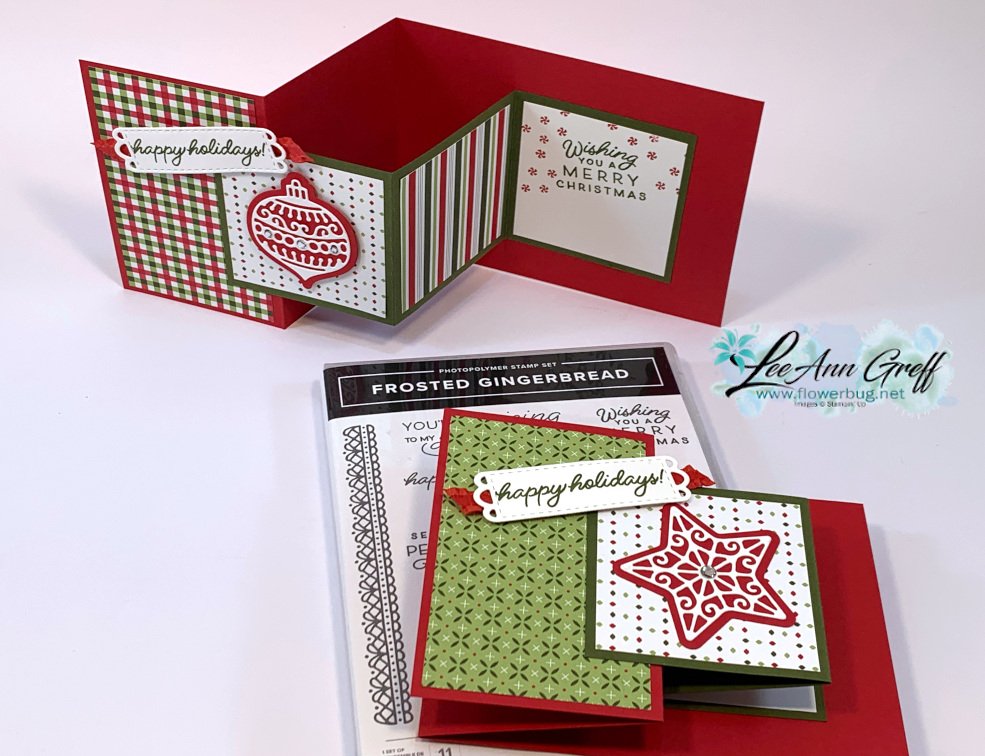
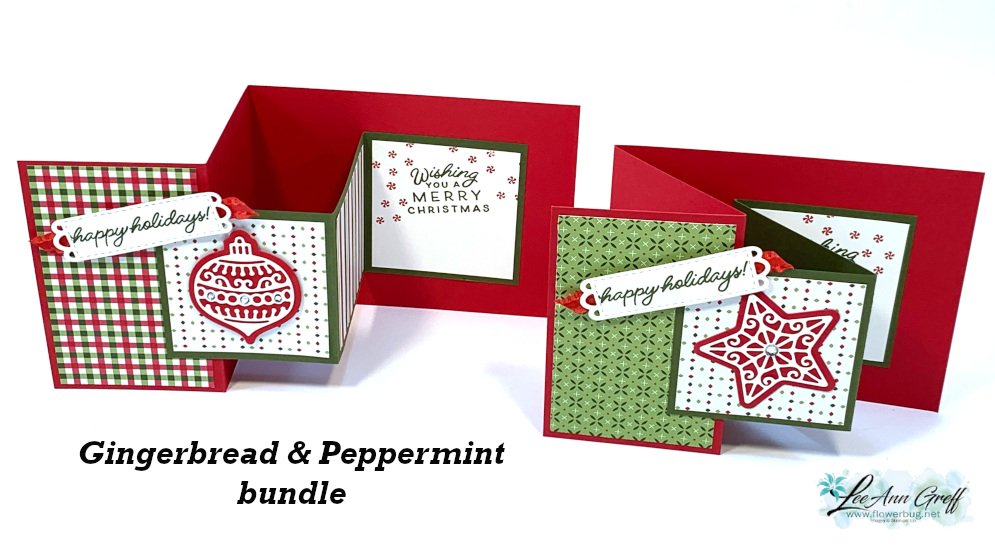
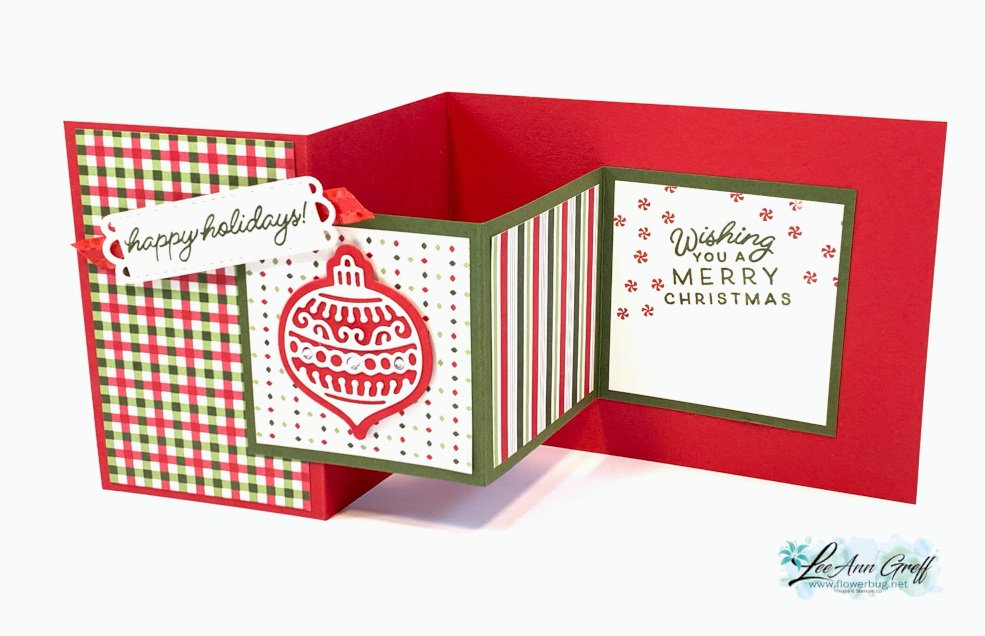
    We made this neat card at my December Card Clubs. I love the double Z fold design. And it makes great use of both card stock and designer paper! 

    I used the Gingerbread & Peppermint bundle for the stamps & dies.  Unfortunately it's sold out already.  And so is the Heartwarming Hugs designer paper. Retiring Holiday Catalog time is so hard!  

    But you can use this card layout with other designs and occasions.  One thing I love about this card is that the inside accordion piece is perfectly sized to get 4 out of an 8 1/2" X 11" piece of card stock so it's great for mass producing.  

    The colors are Real Red, White & Mossy Meadow.  

    Measurements: 

    • Red card base 4 1/4" X 11" scored at 2 3/4" & 5 1/2"
      Mossy Meadow 2 3/4" X 8 1/4" scored every 2 3/4"
      DSP 2 1/2" X 4" for front, two squares at 2 1/2"
      White 2 1/2" for inside greeting, scrap for die-cut label

    Other products used here:

    • Real Red 3/8" Mini Ruffled ribbon (Holiday catalog)
    • Meadow dies for the pretty greeting label die-cut
    • Clear rhinestones 

    ~~~

    December Specials:

    Host code:  T9YW6QCC

     *click here to order 

    Use the host code above & get a free card stock sampler ring with a $50 order in December! 

    See the last chance list here

    See the July-December catalog carry over list here

    Leave a Reply

    Your email address will not be published. Required fields are marked *

  • Plenty of Patterns with new Tropical dies; video tutorial


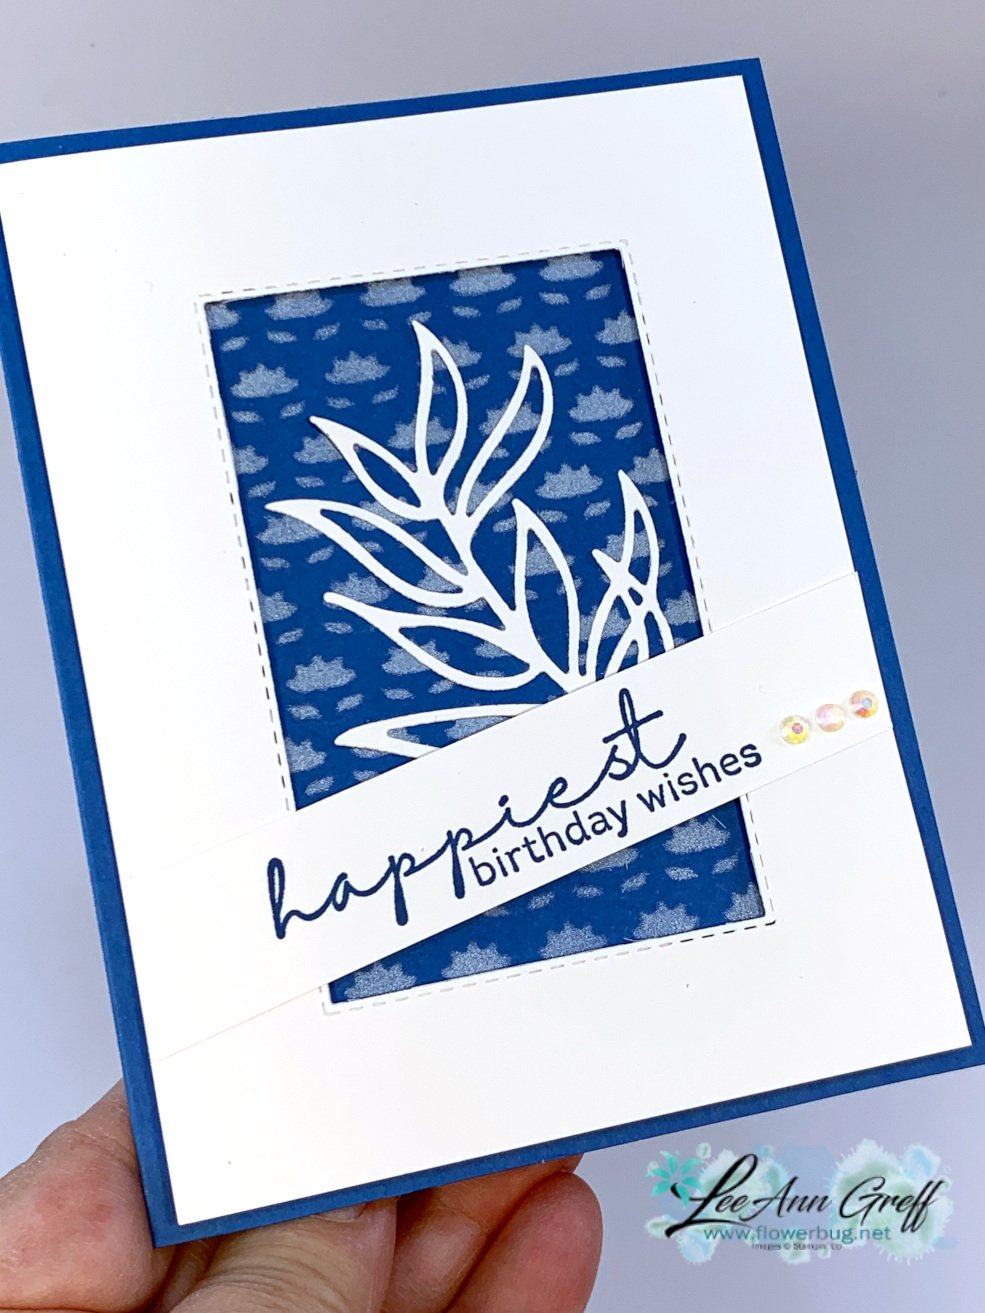
    This card in Pacific Point & White is so pretty!  I shared how to make it on last week's FB Live.

    The window frame is made with the Stitched Rectangle dies on a piece of White CS 4" X 5 1/4". The pretty die-cut leaf is from a new set of dies coming out in the 2022 Jan-June catalog called Tropical Layer dies. 

    I used White Craft ink with the Plenty of Pattern masks seen here & below.  I did not use a sponge; I pressed the ink pad directly onto & through the mask on a separate piece of Pacific Point CS.  You can watch how it's done in the video here.  It's the first project. 

    The greeting is from the Artfully Layered stamp set that coordinates with the Tropical Layer dies.  It will be in a bundle at 10% off next year.  


    Below is the video with these projects & lots more! 

    ~~~

    December Specials:

    Host code:  T9YW6QCC

     *click here to order 

    Use the host code above & get a free card stock sampler ring with a $50 order in December! 

    See the last chance list here

    See the July-December catalog carry over list here

    Leave a Reply

    Your email address will not be published. Required fields are marked *


Notice: LeeAnn Greff, Independent Stampin’ Up! Demonstrator, Manager. The content of this website is my sole responsibility as an independent Stampin’ Up! demonstrator and the use of, and content of, the classes, services, or products offered on this website is not endorsed by Stampin’ Up! Copyright 2025