/


Latest Post

How to make a bumblebee with the Ladybug Builder punch


This month my Flowerbug's Team's swap theme was cards featuring an animal, bug or bird with a unique fold.  I decided to use the Hello Ladybug bundle for mine. Click here to see the bundle.  I changed the ladybug into a bumblebee!  

I shared how to make this card on last week's Facebook Live.  It's now on YouTube as well.  Click here to see it and two other cards featuring this cute Ladybug Builder punch.  
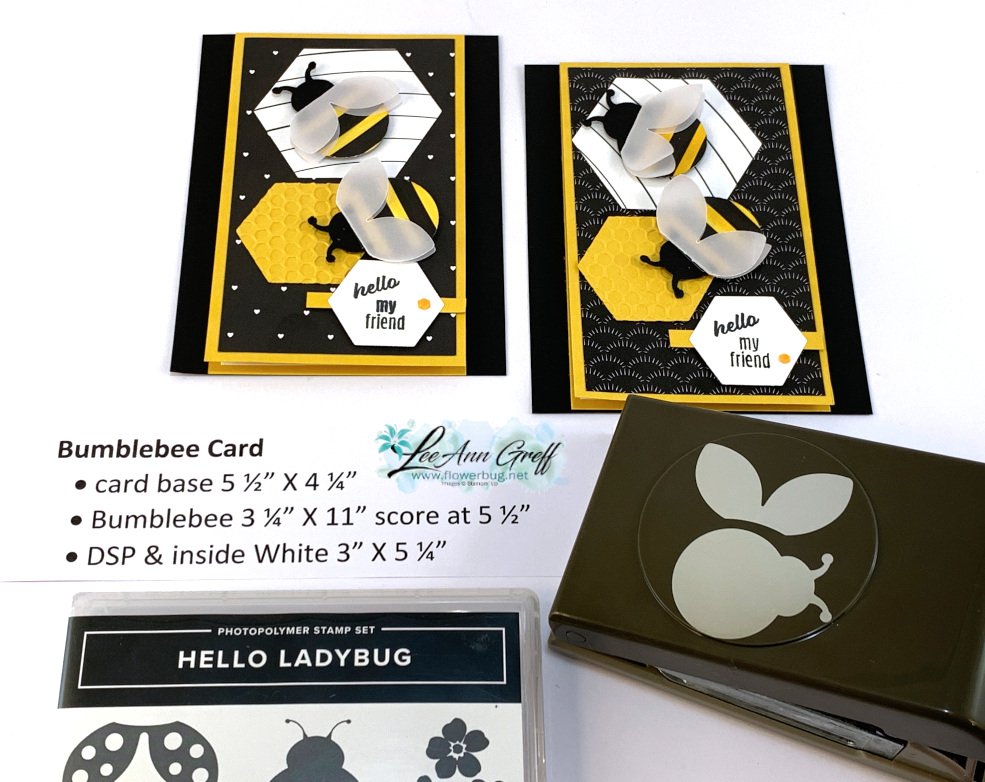
 

You may have seen this done before; it's so simple if you have some Black & White designer paper.  I colored the white stripes with a Dark Daffodil Delight Blends marker.  I used the Ladybug Builder punch to punch out the body circle and added it to the main Black Ladybug body.  

Then I punched out wings from Vellum.  I made them double wings by folding a piece of vellum in half and punching so the fold was intact.  The wings are adhered with a few mini glue dots. 

Details:

  • I used the Beautiful Shapes dies seen here for the hexagon shapes.  
  • Designer paper is the All Together 6 X 6" black & white paper seen here. 
  • The Bumblebee hexagon is textured with the Hive 3D embossing folder.
  • That hexagon embellishment on the greeting was pink. It's one of three colored in the Adhesive-backed Hexagon gems in the 2022 Jan-June catalog. I colored it with the Dark Daffodil Delight blends marker. 


This is an easy fun fold card to make.  And it makes great use of your Designer Paper – you can get 2 fronts from each 6 X 6" piece or 8 fronts from a 12 X 12" piece of paper. 

Below is the video; click on the photo to watch.  Don't forget to subscribe to my You Tube Channel here. 

~~~

 Hot Deals in February:

Choose $125 in product PLUS any 2 stamp sets free in February!

It's just $99. Get FREE shipping too!

Click here to get the deal.


Host codes: PA93N9CF

 *click here to order 


Use the host code above & get a free Easel Calendar kit

& the Gingham embossing folder with a $55 order in February, 2022! 

All Posts

  • Window cards!


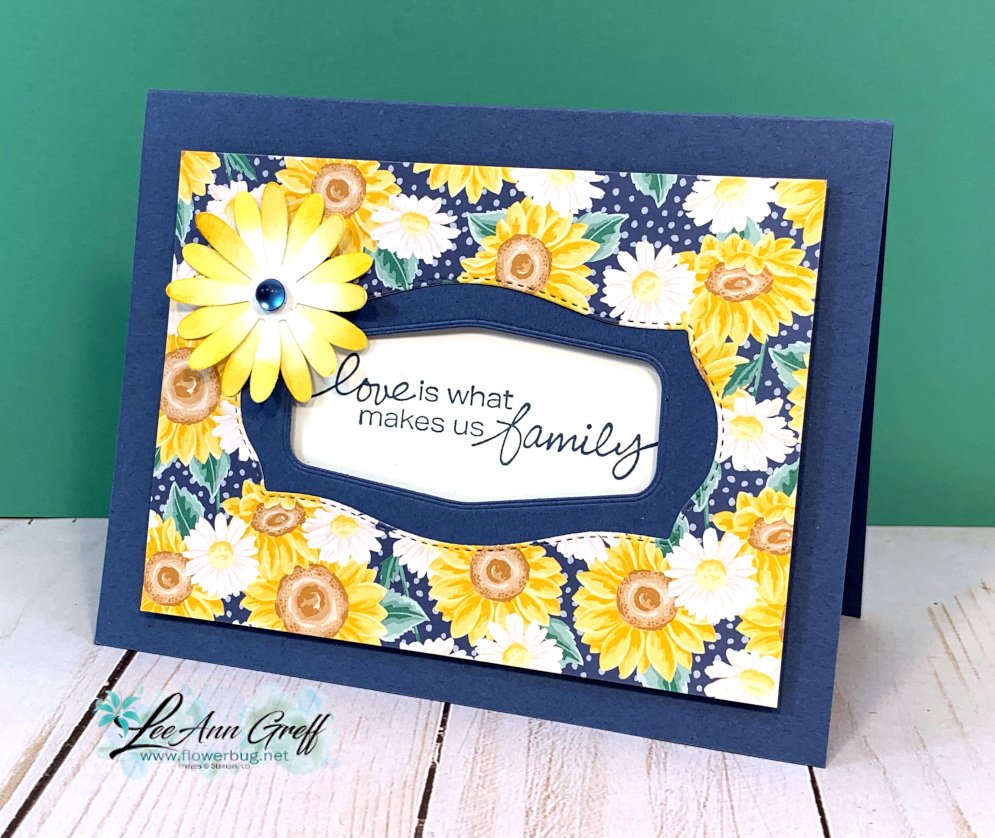
    A few weeks ago on my weekly 'Stamp with Me' Live we made window cards.  I called them that because I punched or die-cut a window in the front to reveal the greeting below.  Here's one version:

    I chose to use the pretty Flowers for Every Season designer paper for this card. There is such a wide variety of patterns, colors and styles in this pretty paper!  For the card above I used the Tasteful Labels, the Medium Daisy punch and the Lovely You stamp set.

    Here are all three cards I made to get them started.  I post the cards, measurements and supplies list a few days before the 'Live' so they can prep and gather their supplies.  Or if they cannot stamp with me Live, they can just make the cards using my ideas.  Check it out here. 

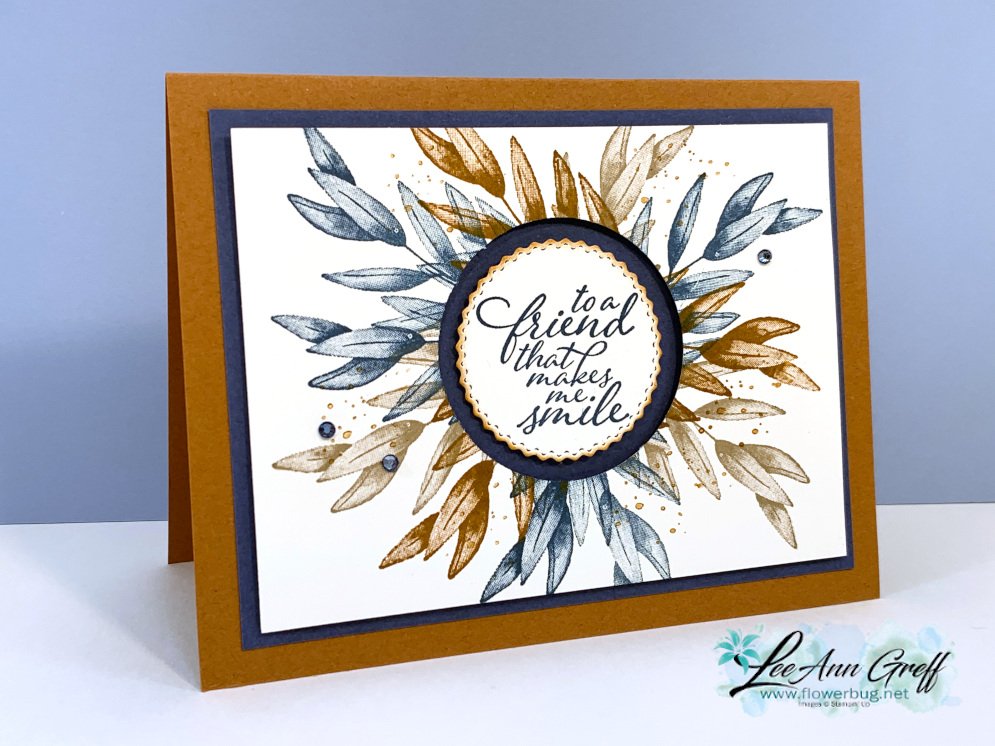
    For the card below I used the Forever Fern stamp set in Cinnamon Cider, Misty Moonlight and Crumb Cake.  

    I punched a 2" circle from the White layer and added a die-cut from the Tasteful Labels dies. 

    Here's the video below:

    Join me here each Monday evening at 7:30 pm CT.  

    ~~~

    Bonus Days are here!

     
    For every $50 you spend in July you'll receive a $5 coupon to redeem in August!  

    ~~~

    Current Host code is 3MFE2KKP

    Get a free 2020 card stock sampler with online orders over $60 that use the above host code.  This is so helpful to really know which color is which! 

    Order online here

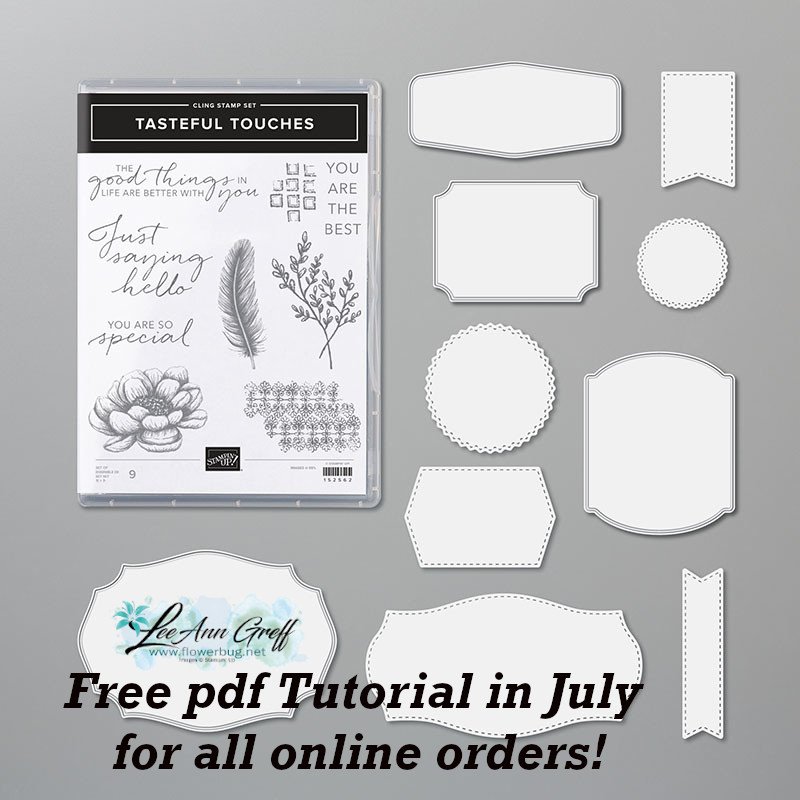
     Get my Tasteful Touches pdf tutorial free with any online order in July


    It includes directions, photos and measurements for 10 cards!

    Leave a Reply

    Your email address will not be published. Required fields are marked *

  • Third card from the Boho Indigo Product Medley


    This is the last card in the trio we made with the Boho Indigo Product Medley.  

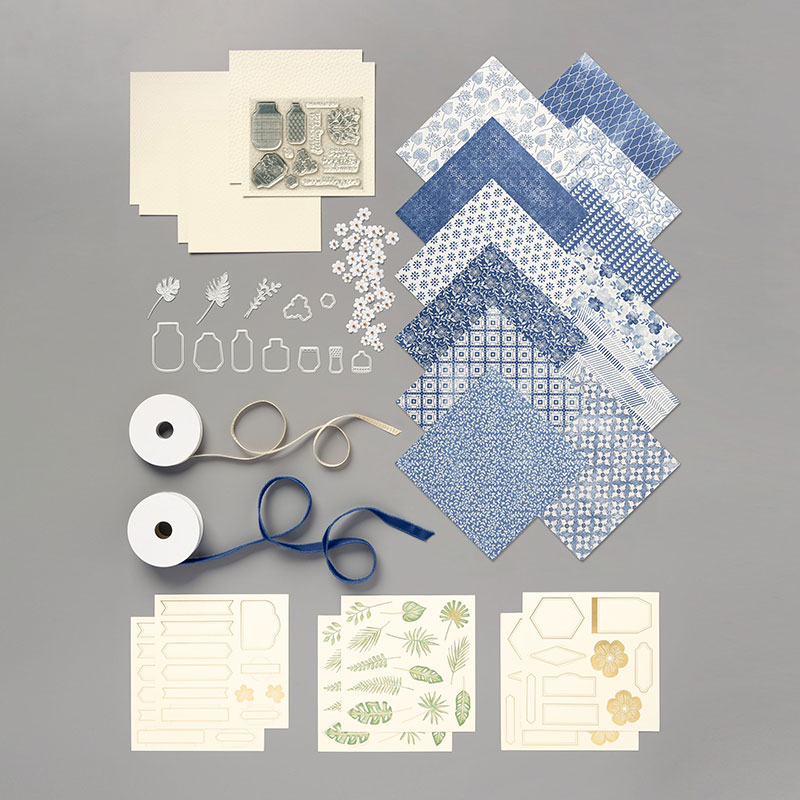
    Almost everything is from the Product Medley except the punched flowers (Confetti Flowers Border punch) and Stitched Nested Labels. 

    The vase is stamped in Misty Moonlight and die-cut with the Boho dies in the Medley. The leaves are stamped in Pear Pizzazz. 

    The little flowers are punched from a piece of Designer Paper in the medley and the centers are added with a Chalk Marker. They're curled up a bit with a stylus.

    Measurements:

    • Misty Moonlight card base 5 1/2" X 8 1/2"
    • Designer Paper 2" X 4 1/4"
    • Pear Pizzazz strip 1/2" X 4 1/4"
    • White & Navy CS for Stitched Nested Labels

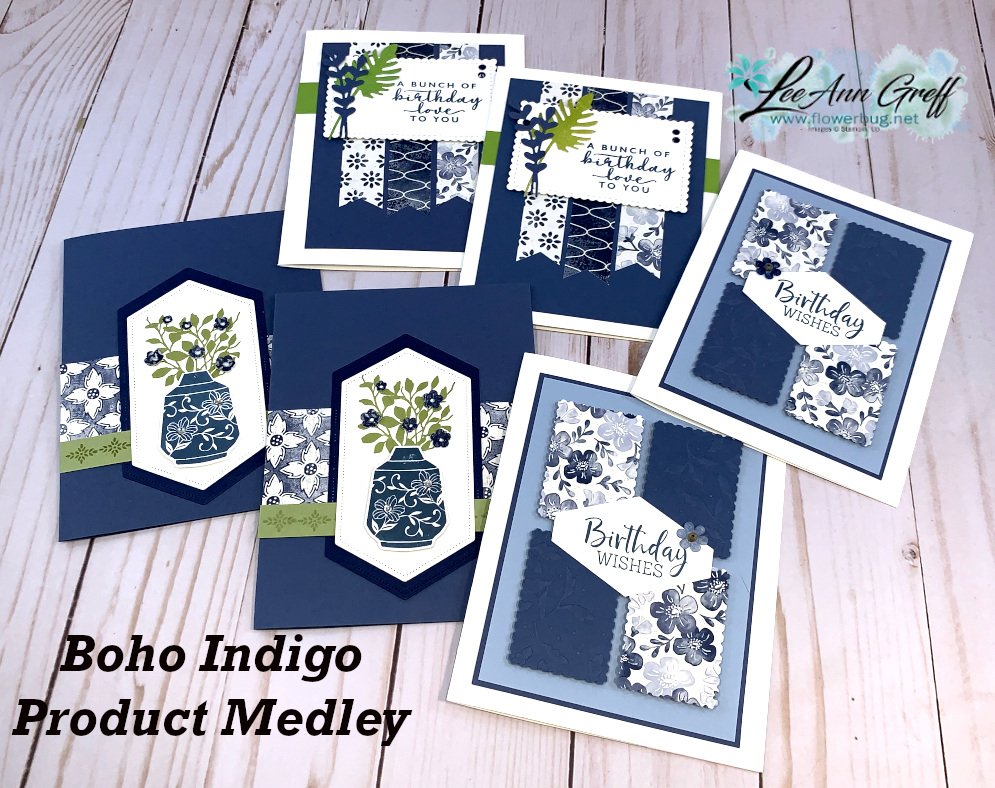
    Here are all of the cards we made with the pretty Boho Indigo Product Medley. You can see them all by paging through my blog posts the last few days. 

    The Boho Indigo Product Medley comes with a whole bunch of products all in one box including stamps, dies, beautiful designer paper in 6 X 6" size, textured card stock, die-cuts, ribbon and paper/bead flowers.  The colors are Misty Moonlight, Night of Navy, Vanilla, White, Garden Green & gold. 

    If you purchase this Medley in July you'll earn a $5 coupon code to redeem in August. Yay for Bonus Days!!

    There's even a refill option (without the stamps, dies & ribbon).  It is on back order until mid July but still orderable.  It includes the papers and the flowers.  See that here. 

    ~~~

    Bonus Days are here!

     
    For every $50 you spend in July you'll receive a $5 coupon to redeem in August!  

    ~~~

    Current Host code is 3MFE2KKP

    Get a free 2020 card stock sampler with online orders over $60. 

    Order online here

     Get my Tasteful Touches pdf tutorial free with any online order in July


    It includes directions, photos and measurements for 10 cards!

    Leave a Reply

    Your email address will not be published. Required fields are marked *

  • Happy 4th of July! Life is Beautiful MDA stamp set!


    Happy 4th of July everyone! 

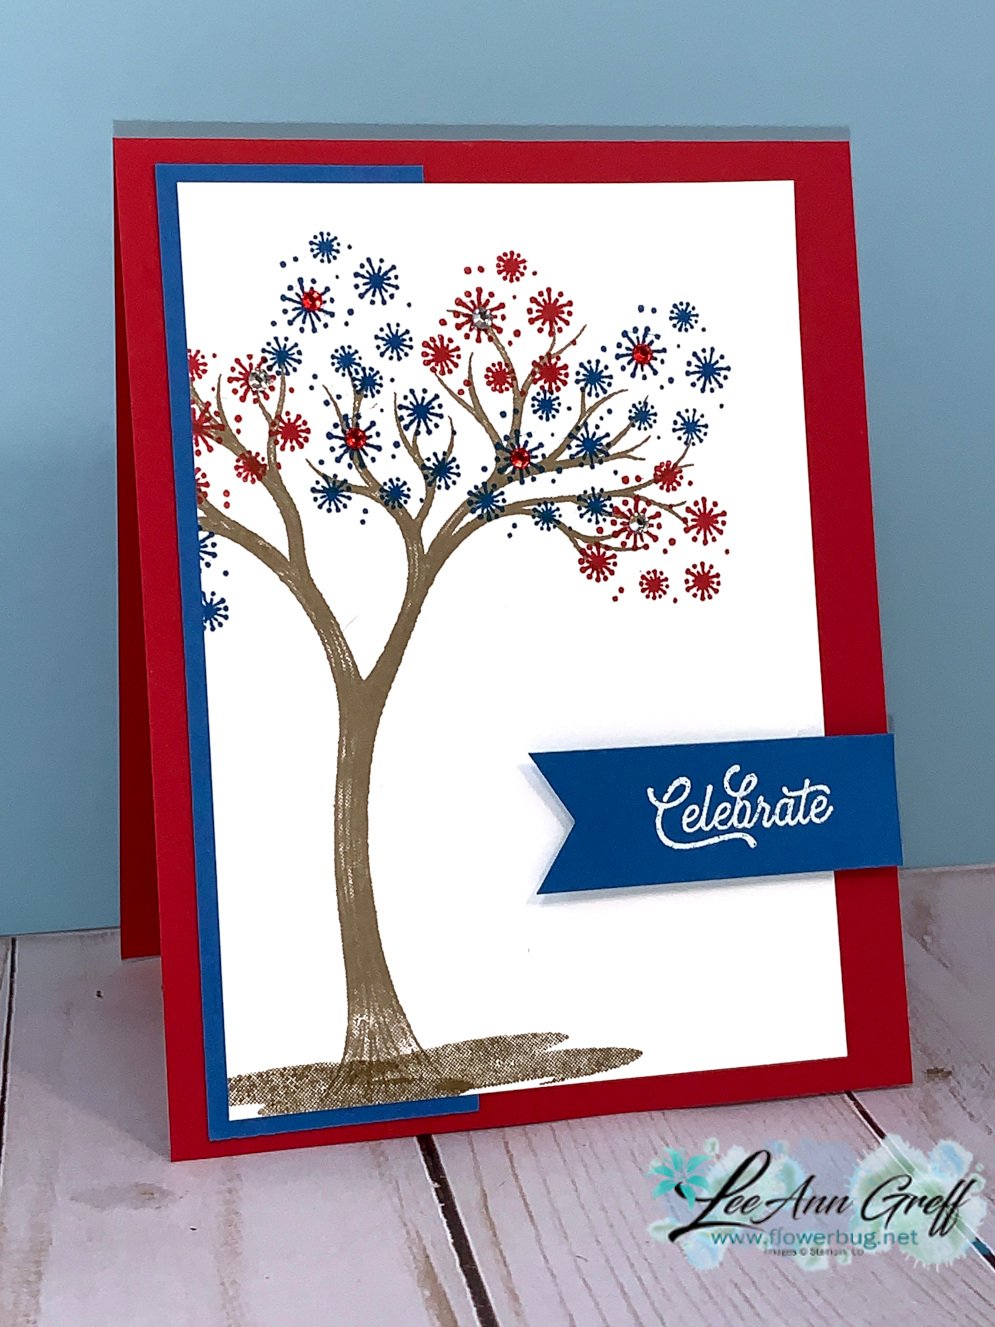
    Today's card is made with my new stamp set called 'Life is Beautiful'!  Stampin' Up! lets us assist in creating our own stamp set as part of our Million Dollar Achievement!  So fun!  

    The colors are Real Red, Pacific Point and Crumb Cake.  I added a few Red and clear rhinestones on the sparkles/snowflakes. 

    I received the stamp set and card a few weeks ago and have a few projects ready to share with you soon!  

    Have a wonderful holiday weekend everyone! 

    Leave a Reply

    Your email address will not be published. Required fields are marked *


Notice: LeeAnn Greff, Independent Stampin’ Up! Demonstrator, Manager. The content of this website is my sole responsibility as an independent Stampin’ Up! demonstrator and the use of, and content of, the classes, services, or products offered on this website is not endorsed by Stampin’ Up! Copyright 2025