/


Latest Post

How to get more use of your Fragrant Forest stamp; cut it up!


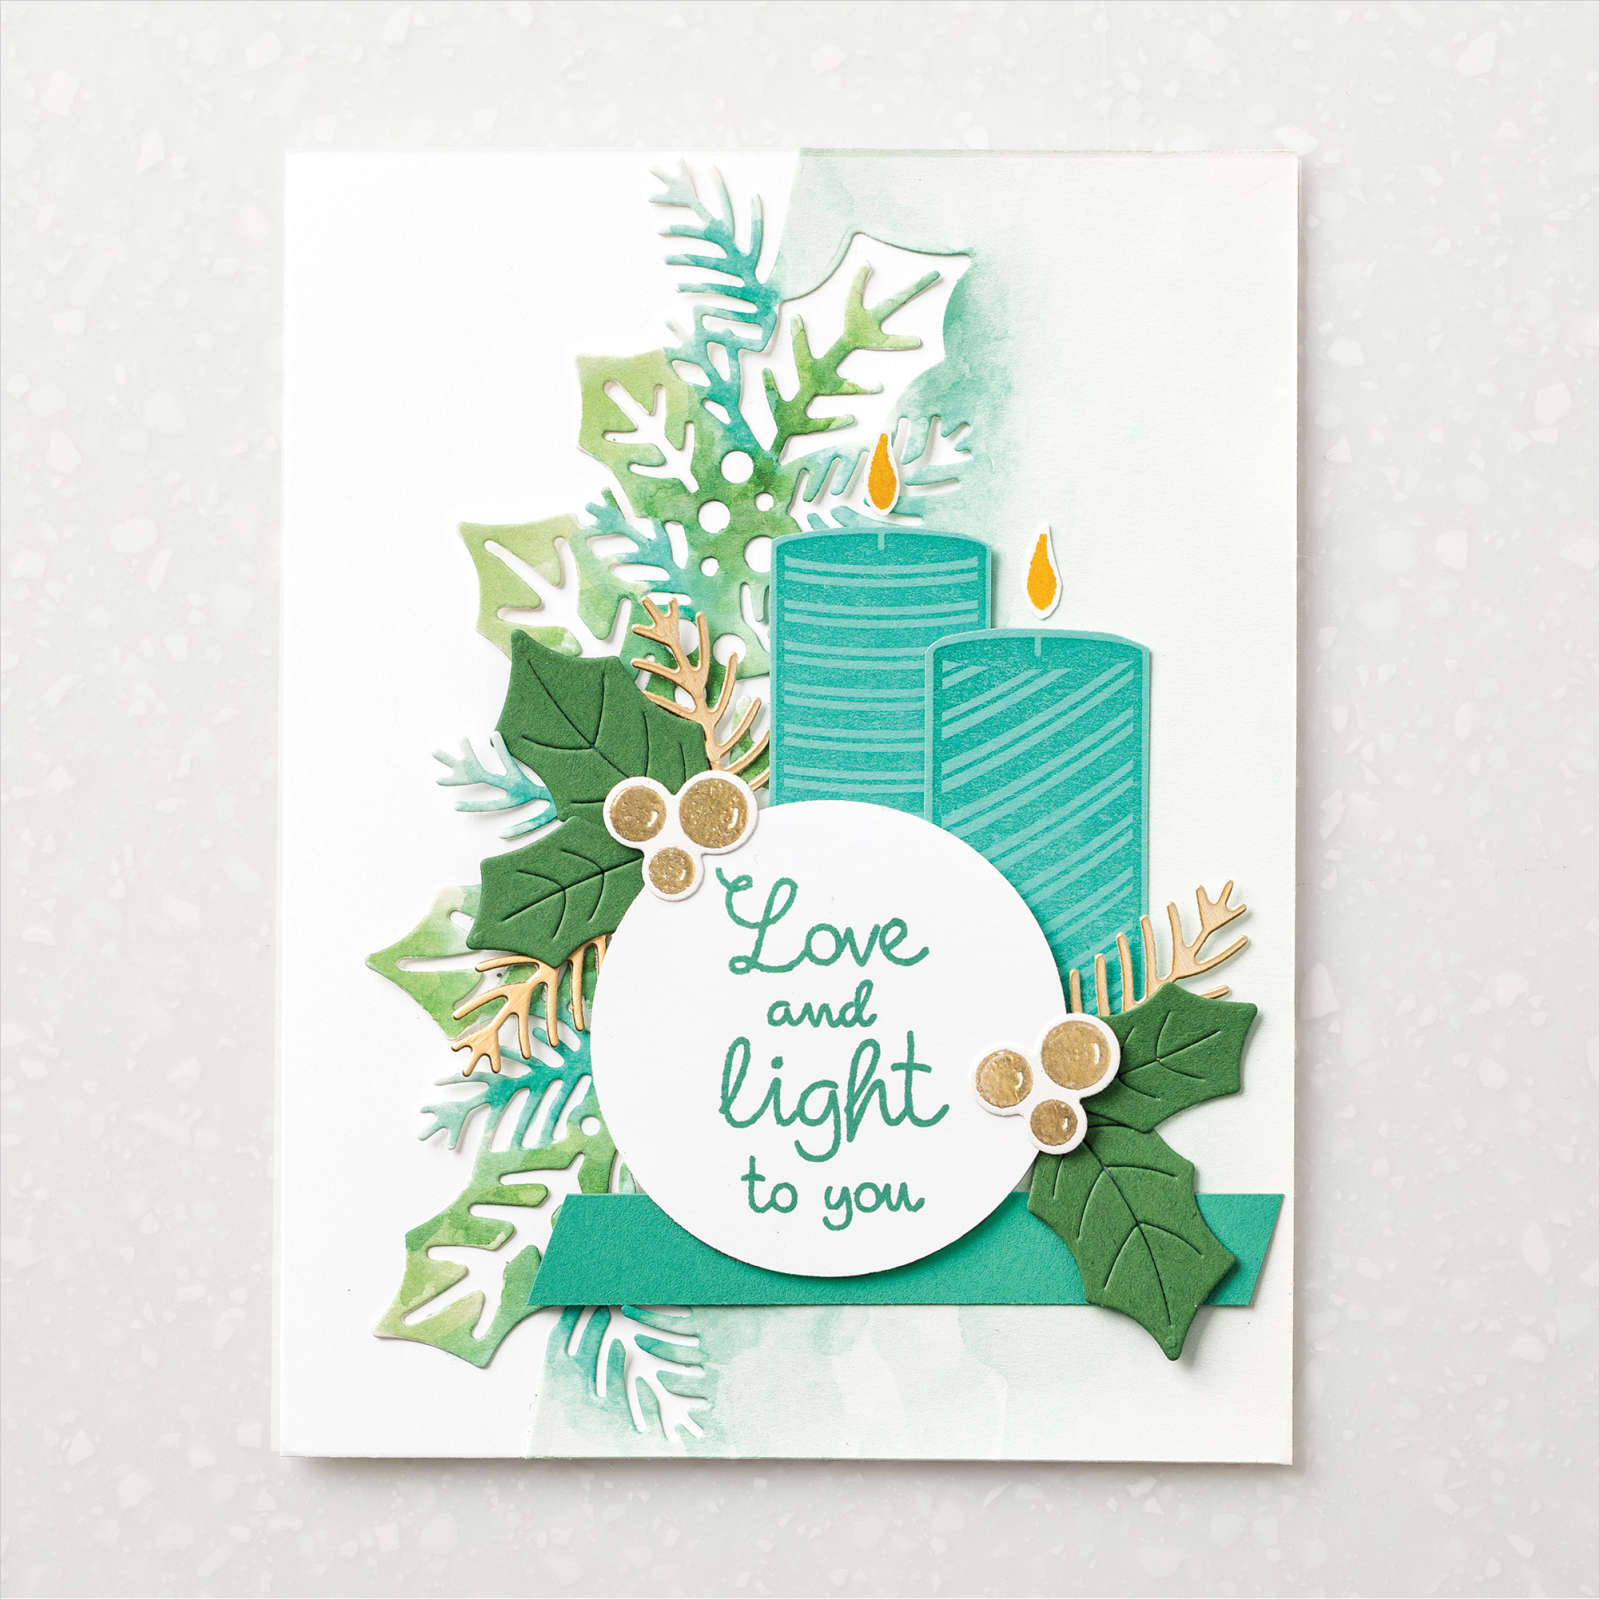
I shared this pretty card in last week's Live video. I featured the Fragrant Forest background stamp set seen here in all 3 projects. 

Today's card also features the Beary Cute stamp set & punch. It was available in a bundle but unfortunately the punch has sold out now.  But the stamp set is still available. 

I used Night of Navy with Mossy Meadow here. I stamped the entire White layer with the background stamp (watch the video with tips on getting even coverage with a background stamp) then cut the circle using the new Deckled Circle dies. I added it to a larger Navy Deckled circle die-cut which covered up the die-cut line from the first circle cut. 

The bears were stamped in Balmy Blue ink but in hindsight I'd like them in a dark gray ink on White.  The lower strip for the greeting is torn. 

I created a free project sheet for this card; click on this link to see it. Download Fragrant Forest & Beary Cute card  *subscribe to my blog so you don't miss a thing and can access all of my project sheets in one place! 
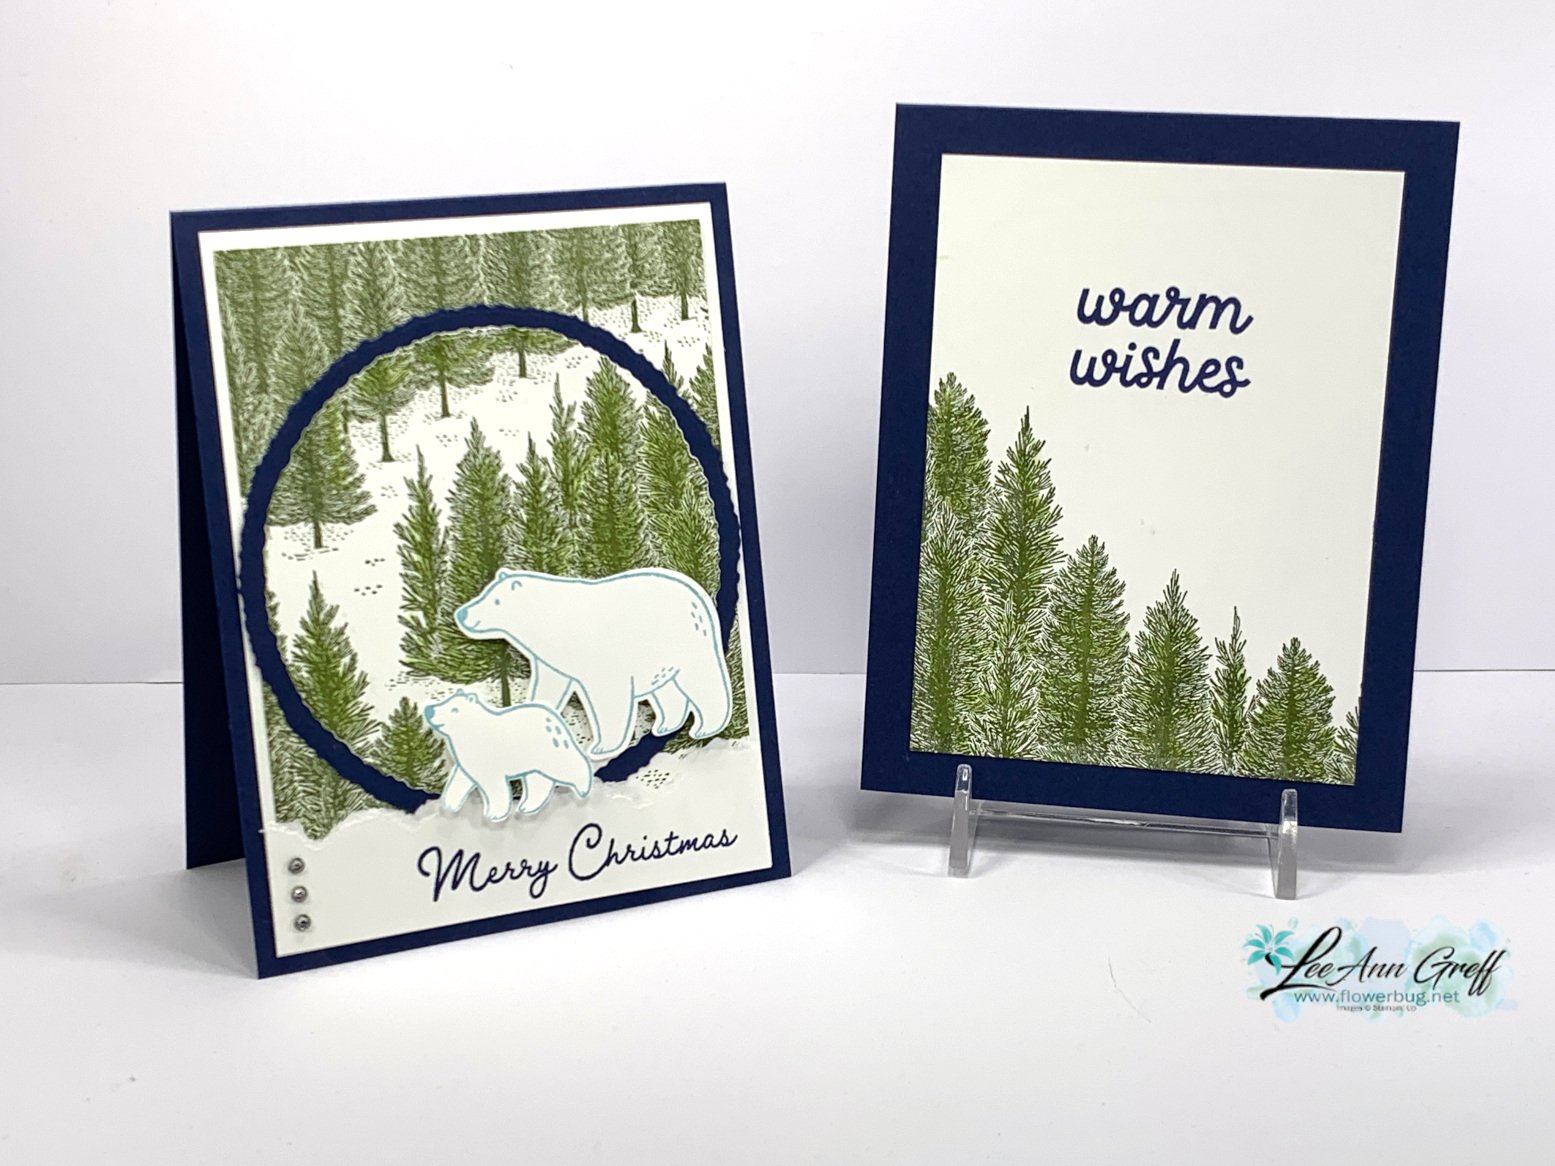
Are you wondering how I achieved the inside trees image without inking the entire stamp? Here's how!

I was trying to mask the stamp but it has lots of little pine needles between the tree layers.  It wasn't working so I thought, 'why aren't I trimming the stamp?'.  I have no problem doing it; it just isn't my first thought.  It works like a gem and makes it so much easier to use this pretty stamp set!
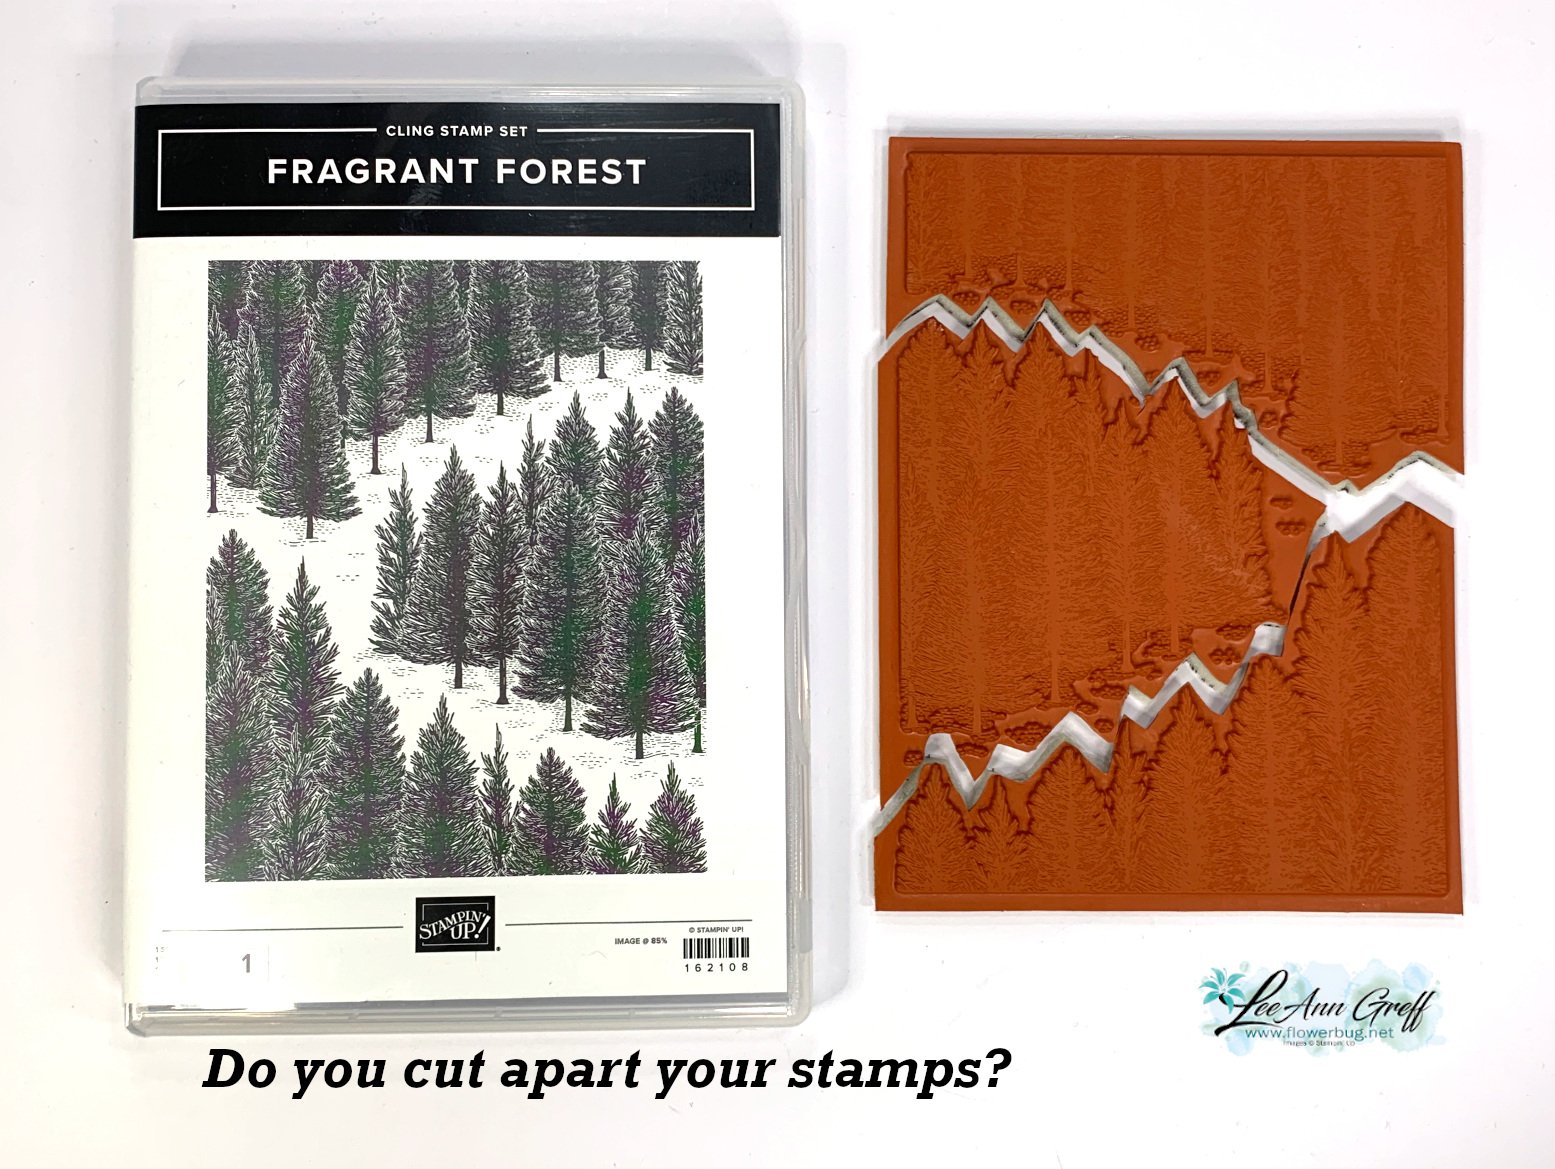
Do you cut your stamps apart? I tend to do it with images that have a greeting with it. Or if I like part of a greeting and want to use it separately. Honestly they fit right back together when put onto your block.  It just makes sense!  I encourage you to try it. 

Click here or on the photo below to watch my video.  Please subscribe to my YouTube channel too!  

~~~

December Specials: 

Get a free embellishment from the 2023 Holiday catalog with an

online order over $50


*current host codes:  PN2C7Z4E or 77277NNH

Love kits?  Check out my pre-cut card kits to go here!

I offer two new kits & tutorials each month!


All Posts

  • Curvy Christmas; only available a few more weeks!


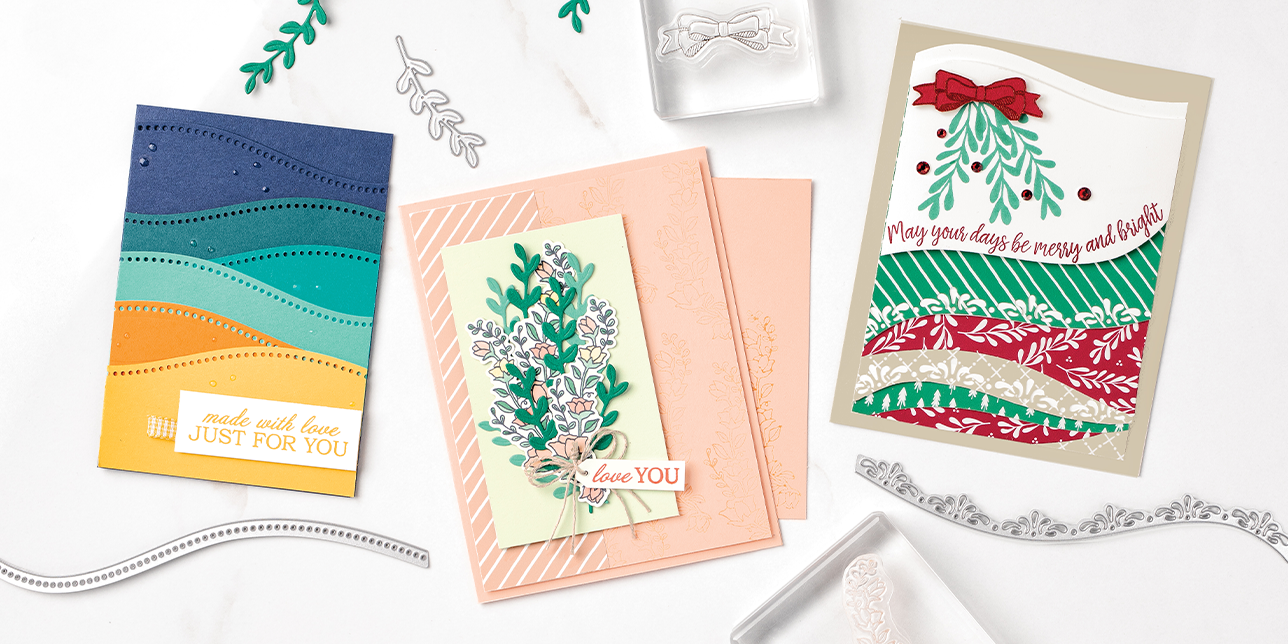
    Look at this WOW card featuring the Curvy Christmas & Quite Curvy dies!  Marilyn made it for our swap last month; she really outdid herself with this one. 

    She used lots of products on this beauty.

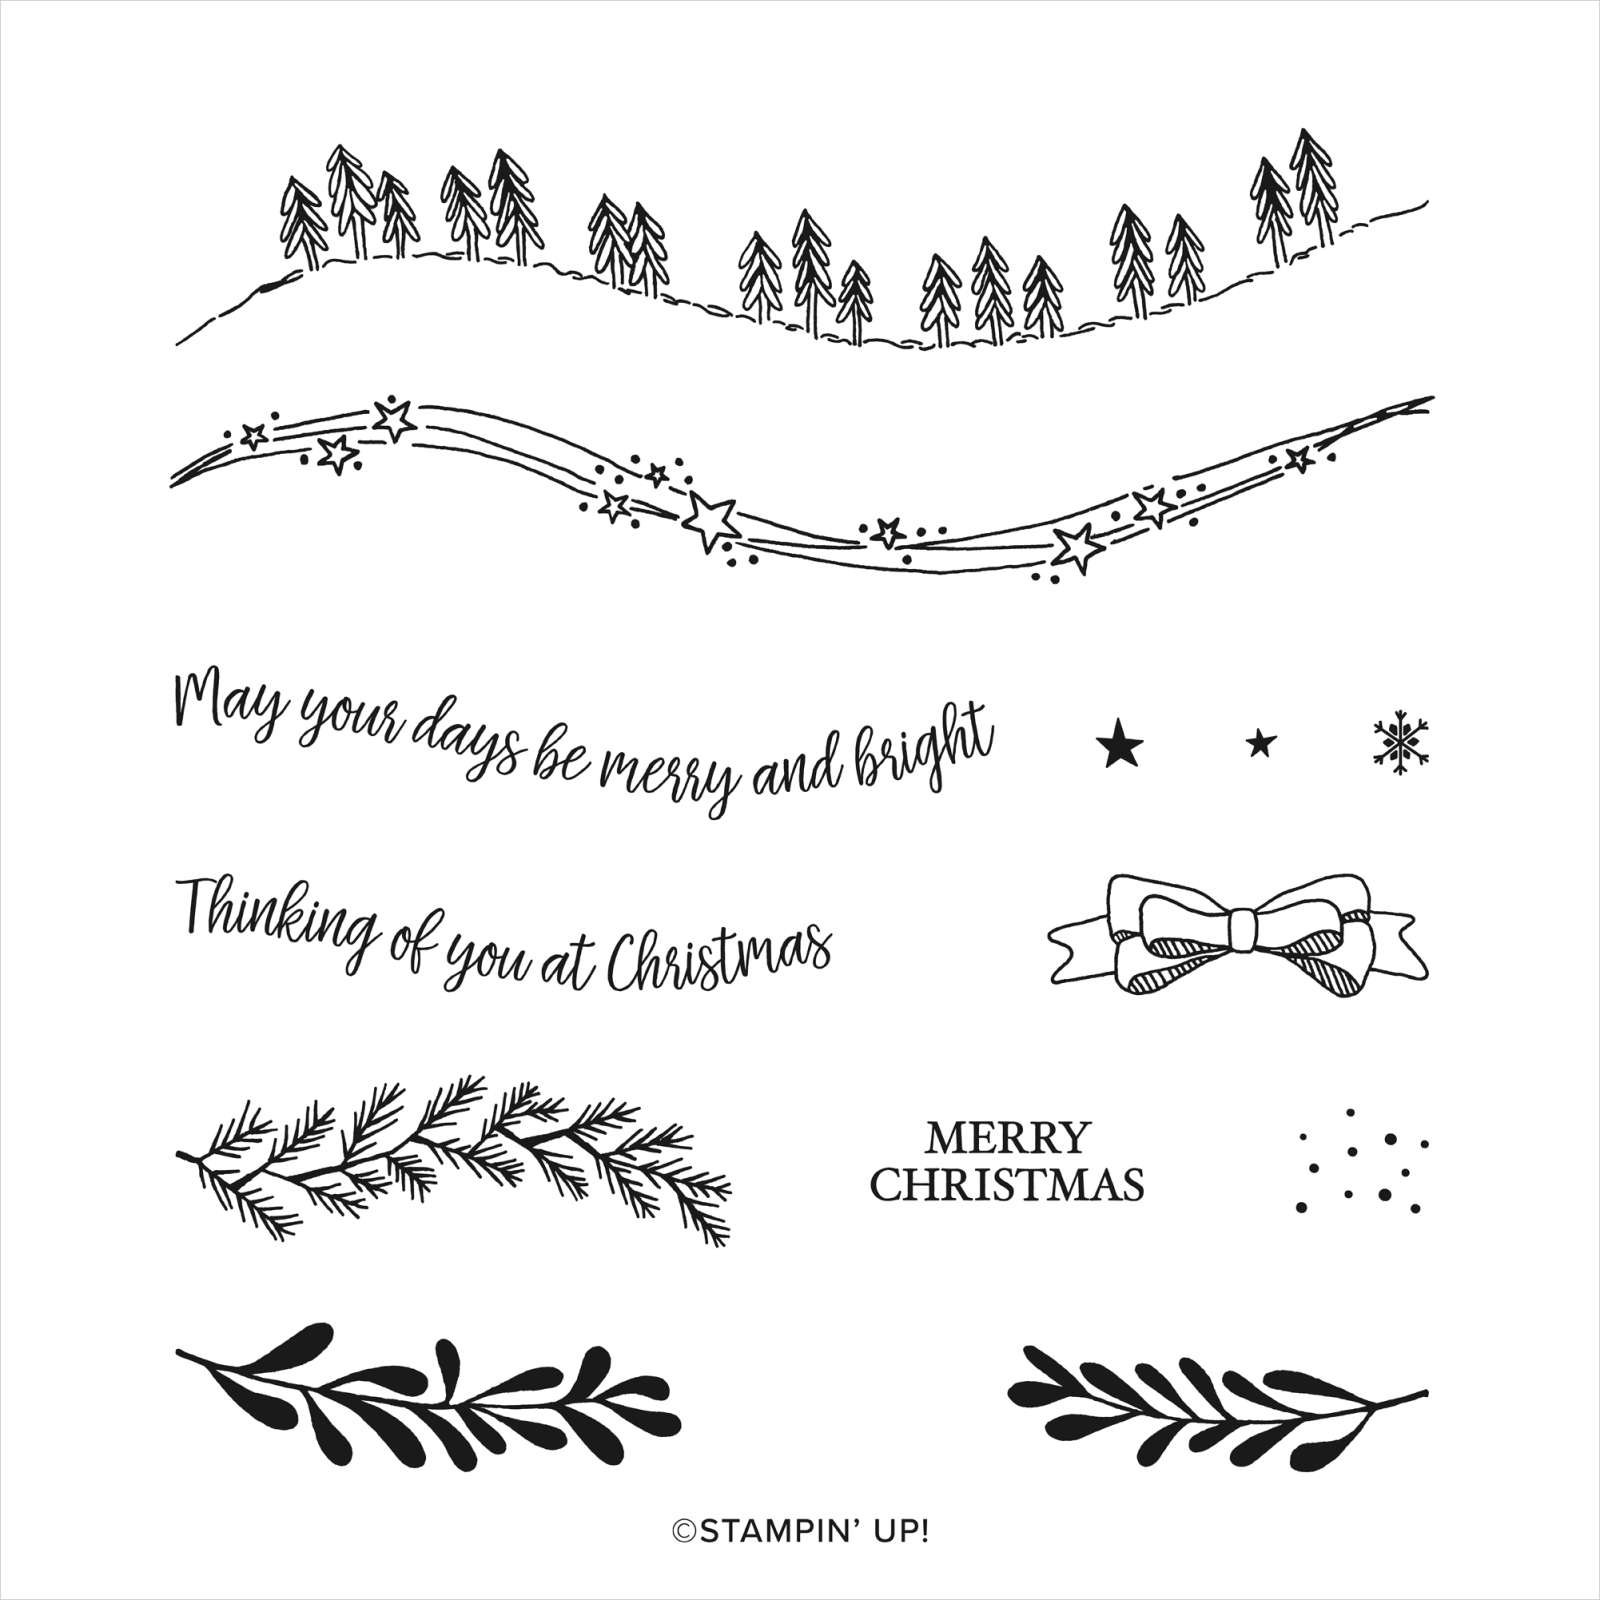
    • Curvy Christmas stamp set
    • Classic Christmas 6" Designer Paper
    • Winter Snow embossing folder – on sale 50% off 
    • Curvy Dies – green leaves and Gold foil & White dotted curvy edge
    • Detailed Band dies – gold leaves
    • Stitched Nested Labels 
    • 3/8" Metallic Gold ribbon – dies Cherry Cobbler
    • Shaded Spruce, Cherry Cobbler & White CS 

    Remember that the Curvy Christmas set and Classic Christmas 6" paper are retiring soon.  They are available while supplies last through January 4th only.  The Quite Curvy bundle will be coming back in the 2021 Spring catalog however.  See it all here. 

    Here are a few more samples using these products: 

    ~~~


    December Ordering Special: 

    Current Host code is AHJNPWNB

    Order online here

    All online orders will receive my 16 Christmas cards class PDF!

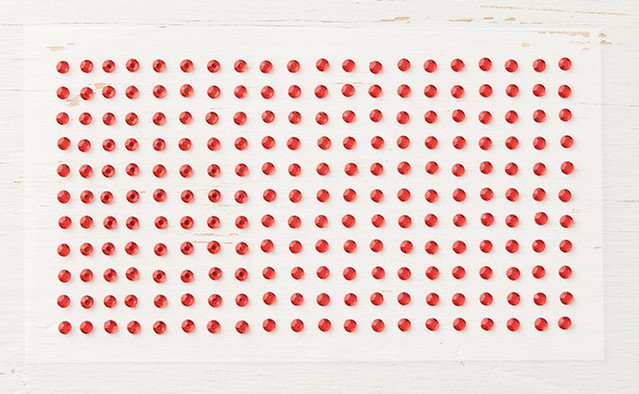
    Get a free package of 220 Red Rhinestones from me with an online order over $50 using the host code above.

    Below are the Multipurpose Glue stands we're making. They're $6 each and available in my Shop here.  

    Leave a Reply

    Your email address will not be published. Required fields are marked *

  • Quick Card template & cute Christmas treats & snowman tags


    I shared a ton of Holiday projects on this week's FB Live.  You can see the video below but here are the projects:

    I used the Brightly Gleaming Specialty DSP here along with Very Vanilla, Navy, Brass foil and Peacock CS.  This pretty paper is on sale at 50% off!  See it here.

    This is one of the easiest layouts you can make that still has some layers to it.  I like the card below best since you can stamp directly on the single layer and do not need a second greeting piece to stamp on like the cards on the left & right above.  Measurements below: 


    Easy Christmas card

    • Main card – 8 ½” X 5 ½” or 4 ¼” X 11”, DSP – 3” square
    • CS – 4 ¼” X 3 ¼”, Vanilla greeting layer is 7/8" X 3", Foil strip – ½” X 4”

    Next I have a super cute candy box treat made by my friend Marilyn.  She used the Celebration Label dies; they're 50% off now while supplies last!  See them here. 

    Celebration Labels Treat box

    • Use the largest 2 dies.  Center the CS die-cut at 6”; score at 5 3/8” and 6 5/8”
    • Box is 2 3/8” X 5 1/8” scored at ½” on each edge

    Next is a fun candy bar pull up treat.  I love making these since they're so quick & easy. 

    Santa Pull Up Treat
    Red CS 6 1/2" X 7" score at 3/8", 3/4", 3 1/2" and 3 7/8".
    Black glitter belt 1" X 7"

    This candy bar is in a thin card board box so I had to score it.  Usually I just wrap the card stock around the candy bar and glue the edge overlapping each other.  That one is a lot quicker. 

    Lastly is a sweet snowman tag. 


    It's a piece of Snowflake Splendor DSP and White CS both measuring 4 1/2" X 2" and tied together at the top.  I used the Delightful Tag Topper & 2" circle punches here. The stitched nose is made with the Triangle dies.  I drew Black 'stones' with a marker for his smile. 

    Below you can get the tips on putting these projects together.  Don't forget to subscribe to my YouTube channel here. 

    ~~~


    December Ordering Special: 

    Current Host code is AHJNPWNB

    Order online here

    All online orders will receive my 16 Christmas cards class PDF!

    Get a free package of 220 Red Rhinestones from me with an online order over $50 using the host code above.

    Below are the Multipurpose Glue stands we're making. They're $6 each and available in my Shop here.  

    Leave a Reply

    Your email address will not be published. Required fields are marked *

  • Sweetest Time Christmas card


    I thought I'd share a few Christmas cards I've received lately. 

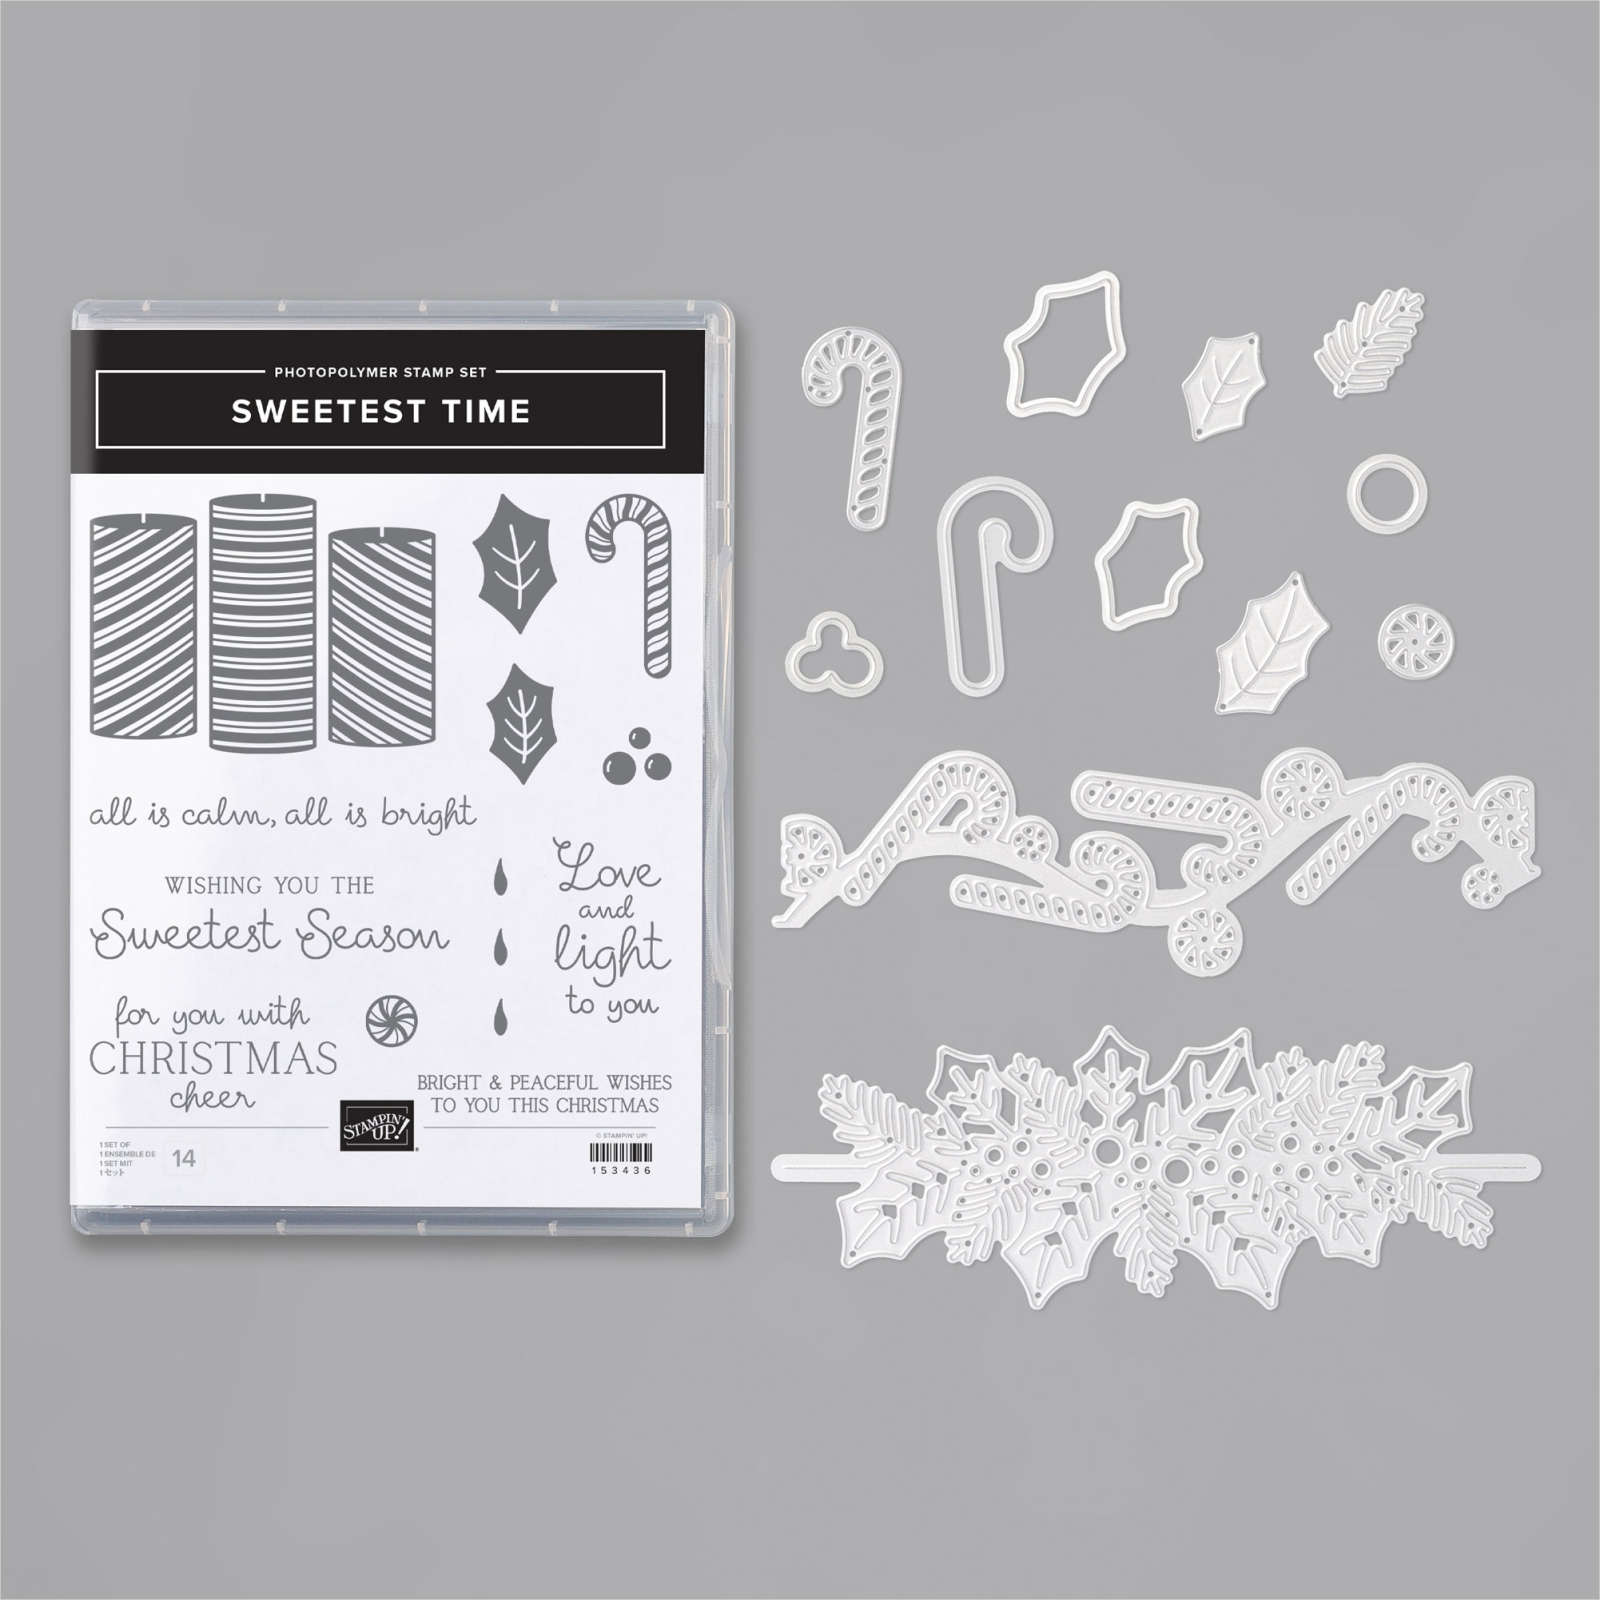
    Jean sent me this pretty Christmas card using the Sweetest Time bundle seen here. 

    The Sweetest Border dies are so neat!  I love how you get a solid edge but the detailed candy canes all in one.  

    She used Real Red with Pear Pizzazz here along with the Wonderful Gems.  

    Here's another card shared by Stampin' Up!

    And look at these projects!  They're showcased with the new Mini Stampin' Cut & Emboss Machine!      


    I just received mine and I LOVE IT!  It's adorable, small and lightweight.  It's the perfect size for both travel and to fit right on my workspace.  It's available to demonstrators this month but will be released to everyone on January 5th!  It's just $60 and you'll earn a free Sale-a-Bration choice when you purchase it in January. 

    If you're in a hurry to get yours, you can add it to your Starter kit in December and join as a Demonstrator.  What a great gift to yourself!  Join the Stampin' Up! family and enjoy the fun and perks of being part of something awesome! Go here to join my Flowerbug's Team. 

    ~~~


    December Ordering Special: 

    Current Host code is AHJNPWNB

    Order online here

    All online orders will receive my 16 Christmas cards class PDF!

    Get a free package of 220 Red Rhinestones from me with an online order over $50 using the host code above.

    Below are the Multipurpose Glue stands we're making. They're $6 each and available in my Shop here.  

    Leave a Reply

    Your email address will not be published. Required fields are marked *


Notice: LeeAnn Greff, Independent Stampin’ Up! Demonstrator, Manager. The content of this website is my sole responsibility as an independent Stampin’ Up! demonstrator and the use of, and content of, the classes, services, or products offered on this website is not endorsed by Stampin’ Up! Copyright 2025