/


Latest Post

How to achieve the Inked Block Technique; you only need 3 things!


I shared the Inked Block technique on Tuesday's Facebook Live video.  It's fun, easy and you need just 3 things!

I chose to feature the Garden Wishes stamp set & a variety of colors. This first one is Highland Heather, Gorgeous Grape & Pacific Point. 

You need a clear block, Stampin' Write markers and a spritzer filled with water.  Below are the measurements for the cards. 
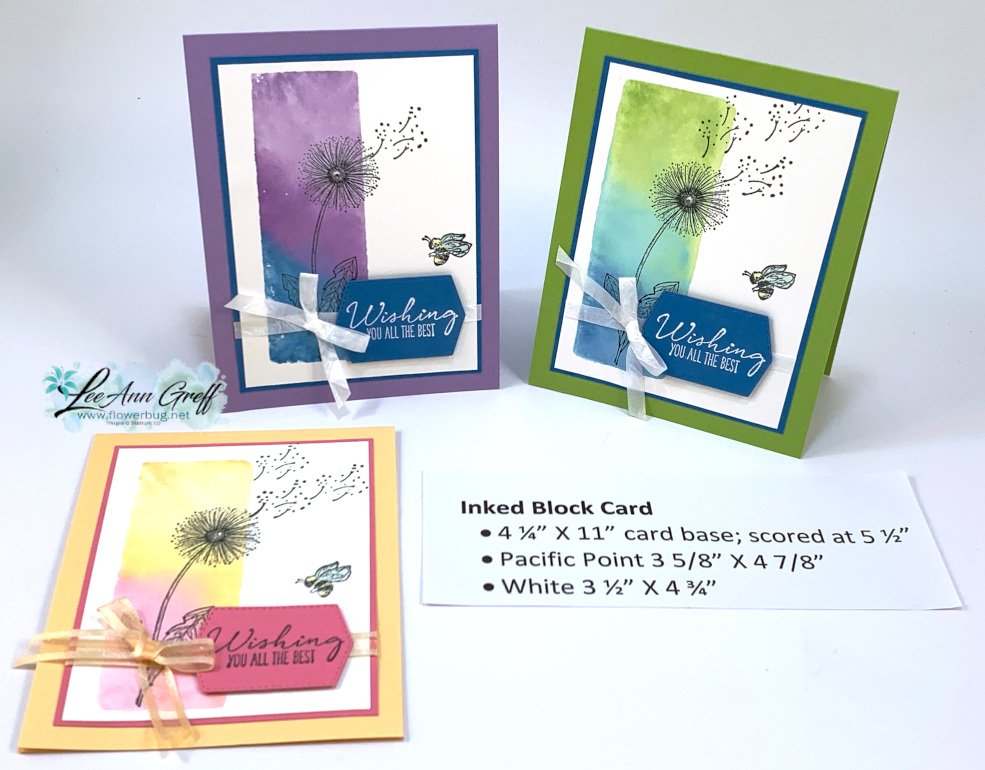
Watch the video here to see how it's done.  It's the first of 3 projects I share.   

Tips for success:

  • Use Stampin' Write 'water based' markers on your block; do not use Blends which are permanent markers.
  • Start with the lightest color first so you don't get a dark color on your marker tip
  • After filling up the block with ink (I colored on the diagonal) spritz it with water until dots form. 
  • The more water you add the better the inks blend.  But don't do too much or the colors blend too much. 
  • Press the block directly on your White card stock and hold for a few second. 
  • Have a tissue or paper towel ready to dab up excess water off the paper. 

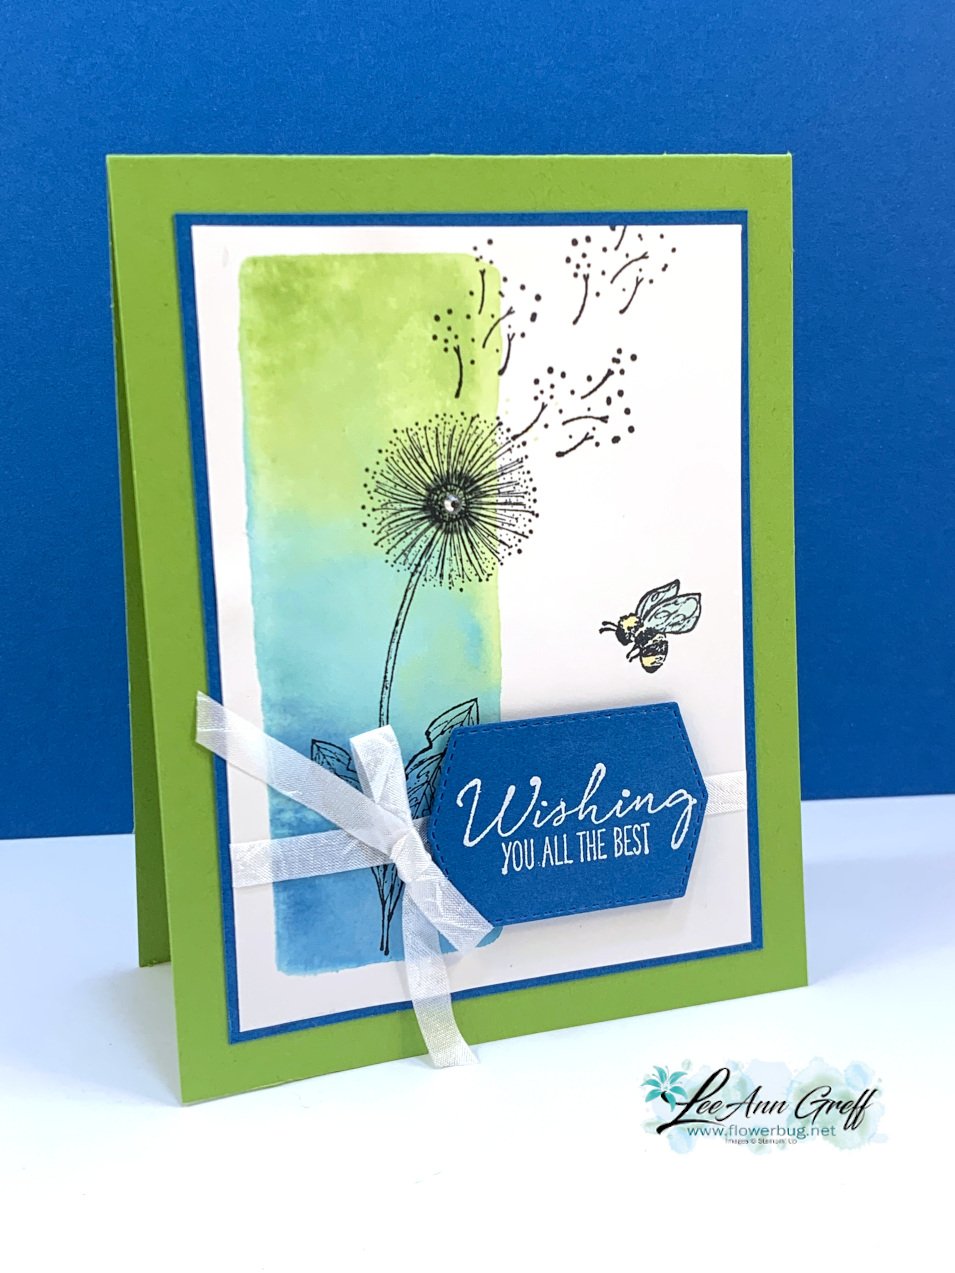
The Stampin' Write markers I used on this next card are Granny Apple Green, Coastal Cabana and Pacific Point.
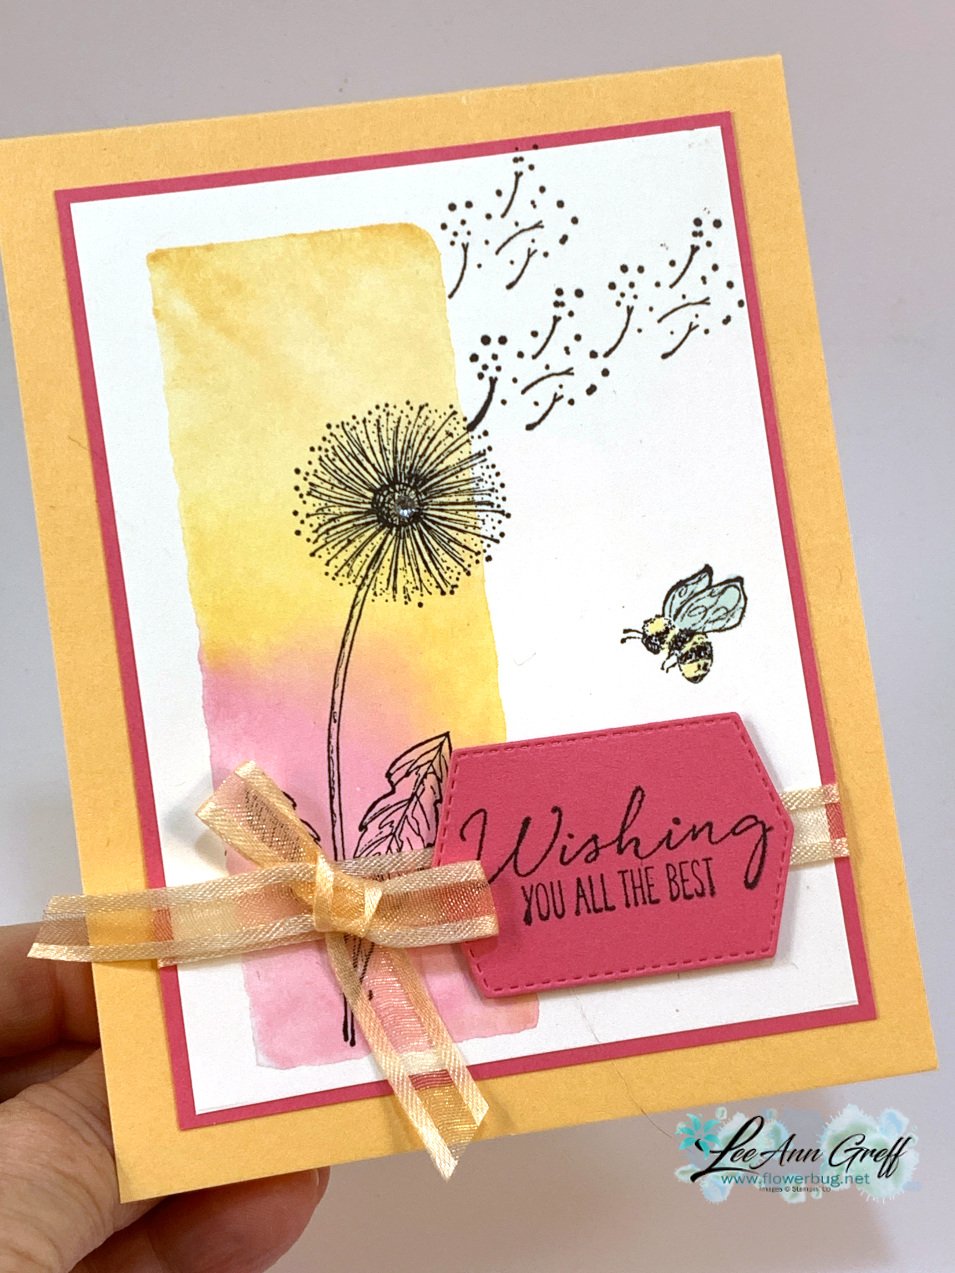
The card below has a softer feel.  The colors are Pale Papaya, Pumpkin Pie & Polished Pink. 
Which one is your favorite?  
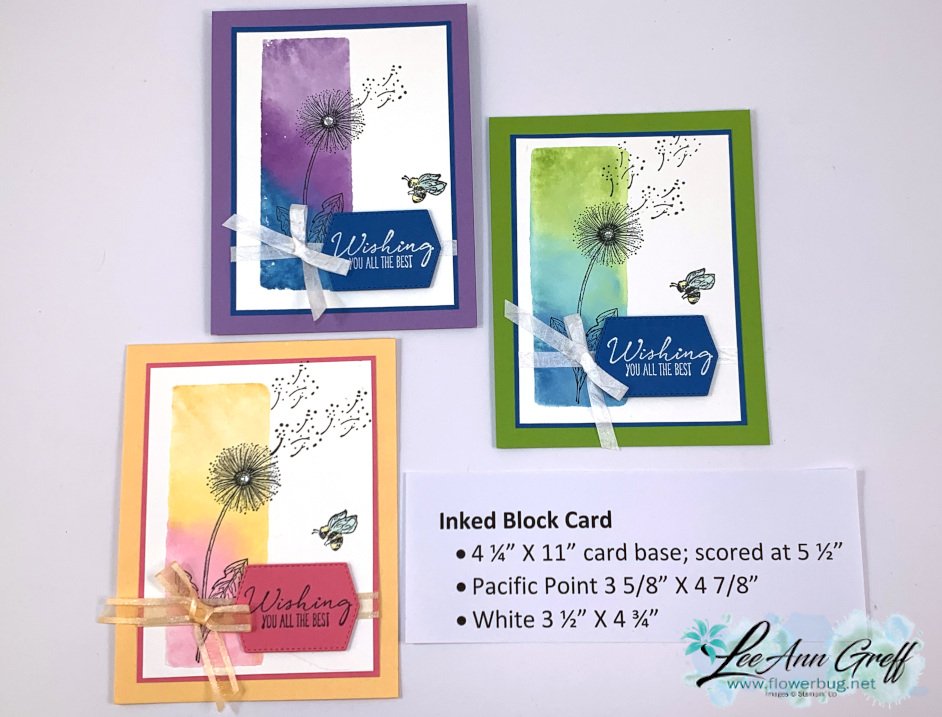
Click on the photo below to watch the video.  

~~~
The Last Chance list is out!
Tons of items from the 2021-22 Annual Catalog are retiring and many are deeply discounted from 20-50% off.
 
Remember that these items are while supplies last and may run out. 
Click here to see it all online along with the discounts.

Host codes: 6QFA66WT

 *click here to order 

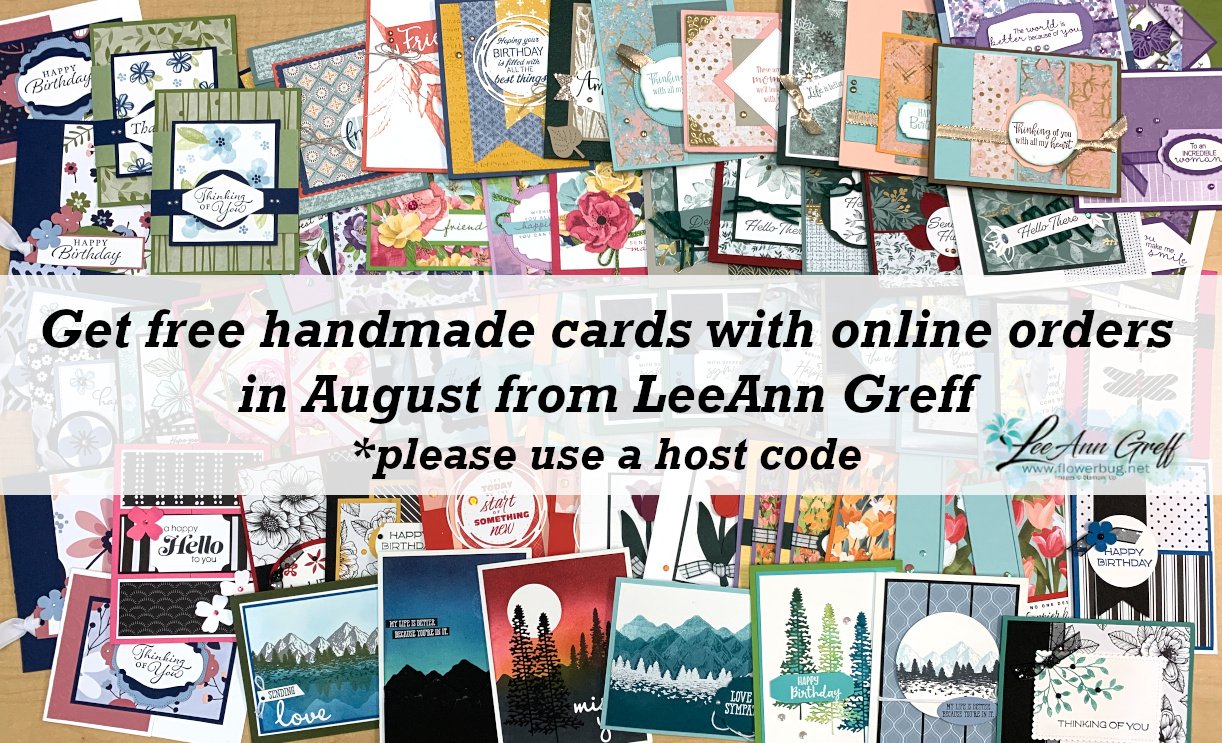
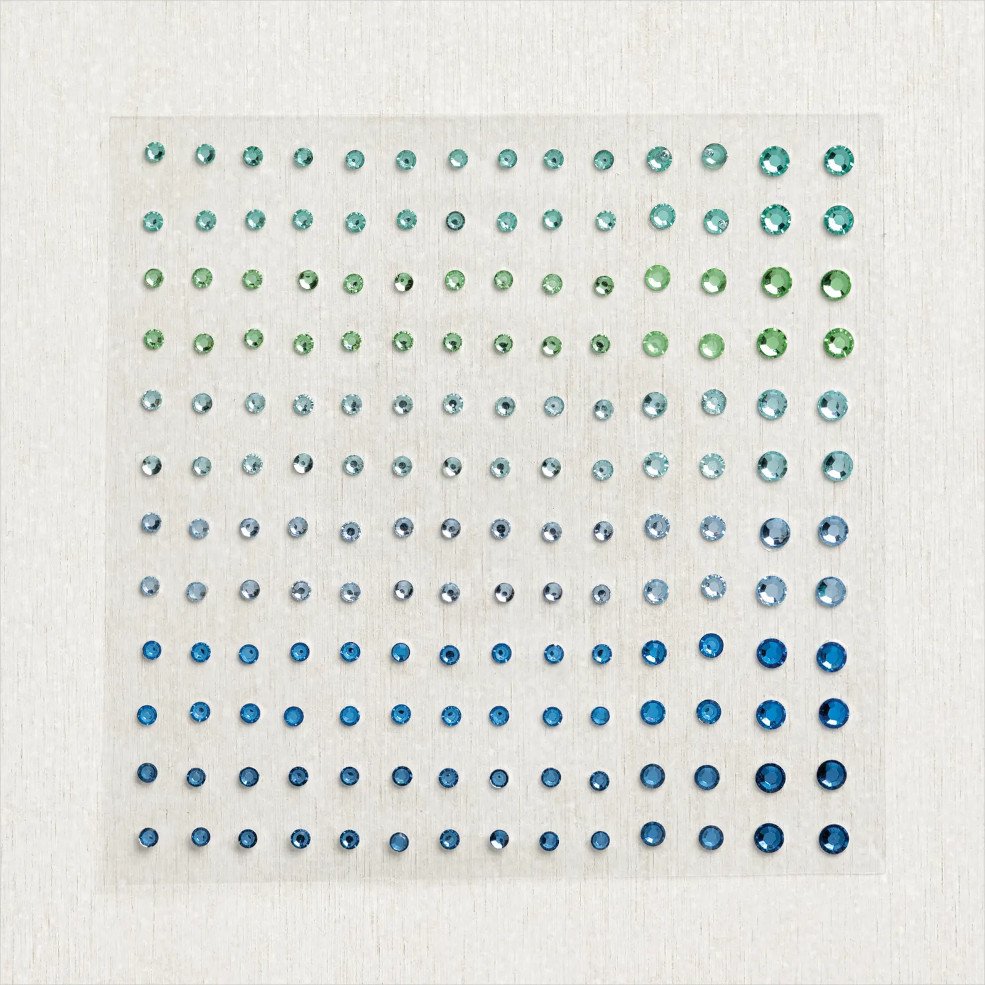
If your order is over $50 you'll receive free Polished Dots or In Color jewels and 3 hand made cards from me.
 

Don't forget about my loyalty rewards! 

Click here to download yours and earn a $50 shopping spree!  
All Posts

  • Hey Chuck; Artist of the Month cards. Part 1


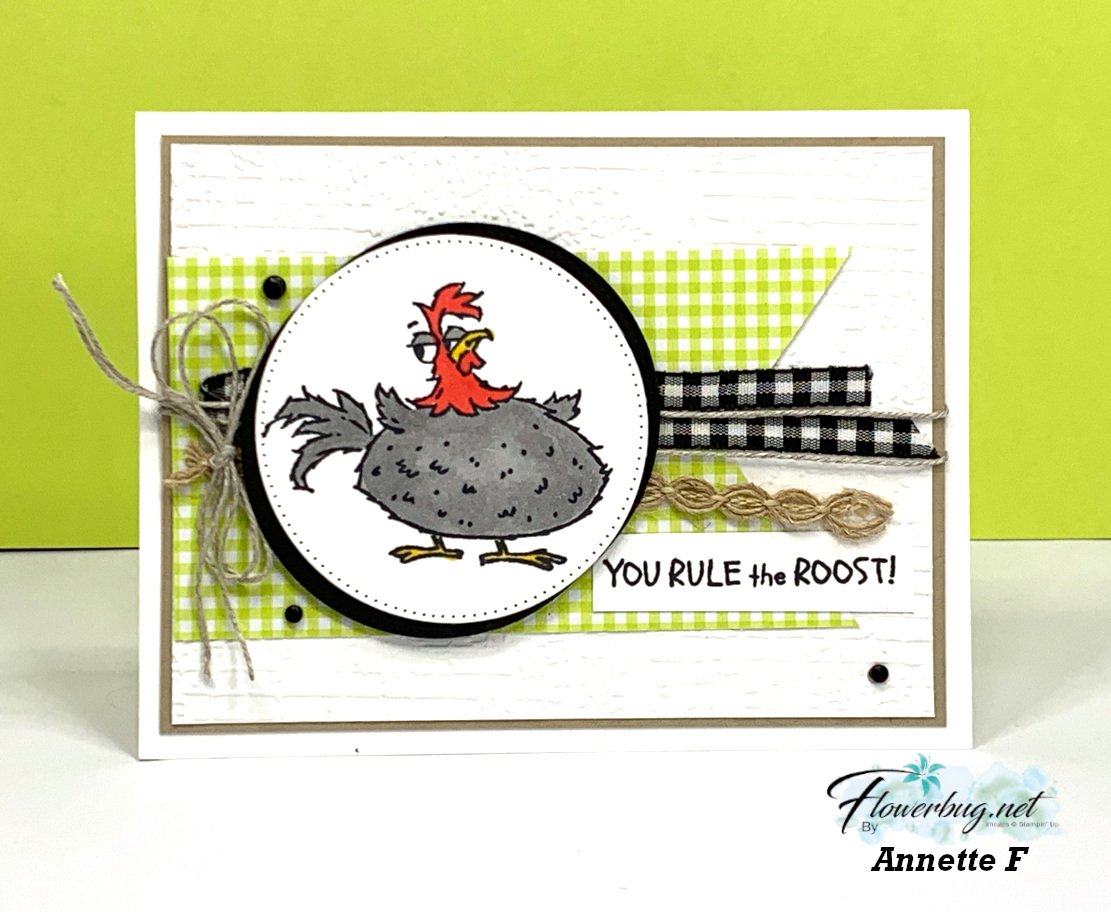
    Each month one of my Flowerbug's Team is featured as an Artist of the Month.  For July it was Annette and she chose the adorable Hey Chuck bundle seen here.  You're in for a treat!  I'll be sharing her incredible projects for the next few days.  

    The card above shows that adorable rooster at it's best.  She paired it with gingham accents in Glorious Gingham DSP and our Black & White gingham ribbon. She colored her rooster with Blends markers.  

    Here's the Hey Chuck bundle she used.  The dies were unavailable for most of July; but they're back now and available!


    Next is a cute way to show the many rooster images in this stamp set.  The Masterfully Made designer paper set the color theme and works perfectly here!!

    Measurements:

    • Card base 8 1/2" X 5 1/2"
    • DSP 4" X 4 1/4"
    • White squares 1 1/4",
    • Pumpkin Pie squares 1 3/8"
    • Crushed Curry layer 1 5/8" X 4 5/8" 

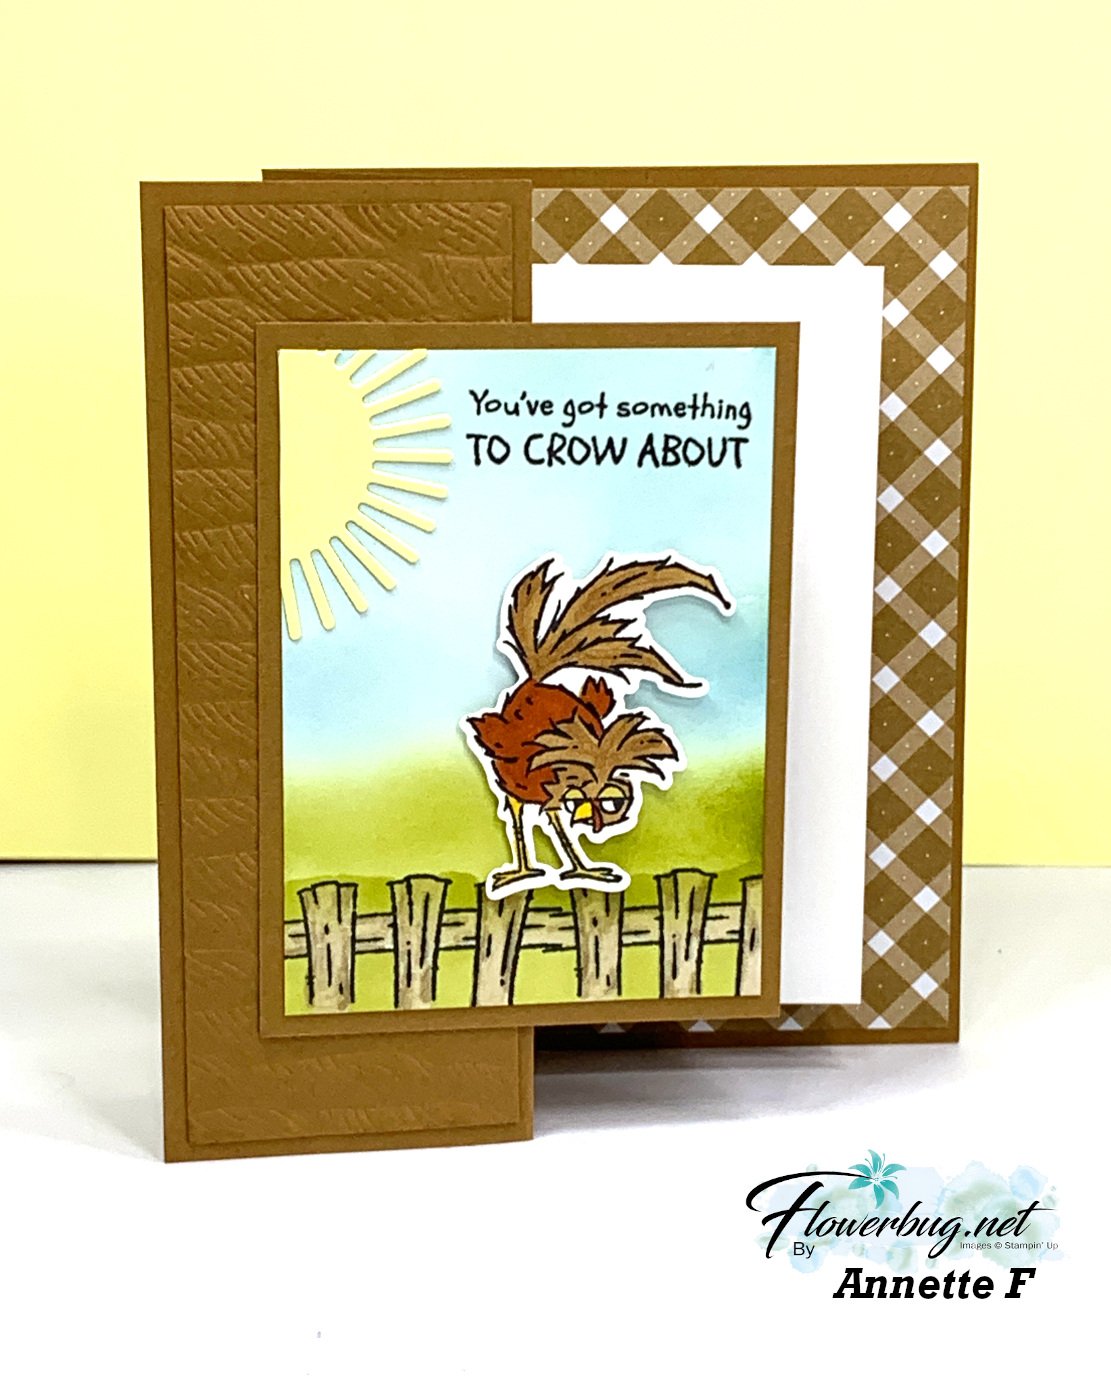
    Next is a Double Decker fun fold card!  Look at her blended background!!

    What a beautiful scene she created with her background blending and the stamps & dies in this bundle. The colors are Pecan Pie, Lemon Lolly, Old Olive and Pool Party. 

    I shared how to make one of these Double-Decker cards on last week's FB Live. You can watch it here.  

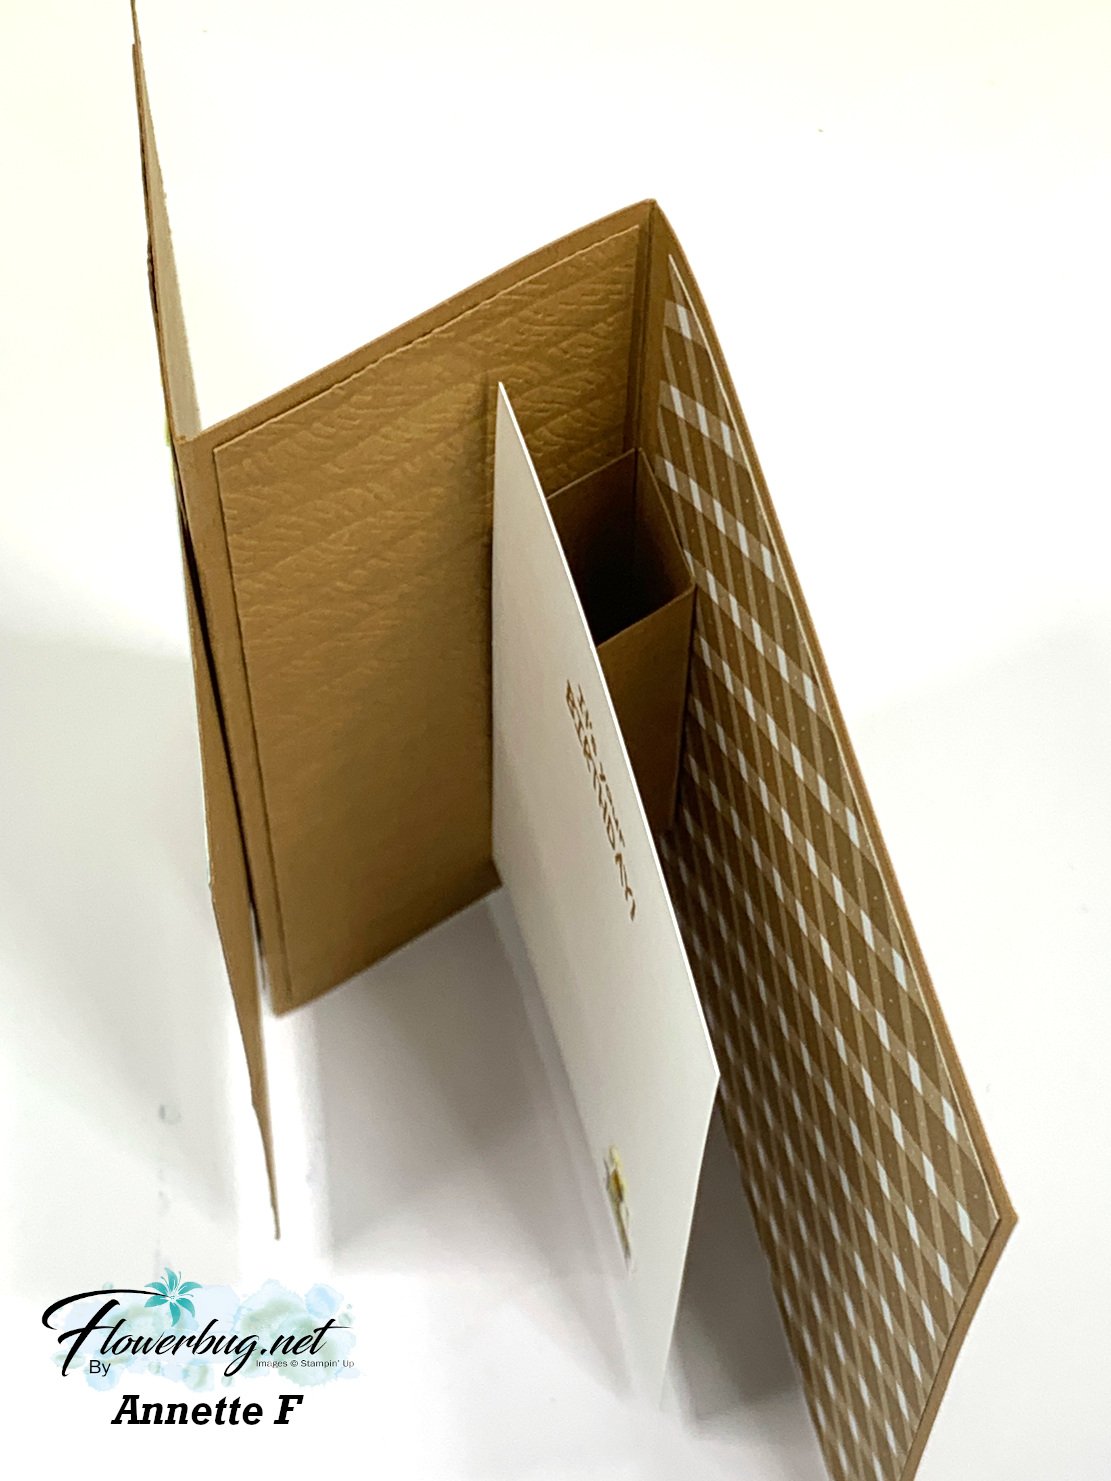
    Here's a view from the top so you can see the pop-up box that supports the White middle layer. 

    Measurements:

    • Card base 8 1/2" X 5 1/2" score at 2 1/8" and 4 1/4", textured front layer 1 7/8" X 5 1/5", layer under scene is 3" X 4",  pop up box piece is 2 1/2" X 3 1/2" score every 3/4"
    • White scene layer 2 3/4" X 3 3/4", inside white 3" X 4 1/2"
    • DSP 4" X 5 1/4" 

    Stop in tomorrow for more Hey Chuck projects; you do not want to miss these!!

    ~~~

    August Specials: 

     *current host codes: KY99RPXP 

    ShopwithLeeAnn.com

    Redeem your Bonus Days coupons in August!  

    Free Gift with orders in August: 

    Get a pack of at least 5 beautiful cards with orders over $50 this month. 

    The more you order the more cards you get!

    *cards are previous card kits to go; over the top and many fun folds.  

    Leave a Reply

    Your email address will not be published. Required fields are marked *

  • Earthen Textures card with video tutorial


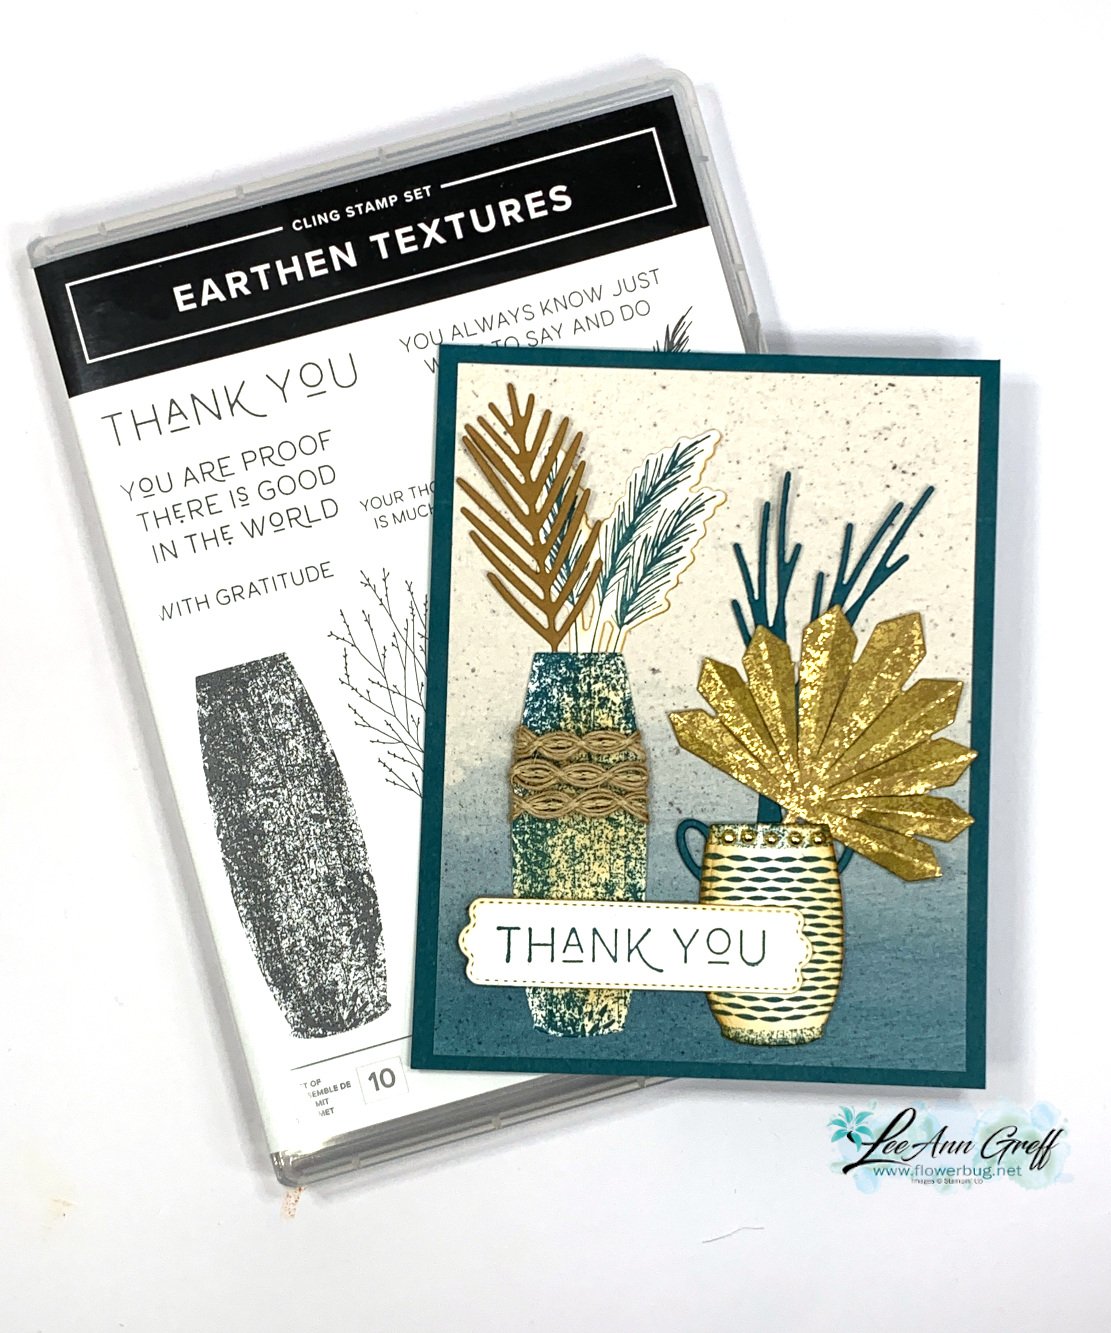
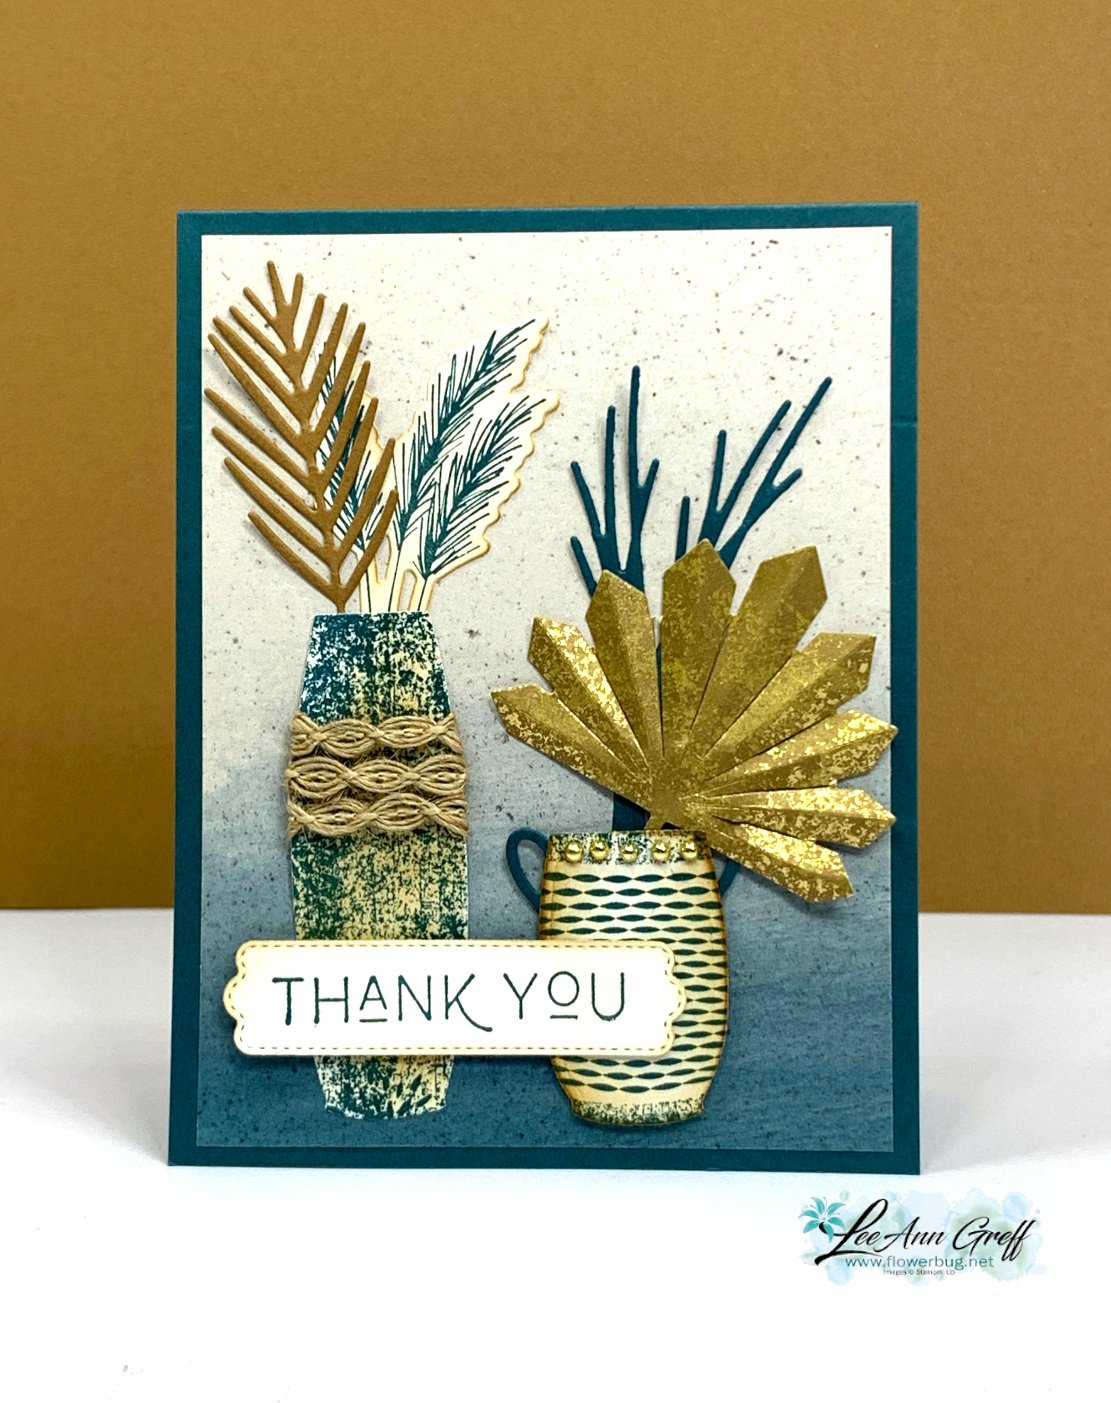
    I made this card for last week's Live video.  I LOVE the colors and textures!  

    It features the Earthen Textures stamp set & dies bundle.  Unfortunately the dies are in low inventory so they may be unavailable soon.   But they'll be back I'm sure.  You can see them here.  

    My colors include Pretty Peacock and Pecan Pie.  The designer paper for the background is the Earthen Elegance seen here.  I also used the Distressed Gold paper on the large pleated fan/leaf.  The die creates folds so you can add a lot of texture and dimension on your projects.  

    I stamped both die-cut vases in Pretty Peacock ink onto Vanilla card stock.  I then sponged Pecan Pie ink onto them.  I wrapped the tall vase 3 times with the Natural Wavy trim. I've been loving using this unique trim; it was unavailable for over a month but it's back now.  

    You can watch the video here.  Don't forget to subscribe to either my FB page here to join in the Live's each Tuesday morning.  Or follow me on YouTube here.  

    ~~~

    August Specials: 

     *current host codes: KY99RPXP or XNYX2DWG

    ShopwithLeeAnn.com

    Redeem your Bonus Days coupons in August!  

    Leave a Reply

    Your email address will not be published. Required fields are marked *

  • The Kit Collection is on sale starting today!


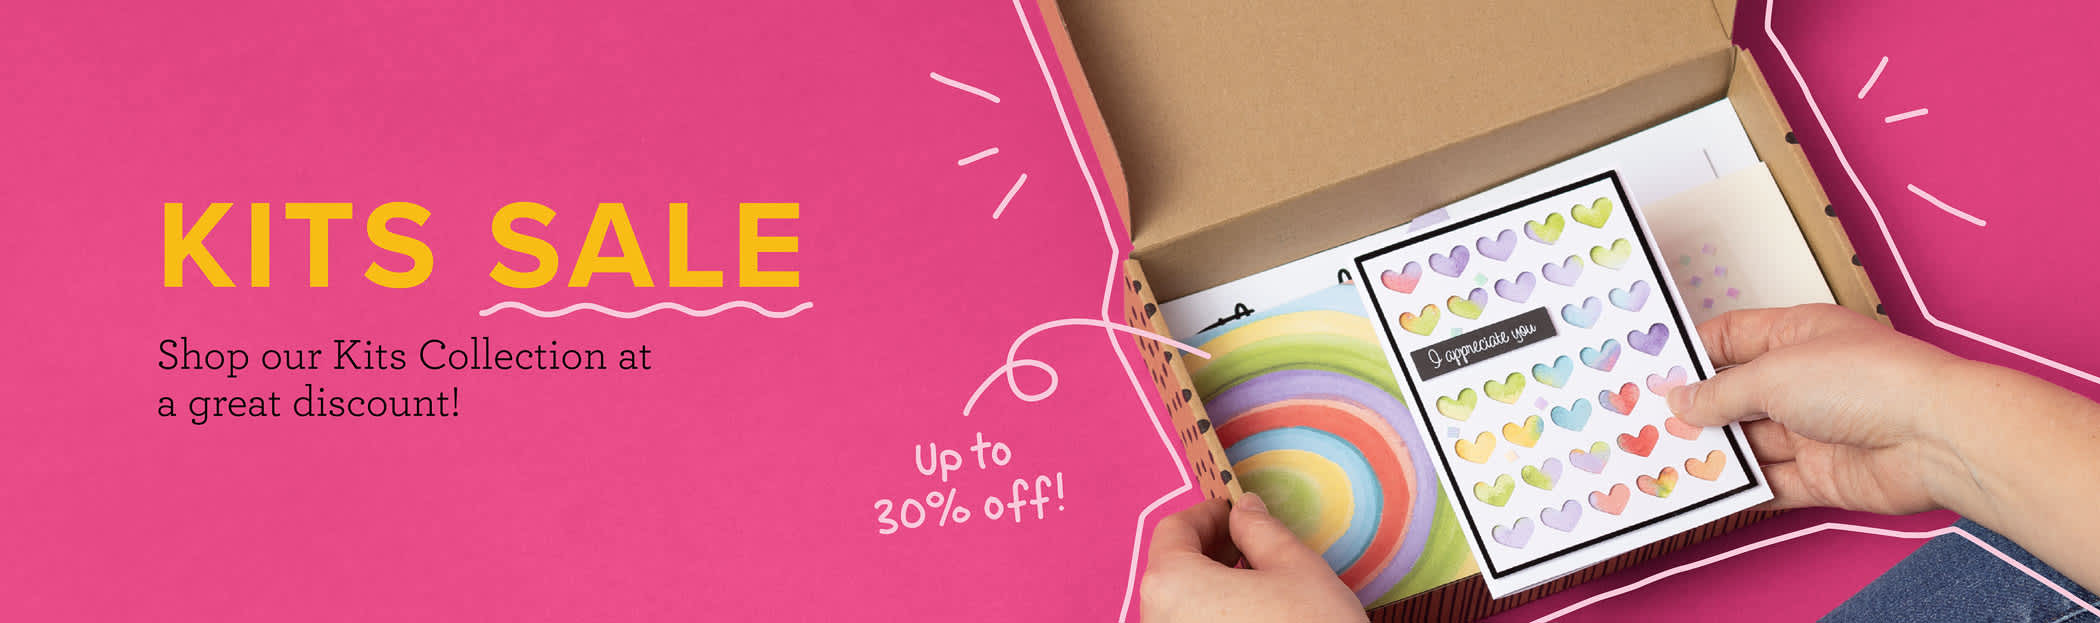
    The Kits Sale starts today!  Our kits are amazing and each one is all inclusive! 

    What does 'all inclusive' mean?  It means that each kit can be made without additional supplies. However you will likely need adhesive and a scissors; but most crafters have them.  

    Here are a few samples of the kits available:

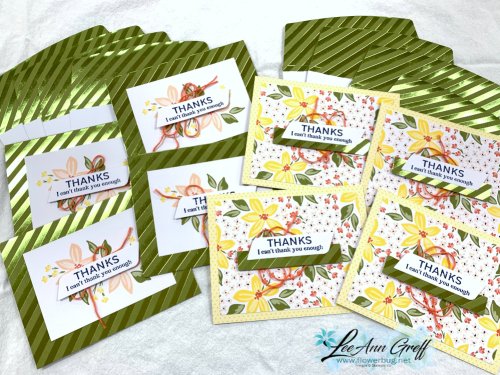
    This is a brand new kit; available starting today!  The Festive Tags kit seen here.  

    It includes 15 tags; 3 each of 5 designs and it's just $11.70!

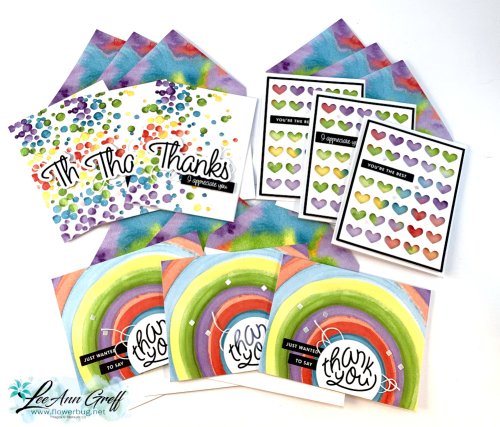
    First is one of my very favorites. It's called 'Saying Thanks'; now just $11.70.  It's a quick kit to make as there is no stamping required. See it here. 

    Here's the Forever Friends kit. It has stunning foil accents and envelopes.  I changed the greetings on my cards to be thank you's.  See the kit here.  

    Next is the Best Remedy card kit; it's perfect for a get well or 'pick me up' occasion. $18.40.    See it here. 

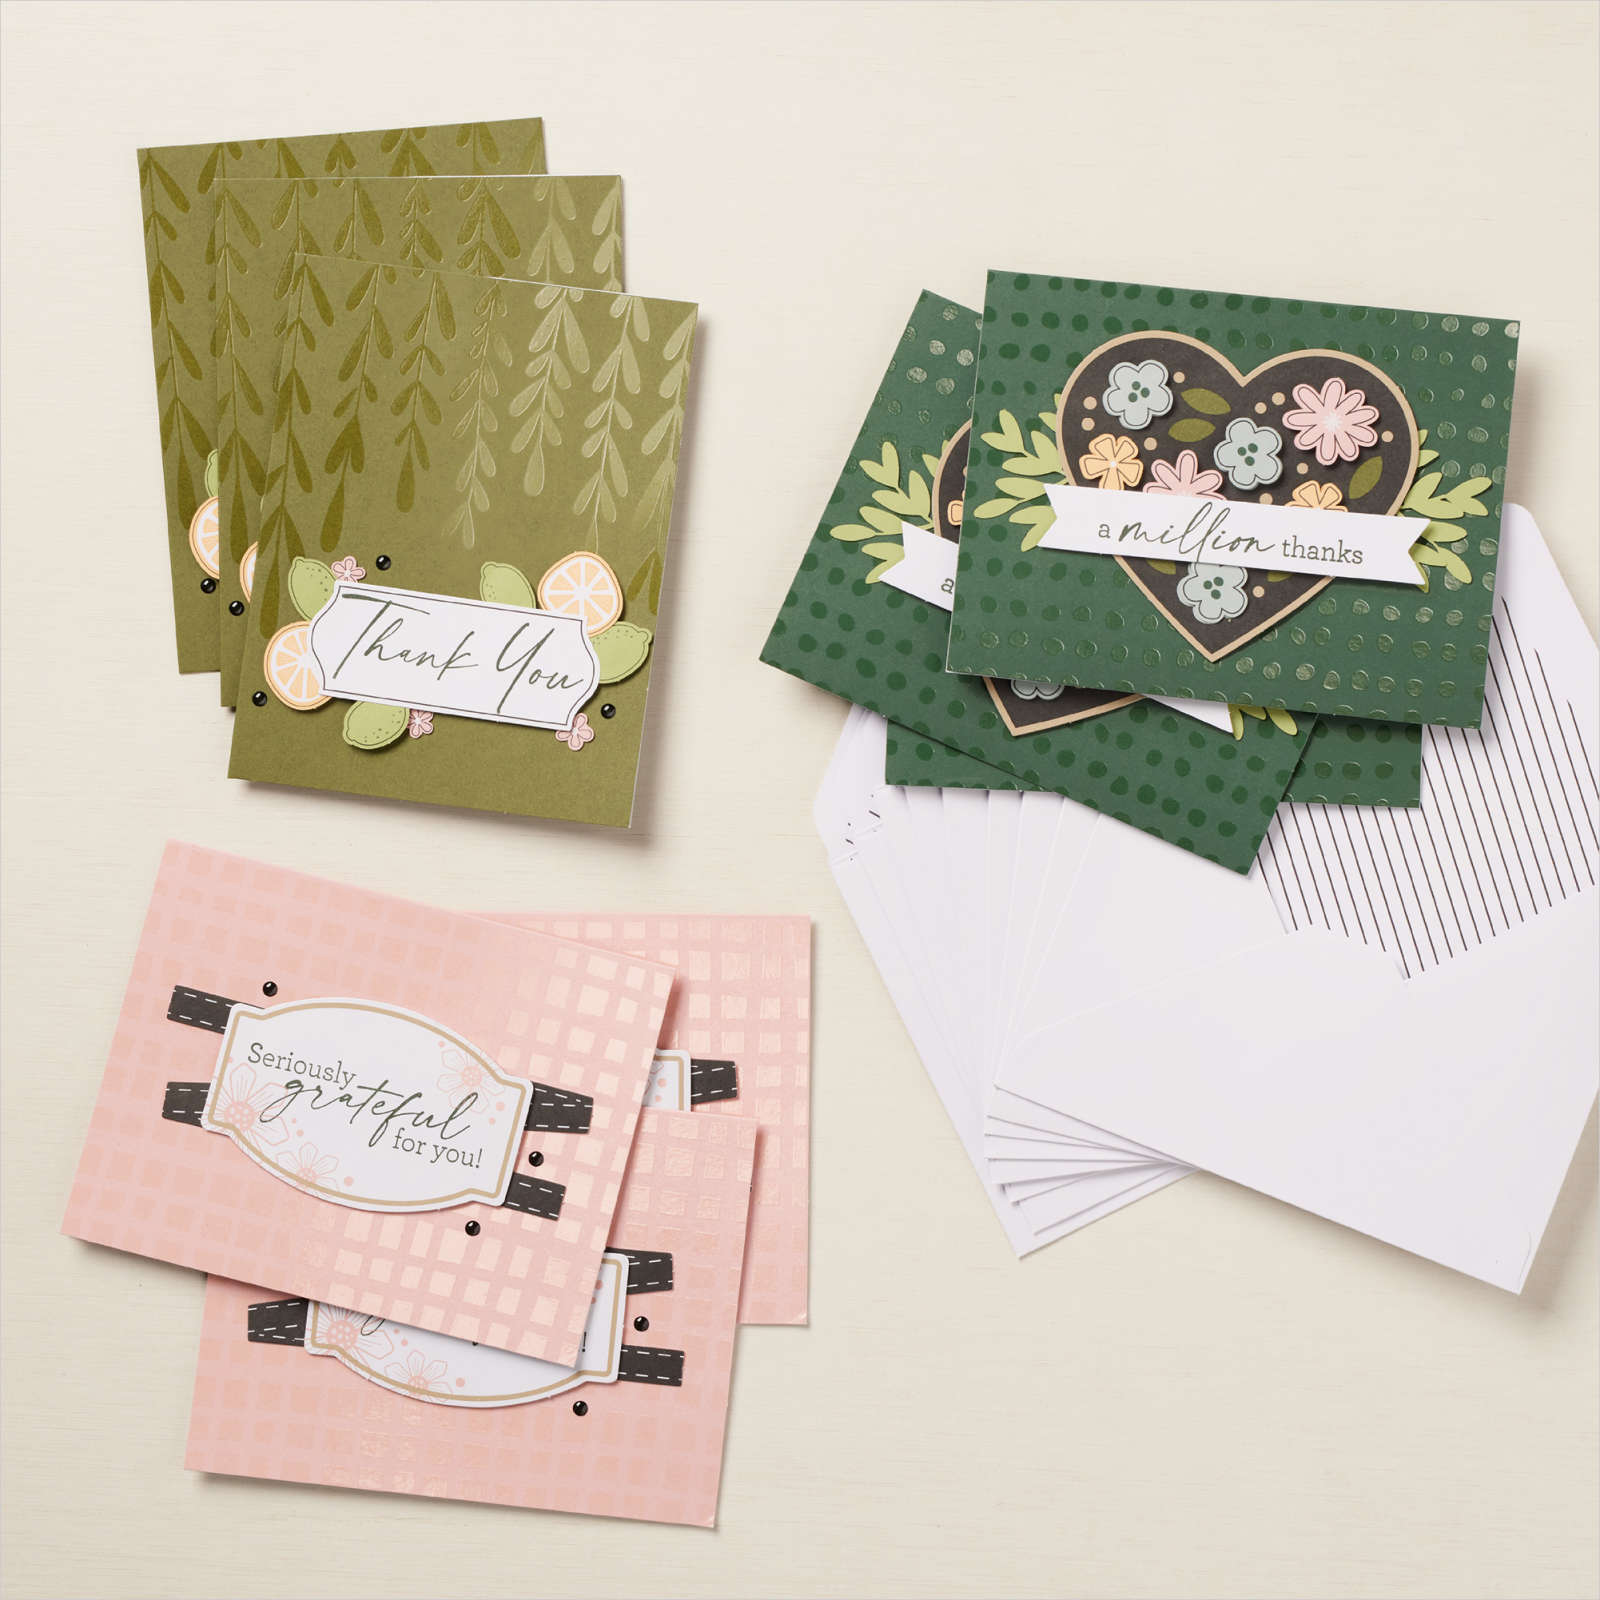
    I LOVE the Million Thanks kit!  Beautiful foiled card bases and gorgeous stamp set.  At $17.60 it's a bargain.  Remember you get everything you make the projects plus a stamp set & ink spot!  See it here

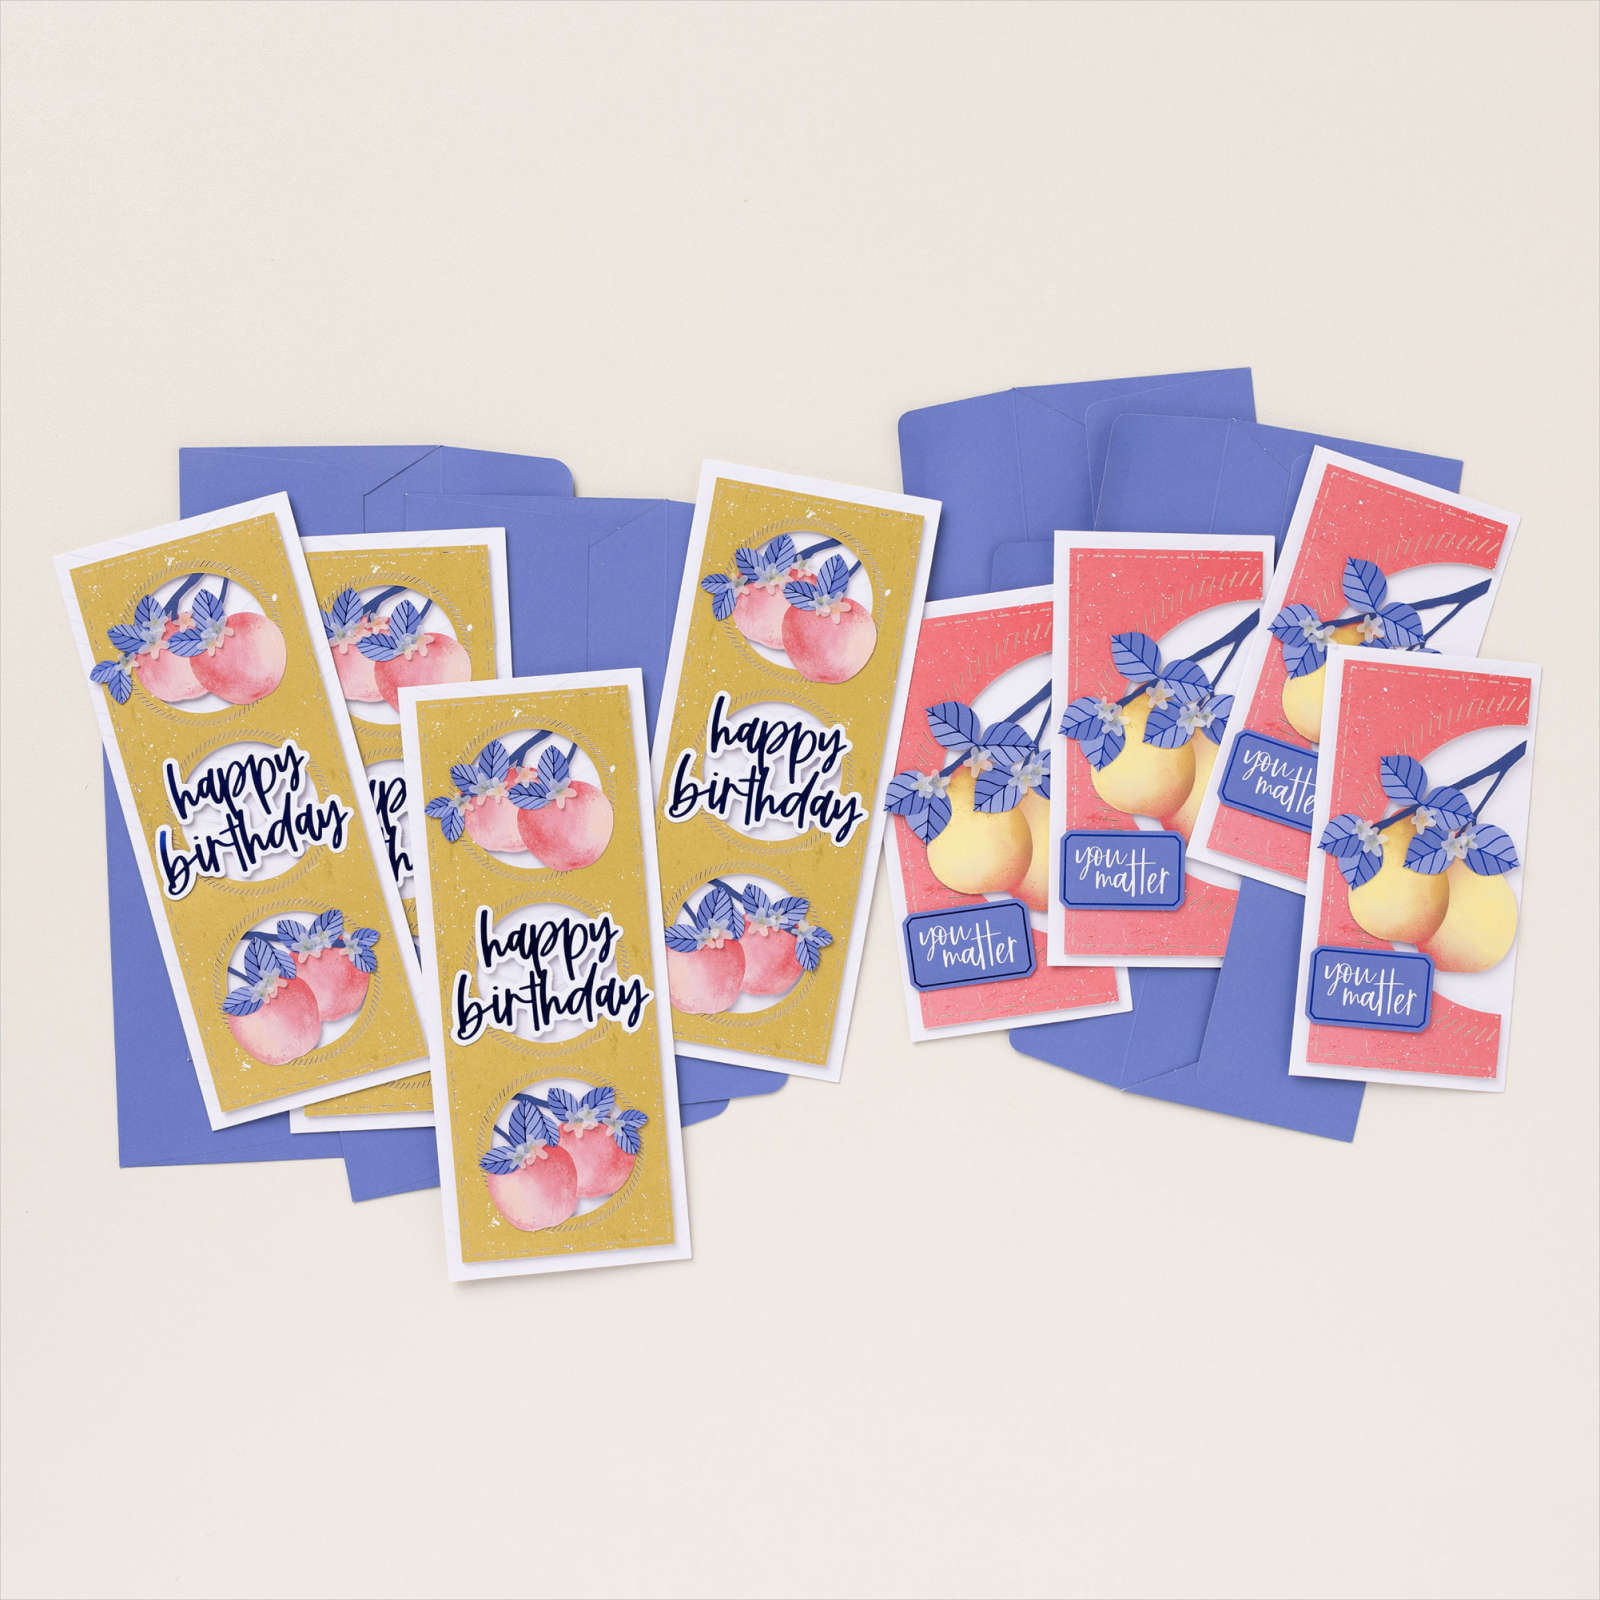
    This next kit is a quick & easy kit; no stamping required.  It's a perfect gift for someone who likes to send cards.  See it here. 

    Why the Kits Collection? Here are 10 reasons to try a kit:

    1. Kits are pre-designed, pre-cut, and all-inclusive, which means that anyone can have a successful crafting experience with them.
    2. Crafting kits make great gifts for friends and family—think birthdays, Christmas, etc.
    3. If you are either busy, low on storage space, or both, kits may be a perfect way to enjoy a bit of creativity.
    4. With so many kits to choose from, there’s something for everyone!
    5. New kits are released regularly, so there’s always something to look forward to.
    6. Kits are portable. You can take them anywhere and start crafting in minutes.
    7. For card emergencies, having a kit or two on hand means quick access to beautiful, easy-to-make cards.
    8. Need something to re-start dwindling crafting mojo? Kits can be the answer!
    9. During this promotion, you can try a kit at a great price! Everyone loves a bargain!

    ~~~

    August Specials: 

     *current host codes: KY99RPXP or XNYX2DWG

    ShopwithLeeAnn.com

    Redeem your Bonus Days coupons in August!  


    Leave a Reply

    Your email address will not be published. Required fields are marked *


Notice: LeeAnn Greff, Independent Stampin’ Up! Demonstrator, Manager. The content of this website is my sole responsibility as an independent Stampin’ Up! demonstrator and the use of, and content of, the classes, services, or products offered on this website is not endorsed by Stampin’ Up! Copyright 2025