/


Latest Post

How to achieve the Inked Block Technique; you only need 3 things!


I shared the Inked Block technique on Tuesday's Facebook Live video.  It's fun, easy and you need just 3 things!

I chose to feature the Garden Wishes stamp set & a variety of colors. This first one is Highland Heather, Gorgeous Grape & Pacific Point. 

You need a clear block, Stampin' Write markers and a spritzer filled with water.  Below are the measurements for the cards. 
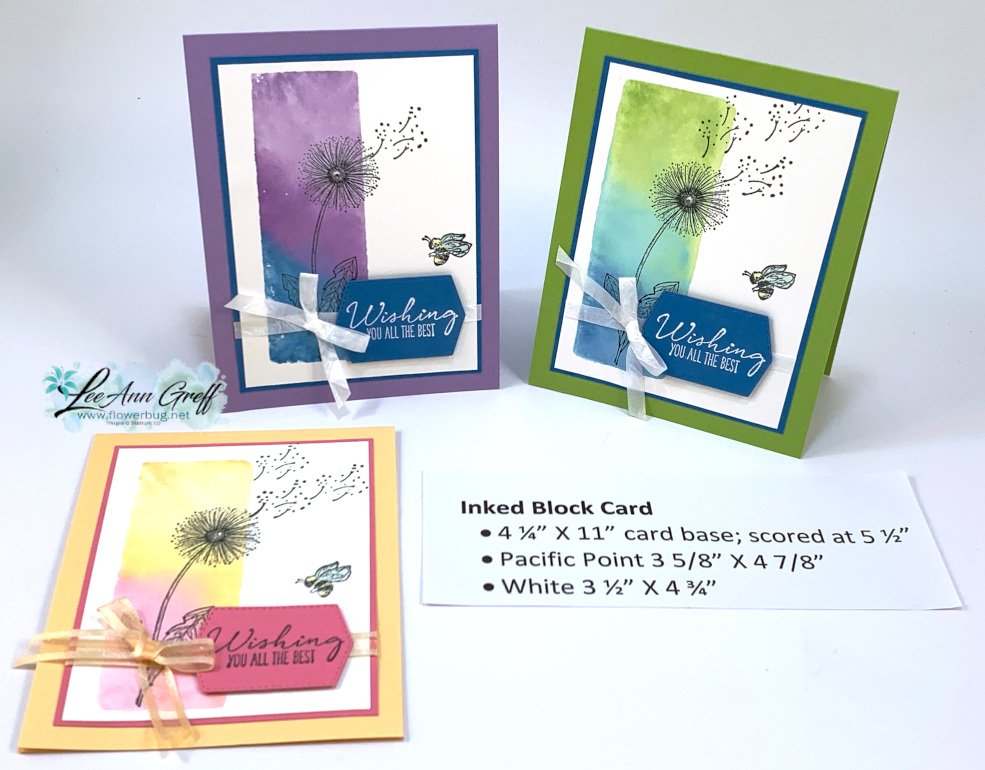
Watch the video here to see how it's done.  It's the first of 3 projects I share.   

Tips for success:

  • Use Stampin' Write 'water based' markers on your block; do not use Blends which are permanent markers.
  • Start with the lightest color first so you don't get a dark color on your marker tip
  • After filling up the block with ink (I colored on the diagonal) spritz it with water until dots form. 
  • The more water you add the better the inks blend.  But don't do too much or the colors blend too much. 
  • Press the block directly on your White card stock and hold for a few second. 
  • Have a tissue or paper towel ready to dab up excess water off the paper. 

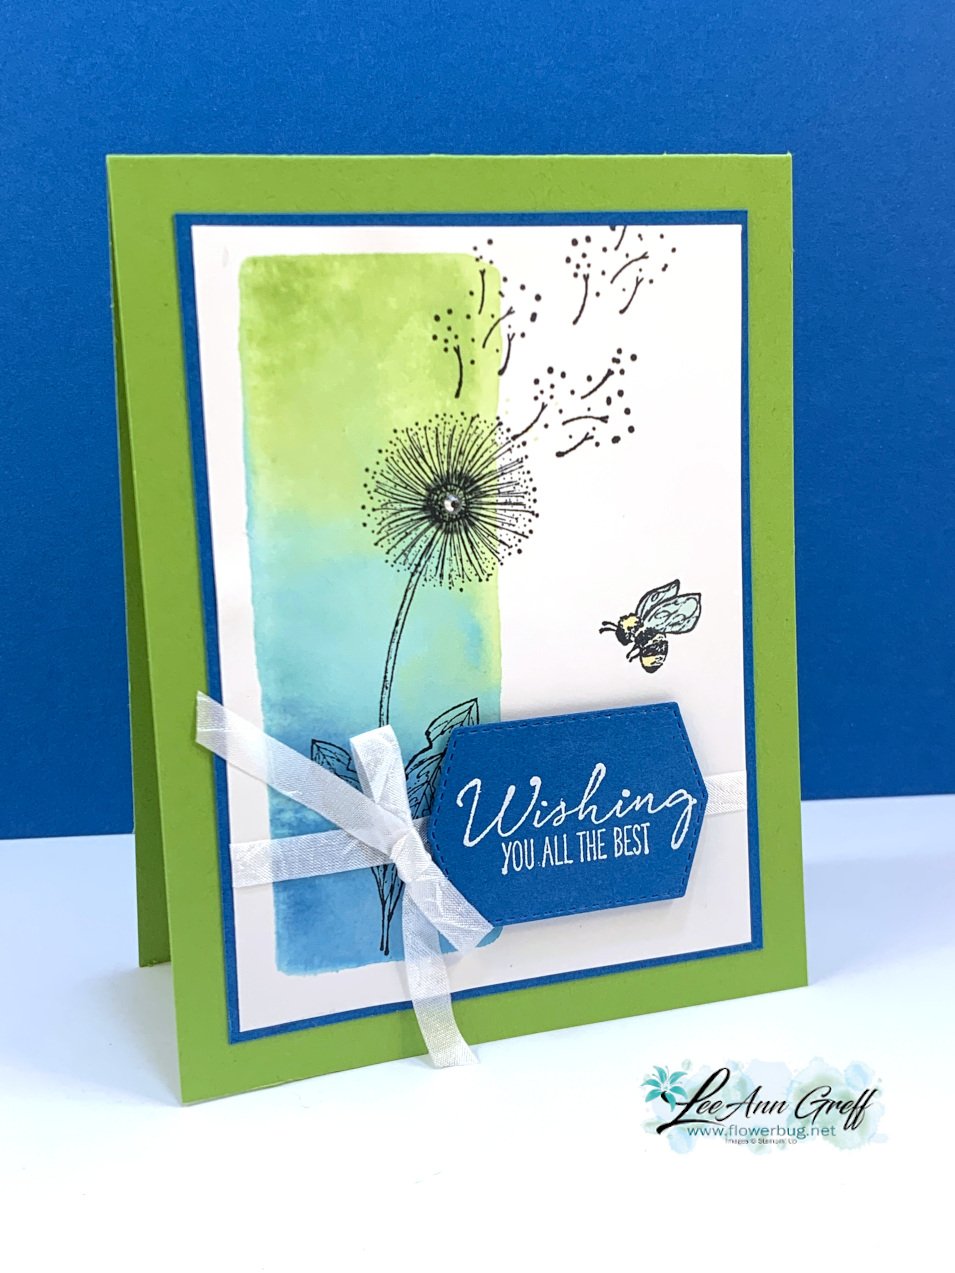
The Stampin' Write markers I used on this next card are Granny Apple Green, Coastal Cabana and Pacific Point.
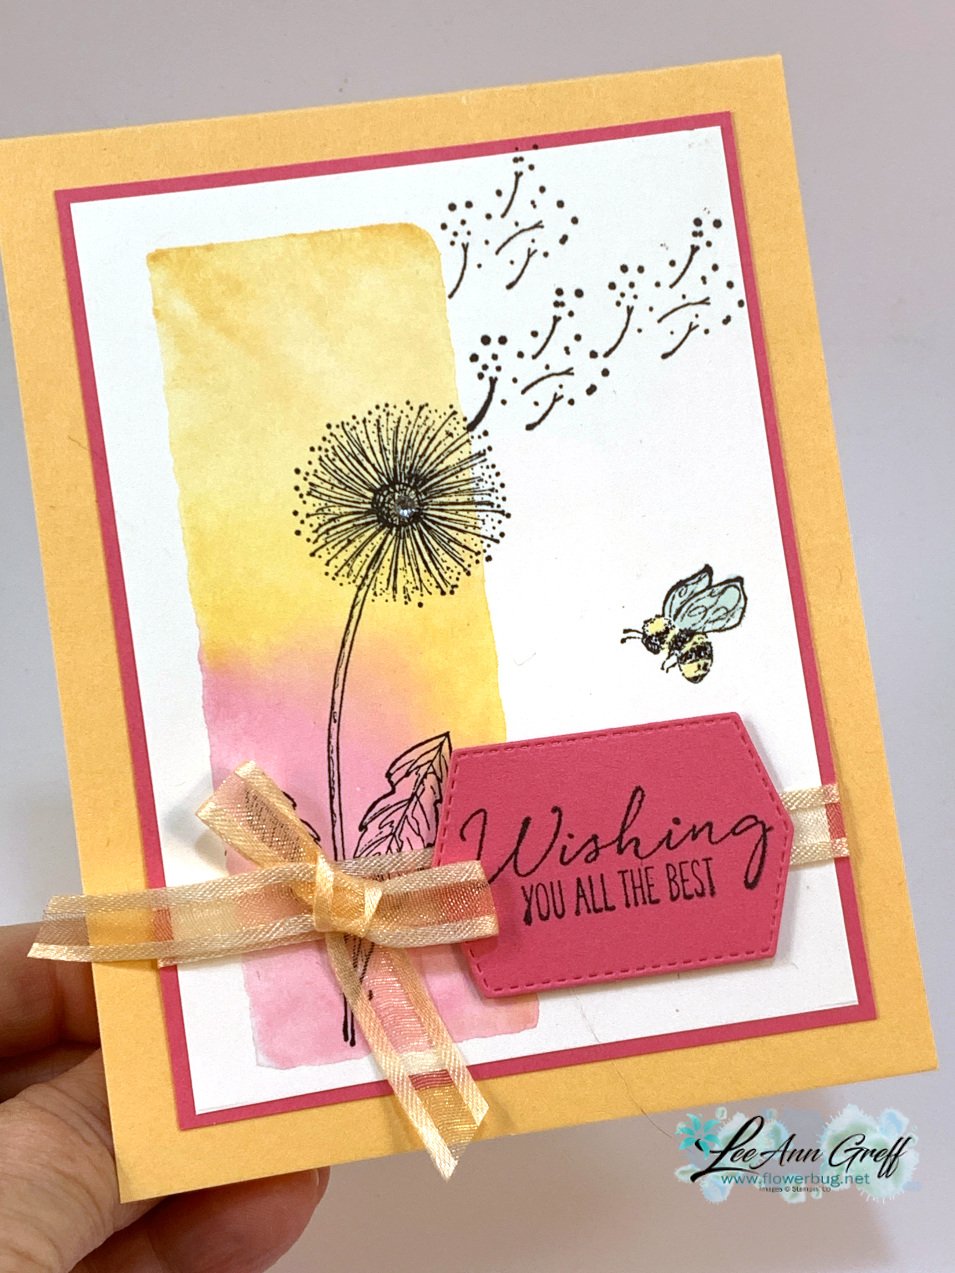
The card below has a softer feel.  The colors are Pale Papaya, Pumpkin Pie & Polished Pink. 
Which one is your favorite?  
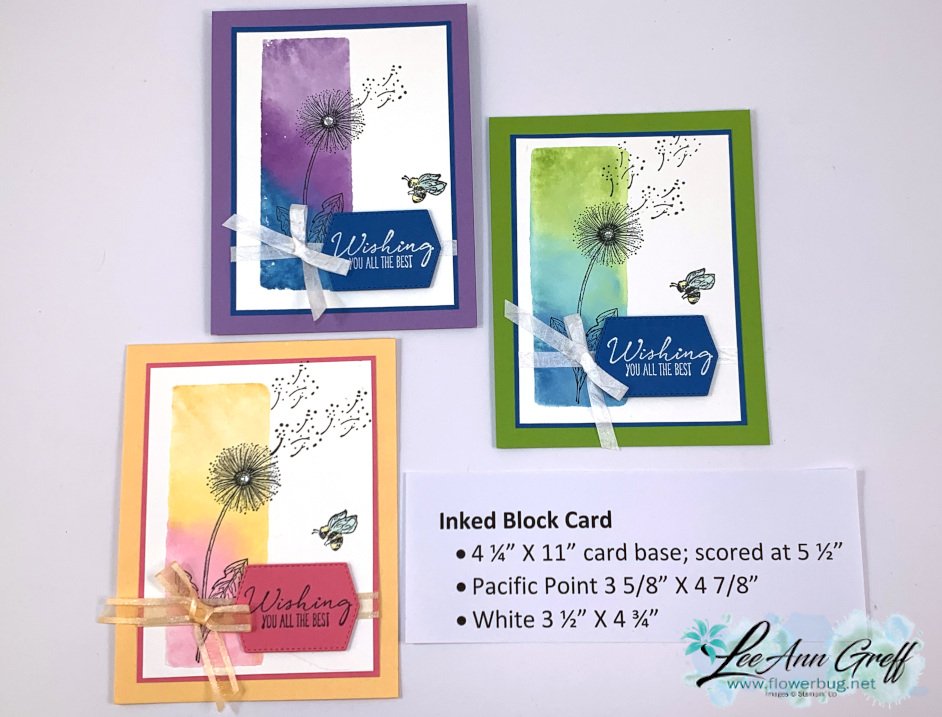
Click on the photo below to watch the video.  

~~~
The Last Chance list is out!
Tons of items from the 2021-22 Annual Catalog are retiring and many are deeply discounted from 20-50% off.
 
Remember that these items are while supplies last and may run out. 
Click here to see it all online along with the discounts.

Host codes: 6QFA66WT

 *click here to order 

If your order is over $50 you'll receive free Polished Dots or In Color jewels and 3 hand made cards from me.
 

Don't forget about my loyalty rewards! 

Click here to download yours and earn a $50 shopping spree!  
All Posts

  • Check out these Team Swaps!


    The swap theme for my Flowerbug’s in March was to use our favorite Online Exclusive product. I’ll be sharing them today and Wednesday this week.

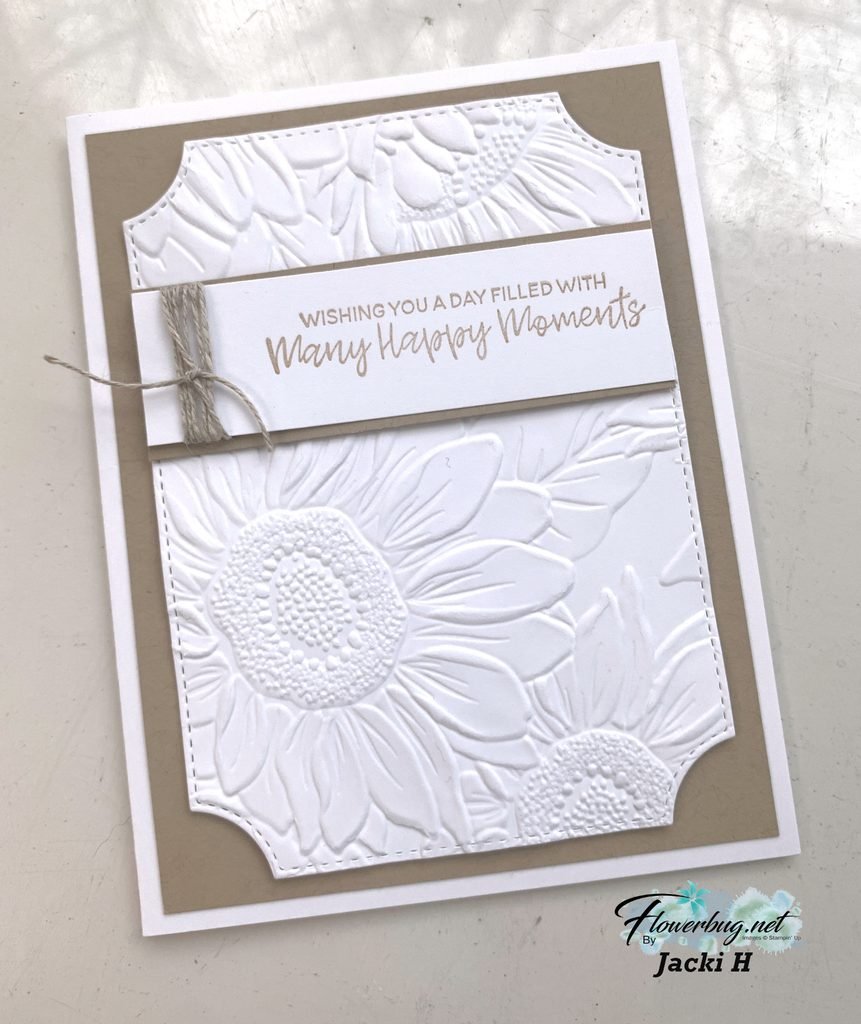
    First is a pretty card made by Jacki featuring the Sunflower 3D embossing folder seen here. It’s currently in low inventory; they sure have trouble keeping these in stock!

    She used White with Crumb Cake for a super clean look. The die-cut shape on the textured Sunflower layer is from the Branching Out dies seen here. One of my absolute favorite sets of dies I consider a ‘must have!’

    I also love how she added the wrap of Linen Thread around the greeting layer; simple but so effective!

    ~~~

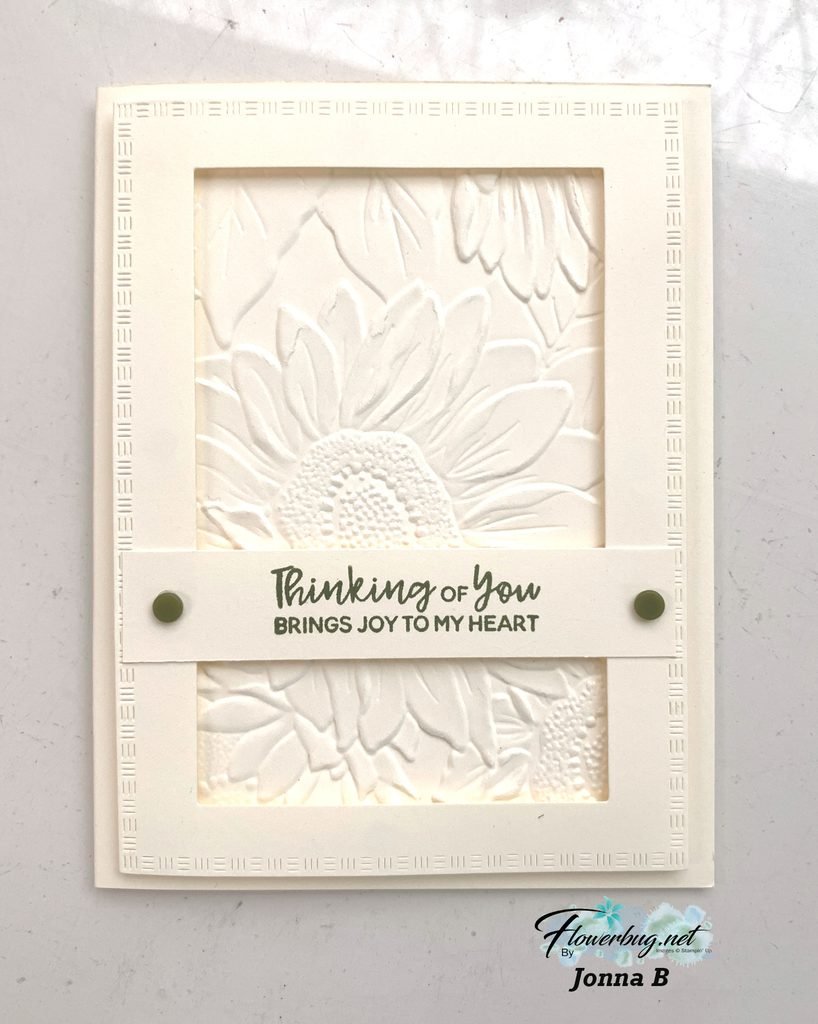
    Her sister Jonna made this next card. Did they decide to both use the Sunflower 3D folder?!

    Her card is all Vanilla. Another clean & simple card; both are so elegant! I find when you use mostly one neutral color the card feels quite sophisticated. The greetings on both cards are from the recently retired Branching Out stamp set.

    ~~~

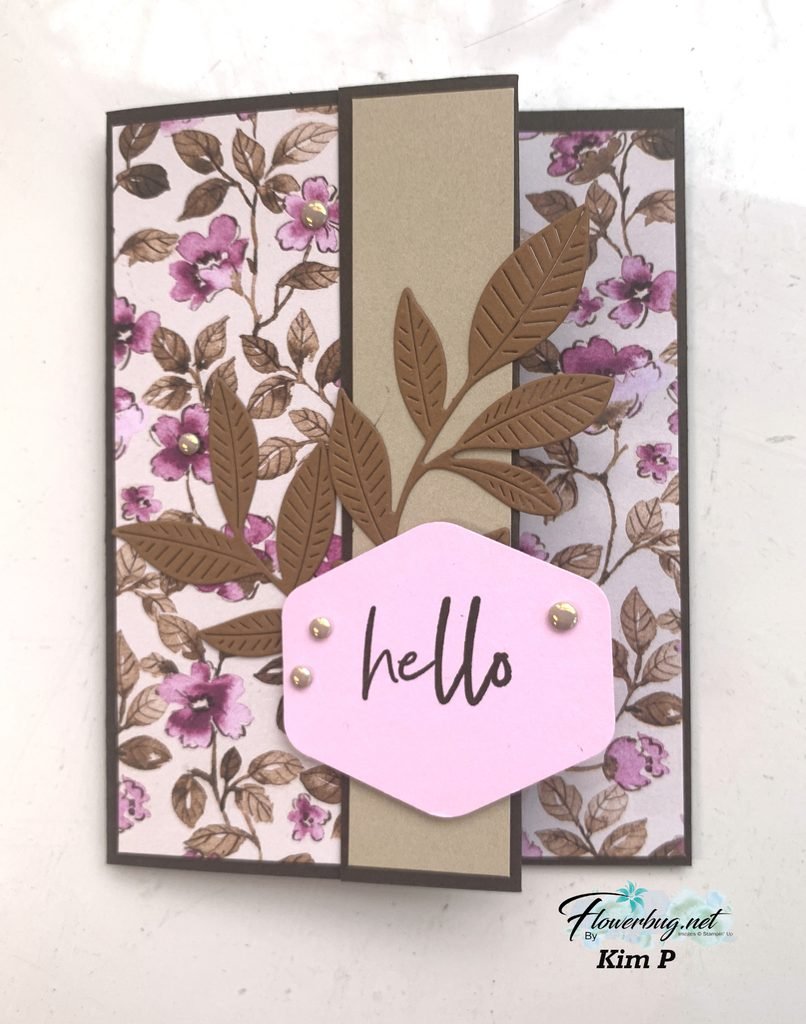
    Next is a pretty card from Kim.

    She used the pretty Floral Charm designer paper here with Early Espresso, Bubble Bath & Pecan Pie card stock. This pretty DSP will be on the retiring list in the next week or so. The beautiful leaf die-cut is from the Nature’s Symphony dies seen here. They are out of stock currently but they’ll be back! The greeting punch is our Heartfelt Hexagon punch seen here. I love this punch!

    Tomorrow I’ll share lots more of the fabulous swap cards made by my Team.

    March Specials!

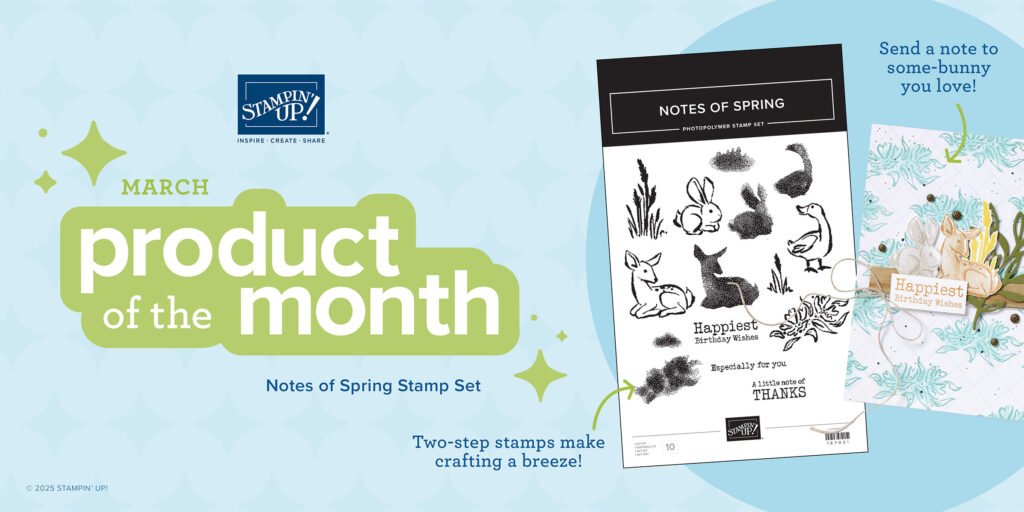
    March Product of the Month is the Notes of Spring stamp set!

    It’s just $5 with a $75 purchase.

    Get my March PDF free with any Online purchase!

    NEW Online Exclusives are here!

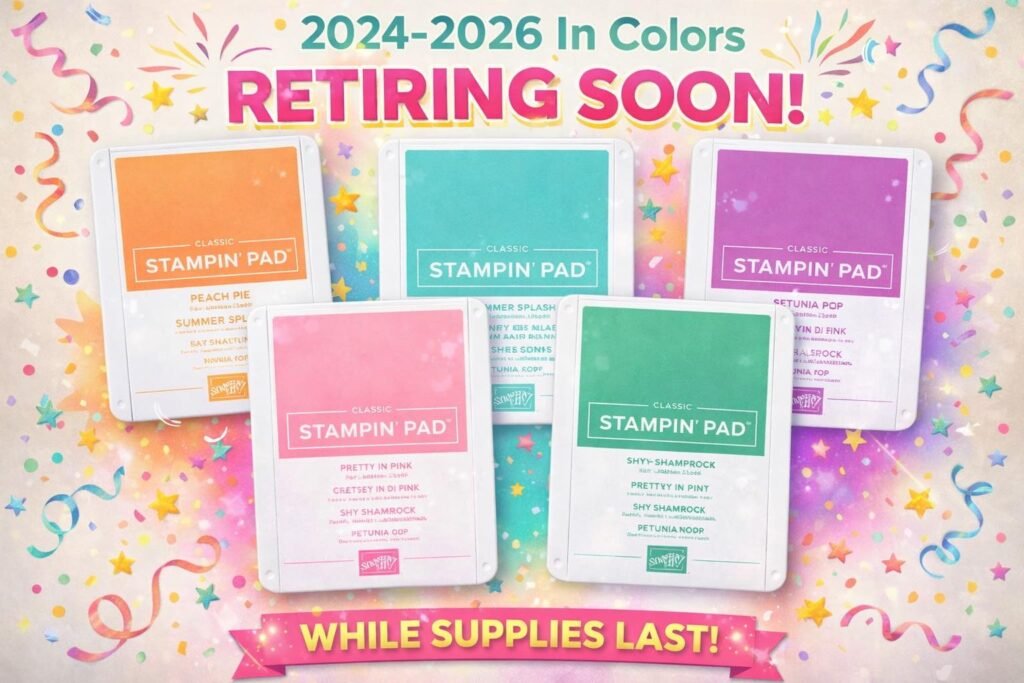
    Get the retiring In Colors while you can; they’re already going fast!

    Leave a Reply

    Your email address will not be published. Required fields are marked *

  • Springtime Scenes card with video & free project sheet


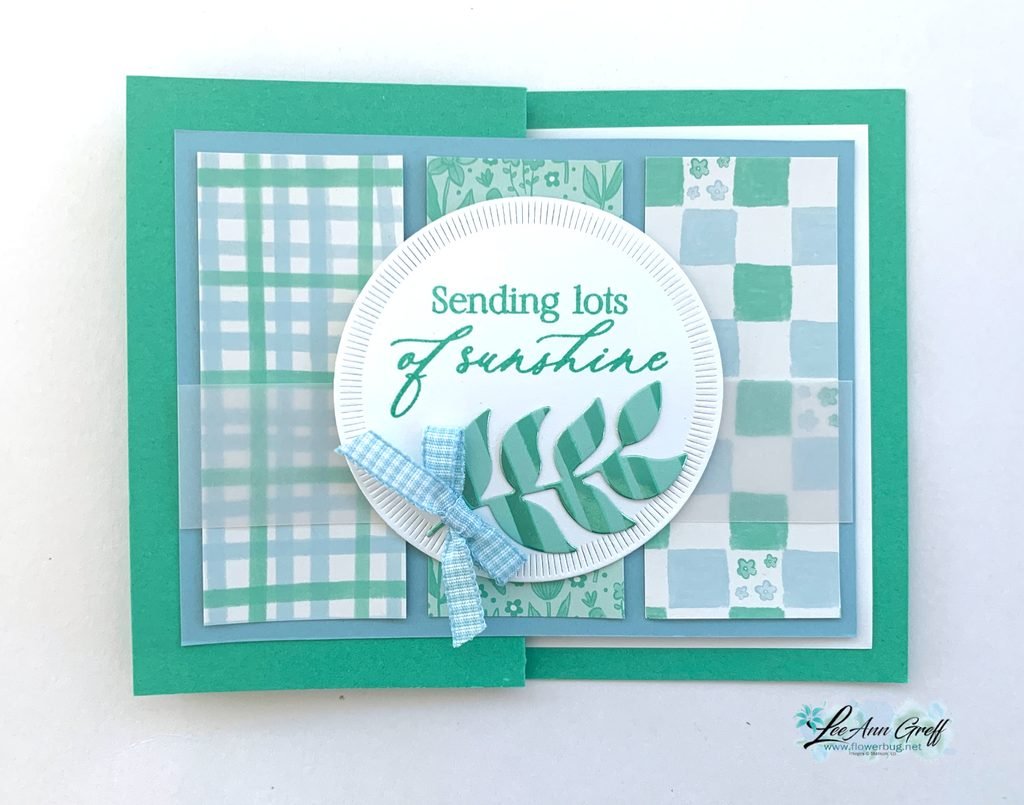
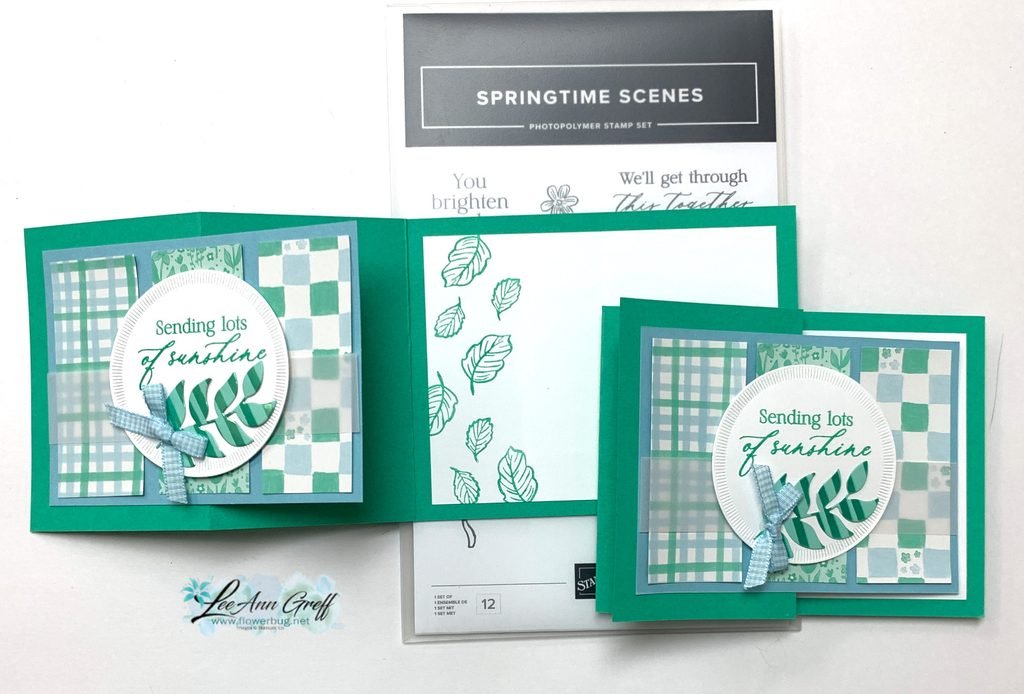
    I shared this card last week with a video and a free project sheet. Think of using any designer paper you own. It’s a great layout!

    I chose the Easter Joy Specialty paper inspired me with the color theme. Shy Shamrock with Balmy Blue & White. Unusual but it sure works!

    It’s a simple ‘fold back’ fun fold where you add one extra score line at 2 3/4″ to this 11″ X 4 1/4″ card base. Of course it’s scored in half at 5 1/2″ as well. I cut the Balmy Blue layer to perfectly layer onto the inside White. It gives the illusion of multiple layers.

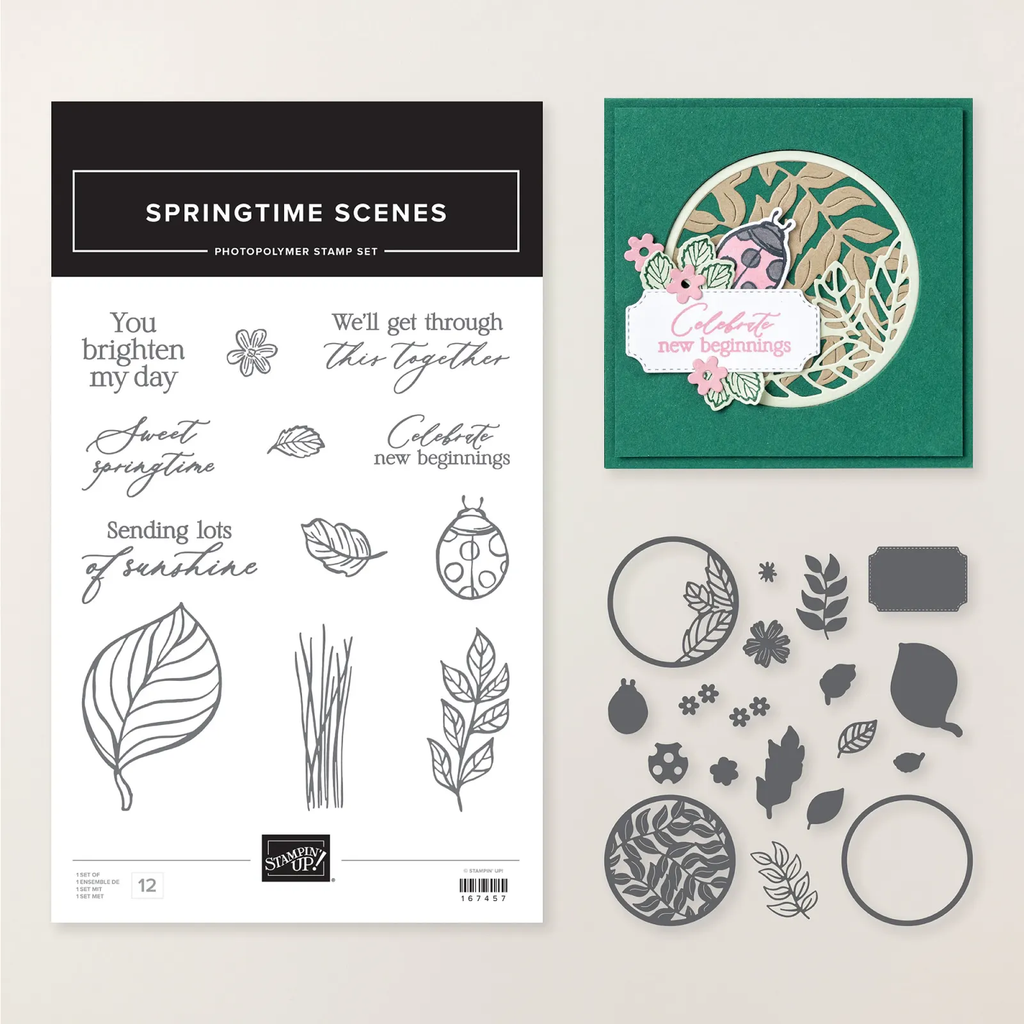
    That pretty die-cut leaf is from the Pleasant Patterns specialty paper seen here. For my stamps & the leaf die I used the Springtime Scenes bundle seen here. I love this set with the neat dies and stamps.

    Here’s the free project sheet for this card. Click here to print or download it.

    If you’d like to see how to assemble this card please watch the video below. And don’t forget to follow me on my YouTube Channel here.

    March Specials!

    March Product of the Month is the Notes of Spring stamp set!

    It’s just $5 with a $75 purchase.

    Get my March PDF free with any Online purchase!

    NEW Online Exclusives are here!

    Get the retiring In Colors while you can; they’re already going fast!

    Leave a Reply

    Your email address will not be published. Required fields are marked *

  • New Home Decor kits are available!


    This month the newest kits feature home decor items! They’re something different that might appeal to those who aren’t into card making.

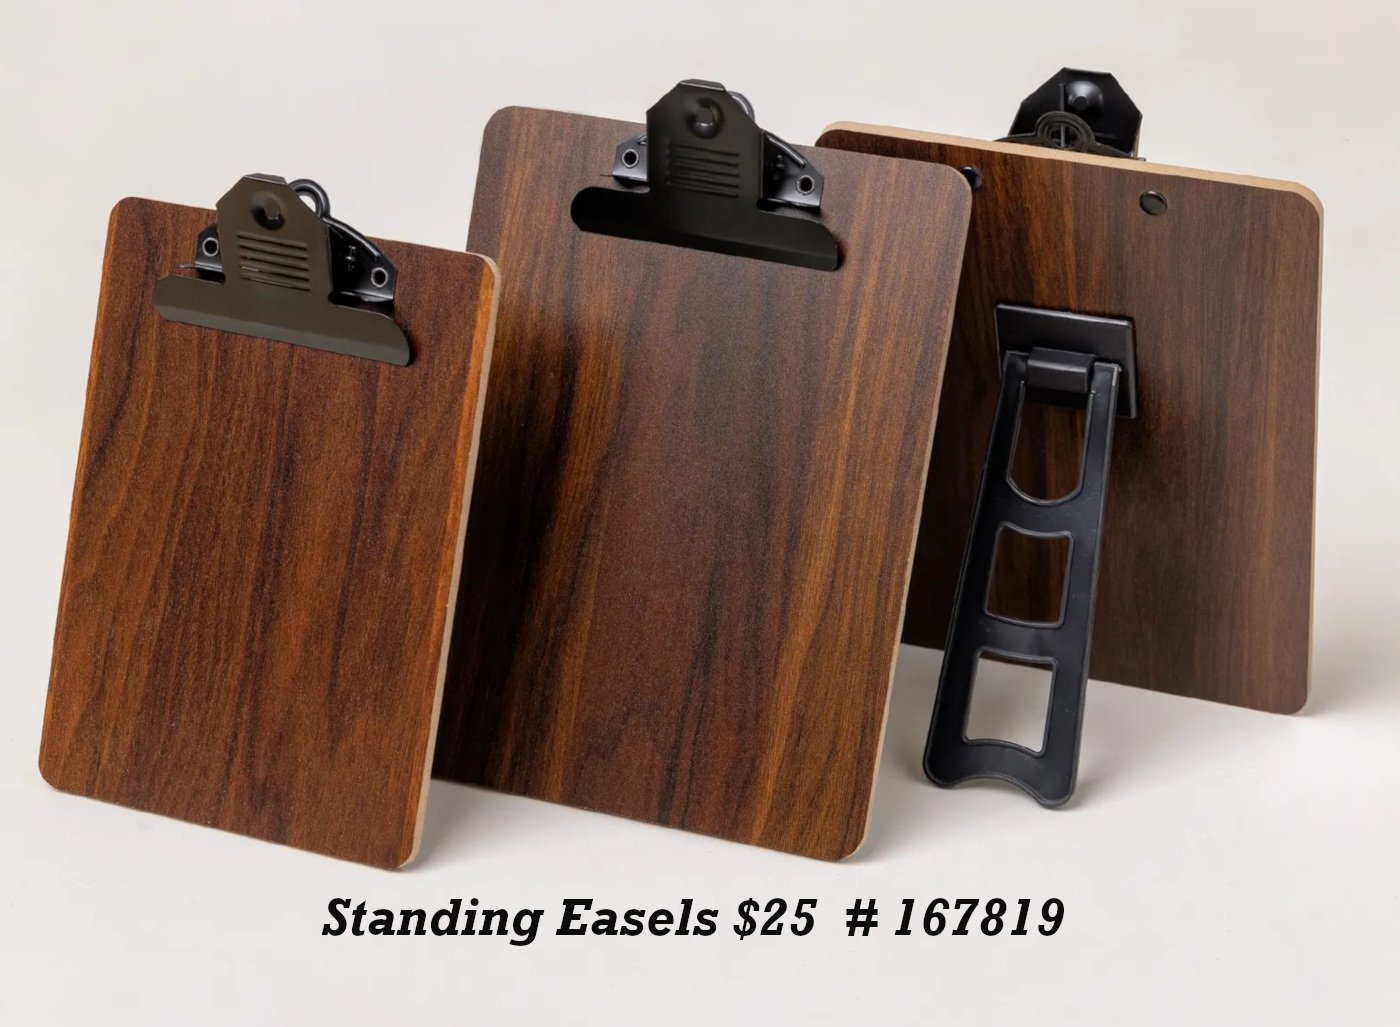
    The Standing Easels seen here are made to showcase creations from the coordinating Radiant Reminders and Every Little Thing Kits (sold separately). These are also great for your handmade cards, photos, stamped art, and favorite quotes.

    Details:

    3 easel clipboards: 1 small and 2 large

    • Small clipboard: 4-3/4″ x 6-3/4″
    • Large clipboard: 6″ x 8″

    Here are the other two kits that coordinate with the easels:

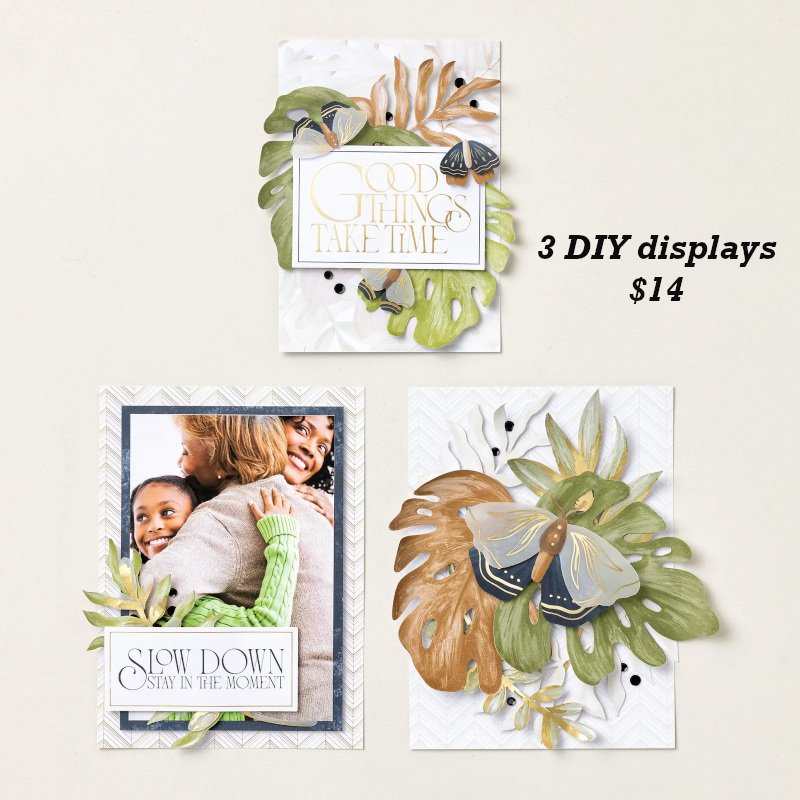
    Create three DIY displays with the Radiant Reminders Kit seen here. Featuring monstera leaves, luna moths, and neutral patterns in beige, black, brown, green, and gold, these handmade home decor pieces let your creativity shine while adding natural, organic style to any room. It makes 3 displays.

    Kit includes one of each item listed below.

    • Step-by-step instructions
    • Precut paper images
    • Printed labels
    • Includes gold foil
    • Adhesive

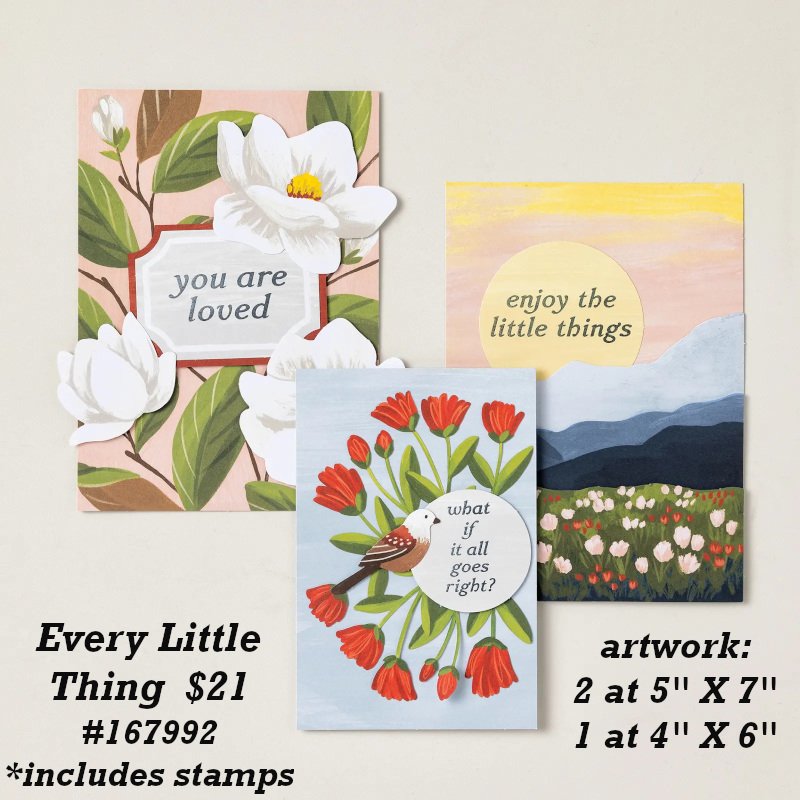
    The last new home decor kit released this month is called The Every Little Thing kit and can be seen here.

    Create three DIY floral and nature-inspired paper artworks with the Every Little Thing Kit. Featuring magnolias, tulips, mountains, and a bird, each piece includes uplifting sentiment stamps to brighten your home. It makes 3 pieces of layered artwork.

    Kit includes one of each item listed below.

    • Every Little Thing Stamp Set
    • Clear stamp block
    • Secret Sea Classic Stampin’ Spot
    • Step-by-step instructions
    • Precut paper pieces
    • Adhesive

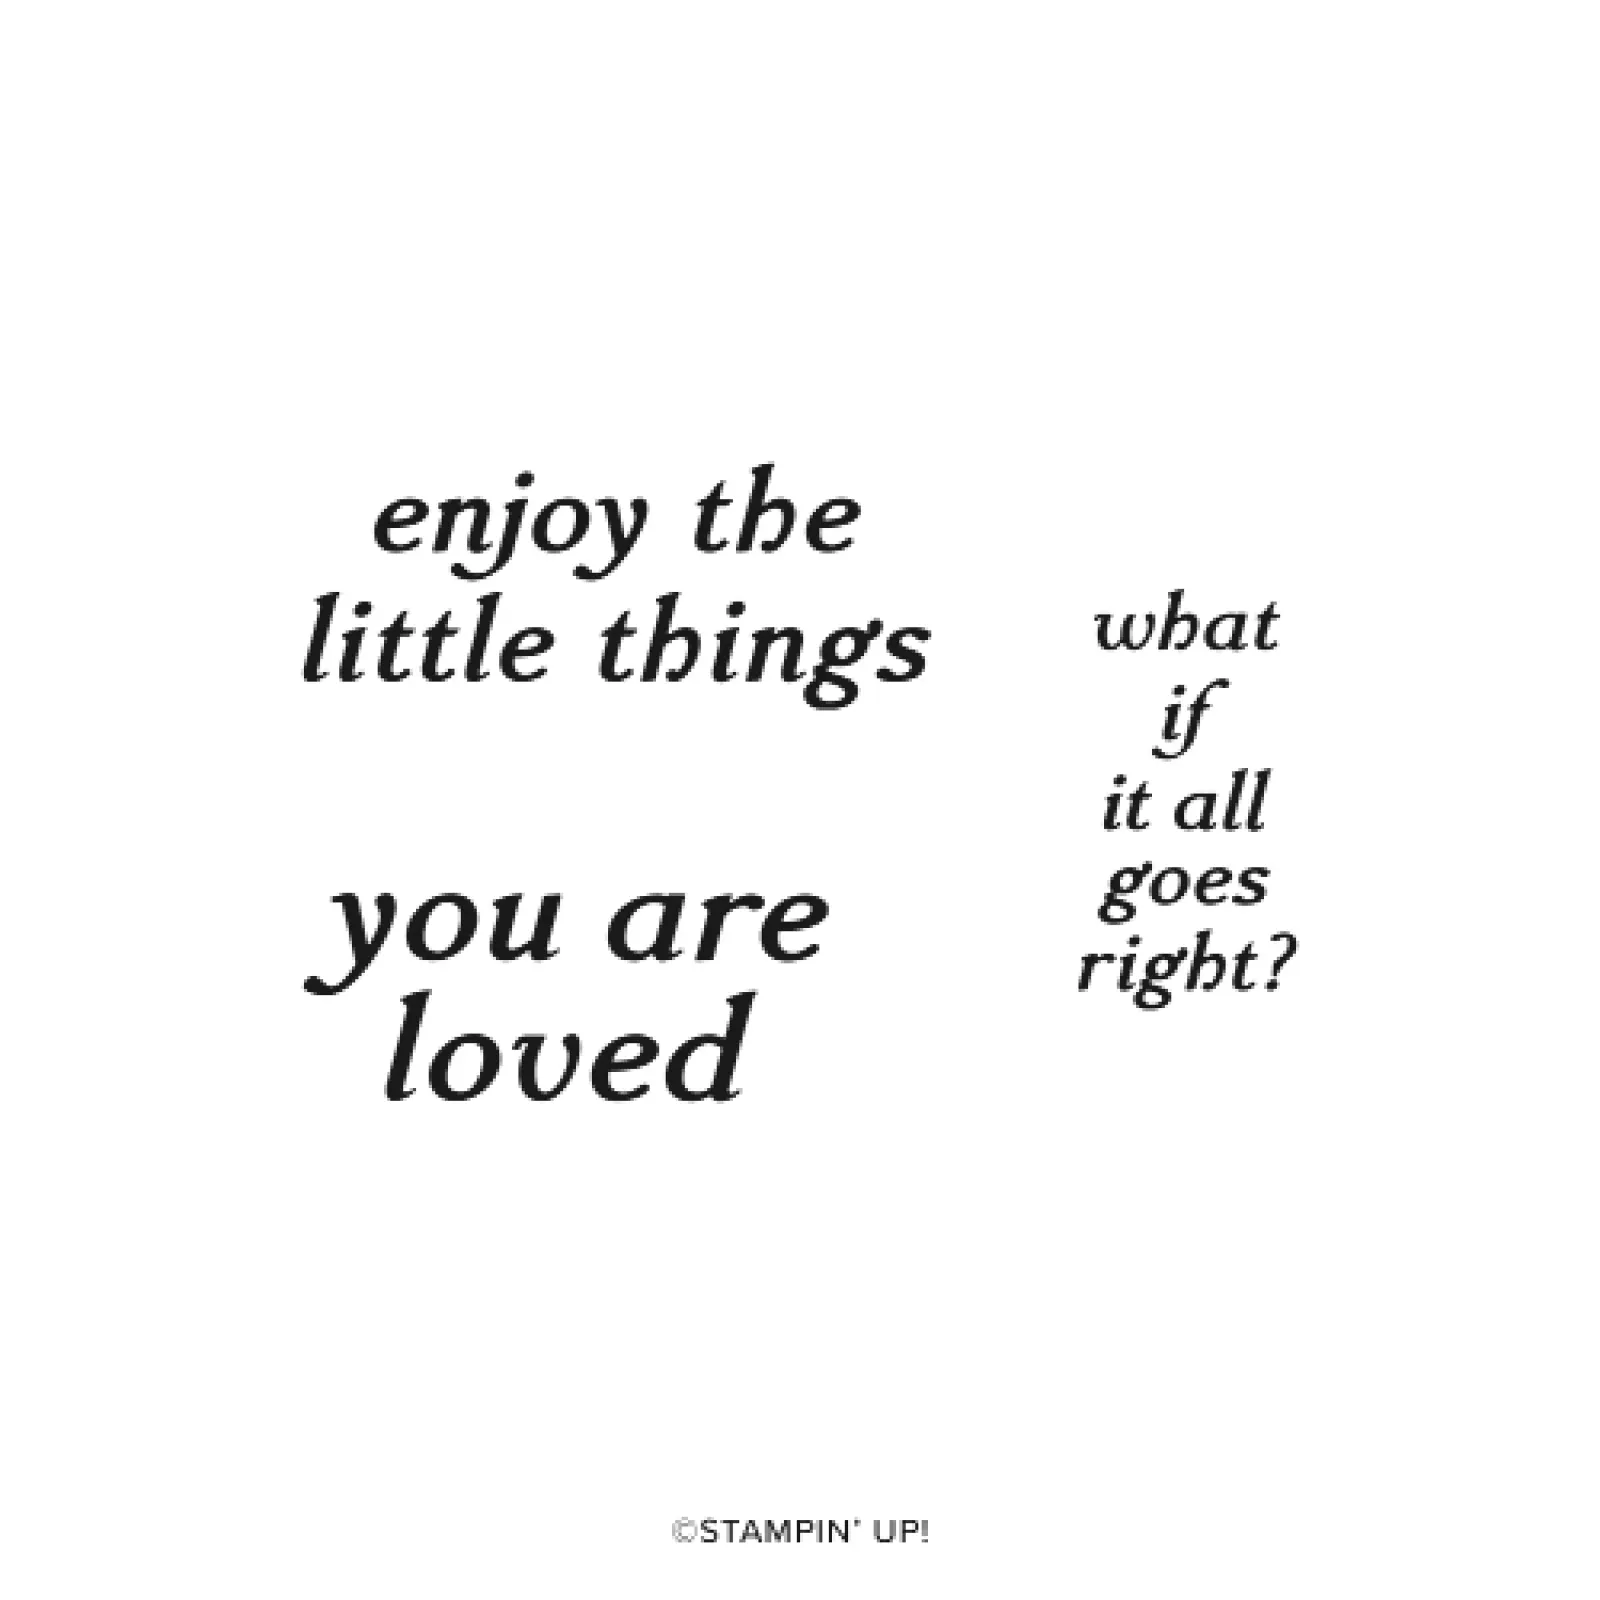
    Here’s the stamp set included:


    Leave a Reply

    Your email address will not be published. Required fields are marked *


Notice: LeeAnn Greff, Independent Stampin’ Up! Demonstrator, Manager. The content of this website is my sole responsibility as an independent Stampin’ Up! demonstrator and the use of, and content of, the classes, services, or products offered on this website is not endorsed by Stampin’ Up! Copyright 2025