/


Latest Post

How to achieve the Floating Technique? Lots of examples!


Our current Team creative challenge for my Flowerbug's group is to make a card using the Floating Technique.  It's a fun technique that uses a window sheet or transparency.  

Here are some of mine I shared on a recent Facebook Live video you can see here. 

This first one features Black & White with a 'pop' of color – Magenta Madness in this case. Magenta Madness is retiring next week!   
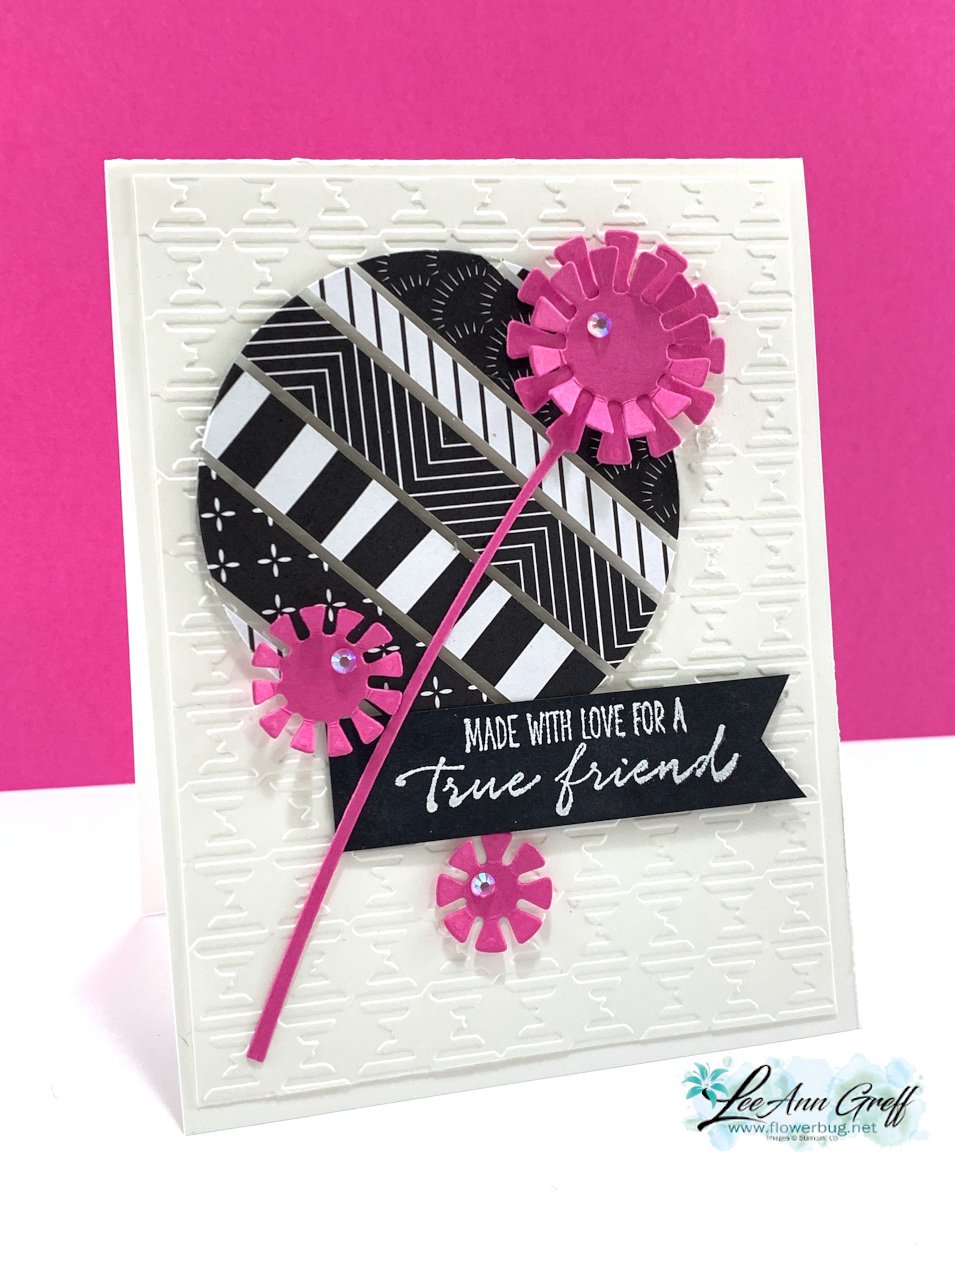
I used the Dandy Wishes dies and the Layering Circles dies here.  I adhered a bunch of strips of the All Together designer paper to a window sheet, leaving space between them.  I cut it out with the largest circle in the set and popped it up on a Gingham textured White layer. 

I added die-cuts from the neat Dandy Wishes dies and a heat embossed image from the Garden Wishes stamp set. This set is in a bundle with the Dandy Wishes dies and on sale in March!  See it here. 

This next card features Misty Moonlight and the Abstract Beauty DSP.  I cut the feathers from this pretty DSP that has touches of Gold on it using the Iconic dies seen here.  
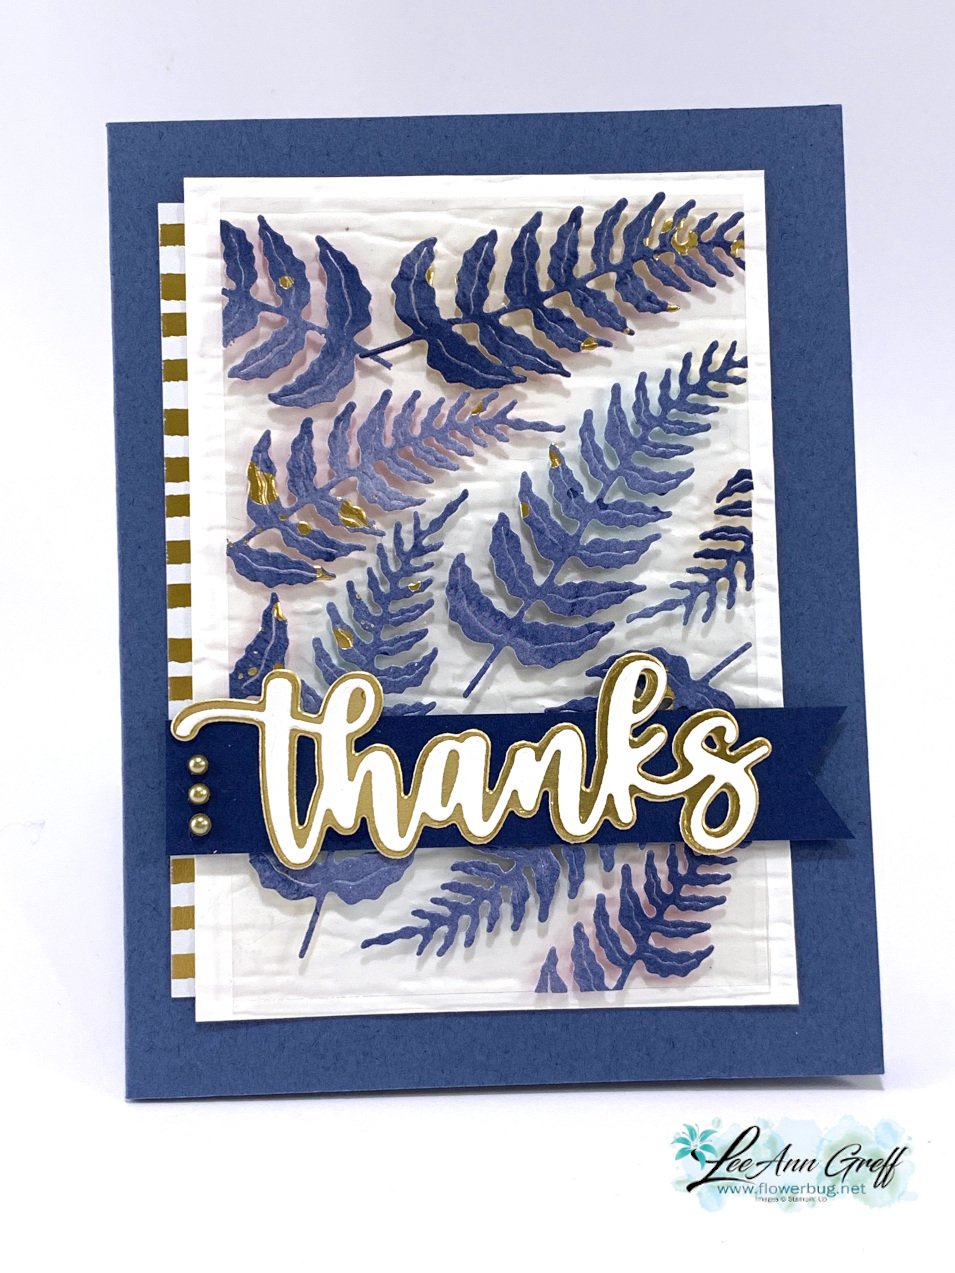
For this card the window sheet is a simple rectangle.  After adding the feathers I trimmed off the excess and added it to the card with mini dimensionals.  

Other details: 

  • the greeting die-cuts are the Amazing Thanks dies seen here.
  • The textured White layer is done with the Bark 3D embossing folder.
  • That strip of gold & white strips is also from the Abstract Beauty DSP. 
  • Colors are Gold, White, Misty Moonlight and Night of Navy

Next is a card done in purples – Fresh Freesia, Highland Heather & Gorgeous Grape.  
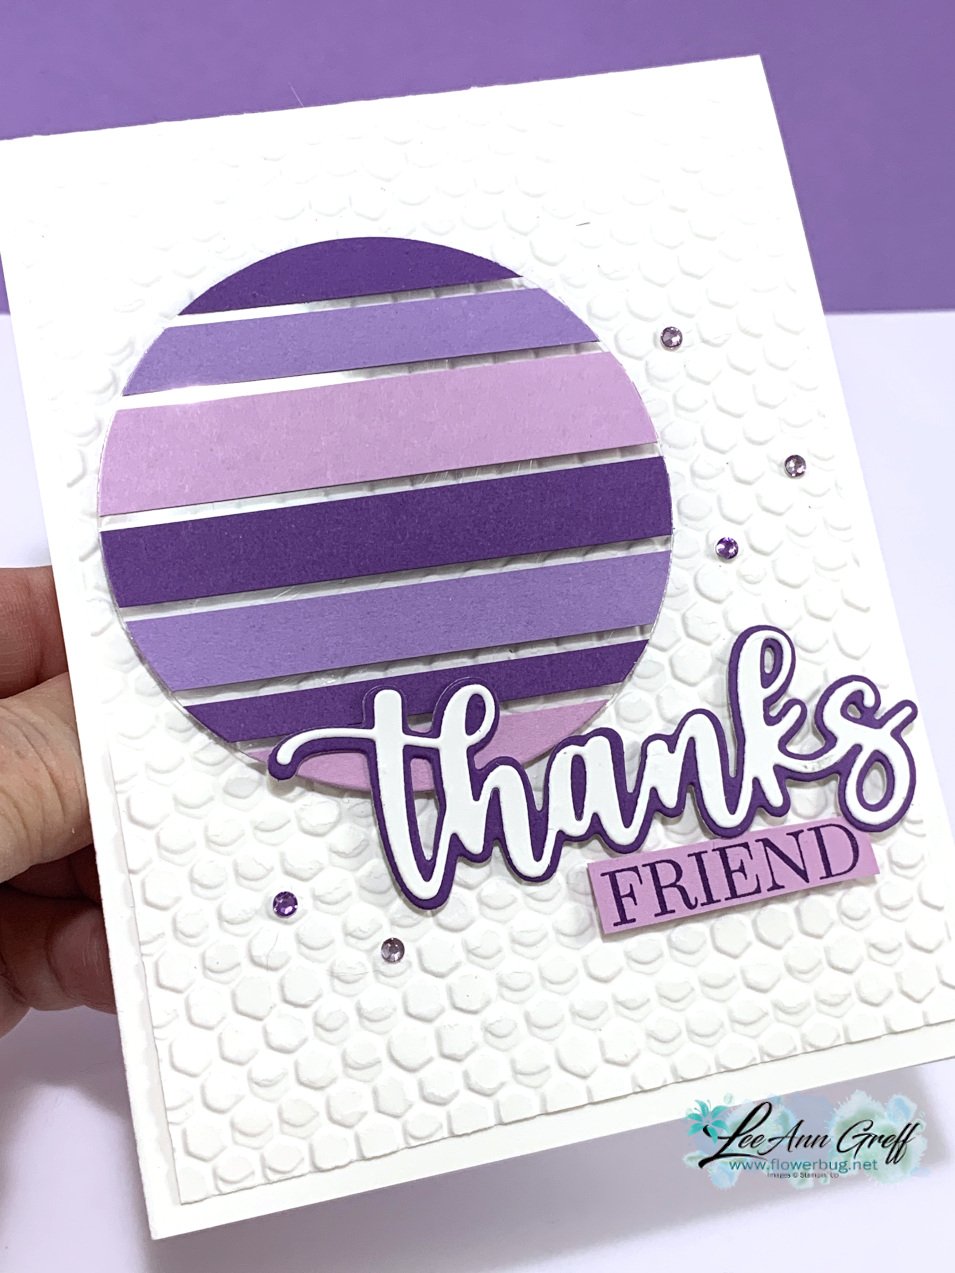
Details:

  • Layering Circle & Amazing Thanks dies
  • Greeting stamped from Special Moments SAB set
  • Texture is Hive 3D folder seen here 
  • Basic Rhinestone jewels were colored purple with Blends markers 

This next sample features the Artistic dies along with the SAB Simply Marbelous DSP. 

Colors are Basic Gray, White & Black; very monochromatic.  The greeting is from Friendly Hello SAB set, heat embossed.  

Tip; to adhere the finely cut die-cut pieces I used our Adhesive Sheets seen here.  They're the best solution for these types of die-cuts. 

You can see how I achieved these cards on the link below; just click on the photo to watch. 

~~~

March Specials: 

Host codes: FS239K9C

 *click here to order 

If your order is over $50 you'll receive a free embellishment

from the Jan-June catalog in your thank you card.

Annual Catalog Retiring List is out March 23rd!  Deep discounts coming! 

Don't forget about my loyalty rewards! 

Click here to download yours and earn a $50 shopping spree!  

All Posts

  • Fine Art Panel cards; Easy Layout for Designer Paper!


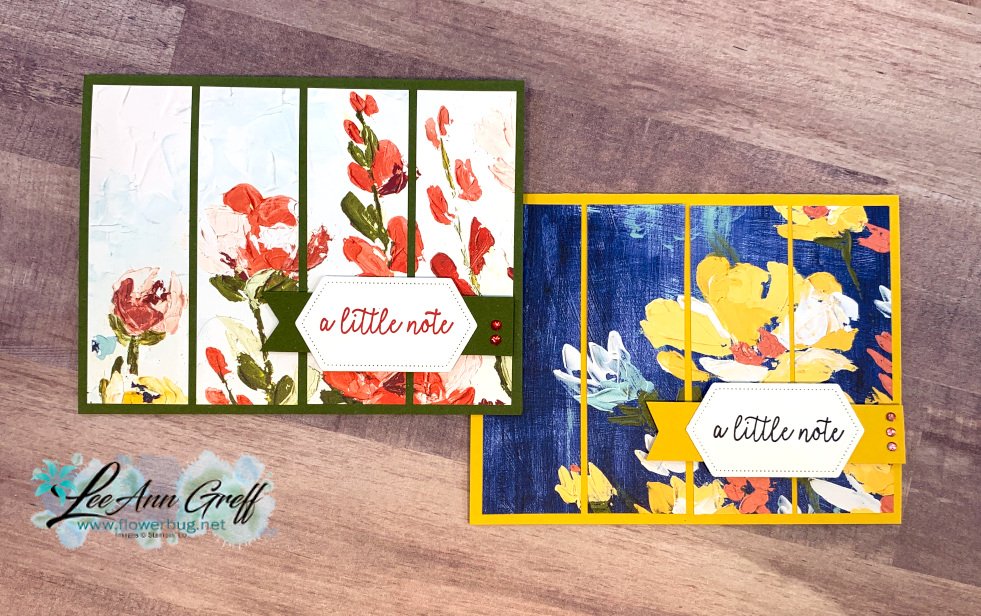
    At first I thought this card layout might be too simple for my Stamp with Me Live video this week. But the cards turned out wonderful and really highlight your designer paper and greeting!  Join me here on Facebook for 6 Live videos each month! 

    These would be great cards to make a bunch of and you'd use up some of your Designer Paper stash too!

    I'll share a few of them for you but be sure to watch the video below for tips and more. 

    I used the Ridiculously Awesome and Butterfly Gala stamp sets; both are retiring. 

    The dies are Stitched So Sweetly , Tasteful Labels & Stitched Nested Labels *on sale now!. 

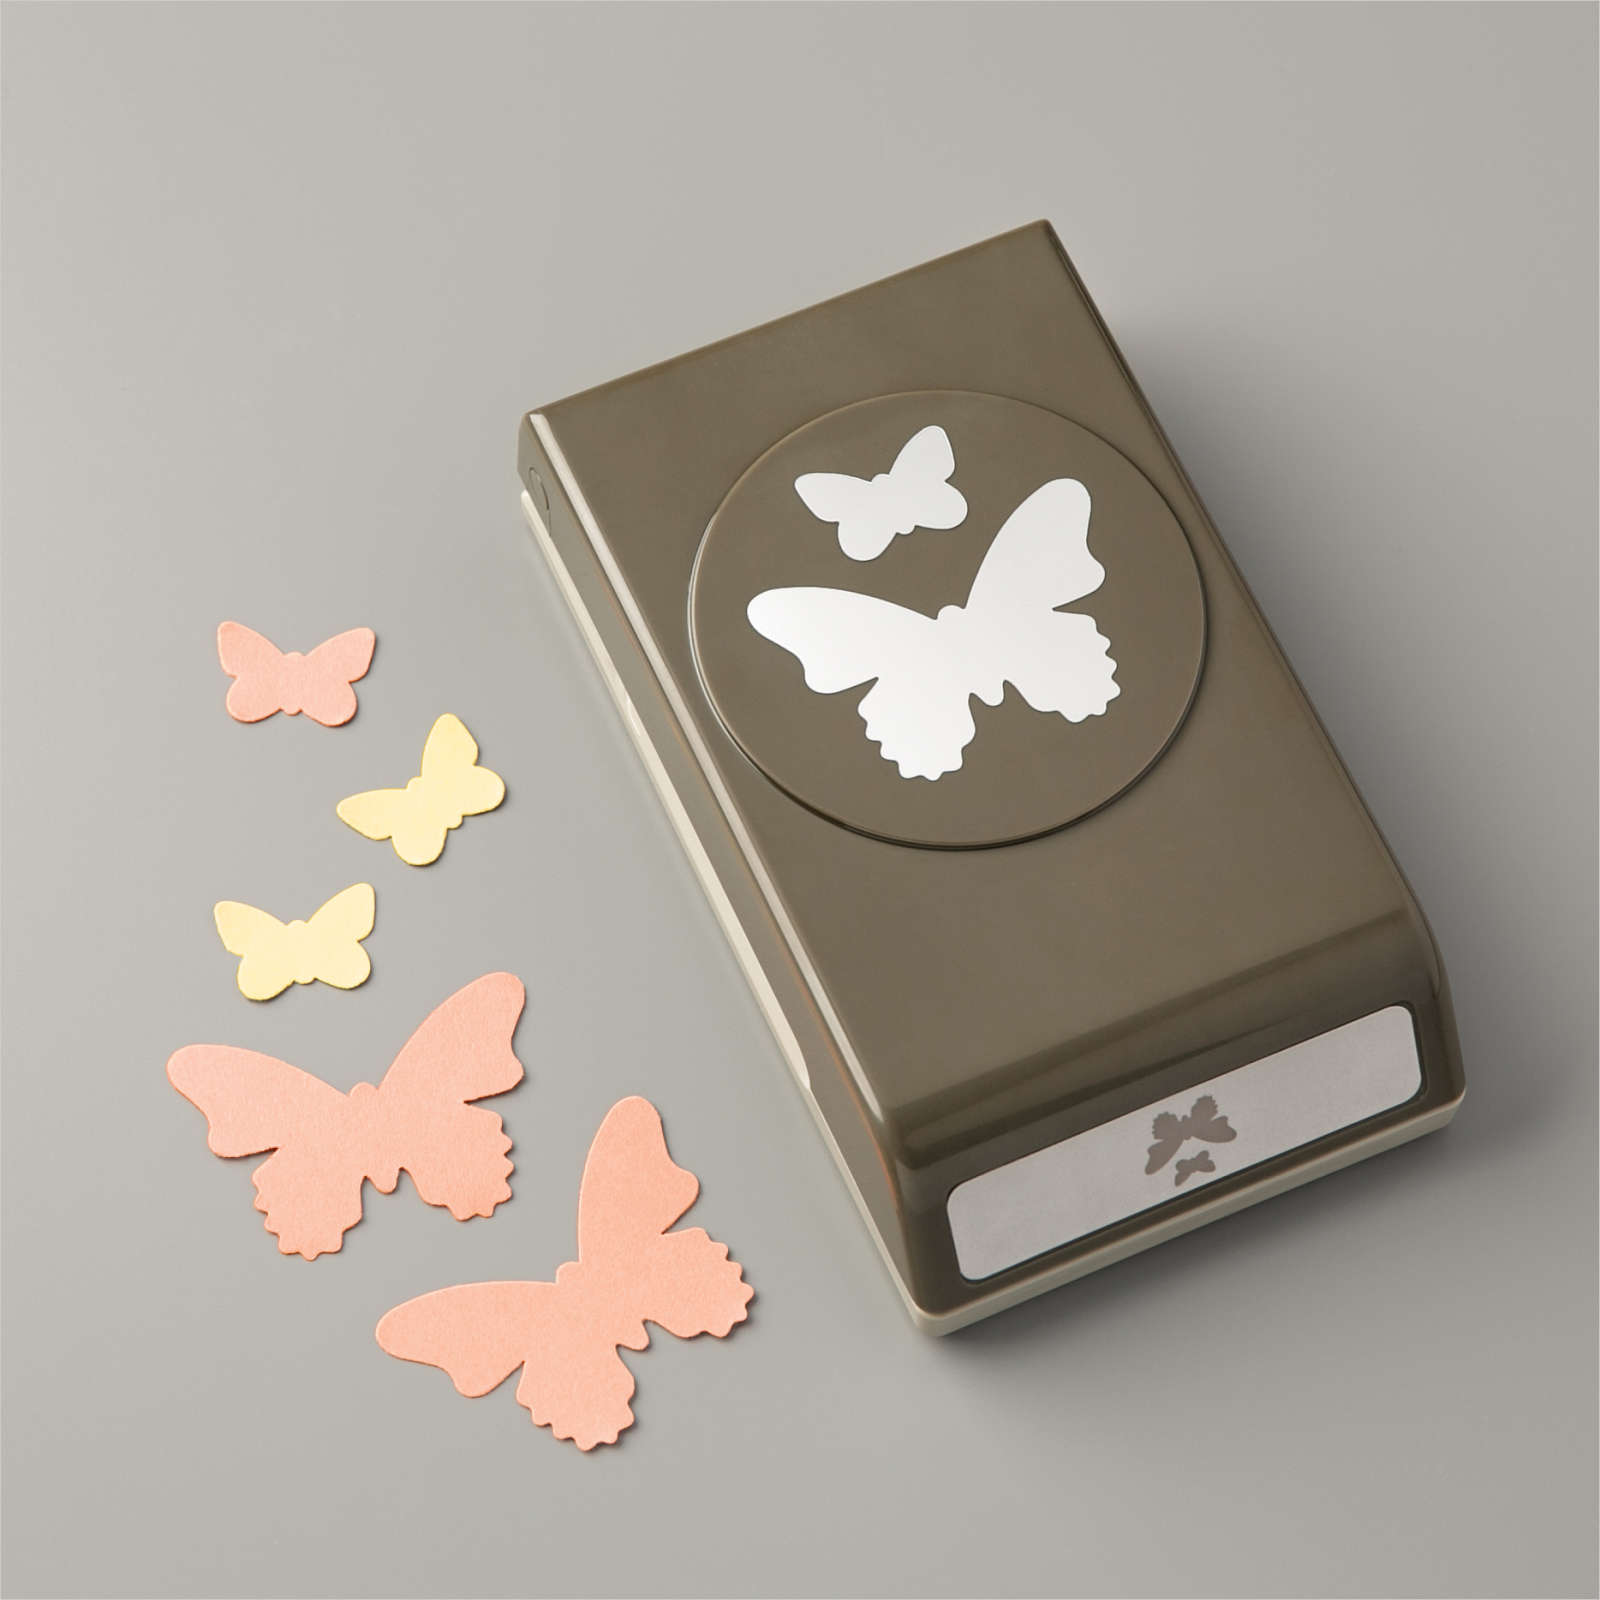
    The Butterfly Duet punch is retiring and is now just $7.20!  See it here. 

    Isn't this Fine Art paper lovely?  See it here; it will retire in June. I really like the way the panels create a type of scene with this layout. 

    Here’s the video for you. 

    ~~~

    April Specials!

    Click here for the Annual Catalog Retiring List; many discounted items while supplies last! 

    Current Host code is 3PA3P32V

    Order online here


    ~~~

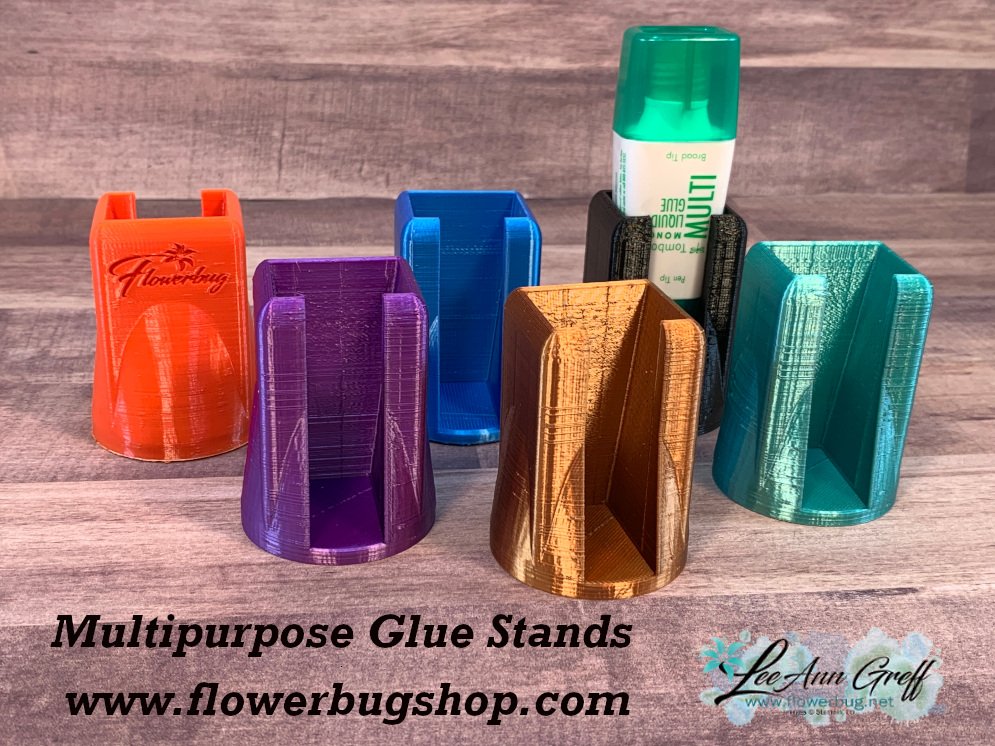
    Get a free multipurpose glue stand with an online order over $60 using the host code above. You'll receive a color of my choice unless you let me know your preference. *if you'd rather have gems; let me know.

    *If your order is over $150 do not use the code; you'll still receive a gift! 

    You can also order them in my Shop here. 

    All online orders will receive a free 14 project PDF tutorial

    Leave a Reply

    Your email address will not be published. Required fields are marked *

  • My Top Picks for the BEST Deals!


    I thought I'd share a few of my favorite deals happening right now. Between the Last Chance list and the Clearance Rack there is a lot and it changes daily. 

    Lists can be hard to read so I’ve got pictures for you! 

    Fabulous Kits & quick cards: 

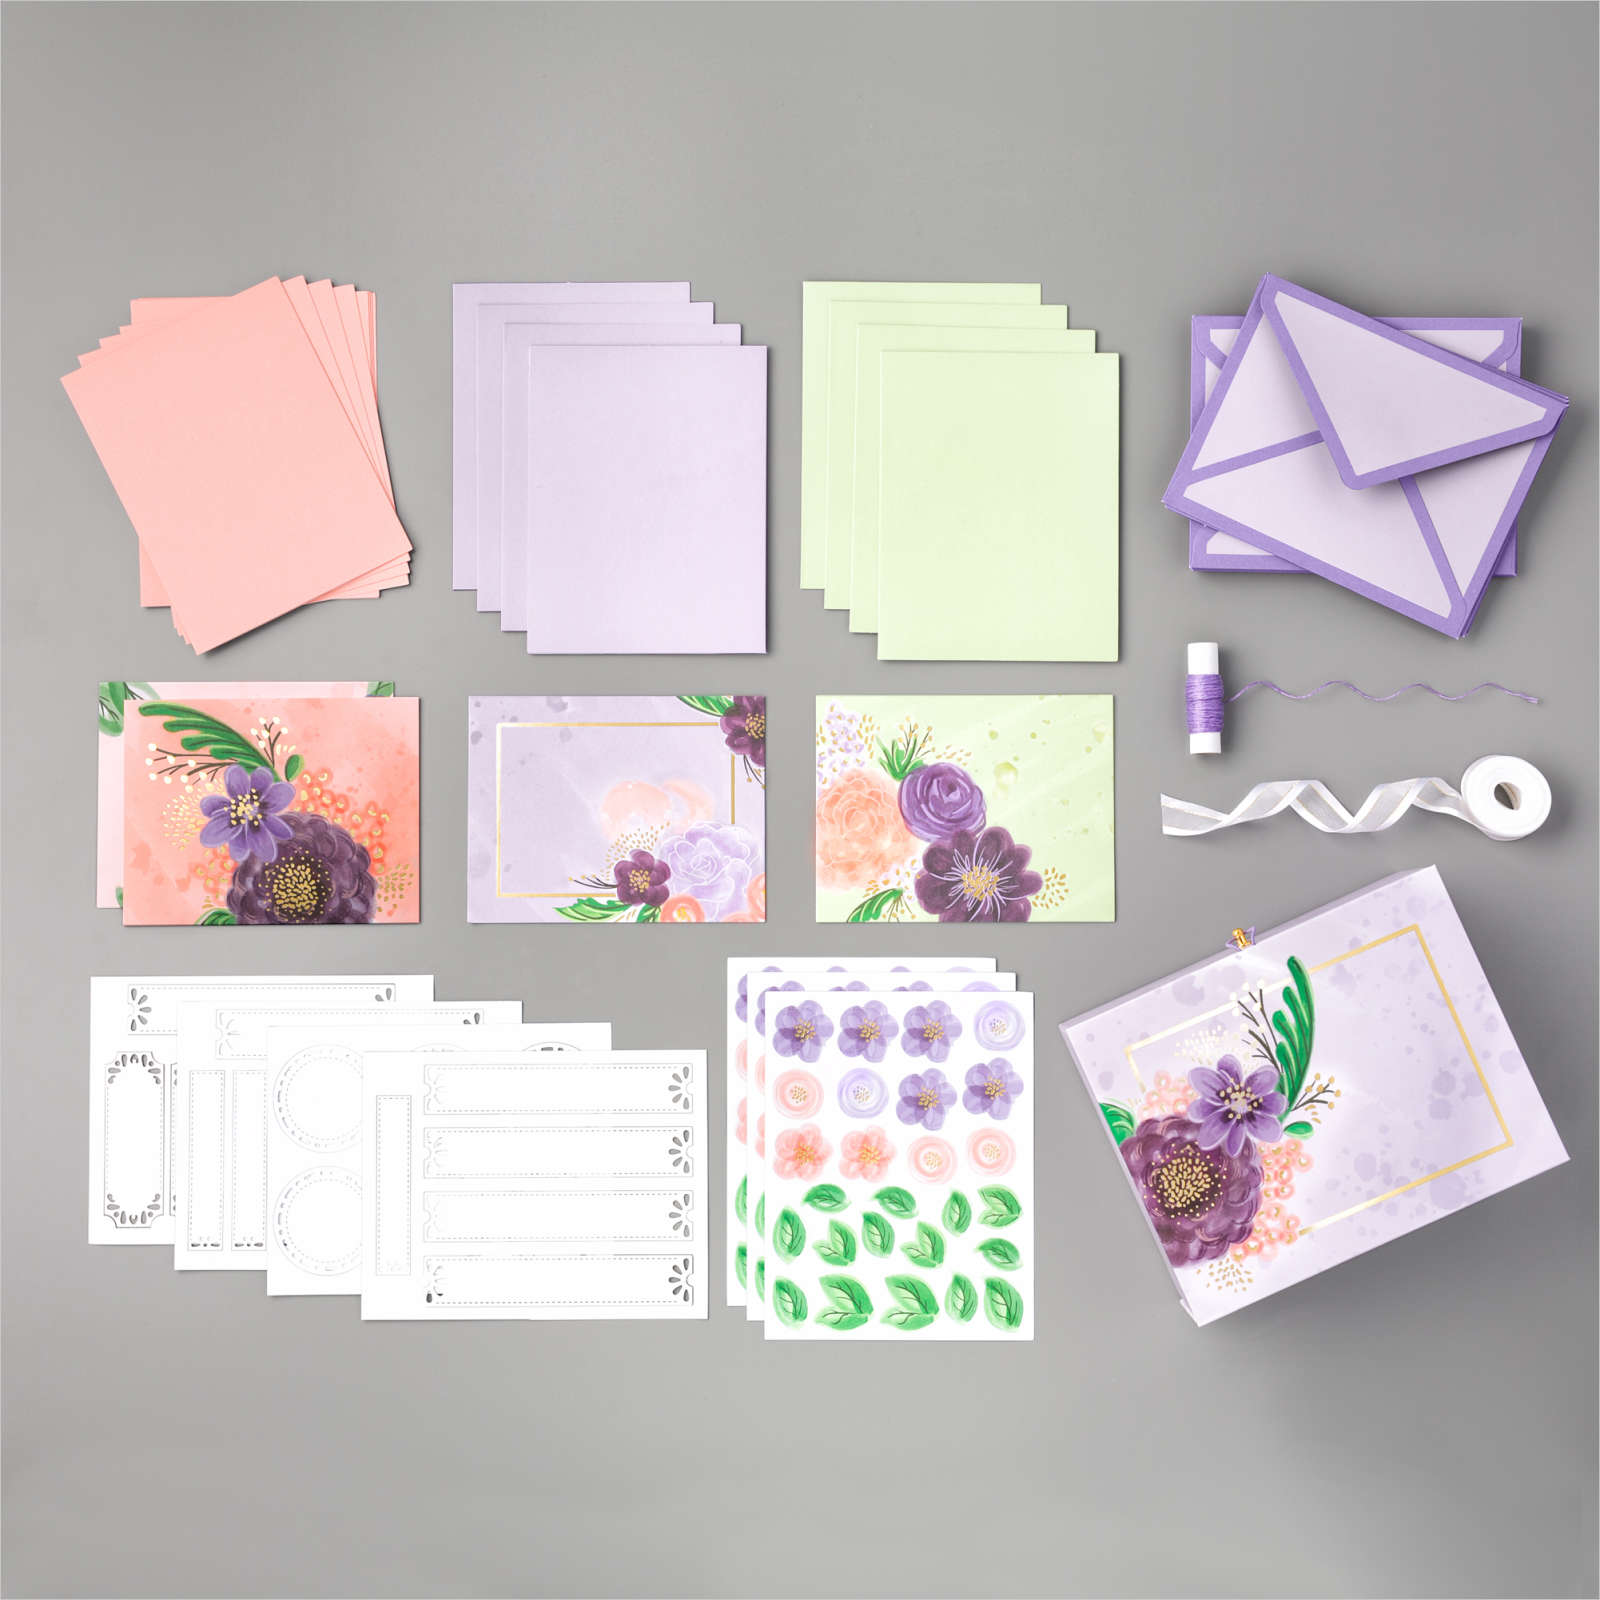
    Gorgeous Posies card kit with box! $25.60 (was $32)

    Makes 16 cards: 4 each of 4 designs. Complete using the Gorgeous Posies Cling Stamp Set (sold separately) or any other greetings set.

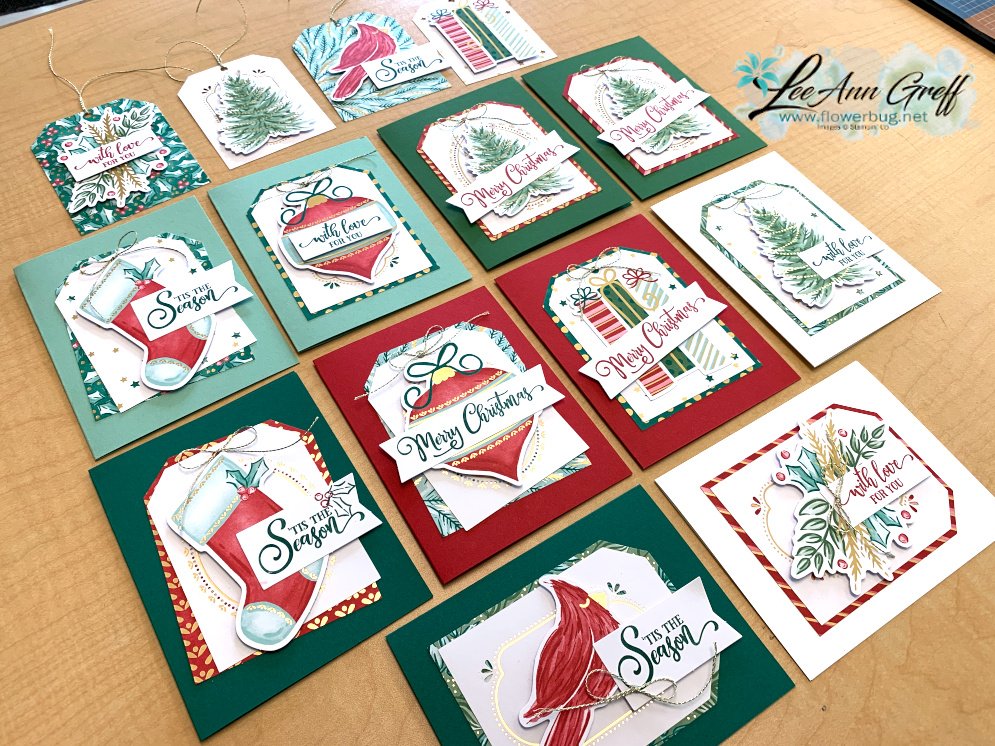
    Tag Buffet Project Kit $18 (was $30)   *You can see the cards I made with these tags below! 

    Makes 30 Christmas tags: 5 each of 6 designs
    * Tag size: 3-1/4" x 4-1/4"
    * Includes 7-5/8" x 5-3/4" x 1-3/4" designer box                                                                                


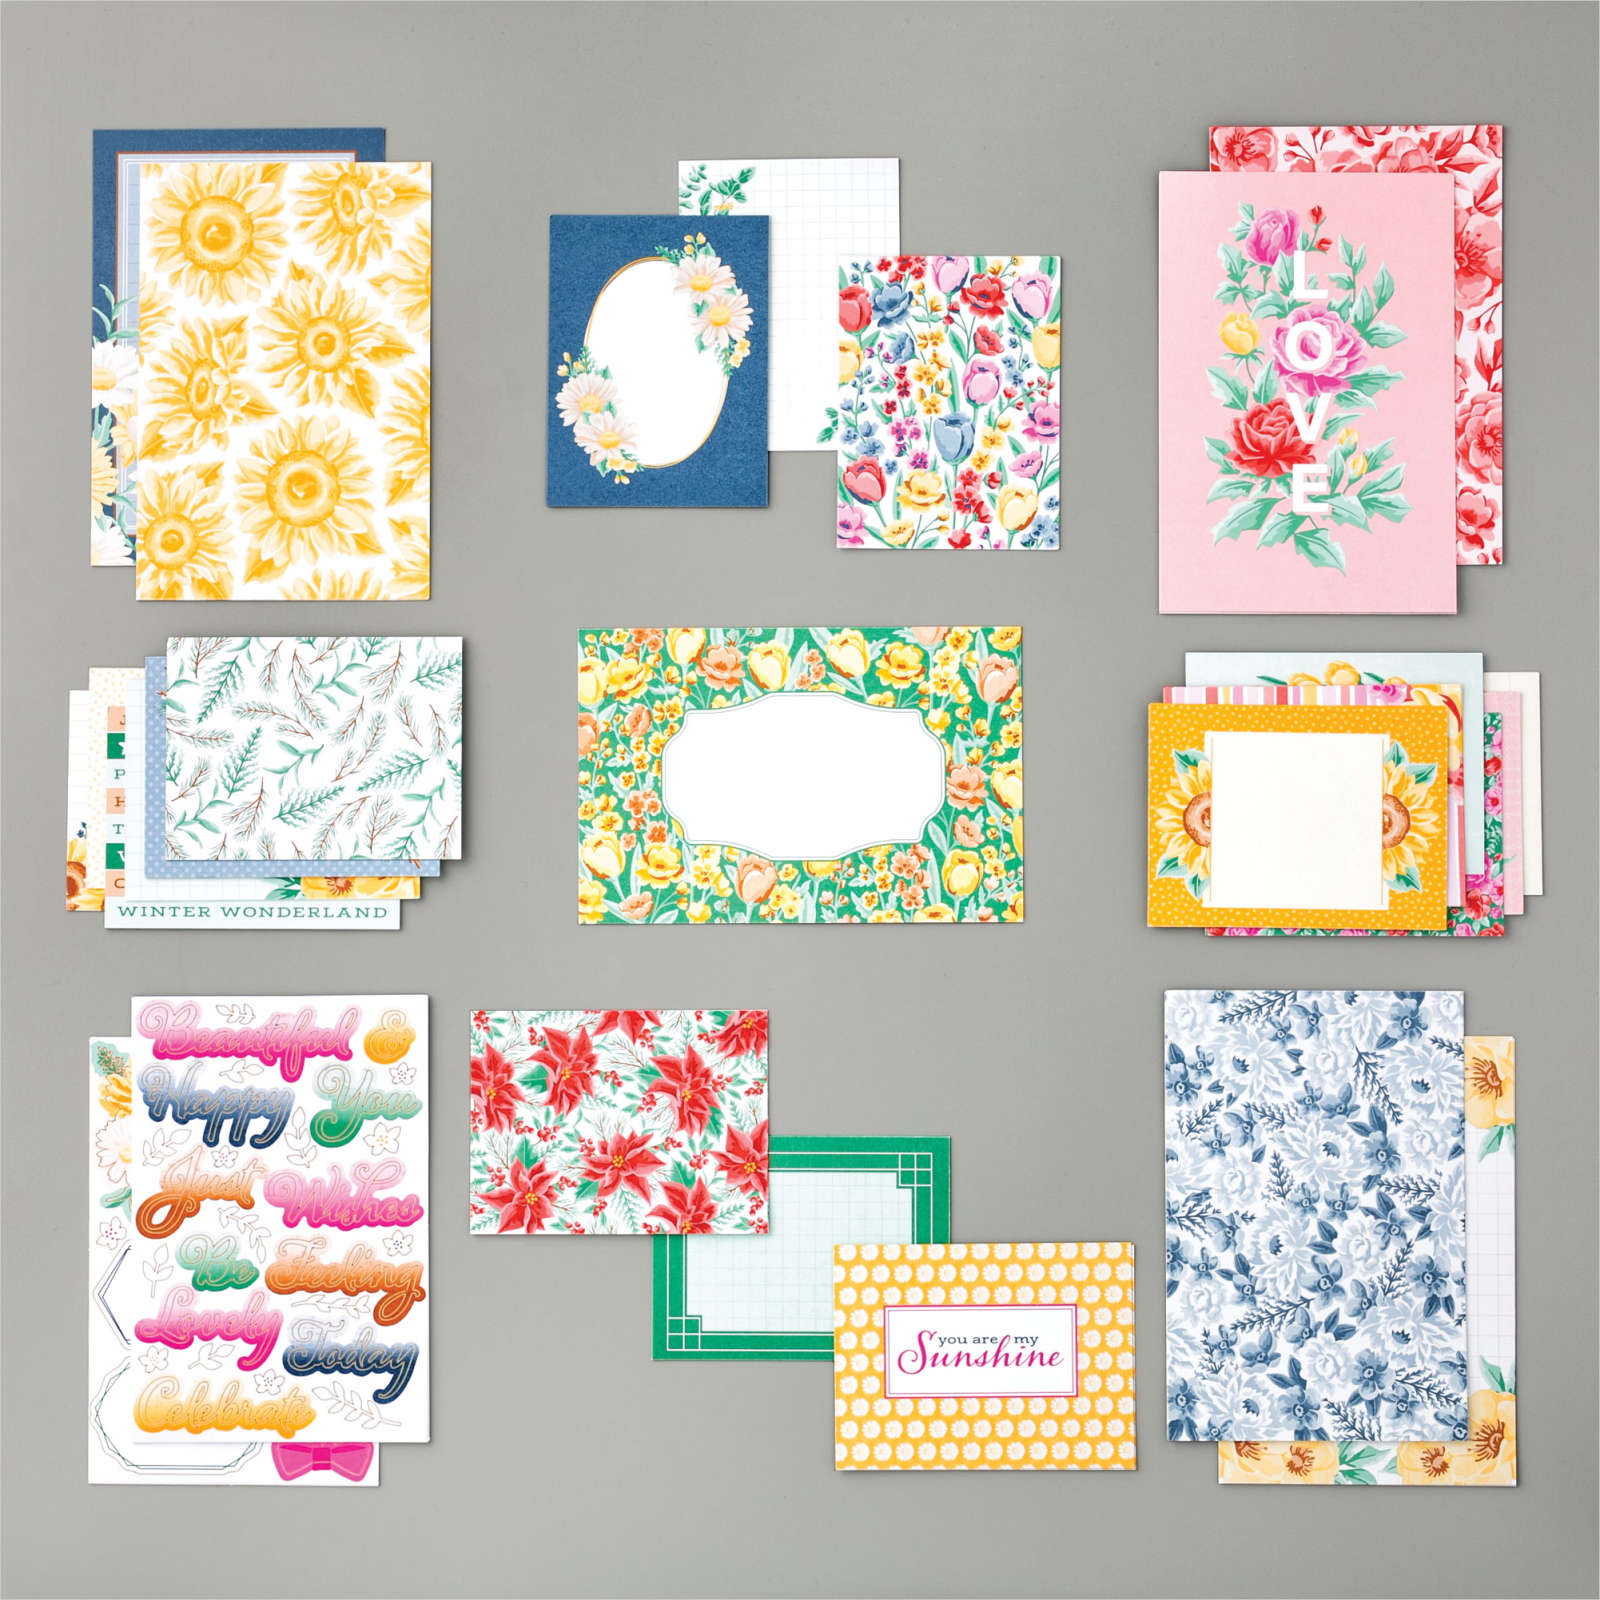
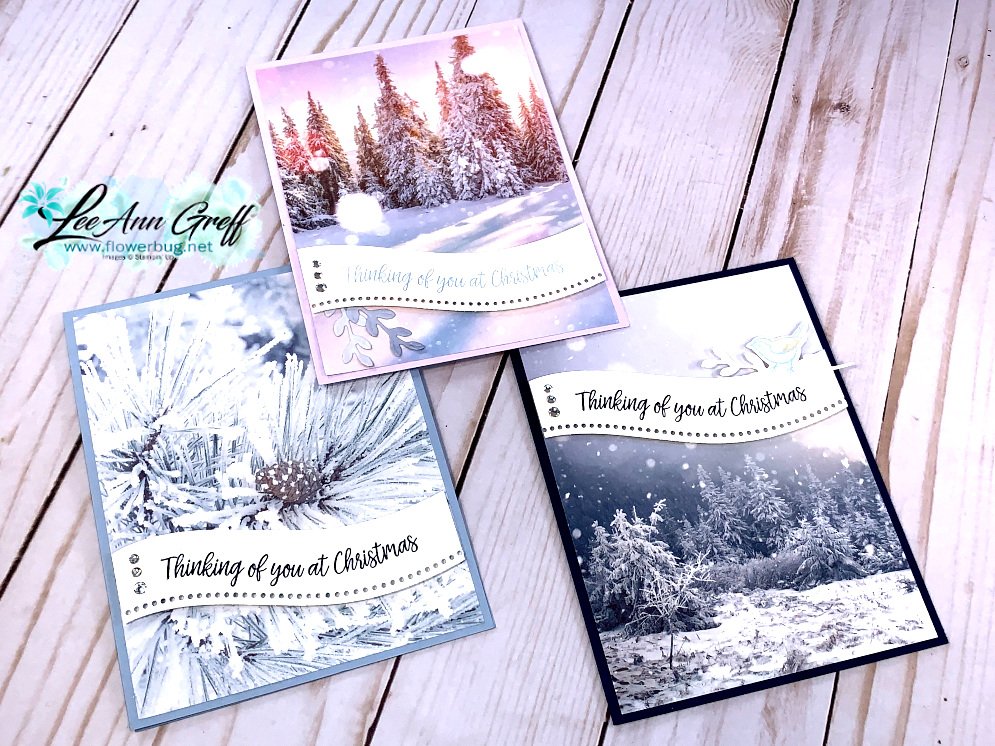
    Flowers for Every Season Memories & More cards pack  $4.40 (was $11) *See the pretty cards I made with them below with no stamping!  (Get the cards & envelopes to match here.  They're also on sale for a perfect sale match-up!

    Includes 50 total double-sided cards (2 each of 25 designs) in 3" x 4" (7.6 x 10.2 cm) and 4" x 6" (10.2 x 15.2 cm) sizes; 4 sticker sheets, 2 each of 2 designs. 


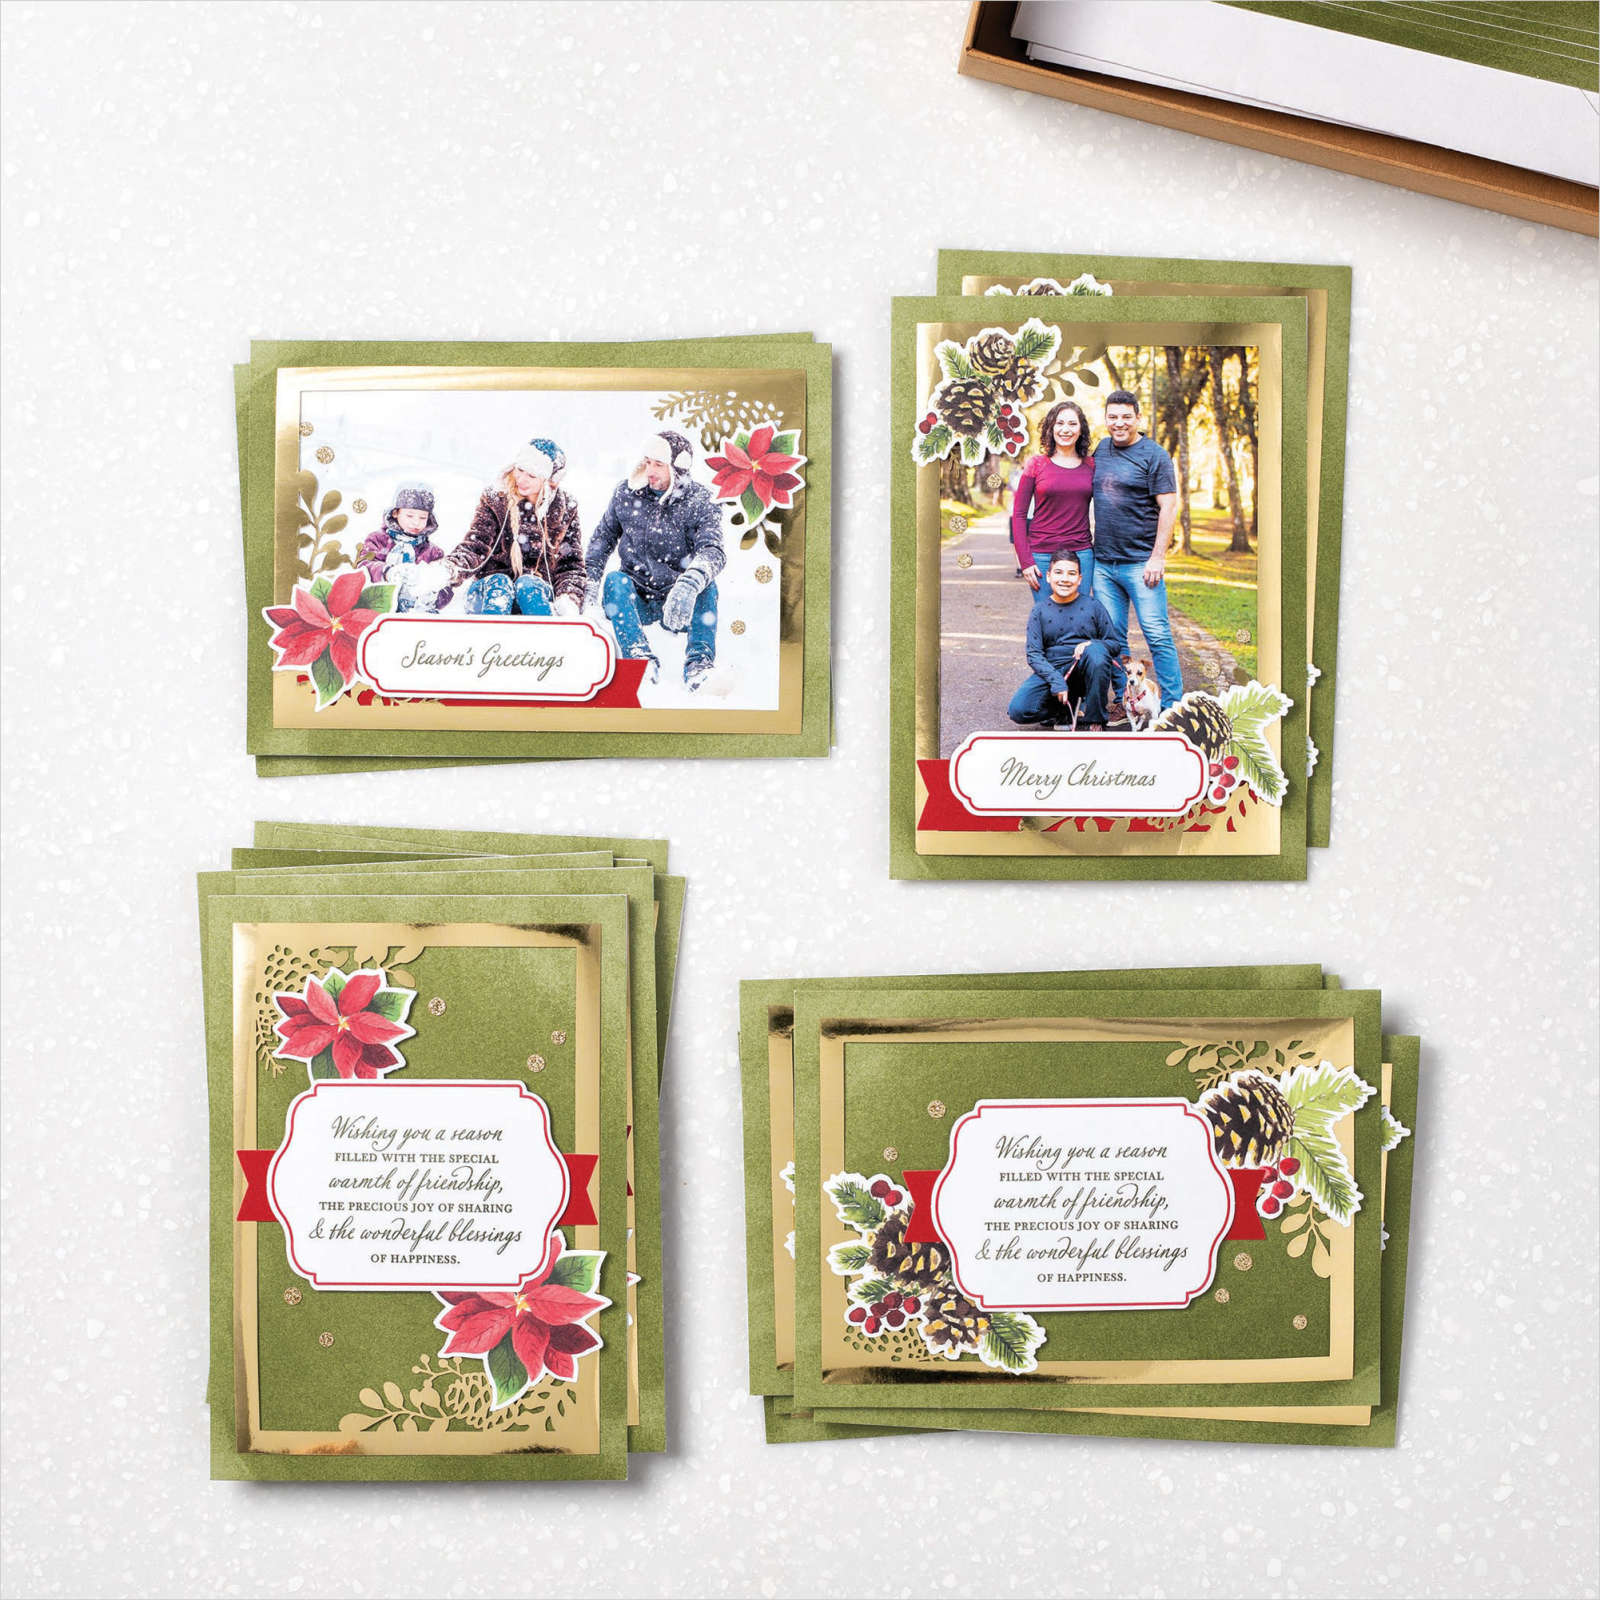
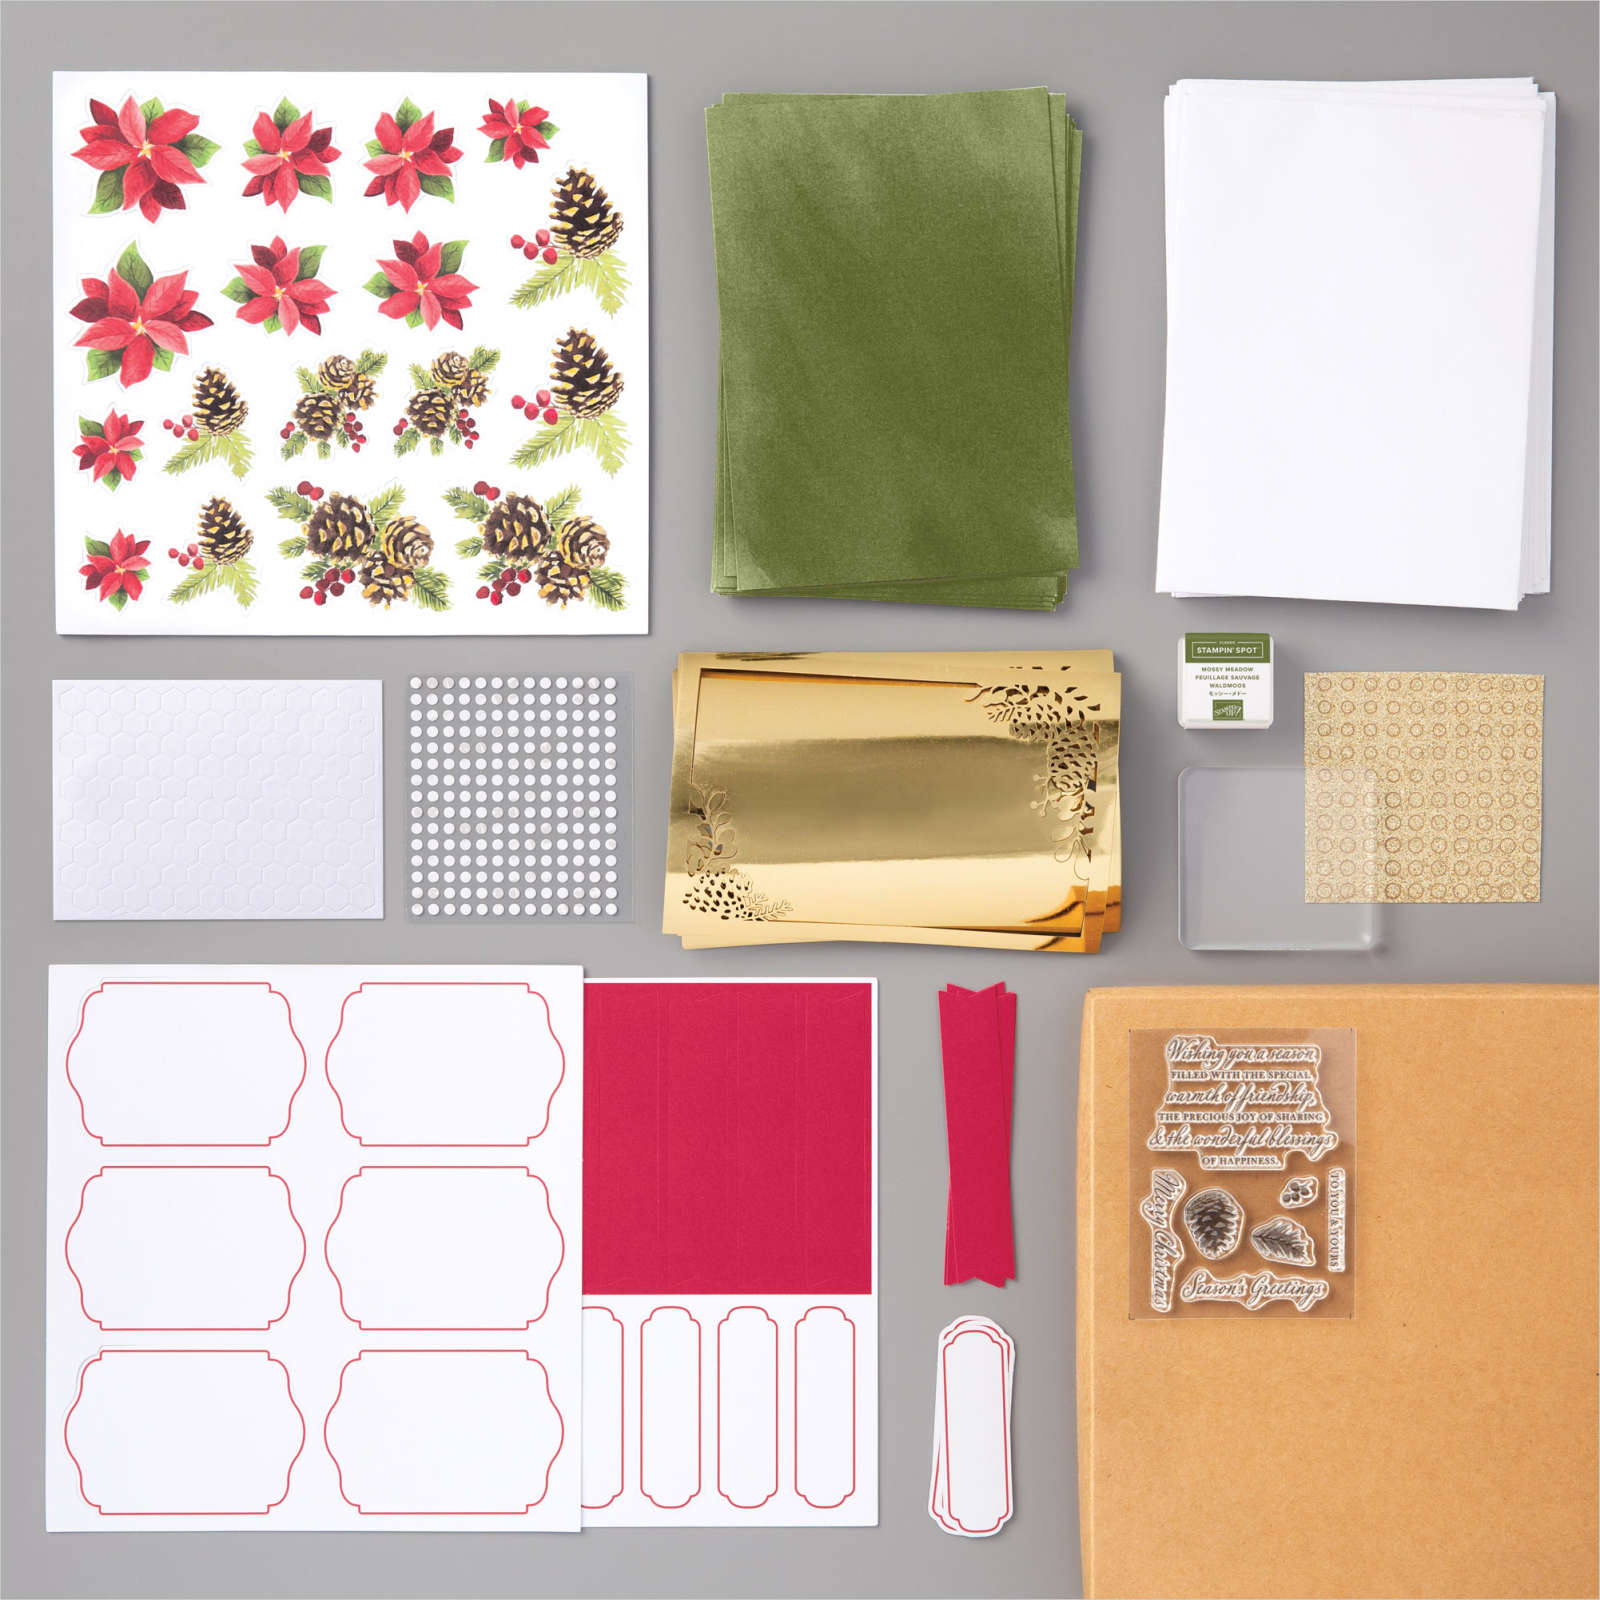
    Joy of Sharing Card kit $21 (was $35) *perfect for this year's Christmas photo cards!

    Create classic Christmas cards with the all-inclusive Joy of Sharing Card Kit! This kit is perfect for new crafters, busy crafters, or crafters on the go. 

    * Kit includes the 7-piece Joy of Sharing Photopolymer Stamp Set
    * Makes 15 traditional or photo cards and envelopes


    Embellishments: 

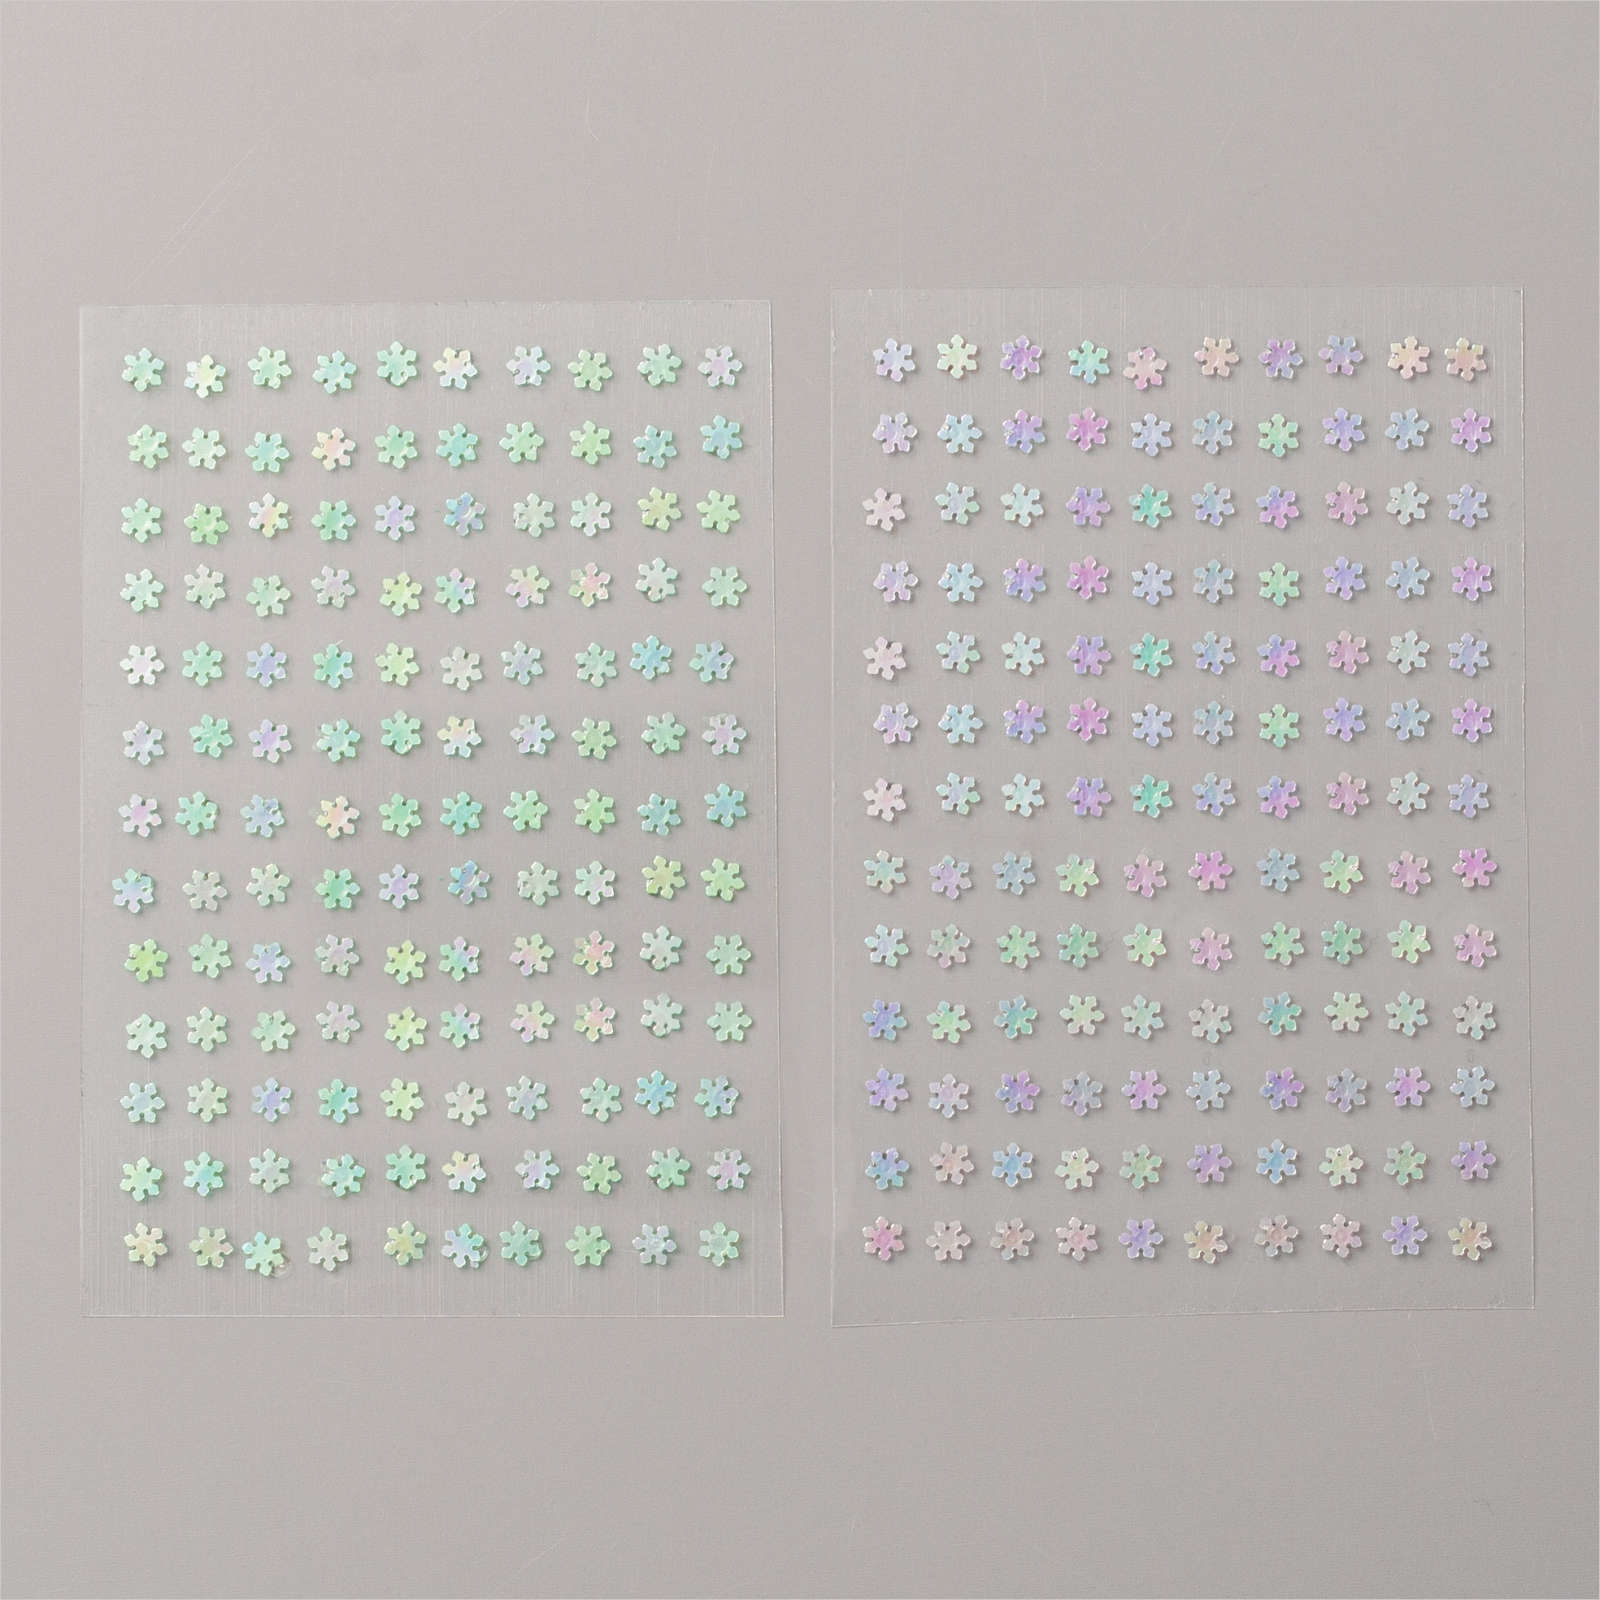
    Adhesive Backed Sequins $3.60 (was $7.50)

    These were a big favorite! You get 260 Adhesive-backed Snowflakes;130 each of 2 colors

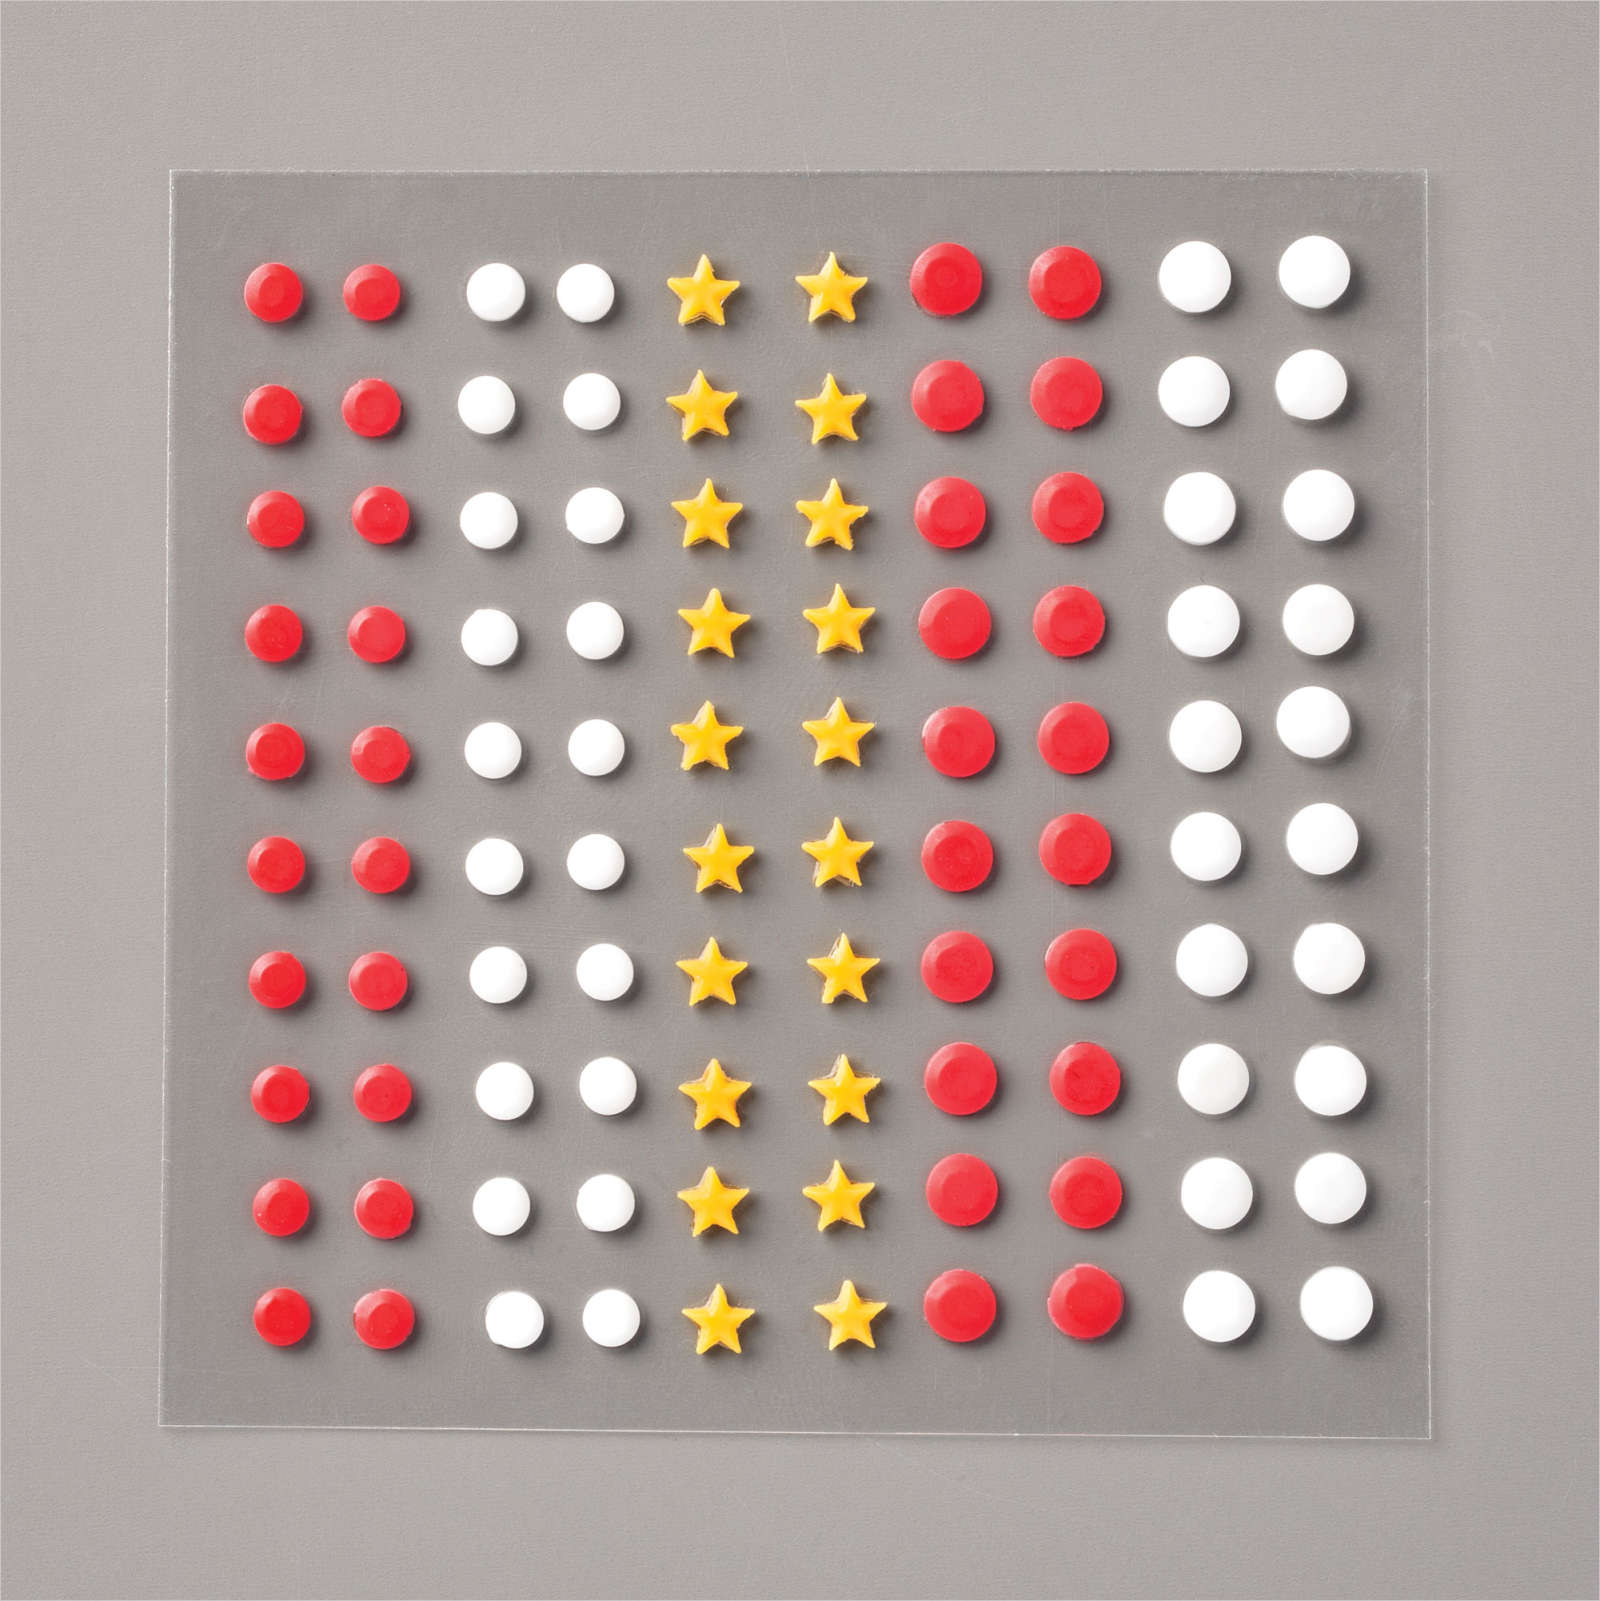
    All the Trimming embellishments $4.80 (was $8)  100 pieces: 80 dots, 40 each in Poppy Parade and white; 20 stars in Bumblebee


    Paper!

    Feels Like Frost Specialty Designer Paper $9 now; was $15

    I cannot believe this is available; they ran out of it twice! 48 double-sided sheets: 4 each of 12 designs; 6" x 6"

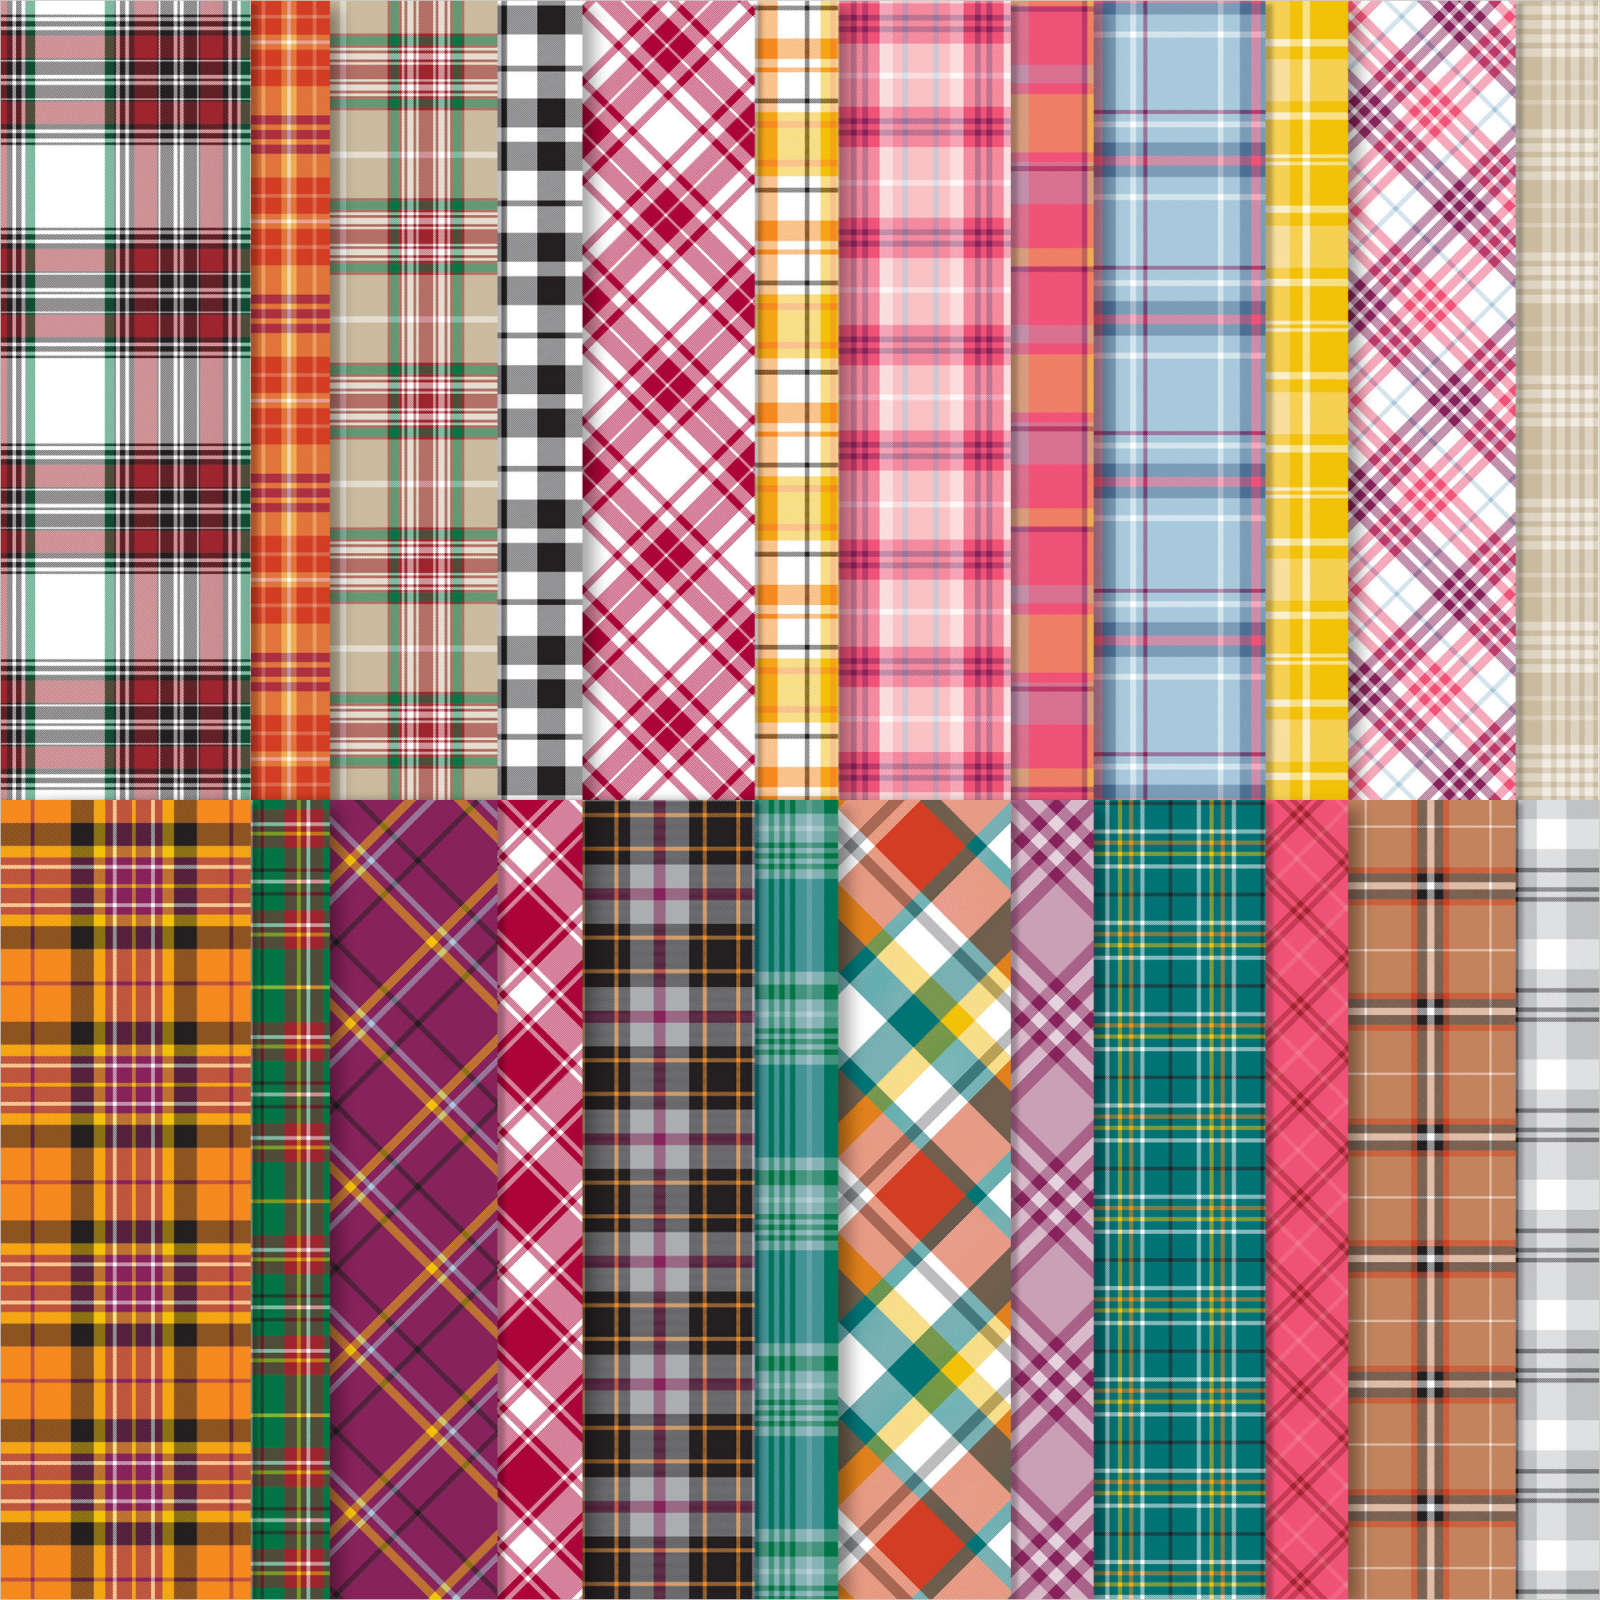
    Plaid Tidings 6 X 6" DSP – $6.90; was $11.50

    Gorgeous designs for all seasons!  Everyone loved this paper!


    Tools!

    Butterfly Duet Punch $7.20 (was $18)


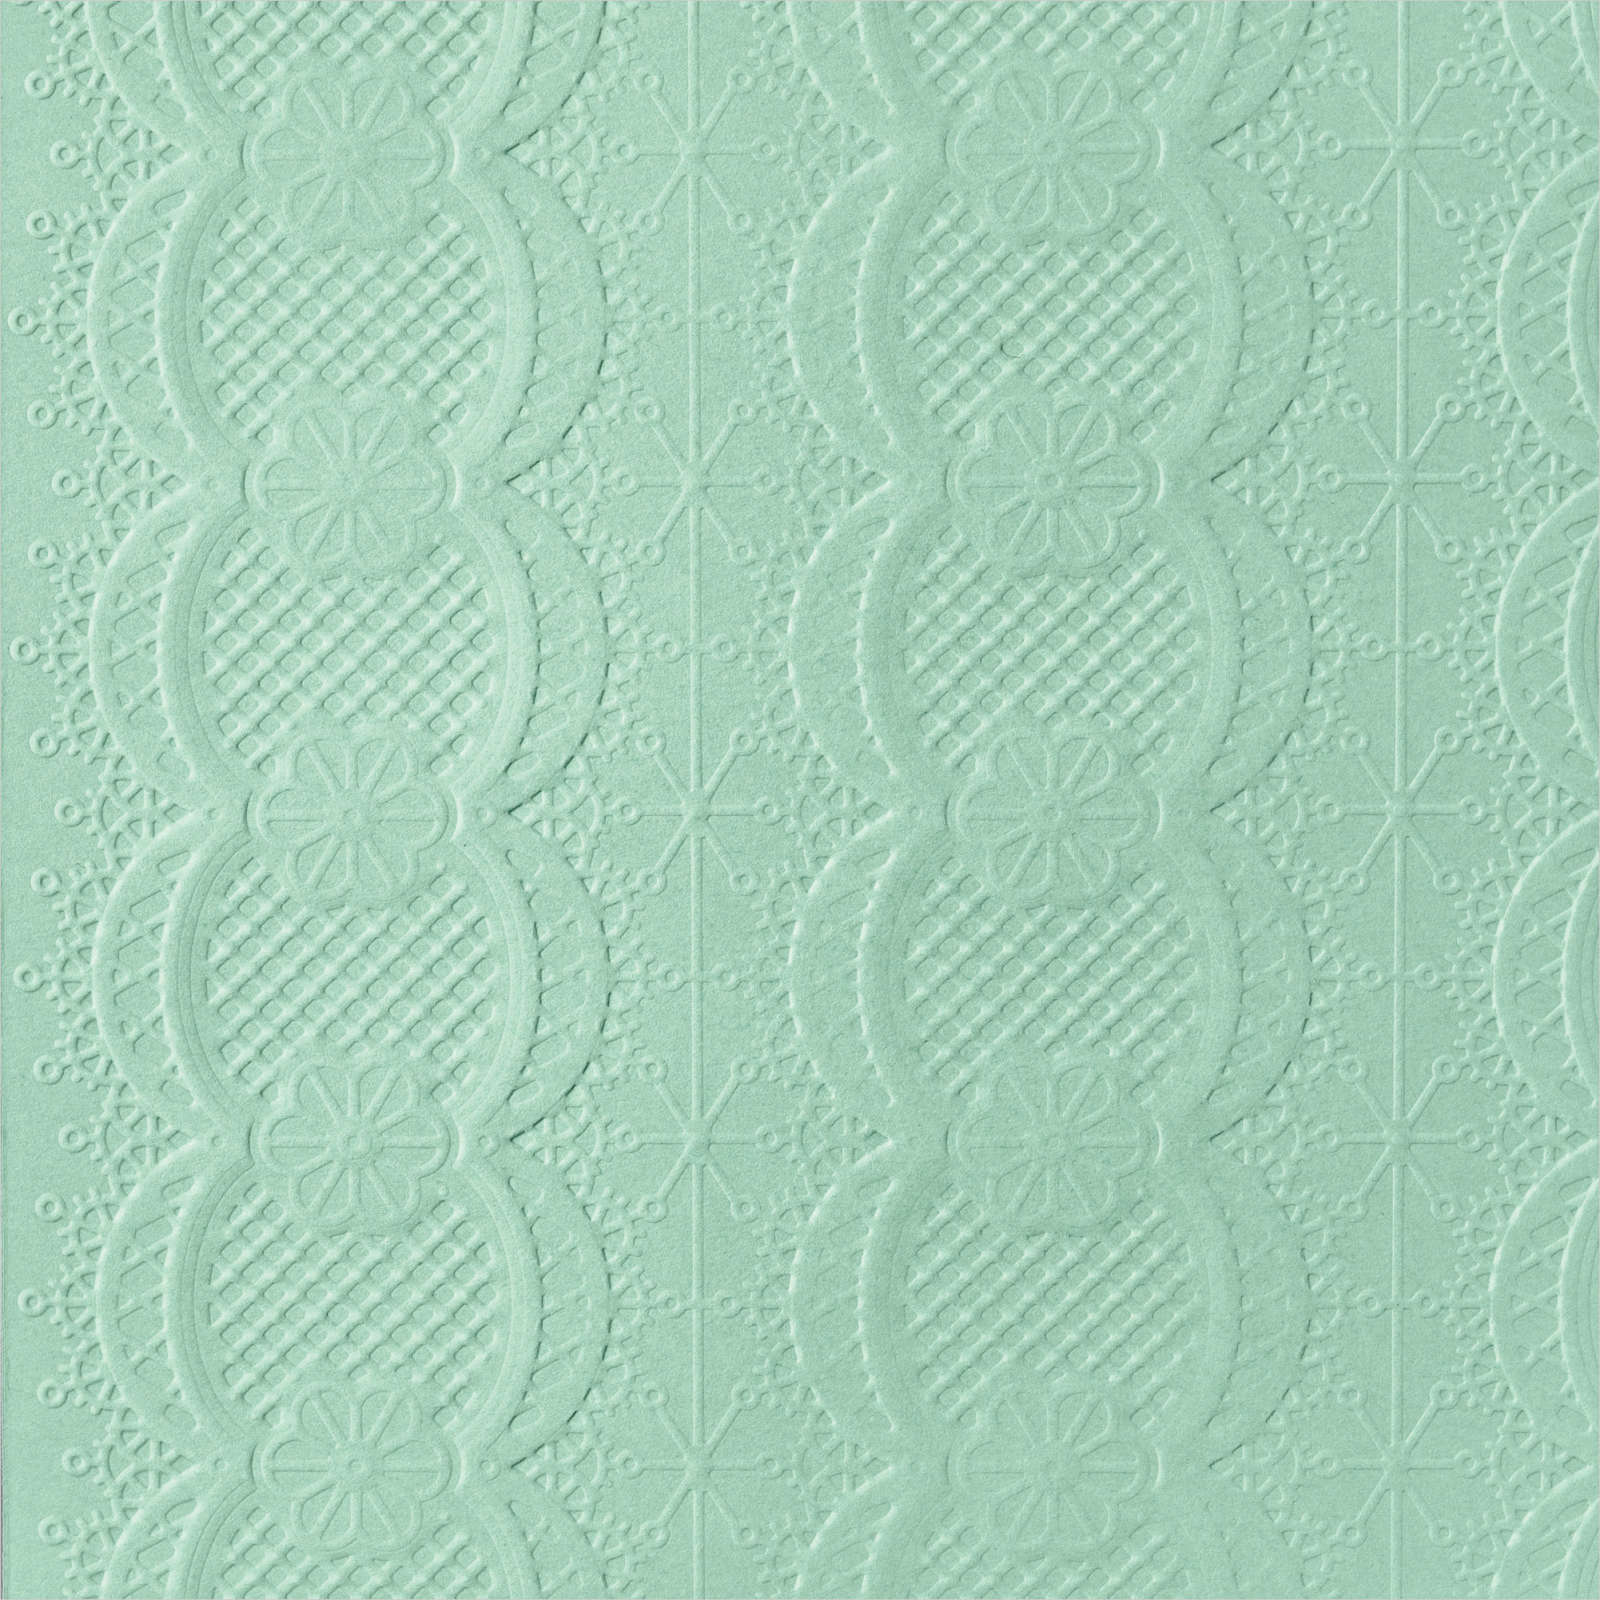
    Lace 3D embossing folder $4 (was $10)

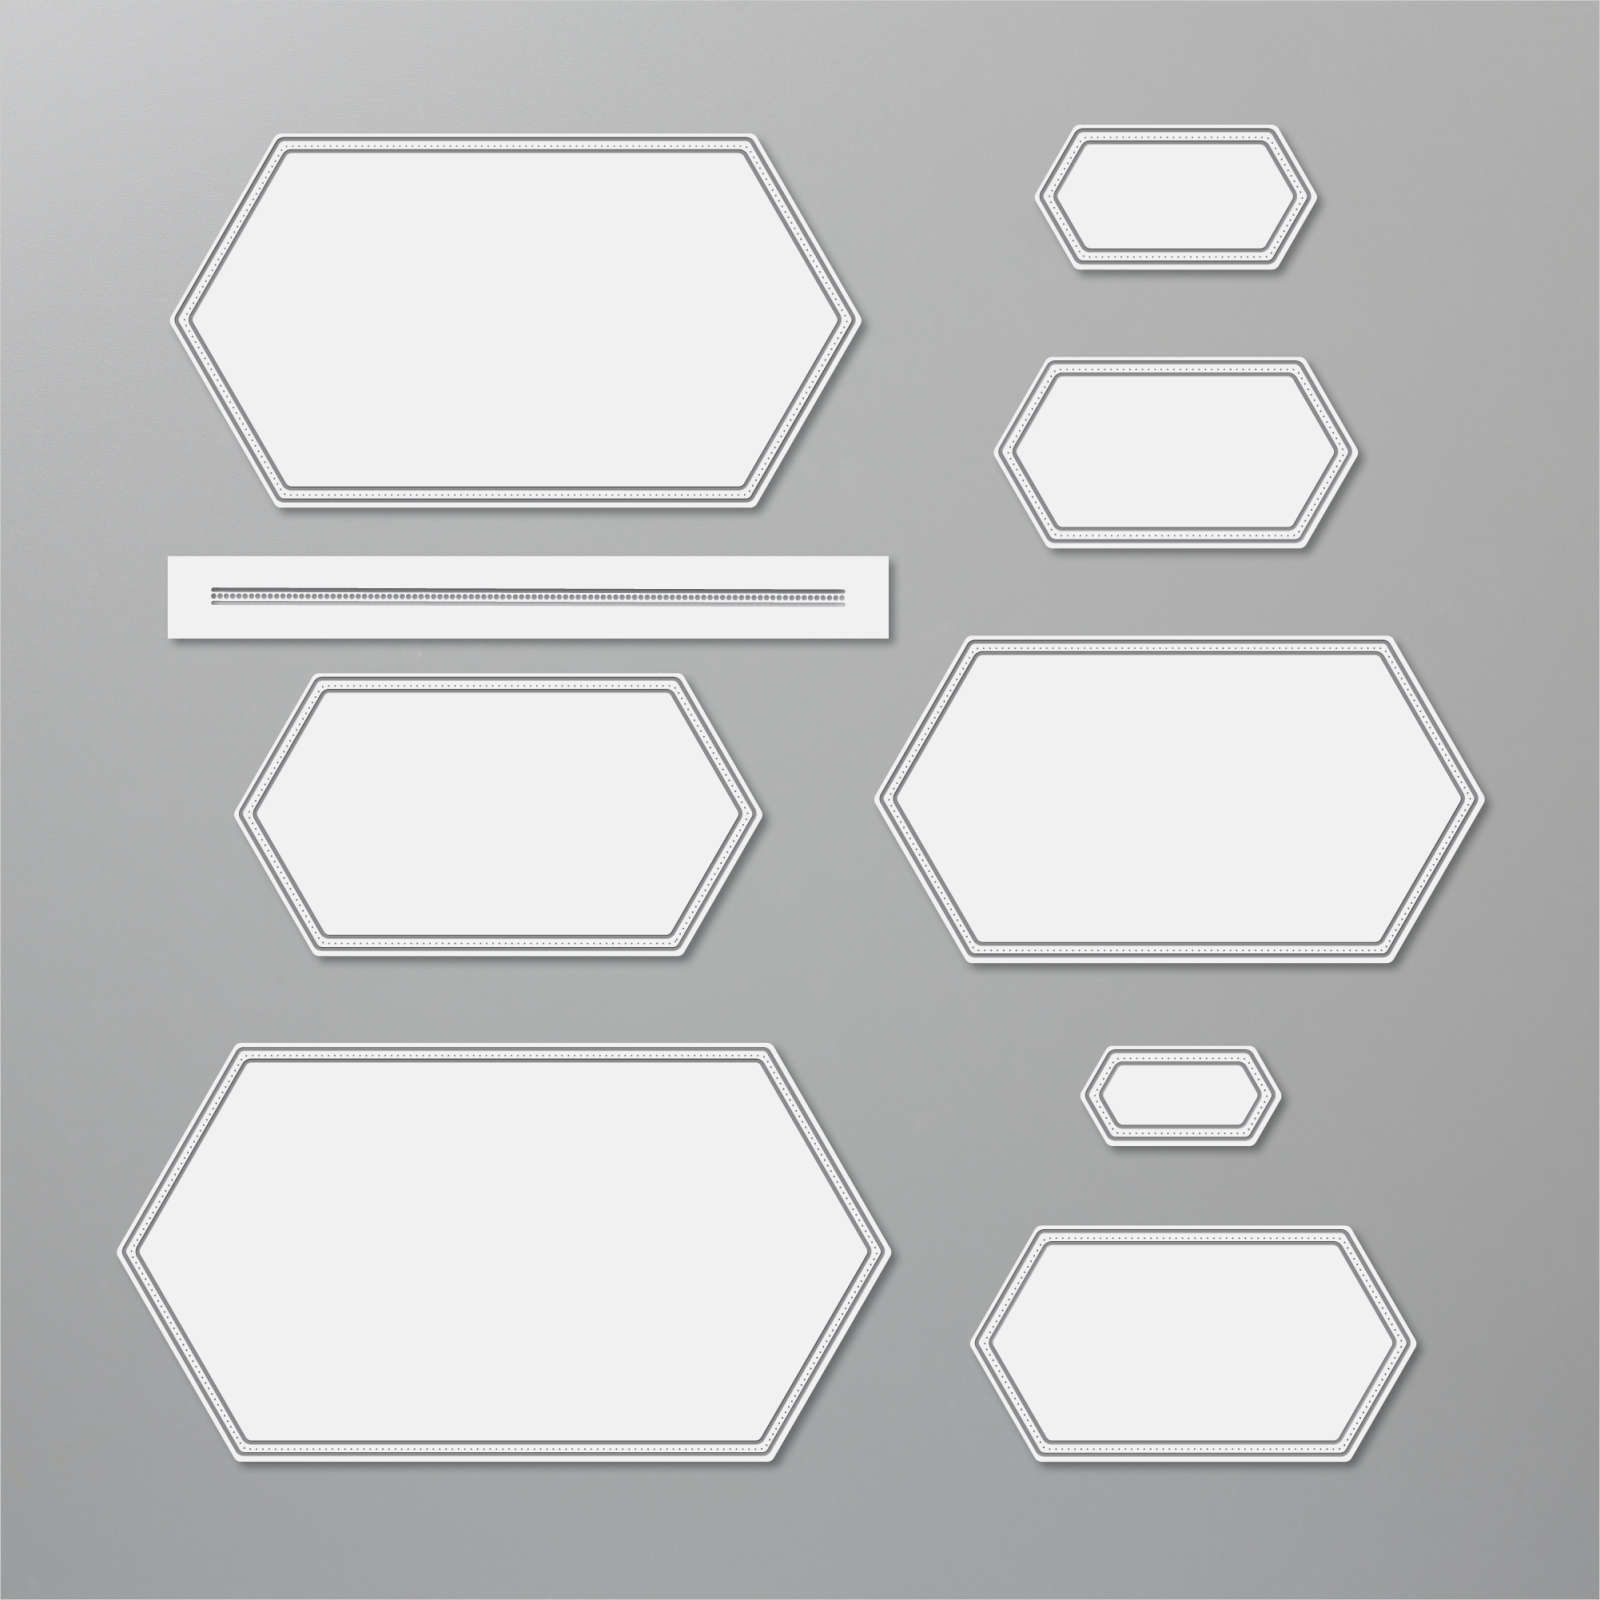
    Stitched Nested Labels $28 (was $35) **If you don't have these I highly recommend you get these before they're gone. 

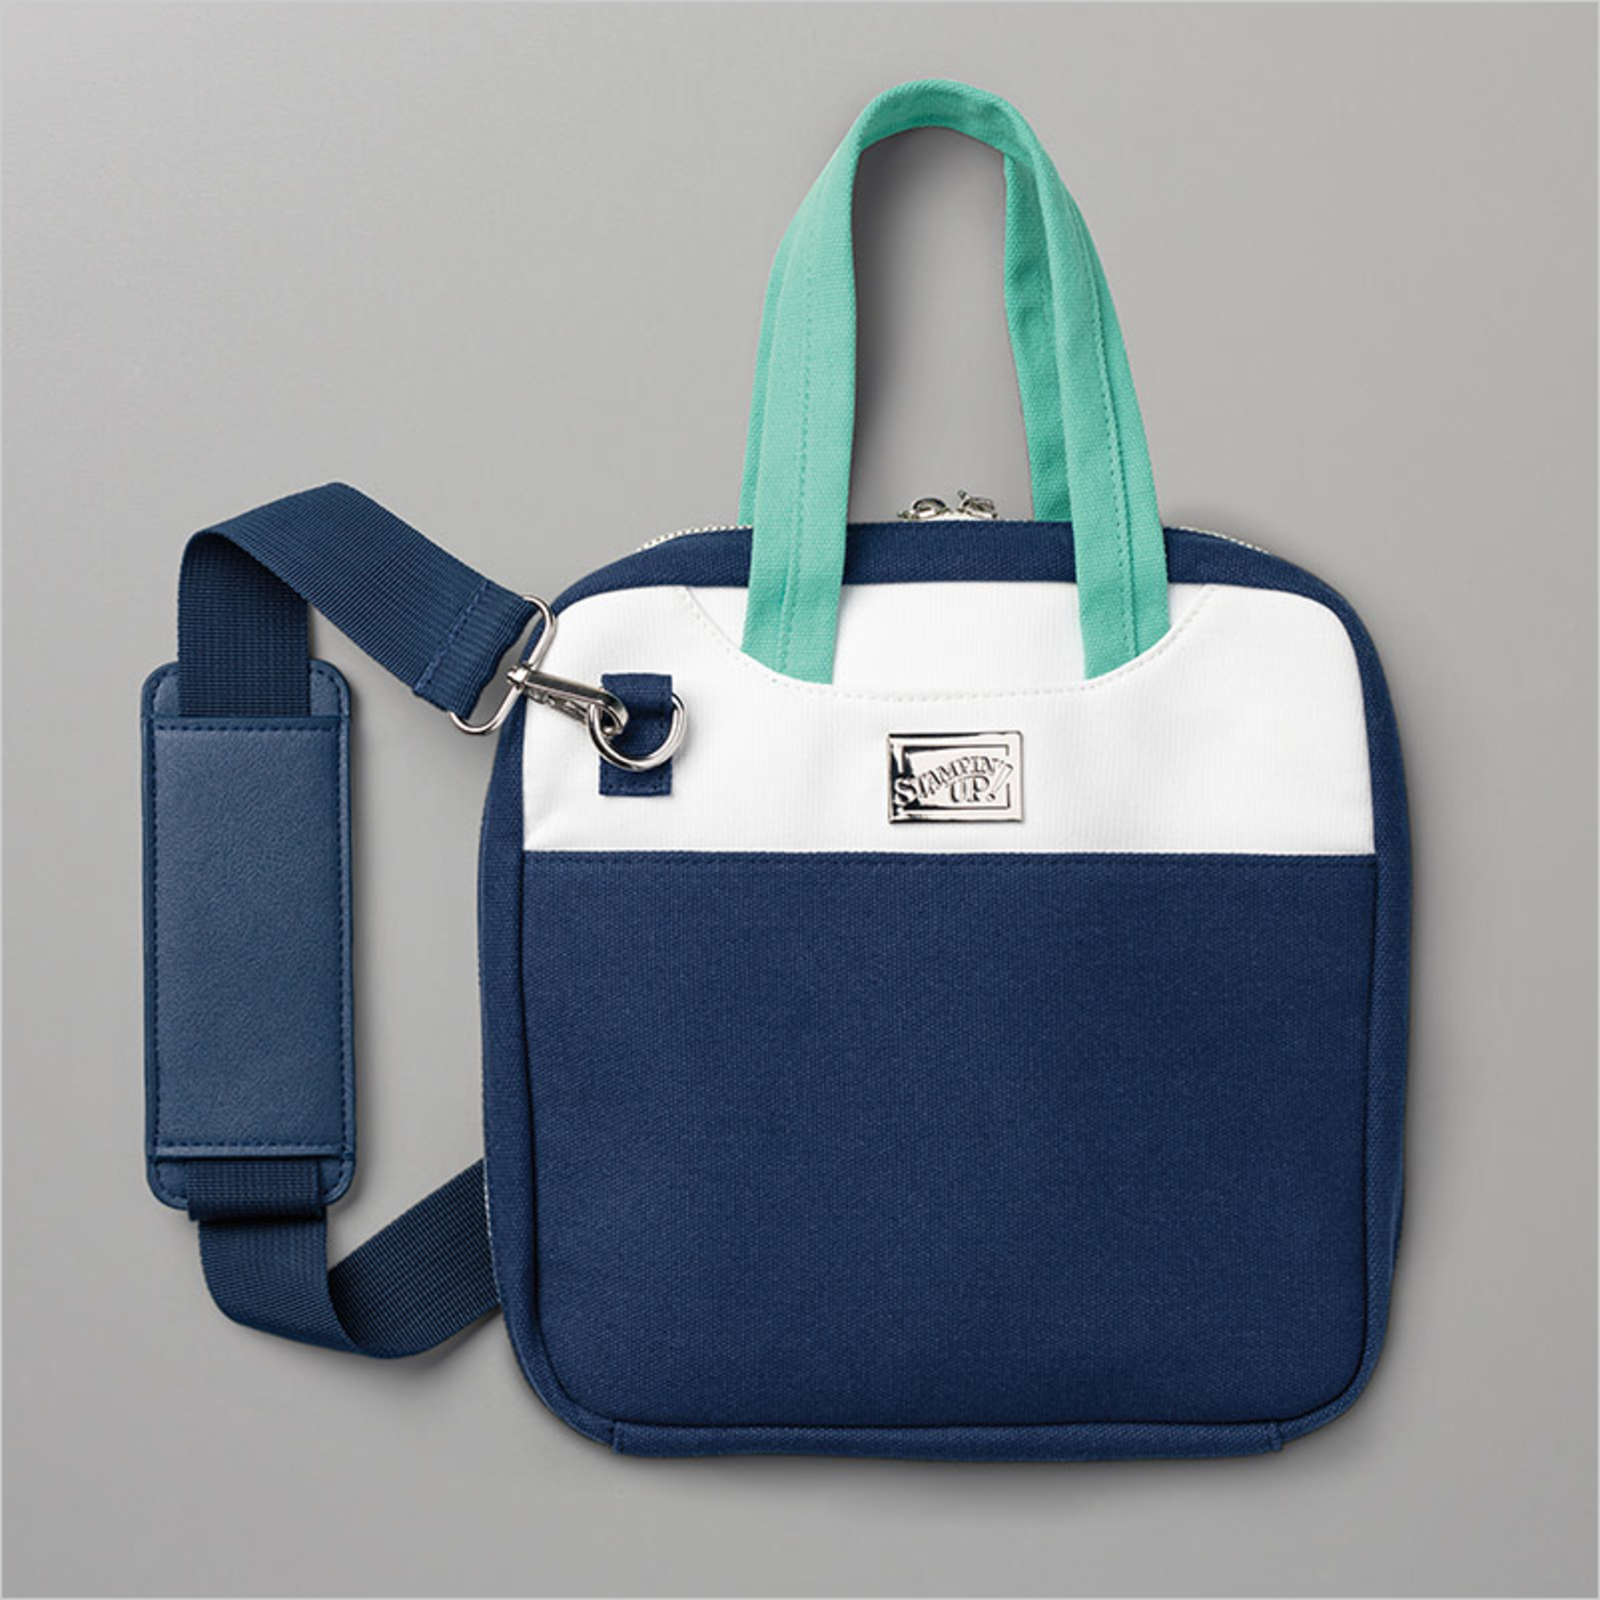
    Stamparatus Bag $11.60 *was $29.  I love this bag!  

    Happy Dies $12 (was $30) 

    ~~~

    April Specials!

    Click here for the Annual Catalog Retiring List; many discounted items while supplies last! 

    Current Host code is 3PA3P32V

    Order online here


    ~~~

    Get a free multipurpose glue stand with an online order over $60 using the host code above. You'll receive a color of my choice unless you let me know your preference. *if you'd rather have gems; let me know.

    *If your order is over $150 do not use the code; you'll still receive a gift! 

    You can also order them in my Shop here. 

    All online orders will receive a free 14 project PDF tutorial

    Leave a Reply

    Your email address will not be published. Required fields are marked *

  • Hey Girlfriend with a paper strips background!


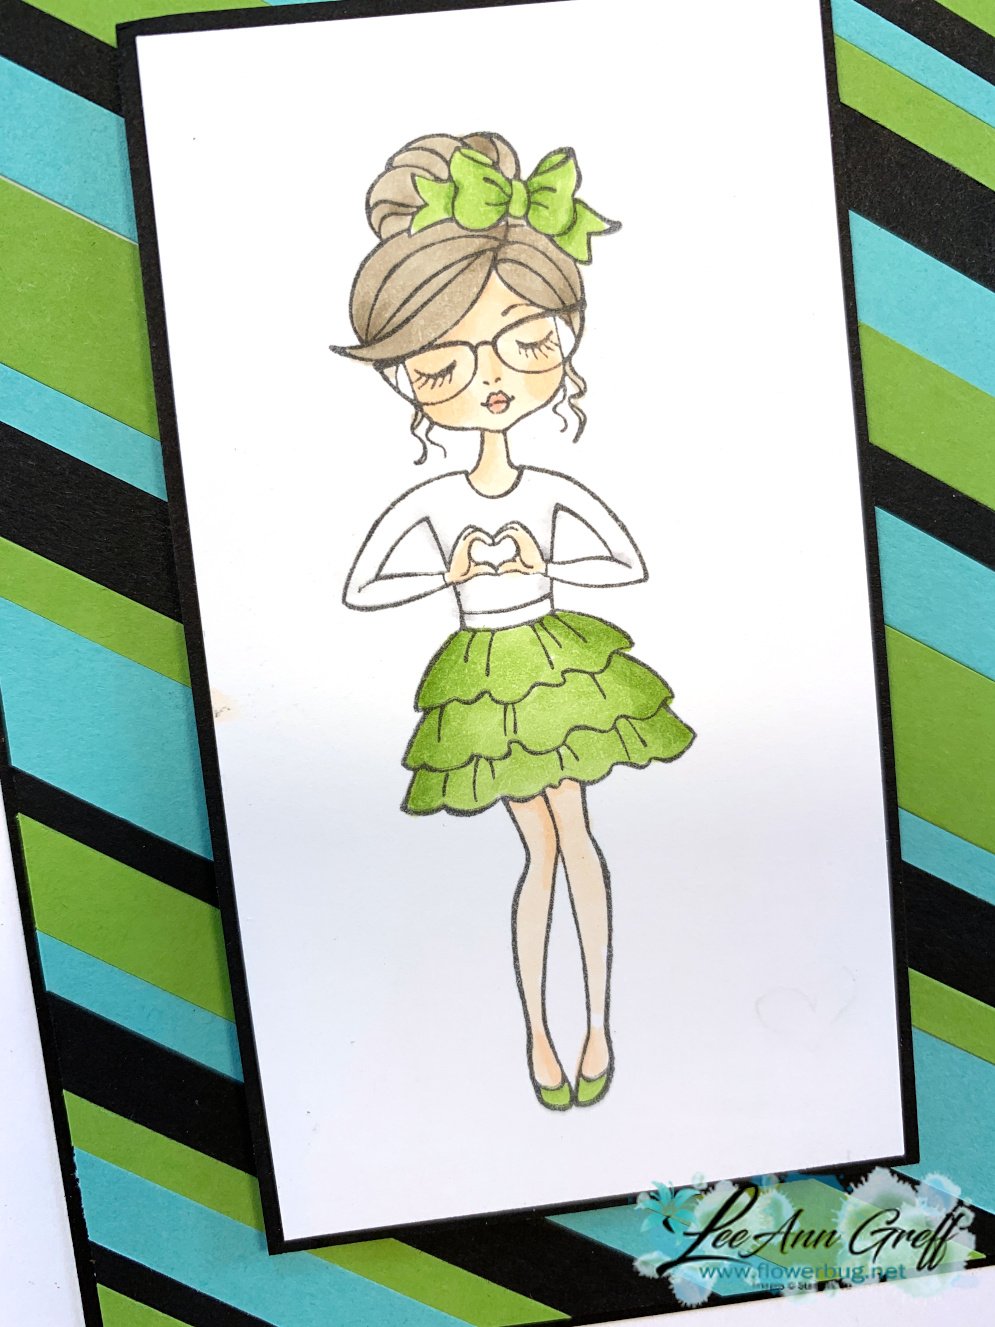
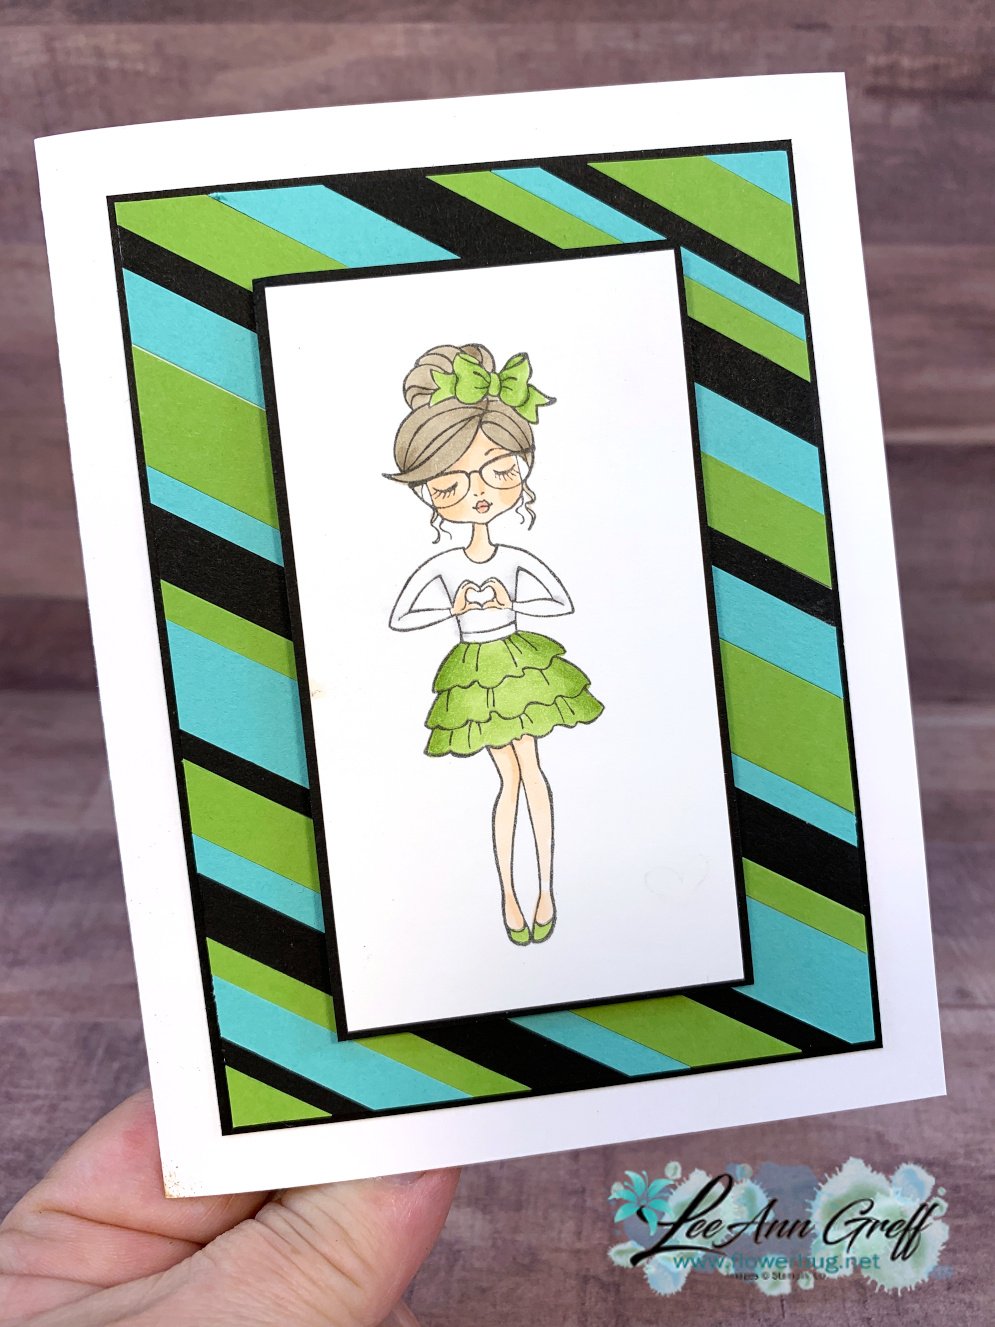
    Coloring these sweet girls can be intimidating but not with our Blends markers!  Look at her! 

    I will admit that my friend & team member Audrey colored this one.  She shared a bunch of stamped & colored girls with me and I've made a few cards with them.  If you look closely you can see the changes in color hue that gives great dimension. Such as her skirt. See how the outside is darker than the inside?  Same with her cheeks. 

    The Blends markers are fabulous tools!  

    I had a bunch of colored card stock strips laying on my desk and decided to use them for a background.  I cut some into thinner strips to add interest. I did not measure; they vary in widths which adds some interest & fun.

    I adhered them to a 3 1/2" X 4 3/4" piece of card stock. Then I trimmed off the excess and added the entire piece to a piece of 3 5/8" X 4 7/8" piece of Black CS before I added it to the White card base.  

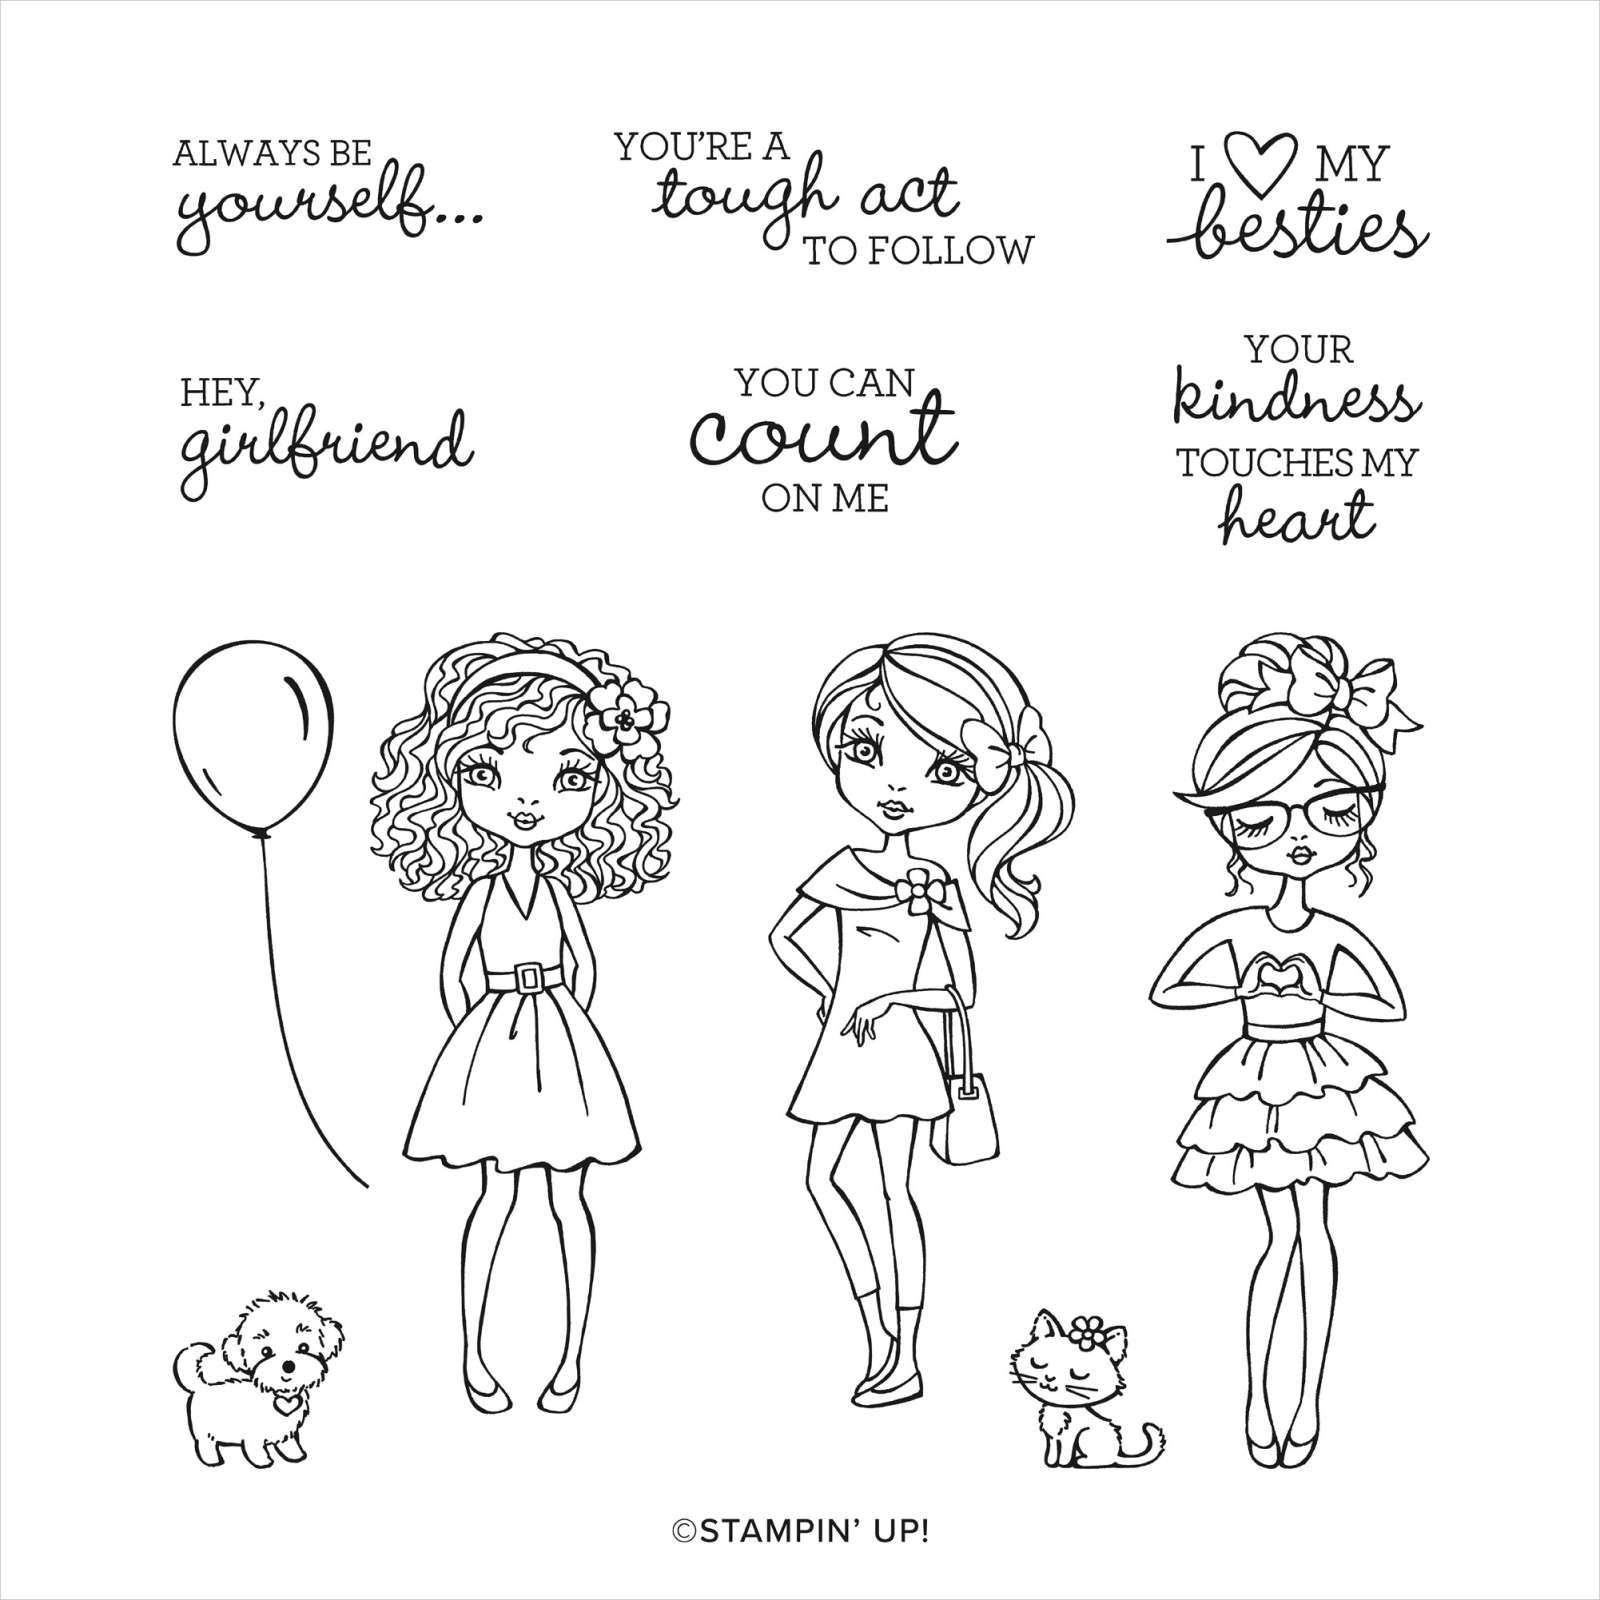
    This stamp set will not be carried over; it will retire in June.  You can see it here. 

    ~~~

    April Specials!

    Click here for the Annual Catalog Retiring List; many discounted items while supplies last! 

    Current Host code is 3PA3P32V

    Order online here


    ~~~

    Get a free multipurpose glue stand with an online order over $60 using the host code above. You'll receive a color of my choice unless you let me know your preference. *if you'd rather have gems; let me know.

    *If your order is over $150 do not use the code; you'll still receive a gift! 

    You can also order them in my Shop here. 

    All online orders will receive a free 14 project PDF tutorial

    Leave a Reply

    Your email address will not be published. Required fields are marked *


Notice: LeeAnn Greff, Independent Stampin’ Up! Demonstrator, Manager. The content of this website is my sole responsibility as an independent Stampin’ Up! demonstrator and the use of, and content of, the classes, services, or products offered on this website is not endorsed by Stampin’ Up! Copyright 2025