/


Latest Post

How to achieve the Floating Technique? Lots of examples!


Our current Team creative challenge for my Flowerbug's group is to make a card using the Floating Technique.  It's a fun technique that uses a window sheet or transparency.  

Here are some of mine I shared on a recent Facebook Live video you can see here. 

This first one features Black & White with a 'pop' of color – Magenta Madness in this case. Magenta Madness is retiring next week!   
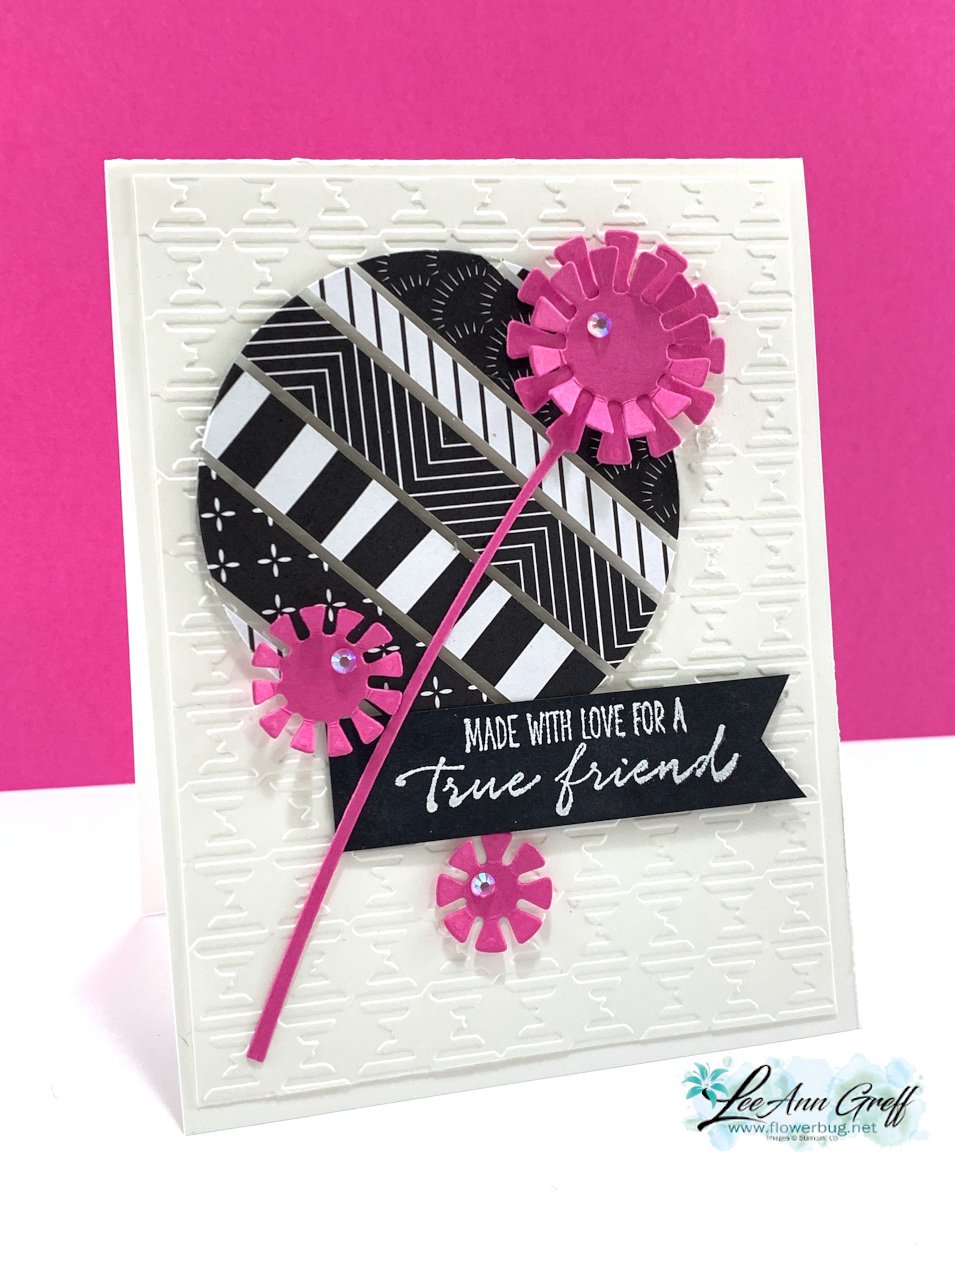
I used the Dandy Wishes dies and the Layering Circles dies here.  I adhered a bunch of strips of the All Together designer paper to a window sheet, leaving space between them.  I cut it out with the largest circle in the set and popped it up on a Gingham textured White layer. 

I added die-cuts from the neat Dandy Wishes dies and a heat embossed image from the Garden Wishes stamp set. This set is in a bundle with the Dandy Wishes dies and on sale in March!  See it here. 

This next card features Misty Moonlight and the Abstract Beauty DSP.  I cut the feathers from this pretty DSP that has touches of Gold on it using the Iconic dies seen here.  
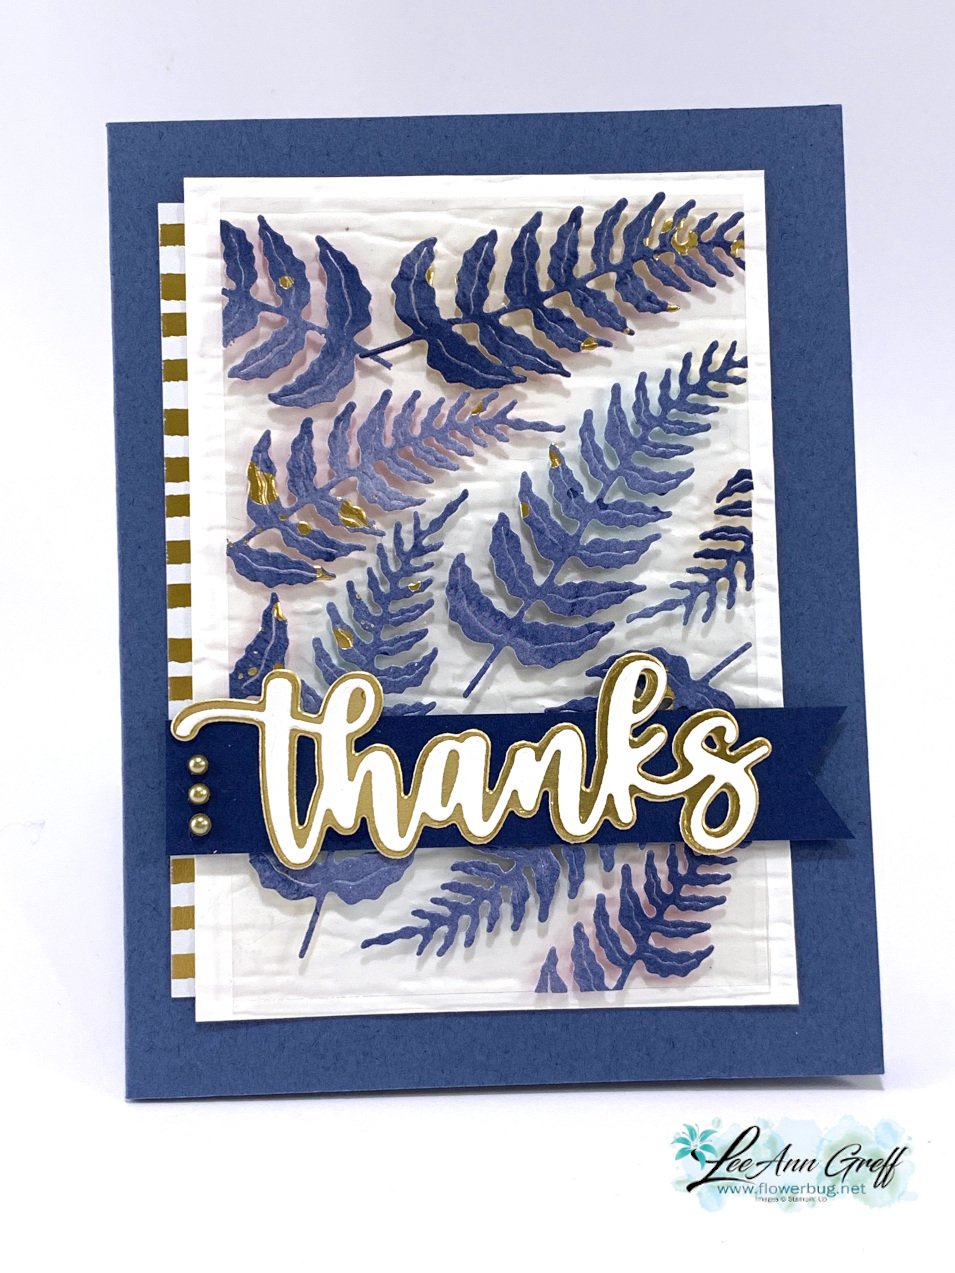
For this card the window sheet is a simple rectangle.  After adding the feathers I trimmed off the excess and added it to the card with mini dimensionals.  

Other details: 

  • the greeting die-cuts are the Amazing Thanks dies seen here.
  • The textured White layer is done with the Bark 3D embossing folder.
  • That strip of gold & white strips is also from the Abstract Beauty DSP. 
  • Colors are Gold, White, Misty Moonlight and Night of Navy

Next is a card done in purples – Fresh Freesia, Highland Heather & Gorgeous Grape.  
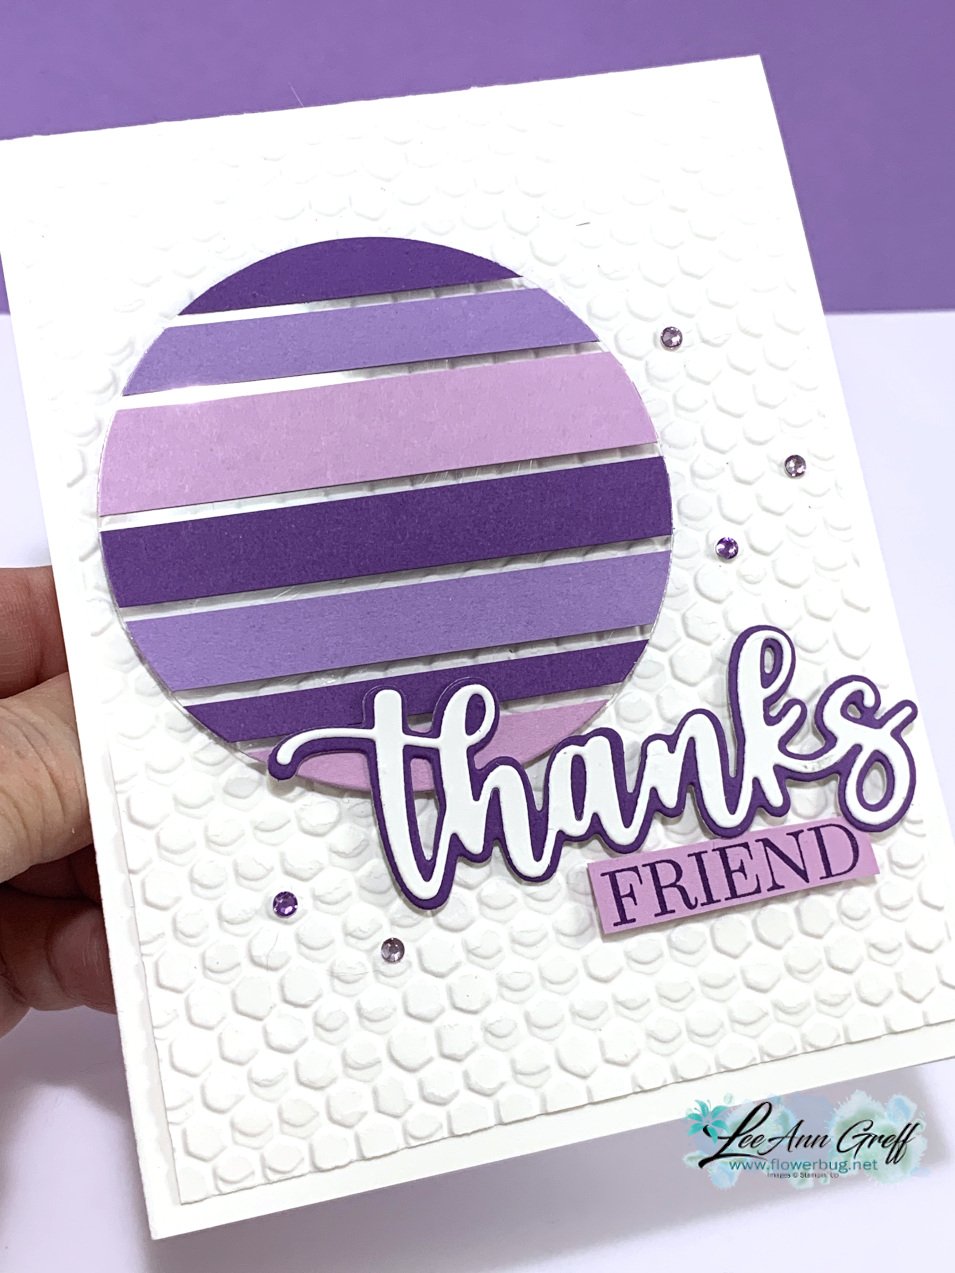
Details:

  • Layering Circle & Amazing Thanks dies
  • Greeting stamped from Special Moments SAB set
  • Texture is Hive 3D folder seen here 
  • Basic Rhinestone jewels were colored purple with Blends markers 

This next sample features the Artistic dies along with the SAB Simply Marbelous DSP. 

Colors are Basic Gray, White & Black; very monochromatic.  The greeting is from Friendly Hello SAB set, heat embossed.  

Tip; to adhere the finely cut die-cut pieces I used our Adhesive Sheets seen here.  They're the best solution for these types of die-cuts. 

You can see how I achieved these cards on the link below; just click on the photo to watch. 

~~~

March Specials: 

Host codes: FS239K9C

 *click here to order 

If your order is over $50 you'll receive a free embellishment

from the Jan-June catalog in your thank you card.

Annual Catalog Retiring List is out March 23rd!  Deep discounts coming! 

Don't forget about my loyalty rewards! 

Click here to download yours and earn a $50 shopping spree!  
All Posts

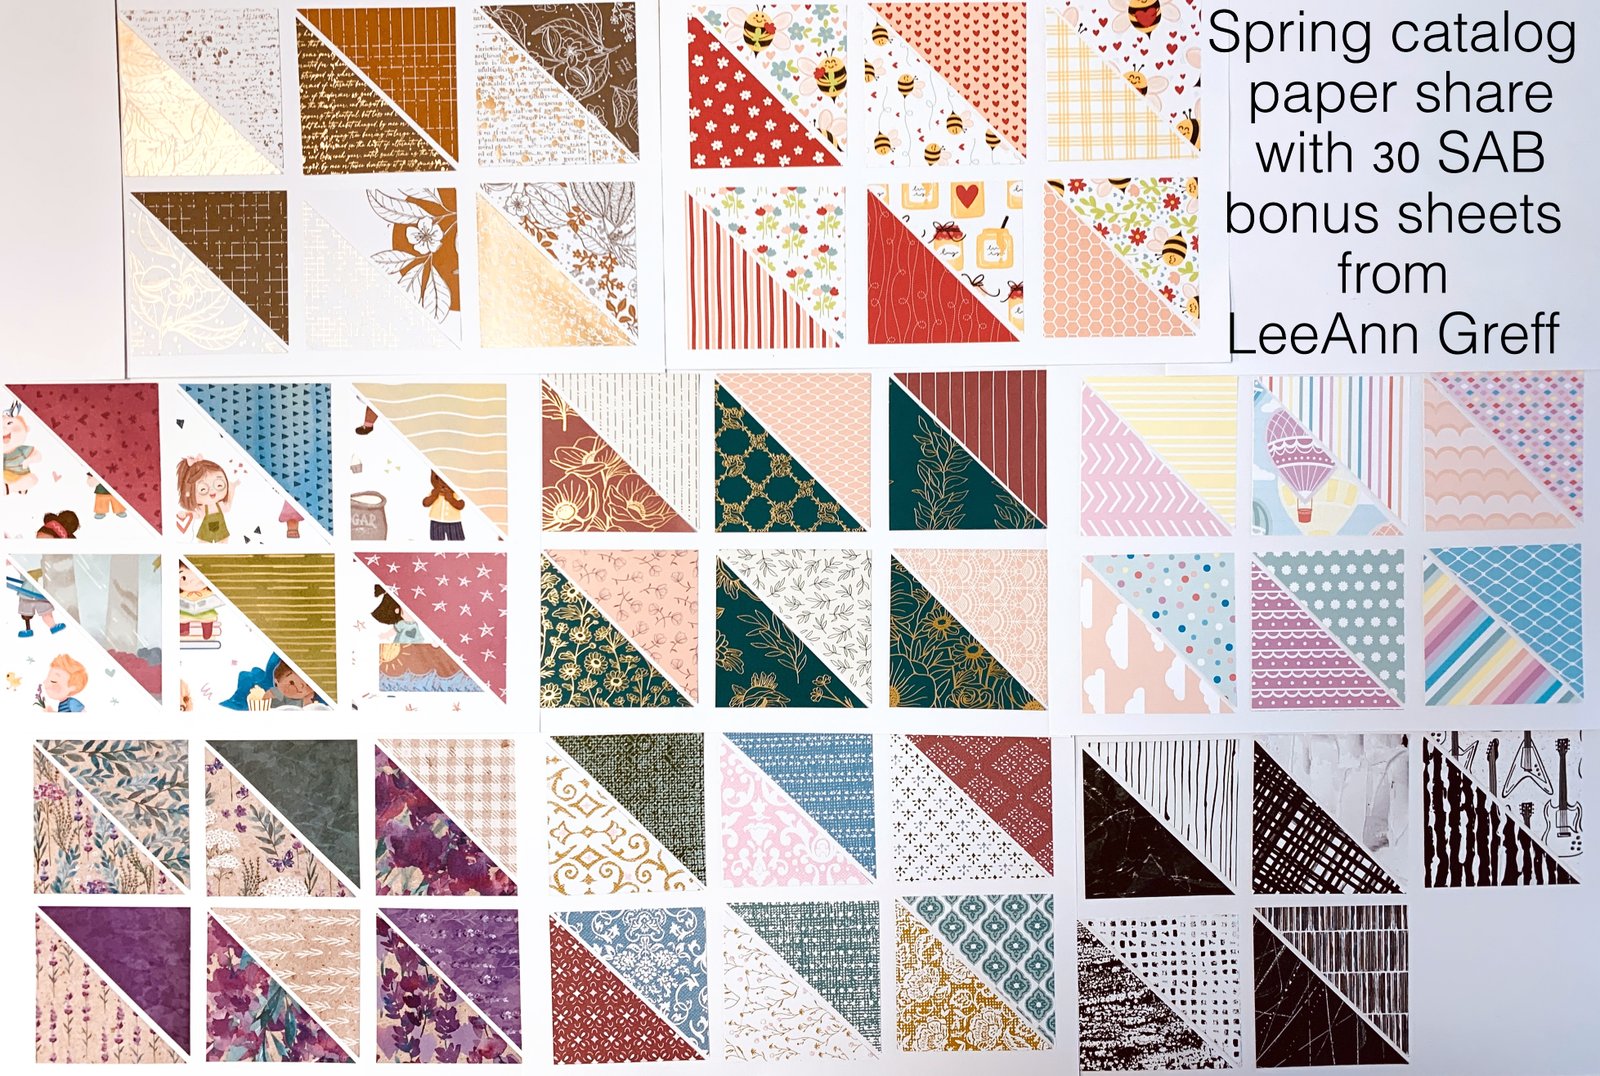
  • Reserve your 2024 Spring Catalog designer paper share now & get 30 bonus Sale-a-Bration sheets too


    The new 2024 Spring catalog goes live on Thursday, January 4th!!  That means it's time for another designer paper share.  

    There are 8 new packs of beautiful designer papers in this catalog. 

    This share includes 48 sheets of 6 X 6" papers from the Spring Catalog plus I'm adding in one sheet from each of the 5 packs of new Sale-a-Bration packs too (30 more sheets)!  

    You'll receive a total of 78 sheets of NEW designer papers for just $18! *Add on $7 for shipping costs for a total of $25 long distance.  Contact me here to reserve yours.

    *Once the share is filled with 8 people I'll order the designer papers; once the catalog goes live on January 4th. It can take a few weeks for the shares to fill, be shipped and prepped by me for shipping. 

    Who wants one??

    ~~~

    December Specials: 

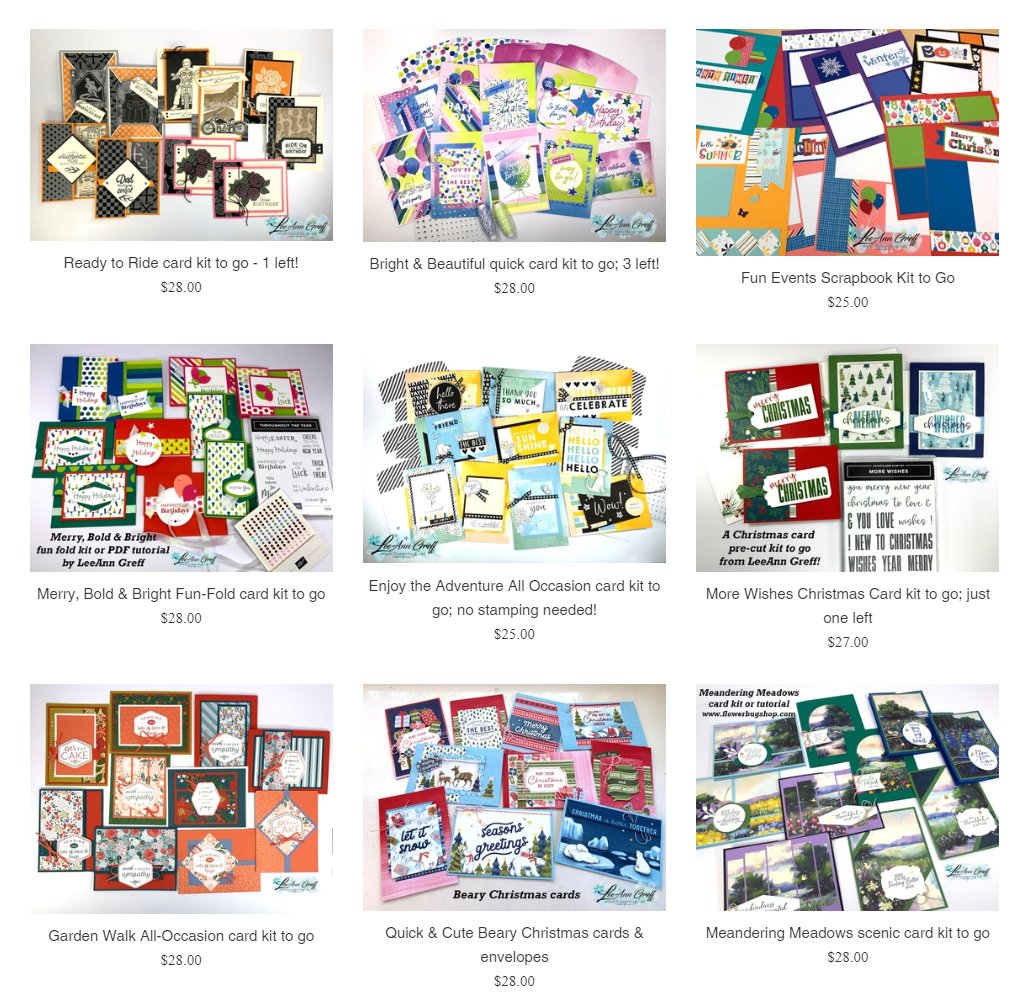
    I have several pre-cut card & scrapbook kits to go; ready to mail out!

    Click here to see them all.

    Get a free embellishment from the 2023 Holiday catalog with an

    online order over $50


    *current host codes: TU26GCPZ

    Leave a Reply

    Your email address will not be published. Required fields are marked *

  • NEW Everyday Details card with a unique Designer Paper layout with video tutorial


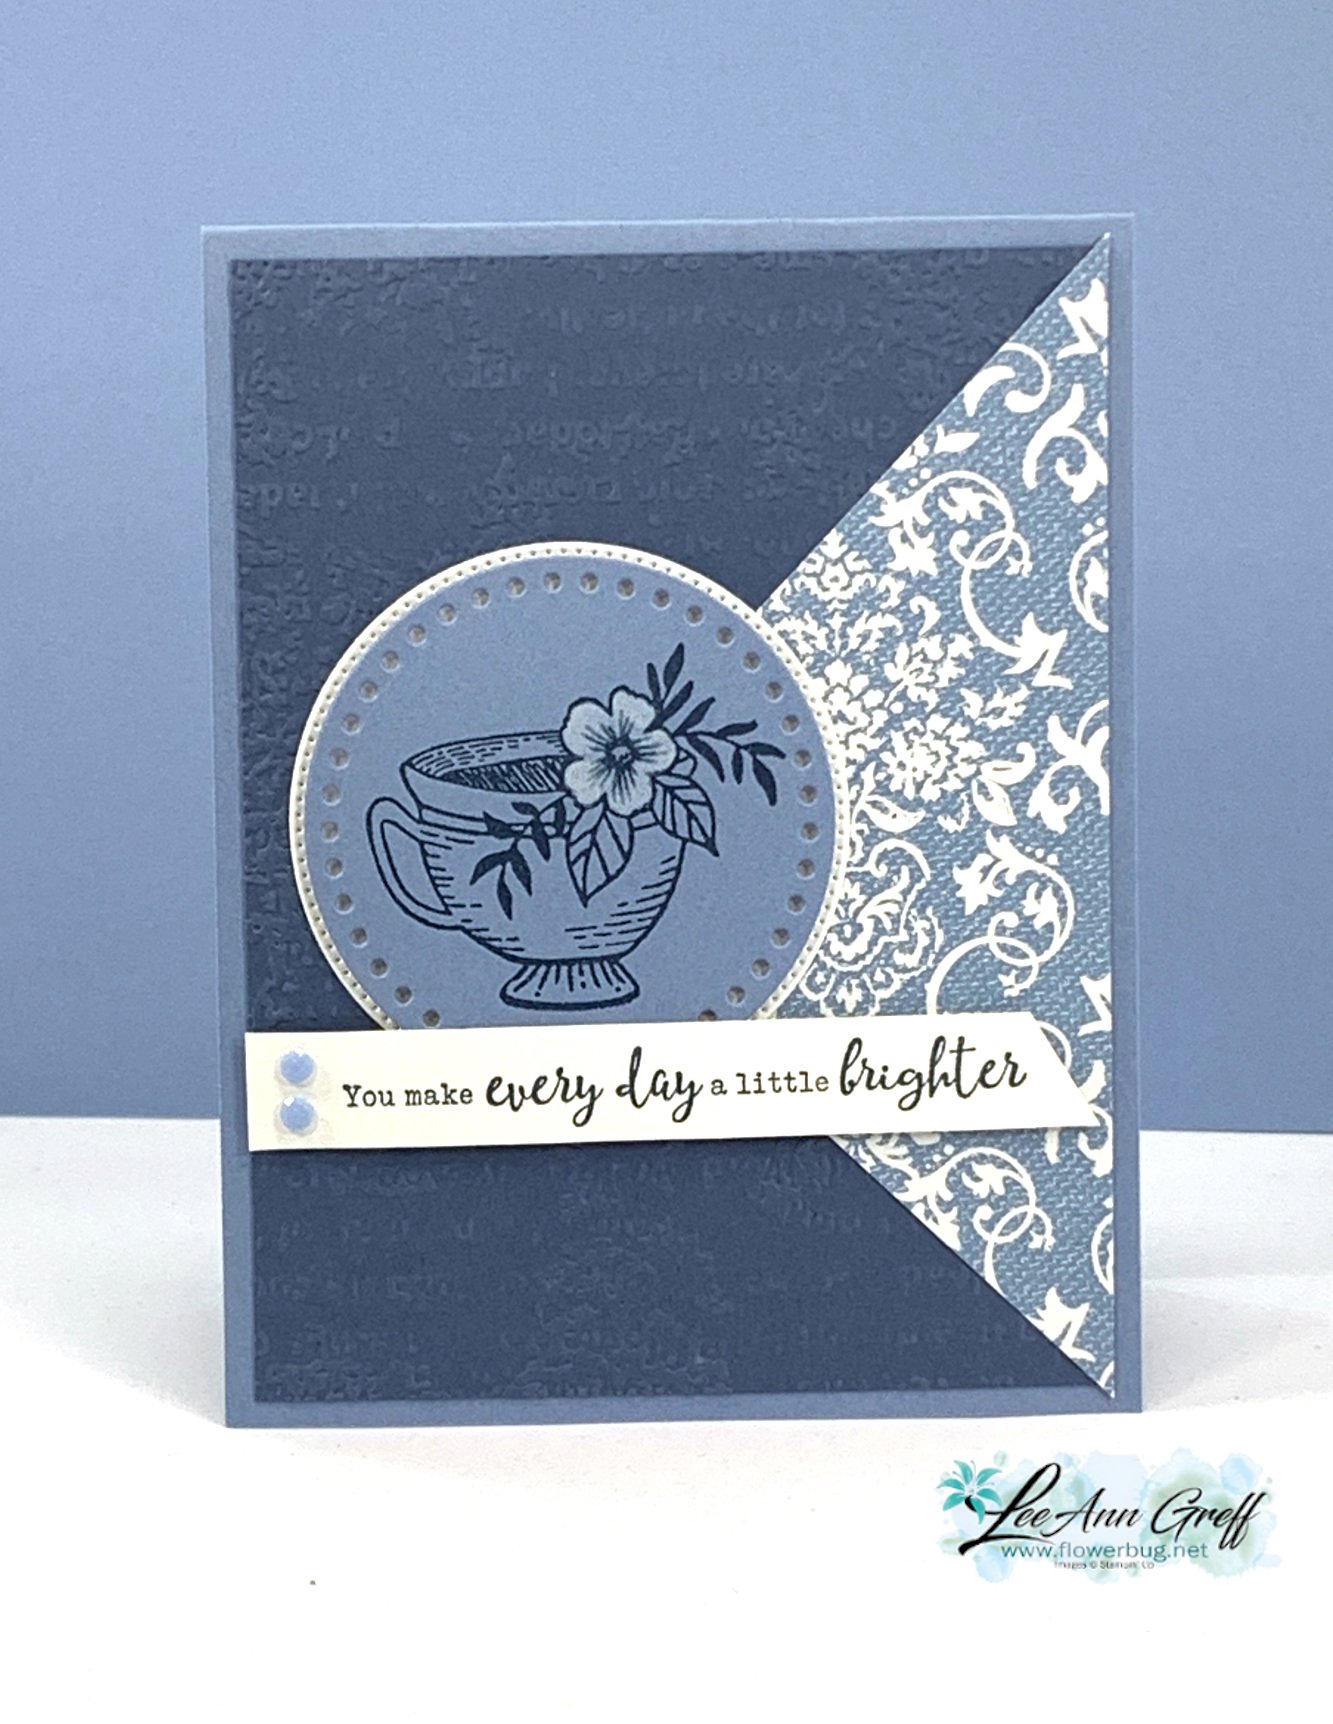
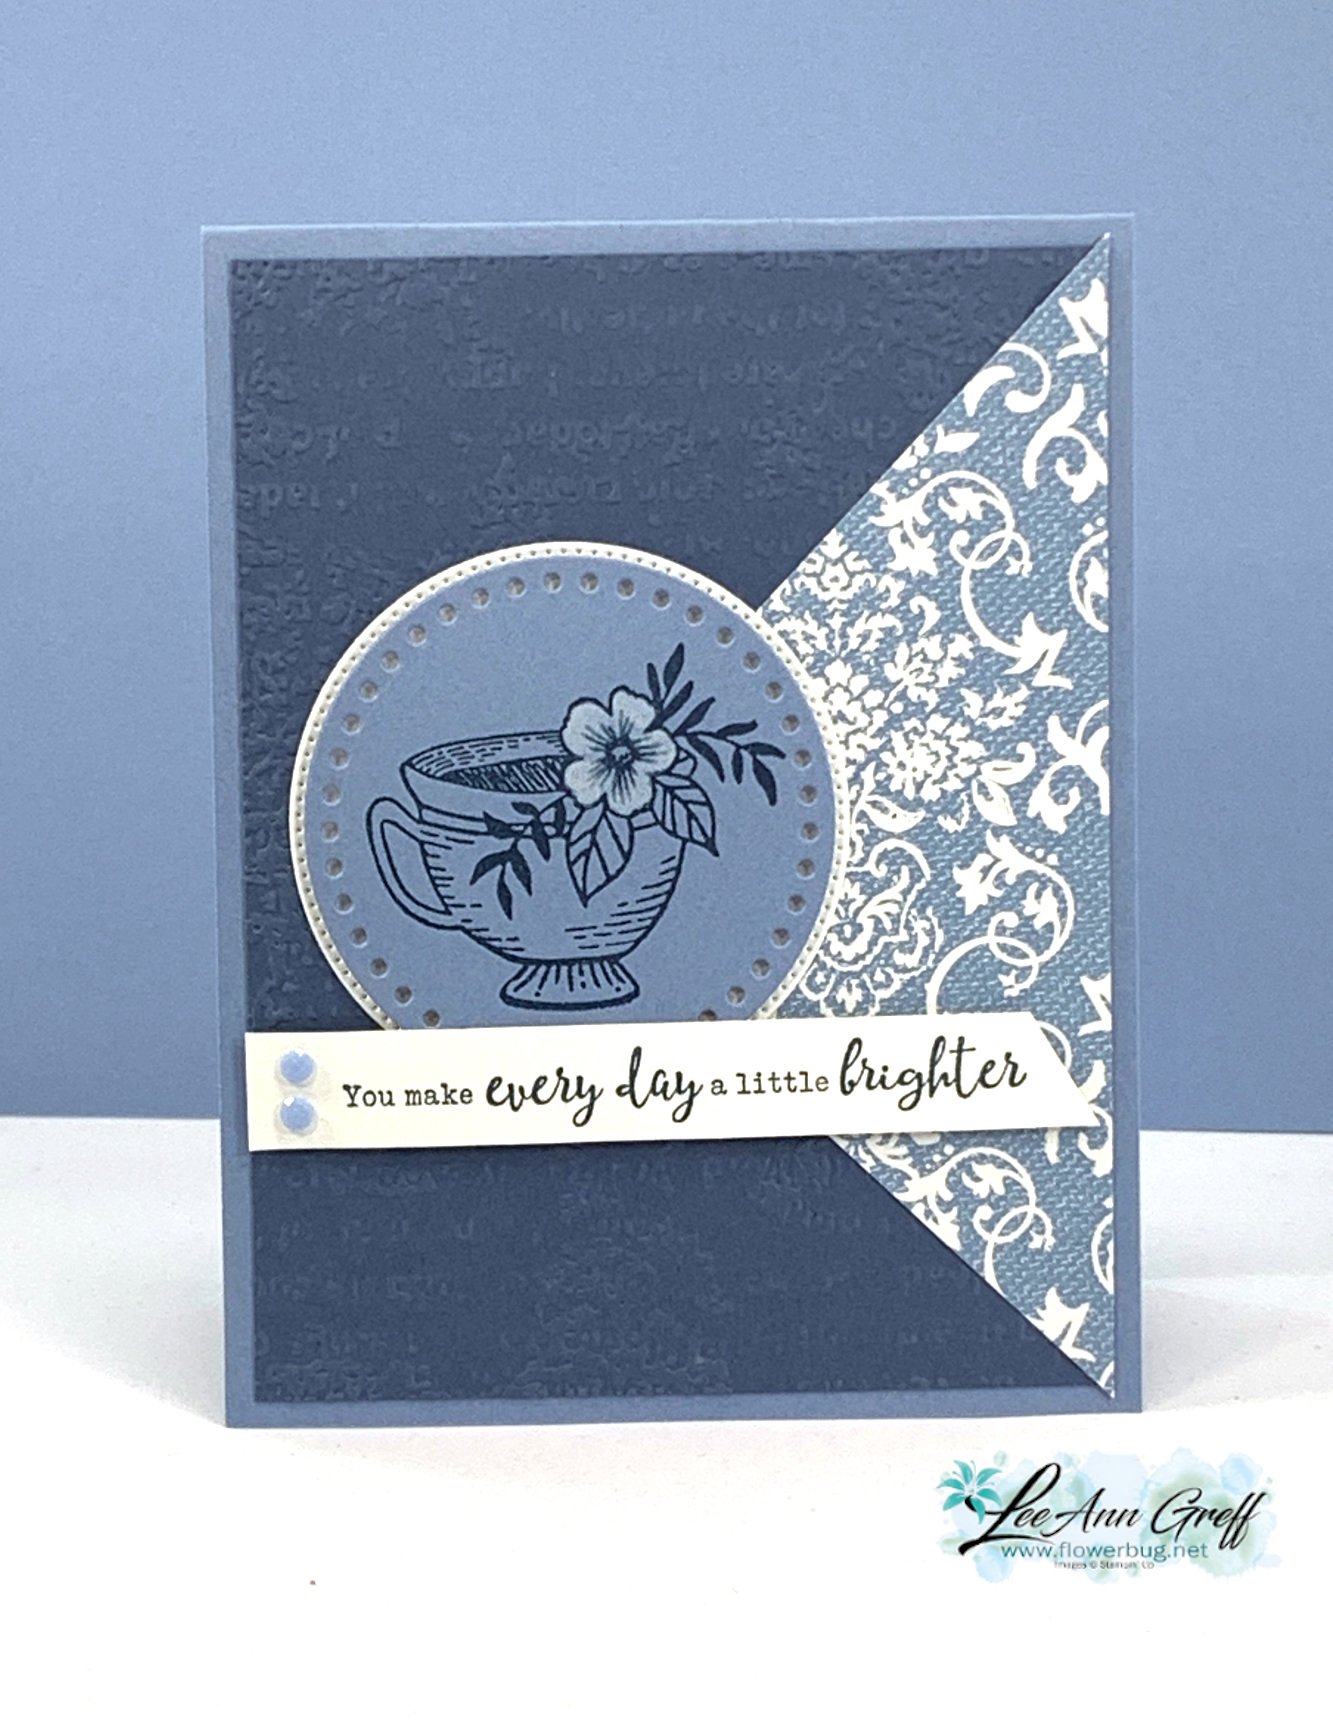
    I joined quite a few online card swaps for the new 2024 Spring & Sale-a-Bration catalogs and today's post features one of them. 

    It features the Everyday Details bundle and the Poetic Expressions designer series paper. Both are in the upcoming 2024 Spring Catalog that goes live on January 4th.  The colors include Boho Blue & Misty Moonlight with White. 

    There's a few special details I'd like to point out:

    1. The designer paper triangle is originally a 4" square, cut in half. I added it to a textured layer (4" X 5 1/4")
    2. The dotted circle die-cut is from the Everyday Details bundle; there are a variety of sizes in the set. It is adhered over a White stitched circle die-cut from the Stylish Shapes dies. 
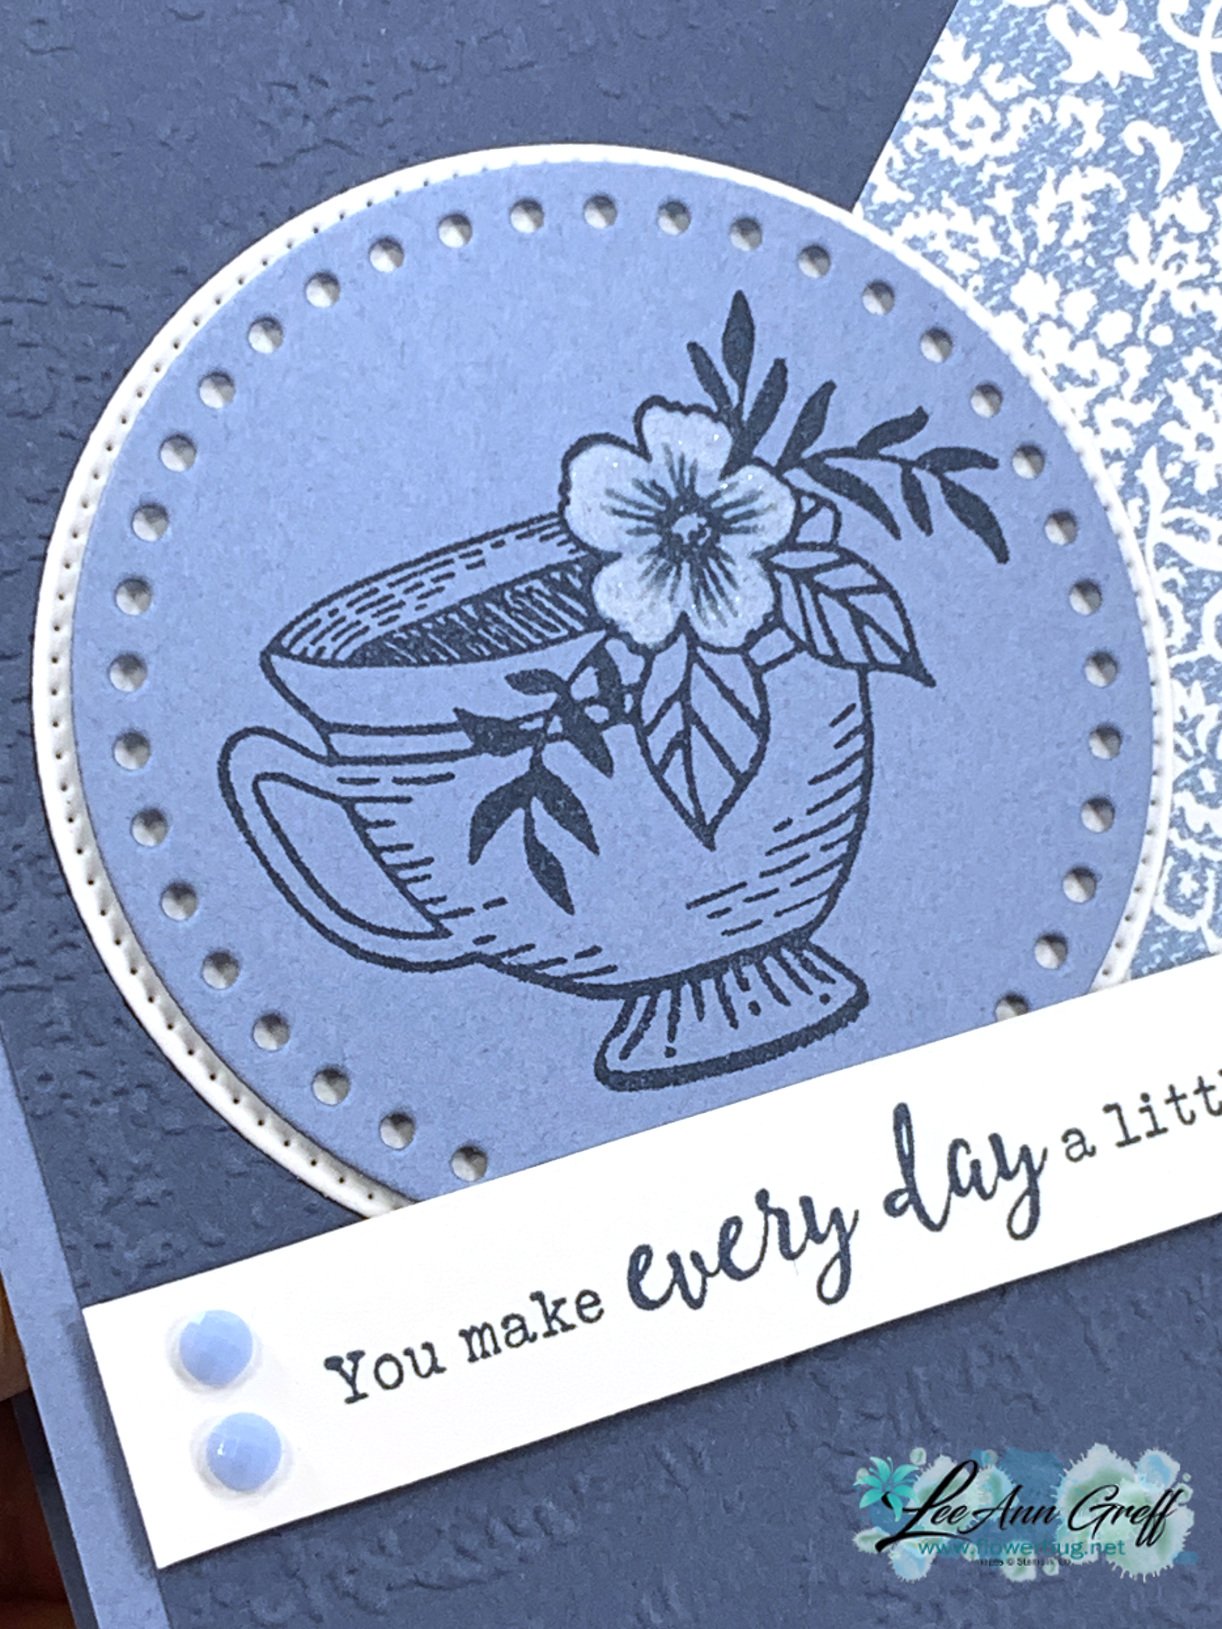
    3. I stamped the cup image in Misty Moonlight ink. The flower is colored a soft white by using our Craft White ink and a Wink of Stella pen. I shared how to do this in the video here.  You can also use a Blender pen, a water pen or Watercolor Pencils.

    Here's a close-up of this technique. 

    I thought I'd take a photo of all of the swaps before I mailed them out: 

    I hope you'll try this easy but unique card layout!

    ~~~

    December Specials: 

    Get a free embellishment from the 2023 Holiday catalog with an

    online order over $50


    *current host codes: TU26GCPZ

    Leave a Reply

    Your email address will not be published. Required fields are marked *

  • Translucent Florals card made with colored vellum


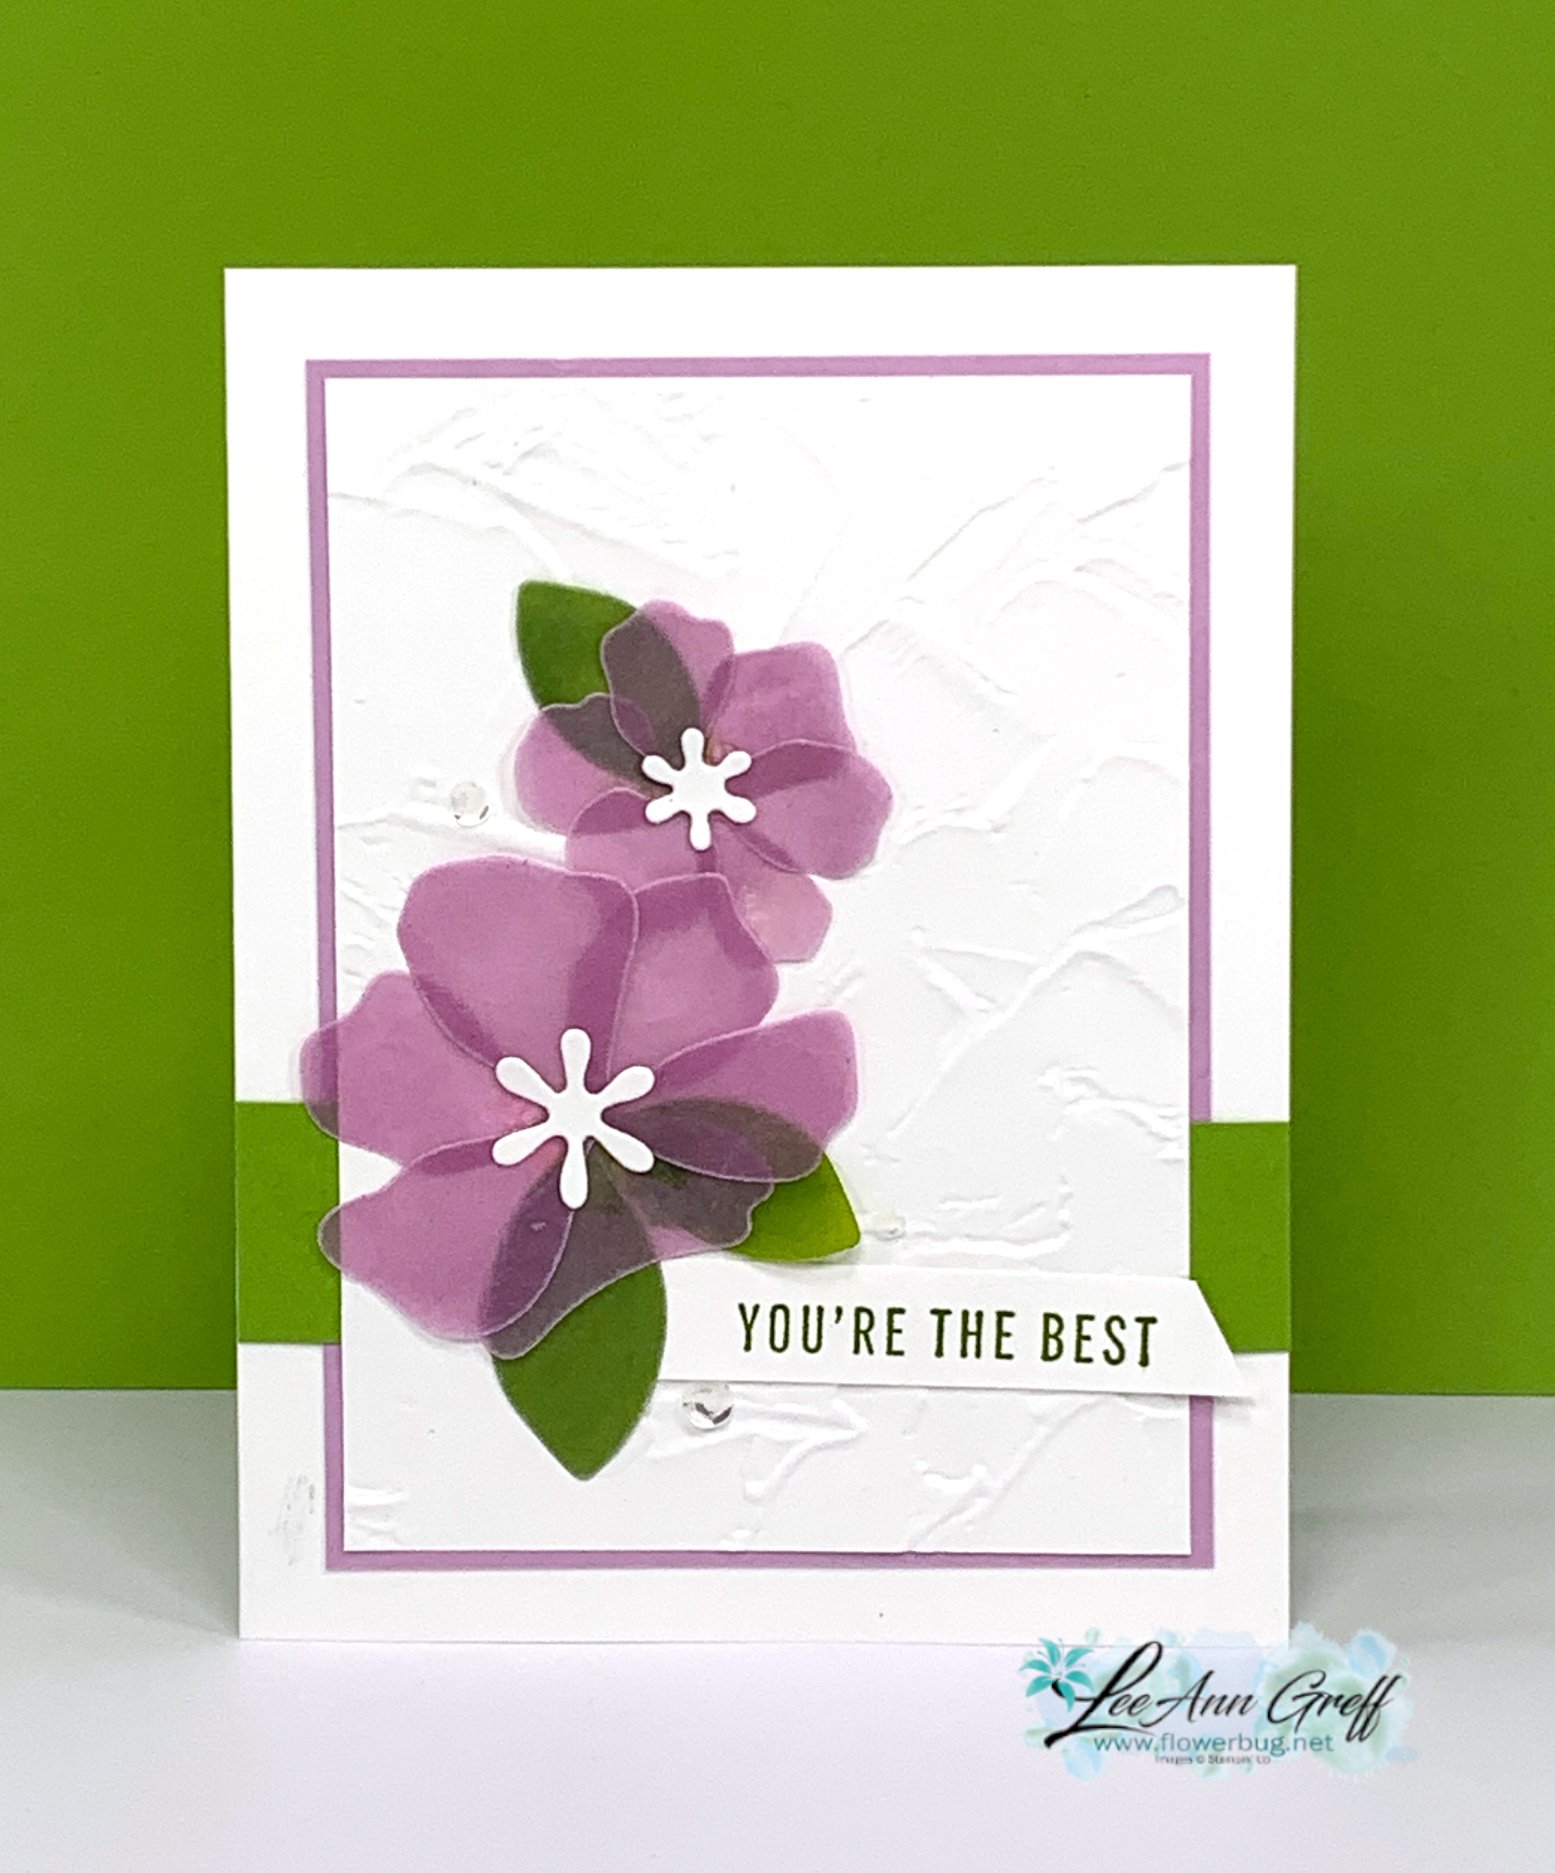
    I created this pretty card with the Translucent Florals bundle.  I used our vellum card stock and changed it from opaque to Fresh Freesia. 

    It's really easy to do.  Here's how:

    1. I cut a good size piece of vellum from the main sheet and laid it onto my grid paper.
    2. Then I pressed my open ink pad onto the card stock until it was covered.
    3. To smooth the ink out use sponges or a blending brush. Let dry or heat set before die-cutting. 
    4. Die-cut the flowers, leaves and white centers

    Products & measurements:

    • Translucent Floral bundle
    • White card stock – card base 8 1/2" X 5 1/2" score & fold at 4 1/4"
    • Painted Texture embossing folder – white is 3 1/2" X 4 3/4"
    • Fresh Freesia card stock 3 7/8" X 4 7/8"
    • Granny Apple Green 4 1/4" X 1" strip 
    • Vellum card stock – a large piece colored with Fresh Freesia ink and a small piece with Granny Apple Green ink
    • Blending Brushes 

    Here's a photo of this pretty bundle. See it here. 


    ~~~

    December Specials: 

    Get a free embellishment from the 2023 Holiday catalog with an

    online order over $50


    *current host codes: TU26GCPZ

    Leave a Reply

    Your email address will not be published. Required fields are marked *


Notice: LeeAnn Greff, Independent Stampin’ Up! Demonstrator, Manager. The content of this website is my sole responsibility as an independent Stampin’ Up! demonstrator and the use of, and content of, the classes, services, or products offered on this website is not endorsed by Stampin’ Up! Copyright 2025