/


Latest Post

Hippest Hippos; lots of creative ideas for you!


Today I'm sharing some wonderful swap cards I received from other talented Demonstrators – all featuring the Hippest Hippos stamp set & Hippo dies.  They're both free with any $50 Stampin' Up! order during July & August. 

But remember these Sale-a-Bration items are only available while supplies last.  Already they are out of TWO choices in the Sale-a-Bration catalog.  The Rings of Love 12" DSP and the Pool Party & Soft Sea Foam cards & envelopes.  So if you have something from the SAB catalog on your wish list; get it soon!  


What an amazing scene Amanda created here!  So many details!  I especially appreciate that she colored her hippo in Pool Party; who says they have to be gray?

Her background is made with the Rays of Light stamp seen here.  The rest is all Sale-a-Bration items.  Her colors include Pool Party, White, Crumb Cake & Crushed Curry

She stamped the greeting from Amazing Phrases and fussy cut it, placing it between 'waves'. She added Wink of Stella to her water.  The little splashes of water & the life preserver truly make this scene complete!  

~~~
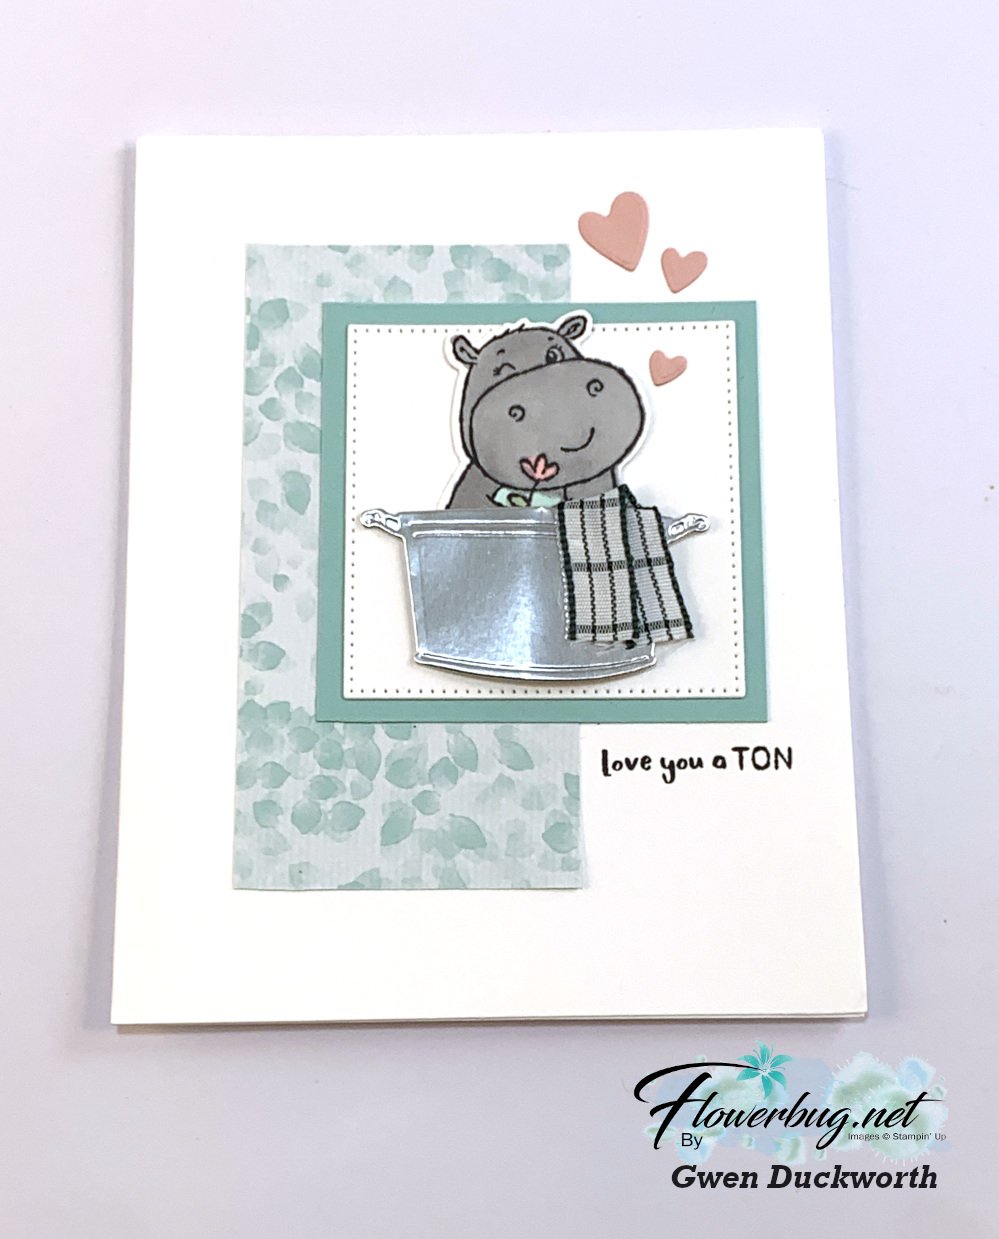
One of my favorites was made by Gwen.  The way she added ribbon for a 'towel' on the silver/metal tub is genius!! 

~~~ 
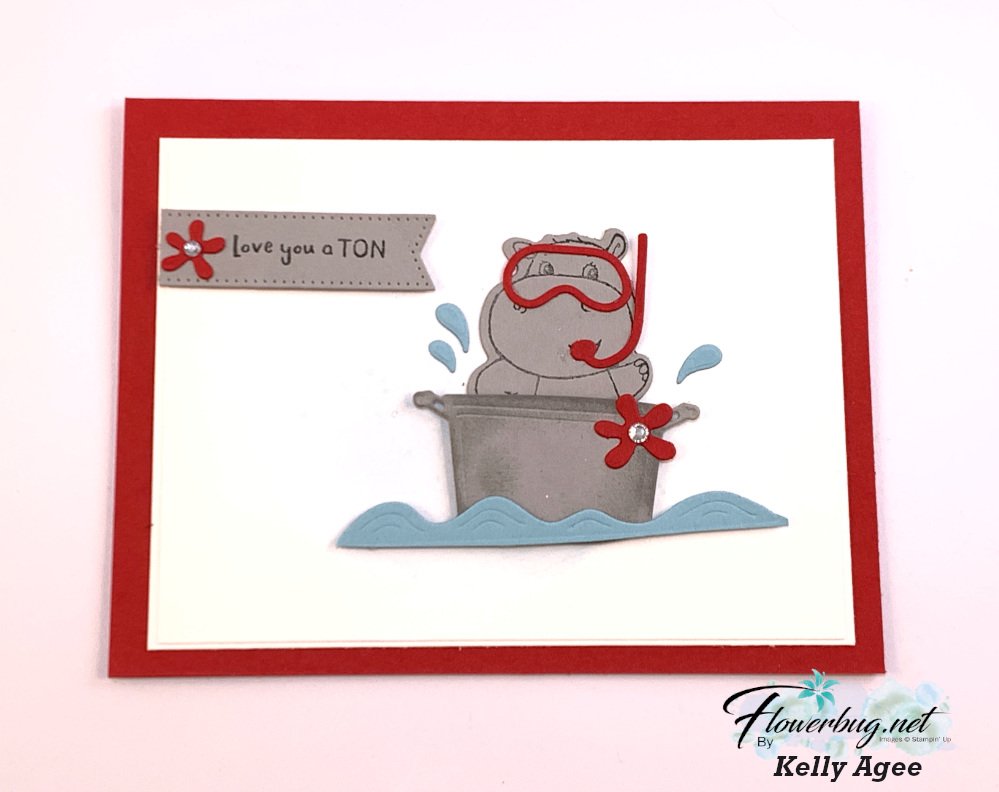
Kelly created a cute scene mostly with the Hippo dies.  Her colors are Smoky Slate, Real Red & Balmy Blue.  The little water splash die-cuts add motion to the scene!

~~~
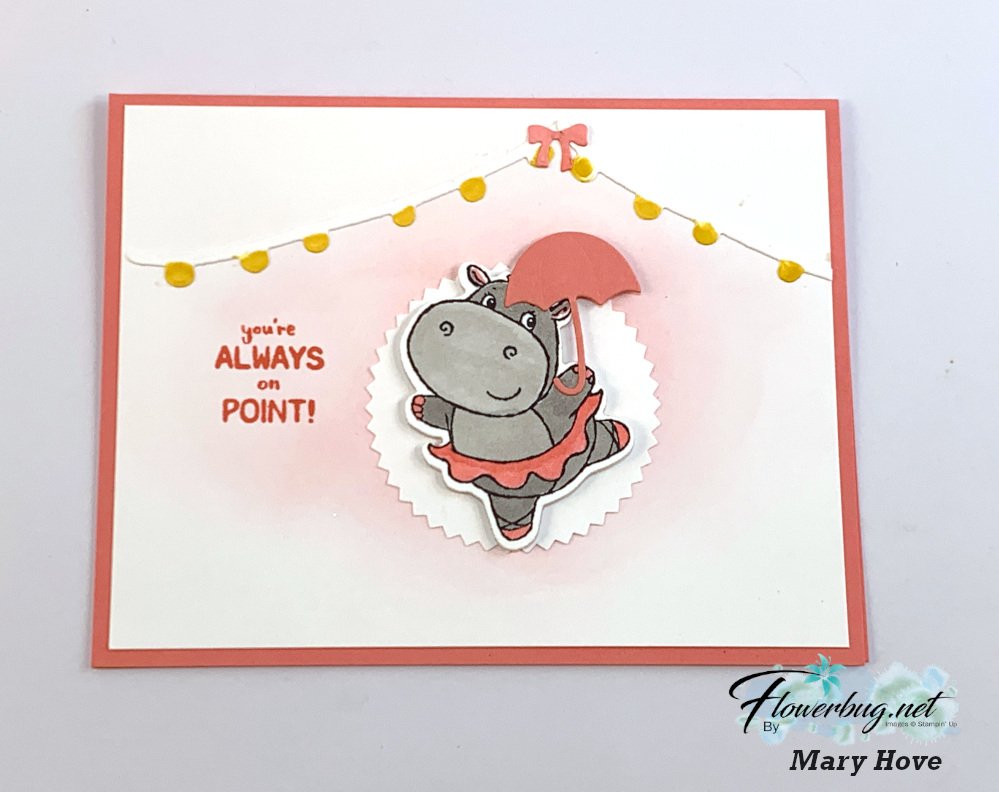
Mary, one of my Flowerbug team members, made this cute card for her Card Club this month. She used a blending Brush with Flirty Flamingo ink for a soft background.  The lights and bow at the top are from the Tree Lot dies in the Sale-a-Bration catalog.  See them here.  

~~~

This cute card was made by Amy Storrie.  I love the sunglasses!  The other neat thing she did was to use the Hippo dies along with the Stitched Circle in the Beautiful Shapes dies so they match up perfectly!  Her Designer Paper is the Cottage Gingham in the Holiday catalog.  

You can see the Hippest Hippos stamp set here and the Hippo dies here.  Get them both free with a $100 online order and you'll also receive my free July cards kit!  Offer good through Saturday, July 30th. 
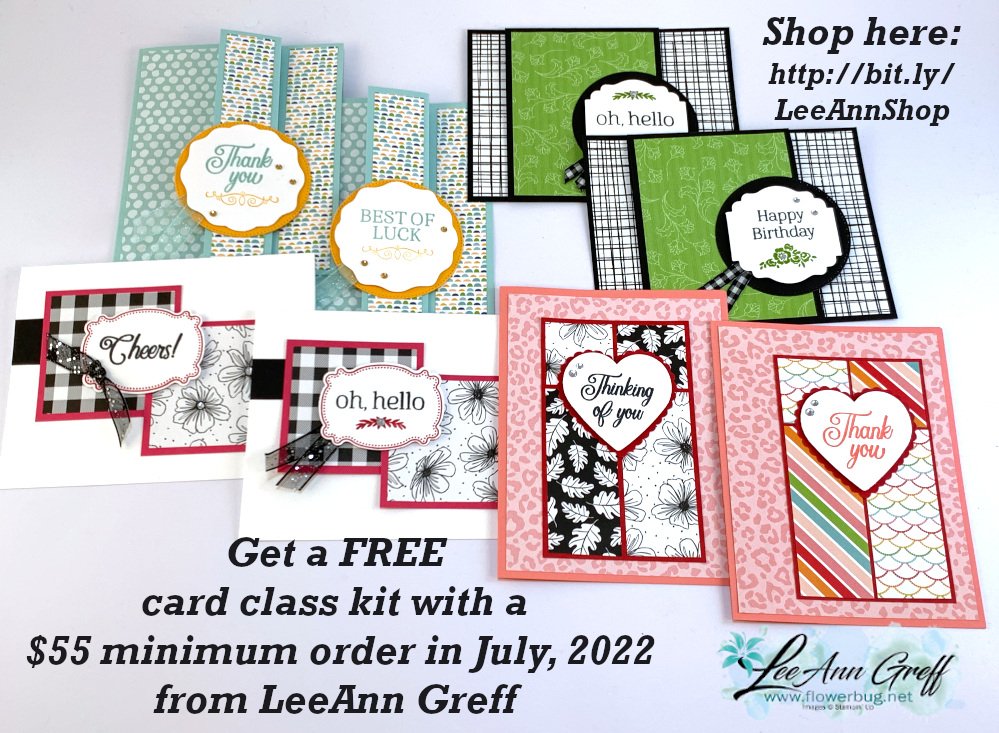

Get a free card class in the mail with a $55 order from July 1-30th.

~~~

July Specials

Online BOGO starts July 31st 


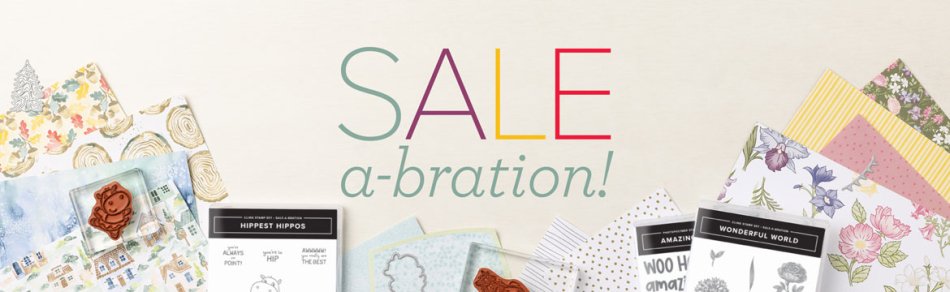
Get free items here in July & August during Sale-a-Bration! 

Host code: RMFKDE3G

 *click here to order 

Earn free products with my loyalty rewards! 

Click here to download yours and earn a $50 shopping spree!

~~~

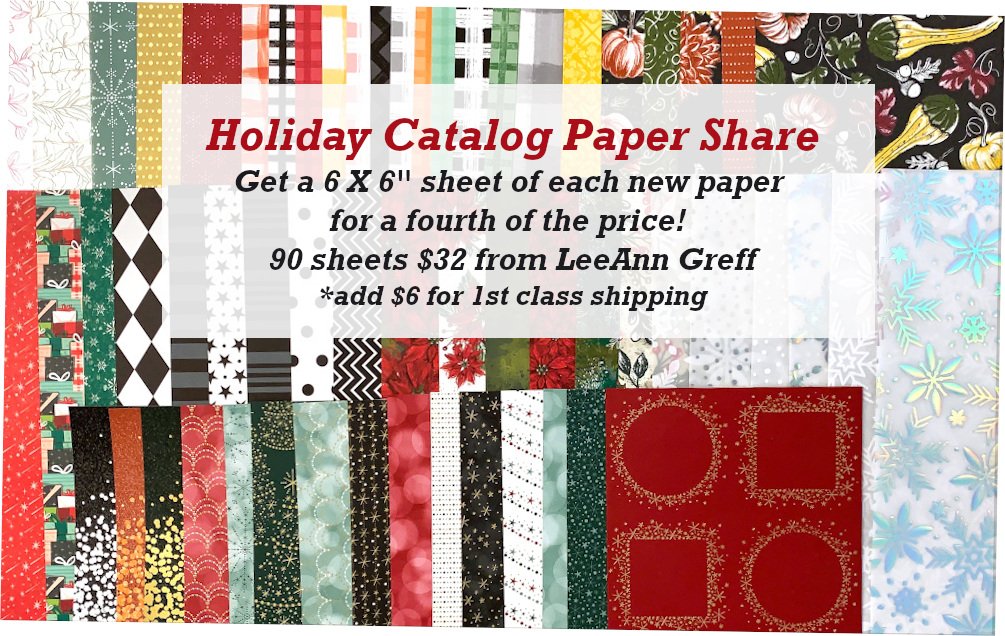
Get my Holiday Designer Paper share; contact me here  
All Posts

  • CUTE Easter Bunny projects by Sharon; our Artist of the Month


    Easter is just 2 weeks away so I thought I'd share Sharon's projects featuring the Easter Bunny bundle. She chose it for her Artist of the Month theme and she knocked it out of the park!  

    Unfortunately the bundle is not currently available as the Easter Bunny punch is out of stock.  It will be back on or before May 15th.  You can get the Easter Bunny stamp set now. 

    I'll share a brief description of each: 

    She stamped her bunnies on Vellum and colored in just the ears.  The vellum is die-cut with the Scalloped Contour dies. So many cute details here – note the bird, egg and carrot…. The grass in front and the white cloud pieces under the vellum set the scene!

    Next is a few of her adorable  Easter treats:

    ON the top left is one of our Scalloped Kraft Treat boxes seen here. She punched the bunny through the lid and added a piece of window sheet to hold in the yummy candy.  The blue 'pull-up' candy bar treat holds a massive kit kat candy bar!  I love the bunny punched through the front with a sweet basket. Just wrap the ribbon around the bar and tie at the top for a fun pull up treat.  *Tip; use the size of your candy bar to guide you on cutting/folding your card stock wrap.  

    Here is a close-up of the bunny eggs.  She stamped the White strip and added it to a card stock wrap. The bunnies are stamped, colored and fussy cut then added to the band.  

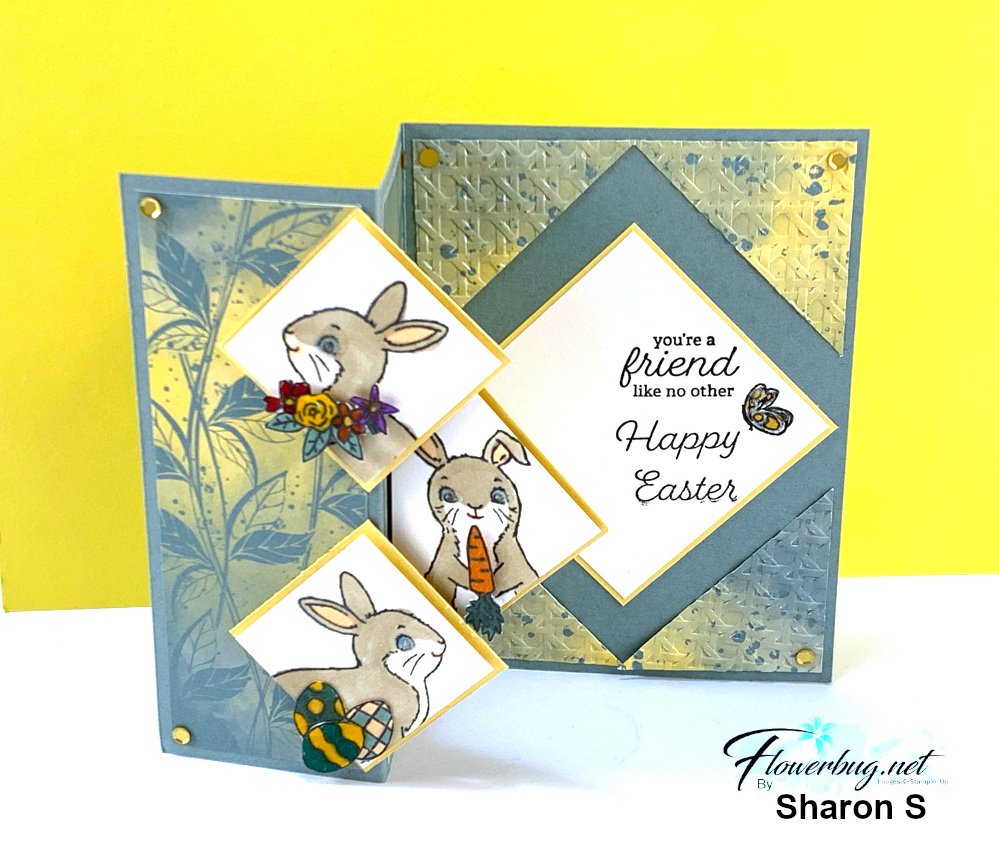
    Next is a fun fold with three bunnies on the diagonal.  

    This card is a standard A2 card – 5 1/2" X 8 1/2" scored at 2 1/8" & 4 1/4". She added the front two squares on the front panel and here's how she added the center bunny to the inside edge.  The designer paper is the new Hello, Irresistible DSP. 

    I love the additions she added to each one, flowers, a carrot and eggs; all from the Easter Bunny stamp set. 

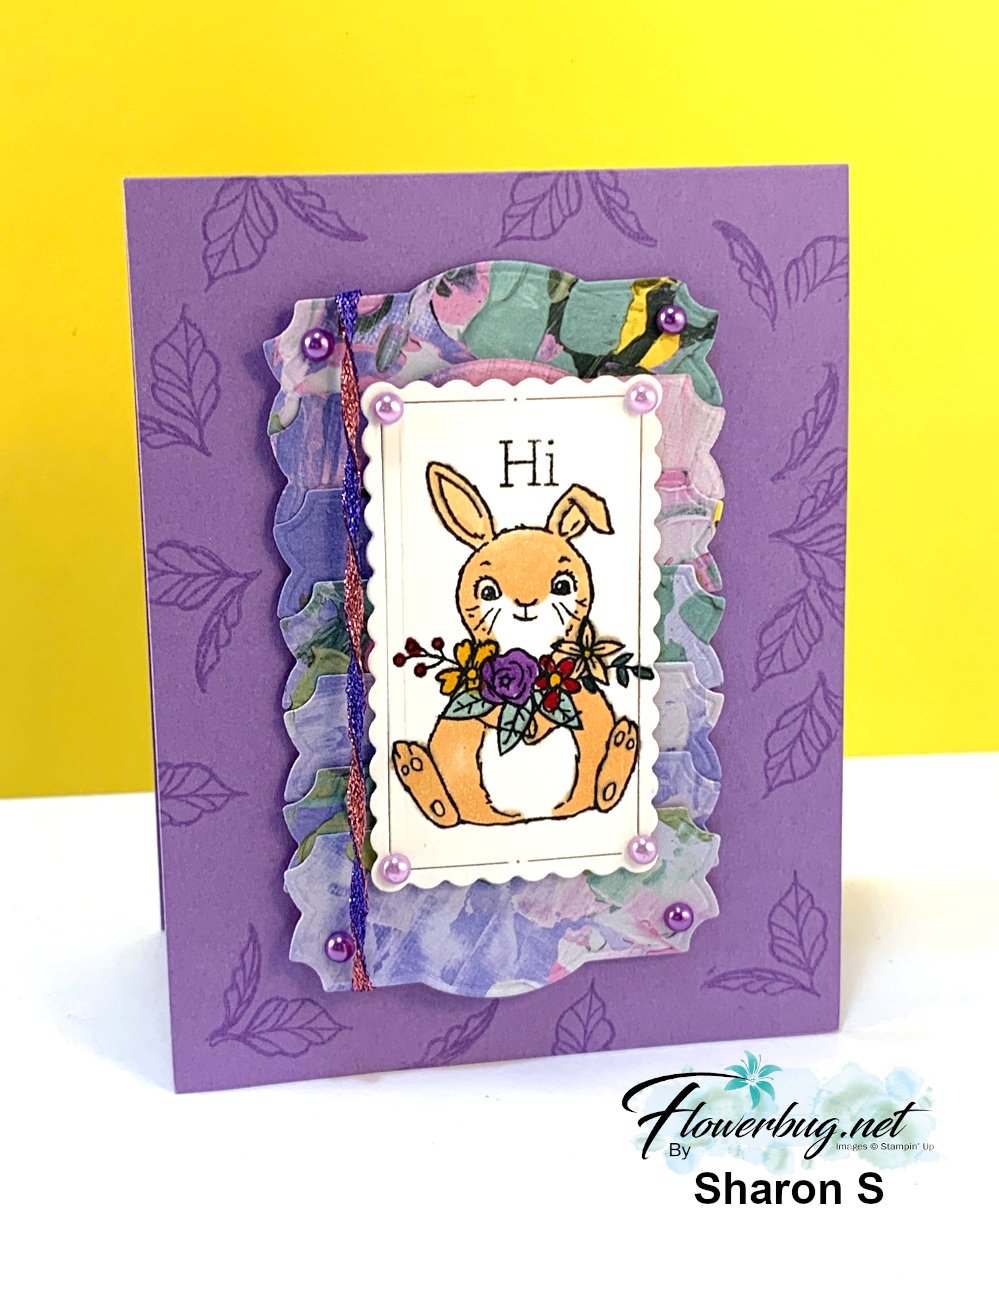
    Look closely at the ribbon and fancy edge element on this next card: 

    She used two colors or our In Color ribbon and twisted them together.  Fun!  And for the DSP element here she die-cut multiple labels from the Fancy Flora DSP & Natural Prints dies to create this pretty layer.  Clever & creative!

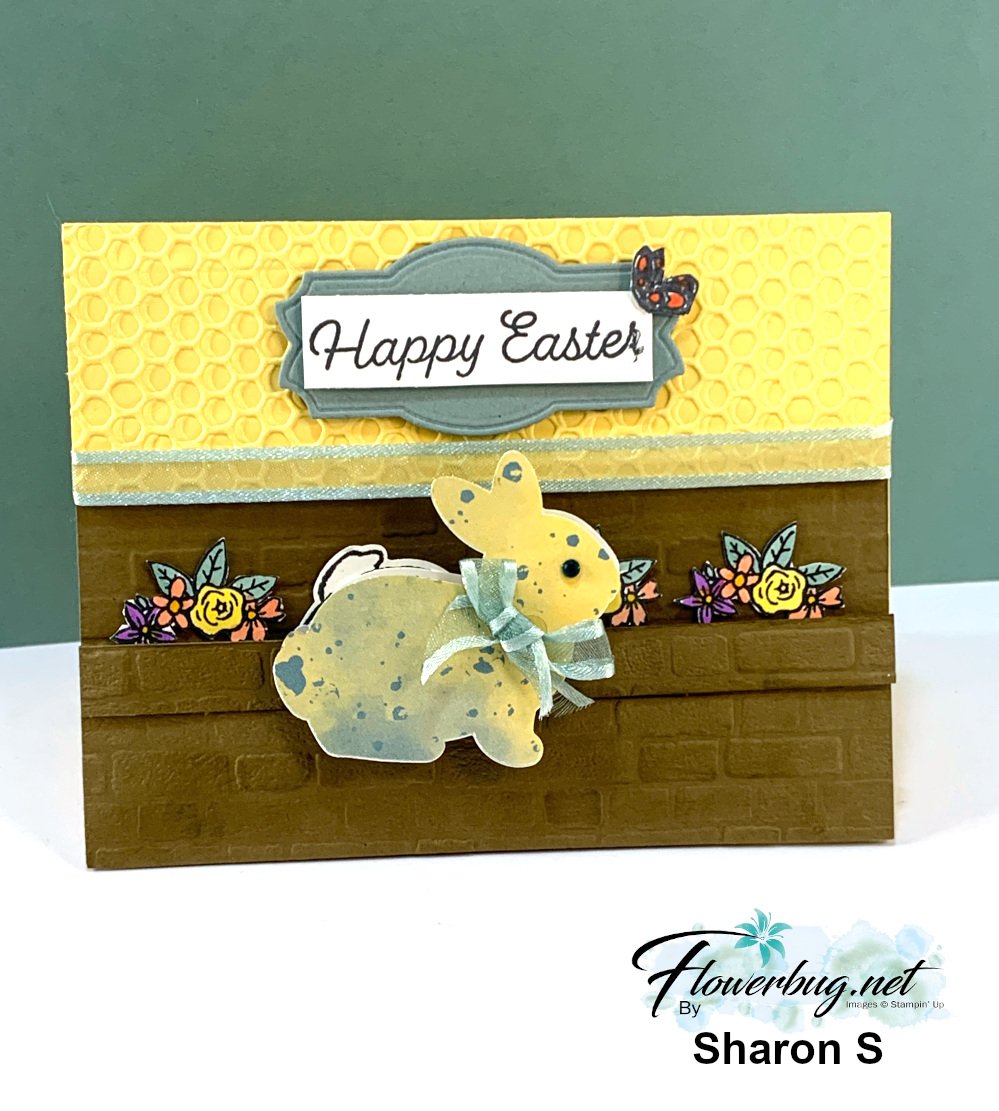
    This next card is a card with an additional 'gift'.  A bunny bookmark… 

    See how the double bunny can be removed to use as a bookmark?  It's held onto her basket with magnets.  These magnets are adheres to each side of the bunnies. The card looks great without the magnet bookmark too.  Super clever!  

    This next card is made from a window sheet.  Yes; the card base is a clear window sheet!  So cool.  

    The die-cut wreath is from the Natural Prints dies using Fancy Flora DSP. 

    Here's a view of the inside. She added the card stock to the inside front and the inside back of the folded Window Sheet card base.  

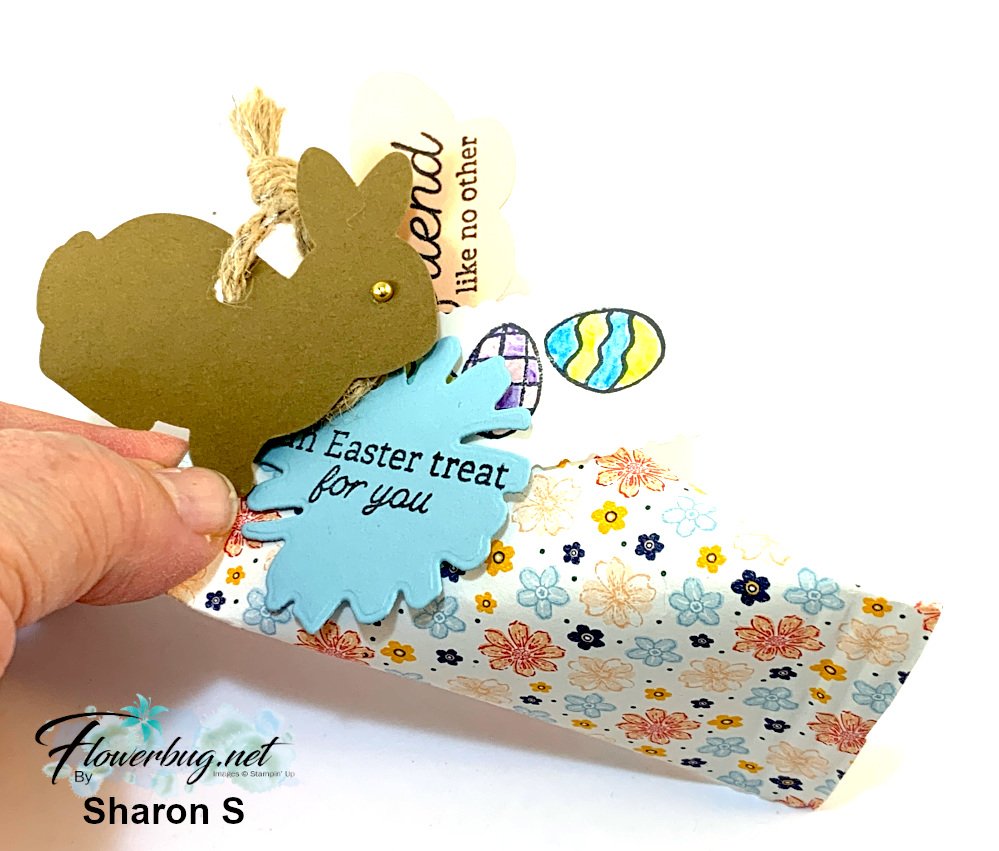
    Lastly a set of sour cream treat containers: 

    Have you ever made one of these?  It's been awhile for me but they are so fun to make.  Basically it a tube of paper that you secure one end well. Then fill with candy and secure the other end closed opposite from the other end.  Traditionally you use a crimper to crease the end, but you can use a scoring tool as well.  

    She had fun adding multiple tags to each! 

    Didn't she do an amazing job?!  So many wonderful and SUPER creative projects. Well done Sharon!!

    ~~~

    March Specials:

    See the new Online Exclusives here! 

    *current host code: BFE4C2KM

    Get a free class kit with online orders over $55 when using the host code above!

    Earn free products with my loyalty rewards! 

    Click here to download yours and earn a $50 shopping spree!
    Leave a Reply

    Your email address will not be published. Required fields are marked *

  • Decorative Borders Book Binding card with video tutorial


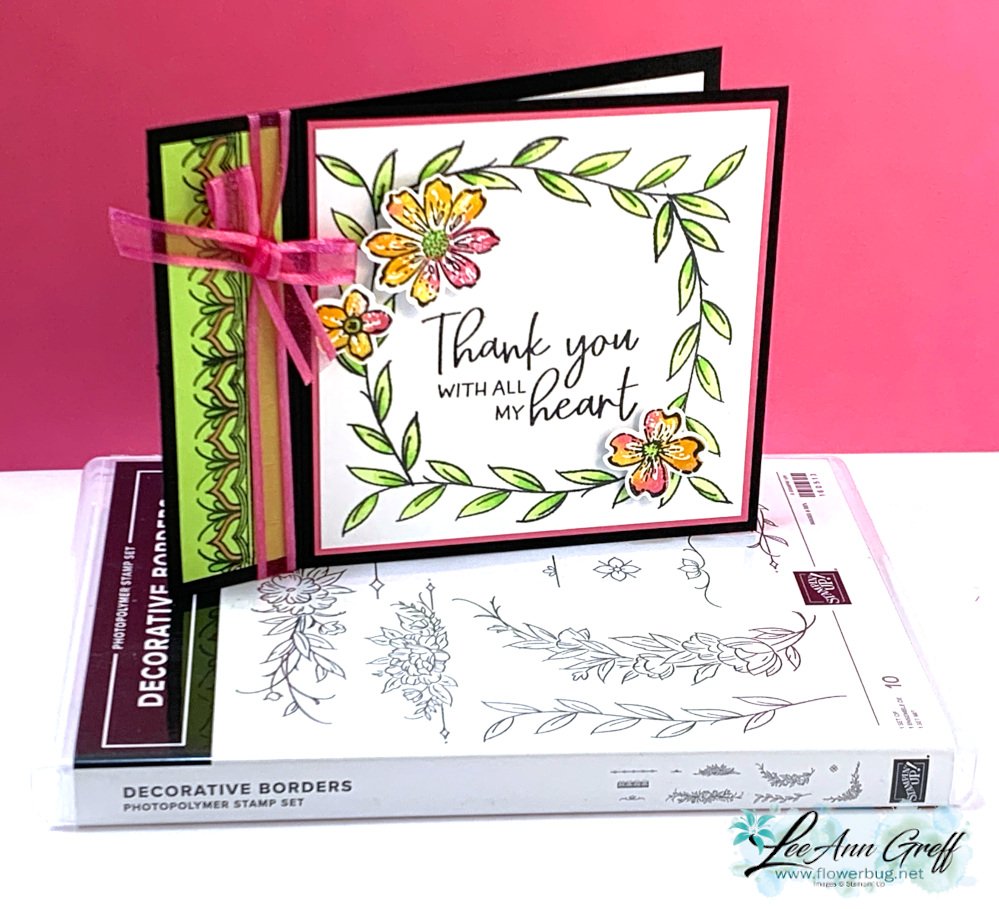
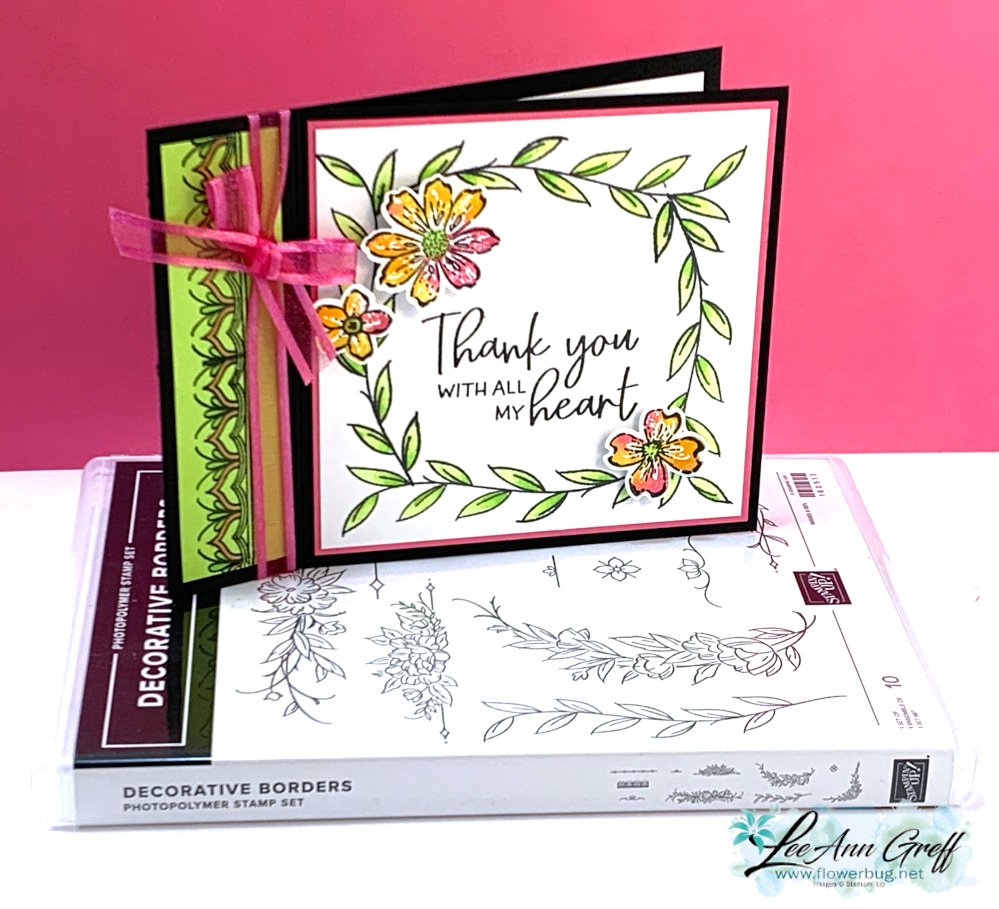
    I shared this special card on a recent FB Live.  It features a few techniques and is a fun fold card too.  

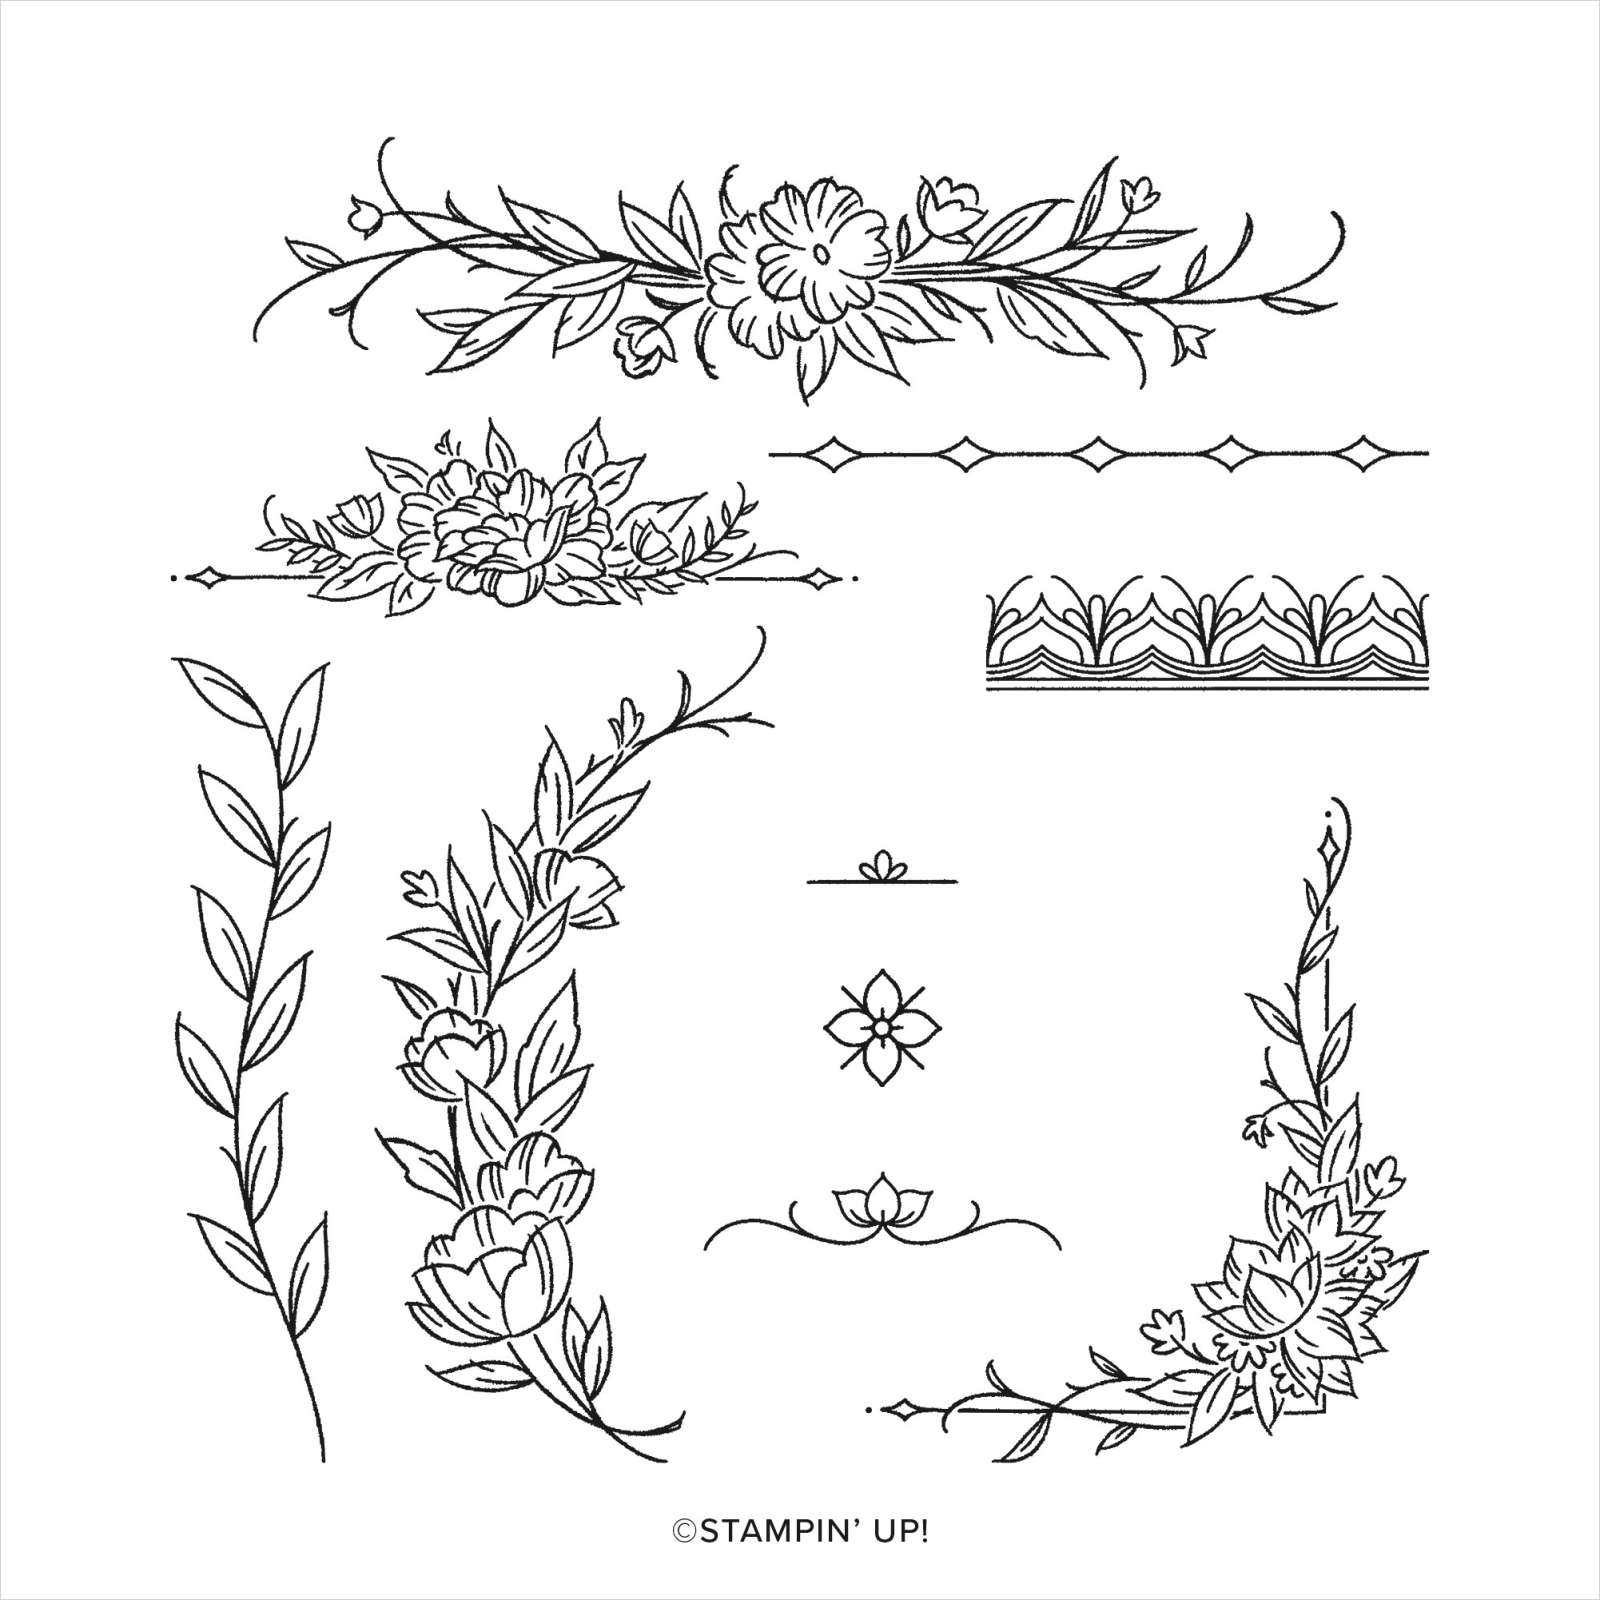
    It's made with the Decorative Borders stamp set seen here; a new favorite! 

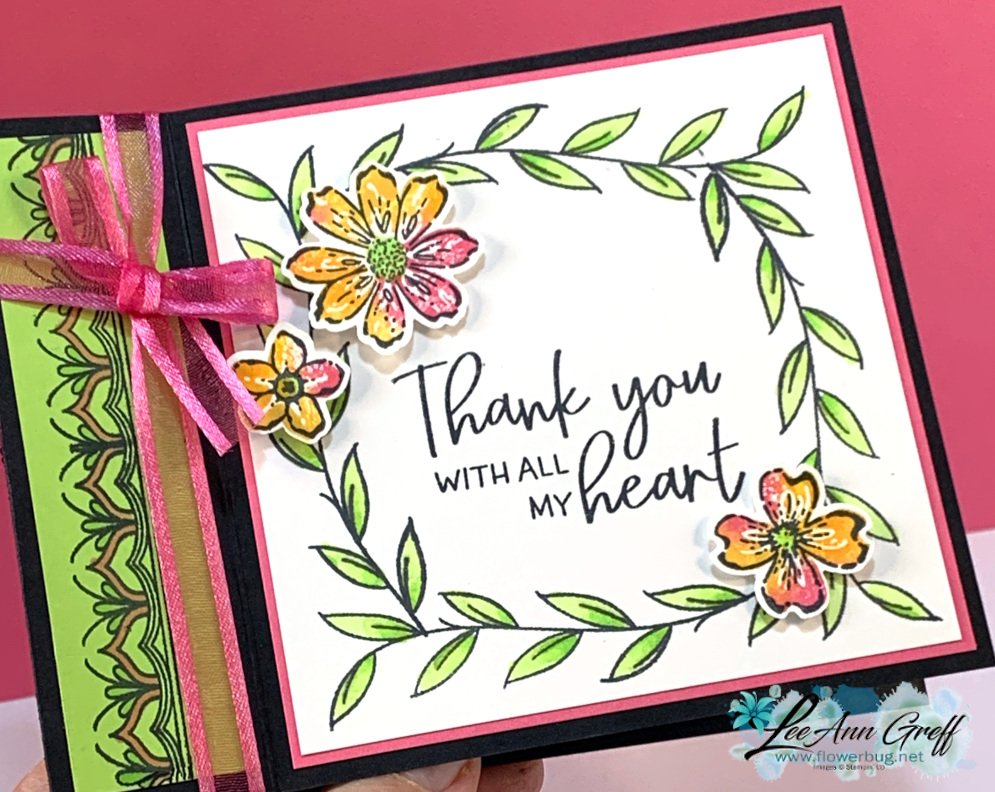
    When I saw this pretty leaves image I thought of creating a frame with it.  I show how on the video below.

    This book binding fold is so easy; it's just one extra fold line! 

    Measurements:

    • Black card base 4 ¼” X 11” score at 4 ¼” & 5 ½”
    • White 3 7/8” square, inside is 4" square
    • Polished Pink 4”
    • Parakeet Party 1” X 4

    I used my Stamparatus to create the pretty border on the Parakeet Party strip and a Baby Wipe technique for the colorful flowers. The leaves are colored with Blends markers; note the pretty shading!  Parakeet Party & Granny Apple Green blends.

    The greeting is from the Framed Florets set seen here.

    There are so many ways you might use this set; I share a few more in the video below.  It would be perfect to decorate your envelopes too! 

    Here's how I finished the inside of the card. 

    Click here or on the photo below to watch the video. 

    ~~~

    March Specials:

    See the new Online Exclusives here! 

    *current host code:  TMJXFR2T or BFE4C2KM

    Get a free class kit with online orders over $55 when using the host code above!

    Earn free products with my loyalty rewards! 

    Click here to download yours and earn a $50 shopping spree!

    Leave a Reply

    Your email address will not be published. Required fields are marked *

  • Decorative Borders & coloring vellum technique with video


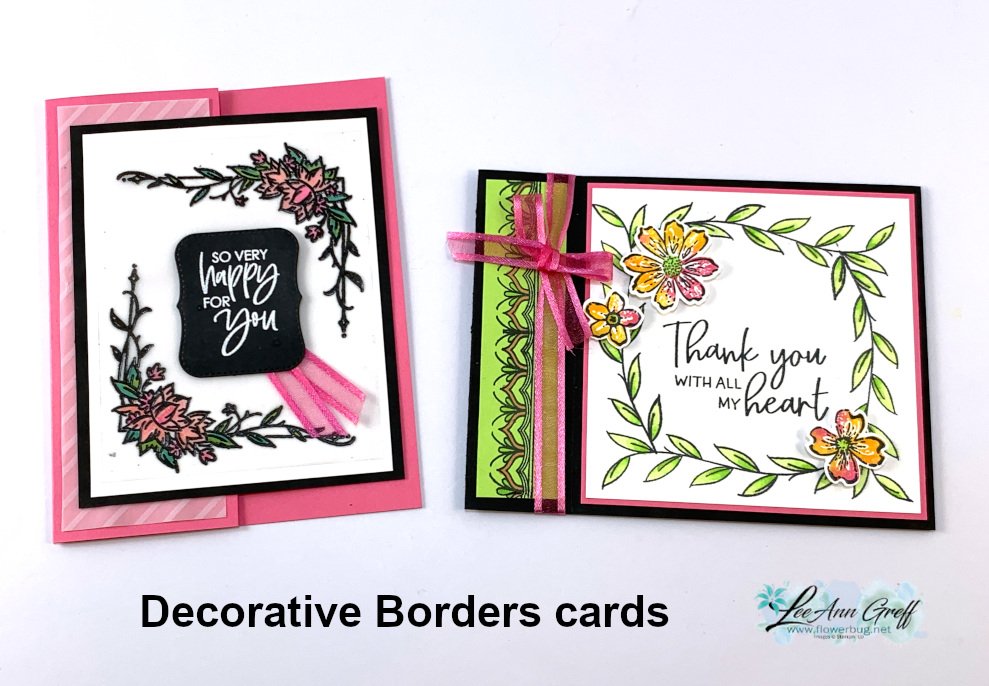
    Last month our Flowerbug's Team swap theme was to use vellum or window sheets.  Here's what I came up with featuring the Decorative Borders stamp set seen here.  

    I heat embossed the image twice with black embossing folder in two corners.  This is on vellum card stock. After it was set I colored in the images with Blends markers – Polished Pink, Granny Apple Green and Old Olive.  The corner image is small but it still took a bit of time to do them all.  I colored on the back side; no real reason except it's a little more forgiving. 

    The greeting die-cut is from the Potted Succulents dies; the heat embossed image is from Color & Contour stamp set in the Annual Catalog. 

    My measurements are:

    • Card base 5 1/2" X 6 1/2" scored at 4 1/4"
    • Printed vellum 1 7/8" X 5 1/4"
    • Vellum card stock 3 1/4" X 4 1/8"
    • White front 3 1/2" X 4 1/2" , inside 3 1/2" X 4 3/4" 
    • Black 3 3/4" X 4 3/4" 

    Below is a photo of the pretty Decorative Borders stamp set.  There are so many ways you might use this set; I share a few more in the video below.  It would be perfect to decorate your envelopes too! 

    Here's how I finished the inside of the card. 

    Click here or on the photo below to watch the video. 

    ~~~

    March Specials:

    See the new Online Exclusives here! 

    *current host code:  TMJXFR2T or BFE4C2KM

    Get a free class kit with online orders over $55 when using the host code above!

    Earn free products with my loyalty rewards! 

    Click here to download yours and earn a $50 shopping spree!

    Leave a Reply

    Your email address will not be published. Required fields are marked *


Notice: LeeAnn Greff, Independent Stampin’ Up! Demonstrator, Manager. The content of this website is my sole responsibility as an independent Stampin’ Up! demonstrator and the use of, and content of, the classes, services, or products offered on this website is not endorsed by Stampin’ Up! Copyright 2025