She cut down a small milk carton to insert inside the paper basket so we could add water. She added a metal frog to the inside of it to add the flowers securely. The fresh flowers lasted over a week!
Would you like to know how she made the basket? Well she made a template to share with you all as well! Download Sharon's Basket here
For the candy basket she used a brand new Pansy Petals designer paper in the new 2021 Annual Catalog.
I chose to use just one ink color of Evening Evergreen. I made this card in the video below; or click here to see it.
Tips on creating the trees:
Starting at the bottom with the 3 flower image (turned point side up) stamp in full strength Evening Evergreen ink making sure you stamp some images higher and some lower. Ink every time filling in the very bottom fully.
Now ink the same image and stamp off once before stamping slightly higher than the first 'trees'.
Now ink the image again and stamp off twice before stamping even higher making sure you alter the height now & then.
Wallah; you've created a forest of trees!
Did you know that Evening Evergreen and Soft Succulent are a perfect color combination? Stamping off once or twice can give you almost an exact Soft Succulent color tone.
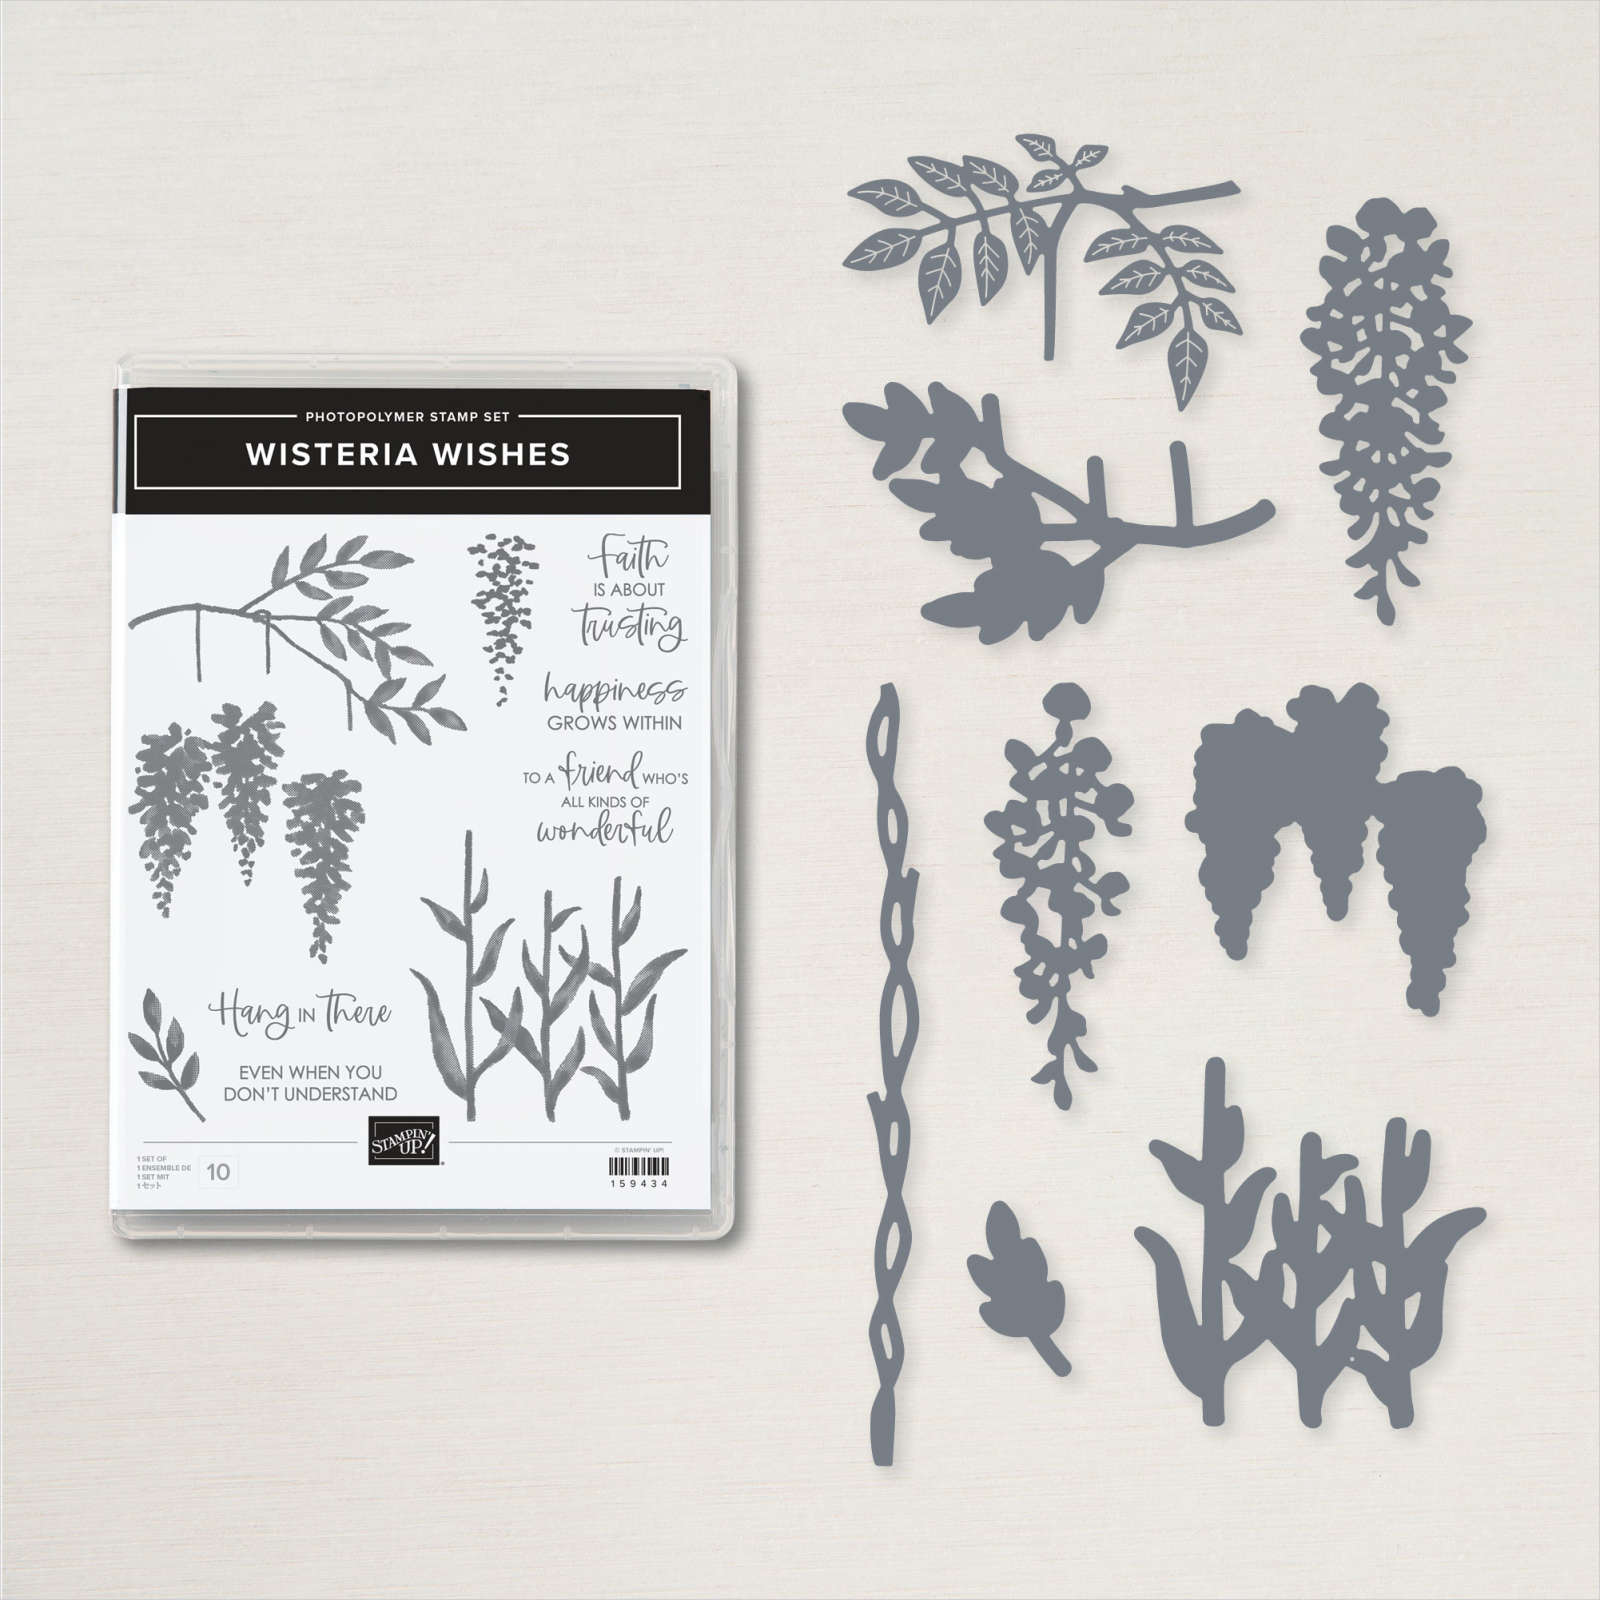
I have to say that I think it's gorgeous! The Split Card Textures dies are an easy & unique addition to your card projects. There are two dies in this set; you can see them here.
**Get both the Wisteria Wishes bundle and the Split Card Texture dies today
My colors are Starry Sky, Old Olive and White. I cut two sets of Wisteria with the Wisteria Dies and trimmed the smaller one a bit shorter. Then I sponged them with Starry Sky ink on the edges. I adhered them together with bits of Stampin' Dimensionals for lift.
I stamped the greeting in Old Olive directly on the White CS and the leaves are stamped & die-cut.
My colors include Orchid Oasis, Parakeet Party and a little Old Olive with White. This card was pretty instinctive; hanging wisteria is the first thing that comes to mind. There are a few tricks I used to alter the leaves die-cuts though. I trimmed off a few extra pieces to fit the stamped images better. You can see what I did in the video below.
This bundle is super versatile! I made two more cards in the video plus shared a bunch of swap card ideas as well. You might be inspired to purchase it once you see them all!
Notice: LeeAnn Greff, Independent Stampin’ Up! Demonstrator, Manager. The content of this website is my sole responsibility as an independent Stampin’ Up! demonstrator and the use of, and content of, the classes, services, or products offered on this website is not endorsed by Stampin’ Up! Copyright 2025


Leave a Reply