Easy idea with your leftover paper strips with Artfully Layered
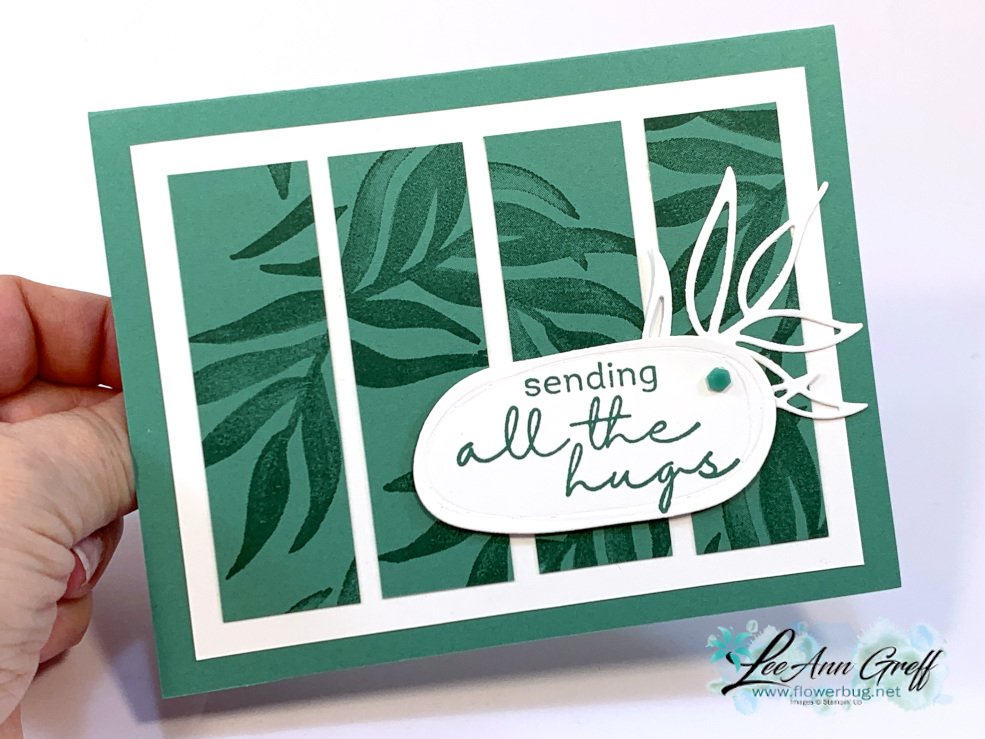
I had a bunch of leftover Just Jade card stock strips I was determined to use. I believe it was from a fun fold card I offered in one of my kits to go. Luckily inspiration struck and I created this neat card for an online swap I participated in. I love it!
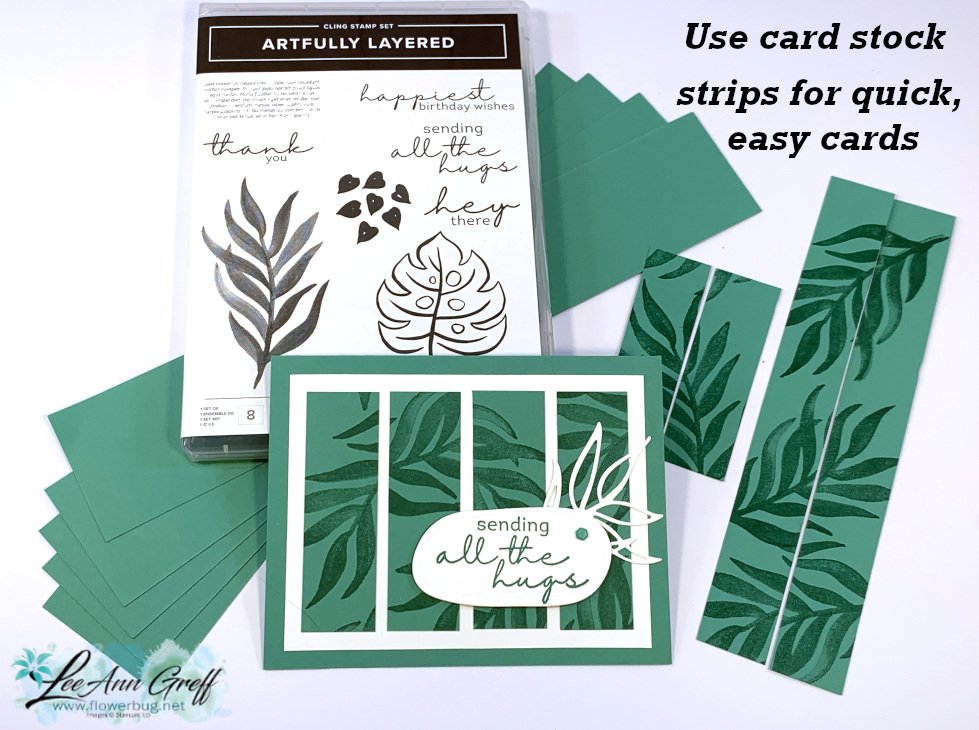
I used the new bundle called Artfully Layered stamping the largest leaf multiple times in Just Jade ink. The botanical images, dies and super fun greetings in this bundle were one of my top picks from the new 2022 Jan-June Stampin' Up! catalog. You can see this bundle here.
Each of the strips are 1" X 3 1/4" and they are adhered to a White piece measuring 3 3/4" X 5". I adhered them so they did not match up purposefully. You could also stamp them as shown and place them onto the card in order.
Simply add a greeting and a punch or die-cut. I LOVE when I can use leftovers to create wonderful cards easily.
The greeting die-cut is from the Beautiful Shapes dies seen here. They include circles, hexagons, a few odd shapes & triangles. They're fun, modern & unique!
Remember that even though this is a starter kit deal, you are not obligated to hold events or 'sell' products. You can simply enjoy the discount on Stampin' Up! products as long as you wish. When you're done ordering you just stop. Simple!
My Team loves being a part of both Stampin' Up! and my group! I have a variety of demonstrators on my Team; from happy shoppers to those who hold classes & events. They enjoy lots of perks and a fabulous community of like minded stampers. Message me with any questions. Click here.
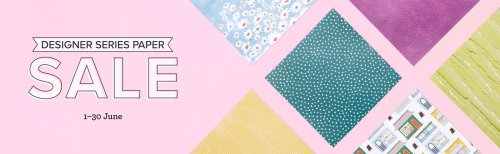
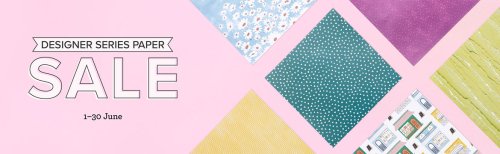
The other awesome promotion is our designer paper sale – all regular designer papers in the Annual Catalog plus one Online Exclusive choice are 15% off. June is the time to get your favorites while their on sale! See them all here.
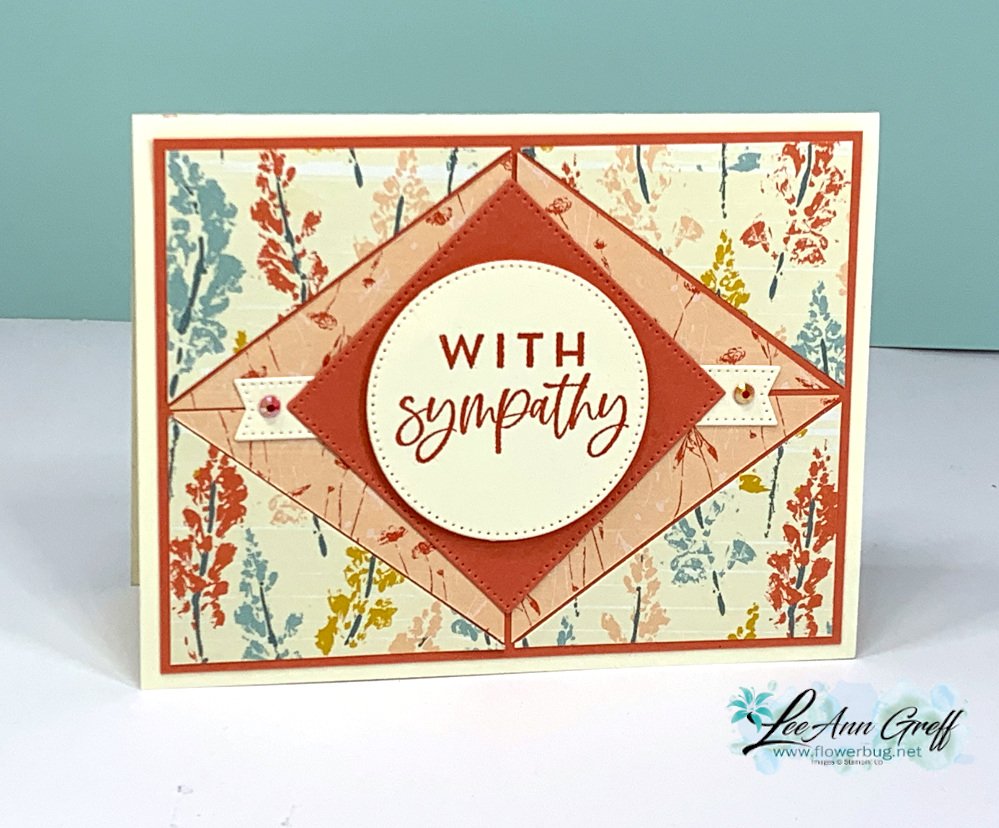
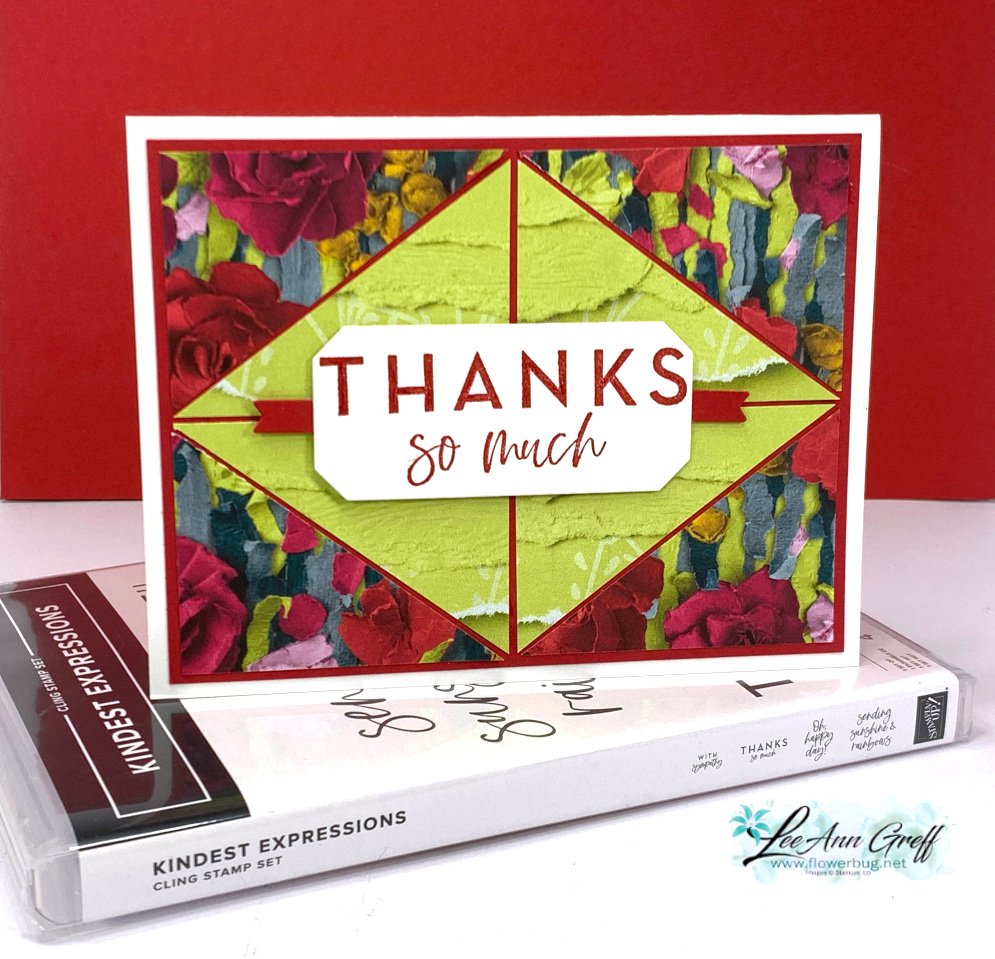
It's such a neat card layout that truly makes the most of double sided designer series paper; showing both sides. This Inked Botanicals DSP is on sale now; see it here.Scroll down a bit to see the video & measurements.
Designer paper – 4 pieces at 2 1/2" X 1 7/8", cut each in half on the diagonal.
greeting sentiment piece and small strip for a banner
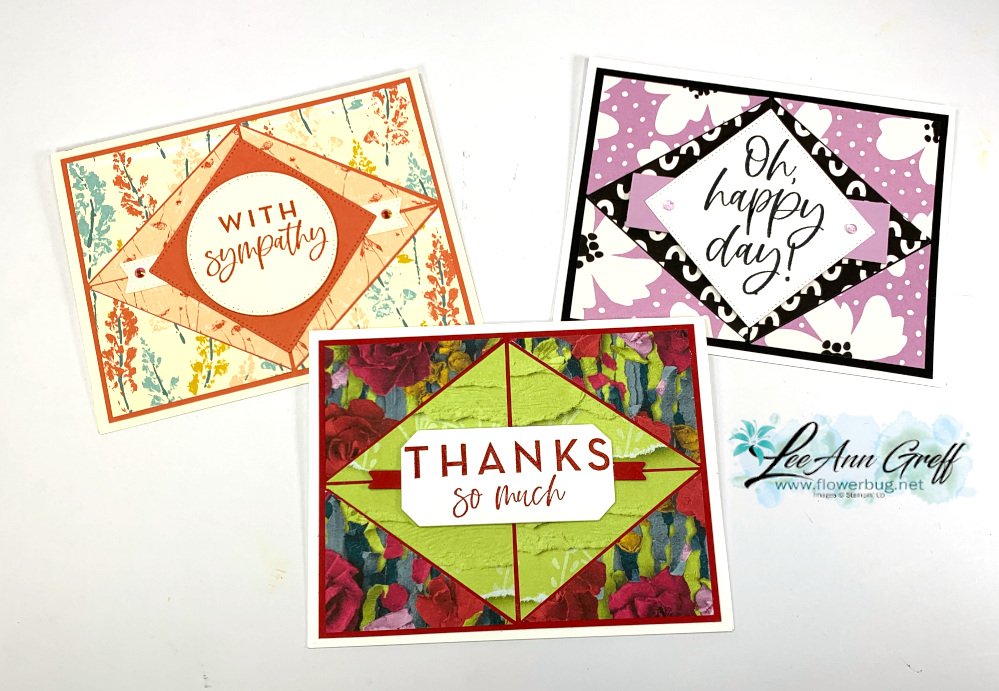
Here are all three cards I share in this video here. I challenge my viewers to create a card using this layout and share it by July 23rd. I'll draw a name or two for a door prize! Go here to post yours.
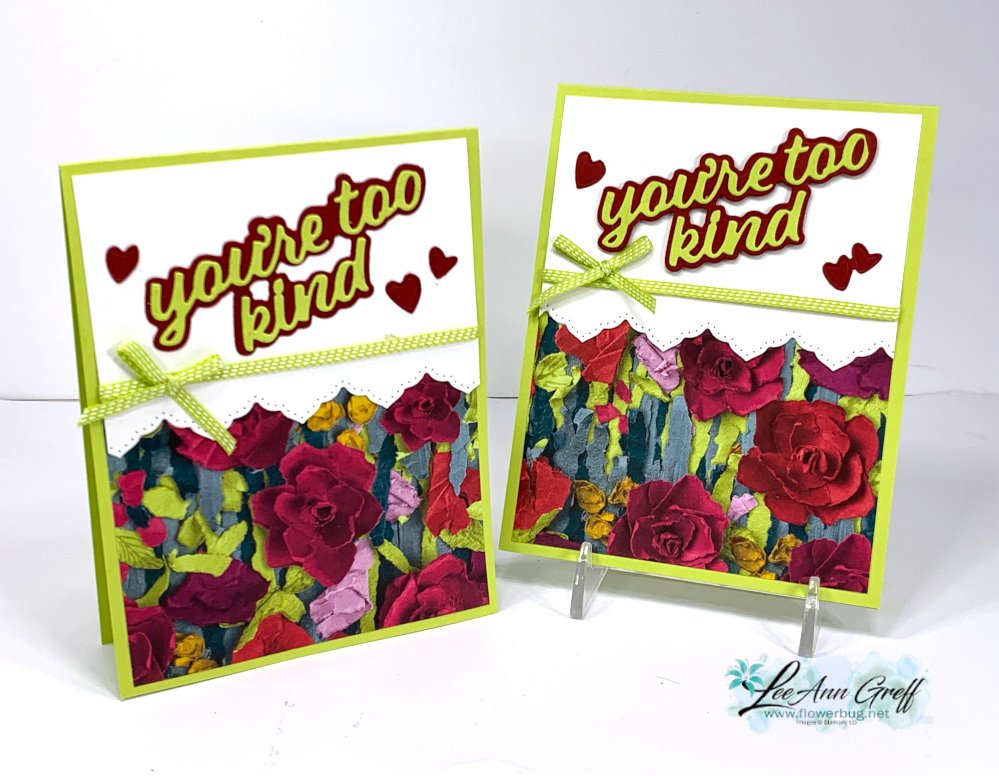
Another way to use the Border Basics dies – cut once for two card front!
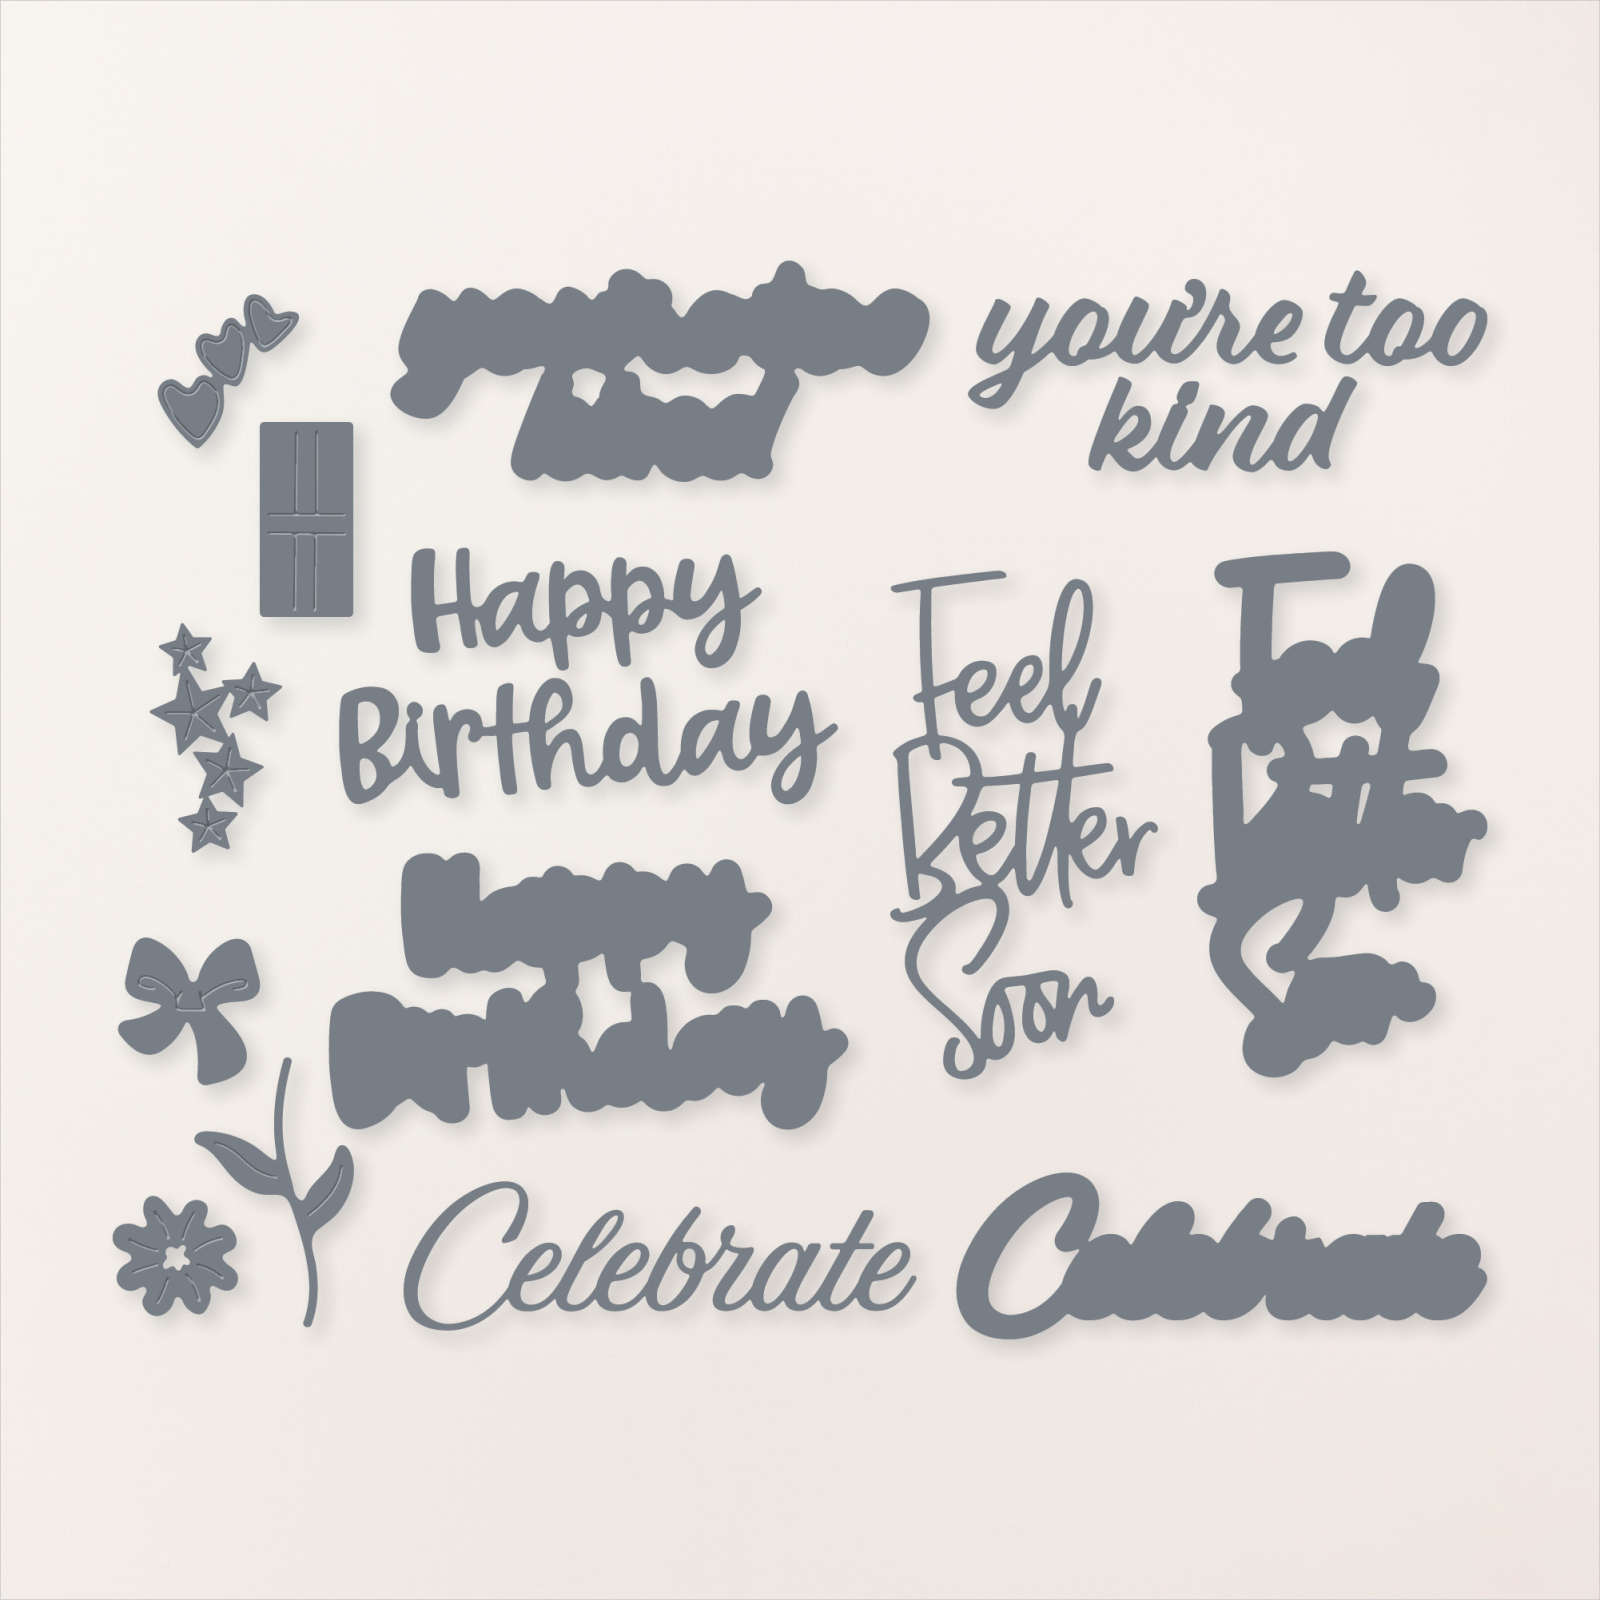
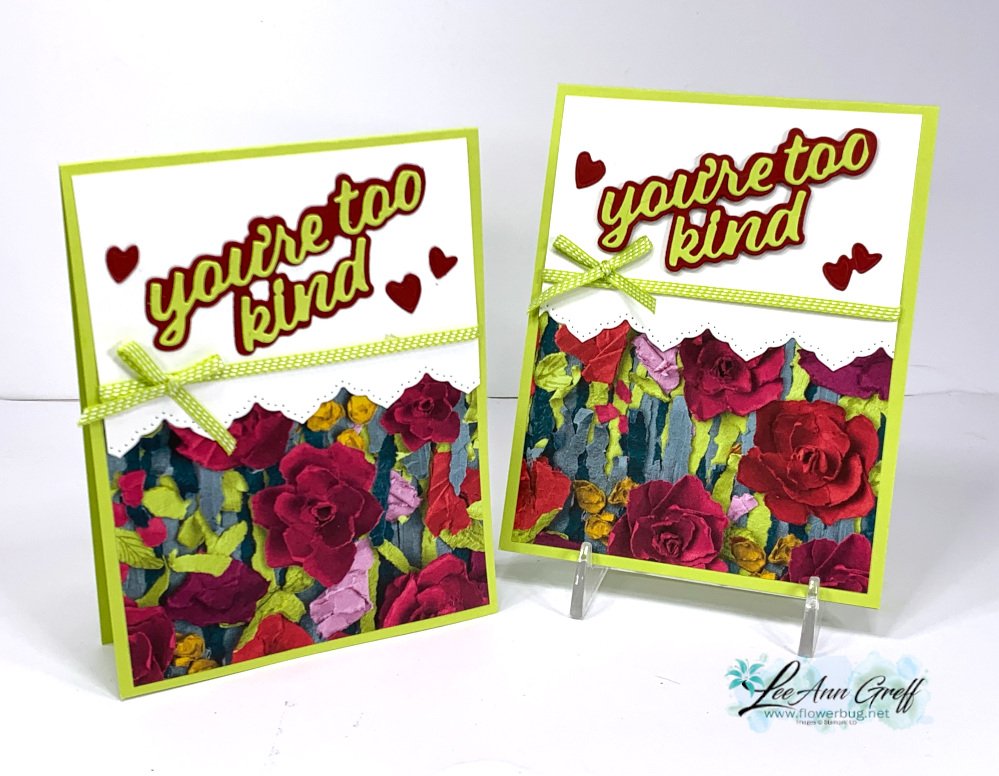
Here's the third card I made for last week's live video; it also features the Masterfully Made designer paper, Wanted to Say dies and the Border Basics dies.
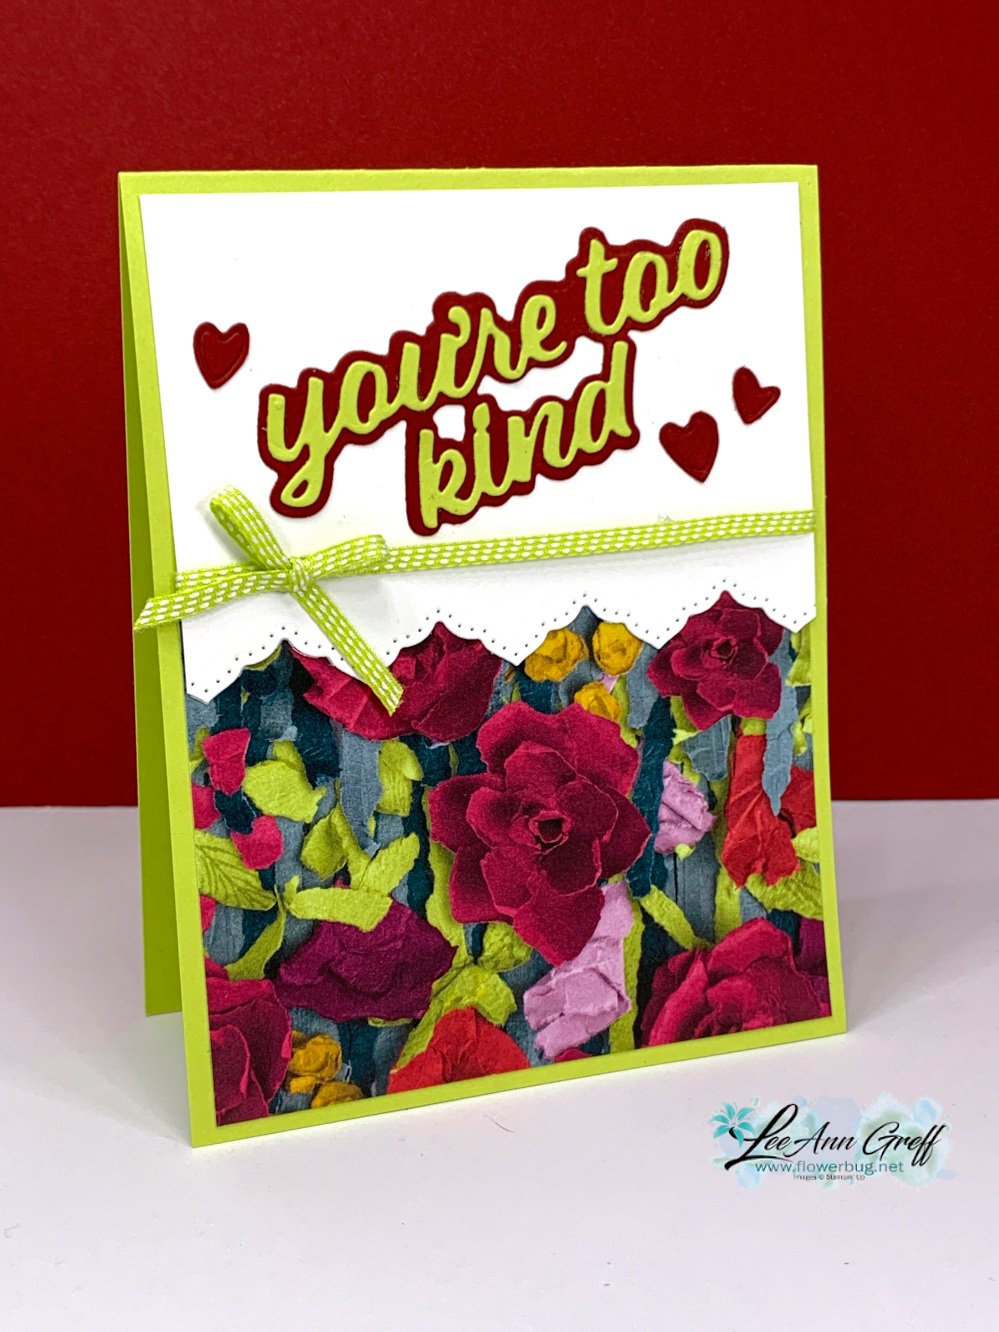
The pretty scalloped stitched border is made with the Border Basics dies seen here. Start with a piece of White card stock measuring 4" X 5 1/4" and cut it in half with the scalloped die-cut. Now you have the start for two cards!
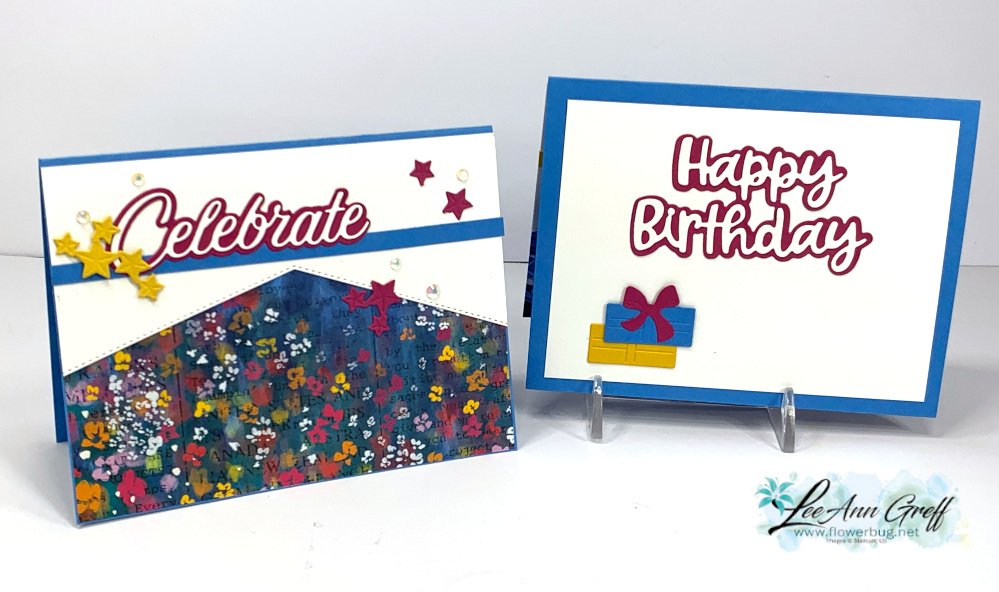
Below are all three cards made with this three products, all seen on the video below.
Cut once for two card fronts with the Border Basics dies; video tips & tutorial too
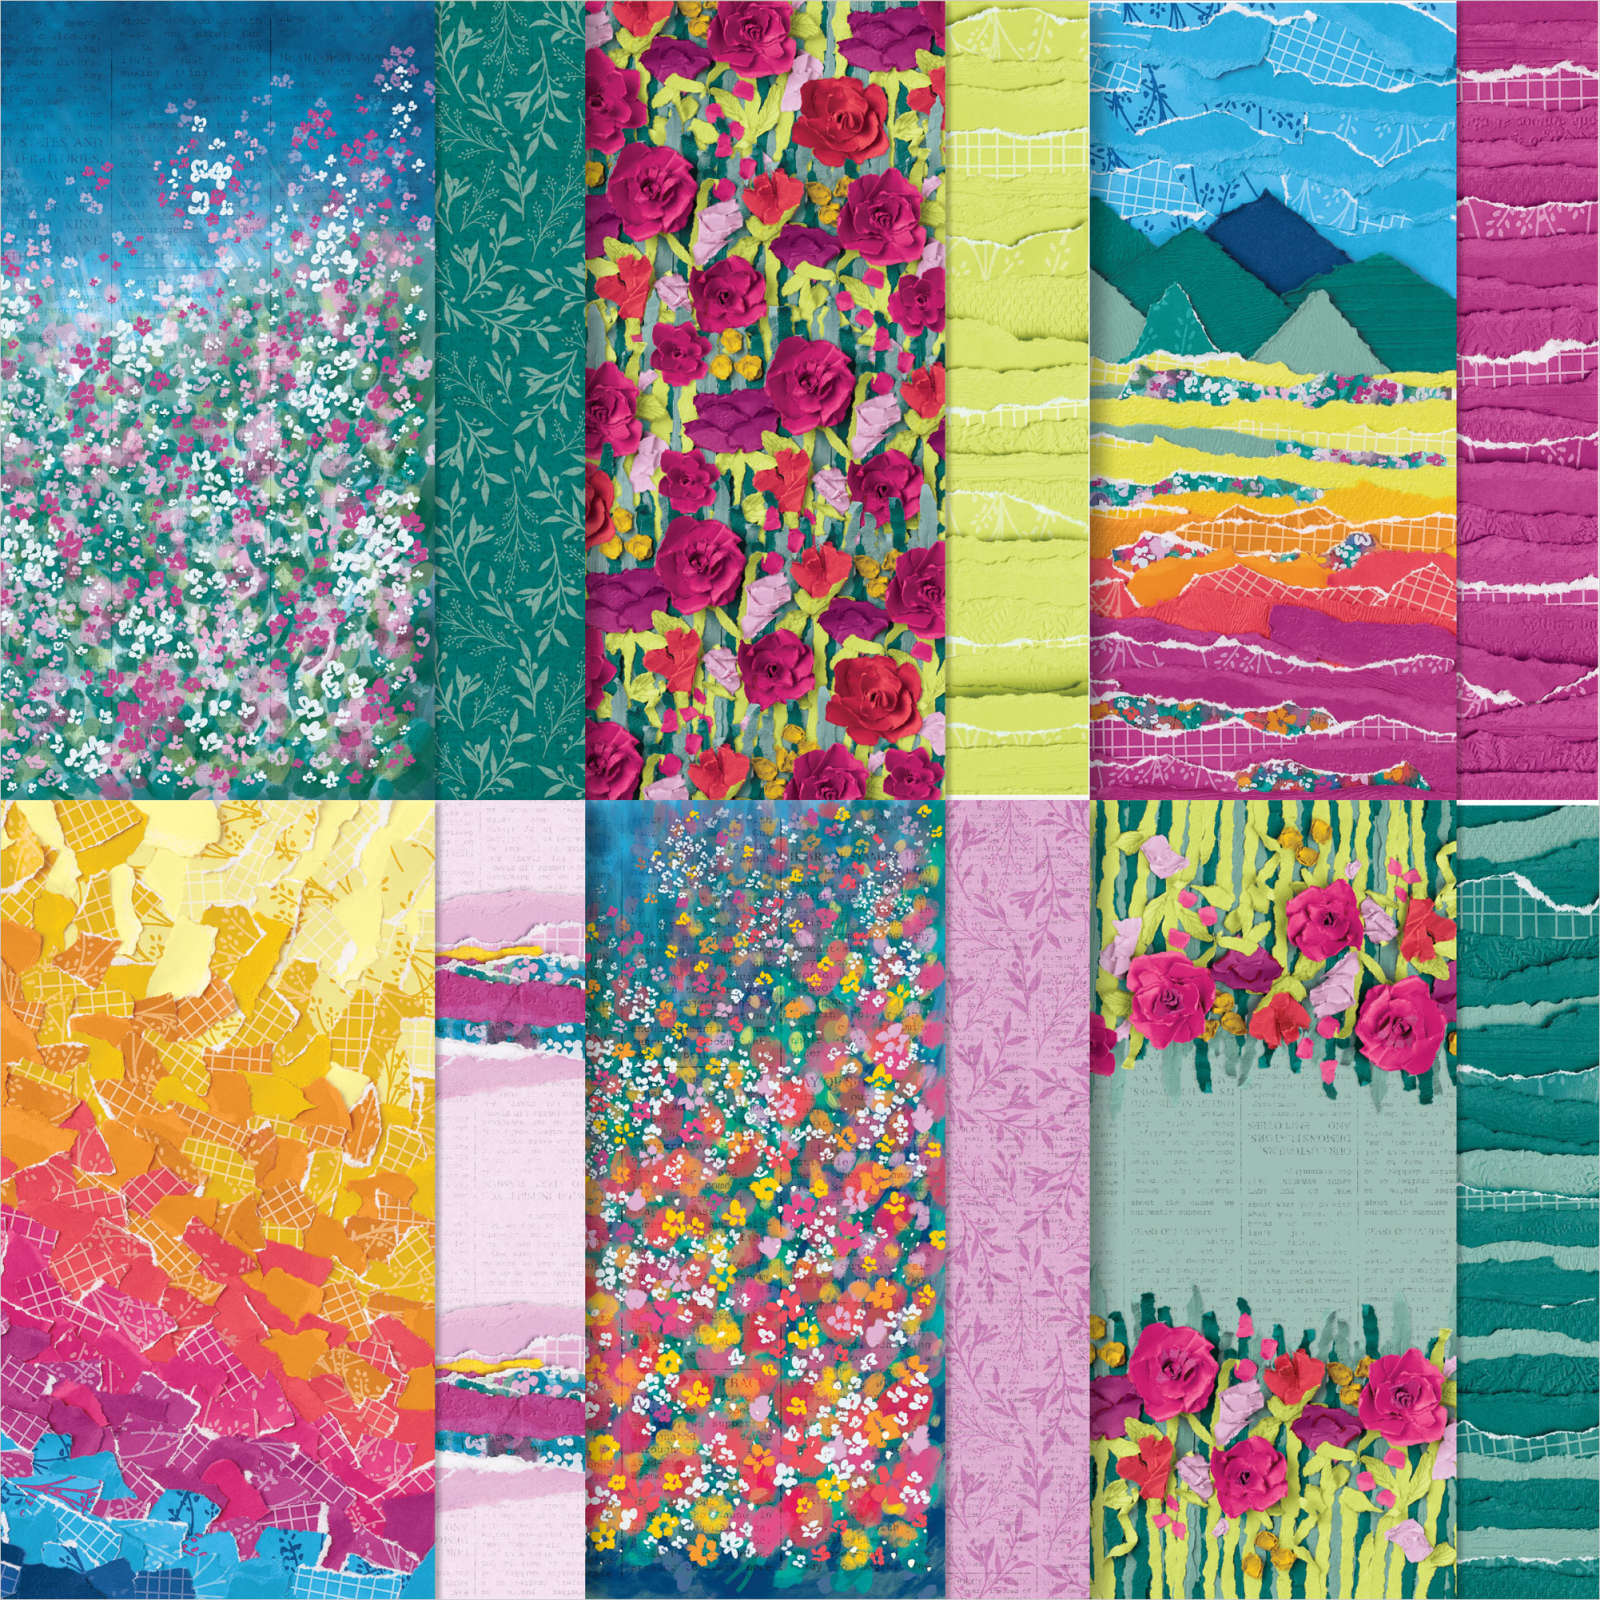
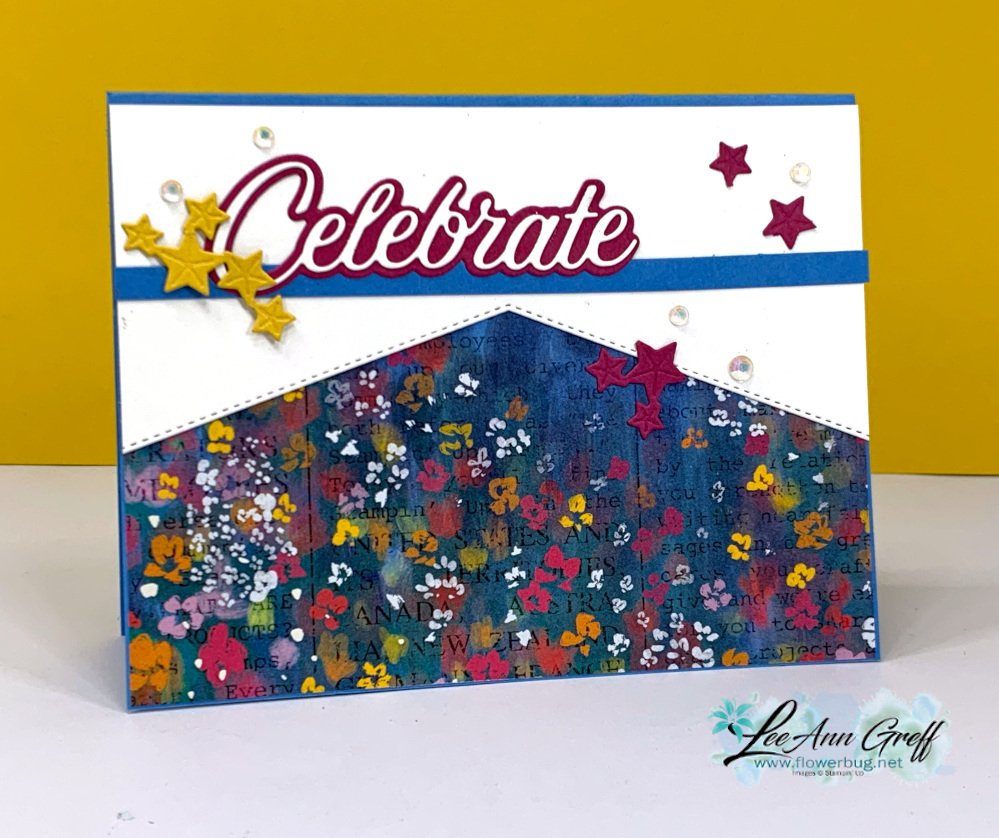
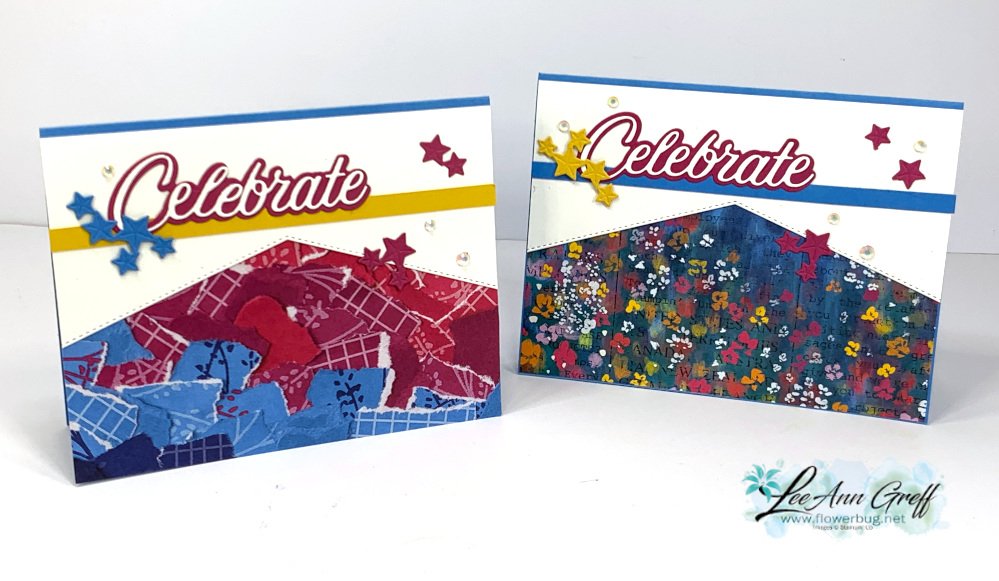
I shared one of the cards I made in last week's video and here's another one. Both feature the same three products: Masterfully Made designer paper, Wanted to Say dies and the Border Basics dies.
Here are both cards I shared; each with a different piece of the Masterfully Made CS. As you can see I added a thin line of card stock to rest the 'Celebrate' die-cut on. I love the effect!
I cut the right side of the card front off (on the left card) and used that piece on the card on the right. Essentially I cut the card front in half and added it to the card on the right, adding DSP underneath to show off the angles. One cut; two cards!
Notice: LeeAnn Greff, Independent Stampin’ Up! Demonstrator, Manager. The content of this website is my sole responsibility as an independent Stampin’ Up! demonstrator and the use of, and content of, the classes, services, or products offered on this website is not endorsed by Stampin’ Up! Copyright 2025





















Leave a Reply