/


Latest Post

Gorgeously Made with a neat background technique & video tutorial


I shared this card as part of my Tuesday Live video last week.  I was featuring the Gorgeously Made bundle.  Check out the background! 

I focused on creating a pretty, textured background under the main image. Here are the steps:
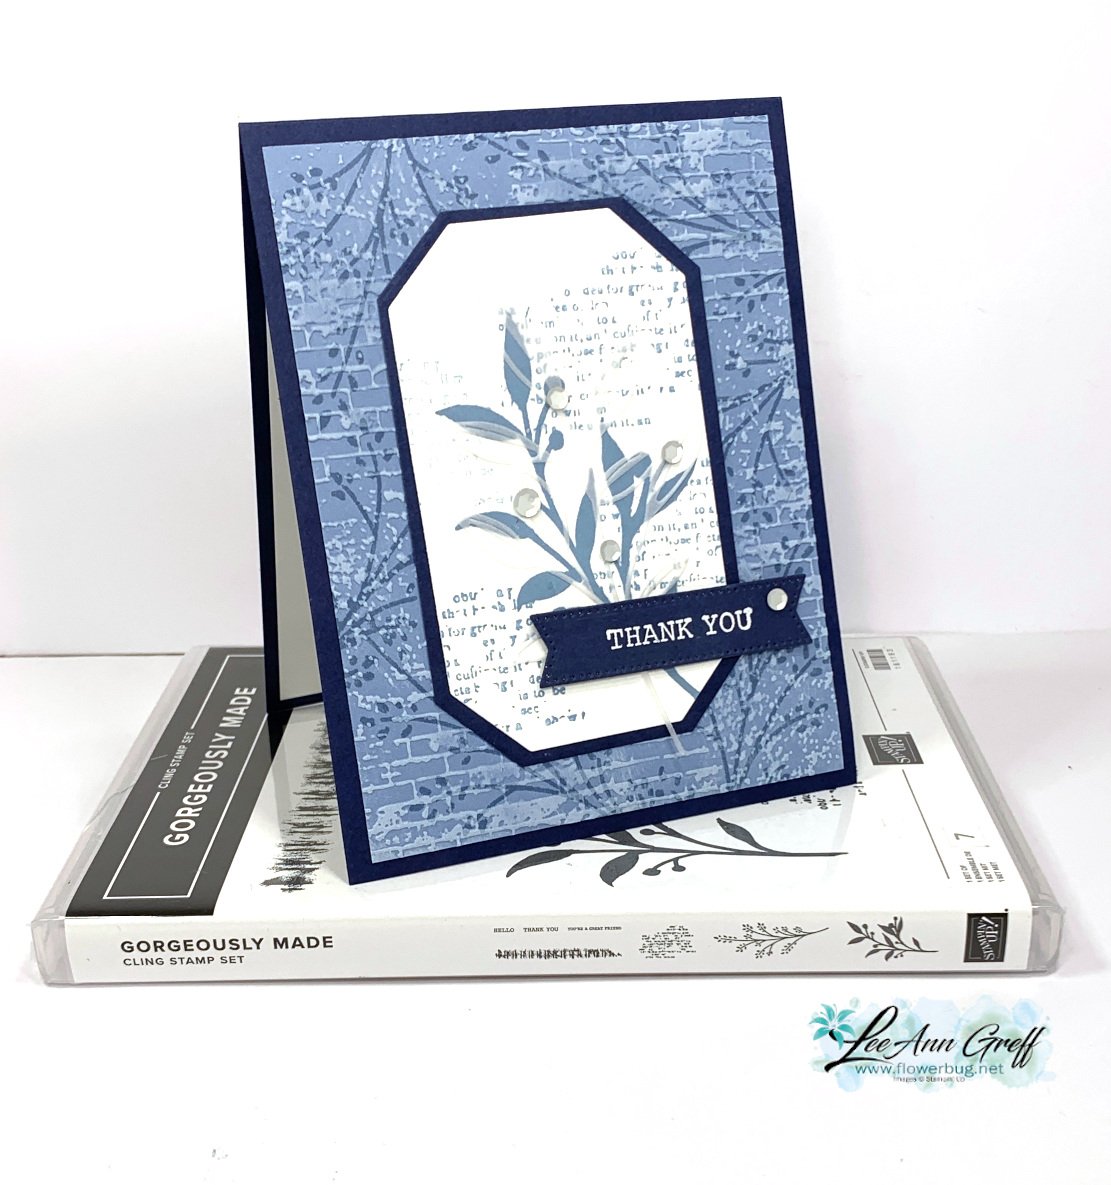
  1. I first stamped the foliage image with Boho Blue ink onto Boho Blue card stock.
  2. Next I textured it with the Exposed Brick embossing folder seen here. (It's one of my favorite folders.)
  3. Lastly I dragged my White Craft ink pad over the texture. Tip: use a very light touch or ensure your ink pad is a little bit dry. I LOVE the look of this so much!  

I used the same foliage image for the inside of the card as I did the pretty background, stamping once in full strength Boho Blue ink and stamping again without reinking.  

I stamped the other large leafy image from the Gorgeously Made set on the Countryside Corners white die-cut. I added the print image a few times in second generation Boho Blue ink (this means stamped off once). It's layered on a Navy die-cut before adding to the card base.  
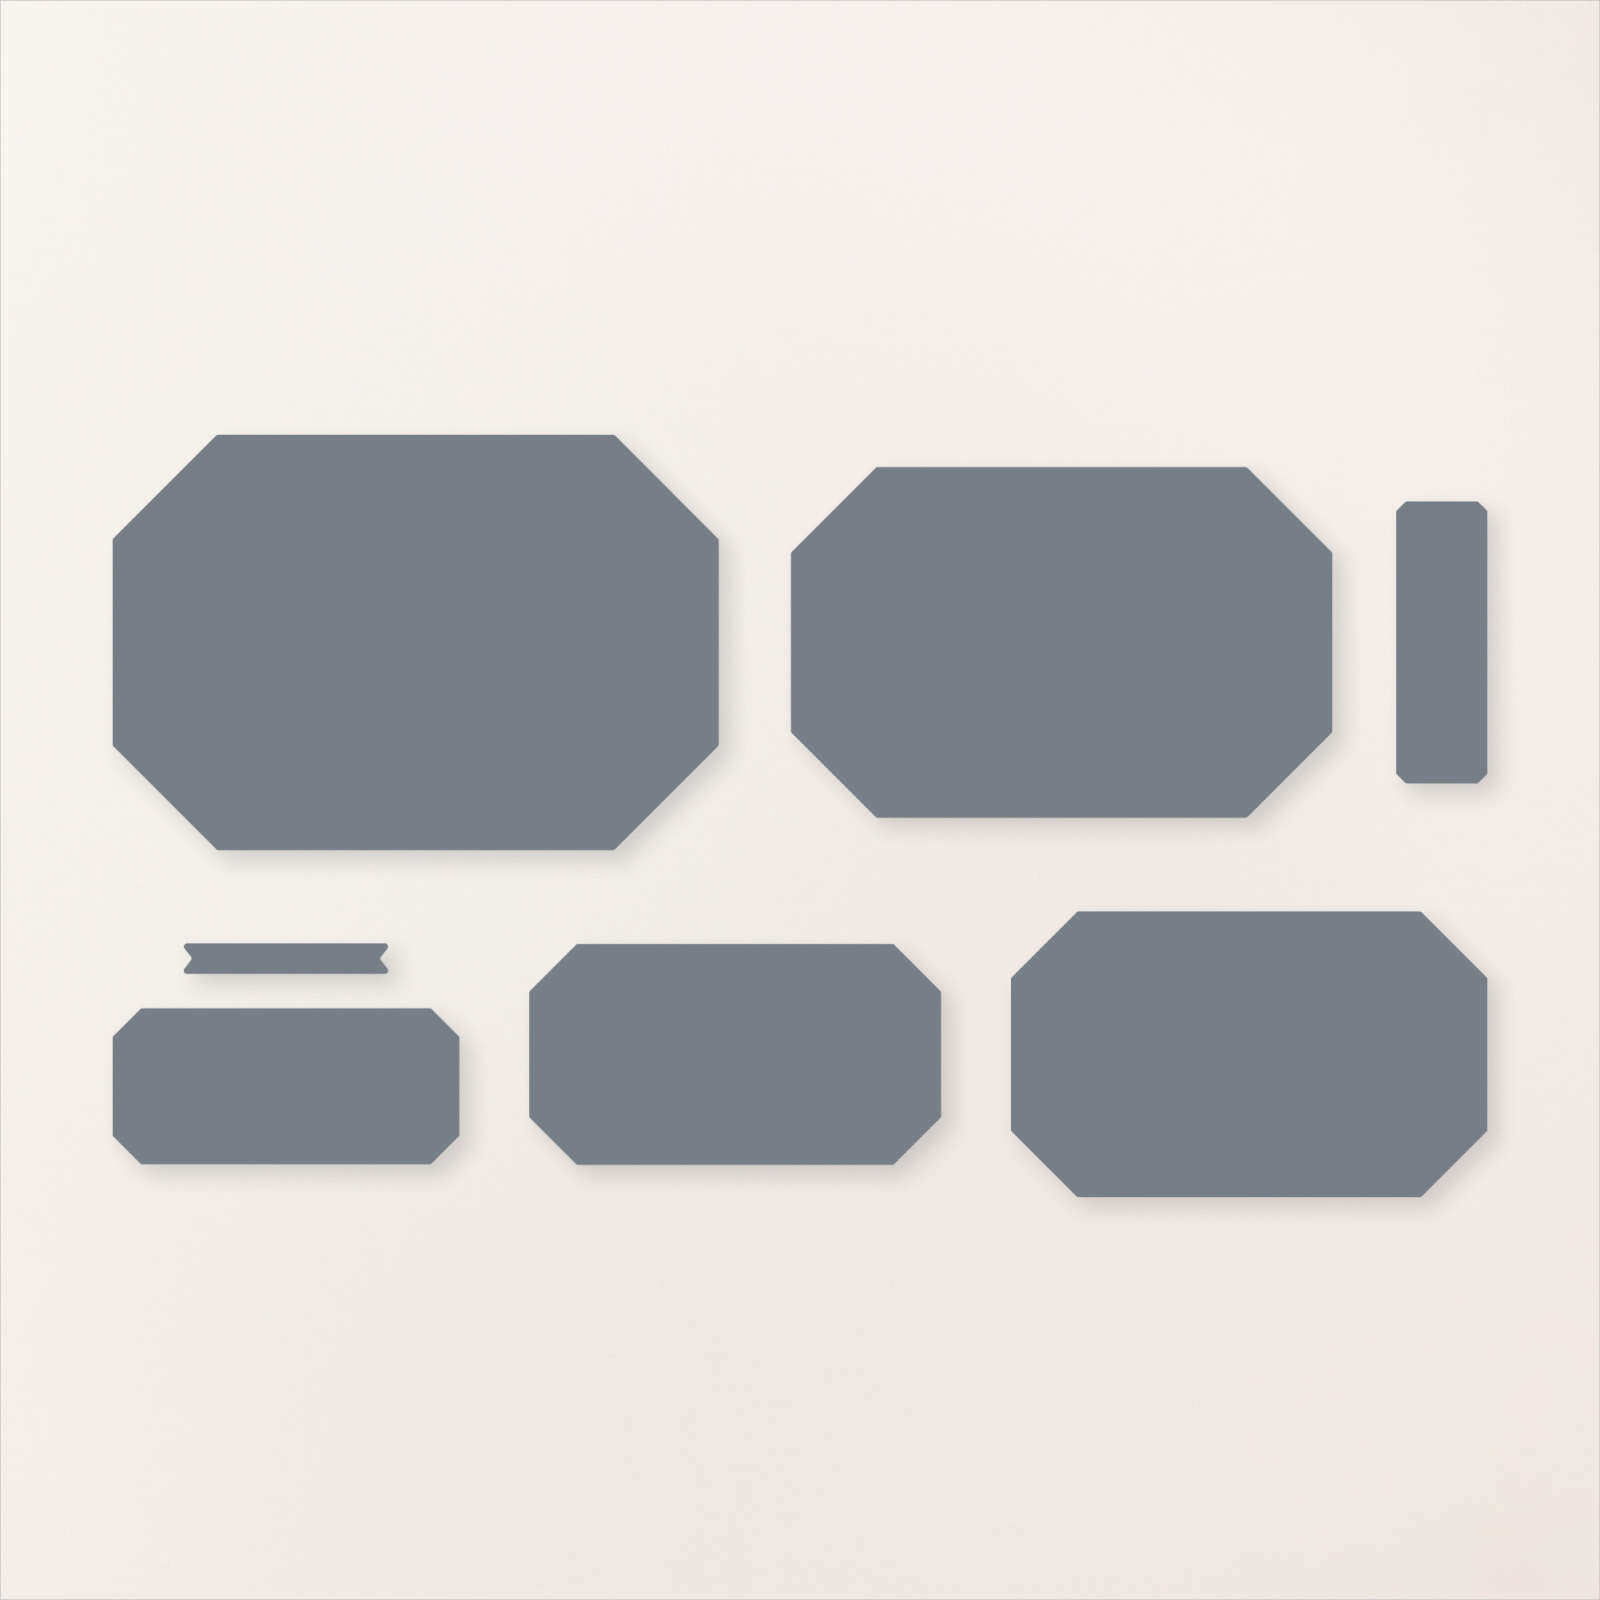
The greeting is heat embossed on Navy using White embossing powder. The die-cut is from the Stylish Shapes dies – my go-to dies for greetings. 

There's just something special about a monochromatic card; this time in blues.  If you're going for an elegant or cohesive look try using just one color in varying hues.  Greens, blues and browns are some of my favorite choices.  

Click here or on the photo below to watch the video.  It's the first project featured; the other is a super fun 'fancy fold' card.  

 ~~~

July Specials: 

Bonus Days!

Get a $5 coupon for each $50 order you place in July.  Redeem in August!

 

Clearance Rack update!

See all items available here

 NEW Online Exclusives will be available

See them all here

~~~

I have 3 free card kits left!  It includes a new Beautifully Happy stamp set 

with online orders over $65; must use a host code.

 *current host code: XNYX2DWG

All Posts

  • In the Country with a split scene technique


    They've updated the Clearance Rack with more products!  Including stamp sets!  But beware that many are in French.  Be sure you get English if you want it. See it all here.


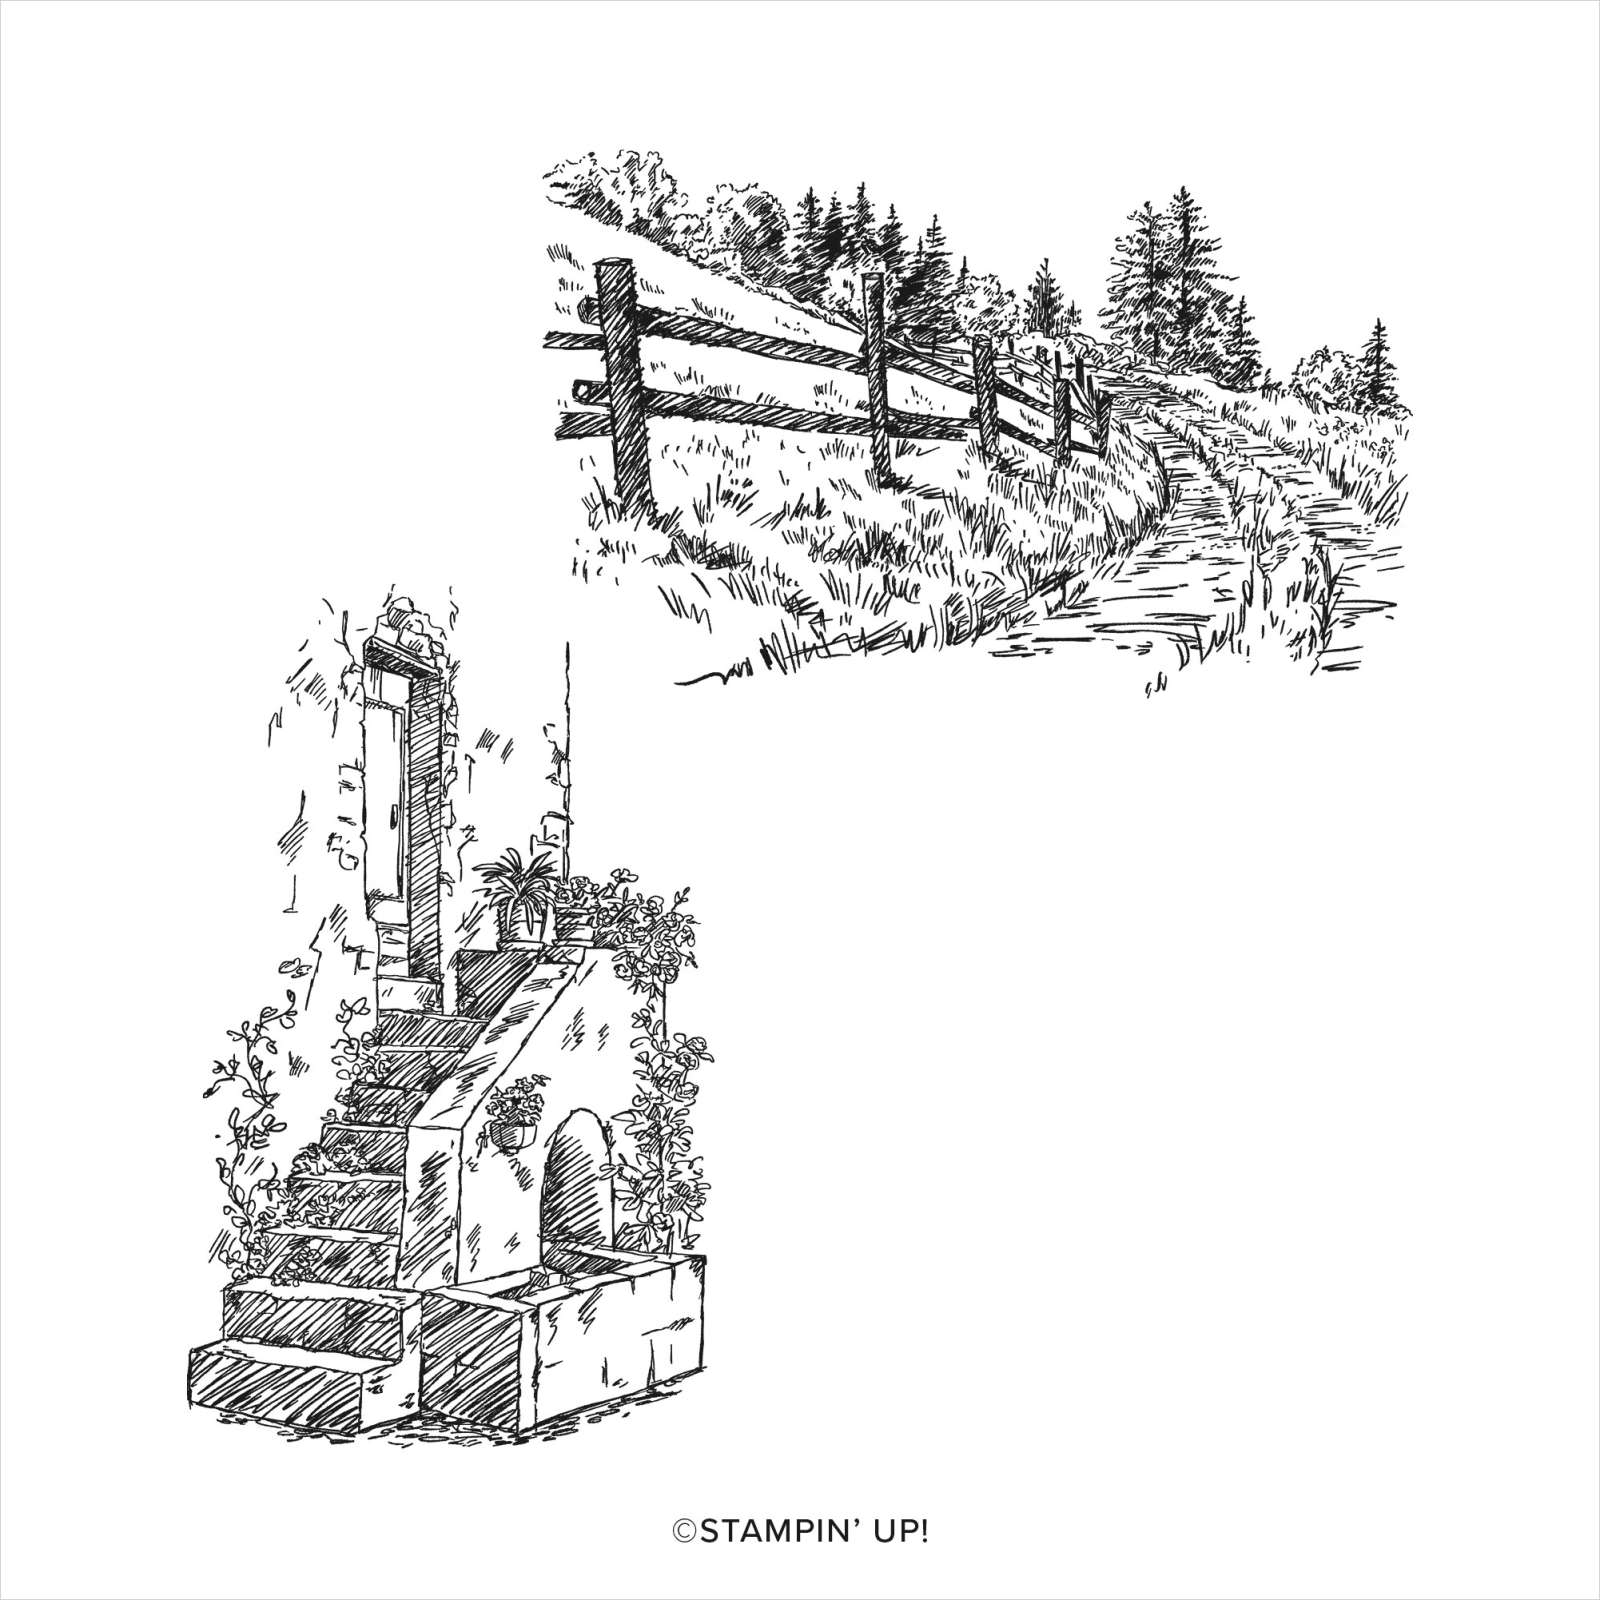
    I made this pretty card using the In the Country stamp set from our Sale-a-Bration promotion.  It's called a Triptych layout. It's a great way to showcase a detailed stamp set.  


    I stamped the image in Black Memento ink using the Stamparatus and colored the image in with our Watercolor Pencils. 

    One thing I always use with our Watercolor Pencils is the Blender pen.  It smooths out all of your penciled lines so easily. See it here. 

    The card base is Coastal Cabana and I added a Black layer and a simple Black strip across and under it. Simple but it sure shows off the pretty scene. 

    You can see the In the Country stamp set here; it's free with any $50 purchase. 

    Click on the photo below to watch the video to see lots more ways to use and color this pretty stamp set. 

    ~~~

    February specials:

    February Host code links:

      CNV2VCBT or 7EUM6NB9 

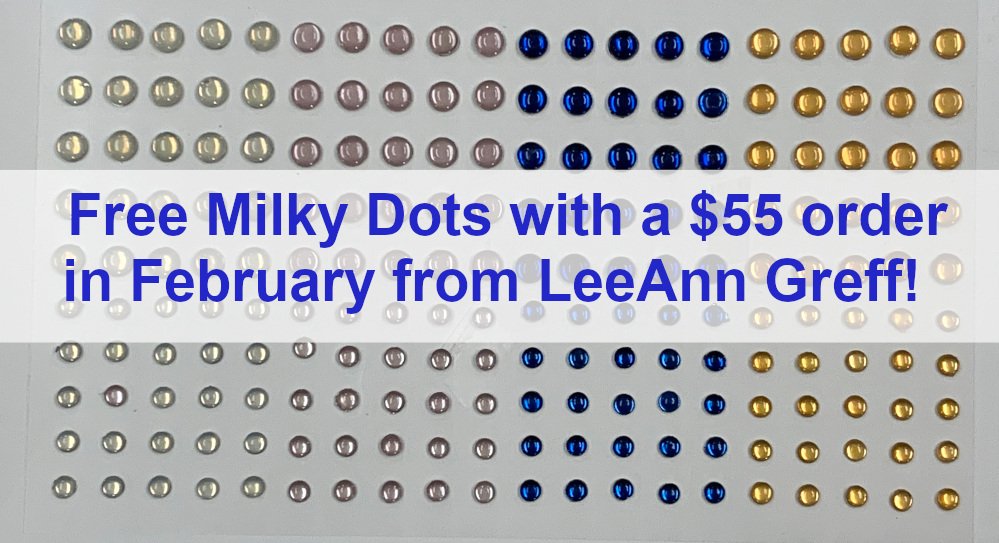
    Get free Pastel Sequins with online orders over $55 when using the host code above!

     Earn free products with my loyalty rewards! 

    Click here to download yours and earn a $50 shopping spree!

    ~~~

    Best Deal Ever on the Starter kit here!

    Choose $175 in products for just $129 plus the new mini machine!

    Or choose $175 for $99 without a new Mini.  AMAZING!

    Leave a Reply

    Your email address will not be published. Required fields are marked *

  • Two-Tone Flora card with more ideas in the video


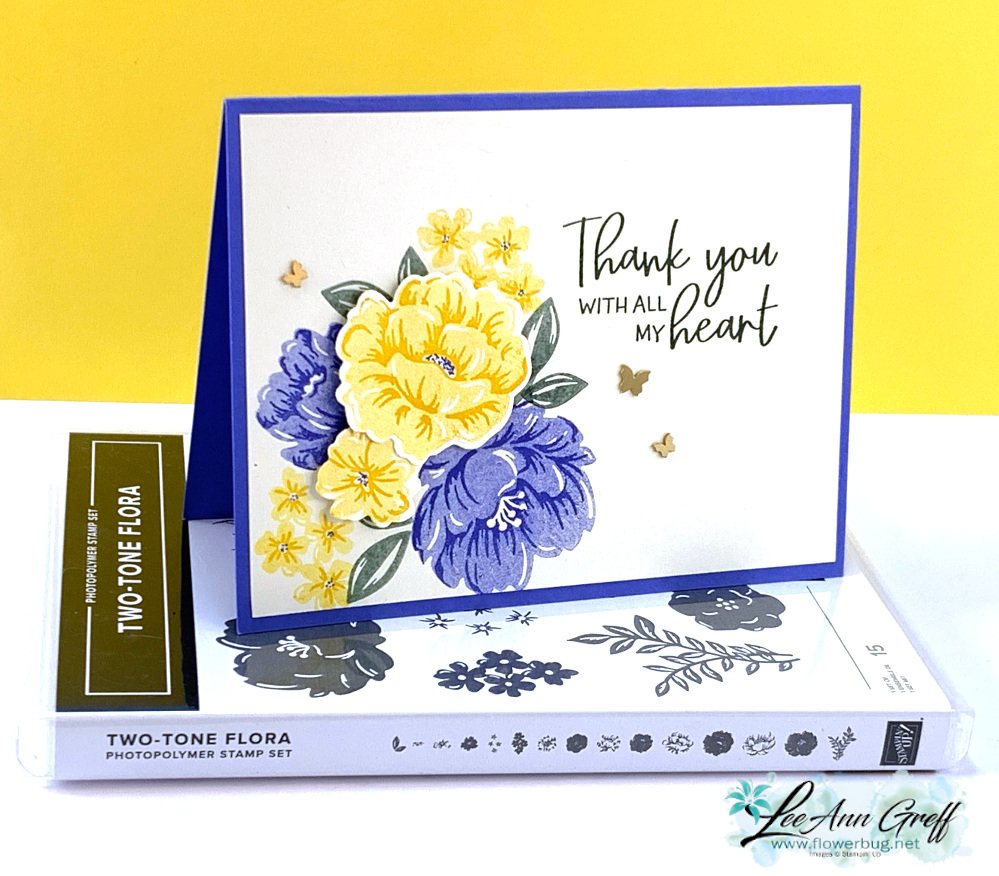
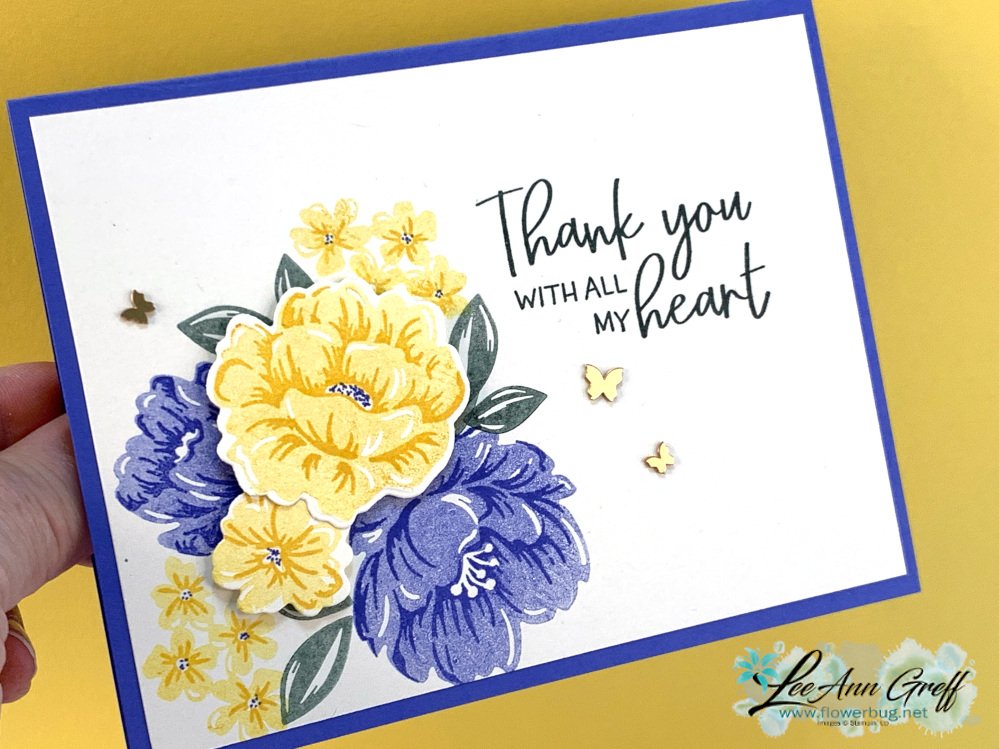
    Here's a pretty card I shared on a recent Facebook Live.  It features the Two-Tone flora bundle seen here. 

    My colors include Daffodil Delight, Soft Succulent and Orchid Oasis. I kept this card very simple to show off the beautiful detail in the flowers.  

    The greeting is from the Framed Florets stamp set seen here. 

    I used Very Vanilla to stamp on as I haven't used it much lately.  It's a softer feel than White.  Does your Vanilla need some love too? 

    I hope you're inspired by this fun technique.  Click on the photo below to watch the video and see more cards with this bundle. 

    ~~~

    February specials:

    February Host code links:

      CNV2VCBT or 7EUM6NB9 

    Get free Pastel Sequins with online orders over $55 when using the host code above!

     Earn free products with my loyalty rewards! 

    Click here to download yours and earn a $50 shopping spree!

    ~~~

    Best Deal Ever on the Starter kit here!

    Choose $175 in products for just $129 plus the new mini machine!

    Or choose $175 for $99 without a new Mini.  AMAZING!

    Leave a Reply

    Your email address will not be published. Required fields are marked *

  • Two-Tone Flora cards; get two cards with one technique!


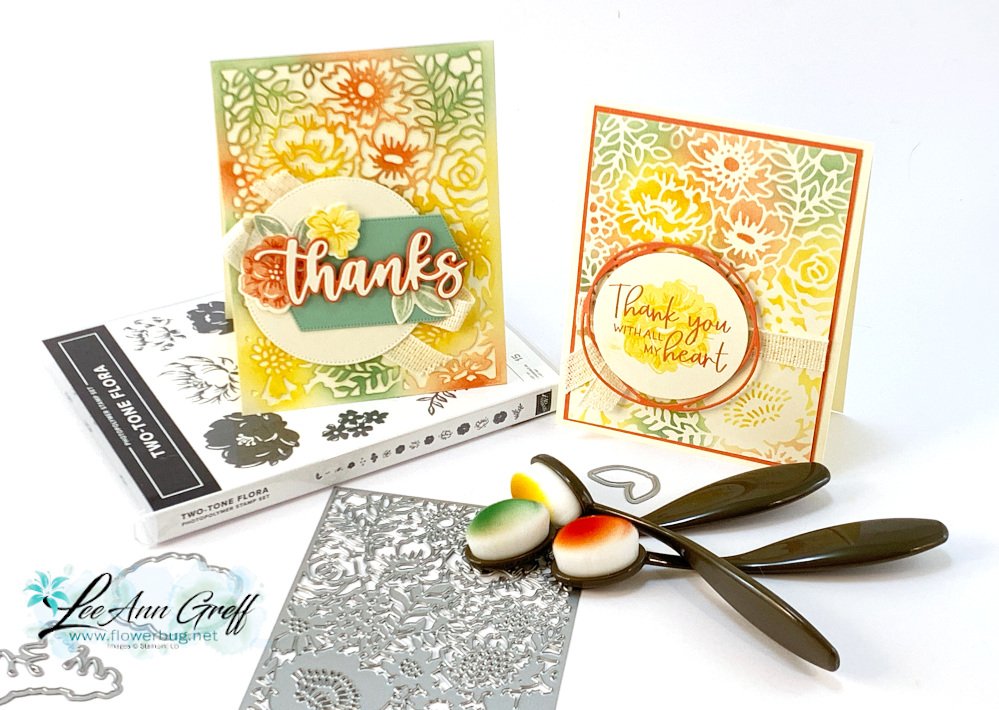
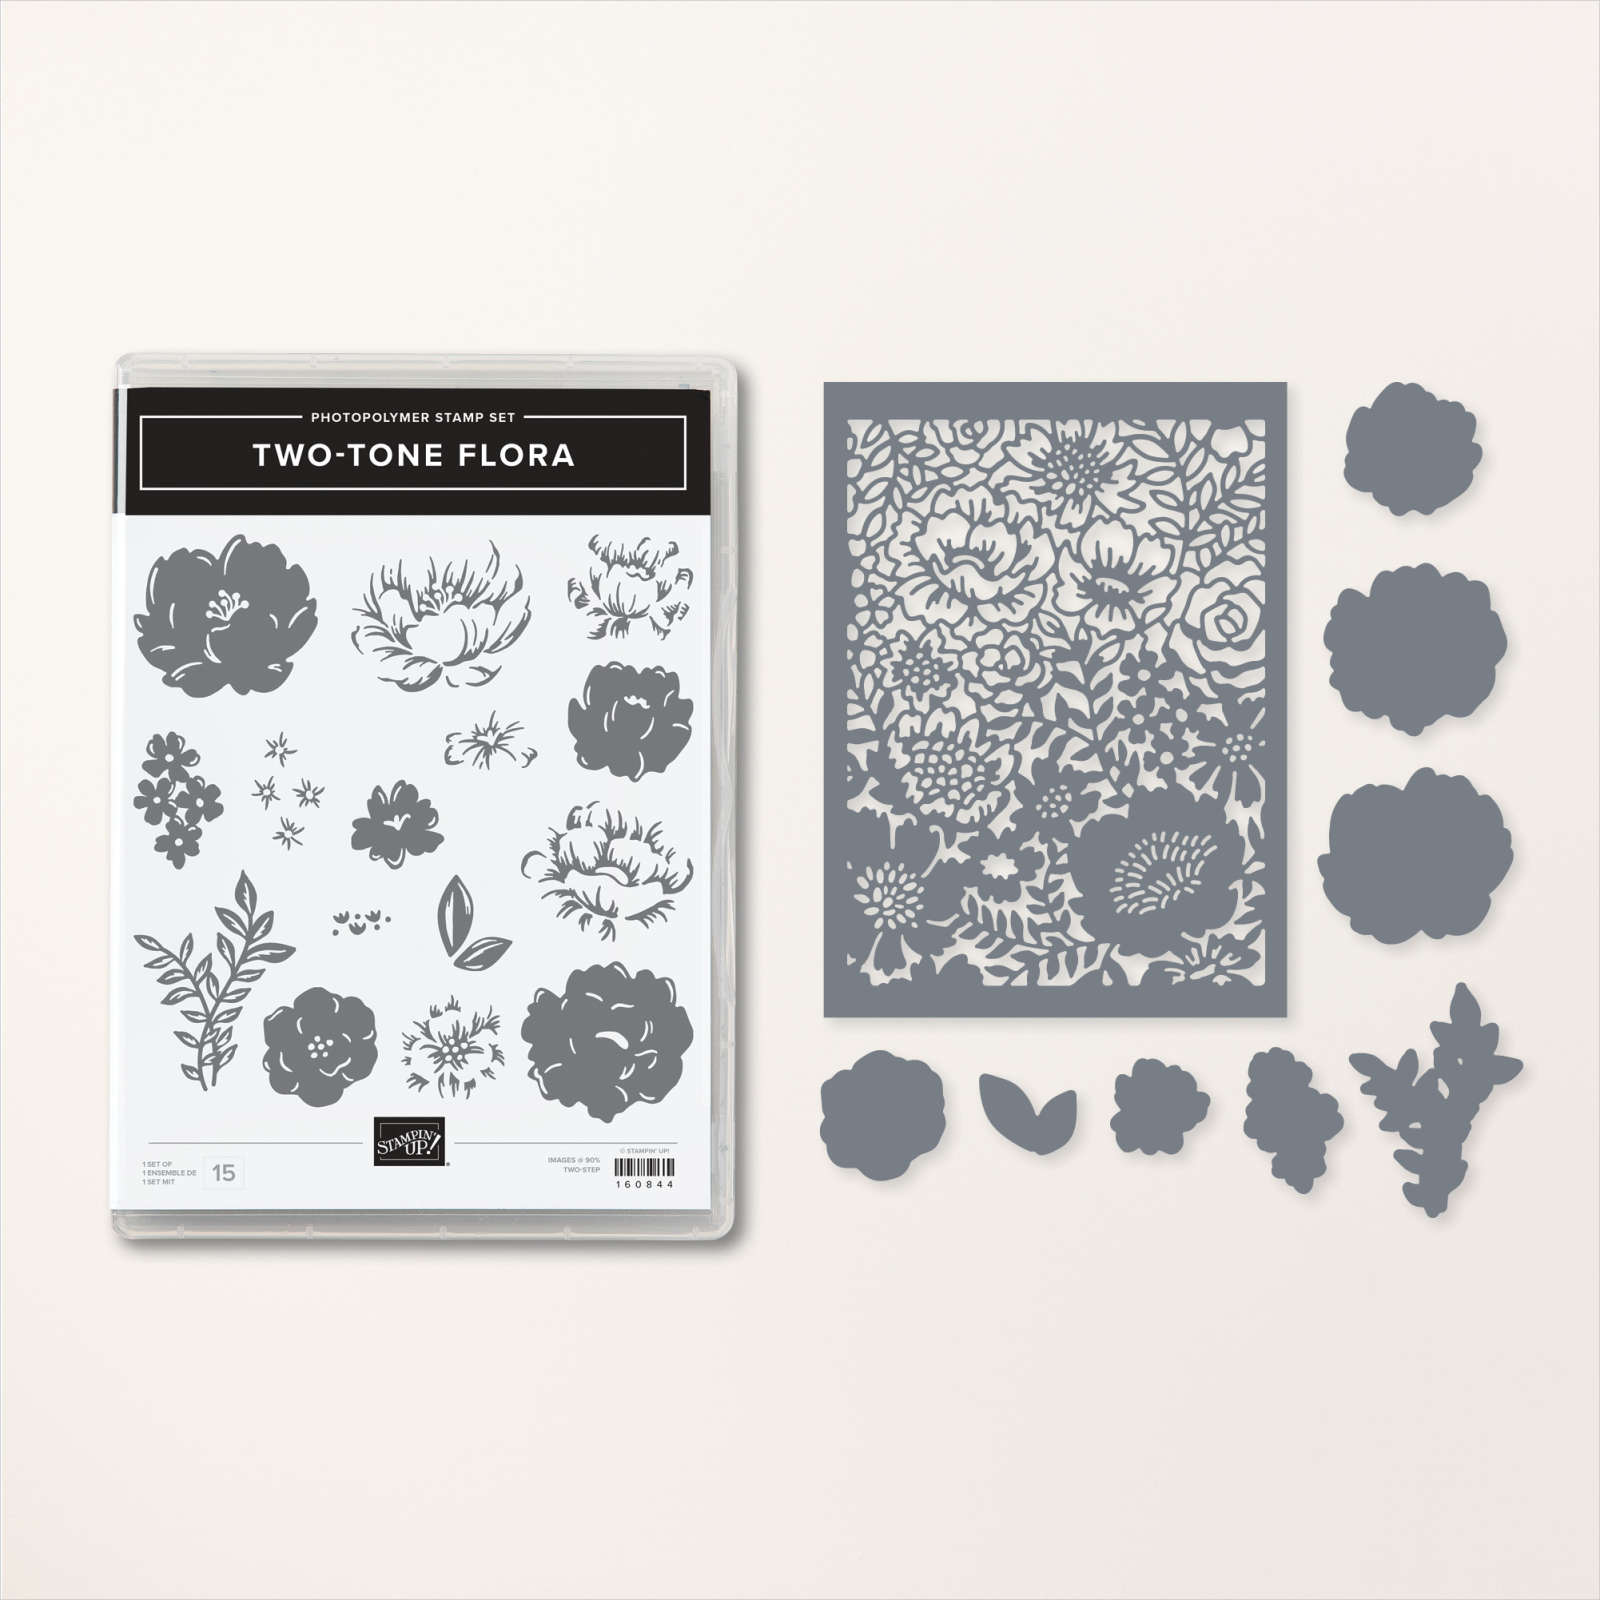
    I shared a bunch of projects featuring the Two-Tone Flora bundle seen here on last week's FB Live video.  

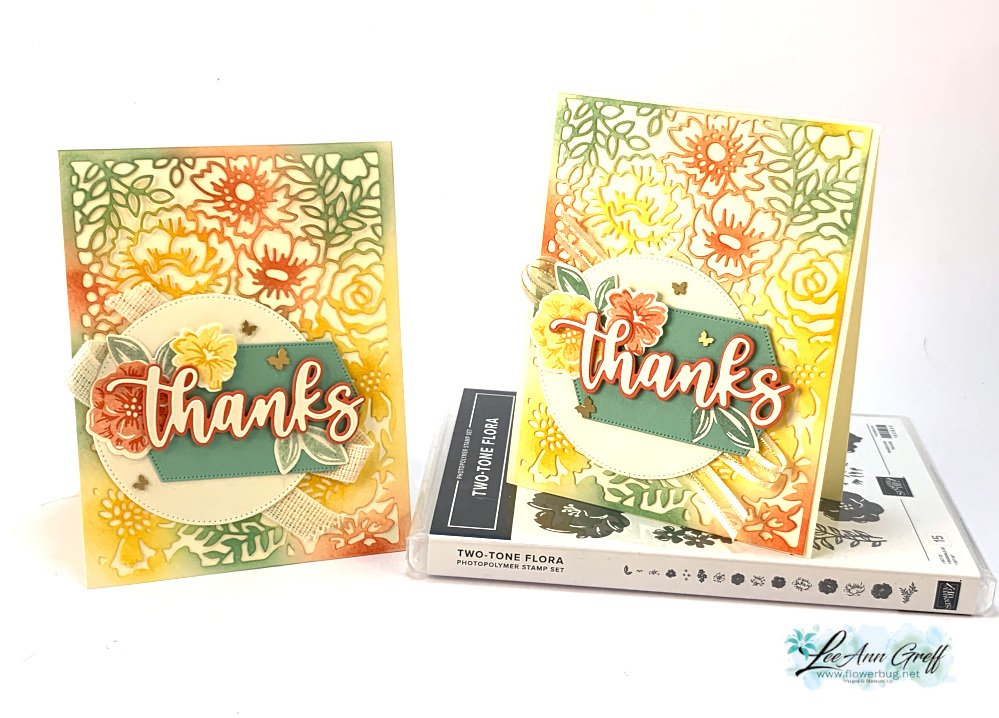
    I hadn't played with it at all and couldn't stop once I started!  Here are two cards that may look similar at first, but look closely….

    The card on the left has the large, sponged & colored die-cut on the front.  But the card on the right is the colored layer underneath the other.  So cool!  I show how this is done with the small Blending Brushes in the video here.  

    I used three colors for these cards – Daffodil Delight, Mint Macaron and Calypso Coral. It also features Very Vanilla which I don't use often enough. I found the small blending brushed worked really well for the detailed areas on the die-cut. You can see these brushes here. 

    Here are both cards with the actual colored die-cut piece on the front. 

    I accented it with the Sentimental Park, Stylish Shapes and Amazing Thanks dies. Also a few Brushed Brass Butterflies finished the garden feel of these cards. 

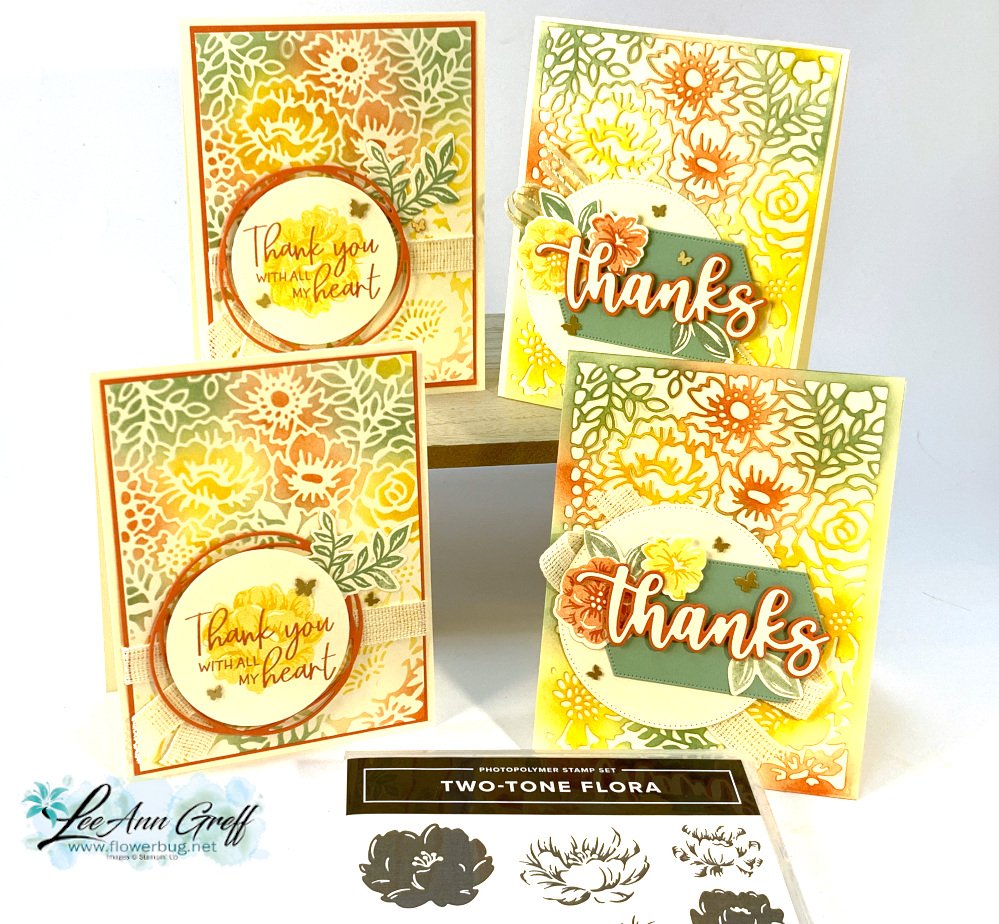
    Below are the cards that show off the area under the sponged die-cut.  The colorful sponging reveals the die-cut detail on the Vanilla but the flowers and leaf areas are colored. I love this 2 for 1 technique!  I'm sure you have some dies you could use like this too.  

    The dies above include the Painted Label and Circle Collection dies; along with the Two-Tone Floral dies for the leaf. 

    I enjoy using two-step stamp sets for the wonderful details and hues of color you can achieve.  

    I hope you're inspired by this fun technique.  Click on the photo below to watch the video and see more cards with this bundle. 

    ~~~

    February specials:

    February Host code links:

      CNV2VCBT or 7EUM6NB9 

    Get free Pastel Sequins with online orders over $55 when using the host code above!

     Earn free products with my loyalty rewards! 

    Click here to download yours and earn a $50 shopping spree!

    ~~~

    Best Deal Ever on the Starter kit here!

    Choose $175 in products for just $129 plus the new mini machine!

    Or choose $175 for $99 without a new Mini.  AMAZING!

    Leave a Reply

    Your email address will not be published. Required fields are marked *


Notice: LeeAnn Greff, Independent Stampin’ Up! Demonstrator, Manager. The content of this website is my sole responsibility as an independent Stampin’ Up! demonstrator and the use of, and content of, the classes, services, or products offered on this website is not endorsed by Stampin’ Up! Copyright 2025