/


Latest Post

Gorgeously Made with a neat background technique & video tutorial


I shared this card as part of my Tuesday Live video last week.  I was featuring the Gorgeously Made bundle.  Check out the background! 

I focused on creating a pretty, textured background under the main image. Here are the steps:
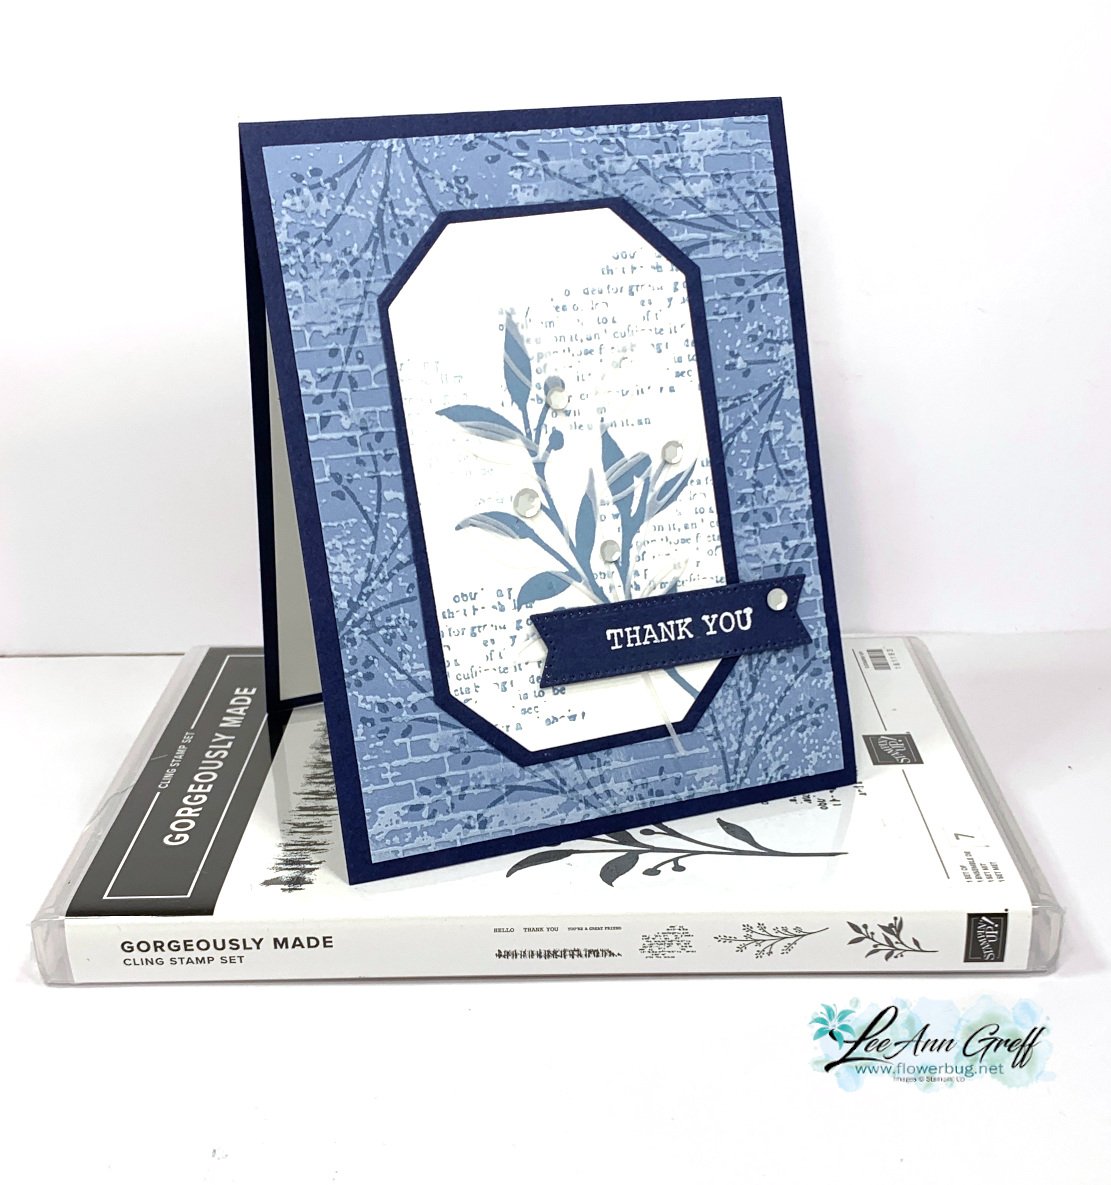
  1. I first stamped the foliage image with Boho Blue ink onto Boho Blue card stock.
  2. Next I textured it with the Exposed Brick embossing folder seen here. (It's one of my favorite folders.)
  3. Lastly I dragged my White Craft ink pad over the texture. Tip: use a very light touch or ensure your ink pad is a little bit dry. I LOVE the look of this so much!  

I used the same foliage image for the inside of the card as I did the pretty background, stamping once in full strength Boho Blue ink and stamping again without reinking.  

I stamped the other large leafy image from the Gorgeously Made set on the Countryside Corners white die-cut. I added the print image a few times in second generation Boho Blue ink (this means stamped off once). It's layered on a Navy die-cut before adding to the card base.  
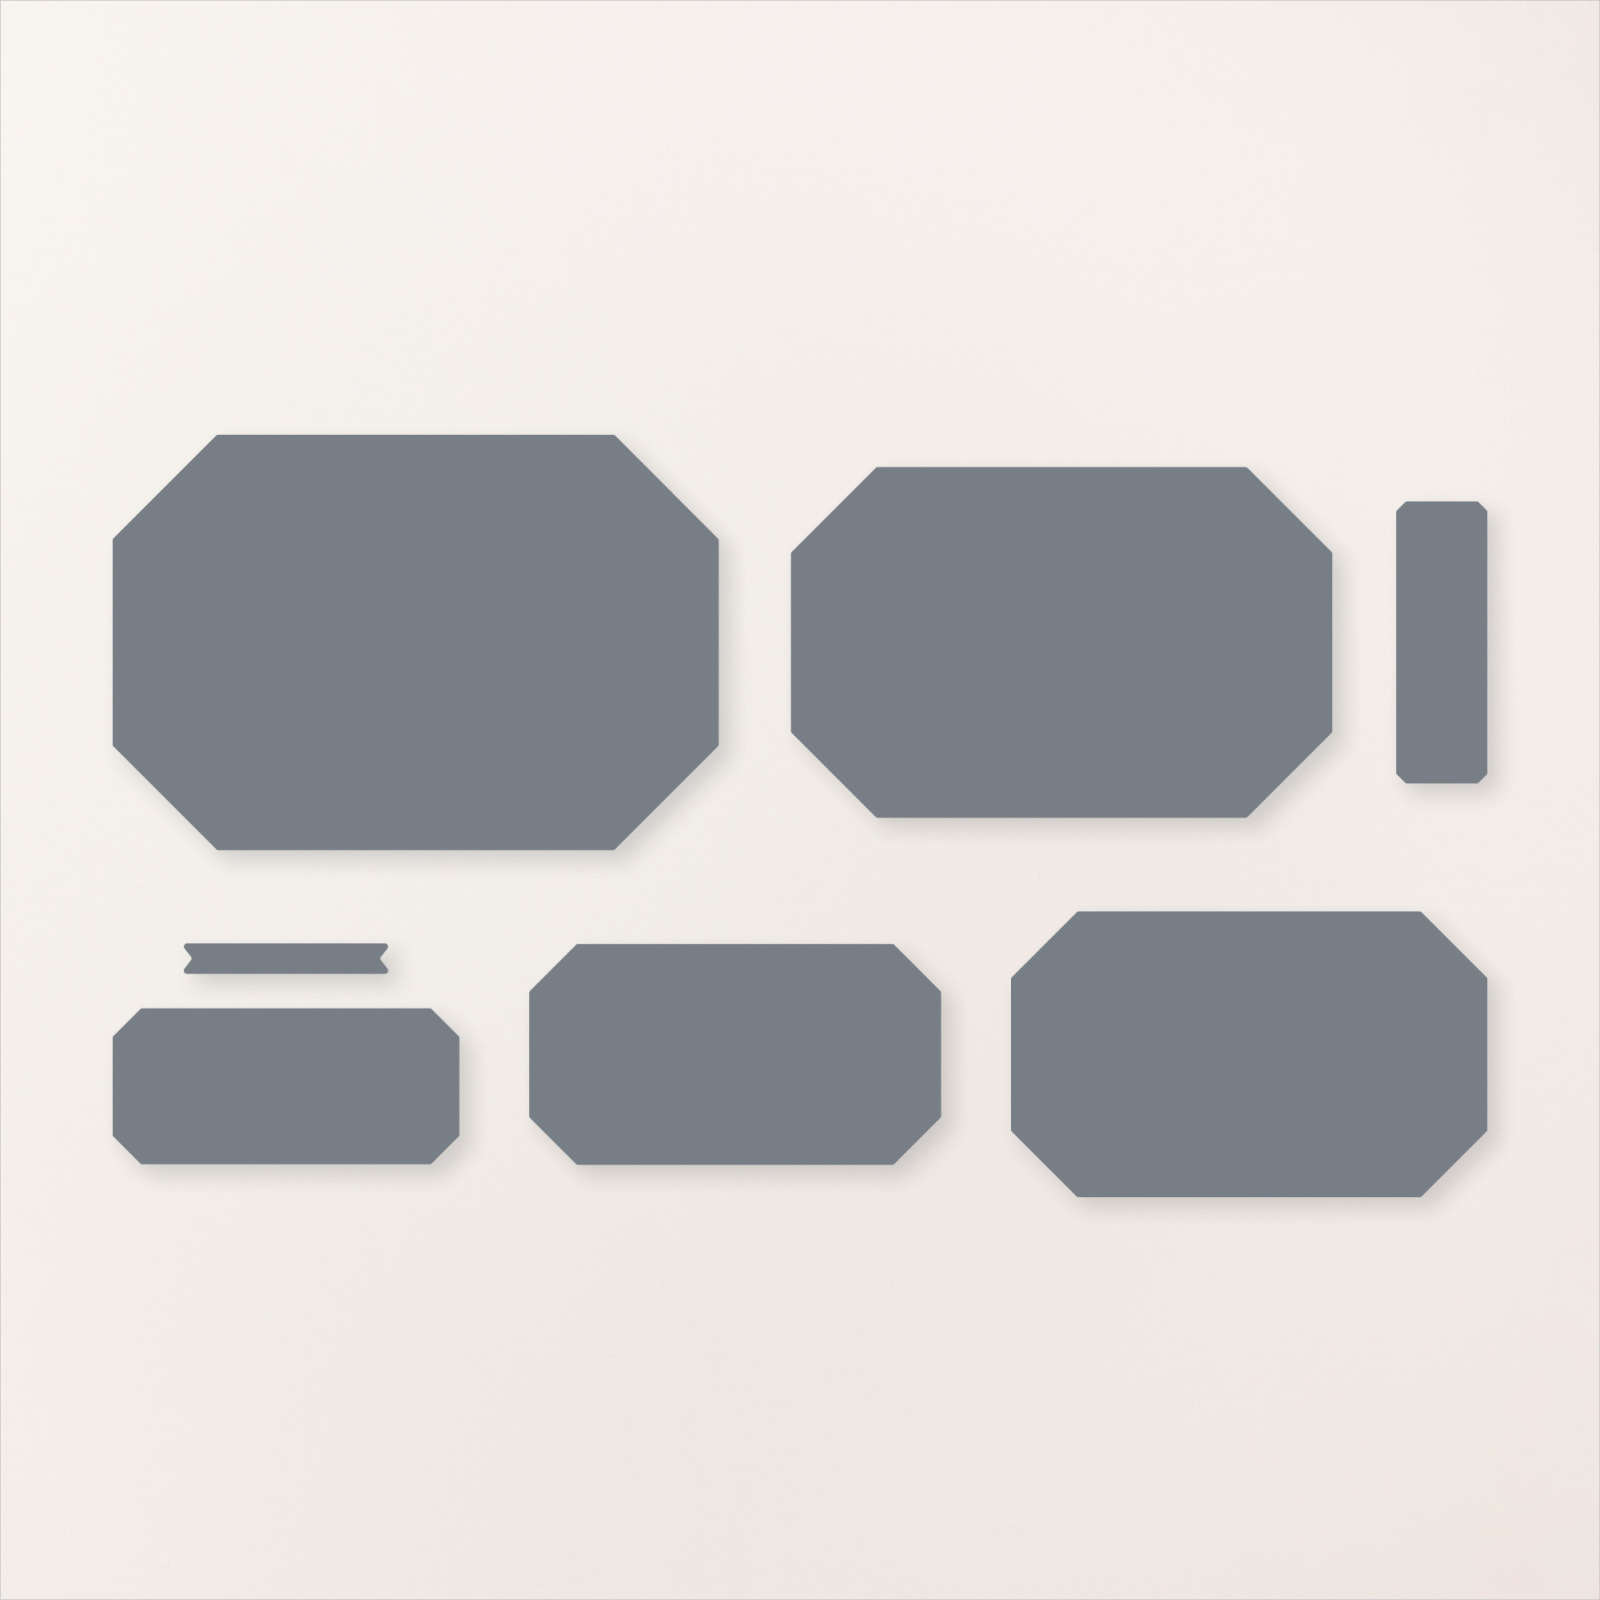
The greeting is heat embossed on Navy using White embossing powder. The die-cut is from the Stylish Shapes dies – my go-to dies for greetings. 

There's just something special about a monochromatic card; this time in blues.  If you're going for an elegant or cohesive look try using just one color in varying hues.  Greens, blues and browns are some of my favorite choices.  

Click here or on the photo below to watch the video.  It's the first project featured; the other is a super fun 'fancy fold' card.  

 ~~~

July Specials: 

Bonus Days!

Get a $5 coupon for each $50 order you place in July.  Redeem in August!

 

Clearance Rack update!

See all items available here

 NEW Online Exclusives will be available

See them all here

~~~

I have 3 free card kits left!  It includes a new Beautifully Happy stamp set 

with online orders over $65; must use a host code.

 *current host code: XNYX2DWG

All Posts

  • Get an extra 10% off all Stamp & Die bundles in June! That’s almost 20% off & it starts today!


    June's promotion is awesome and perfect timing with the new Stampin' Up! catalog! 

    Starting today, take an additional 10% off all stamp and die bundles!

    Between 5–30 June, take advantage of the sale and add some new bundles to your collection.

    See them all here.

    Plus, save 10% on the Stampin’ Cut & Emboss Machine and the Mini Stampin’ Cut & Emboss Machine. These machines make the perfect crafting partner for stamp and die bundles. 


    ~~~

    June Specials: 

    *current host code links: FERX3EKC or GF24T6XG

    ~~~

    All online orders receive my free tutorial of the month & if your order is over $55 you'll also receive a free gift from me

    Leave a Reply

    Your email address will not be published. Required fields are marked *

  • Under the Moon scenic card with free project sheet & video


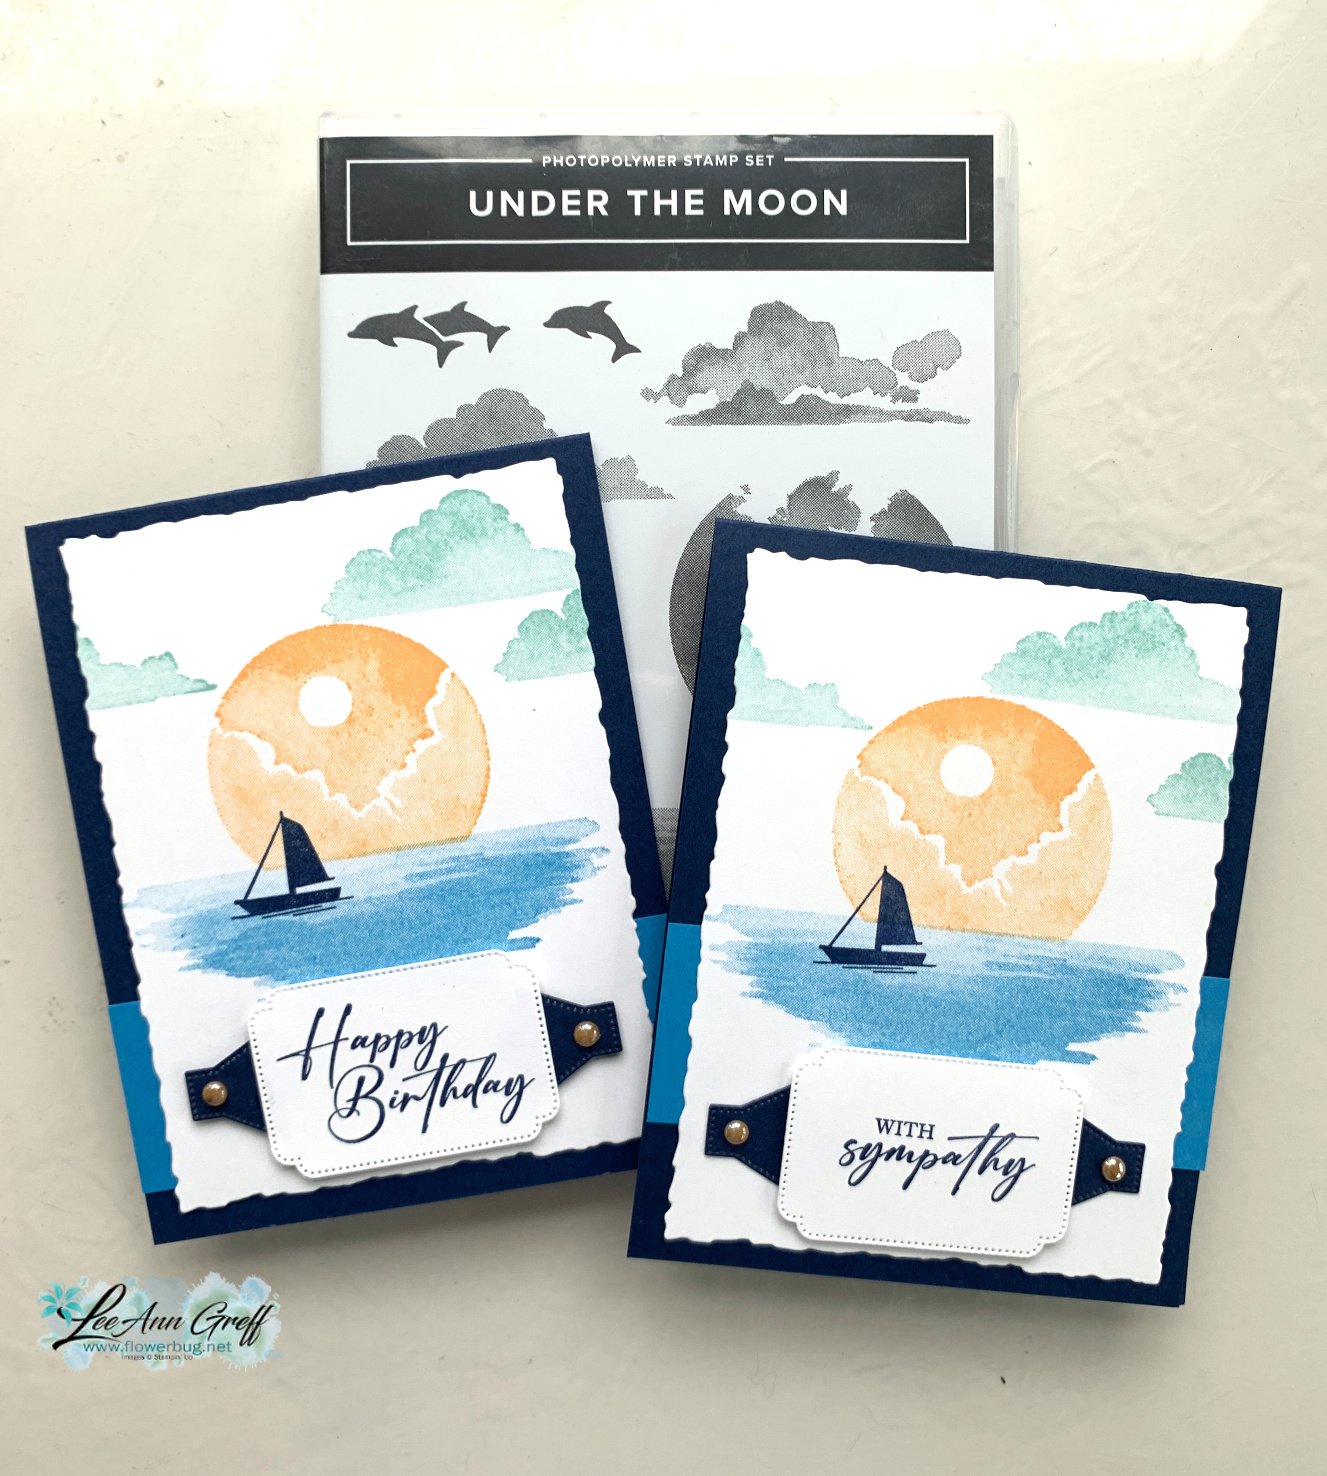
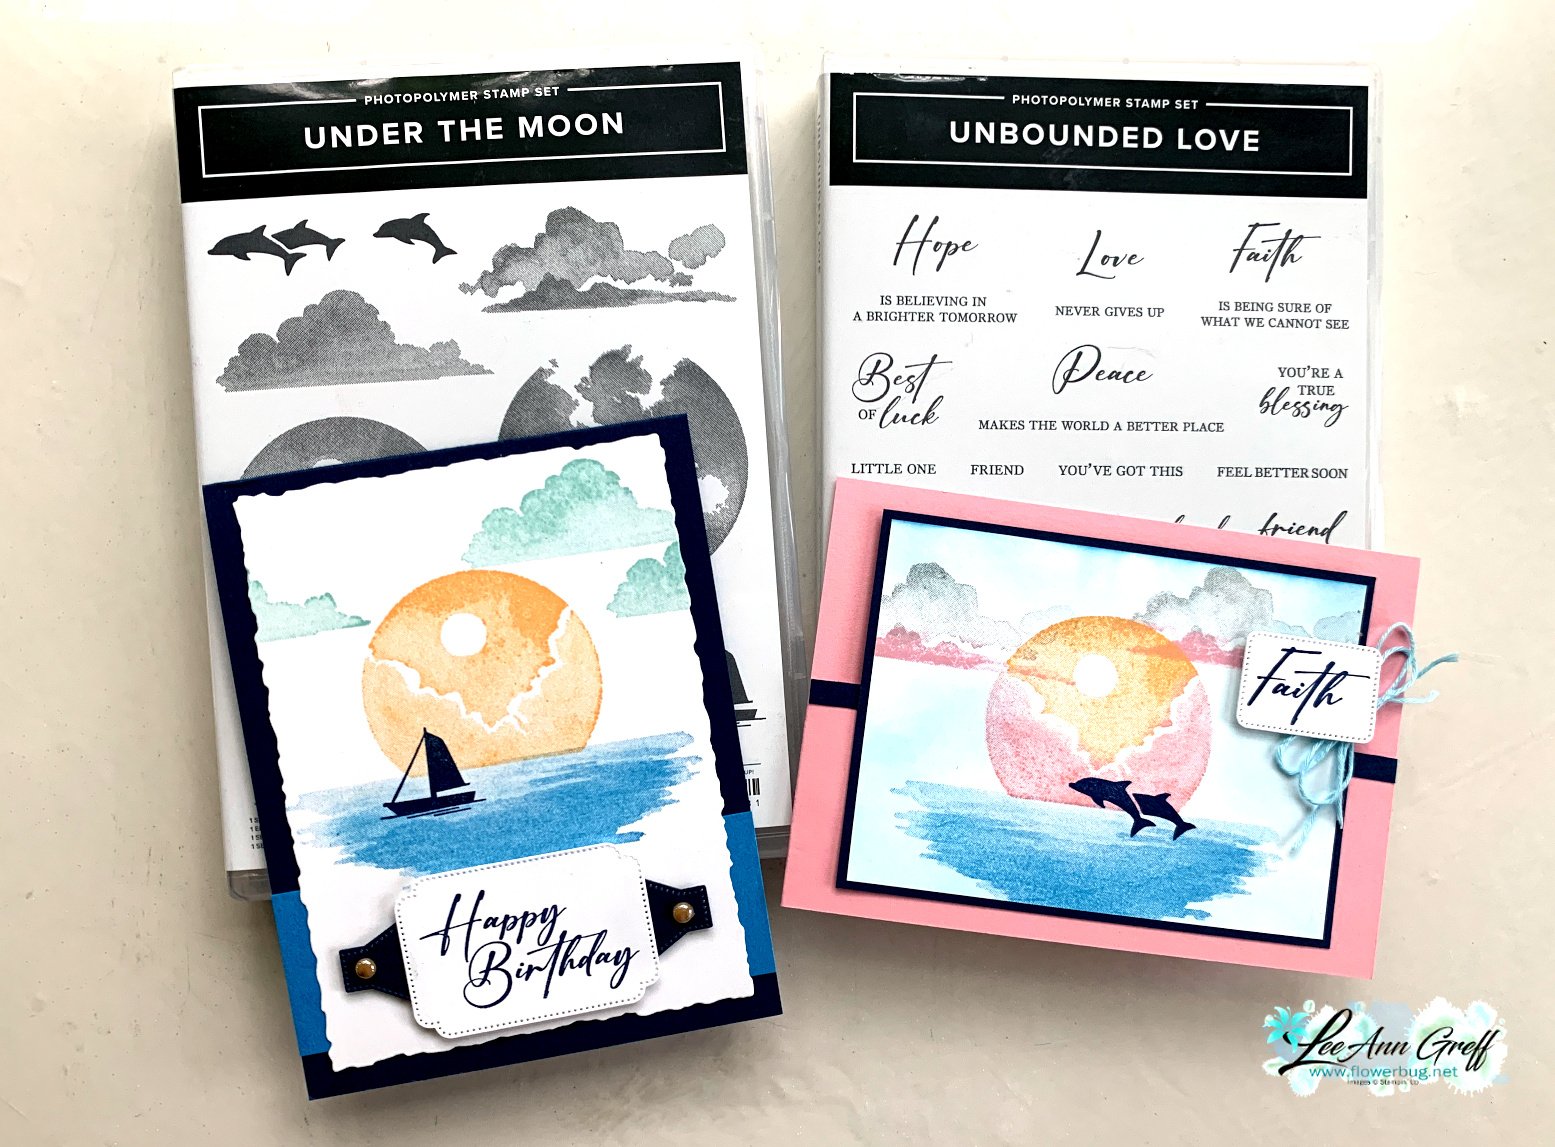
    Today I'm sharing the second project I made on last week's video – both feature the beautiful Under the Moon stamp set. It's a scene builder which can be so fun to create with. 

    My colors include Night of Navy, Azure Afternoon, Peach Pie & Pool Party.  

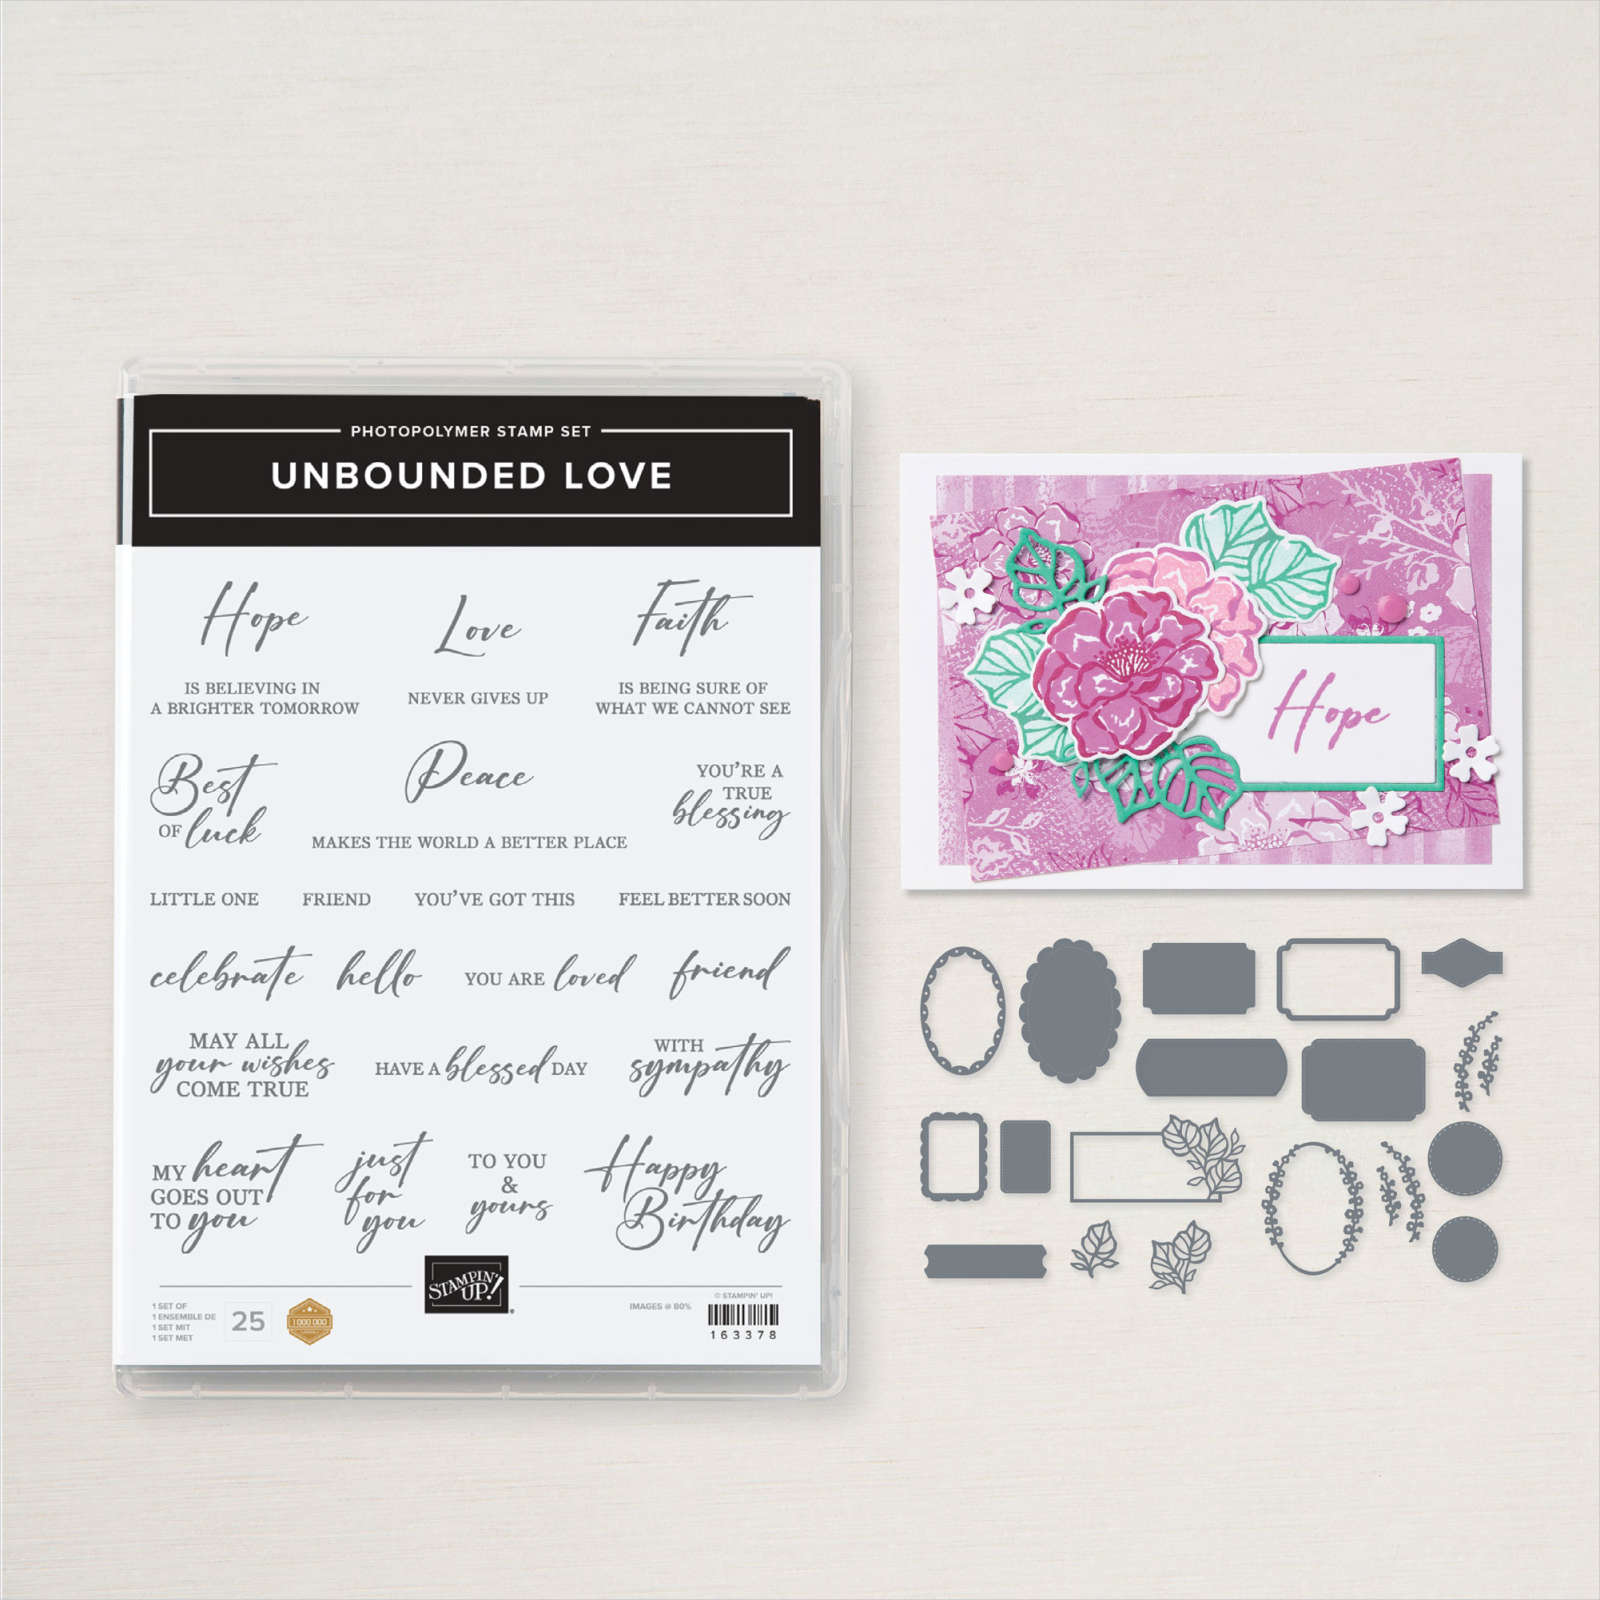
    You might wonder what die the Navy shape is around the greeting.  It's from the Unbounded Love dies – it's a small greeting shape that I cut in half and added to each side. 

    The large white die is from the Deckled Rectangle dies. The greeting die and the fun Navy shaped die are both from the Unbounded Love bundle seen here.  It's one of my new favorites. 

    Here's the video of the inside of these two cards.  One birthday and one sympathy – these stamp sets are both so versatile! 

    Here's the free project sheet you can download &/or print: Download May '24 Under the Moon Club

    Below is the video for this card tutorial and the other shown above.  I hope you watch it to see how easy it is to create with this beautiful stamp set. 

    ~~~

    June Specials: 

    *current host code links: FERX3EKC or GF24T6XG

    ~~~

    All online orders receive my free tutorial of the month & if your order is over $55 you'll also receive a free gift from me

    Leave a Reply

    Your email address will not be published. Required fields are marked *

  • Under the Moon Dutch-door card with video & free project tutorial


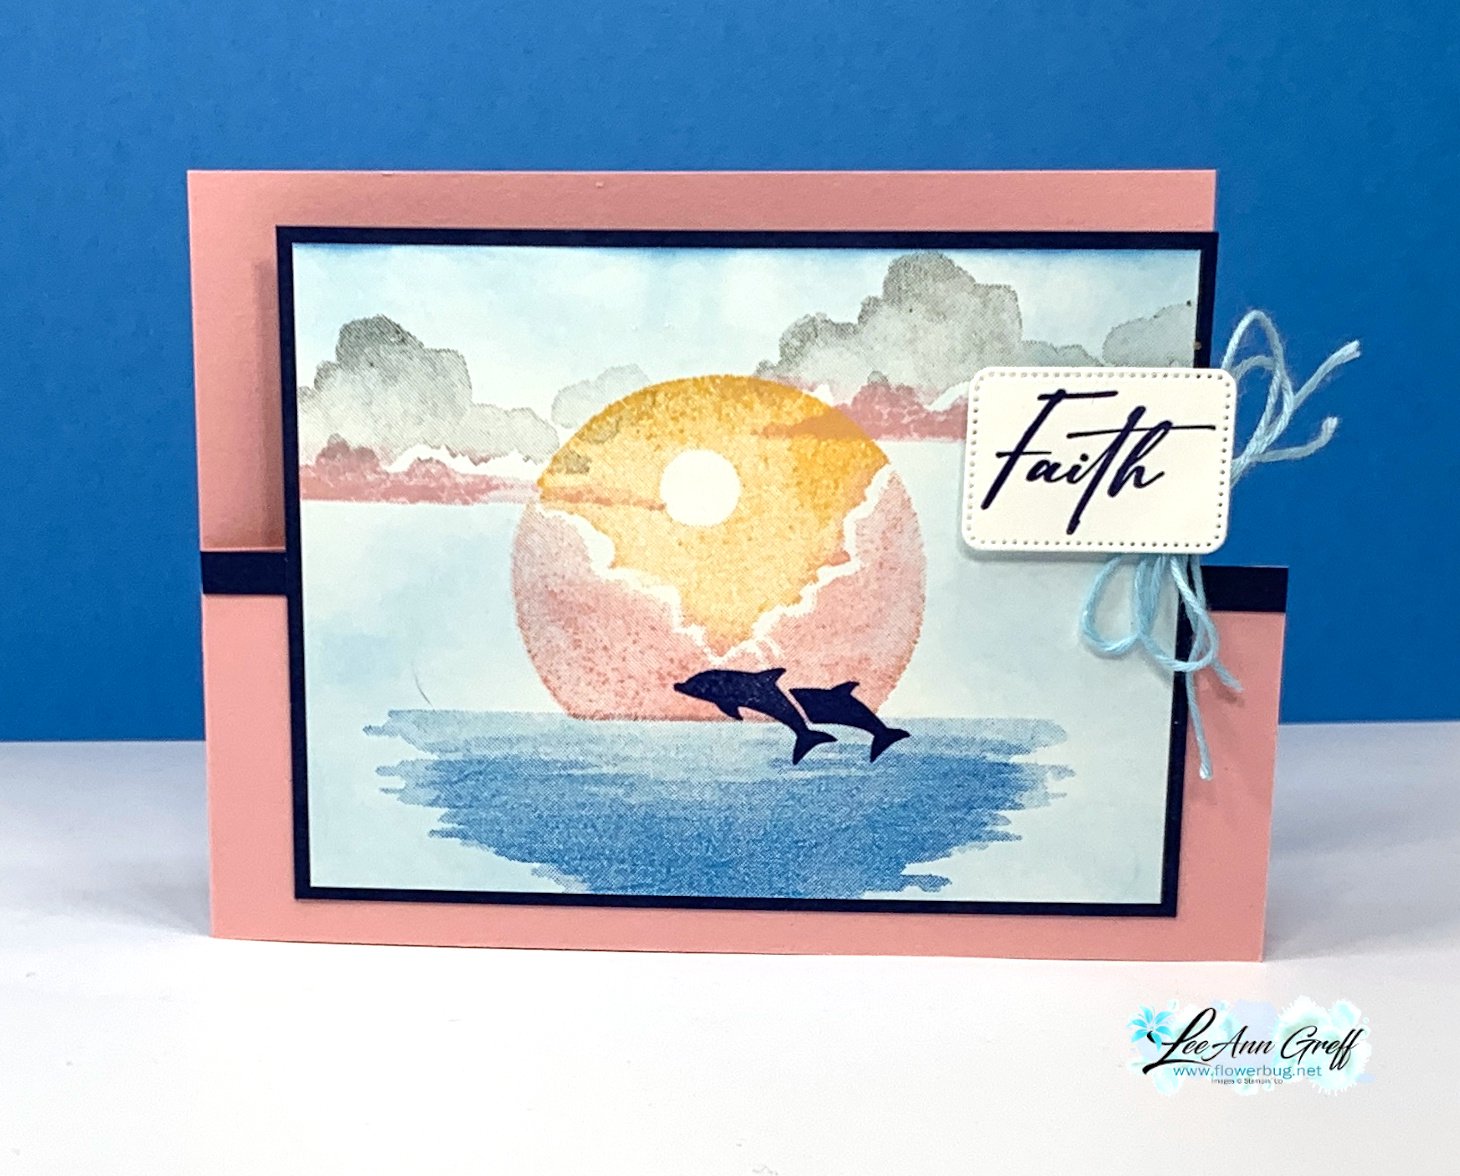
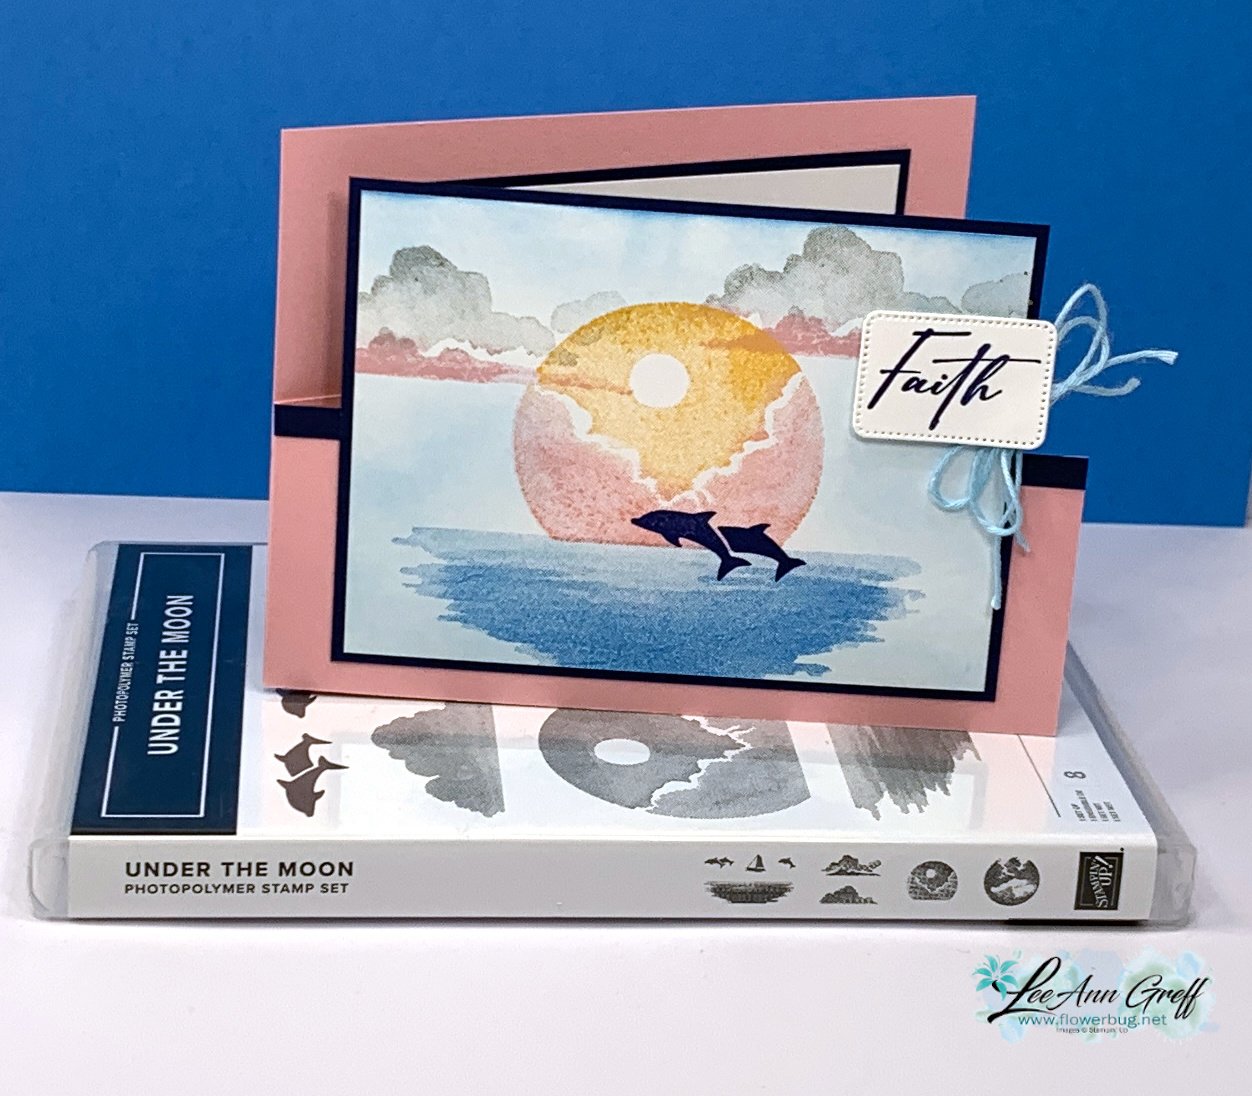
    I shared how to make this pretty card on last week's video. It features the Under The Moon stamp set which is what I refer to as a 'scene builder' set – one of my favorites to play with.  It's super fun & easy to create with! 

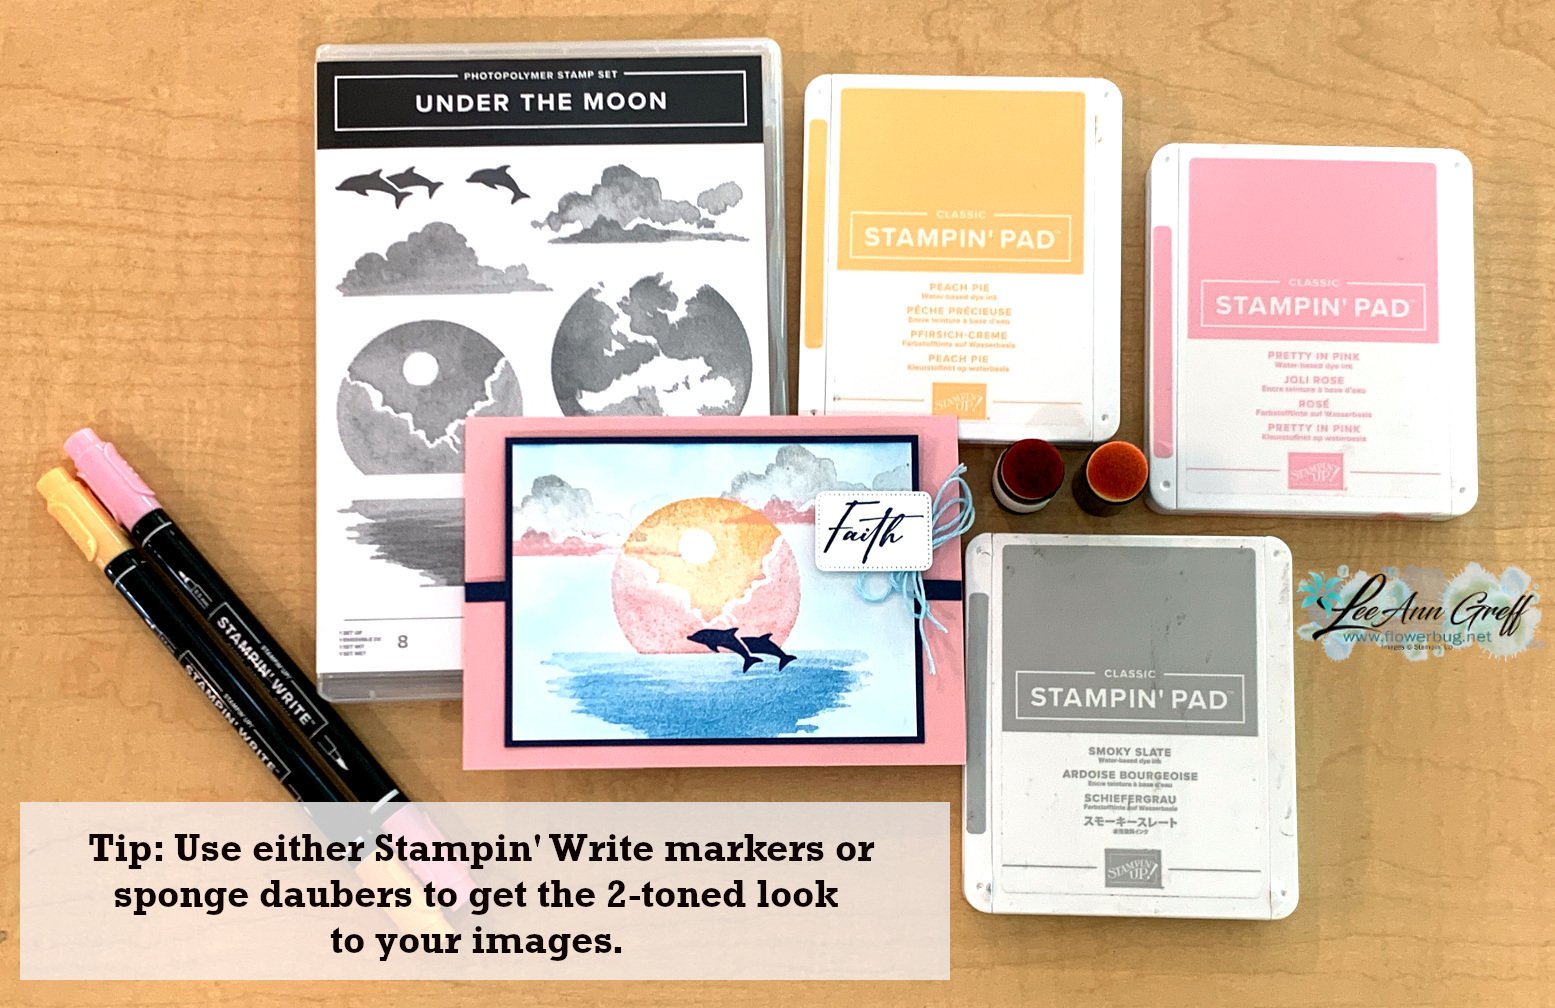
    See the two toned clouds & moon?  I used sponge daubers and 'direct to ink' techniques for this. You can see how it's done in the video here or below. 

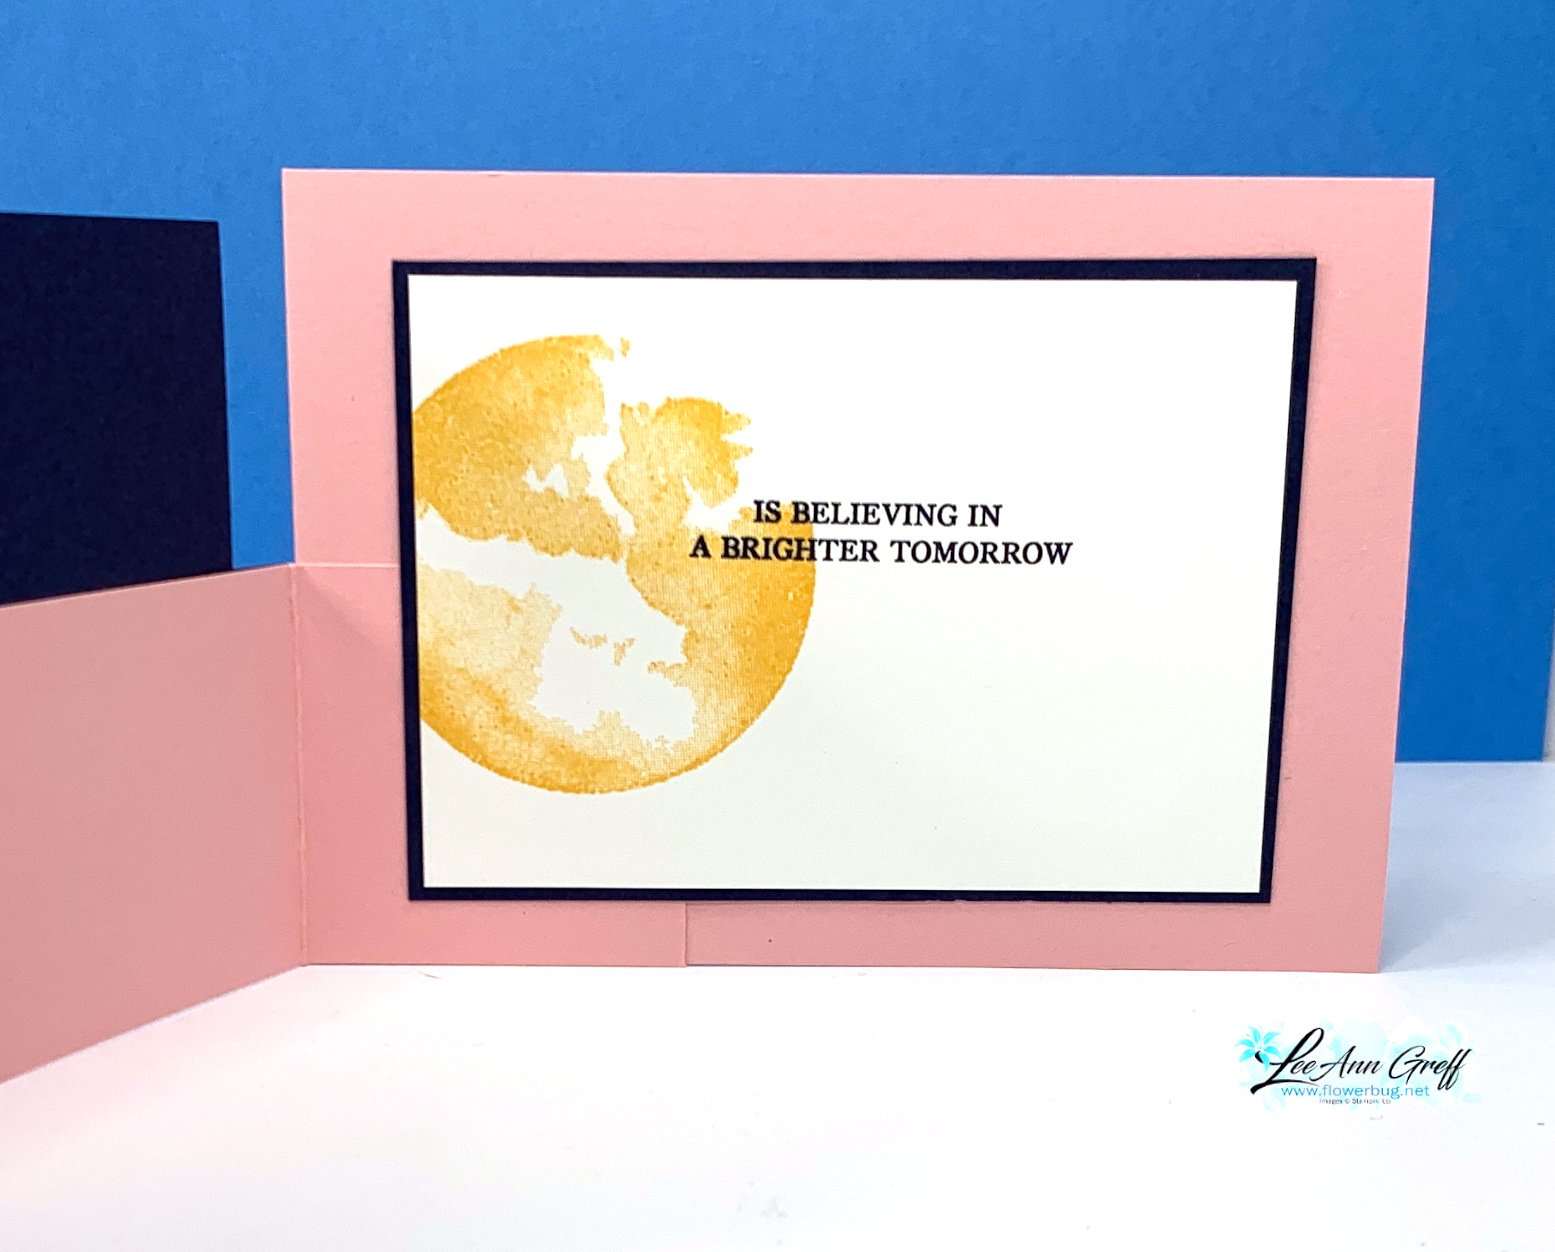
    Below is the view when the card is open.

    When making a Dutch door fold you have a few choices on adding the front half. You can make your 'door' an inch or so wider than 5 1/2" so you can add the score line. Or make it 11" wide and score it at 5 1/2".  Or the other option is to cut a full size card – 4 1/4" X 11", score it at 5 1/2" and cut off the section you do not want.  

    Here's the free project tutorial you can download & print: Download Under the Moon Dutch Door card

    My card stock colors include: Pretty in Pink, Night of Navy and White.  To these I also added these inks: Azure Afternoon (water & sky) & Peach Pie (moon) and Smoky Slate (clouds). 

    See the Under the Moon stamp set here.  I also used the Unbounded Love bundle for the greetings & dies seen here.  Remember that starting Wednesday all stamp & die bundles are an extra 10% off and will be 20% off through June.

    Below is the video for this card tutorial and another.  I hope you watch it to see how easy it is to create with this beautiful stamp set. 

    ~~~

    June Specials: 

    *current host code links: FERX3EKC or GF24T6XG

    All online orders receive my free tutorial of the month & if your order is over $55 you'll also receive a free gift from me


    Leave a Reply

    Your email address will not be published. Required fields are marked *


Notice: LeeAnn Greff, Independent Stampin’ Up! Demonstrator, Manager. The content of this website is my sole responsibility as an independent Stampin’ Up! demonstrator and the use of, and content of, the classes, services, or products offered on this website is not endorsed by Stampin’ Up! Copyright 2025