/


Latest Post

Gorgeous cards with my ‘5 at a time’ templates! Free project sheet, templates & video tutorial


I shared these beautiful cards on last week’s Live video. They were a big hit!

I love making cards with my 5 at a time templates. Making the most of my card stock gives me a great deal of satisfaction. I hope you’ll save these templates and use them in your own crafting.

Below is the template I stamped on; it’s slightly smaller than the one I used for layering. I often use this or the larger one for the neutral layers inside my cards.

Tip: I recommend making your first cut vertically at 4 3/4″. Then cut the left 3 pieces into 3 1/2″ layers. Once you cut all 5 pieces you’ll have one small piece left for a greeting or for punching.

Next is the template for layering the above ‘stamped’ pieces on. It’s just slightly larger – 1/8″ so it’s quite a narrow margin.

The above template has even less waste! It’s so nice to get 5 layered card pieces from 2 sheets of 8 1/2″ X 11″ card stock. Please save these templates!!

In the past when I made cards with these templates I stamped before cutting the 5 pieces apart. This was a bit tricky to stamp in the right place. This time I cut my pieces before I stamped on them. *Always start with your greetings!

As you can see I made sure I stamped three pieces landscape and two vertical. This isn’t necessary but it does change your cards up a bit.

I used Cherry Cobbler, Timid Tiger; and Pretty Peacock here. I like adding Pretty Peacock and Cherry Cobbler to my fall cards. The stamp set is called Gathering Moments seen here.

Tip on stamping – always stamp the greeting image first. Then start with the largest image and work your way down to the smallest to fill in any gaps. It’s okay to overlap your images.

As you can see I blended a light wash of Timid Tiger over the stamped leaves. This softens the appearance and truly enhances your stamping.

Here you can see the stamped pieces added to the larger layers from the 2nd template above.

These were made simply with no punches or die-cuts. Sometimes it’s fun to just stamp and create. You can easily add the greetings on another layer (punches or die-cuts) to add more dimension.

I’ll share my second set of cards using this template later this week. And I’ll also show the fabulous card box I made to gift them in!

See how pretty they are once they’re added to the card bases and gems and twine have been added.

I created a free project sheet that includes directions, photos, templates and supplies. Click here to download or print it. Please save this one!!

Below is the video tutorial. Please subscribe to my YouTube Channel while you’re there.

~~~

  To see all of the new Online items click here.  Or download & save the Download Online Exclusives flyer 

Get a free project tutorial with any online order in September! 
All Posts

  • Fun Fold Cards with Flowering Foils specialty DSP


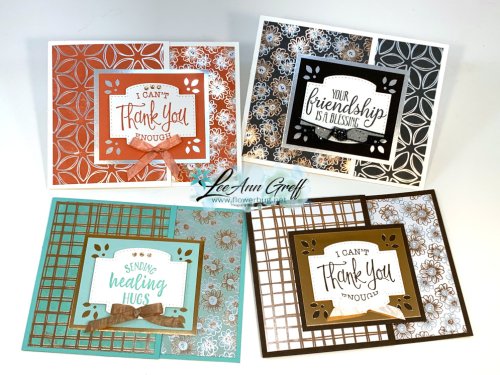
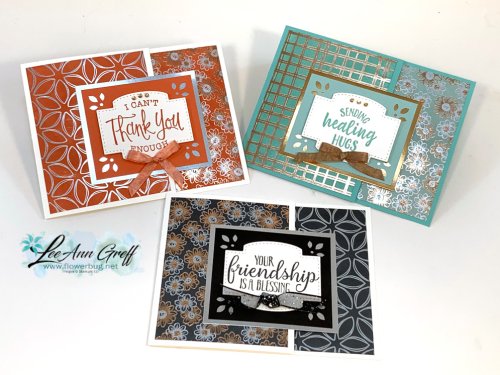
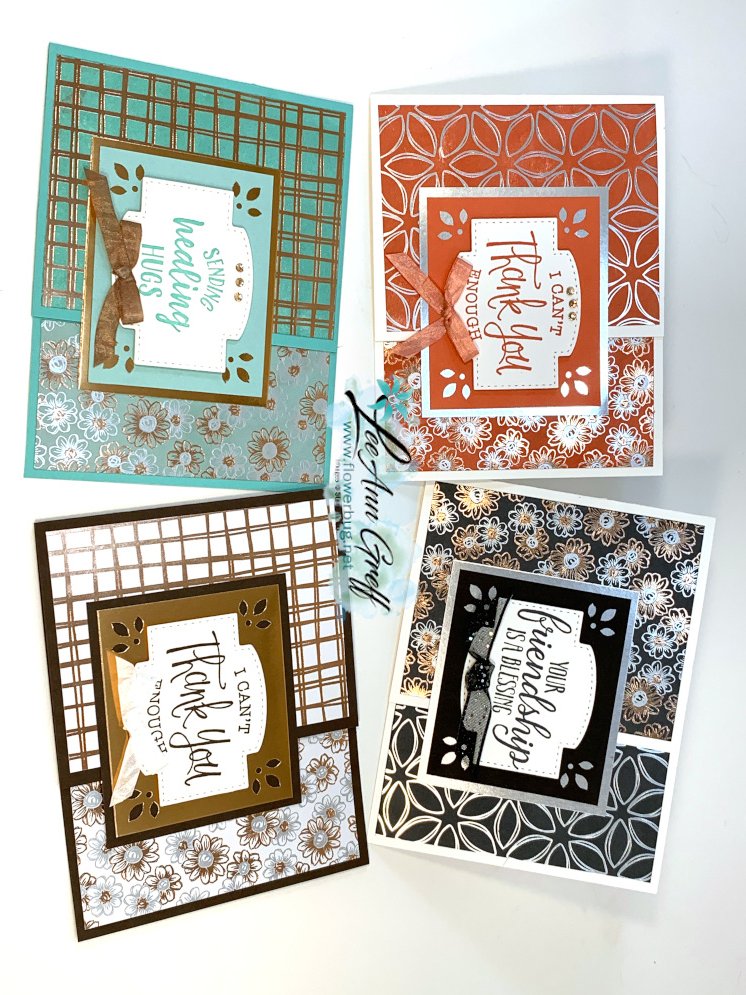
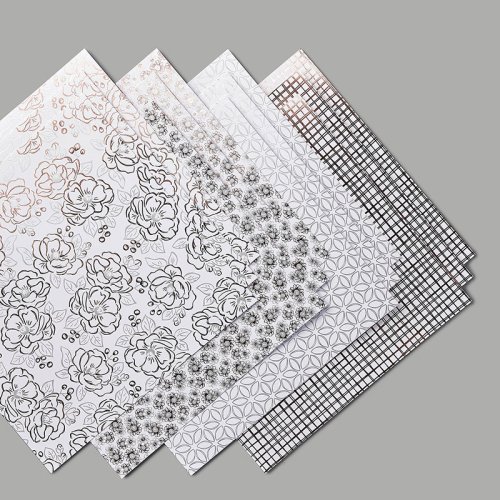
    There's a simple way to change up a white foil accented paper into colored foil paper.  With the direct to ink technique.  'What's that?'  It's where you tap or rub the ink pad directly onto your paper.  Yes; you can do that! Look at these cards that feature the Flowering Foils specialty designer series paper.  This gorgeous paper is still in stock and it's FREE with any $50 order! 


    All but the bottom right card has been 'inked' with a water based ink pad.  On the upper left is Calypso Coral, the top right is Black memento and the bottom left is Bermuda Bay and Pool Party. 

    I showed this technique on one of my latest Facebook Live videos.  I have one each Tuesday at 11 am CT here. You can see it below. 

    Details:

    • So Sentimental Bundle for stamps and die-cut
    • Flowering Foils designer paper seen here (free with any $50 order in March; while supplies last)
    • Detailed Trio punch
    • Copper and Silver foil paper
    • 1/4" crinkled white ribbon is colored with Blends markers

    Measurements: 

    • Main card is 4 1/4" X 9" scored at 5 1/2"
    • Left DSP is 4" X 3 1/8", Right DSP is 4" X 1 7/8"
    • punched layer is 2 1/2" X 3", larger layer is 2 3/4 X 3 1/4"


    ~~~

    Four March Specials besides Sale-a-Braton

    and the Product Coordination Release seen here!

    March host code is 4J7C9GFY 

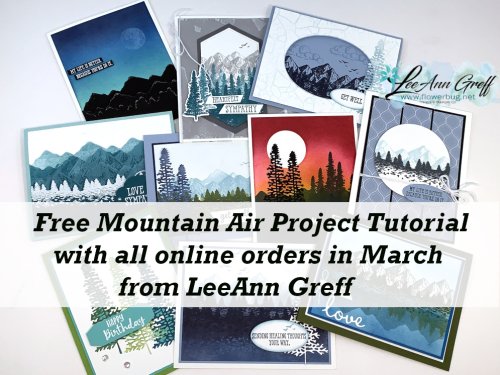
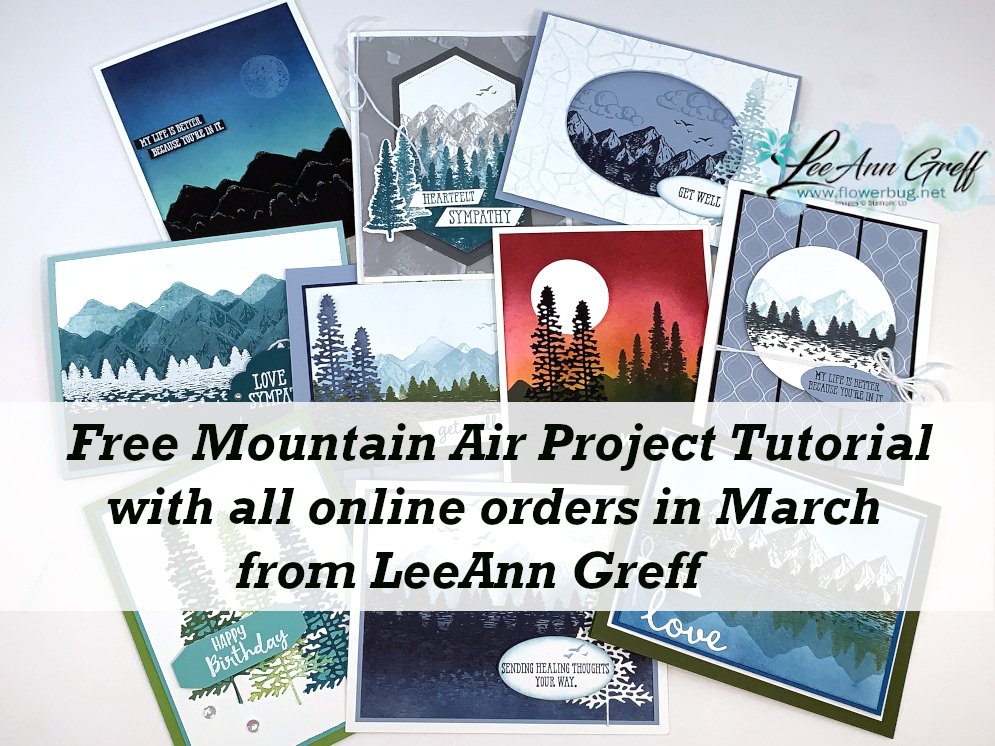
    1. All online orders will receive a free Mountain View pdf cards tutorial in an email.

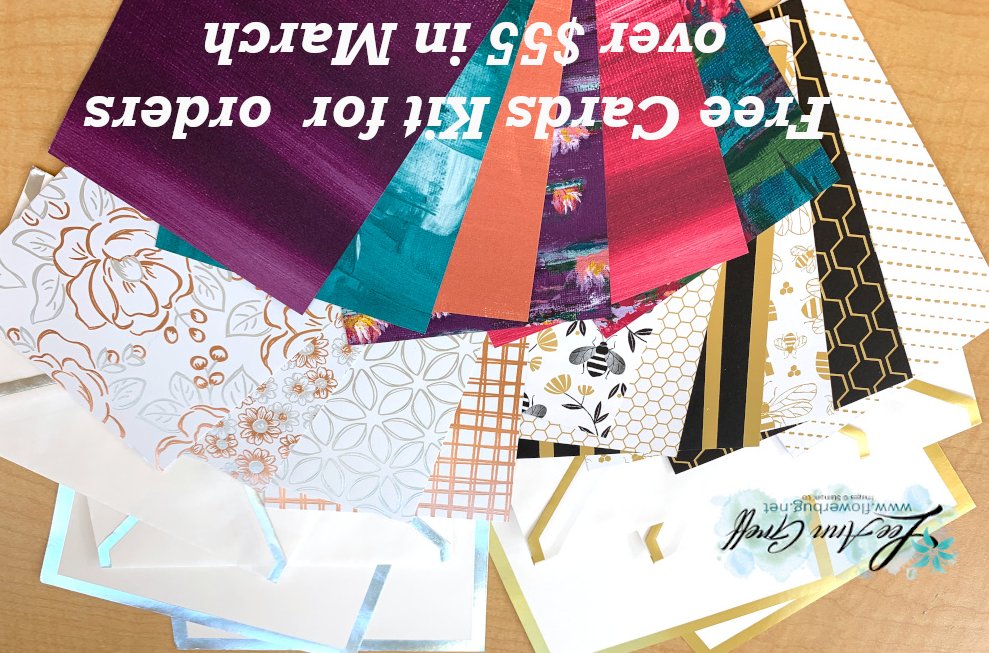
    2. If your order is over $55 you'll get a Sale-a-Bration paper sampler and metallic cards & envelopes kit!  A great start to beautiful card making. 

    March host code is 4J7C9GFY

    Order online here

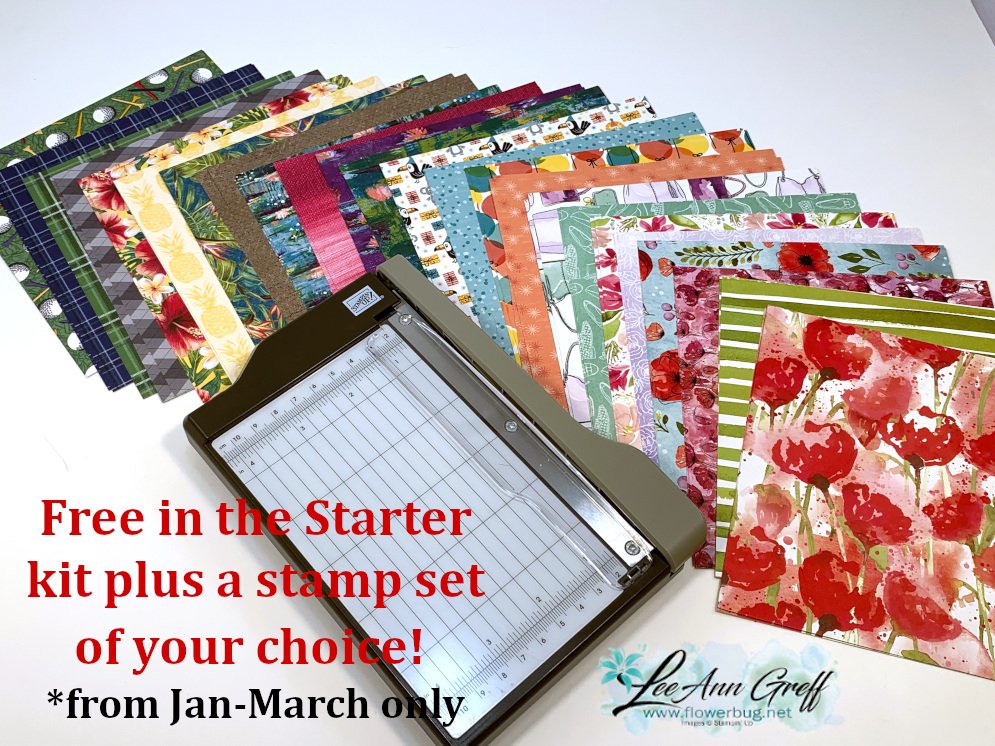
    3. THE Best deal! Choose any FREE stamp set when you purchase the Starter kit during Sale-a-Bration; of any value! Plus you'll get a free paper trimmer and a 6 X 6 sampler of new Designer Paper!  It's just $99 plus tax and you can choose $125 in products with free shipping! Be either a 'Happy Shopper' and enjoy the discount or make extra spending money.

    Click here to join my awesome Flowerbug's Team! 

    4. Earn a ticket in the drawing for each $25 you order online in March for a free Little Ladybug stamp set!

    Order online here

    Leave a Reply

    Your email address will not be published. Required fields are marked *

  • Gingham ‘Rainbow’ Flower card


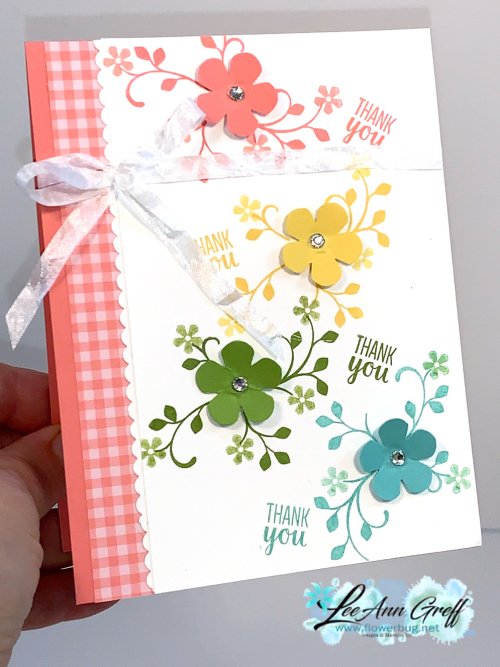
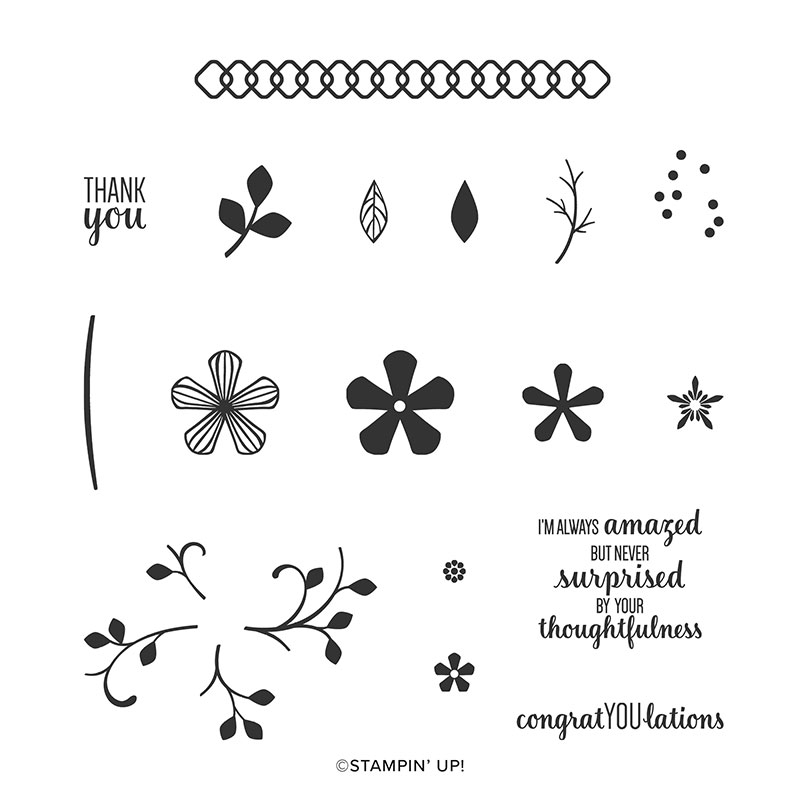
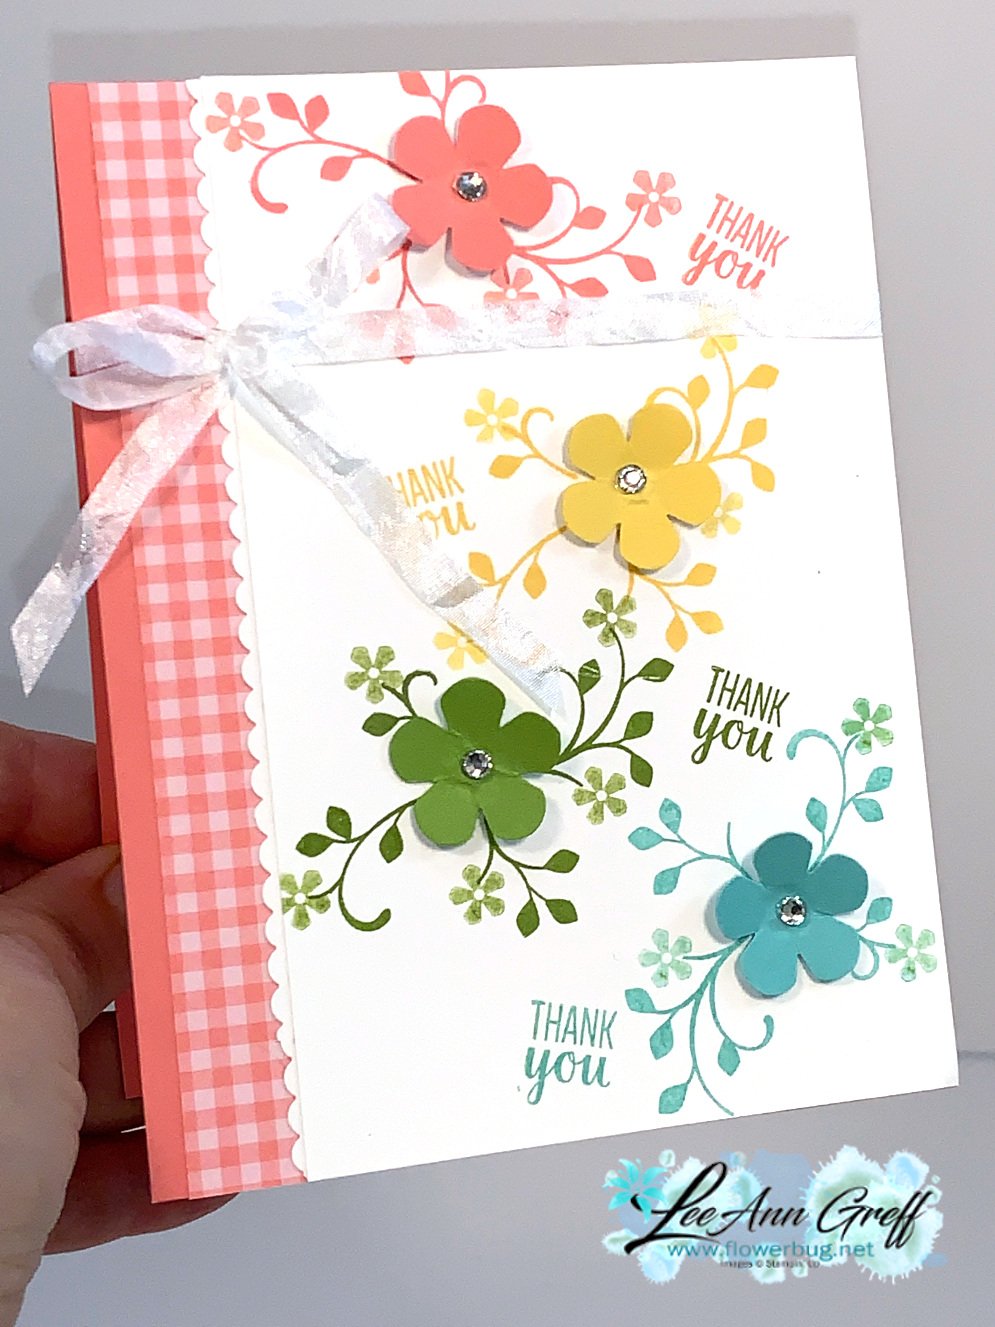
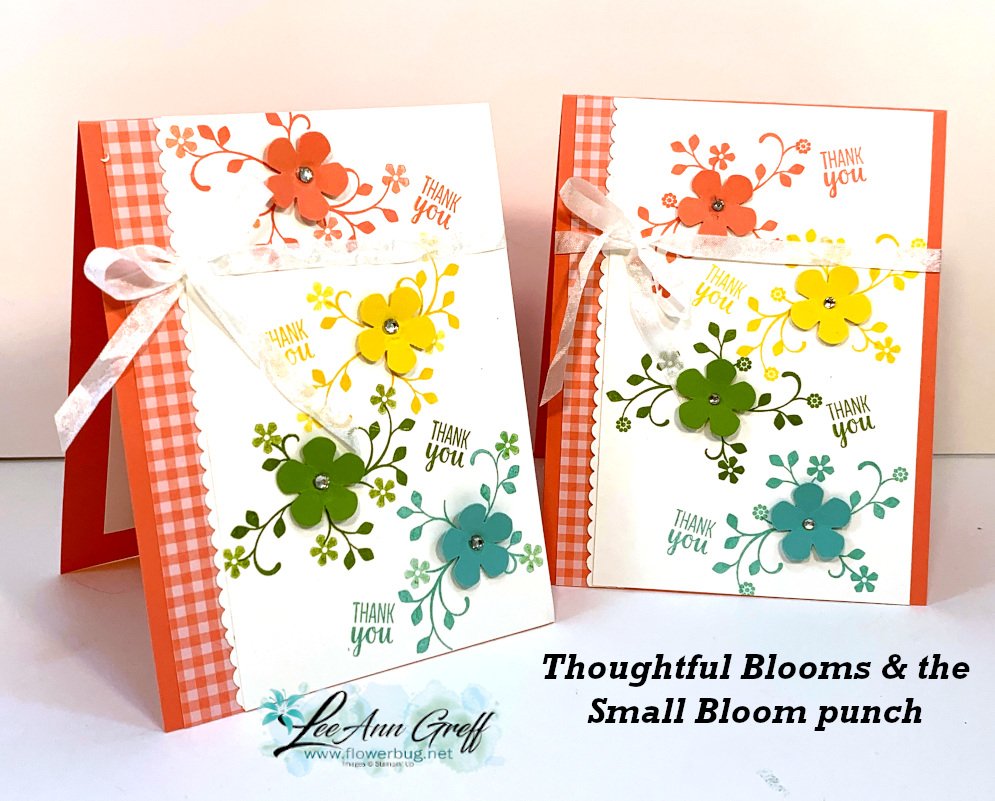
    Here's another card I created for this week's Facebook Live video featuring the Thoughtful Blooms and Small Bloom punch.  Both of these are free right now with a purchase.  You can see them here on our Sale-a-Bration page.   

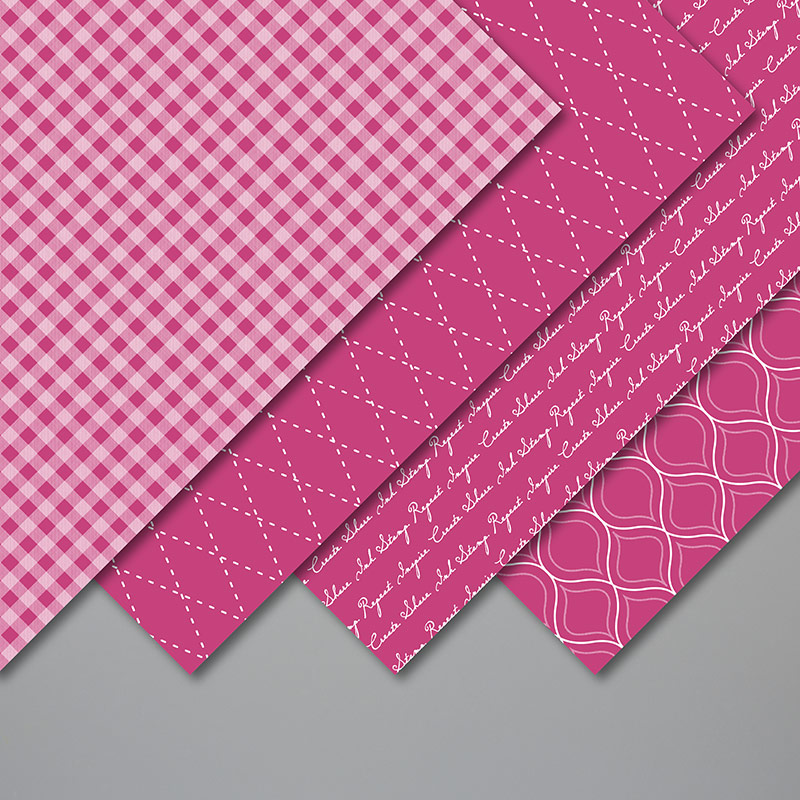
    I added a bit of gingham designer paper from our Brights collection.  Love this paper – it's available in each of our color familes in 6 X 6" packages and you can see it here.

    Details:

    • The mini scalloped trim is from the Decorative Border punch
    • Flirty Flamingo card is 4 1/4" X 11"
    • Gingham paper is 3/4" X 5 1/2"
    • White stamped layer is 3 1/2" X 5 1/2"
    • colors are Flirty Flamingo, Daffodil Delight, Granny Apple Green and Coastal Cabana
    • Ribbon is the White crinkled 1/4" in the mini catalog (currently unavailable) 

    You can see the coordinating card I made with similar products here.  The video is there too! 

    ~~~

    Sale-a-Braton is almost over!  Don't miss out on FREE stuff!

    and the Product Coordination Release seen here!

    March host code is TRYUEHDZ 

    1. All online orders will receive a free Mountain View pdf cards tutorial in an email.

    2. If your order is over $55 you'll get a Sale-a-Bration paper sampler and metallic cards & envelopes kit!  A great start to beautiful card making. 

    March host code is TRYUEHDZ

    Order online here

    3. THE Best deal! Choose any FREE stamp set when you purchase the Starter kit during Sale-a-Bration; of any value! Plus you'll get a free paper trimmer and a 6 X 6 sampler of new Designer Paper!  It's just $99 plus tax and you can choose $125 in products with free shipping! Be either a 'Happy Shopper' and enjoy the discount or make extra spending money.

    Click here to join my awesome Flowerbug's Team! 

    4. Earn a ticket in the drawing for each $25 you order online in March for a free Little Ladybug stamp set!

    Order online here

    Leave a Reply

    Your email address will not be published. Required fields are marked *

  • Thoughtful Blooms; punch art vase & flowers!


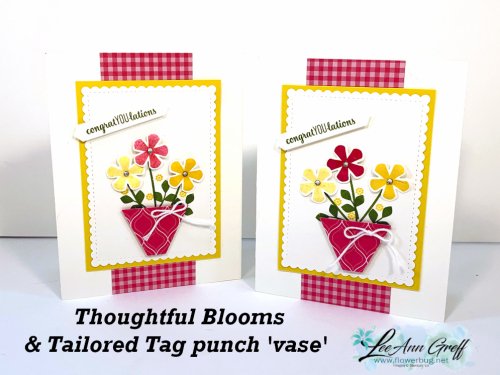
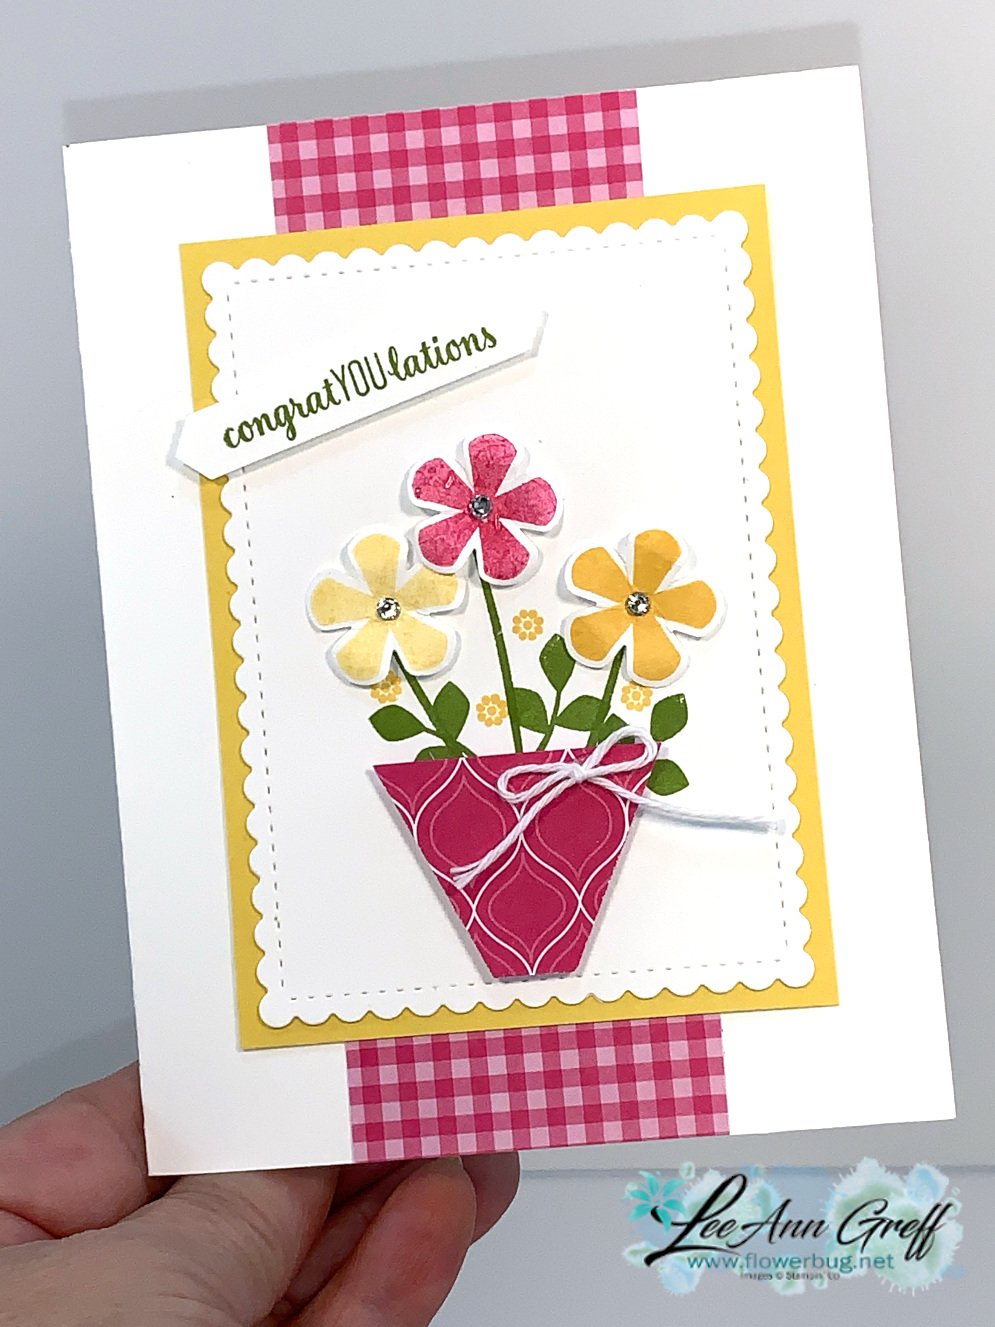
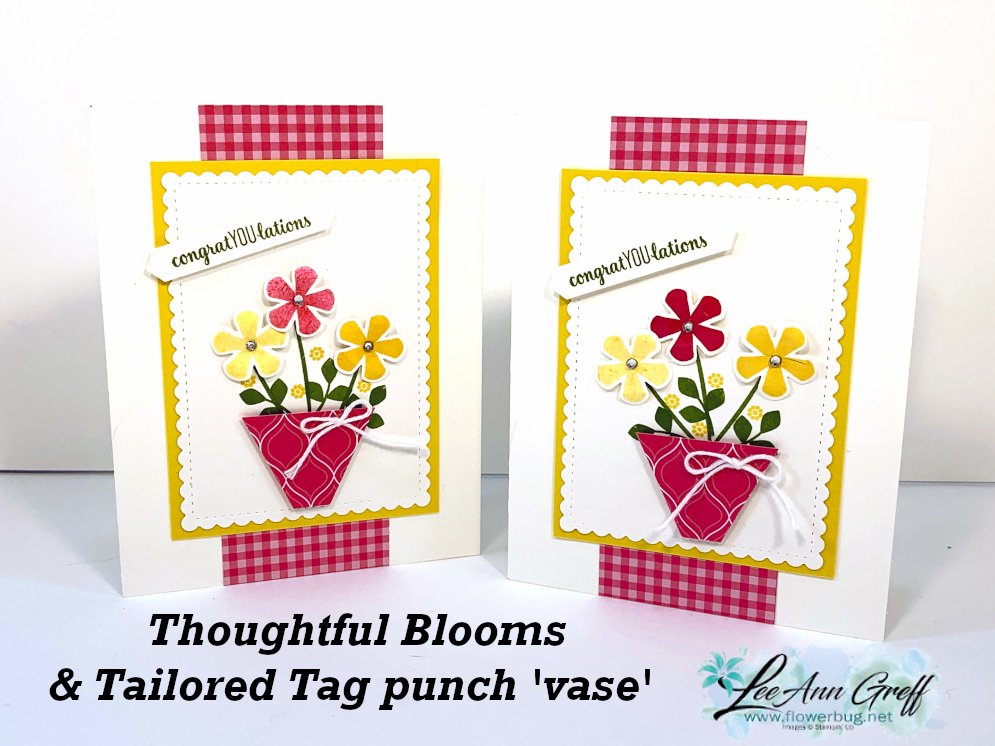
    I made this cute, springy card on Facebook Live yesterday.  It features the Thoughtful Blooms stamp set and Small Bloom punch.  Both are free right now with an order during our Sale-a-Bration promotion.  

    That cute vase is made with the Tailored Tag punch.  Punch from patterned paper and cut it in half!

    You can see all of our free products here on the Sale-a-Bration page.  The Thoughtful Blooms stamp set is full of cute floral images and sweet greetings. 

    It coordinates with the Small Bloom punch seen here.  *This punch may return in the annual catalog this summer but you can get it free now! 

    I used a bit of the Brights 6 X 6" designer series paper.  That's where the cute gingham designs come from.  Did you know we have gingham paper in every single color right now?  Each of our 6 color families have an assorted package with every color in the pack!  So cool!  The photo only shows one color but includes them all. See them all here. 

    Details:

    • White stitched rectangle is from the Stitched So Sweetly dies
    • Daffodil layer is 4 1/4" X 3 1/4"
    • main card is White thick card stock 5 1/2" X 8 1/2" 
    • Vase is made with the Tailored Tag punch
    • The greeting is punched with the Classic Label punch
    • the gingham paper is 1" X 2" – 2 pieces; one for the top and one for the bottom.  No waste underneath the layers! 


    Here's the video where I made this card: 

    ~~~

    Four March Specials besides Sale-a-Braton

    and the Product Coordination Release seen here!

    March host code is TRYUEHDZ 

    1. All online orders will receive a free Mountain View pdf cards tutorial in an email.

    2. If your order is over $55 you'll get a Sale-a-Bration paper sampler and metallic cards & envelopes kit!  A great start to beautiful card making. 

    March host code is TRYUEHDZ

    Order online here

    3. THE Best deal! Choose any FREE stamp set when you purchase the Starter kit during Sale-a-Bration; of any value! Plus you'll get a free paper trimmer and a 6 X 6 sampler of new Designer Paper!  It's just $99 plus tax and you can choose $125 in products with free shipping! Be either a 'Happy Shopper' and enjoy the discount or make extra spending money.

    Click here to join my awesome Flowerbug's Team! 

    4. Earn a ticket in the drawing for each $25 you order online in March for a free Little Ladybug stamp set!

    Order online here

    Leave a Reply

    Your email address will not be published. Required fields are marked *


Notice: LeeAnn Greff, Independent Stampin’ Up! Demonstrator, Manager. The content of this website is my sole responsibility as an independent Stampin’ Up! demonstrator and the use of, and content of, the classes, services, or products offered on this website is not endorsed by Stampin’ Up! Copyright 2025