/


Latest Post

Gorgeous cards in the Enjoy the Moment card kit or tutorial


I knew I wanted to feature this pretty designer paper called Enjoy the Journey for a card kit to go but I wasn't sure quite how or where to start!  

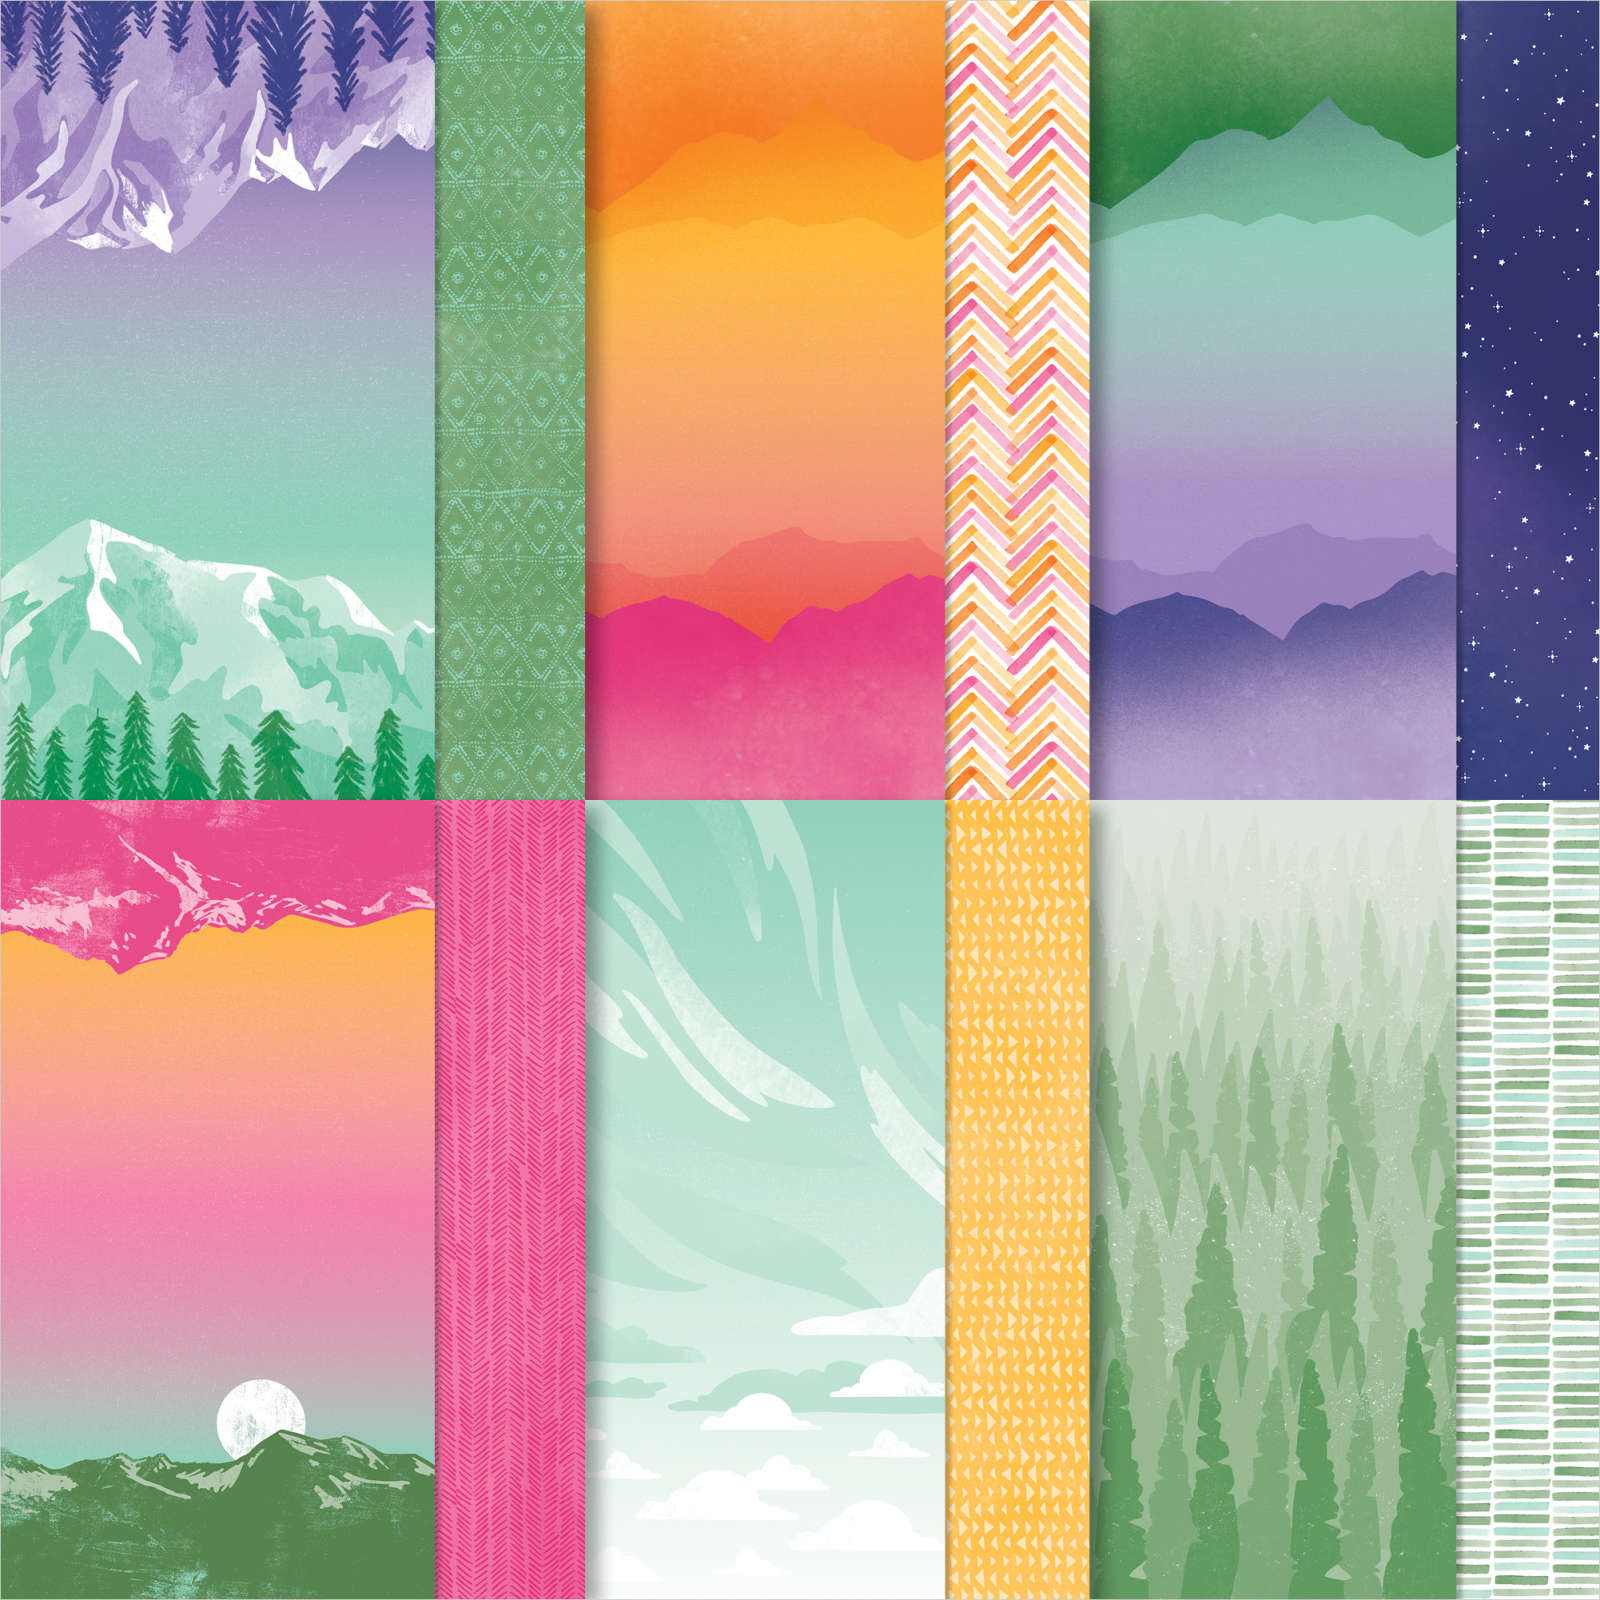
But once I decided to go with scenic and silhouette cards they came together wonderfully!  *this dsp is also available free with a $50 Stampin' Up! order through February. 

I am thrilled with these cards; they're gorgeous!  I included quite a few fancy folds too. 

The kit to go  includes 1/2 pkg. (6" X 12") of the Enjoy the Journey DSP, a share of both 3 twine combo and black matte dots, 10 envelopes, the pre-cut cards including die-cut & punched pieces and you'll receive the PDF tutorial free.  

I also have the PDF tutorial only available if you do not want the pre-cut kit.  However the kit is the best deal; you receive $20 in product (before tax & shipping) plus the 10 pre-cut cards for just $28!  

Opt in here for the card kit by February 19 to get it.  Or choose the PDF tutorial here instead.  This kit is mailed out at the end of February via Priority Mail.  The PDF tutorial will be send to you via email immediately after payment. 

Add on the Happy Labels stamp set or bundle at an extra 10% off!  And if the total ($20 for the kit, $24 for the stamp set + more added) adds up to $50 or more you can choose a free Sale-a-Bration choice too.  Contact me here for this option. 

*You will need the following to complete your cards:

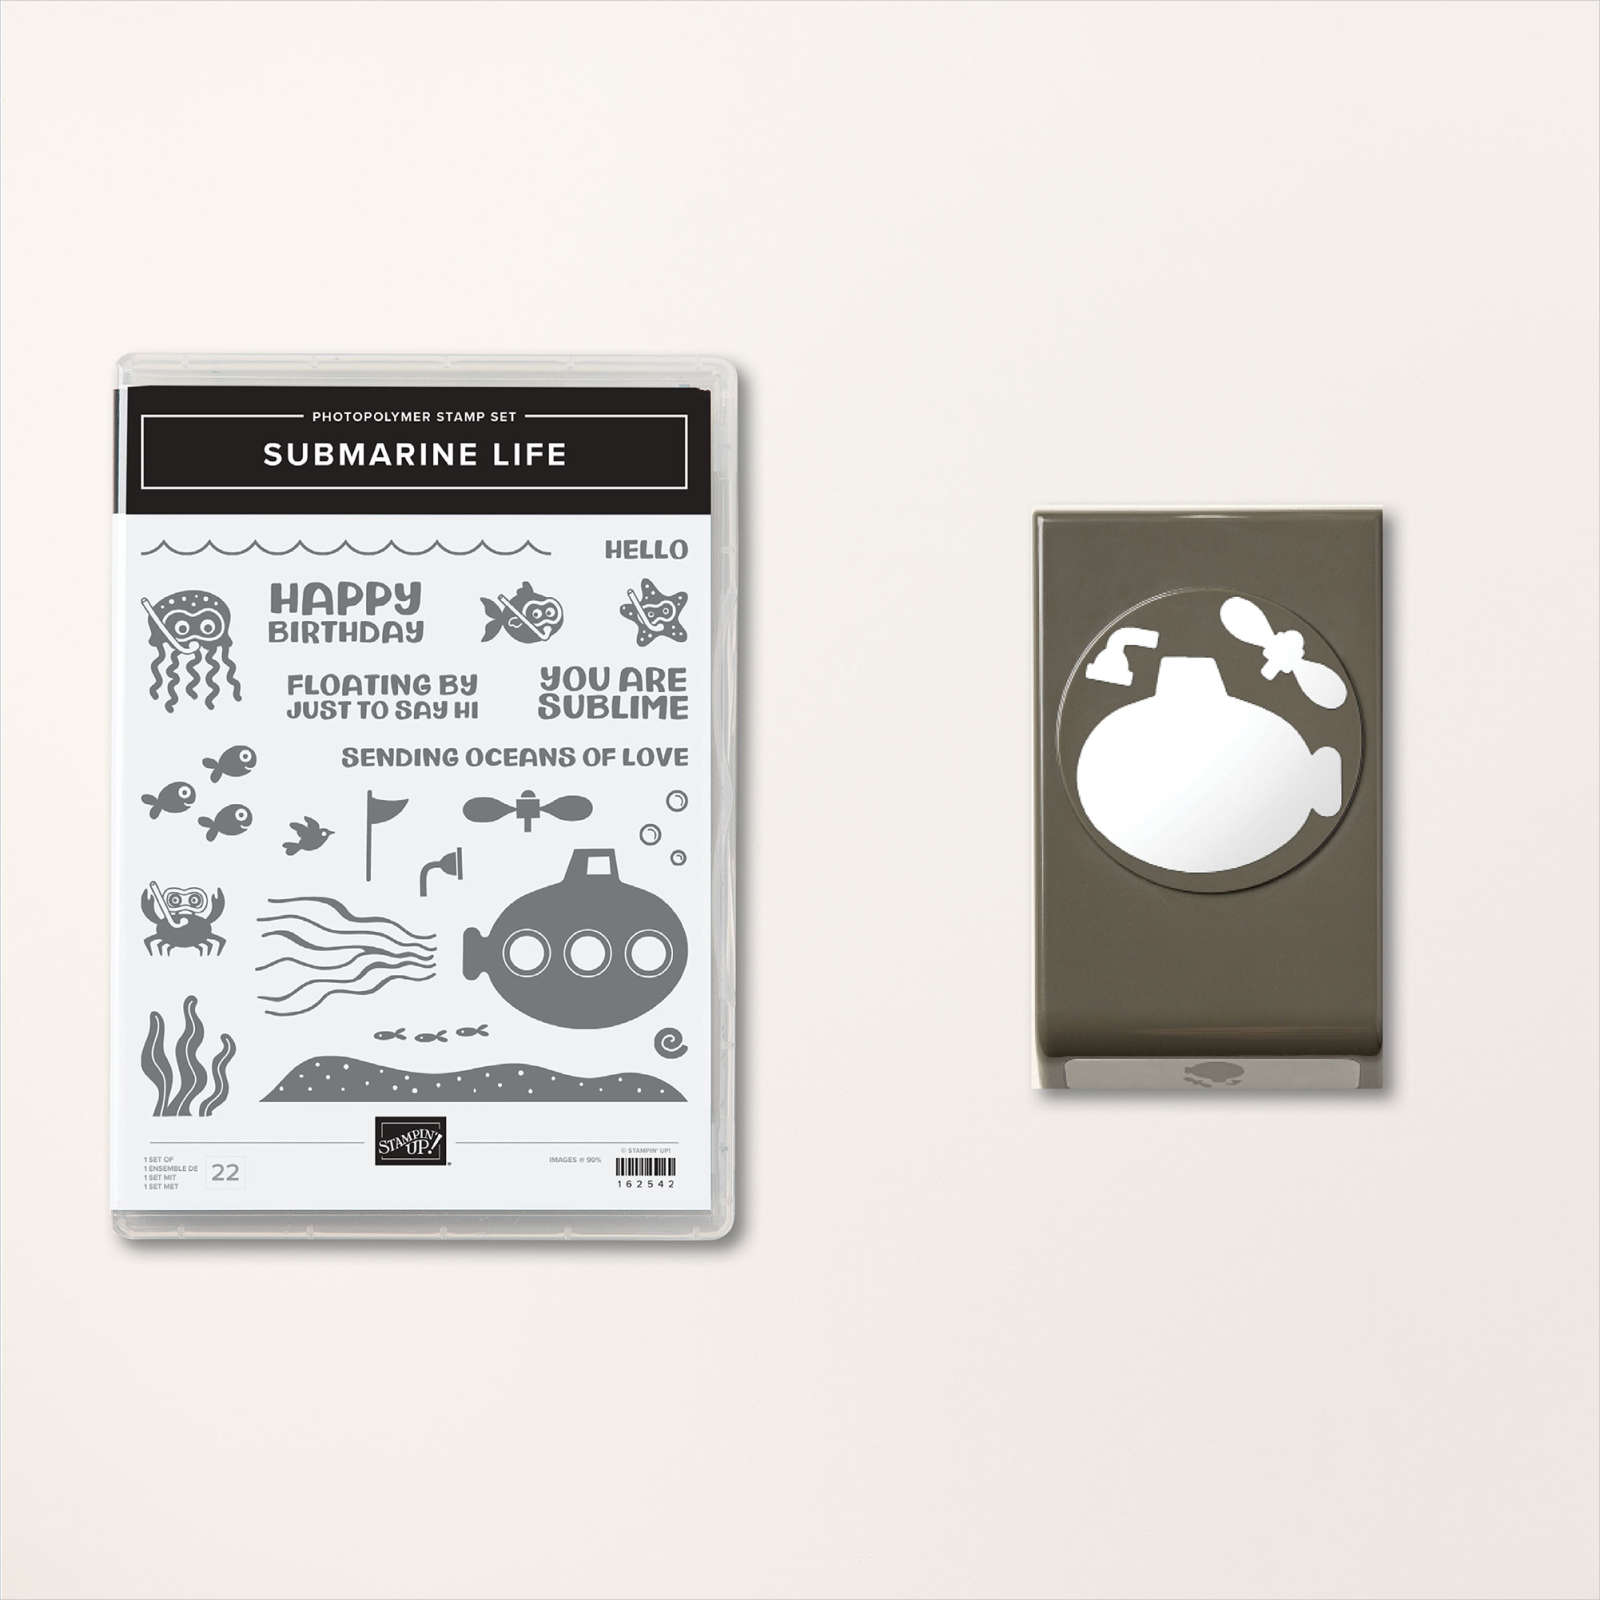
  • Black ink and greeting images (I used Happy Labels)
  • a paper trimmer to cut your new DSP, adhesives, optional embossing folder

Add on any other kit in my shop and save on shipping.  I have a second beautiful, new kit available here with the Texture Chic cards & envelopes.  See all of my kits here. 

~~~

February specials:

Mystery Boxes get one free with a $100 online order using a host code.

I still have 2 left!  *message me here before you order.

February Host code links:

  CNV2VCBT or 7EUM6NB9 

Get free Pastel Sequins with online orders over $55 when using the host code above!

 Earn free products with my loyalty rewards! 

Click here to download yours and earn a $50 shopping spree!

~~~

Best Deal Ever on the Starter kit here!

Choose $175 in products for just $129 plus the new mini machine!

Or choose $175 for $99 without a new Mini.  AMAZING!

All Posts

  • Simple Direct to Paper Technique for quick gorgeous cards! Plus 6 ways to add ribbon! Video & free project sheet too!


    On last week's Live video I focused on the Most Adored specialty designer paper and shared the Direct to Paper technique and these gorgeous cards: 

    Anytime we have designer papers with foil designs I think of this fun technique! It's basically rubbing or tapping your water based ink pad onto the designer paper. The ink soaks into the background but resists the foil designs. Simply wipe the excess ink off the foil with a tissue – done!

    The colors above are Azure Afternoon and Pretty Peacock. Notice the different ribbon techniques and layouts. The left card has loops of ribbon added to the greeting label; the right has a simple fold of ribbon. 

    Each card has two main pieces – the designer paper is 3" X 4" and the layered, coordinating card stock is 3 1/4" X 4 1/4". Check out the different layouts with these basic pieces.  

    The left card above is Highland Heather and the right is Sweet Sorbet.  A few more examples of ways to add ribbon and change up this simple layout.  I added two thin strips of ribbon across the left card and tied a bow around the window frame on the right. 

    Remember this pretty specialty paper is available through February during Sale-a-Bration. It's free with any $50 Stampin' Up! purchase. See it here. 

    Keeping to a basic layout like this is a wonderful way to get a bunch of cards done quickly and use up your designer paper at the same time! I chose the Charming Sentiments stamp set for all of my greetings.  

    The colors above are Copper Clay and Pebbled Path – 2 of our newest in colors.  Ribbon uses include a flag and a double bow.

    The free project sheet can be downloaded here: It's also a great reference for ways to add ribbon! Download Direct to Paper technique with 6 ways to add ribbon

    I hope you're inspired by the simply card idea, the technique and the 6 ways to add ribbon!  Watch the video below to see this technique in action!

    I'm Live on Facebook here every Tuesday at 11 am. Follow me to catch it live. 

    Or see and follow me on YouTube here! 

    ~~~

    February Specials: 

    Earn FREE products with your Stampin' Up! purchase during

    Sale-a-Bration! *click here

    *current host code link: 4BXU7SGH 

    It's the best time to get a pre-paid Sale-a-Bration subscription

    & earn free Sale-a-Bration products!  

    ~~~

    Get a free Gold Foiled cards & envelopes kit

    with online orders over $55 in February

    All online orders in February will receive this free tutorial with 8 projects!

    Leave a Reply

    Your email address will not be published. Required fields are marked *

  • AMAZING Most Adored Cascading Pleats fancy fold card – with video & free project sheet!


    Have you seen or made a 'Cascading Pleats' fun fold card before?  They're so cool and actually quite easy to make.  

    I shared how in last week's video. *if you want to watch them Live, follow me on my FB page here.  

    I chose to feature the Most Adored Specialty designer paper for my video projects. On this card I used both the Flirty Flamingo side and the Gold Foiled sides of this pretty paper.  See it here.  It's free with any $50 order through February during our Sale-a-Bration promotion – or while supplies last.  

    I have full measurements in my free project tutorial below but it will help you a lot to watch the video.  

    There are three layers and they 'cascade' in sizes from smallest in the front to largest in the back.  Each has 2-3 layers.  

    Other products used include: Thoughtful Moments Hybrid 3D embossing folder, Hooray for Surprises bundle, Give it a Whirl dies, Something Fancy stamp set, Gold foil paper & Elegant Trim.  


    It looks quite complicated but it really isn't.  I hope you 'll watch my video below or here to see how it's made. 

    Click here to download or print the free project sheet: Download Most Adored Cascading Pleats card


    Below is the photo where I share how to make this neat fancy fold card.  The photo doesn't show it but it is the correct video! 

    *I'll share more cards featuring this stunning specialty designer paper tomorrow. 

    ~~~

    February Specials: 

    Earn FREE products with your Stampin' Up! purchase during

    Sale-a-Bration! *click here

    *current host code link: 4BXU7SGH 

    It's the best time to get a pre-paid Sale-a-Bration subscription

    & earn free Sale-a-Bration products!  


    ~~~

    Get a free Gold Foiled cards & envelopes kit

    with online orders over $55 in February

    All online orders in February will receive this free tutorial with 8 projects!

    Leave a Reply

    Your email address will not be published. Required fields are marked *

  • More WOW swaps by my Flowerbug’s Team with measurements


    Okay; are you as amazed by this card as I am?!  Candace made this with the Submarine Life bundle.

    The bubble paper looks like it's printed but she made it! She stamped on her Pool Party card stock with Pool Party & White craft ink with the bubble image.  Incredible!

    I'm not positive of the many colors she used here but I know a few include Sweet Sorbet, Blueberry Bushel, Daffodil Delight & Old Olive.  She's a huge fan of the Beatles 'Yellow Submarine' so she had to get this bundle! 

    Measurements: 

    • Blueberry Bushel 8 1/8" X 5 1/4". Across the top, score at the 1 5/8" mark down to 1 5/8". Score at 3 3/8" down to 3 5/8". Score at 5" down to the bottom of the card. From the bottom side, score at the 6 1/2" up to 1 5/8". Now you'll make two cuts across the center two areas from the score lines.  
    • Pool Party large squares 3 1/4", small squares 1 1/2" X 2 for the bottom.  Top pieces are 1 1/2" X 1 3/4"
    • Back white is 3" X 3 3/8" 

    Here's a view of the back side.  

    This is a total 'WOW' card; don't you agree? Candace is an incredible designer and LOVES swapping! 

    ~~~

    Mary made this sweet card with the Sunny Days designer paper seen here.  It's free during Sale-a-Bration through February or while supplies last.  

    I've always loved Red with Pool Party; one of my favorite color combos. 

    Measurements:

    • Pool Party 6 1/2" X 5 1/2" score at 4 1/4", second flap is 6" X 4 1/4" score at 3 1/8"
    • DSP 2" X 5 1/4"
    • White inside 3 1/2" X 4" 
    • Poppy Parade circle is 2 1/4"

    I have MANY more to share with you too!  Stay tuned!  

    ~~~

    February Specials: 

    Earn FREE products with your Stampin' Up! purchase during

    Sale-a-Bration! *click here

    *current host code link: 4BXU7SGH 

    It's the best time to get a pre-paid Sale-a-Bration subscription

    & earn free Sale-a-Bration products!  


    ~~~

    Get a free Gold Foiled cards & envelopes kit

    with online orders over $55 in February

    All online orders in February will receive this free tutorial with 8 projects!

    Leave a Reply

    Your email address will not be published. Required fields are marked *


Notice: LeeAnn Greff, Independent Stampin’ Up! Demonstrator, Manager. The content of this website is my sole responsibility as an independent Stampin’ Up! demonstrator and the use of, and content of, the classes, services, or products offered on this website is not endorsed by Stampin’ Up! Copyright 2025