/


Latest Post

BEST DEAL!! Get the Stampin’ Cut & Emboss machine at almost half price!


Have you been wanting the new Cut & Emboss machine but didn't want to pay $120 for it? 

Well I have the answer!  

During November you can add it to your Starter kit and pay just $75 instead of $120!  Or choose anything you want up to $125 and pay just $75 plus FREE SHIPPING! 

*There are just a few days left on this deal.  Go here to get it. 

People love how smooth this machine is; it's so well made and I really like that the ends fold up for storage or travel.  *See it here online. 

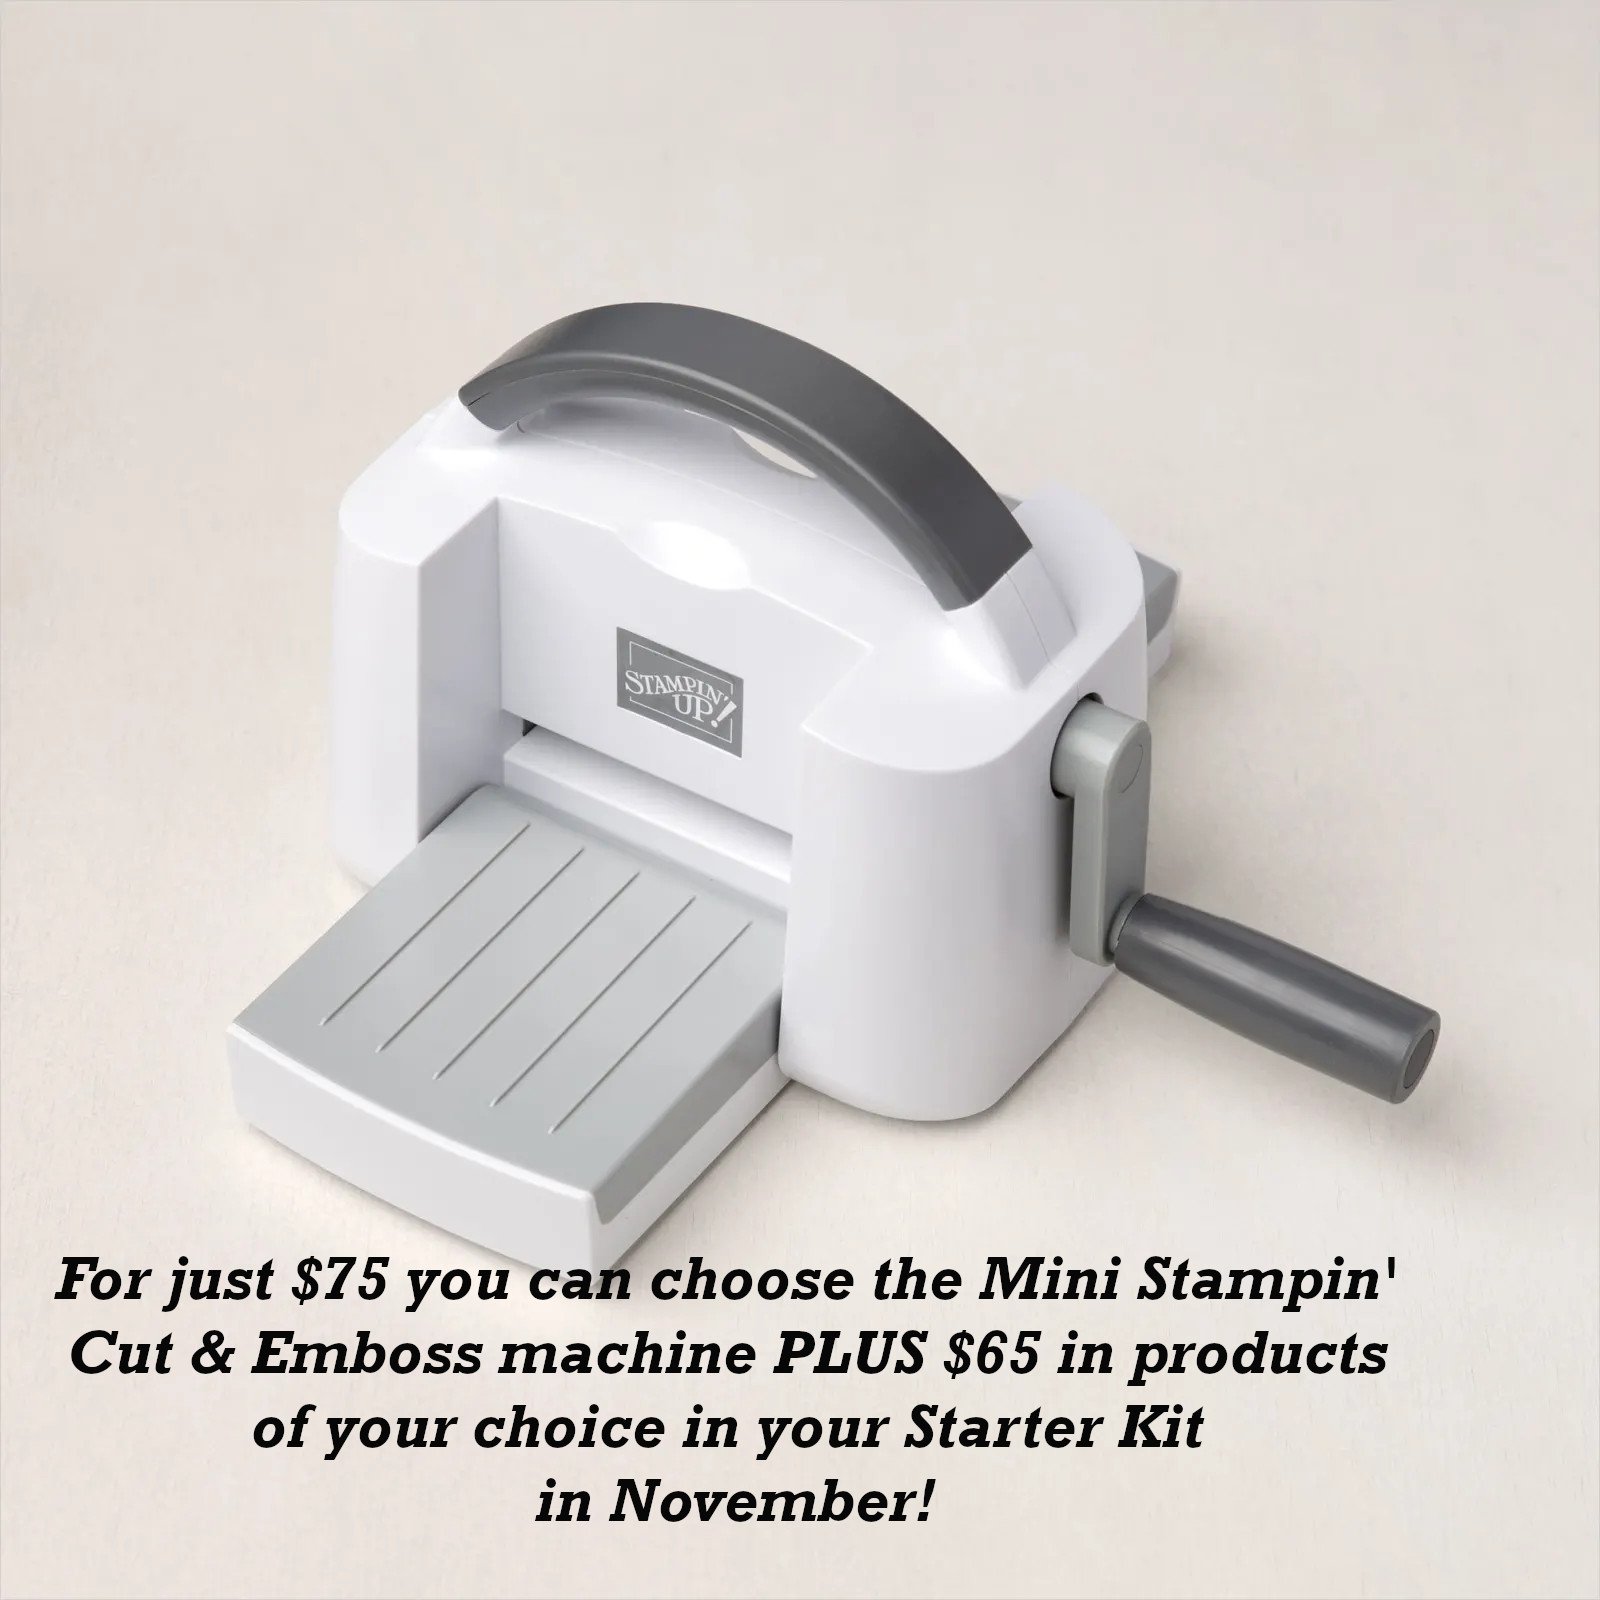
Or maybe you've been eyeing the Mini Cut & Emboss machine….?  It's a smaller version; nice & compact to fit on your work surface.  It has a $60 value and if you add this to your Starter kit you can add another $65 in product and pay just $75!  Crazy!

And did you know you get free shipping as well?  That's another $12.50 saved. *See the Mini here.
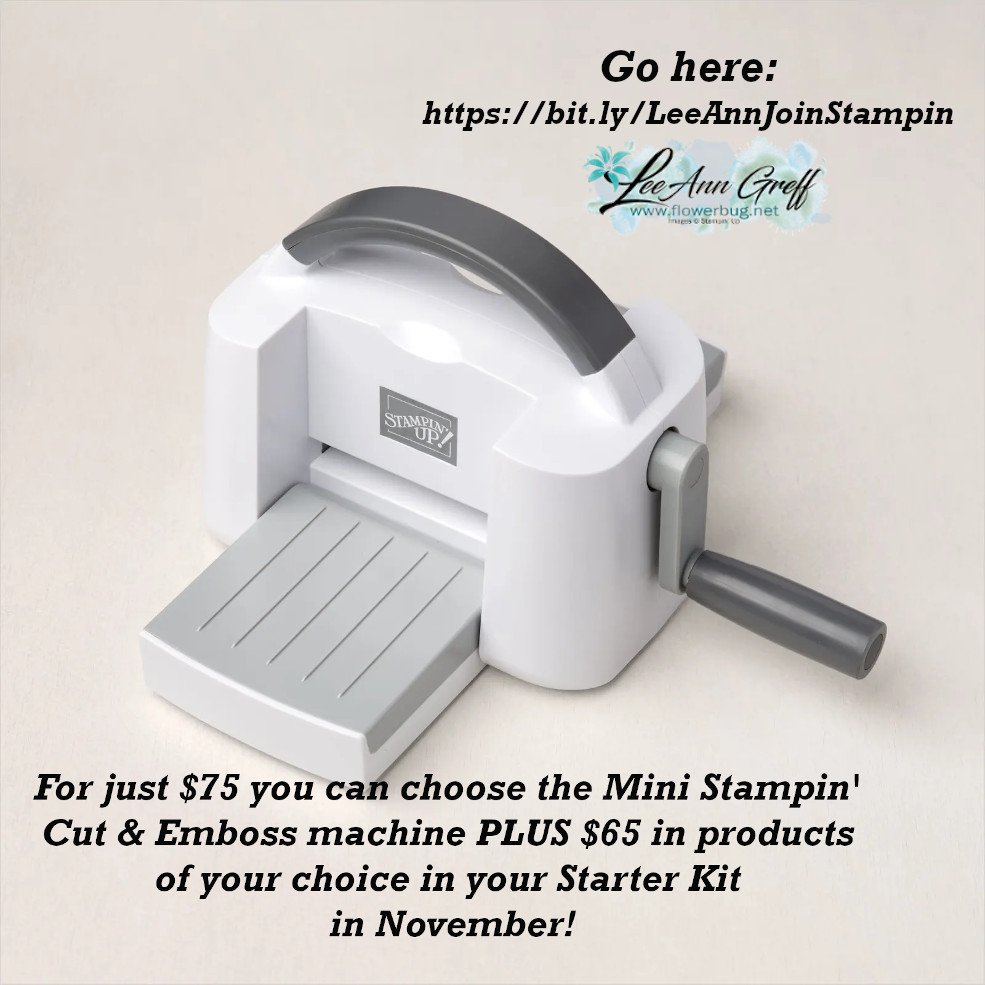

Go here to get your Starter Kit; this fabulous deal ends November 30th!

I'd love to have you on my Team!  

Our Flowerbugs group is super active.  We have all kinds of options for every type of stamper.  You can join in as much as you want to or just enjoy the sharing & camaraderie. We have prizes, swaps, sharing, featured stampers, videos, free tutorials galore & more.  They all say they love being a Flowerbug! 

~~~

Here are two more cards made by my talented Flowerbugs! Both used the Expressions in Ink suite. 

Candace made this first one using a nice piece of the beautiful Expressions in Ink specialty DSP.  She stamped her greeting and leaves directly onto the DSP using Evening Evergreen ink.  
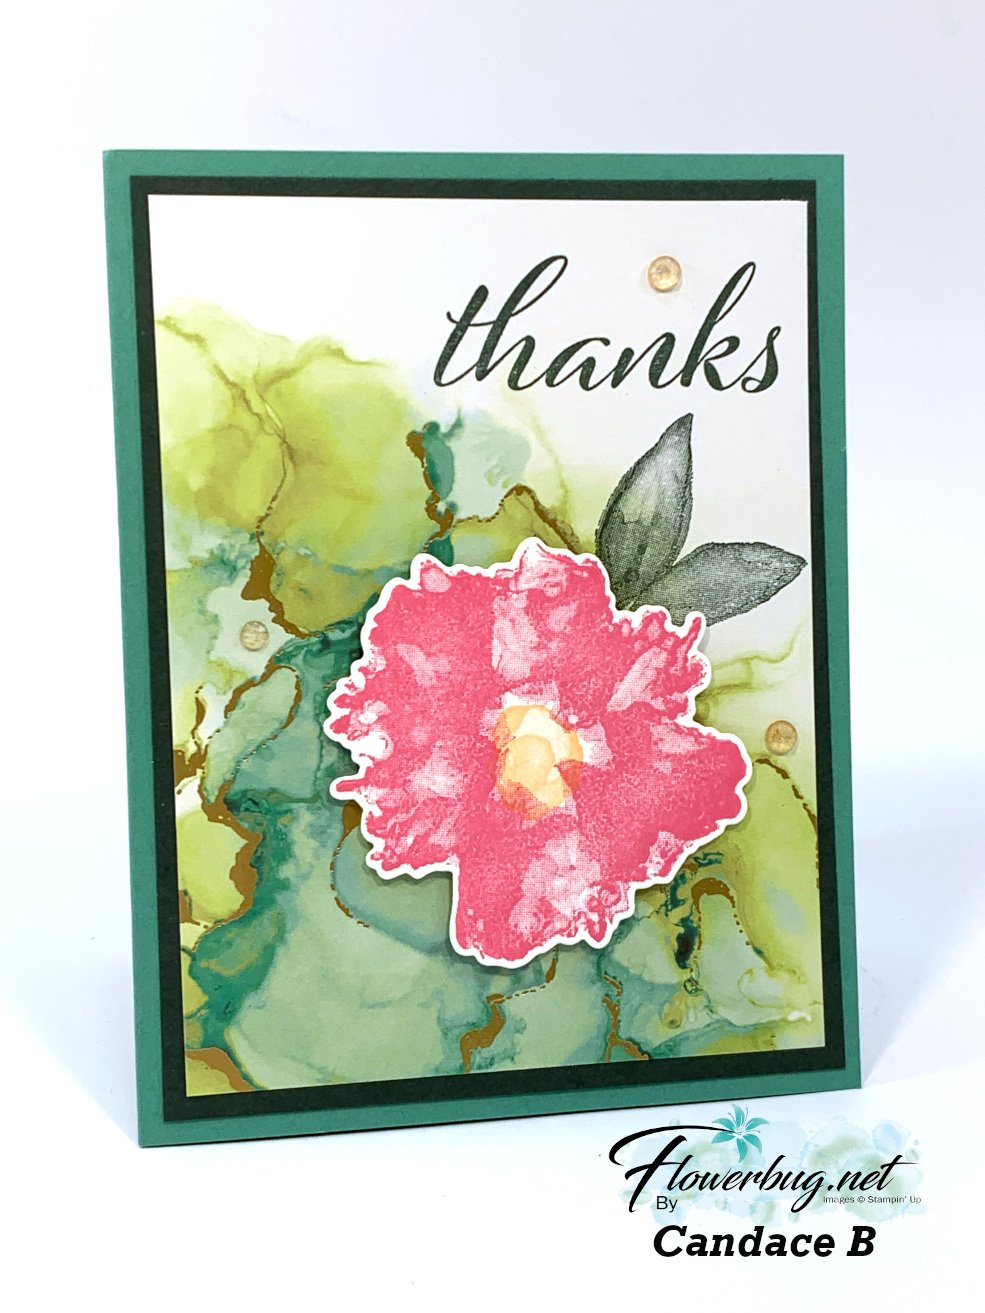

Then she stamped the large flower on a separate piece of White CS and die-cut it out using the Artistic Dies.  Lovely!

Tracey made this one using just the Artistically Inked stamp set.  She stamped all of her images on the White CS and added that to a layer of textured White CS.  She used the Timber 3D embossing folder.  

You can see she added a bit of sponging to the embossed layer to really bring out the texture.  

~~~

November Specials: 

Host codes: Z2RQ7BB6

*click here to order

Online orders over $50 get a pre-cut card class of 4 cards & PDF tutorial.
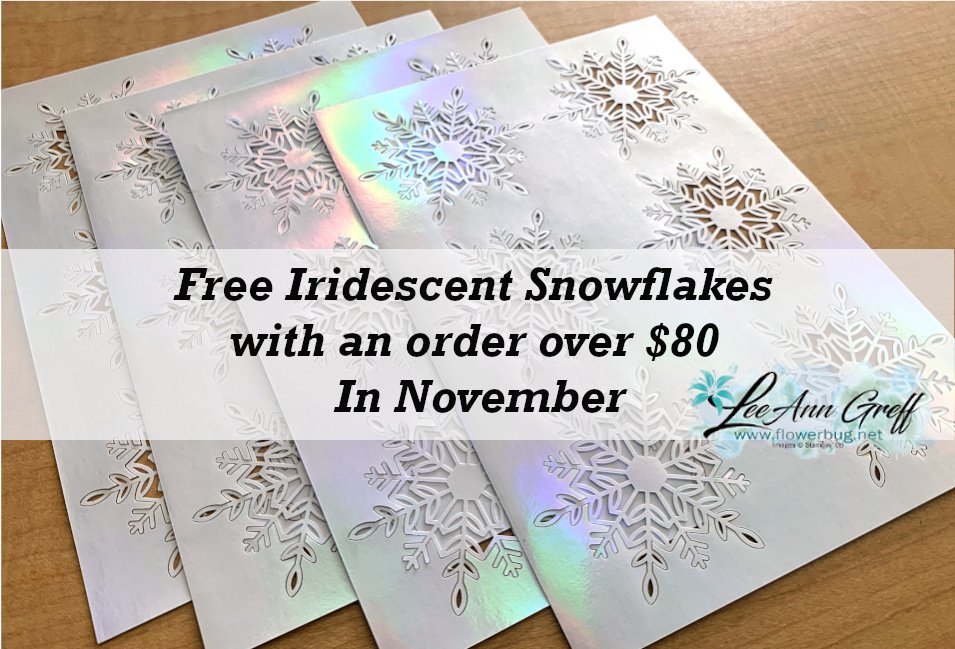
*Orders over $80 will receive the card kit PLUS 24 Iridescent snowflakes!

All online orders will receive my Eden's Garden PDF 22 project tutorial free! 
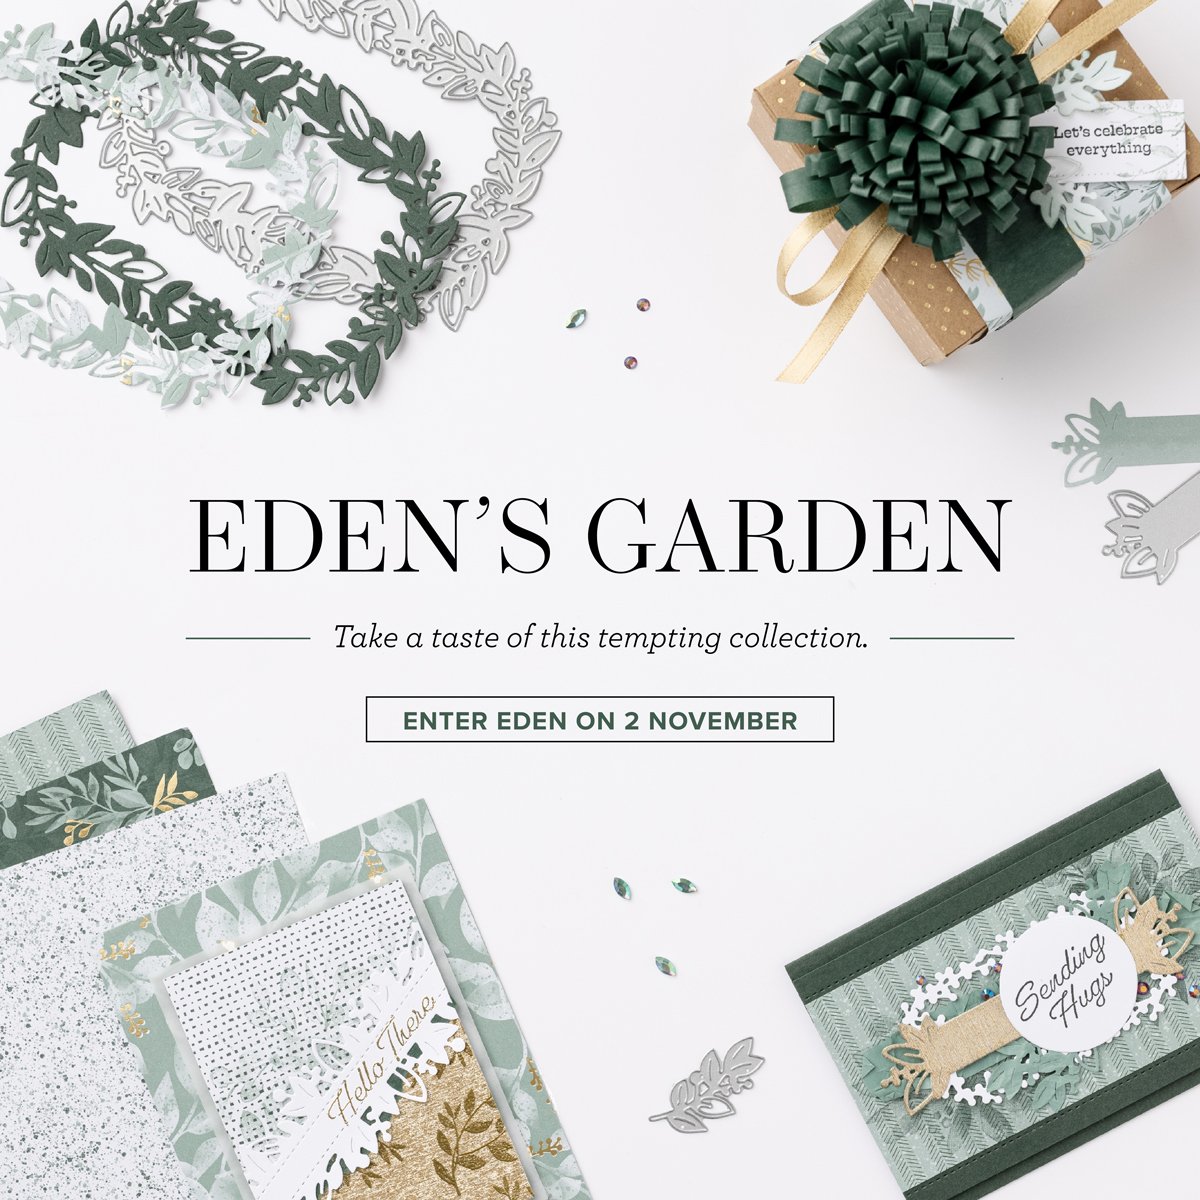
Get any of the tutorials or kits to go below in my Kit & Tutorial shop here:

Peaceful Wishes Christmas – limited supply available; 20 cards!


Christmas cards stamp a stack; limited supply! 

All Posts

  • Artistic Leaves Diagonal cut fold; with video & free project sheet


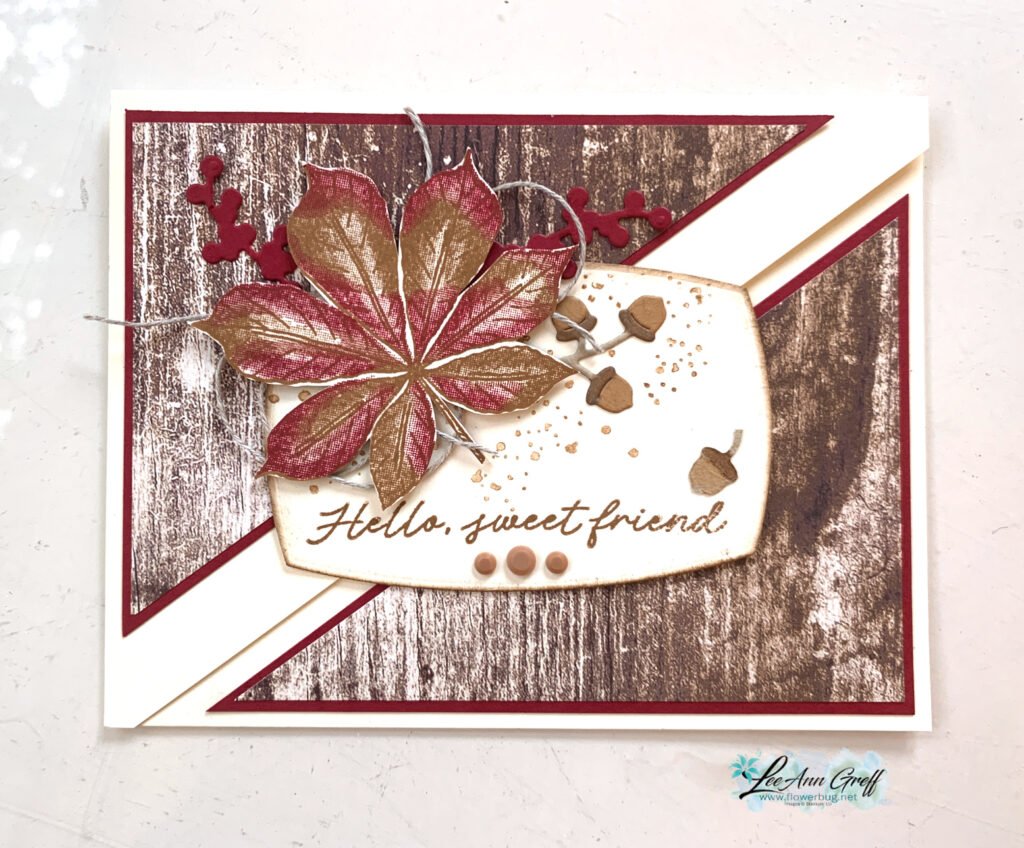
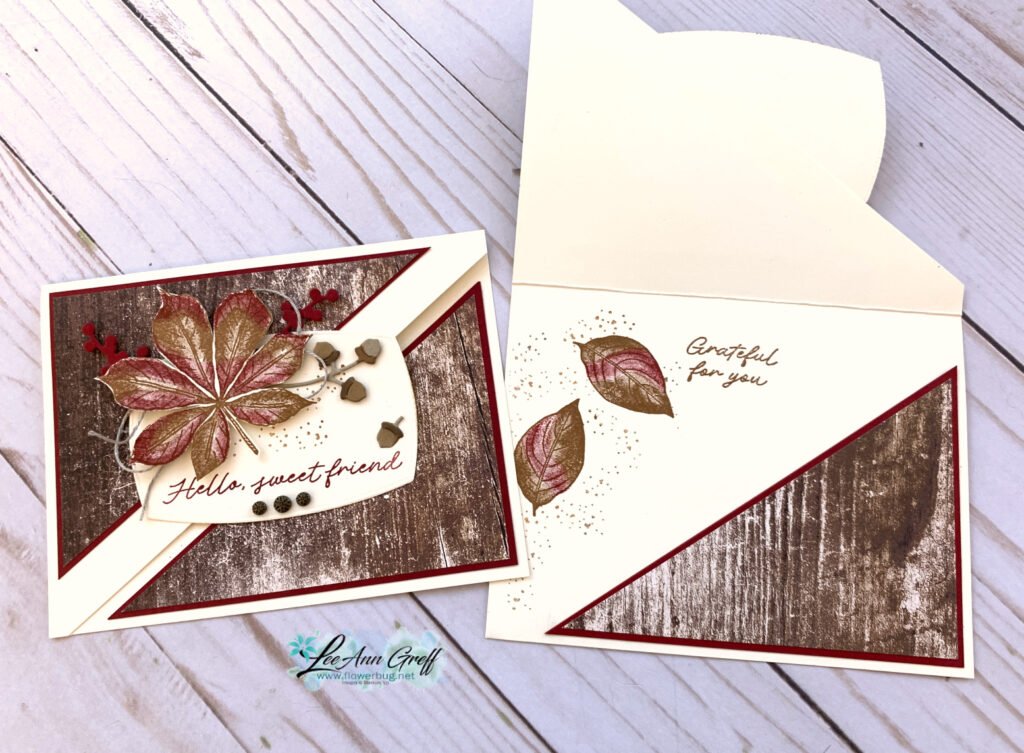
    I shared this pretty fall leaf card on last week’s Live video. I made it for a recent Team card swap using the Artistic Leaves stamp set.

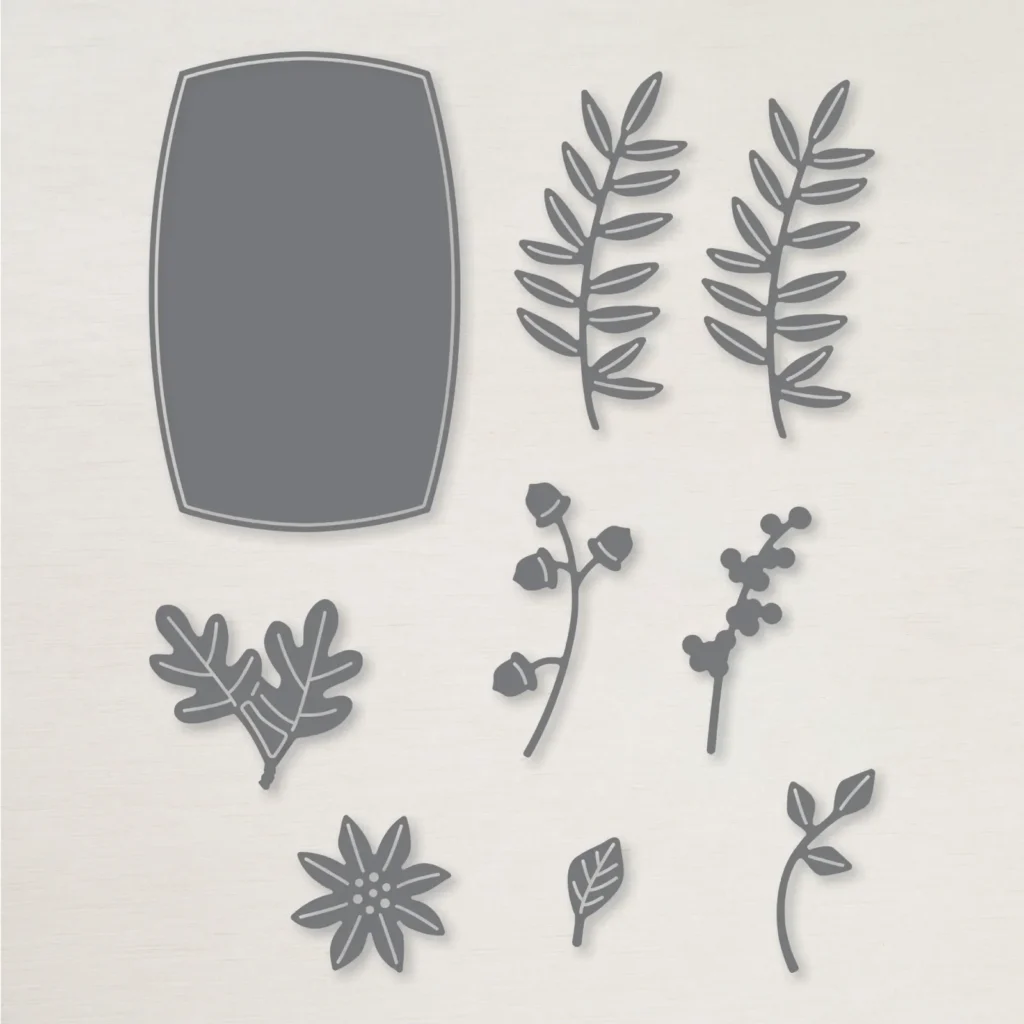
    My colors include Cherry Cobbler with Pecan Pie and Vanilla. I also used the Label Me Grateful dies for the label, berries & acorn dies. See them here.

    I did fussy cut the large leaf for the card front. In the video I share how to get the diagonal cut even on the front card base in the video. It’s so easy!

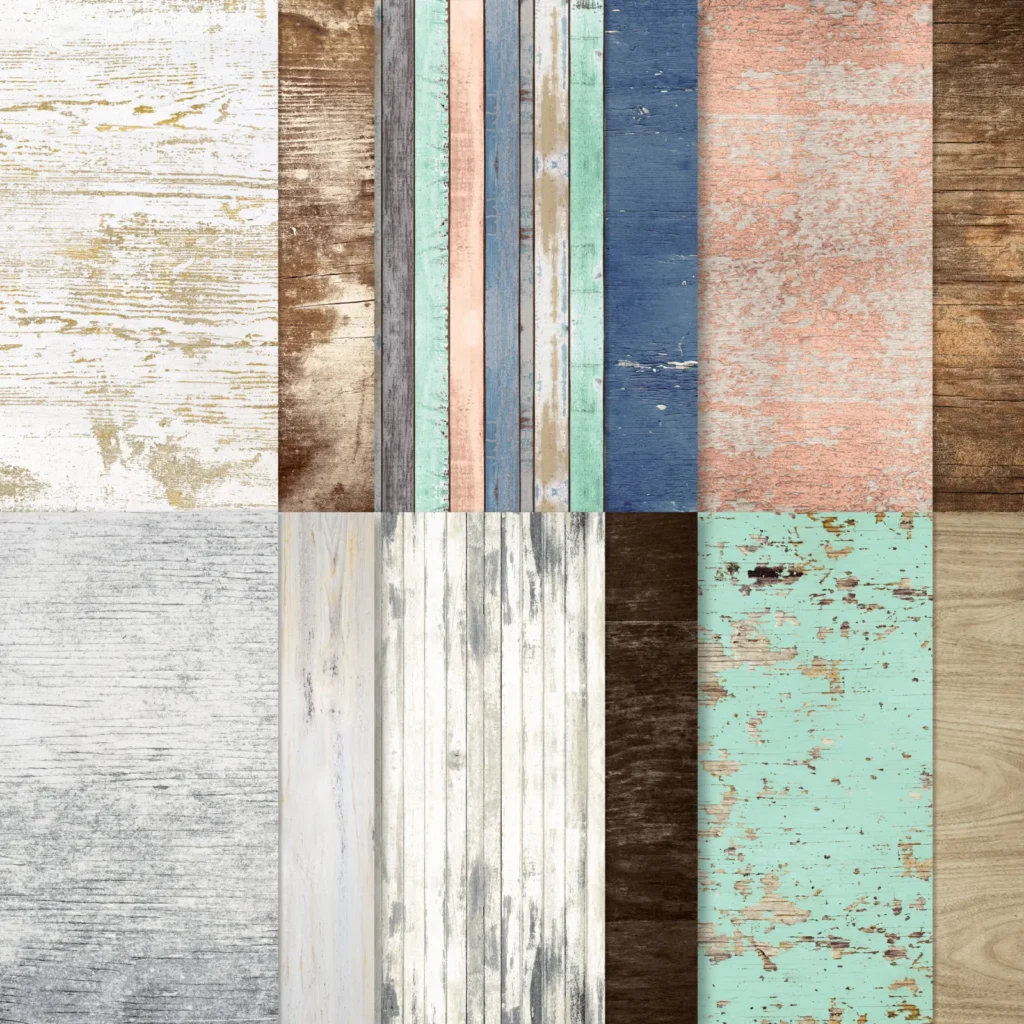
    The wood looking designer paper is from the Country Woods paper pack seen here. I’ve used it so much; it’s perfect for fall or men’s cards.

    I created a free project sheet for this card; click on the this link to print or download it.

    Below is the video tutorial for this card and another pretty autumn themed card too. I hope you watch!

    ~~~

    October Specials

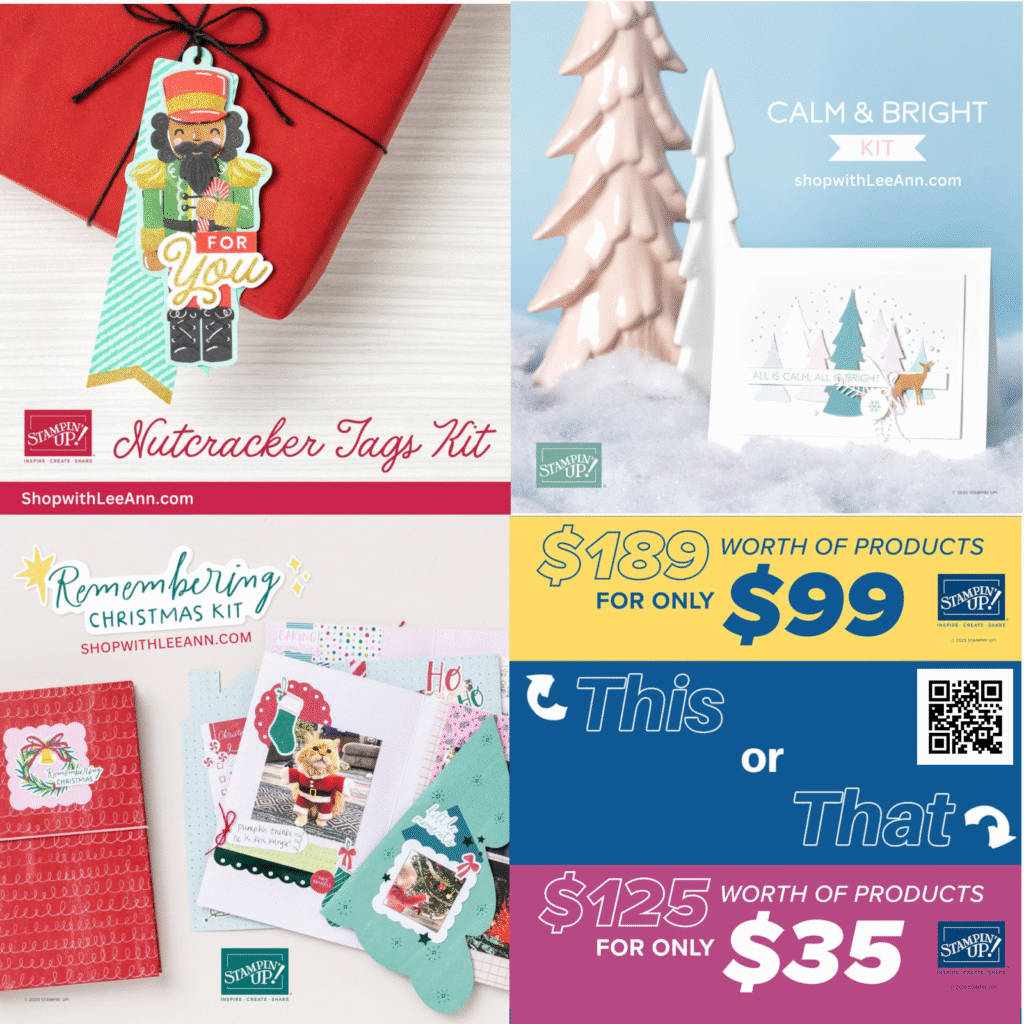
    3 new kits and a Starter Kit special! See the kits here.

    And get the Starter kit here. *Choose your deal – $35 or $99 plus $90 in free products including free shipping, free Paper Pumpkin kit & free catalogs/business supplies!

    ~~~

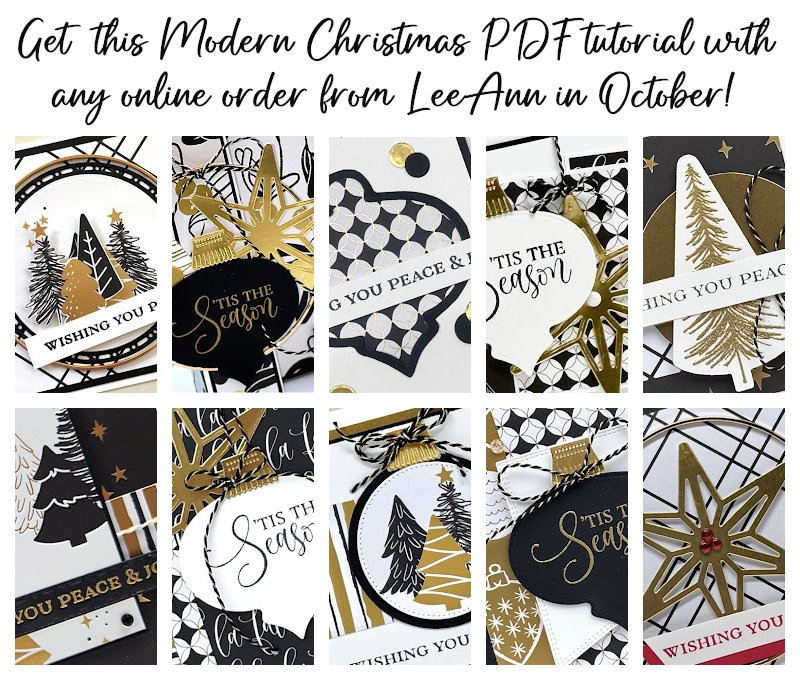
    All online orders from me will receive a beautiful PDF of projects featuring the Modern Christmas suite.

    Leave a Reply

    Your email address will not be published. Required fields are marked *

  • A cute Spooky Halloween cards


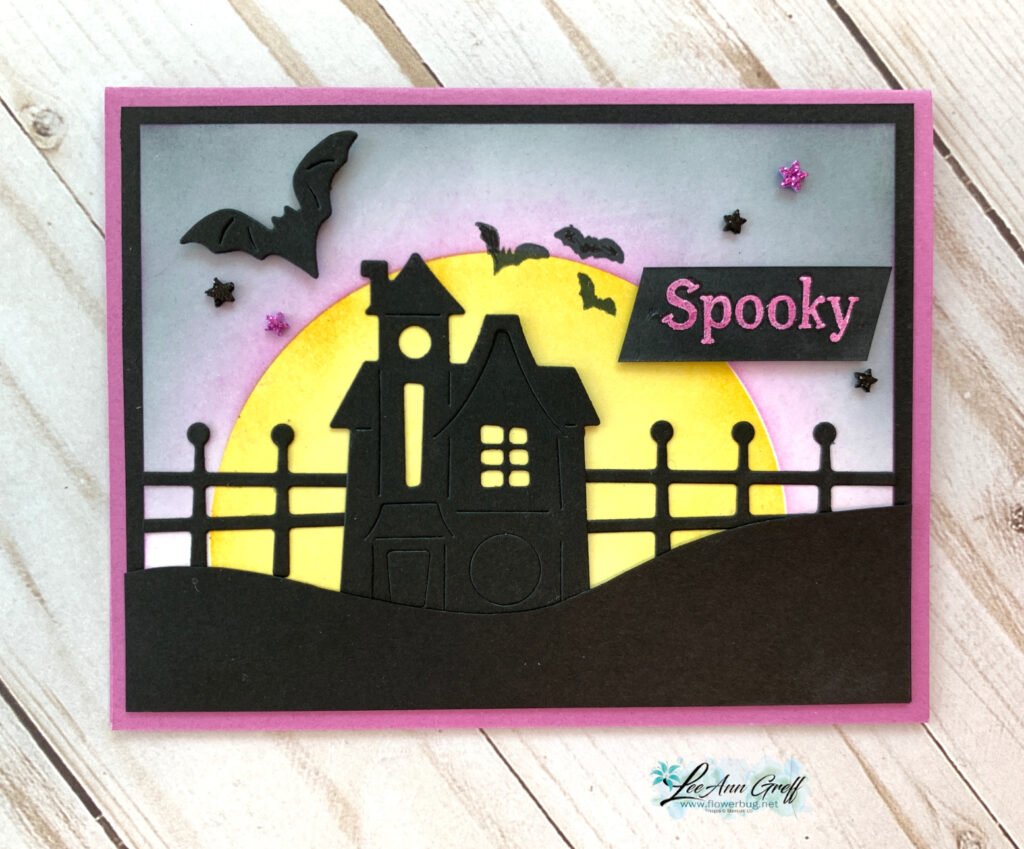
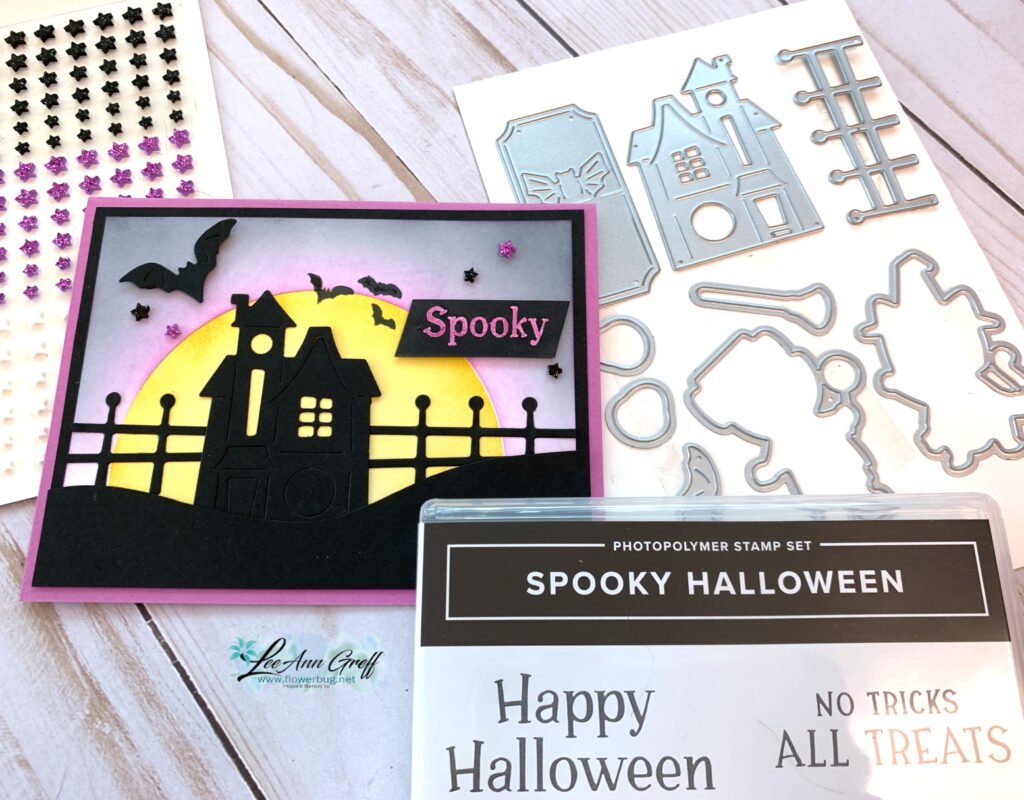
    I created this special card using the Spooky Halloween suite. I absolutely love this scene!

    I used the largest circle die in the Spotlight on Nature dies to create the mask around the large moon. I blended Petunia Pop ink onto a piece of White card stock. Then added the yellow die-cut moon. Next I sponged Secret Sea ink on the upper portion of the card.
    Lastly I added a curvy hills (cut with a scissors) and the die-cut house and fence pieces from the bundle.

    Check out those sparkly stars and die-cut bat! I heat embossed the word ‘spooky’ with White embossing powder and then colored the embossing purple with a Blends marker.

    You can see this neat bundle here.

    ~~~

    October Specials

    3 new kits and a Starter Kit special! See the kits here.

    And get the Starter kit here. *Choose your deal – $35 or $99 plus $90 in free products including free shipping, free Paper Pumpkin kit & free catalogs/business supplies!

    ~~~

    All online orders from me will receive a beautiful PDF of projects featuring the Modern Christmas suite.

    Reasons to ShopwithLeeAnn.com

    • Get a free PDF project tutorial with any online order! (changes monthly)
    • An order of $55 or more earns you a free 3 card stamping kit with pre-cut layers; ready to stamp & assemble
    • Earn 10% host rewards on each order you place (over $20). Redeem on a future order.
    • Join my Flowerbug’s Team and get $90 in free product of your choice in October! Details here.
    • Be a Paper Pumpkin subscriber and enjoy the free bonus project PDF tutorial every month. Subscribe here. Refills here.

    Leave a Reply

    Your email address will not be published. Required fields are marked *

  • Get a beautiful PDF of Modern Christmas projects!


    Any online order in October placed through me will receive a gorgeous PDF of projects featuring the new Modern Christmas suite. This is a beautiful suite filled with Black, White & Gold foil accents.

    It includes 10 projects with photos, directions. a supply list and measurements for each project. You can see this suite here.

    I created a card I want to share with you. I think it’s beautiful!

    My colors are Black, White & Gold. I used multiple sheets of the Modern Christmas Designer paper. Notice that some of the trees are raised. I fussy cut a section from the designer paper and added it over a die-cut circle of another set of trees. I layered that onto a Black die-cut circle from the Spotlight on Nature dies. Finally I added one of the new gold hoops around it all. Tip: adhere the gold hoops with tiny dashes of Multipurpose Liquid Glue. Works great!

    I hope you like this card; it’s one of the free projects included in the free PDF tutorial for anyone who orders from me in October. Click here to order!

    ~~~

    October Specials

    3 new kits and a Starter Kit special! See the kits here.

    And get the Starter kit here. *Choose your deal – $35 or $99 plus $90 in free products including free shipping, free Paper Pumpkin kit & free catalogs/business supplies!

    ~~~

    All online orders from me will receive a beautiful PDF of projects featuring the Modern Christmas suite.

    Reasons to ShopwithLeeAnn.com

    • Get a free PDF project tutorial with any online order! (changes monthly)
    • An order of $55 or more earns you a free 3 card stamping kit with pre-cut layers; ready to stamp & assemble
    • Earn 10% host rewards on each order you place (over $20). Redeem on a future order.
    • Join my Flowerbug’s Team and get $90 in free product of your choice in October! Details here.
    • Be a Paper Pumpkin subscriber and enjoy the free bonus project PDF tutorial every month. Subscribe here. Refills here.

    Leave a Reply

    Your email address will not be published. Required fields are marked *


Notice: LeeAnn Greff, Independent Stampin’ Up! Demonstrator, Manager. The content of this website is my sole responsibility as an independent Stampin’ Up! demonstrator and the use of, and content of, the classes, services, or products offered on this website is not endorsed by Stampin’ Up! Copyright 2025