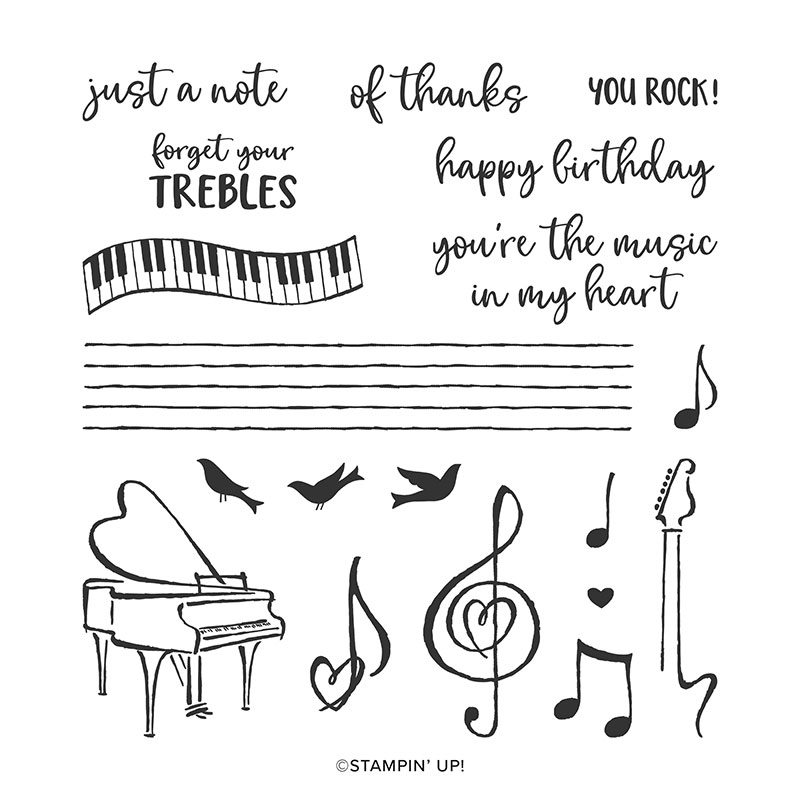
I had to use my friend Dawn Olchefske's new stamp set for January club. It's the set she designed for her million dollars in sales achievement! It's a fabulous music themed set called Music From the Heart. Look!
The Classic Label punch is perfect to create the 'latch' for this card closure. We did have to widen the opening a bit by punching off to the side an extra 1/4" on each side as I wanted a larger front layer than the punch allows for. If you watch the video below you'll see what I am referring to.
I decided to offer a choice of card themes for my gals; Valentines, Anniversary and Birthday. I used the Heart to Heart set for the Valentine's greeting. This pretty foiled paper is called From the Heart specialty designer paper. You can see it here.
Did you know that you can 'play or stamp' Happy Birthday with the individual notes in this set? Isn't that the best idea ever?! Although creating a 'guitar' from two stamps in this set is even more clever! If you have a musical person in your life you need this set!
Be sure to watch my video to see how to make this fun fold card. It's amazingly easy!
Measurements:
Real Red 4 1/4" X 8 3/4" scored at 5 1/2" White inside 4" X 5 1/4", front and inside flaps 2" X 3 3/4" Black 2 1/4" X 8" scored at 4" From My Heart Specialty DSP 3" X 4"
~~~
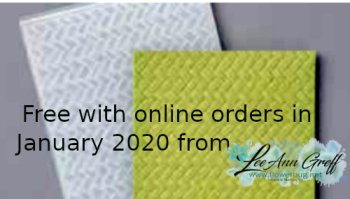
Three January Specials just for you besides Sale-a-Braton!
1. All January online orders will earn a ticket in the drawing for a free Little Ladybug stamp set!
Gorgeous Leaves paired with the Timber embossing folder
Today I get to share two cards made by my talented Team members who used the beautiful Gorgeous Leaves bundle seen here. I shared a bunch earlier this week as well. Click here to see them.
First is a beautiful card made by Marilyn. Her colors include Crumb Cake, Cajun Craze, Old Olive & Crushed Curry.
It's hard to see in this photo but after she stamped the background she ran it through the die-cutting machine with the Timber embossing folder.
Her die-cut leaves are darker than the normal hues since she sponged the corresponding color over each one. Neat effect!
Measurements:
Crumb Cake 5 1/2" X 8 1/2"
Cajun Craze 3 3/4" X 5" & Stitched So Sweetly die-cut 2 1/2" X 3 5/8"
Vanilla 3 1/2" X 4 3/4" & 2 1/8" X 3 1/4"
~~~
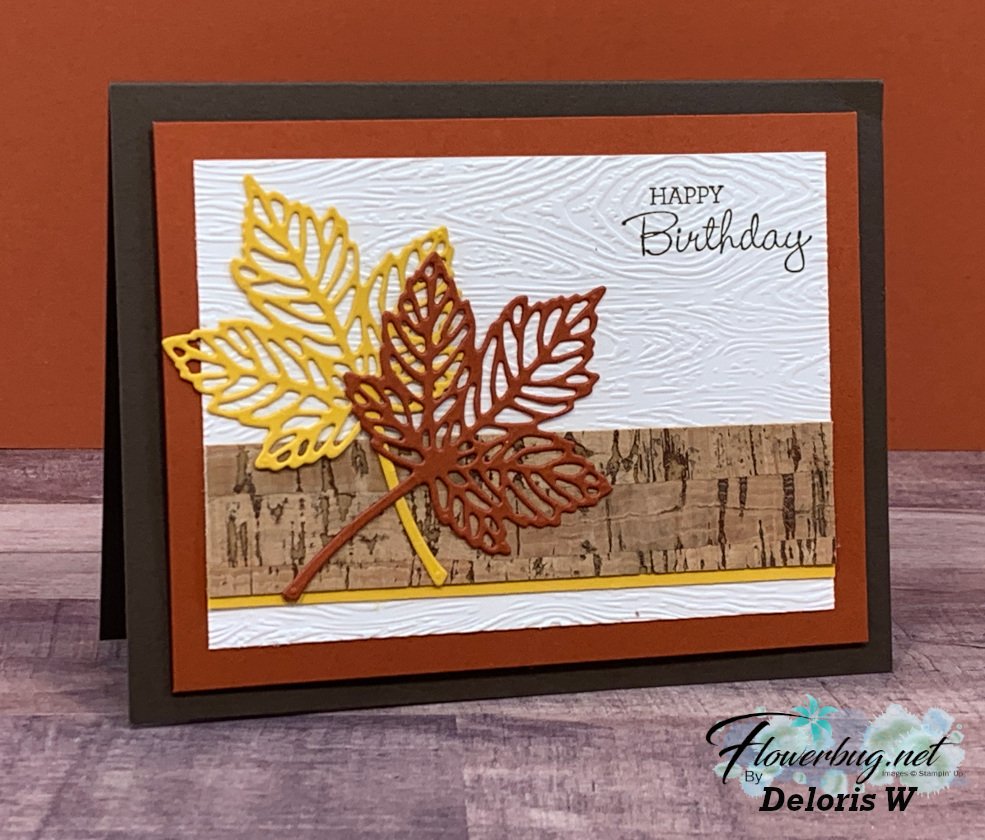
Next is a lovely card made by Deloris. She also used the Timber embossing folder seen here.
She also added a strip of the Cork specialty paper. This paper can be found in the Holiday catalog on page 55. It sure adds a neat touch to autumn or men's cards!
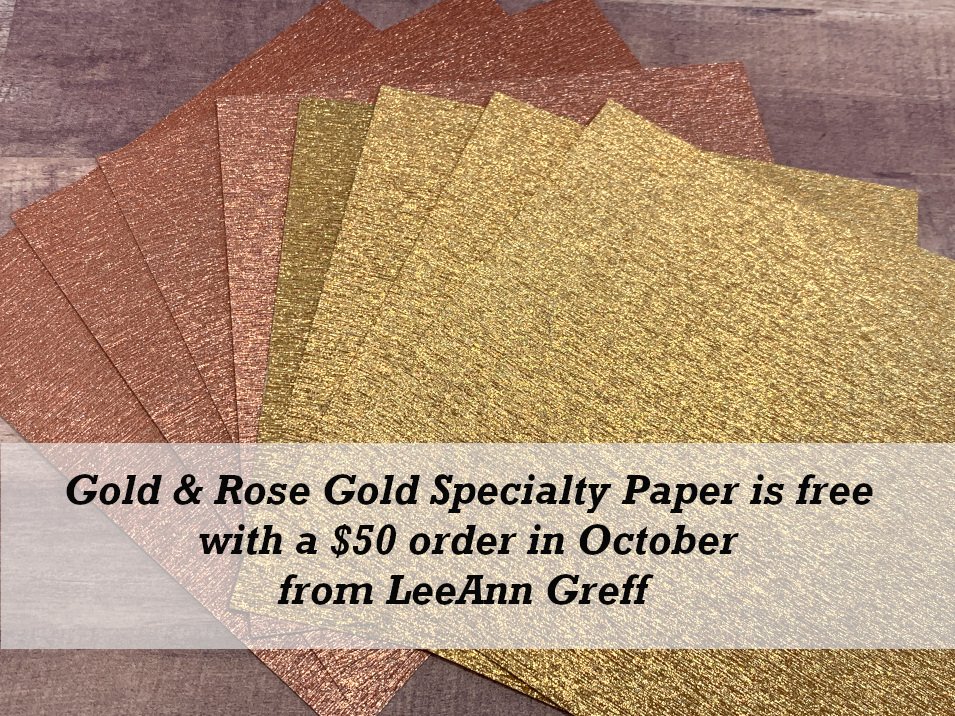
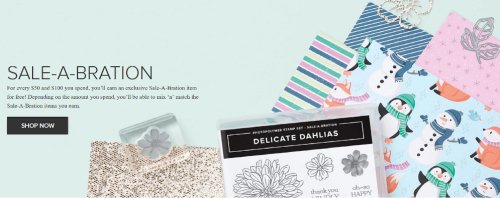
Shop here to stock up on essentials or get those items you've been wanting and choose something FREE!
Or choose the best deal and get up to $205 in product for just $99. If you're one of those people who likes to save money this is the best option! Click here to read more about this. You will not regret it!!
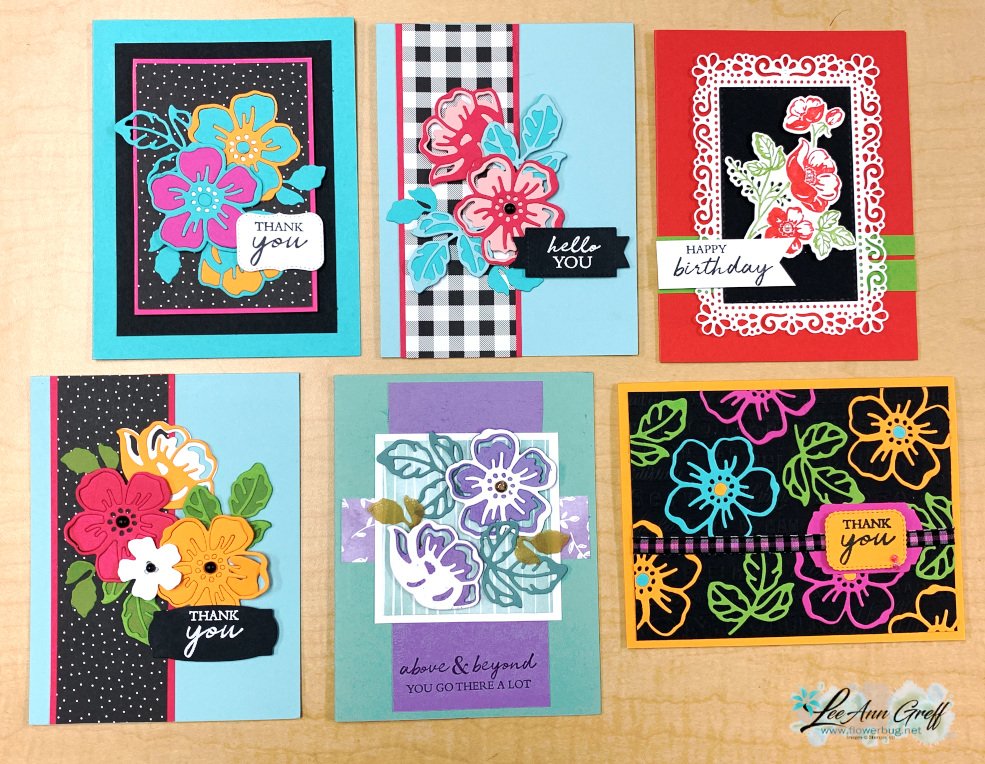
I'm sharing some group photos of some of my favorite Sale-a-bration projects today. Many are made by me and others are swaps from my Demonstrator friends or team members.
Maybe you already own some of these Sale-a-Bration items. I hope you're inspired by these projects. Or maybe these will give you a little nudge to add one or more to your order….?
First are cards made with the Delicate Dahlia stamp set. This was an easy favorite of mine. The 2-step DistINKtive images are gorgeous!
I love this paper so much! Classic prints in Black, Red, White, Sahara Sand & Garden Green. In fact I like it so much I created one of my October kits to go around it! I'll share that next week.
Well I hope you enjoyed seeing some of my favorite Sale-a-Bration projects today. It's always sad when this amazing promotion ends. I hope you were able to get the items you wanted! See all of the free options here.
**Use the host code below and if your order is over $50 you'll get a nice stack of 10 cards from me! Orders over $100 get the 10 cards AND a new embellishment as well!
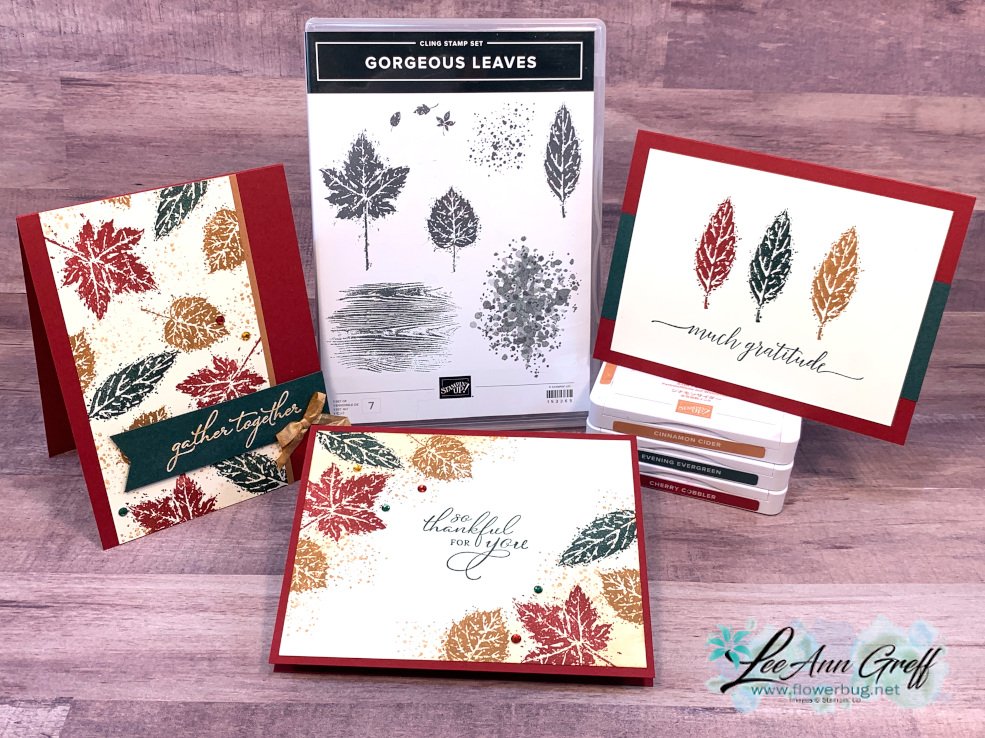
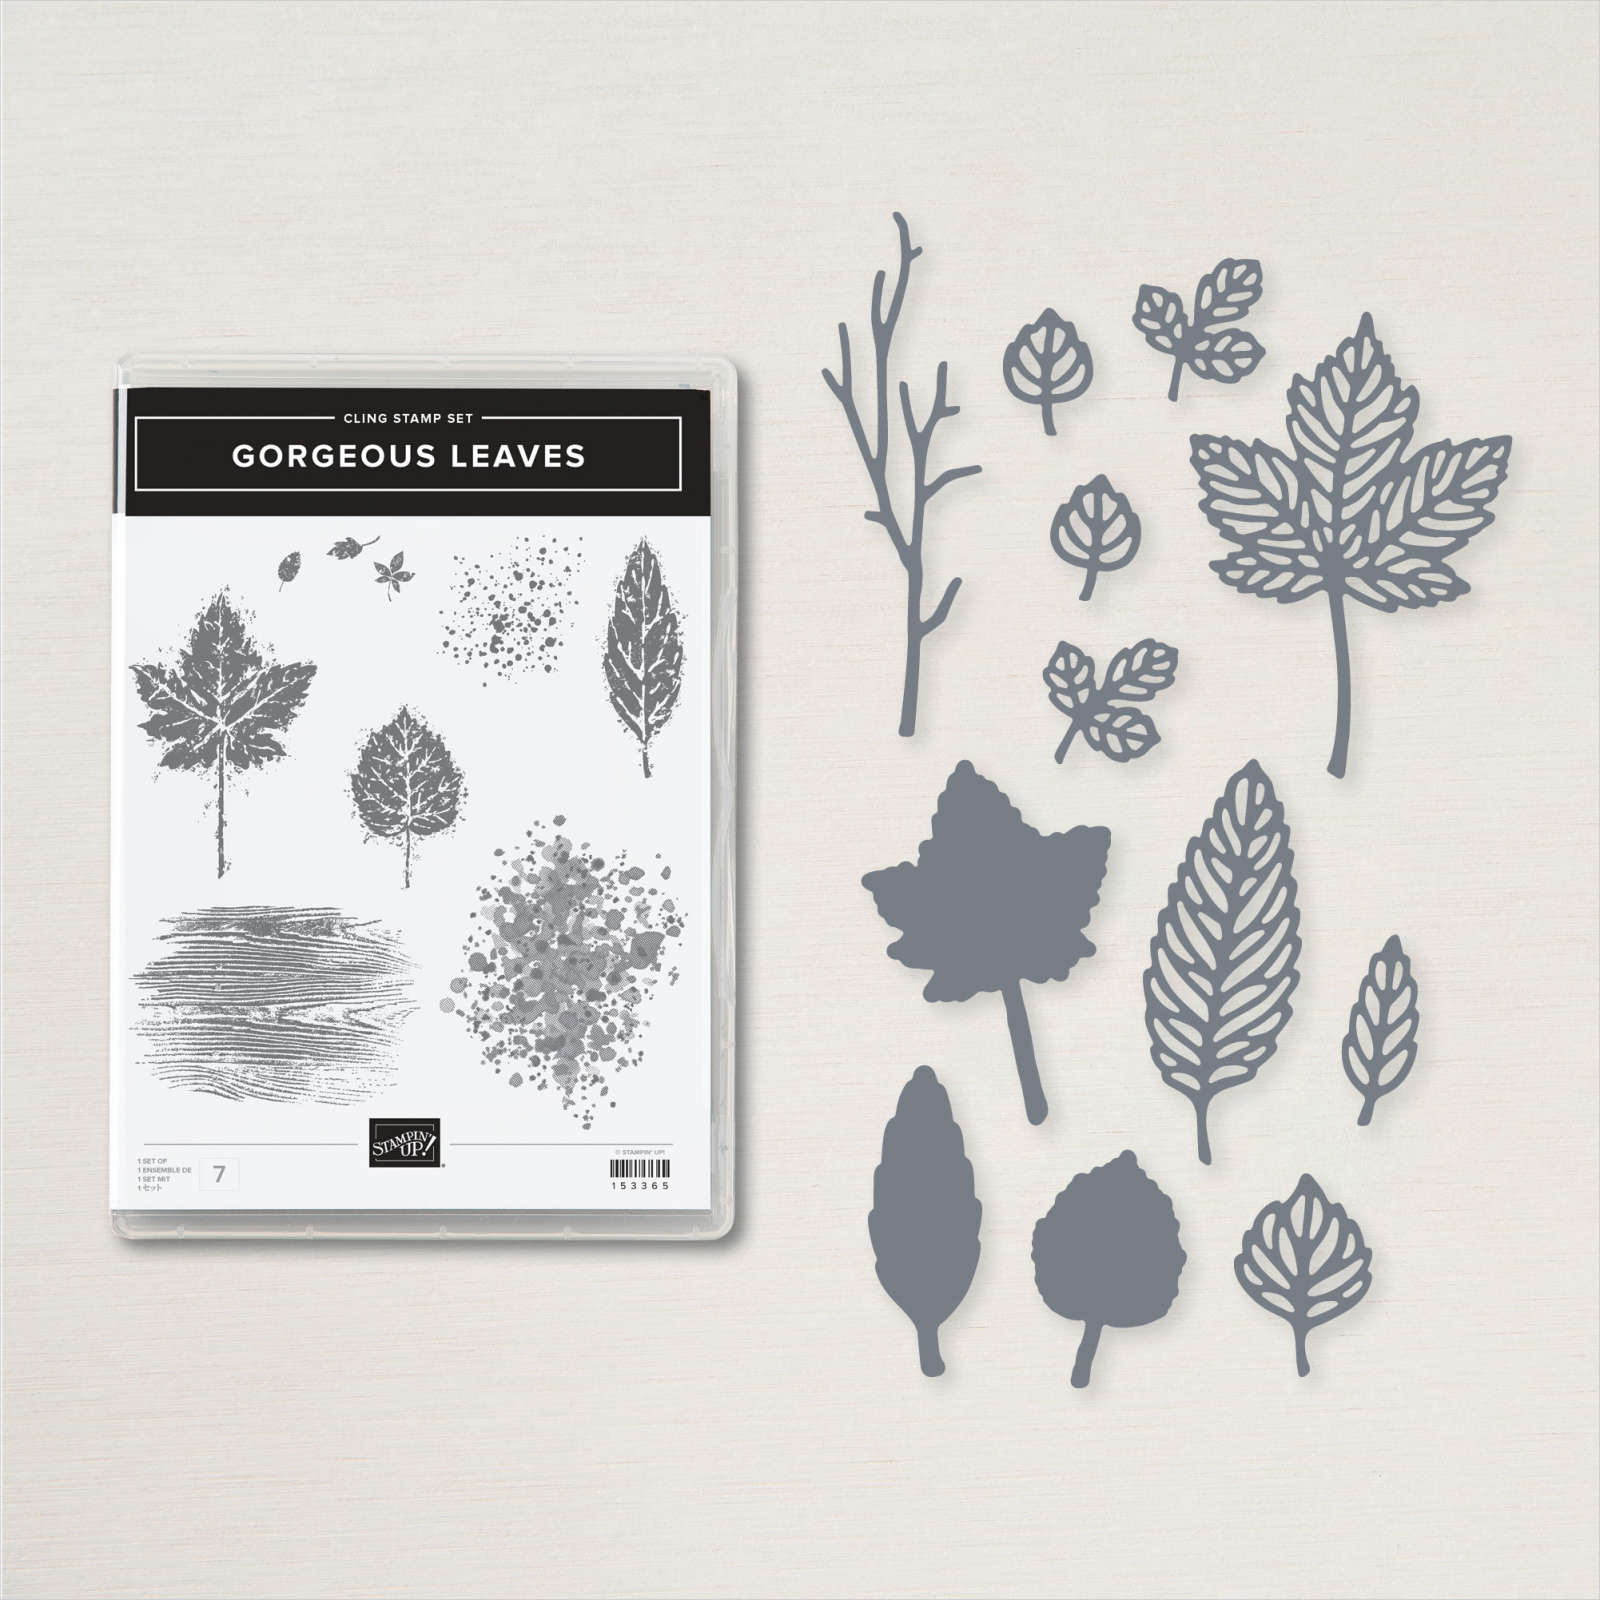
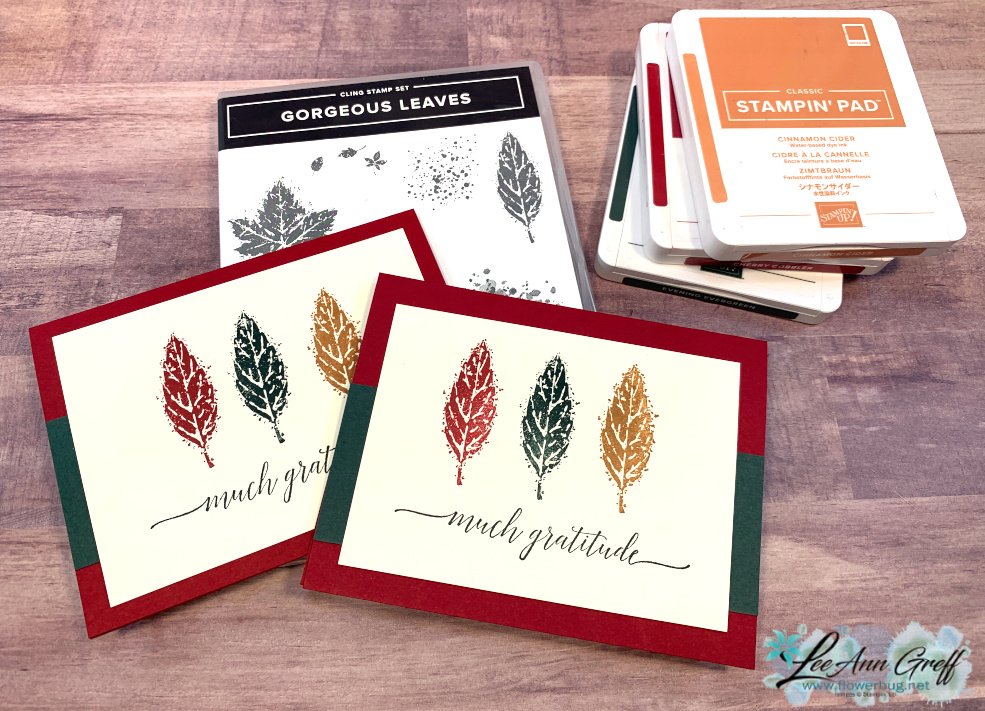
This Gorgeous Leaves stamp set & bundle is one of the choices you can pick with the Starter Kit special going on right now. It's actually free; one of 12 different options just through tomorrow, September 30th. Click here to see them all.
Here's the most simple card I made. But with these beautiful colors it is still striking. Cherry Cobbler, Evening Evergreen & Cinnamon Cider. Most of the cards used this color combination.
You might wonder how I come up with these color combinations. I usually pull out sheets of card stock and see if they work together. Many times I have to switch one or more out before I'm happy. I don't use a color wheel or any guide; I just play and use what feels right.
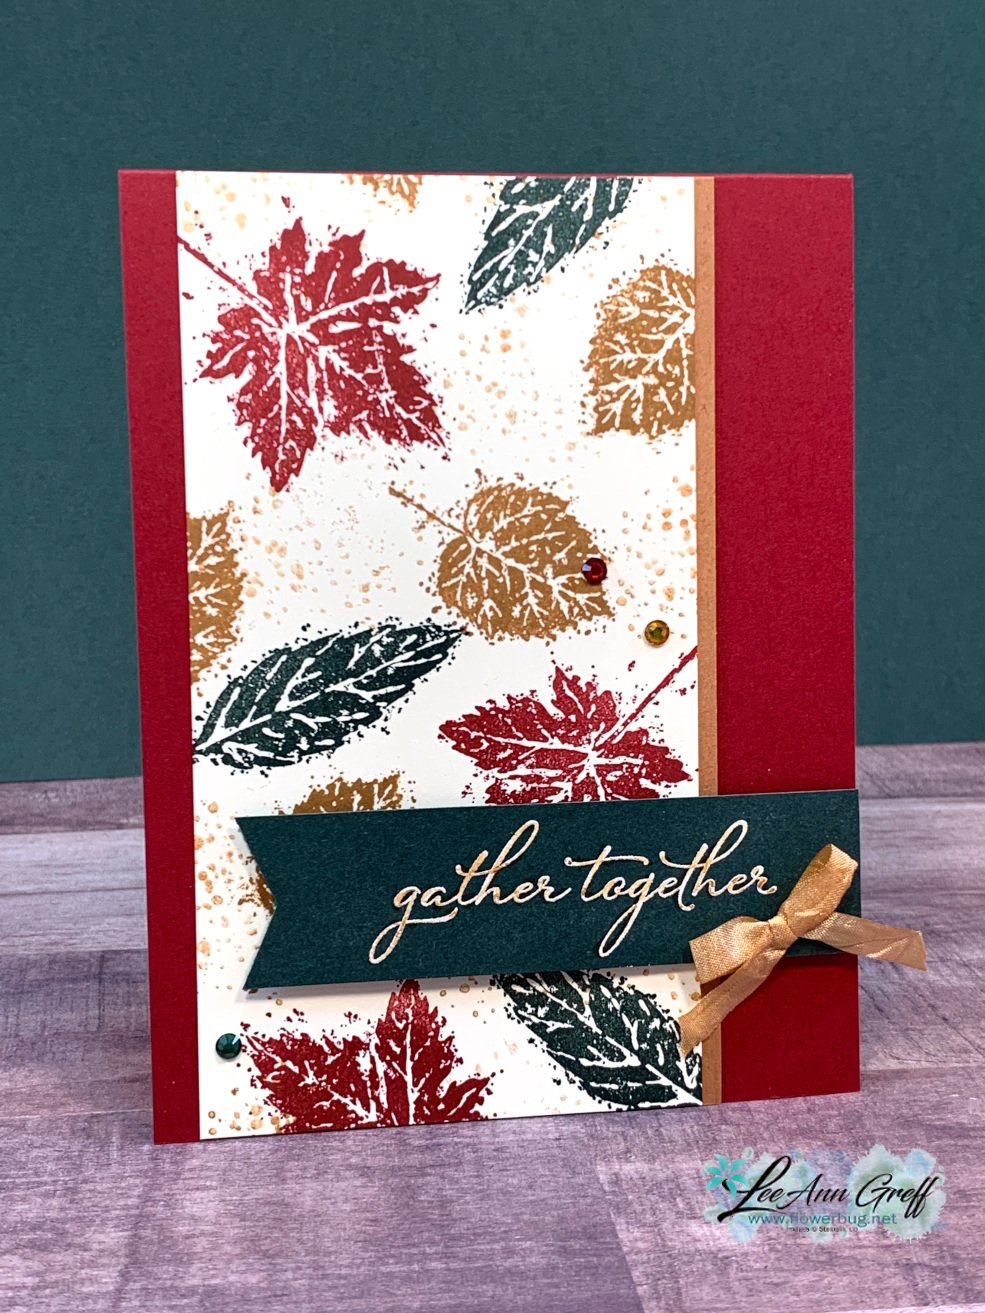
This next card is a 3" X 5 1/2" panel of Vanilla CS with a thin edge of Cinnamon Cider. The greeting is stamped and heat embossed on a 1" strip of Evening Evergreen. I did go over the White embossing with my Cinnamon Cider Blends marker. I also colored the White ribbon with the same Blends marker before tying my bow.
Do you ever create your own paper with stamps & ink? These types of images make it fun & easy to do. Try it; you will love filling in your card stock with pretty images. Remember to always start with your largest images first.
In this next card I added a few of the die-cuts from the Intricate Leaves dies from this bundle. The greeting is from the Pretty Pumpkins stamp set seen here. I colored the small leaves image with Stampin' Write markers.
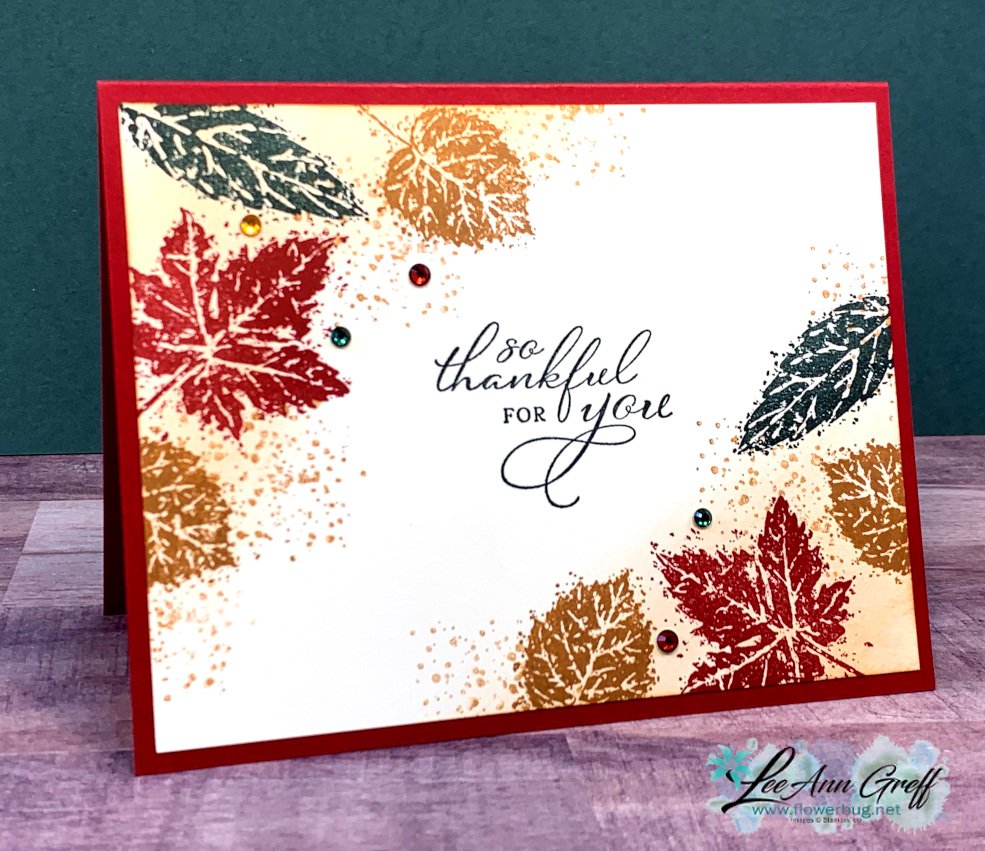
This next card is so quick, easy and still eye catching. Start with a pretty greeting in the center (Pretty Pumpkins set) and add leaves in opposing corners. A little splatter, sponging and gems and you're done!
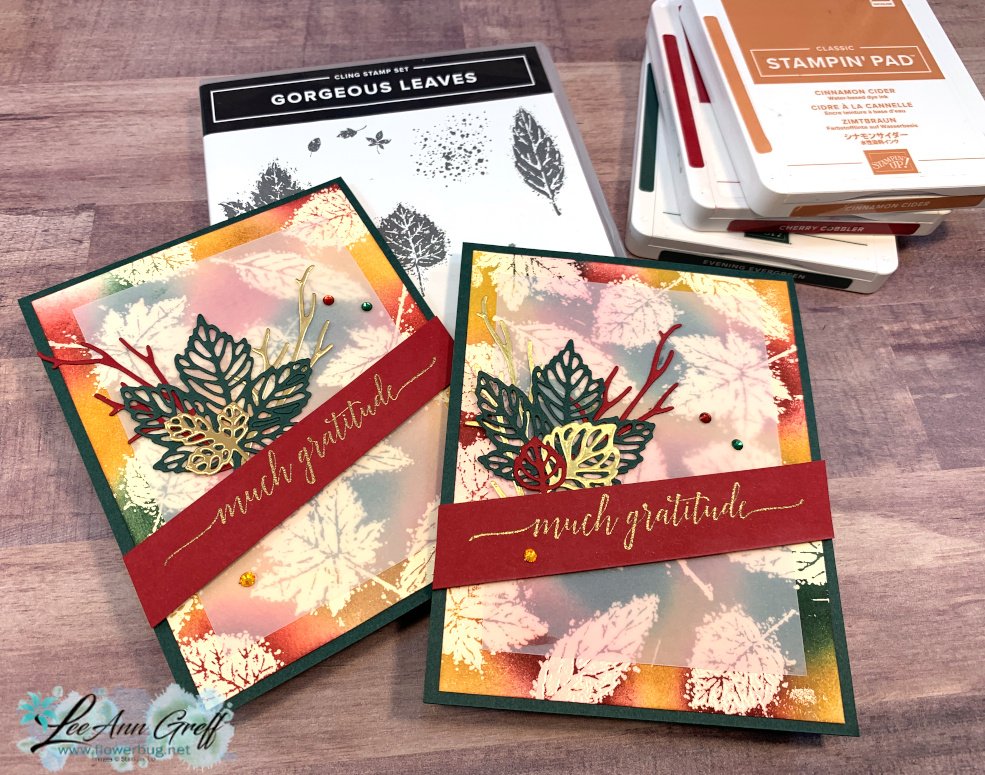
Now for the next few cards we're getting into some stamping techniques! This set of cards is made with the Emboss Resist technique. Same colors as above with the addition of Bumblebee and Gold.
I embossed the leaves images using Versamark ink and clear embossing onto Vanilla CS. Next, sponge Classic ink randomly, directly over the embossing filling in the entire piece of card stock with color.
Then use a damp tissue or cloth to wipe off the excess ink. It will come off of the embossed images but stay on the card stock. So fun and gorgeous!
I toned down & softened the look with a piece of Vellum card stock (3 1/2" X 4 3/4"). The die-cuts are all from the Intricate Leaves dies. The pretty greeting that is heat embossed with Gold embossing powder is from the Heartfelt Wishes stamp set seen here. It's in the Holiday catalog as well.
As you can see the Joseph's Coat can create a beautiful 'coat of colors'. The card above uses the same colors as the previous cards including Bumblebee. Holiday rhinestones are perfect with these colors.
This next card has Old Olive instead of Evening Evergreen. The Evergreen was just too dark. It is Cherry Cobbler card stock & ink. My photo came out a bit off color.
Once you have clear embossed leaves over this sponged piece you rub on a darker color of Classic or water-based ink. Anything but permanent ink should work. I used Soft Suede here. Most people use Black.
After I rubbed the Soft Suede ink pad directly onto the embossed card stock I used a tissue to wipe off the excess from the embossed leaves revealing the beautifully colored leaves.
*Watch the video below to see this technique done Live.
Notice: LeeAnn Greff, Independent Stampin’ Up! Demonstrator, Manager. The content of this website is my sole responsibility as an independent Stampin’ Up! demonstrator and the use of, and content of, the classes, services, or products offered on this website is not endorsed by Stampin’ Up! Copyright 2025




























Leave a Reply