/


Latest Post

Amazing, Fun & Easy Center-Fold card video!


We made several neat Center Flap cards on this week's Live (right here) at 7:30 pm CT. Here's my monthly FB Live schedule:
 
 
Tonight is the 4th Monday so we're stamping at 7:30 pm CT here on my FB page.  The cards are a unique Center Flap fold and SO EASY! This fold also shows off your pretty designer paper beautifully. 
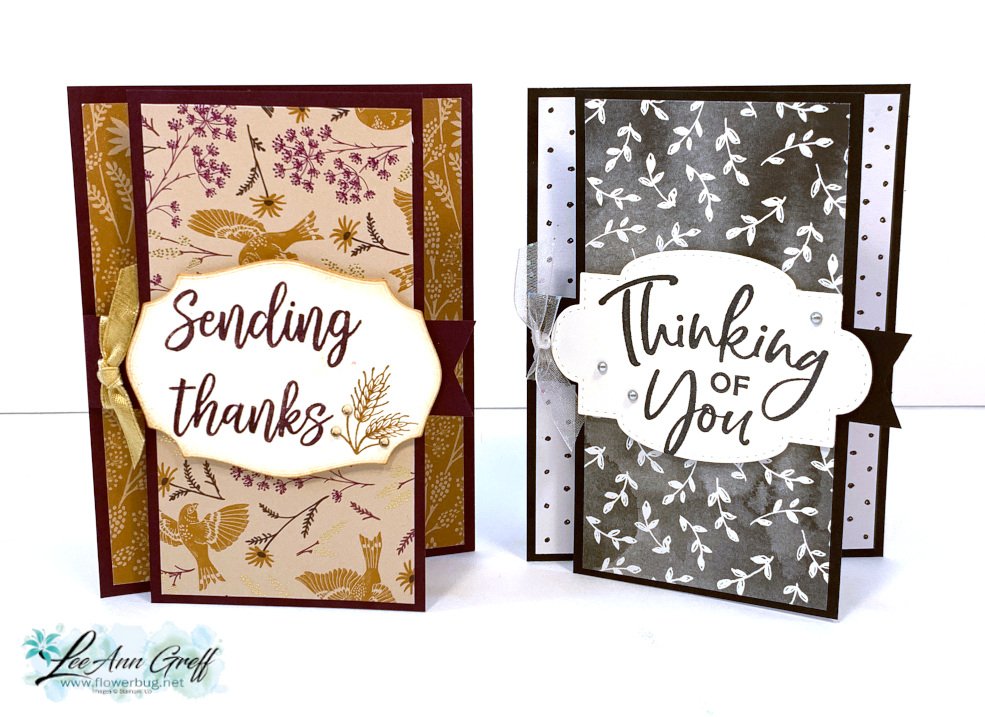
 
Prep your pieces to make some.
You'll need:
  • Card stock: one piece 4 1/4" X 5 1/2", one at 3" X 5 1/2" and one 1" X 4 3/4" for flap & a neutral piece for the inside greeting at 2 3/4" X 4"
  • Designer paper: 1 piece 4" X 5 1/4" and 1 at 2 3/4" X 5 1/4"
  • A large label (punched or die-cut) for the greeting
  • Ink, a greeting image, gems & ribbon to match
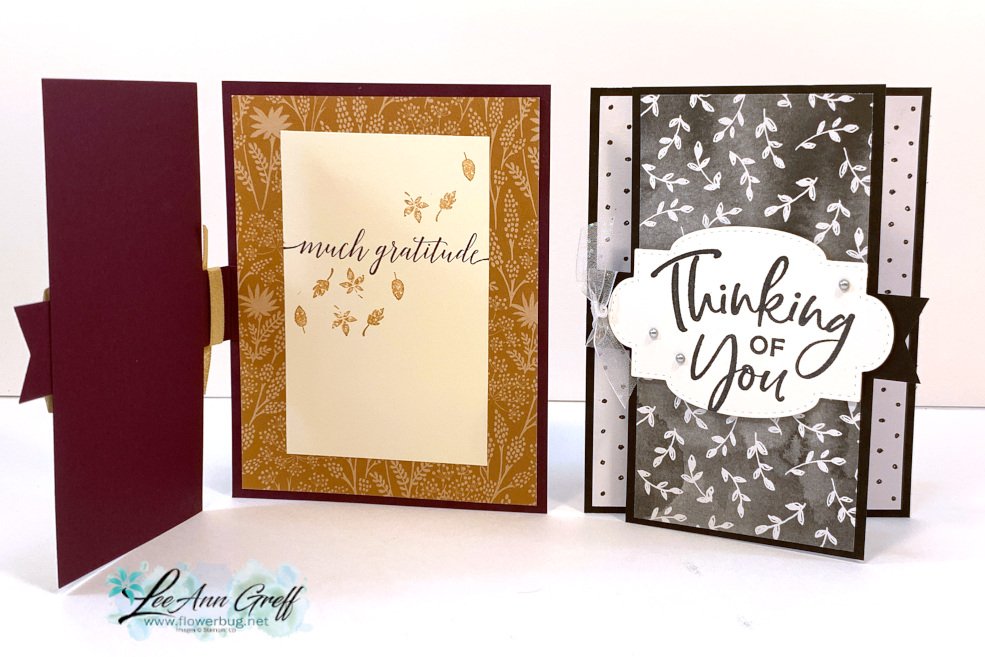
The black & white card is made with the Beautifully Penned designer paper in the Sale-a-Bration catalog.  This pretty black & white paper is 12 X 12 and only available through Thursday, Sept 30th.  It's free with a $50 order here. 
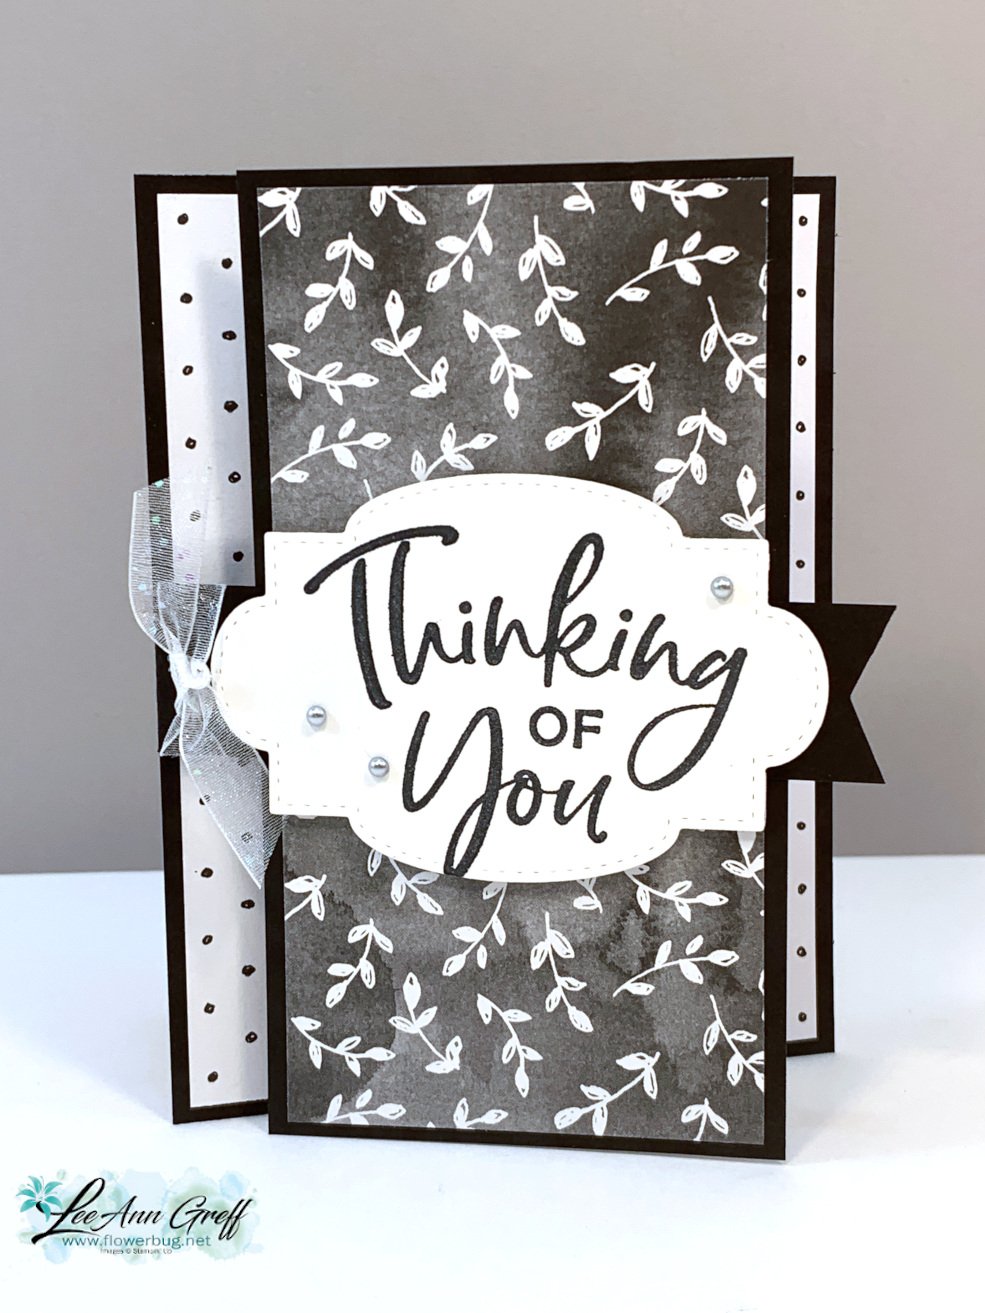
 
I used the Thinking, Thanks & Peace stamp set for the front and the Heartfelt Wishes for inside.  The die-cut is from the Stitched So Sweetly seen here.  
 
It's such a great time to order those items you've been wanting since you get something free with each $50-100 you spend!  FREE is everyone's favorite thing!  Shop here. 
Plus if you spend $50 in September you get a stack of 10 hand made cards from me as a thank you.  *see below.
 
Here's the video: 


~~~

September Specials

Host code: WGVUYXTF

*click here to order

Get 10 beautiful hand-made cards from me with a $50 online order

from September 20-30th! 

All online orders will receive a free PDF tutorial filled with projects featuring

the Painted Christmas Suite!

BEST DEAL!

Get a Free Bundle  from the Holiday Catalog when you choose the Starter kit! 

Plus pick out $125 in product of your choice for just $99 and shipping is free! 

You're getting up to $205 in products for just $99!

 

All Posts

  • Holiday Catalog sneak peak video; the Abundant Beauty Decorative masks for gorgeous sunflowers!


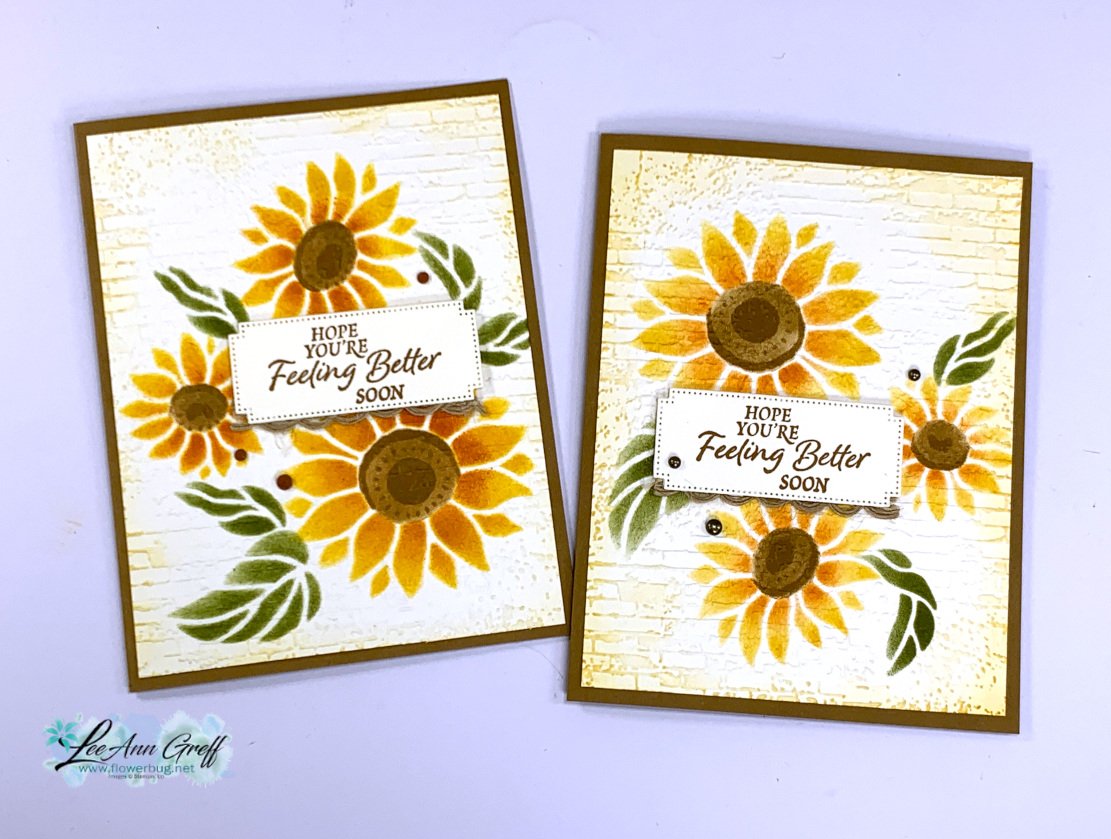
    Look at these beautiful sunflowers! 

    Can you tell that they're not stamped? I used a brand new set of decorative masks called Abundant Beauty, from the upcoming 2023 Holiday mini catalog.  It's a set of 7 masks including 4 for the sunflowers, snowflakes, houndstooth and falling leaves.

    I used sponge daubers and the following colors: Crushed Curry, Pumpkin Pie, Old Olive and Pecan Pie.  


    After I added the images I textured it with the Exposed Brick 3D embossing folder. Then added a bit more Crushed Curry ink around the edges. 

    I shared how to make this card step-by-step in the video seen here.   

    The greeting is from a brand new FABULOUS greeting set called So Sincere (from the upcoming Holiday catalog).  It's incredible; you're all going to want it.  It's on a die-cut from a new Autumn Leaves die set.  I added a bit of the Natural Wavy trim to the bottom of the greeting piece. 

    Click on the photo below to watch the video: Be sure to follow me on YouTube here or on my Facebook page here.  Then you won't miss anything!

     ~~~

    August Specials: 

     *current host codes: KY99RPXP 

    Free Gift with orders in August: 

    Get a pack of at least 5 beautiful cards with orders over $50 this month. 

    The more you order the more cards you get!

    *cards are previous card kits to go; over the top and many fun folds.  

    **Redeem your Bonus coupons in August! 

    Leave a Reply

    Your email address will not be published. Required fields are marked *

  • Beautiful Earthen Elegance monochromatic card with video!


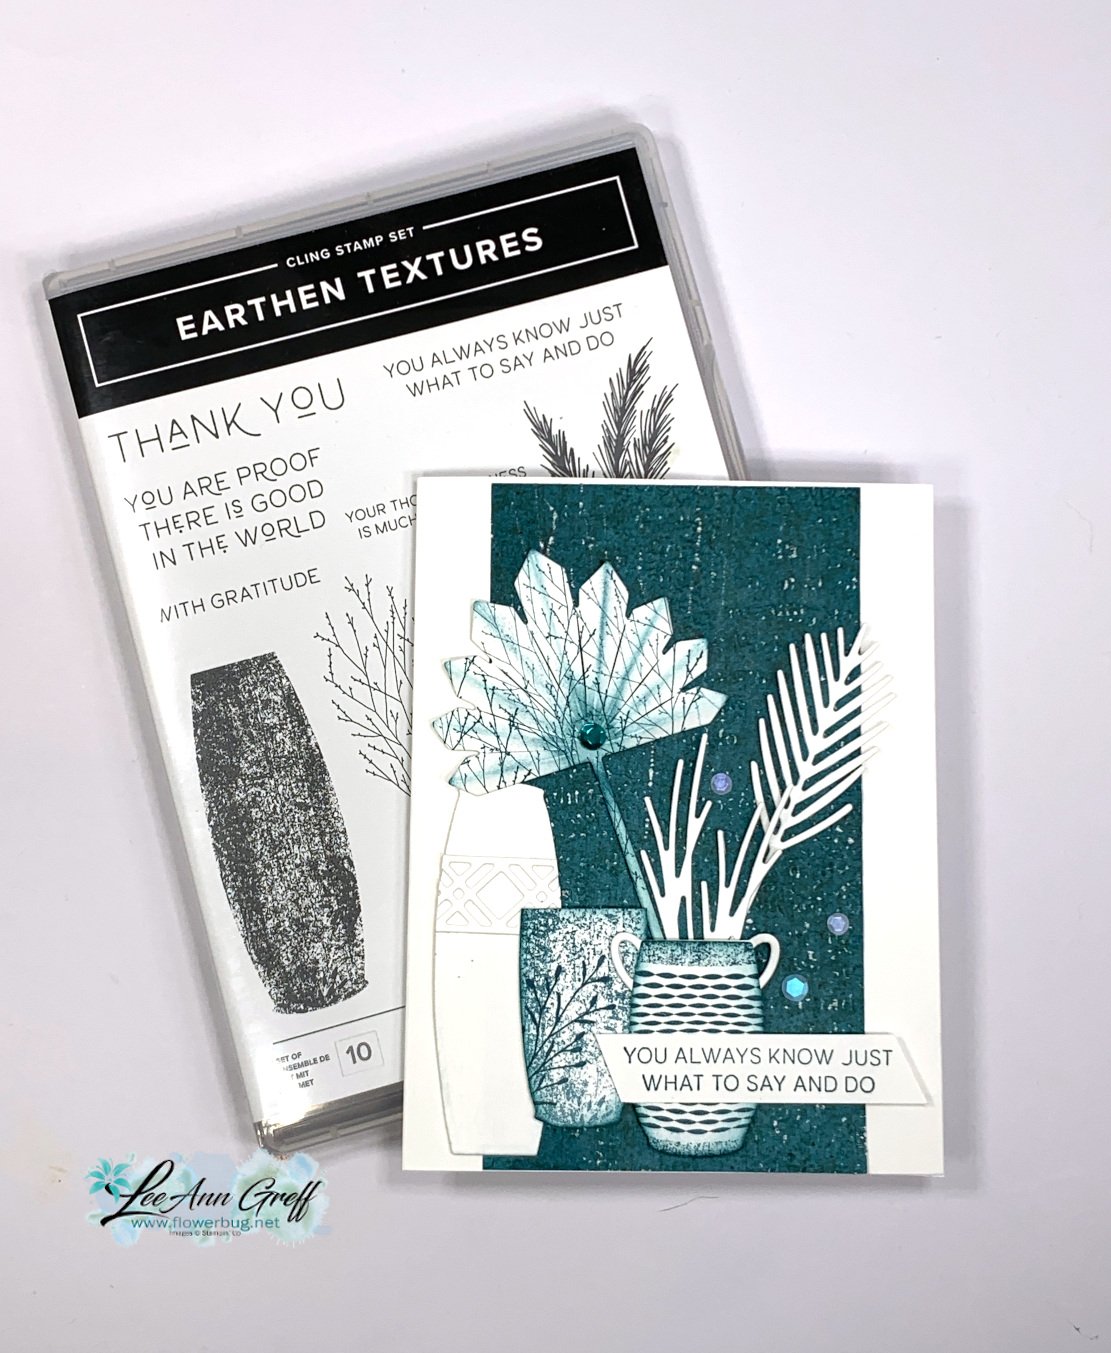
    I shared how to make this gorgeous card in a video a few weeks ago.  I liked it so much I decided to feature it at my August card clubs.  

    I featured the Earthen Elegance designer paper and the Earthen Textures set & dies bundle seen here.  It's all Pretty Peacock and white! 

    There are a ton of die-cuts on this card; all in white. After stamping the vases I sponged the edges with Pretty Peacock ink. 

    After we stamped one of the images in the set onto the large fan/leaf we folded it on the score lines and sponged ink onto the outer folds. 

    Another details – one one card I textured the DSP and then used a sanding block (or emery board) on the raised surface to show off the texture.  

    This stamp set is full of beautiful gratitude greetings. 

    You can see how this is made in the video here or click on the photo below to see it as well. I also share three other cards too. 

    ~~~

    August Specials: 

     *current host codes: KY99RPXP 

    Free Gift with orders in August: 

    Get a pack of at least finished, handmade cards with orders over $50 this month. 

    The more you order the more cards you get!

    *cards are previous card kits to go; over the top and many fun folds. 

    **Redeem your Bonus coupons in August! 

    Leave a Reply

    Your email address will not be published. Required fields are marked *

  • Another way to use the Gorgeous Garden dies in a fun fold card with video tutorial


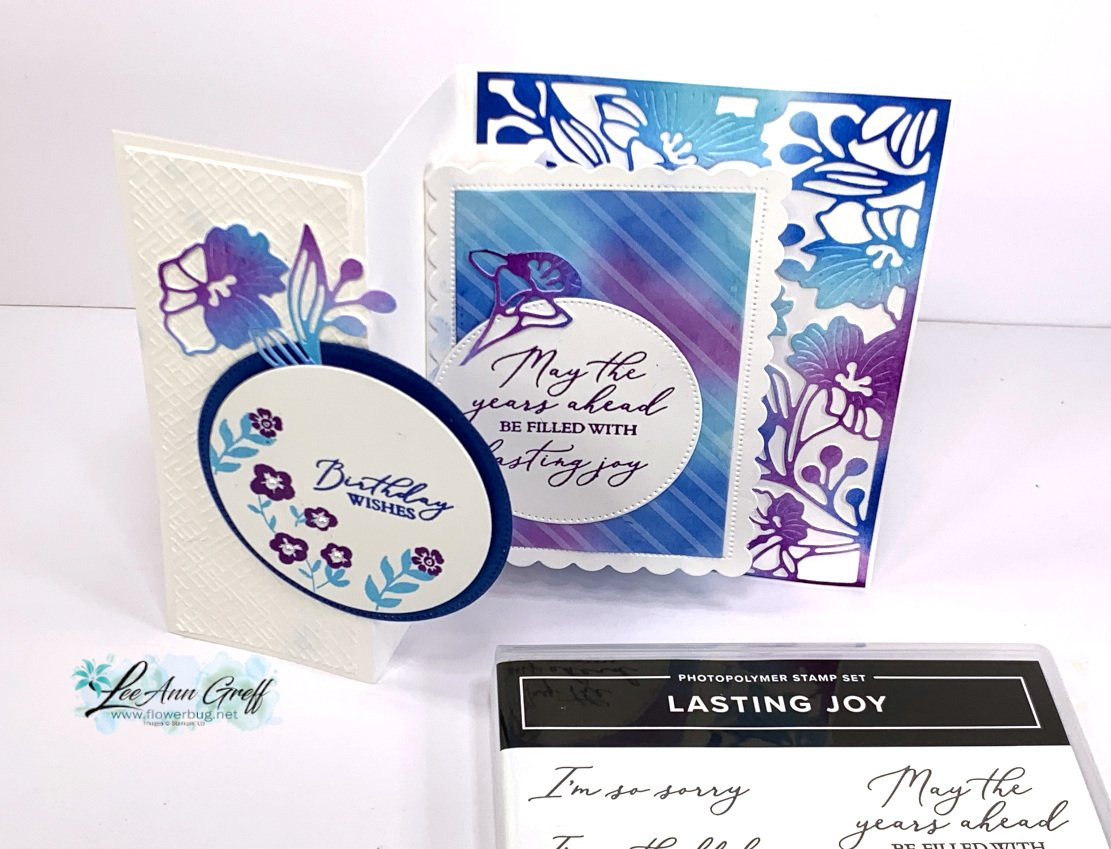
    I shared this beautiful card on a recent video.  I sure had fun with the colors on this card!

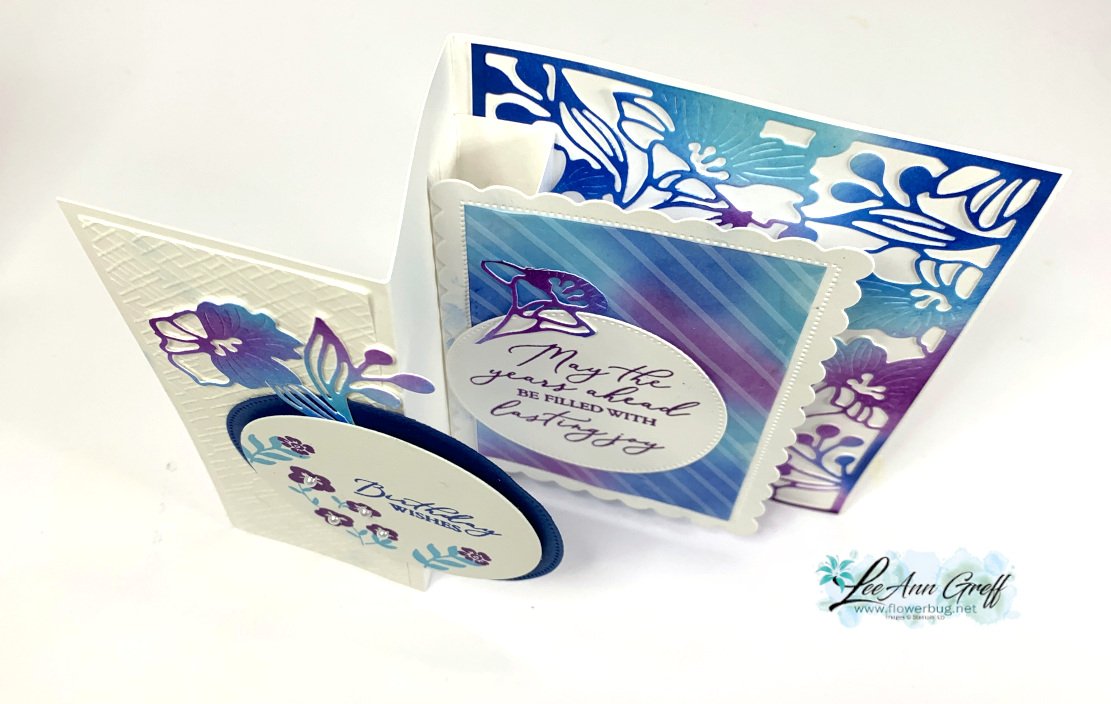
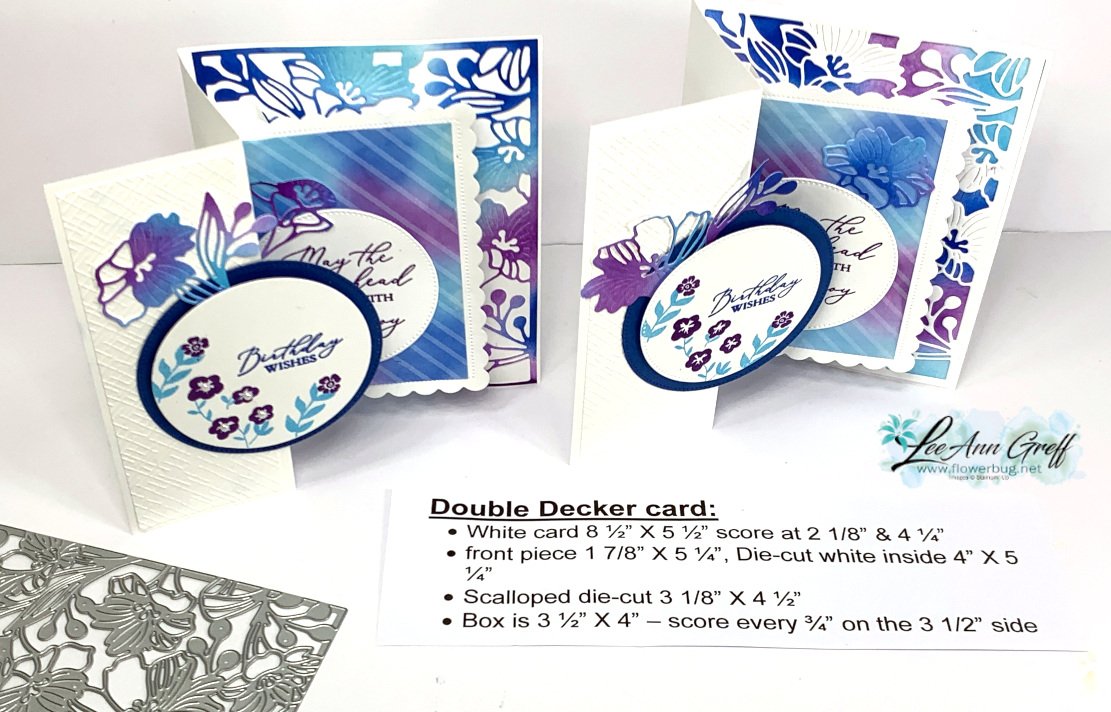
    It's a double-decker fun fold card.  It might look hard but it sure isn't!  All you need to add is a simple box between the middle layer and the inside back of the card.  Watch the video here to see how it's done.  

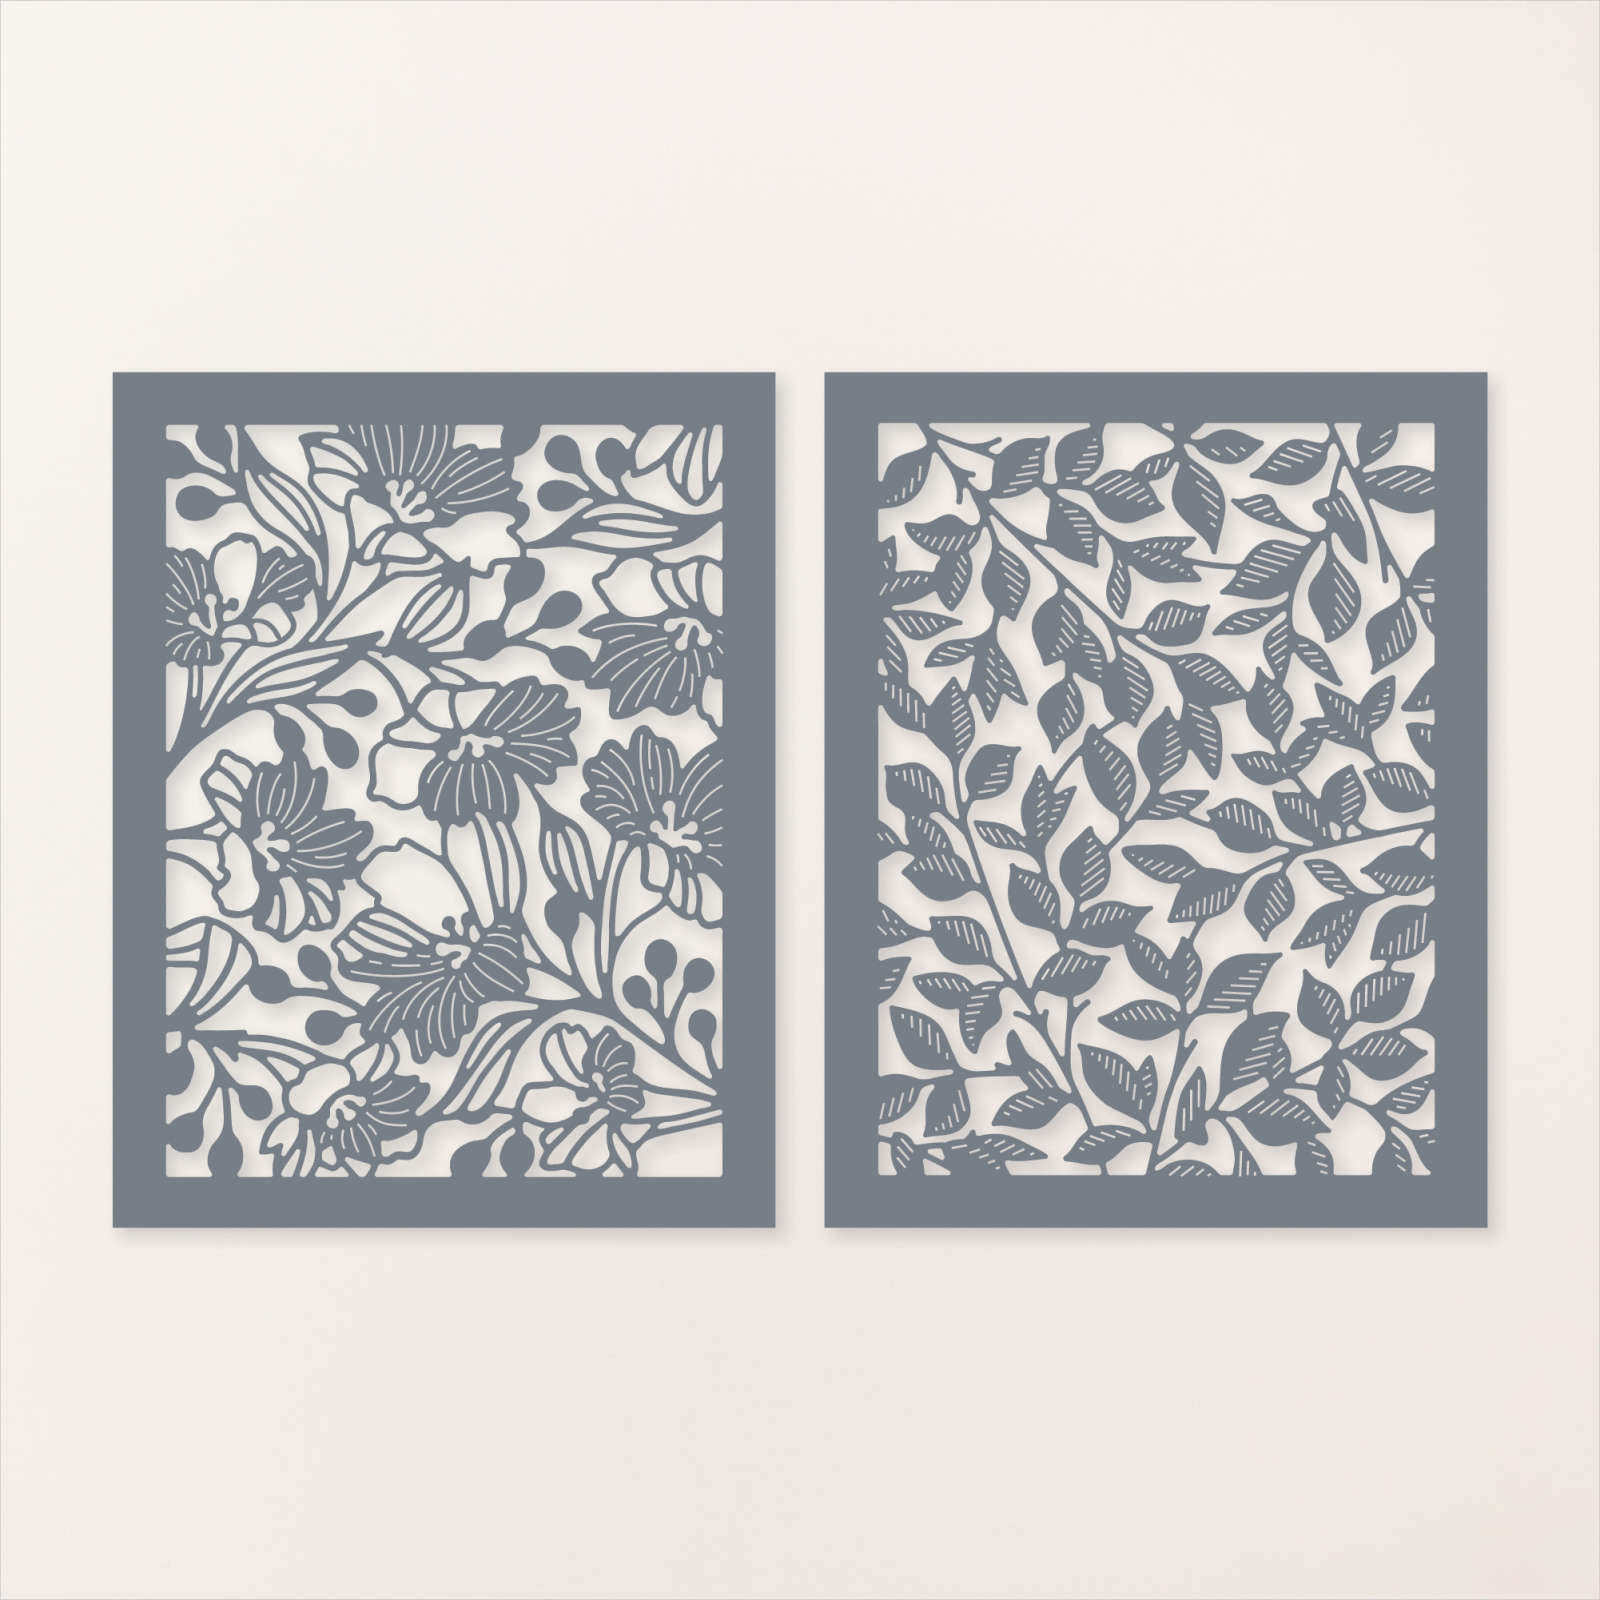
    Using our Blending Brushes I added the three colors (Tahitian Tide, Brilliant Blue & Gorgeous Grape) to a piece of White cardstock.  I then used the Garden dies to die-cut it out.  I adhered this to the back of the card base before adding the 'box' to create the double-decker fun fold card. 

    I created a second colorful die-cut so I could add extra details to the cards.   

    Supplies:

    • Basic White & Brilliant Blue card stock
    • Vellum Basics specialty paper seen here
    • Inks – Brilliant Blue, Gorgeous Grape & Tahitian Tide
    • Lasting Joy stamp set seen here
    • Gorgeous Garden dies
    • Basic 3D embossing folders seen here
    • Stylish Shapes dies for the circles
    • Scalloped Contours dies for the scalloped rectangle
    • Blending Brushes

    Double-decker card measurements:

    • White card 8 ½” X 5 ½” score at 2 1/8” & 4 ¼”, front textured layer is 1 7/8” X 5 ¼”,
    • White for die-cut 4” X 5 ¼”, Scalloped die-cut 3 1/8” X 4 ½”
    • Box is 3 ½” X 4” – score every ¾”
    • Circle die-cuts – 2 3/4" white & 3" blue 

    Here are both cards shown in the video below. 

    See the Gorgeous Garden dies here. 

    I made these cards on a recent video seen here.  Or click on the photo below to watch.  

    Don't forget to follow me on YouTube here or on Facebook here. 

     ~~~

    August Specials: 

     *current host codes: KY99RPXP 

    Free Gift with orders in August: 

    Get a pack of at least 5 beautiful cards with orders over $50 this month. 

    The more you order the more cards you get!

    *cards are previous card kits to go; over the top and many fun folds.  

    Leave a Reply

    Your email address will not be published. Required fields are marked *


Notice: LeeAnn Greff, Independent Stampin’ Up! Demonstrator, Manager. The content of this website is my sole responsibility as an independent Stampin’ Up! demonstrator and the use of, and content of, the classes, services, or products offered on this website is not endorsed by Stampin’ Up! Copyright 2025