/


Latest Post

Favored Flowers SAB fun fold card with video


I hope you've had a wonderful Christmas weekend.  We sure did.  It was crazy busy trying to fit all of our annual activities into three days.  But we did it!  I sure love having my kids home for the holidays; we all look forward to it!

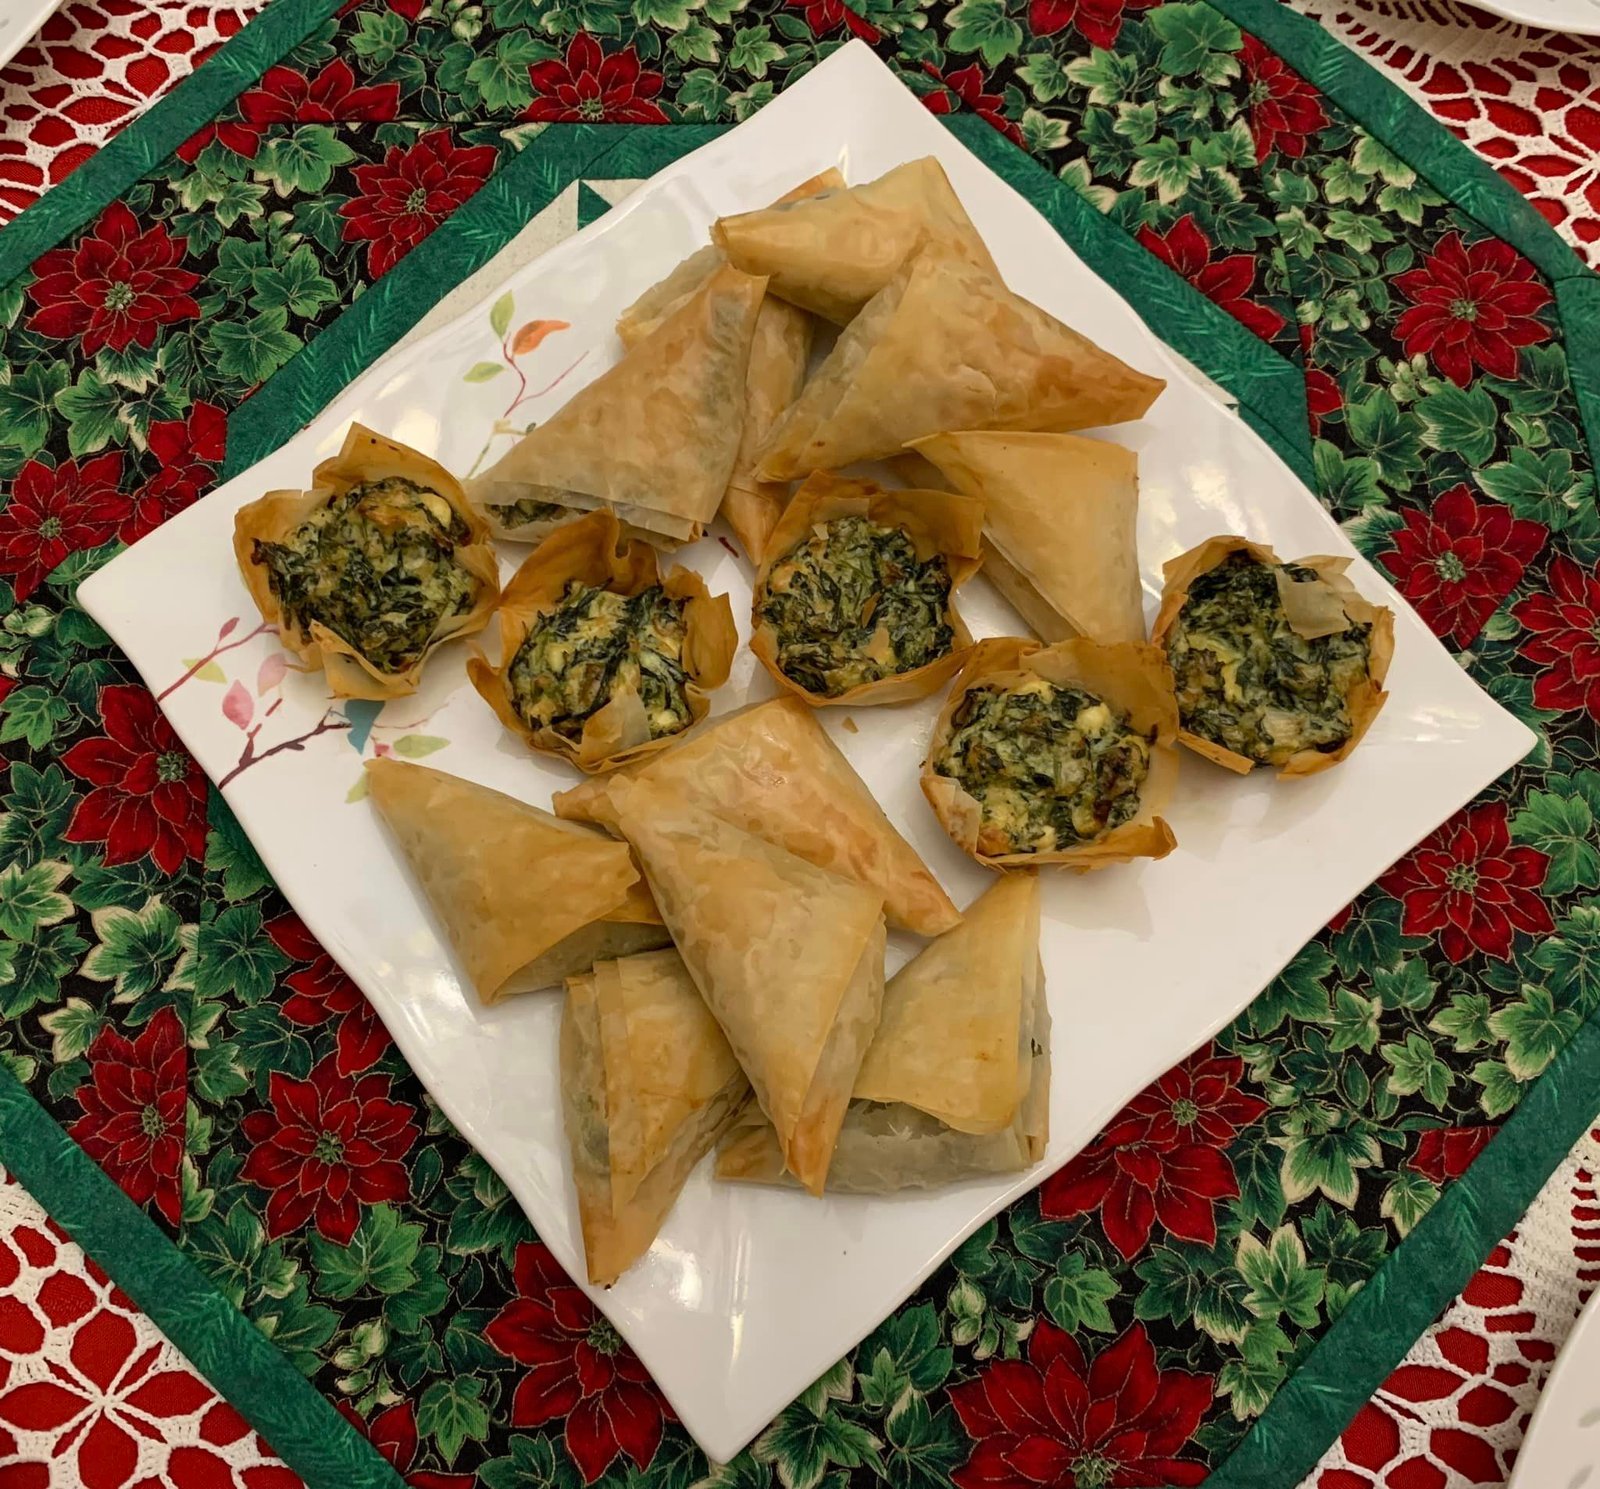
We have a few traditions; one is an appetizer show down. Each one of us makes an appetizer for Christmas eve and we vote on them.  We vote on taste AND presentation.  This year my granddaughter won with her Pizza Monkey Bread with marinara dipping sauce.  I came in second with Spanakopita.


The other fun thing we do is play Minute to Win It games.  We had a golf putting game, build the tallest snowman with marshmallows, Corn Hole, name the items in the stocking, moving mini marshmallows from one bow to another with a straw, filling a bowl with bows using a spatula blindfolded.  It's always a blast.  Funny story…. I always buy random presents for winners but totally forgot this year.  And I won!  Sheesh!  

~~~

I shared this pretty card on last week's Facebook Live.  I'm not sure what this fold is called though!

The center panel lifts up.  It's 3 1/4" X 8 1/2" scored at 4 1/4".  The center DSP is 3" X 4" and so is the inside white panel.  

The flowers on the front White oval are fussy cut from the designer paper. This beautiful paper is free with a $50 order starting January 5th during Sale-a-Bration.  

I used Blackberry Bliss card stock since it matches the designer paper so well.  

  • Card base 5 ½” X 4 1/4", 3 ¼” X 8 ½” scored at 4 1/4"
  • White inside & DSP 3" X 4", DSP side pieces are 1" X 4" and 1 1/4" X 4"

The greeting is from another Beautifully Happy stamp set; also a free choice during Sale-a-Bration.  It's a big 17 piece Photopolymer set that's free with a $100 order from January 5th – February 28th. 

Here's the video showing how to make this card and another snowflake version too: 

~~~

Clearance Rack Refresh!

Last Chance list is here!  

Order online using the link below:

Host code link:  QFTB9AST

Choose a free stamp set with online orders over $55 when using the host code above! 

 Earn free products with my loyalty rewards! 

Click here to download yours and earn a $50 shopping spree!

All Posts

  • See how the Josephs Coat Technique is done; with video & free project sheet


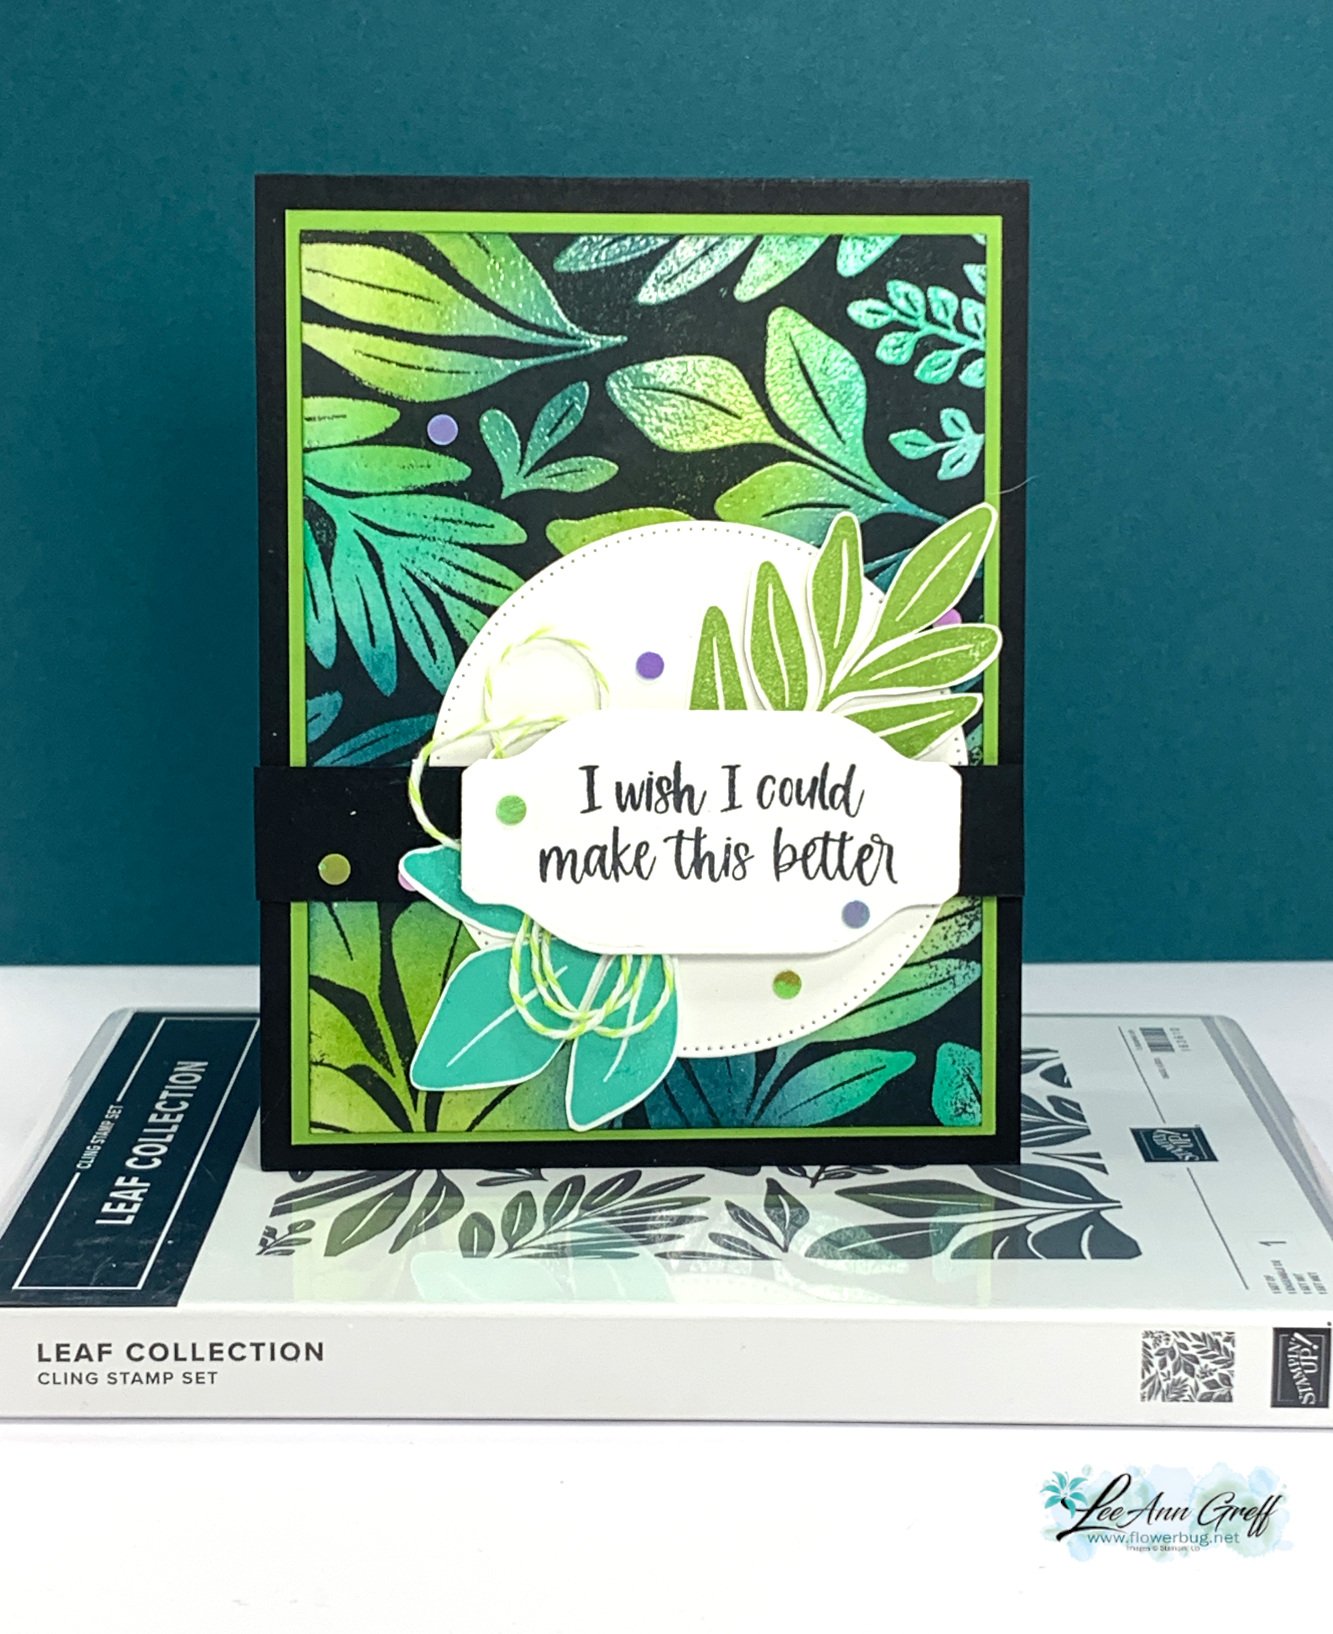
    Here's another project made on last week's Live video; it's the Josephs Coat technique using the new, upcoming Leaf Collection stamp.  

    That greeting stamp & scalloped oval die-cut are from the new Unbounded Love bundle from the upcoming 2024 Annual Catalog. I showed how to do this technique in the video here.  I also have a free project sheet with directions. 

    Here are the steps:

    1. Sponge ink all over a neutral piece of card stock – Pretty Peacock, new Summer Splash and lastly Granny Apple Green. 
    2. Wipe off any excess ink with a tissue to remove moisture.  Swipe with an embossing buddy.
    3. Ink your stamp in Versamark ink. Heat emboss with Clear embossing powder.  
    4. Use a water-based ink pad like Memento Black and rub or tap the ink over it all.  This is called 'Direct to Paper'. 
    5. With a damp tissue or paper towel, wipe off excess ink from the embossed area. It will not stay on the embossed area. 
    6. Finish your card as you'd like. 

    I inked the stamp again in a few colors – Granny Apple Green & Summer Splash, and fussy cut some leaves out for accents. Dies used above include Something Fancy & Stylish Shapes. 

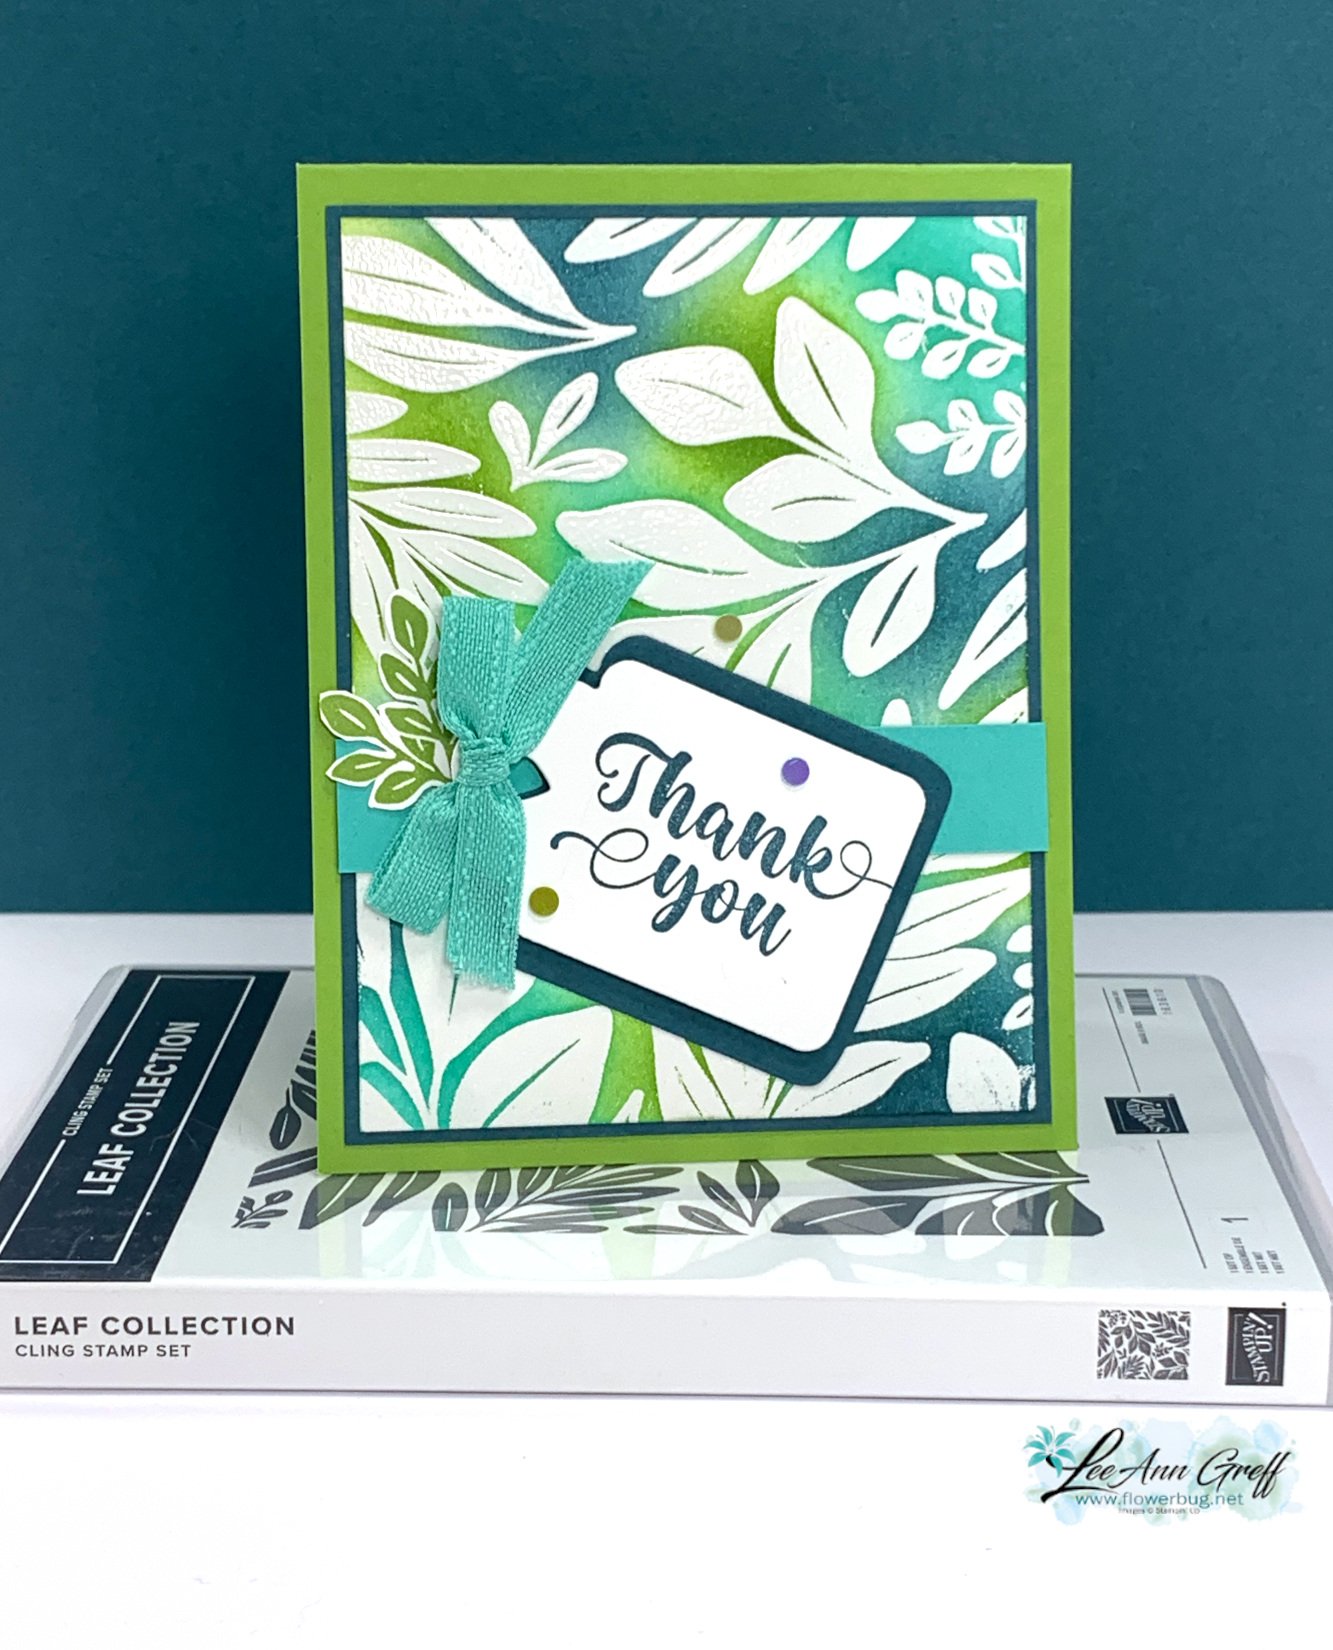
    The card below features an emboss resist technique.  Same colors but the steps are different. 

    1. First I stamped using Versamark ink onto White card stock and heat embossed with clear embossing powder. 
    2. Then I added ink over the clear embossing; using Blending Brushes. Inks include: Summer Splash, Pretty Peacock and Granny Apple Green.  *This must be water-based ink!
    3. Use a damp tissue or paper towel to wipe off excess ink that will not stick to the embossed areas. Done! 

    The greeting is from the Irresistible Blooms stamp set (online exclusive) and the tags are from the Something Fancy dies (carrying over). 

    Click here for the free project sheet:   Download Leaf Collection Josephs Coat cards

    Which card do you prefer above?  Left or right? 

    Below is the video on how I made this card along with a few resist techniques featuring new Annual Catalog products. I hope you watch it AND subscribe to my YouTube channel too. 

    ~~~

    April Specials: 

    *current host code link:   D6QRFZ7J

    Here's a link to the Last Chance list 

    A free gift with orders in April:

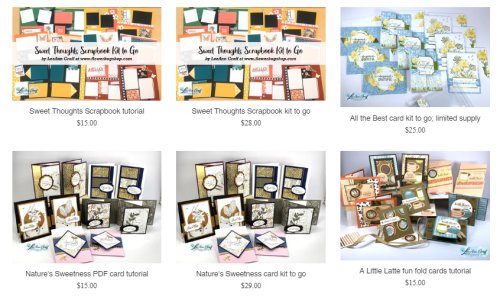
    Check out my available Kits & Tutorials here:

    All online orders in April will receive a free multi-project tutorial!

    Leave a Reply

    Your email address will not be published. Required fields are marked *

  • The Clearance Rack has lots of new items! Run (don’t walk) to see it all


    Woo hoo!  The Clearance Rack has been updated with new products at amazing prices!  Don't wait another minute to check it out; they're while supplies last. Items can go FAST!! 

    Click here to shop. 

    Remember that you can shop the Last Chance items at the same time.

    And the kit collection too!  

    ~~~

    April Specials: 

    *current host code link:   D6QRFZ7J

    Here's a link to the Last Chance list 

    A free gift with orders in April:

    Check out my available Kits & Tutorials here:

    All online orders in April will receive a free multi-project tutorial!

    Leave a Reply

    Your email address will not be published. Required fields are marked *

  • Let’s Chat is cute & nostalgic! See the video & free project sheet


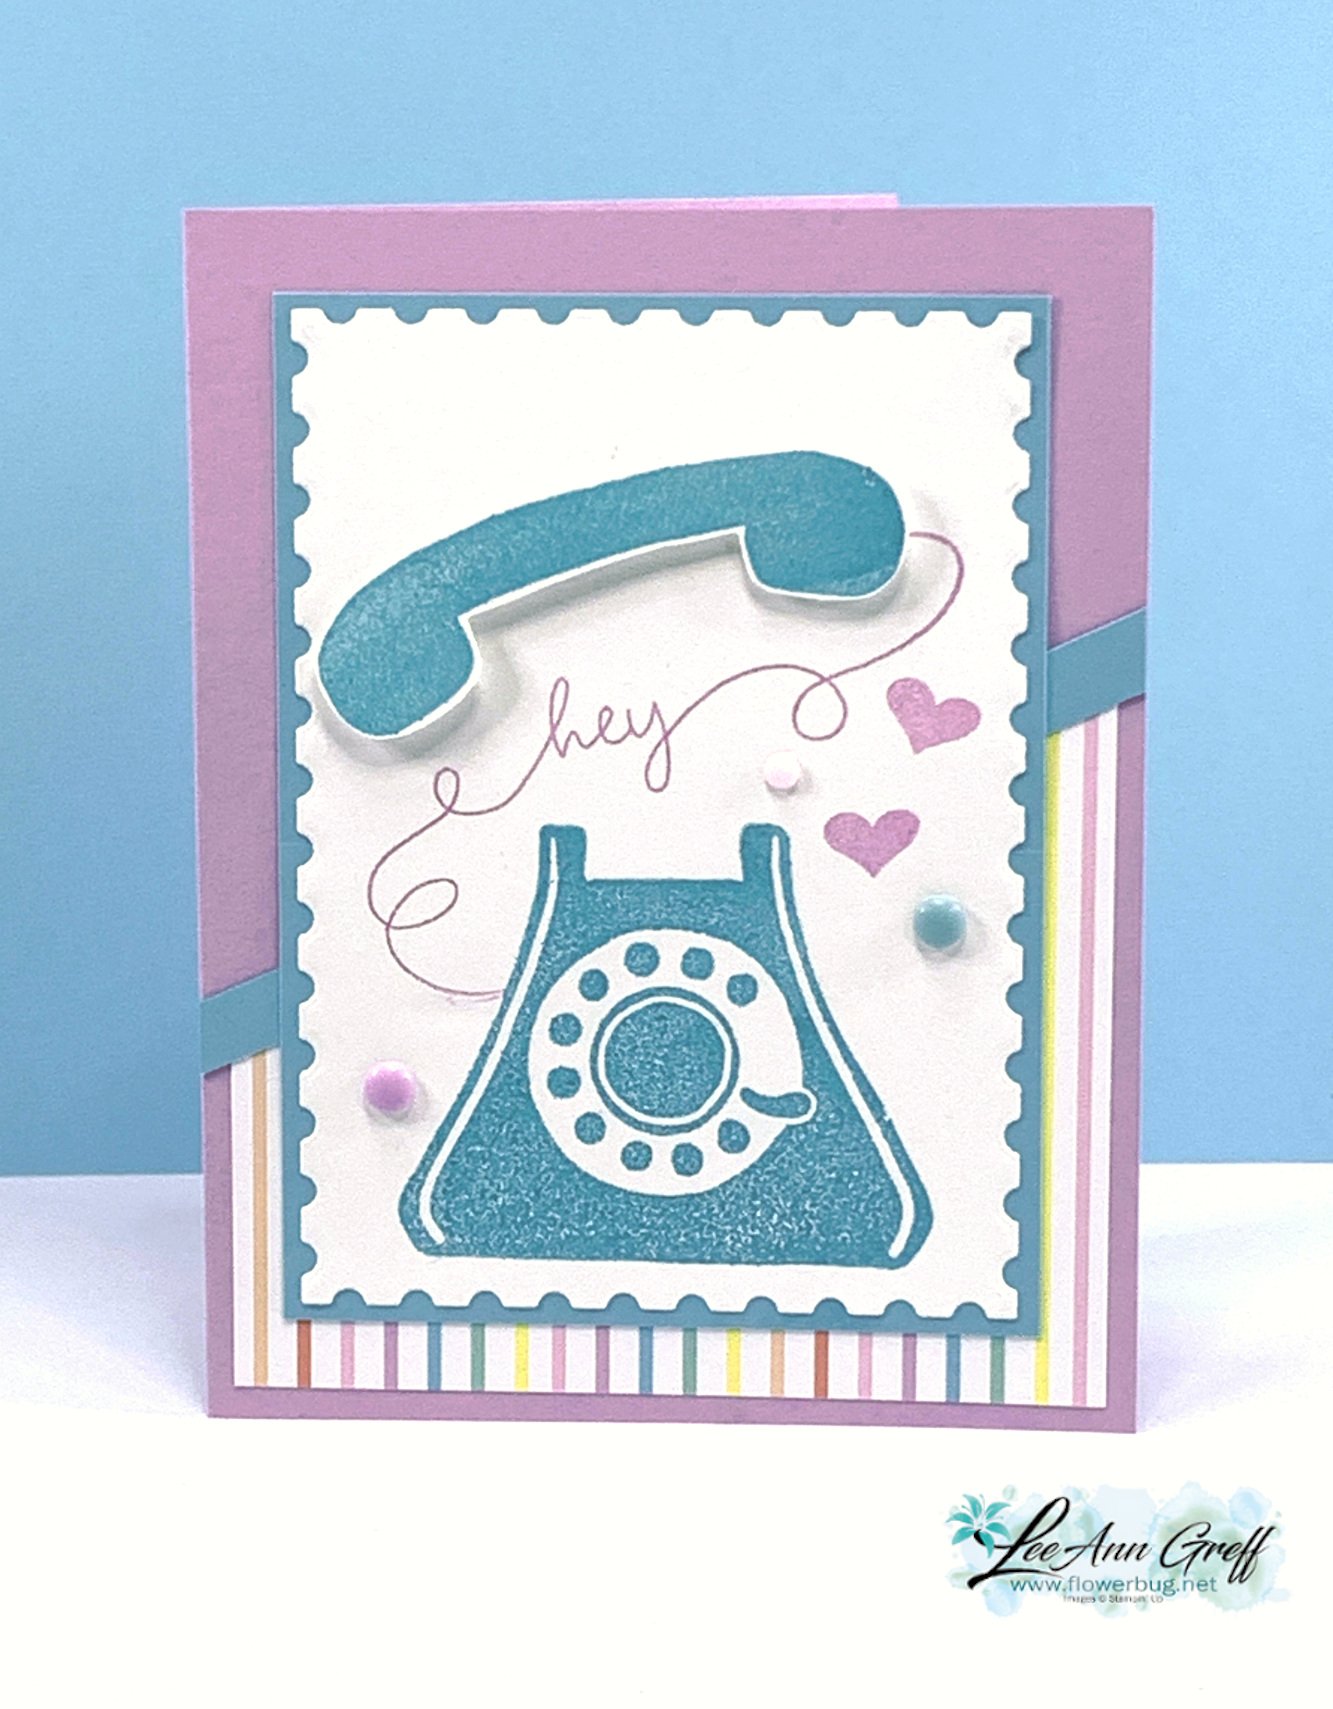
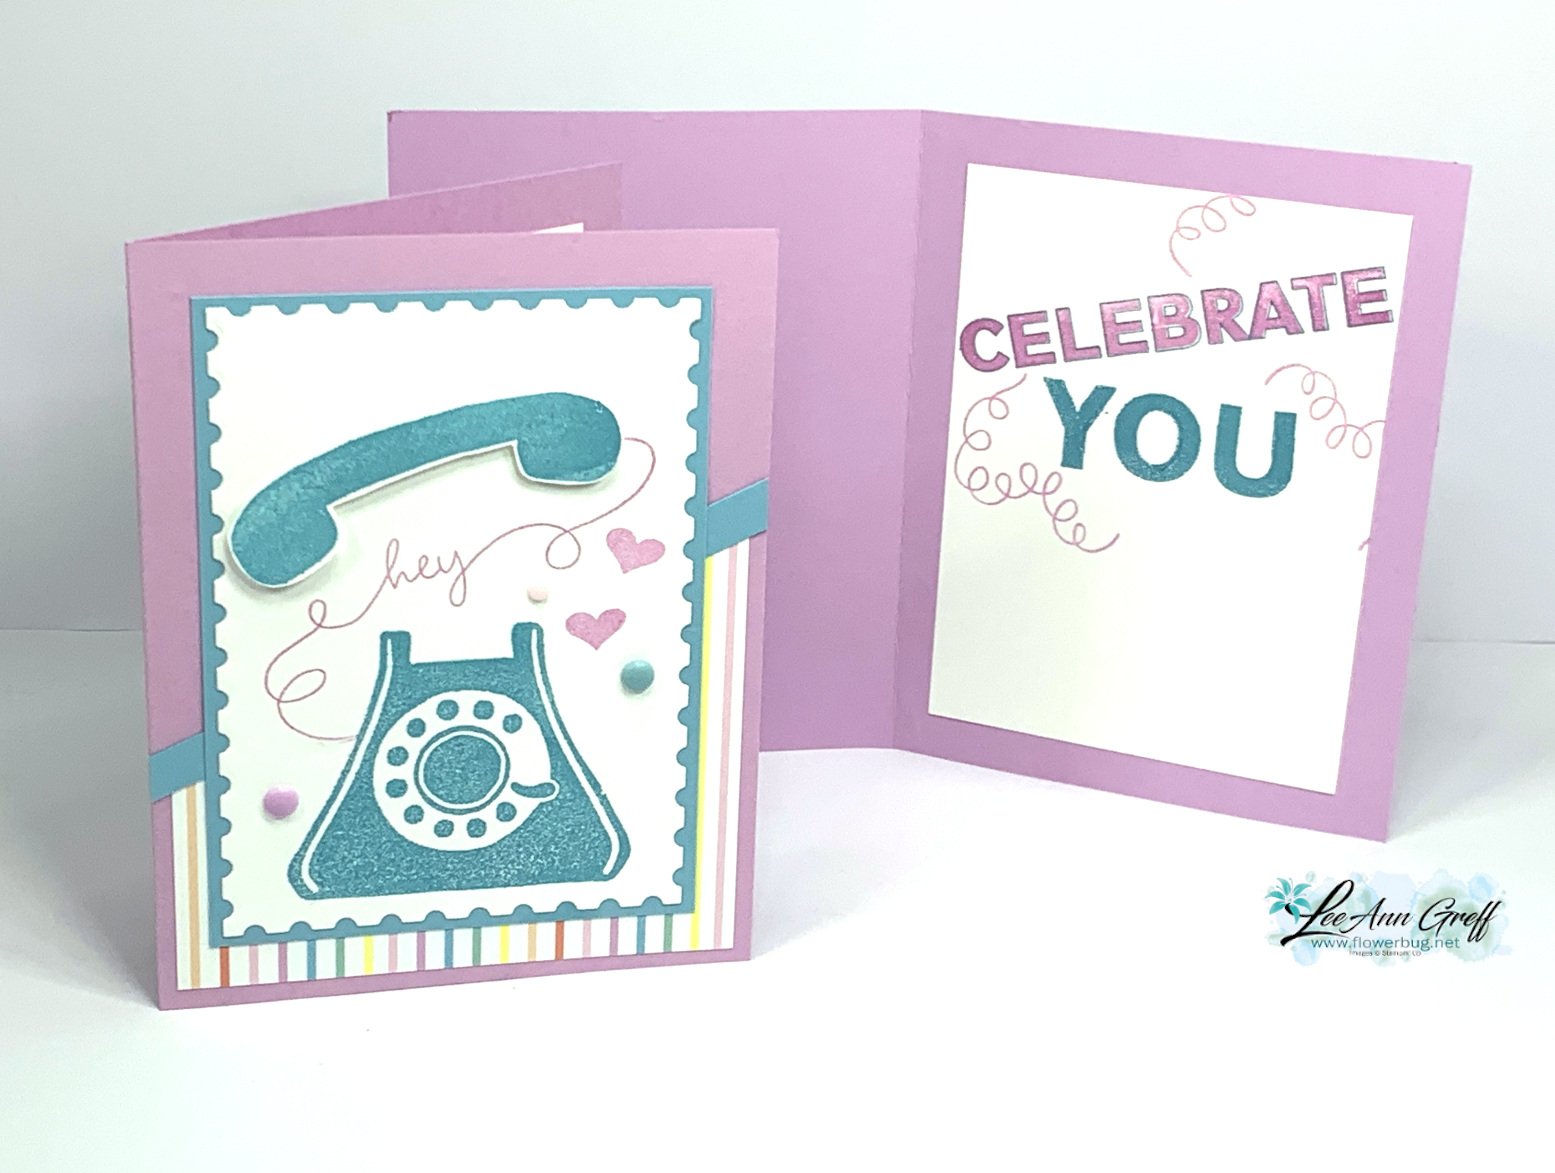
    Today I'm sharing one of the Club cards we made during my April Card Clubs. I chose the 'Let's Chat' stamp set seen here. 

    I love this set!  Between the fun old-fashioned telephone, the greetings and the curvy 'cord' images it's a blast to create with. 

    I chose to use the retiring Hot Air Balloon designer paper seen here for my color palette of Fresh Freesia & Balmy Blue. We did fussy cut the head set to add at the top with Stampin' Dimensionals. 

    For the inside of the card I used the Happy Little Things stamp set seen here.  I really like the many greeting combinations you can make. t's one of our online exclusives.  

    If you'd like the free project sheet click on this link: Download April 24 Let's Chat

    Below is the video on how I made this card along with a few resist techniques featuring new Annual Catalog products. I hope you watch it AND subscribe to my YouTube channel too. 

    ~~~

    April Specials: 

    *current host code link:  W62MPU2R

    ~~~

    Here's a link to the Last Chance list 

    A free gift with orders in April:

    Check out my available Kits & Tutorials here:

    All online orders in April will receive a free multi-project tutorial!

    Leave a Reply

    Your email address will not be published. Required fields are marked *


Notice: LeeAnn Greff, Independent Stampin’ Up! Demonstrator, Manager. The content of this website is my sole responsibility as an independent Stampin’ Up! demonstrator and the use of, and content of, the classes, services, or products offered on this website is not endorsed by Stampin’ Up! Copyright 2025