/


Latest Post

Fantastic card with the Merry Christmas stamp with a free project sheet & video


Today is the last day to get in on the Cyber Monday sale on Paper Pumpkin subscriptions.

Save big on a 3 month, 6 month or 12 month subscription. I love getting a crafty box in the mail each month!
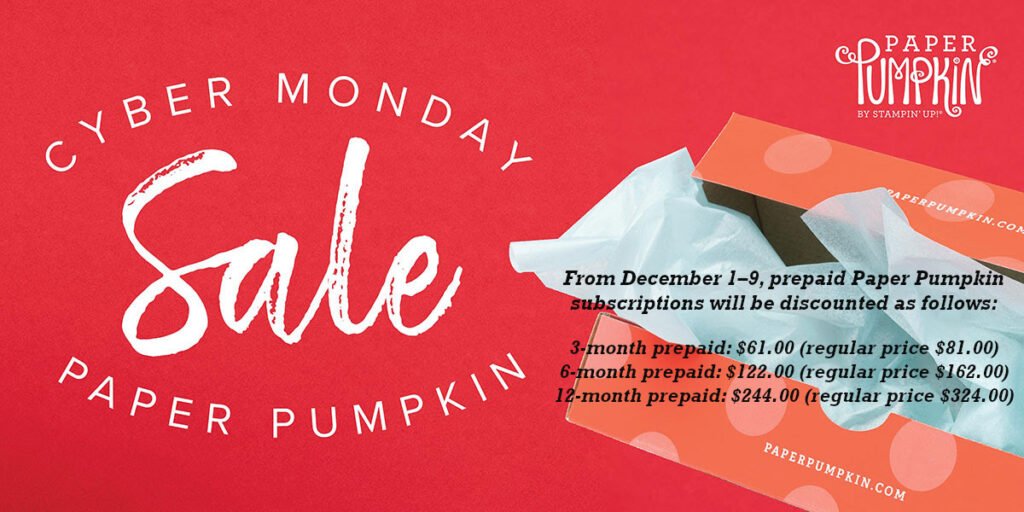
Go here to subscribe.

~~~

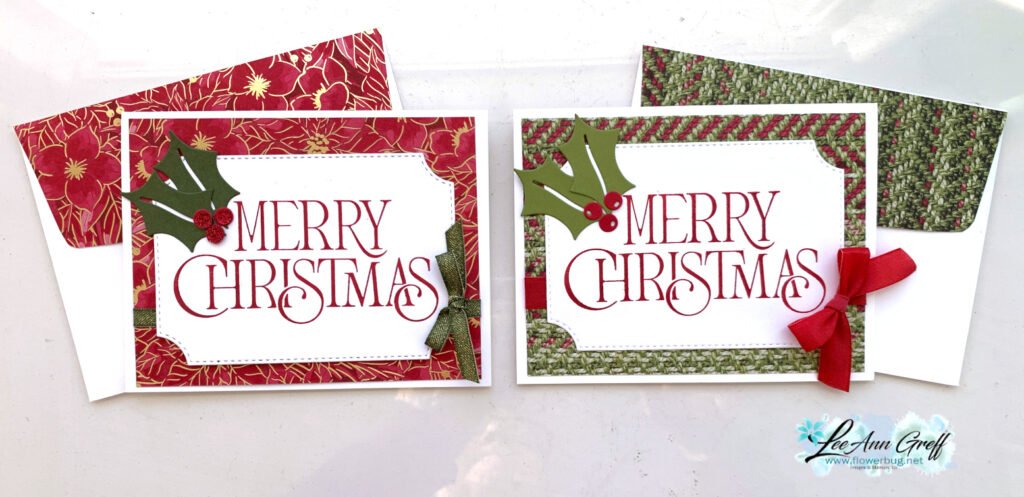
The font on this Merry Christmas stamp sold me on it. Just a little bit of the fun, curviness I love.
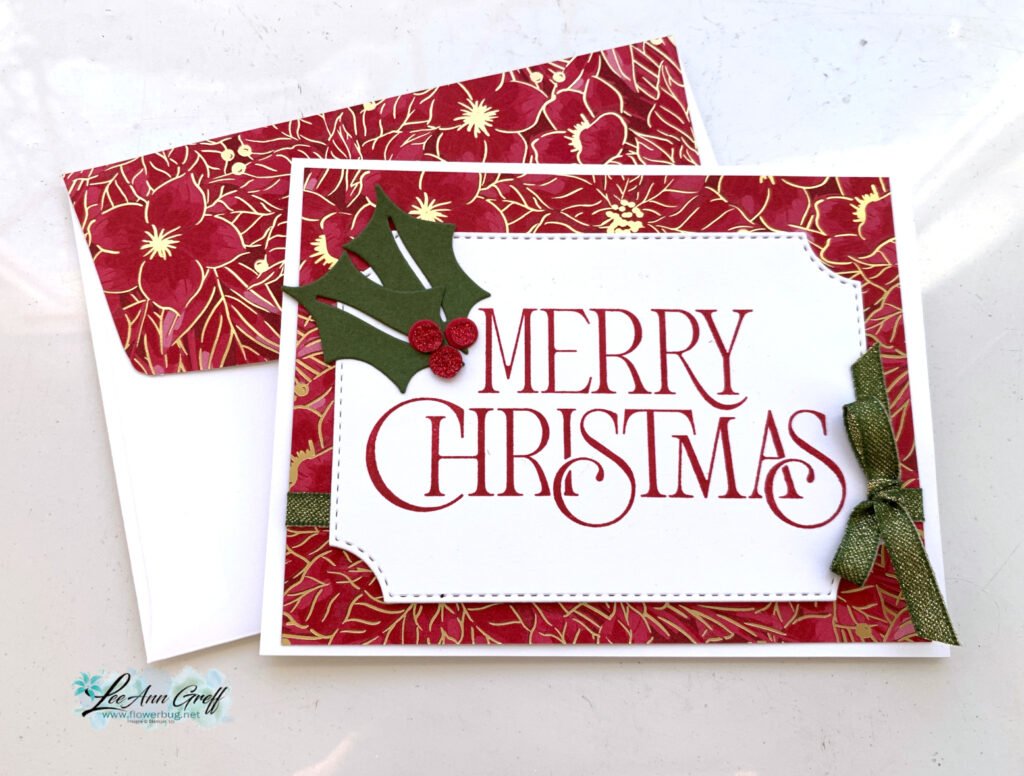
This Merry Christmas stamp is a true classic with a bit of that Victorian feel to it. I don’t often keep retired stamps but I will keep this one! It’s on sale now too; while supplies last. Click here to see it.

I paired it with the Traditions of Christmas designer paper here. It’s discounted and on the Last Chance list here. However it’s currently out of stock but should be back next week.
A bit of holly and berries with some ribbon and you’re done! As you can see I added the same DSP to my envelope flap. Now that makes a card extra special!

This next one features the Need for Tweed designer series paper. See that here. Fun prints with lots of texture. It’s also on sale right now and available while supplies last.
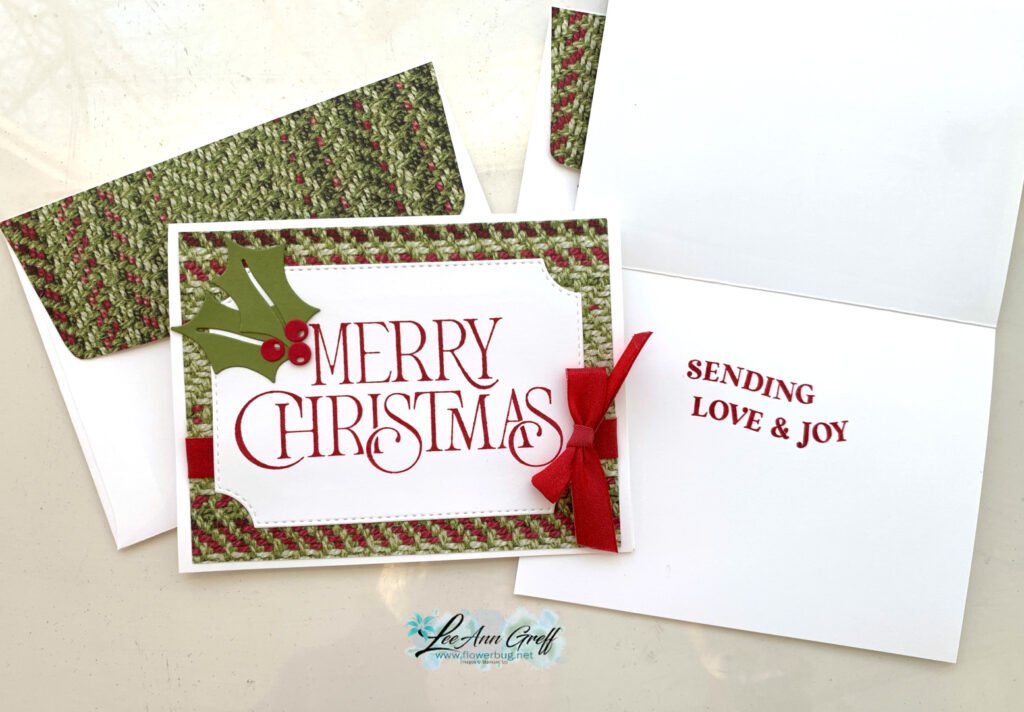
I stamped the inside with greetings from the Traditional Labels stamp set.

Aren’t they a beautiful set of cards! I will be making more of these and it’s a bonus that it uses up a nice piece of designer paper. No hoarding it!
Here’s the free project sheet for you. Click here to download or print it.

Today is the last day!!

From December 1-9 get a nice discount on Paper Pumpkin subscriptions! Click here to order.

Get this product of the month for just $5 with any $75 purchase in December!
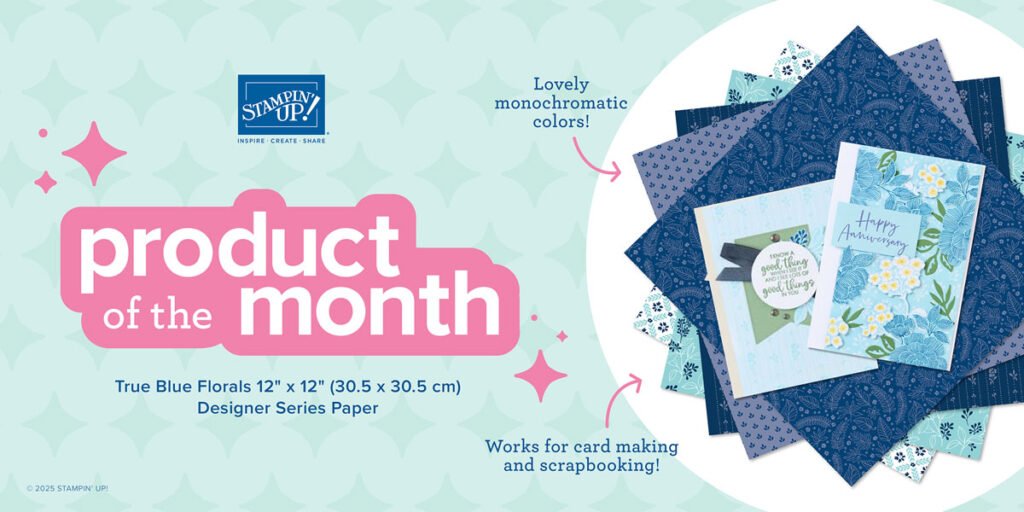
Get a free PDF tutorial with any online order from me in December!
All Posts

  • Sentimental Park with Country Gingham DSP card swap


    I always join a bunch of online swaps with each new catalog.  It's so much easier to make a bunch of one card than it is to make one of several different cards for my display boards.  

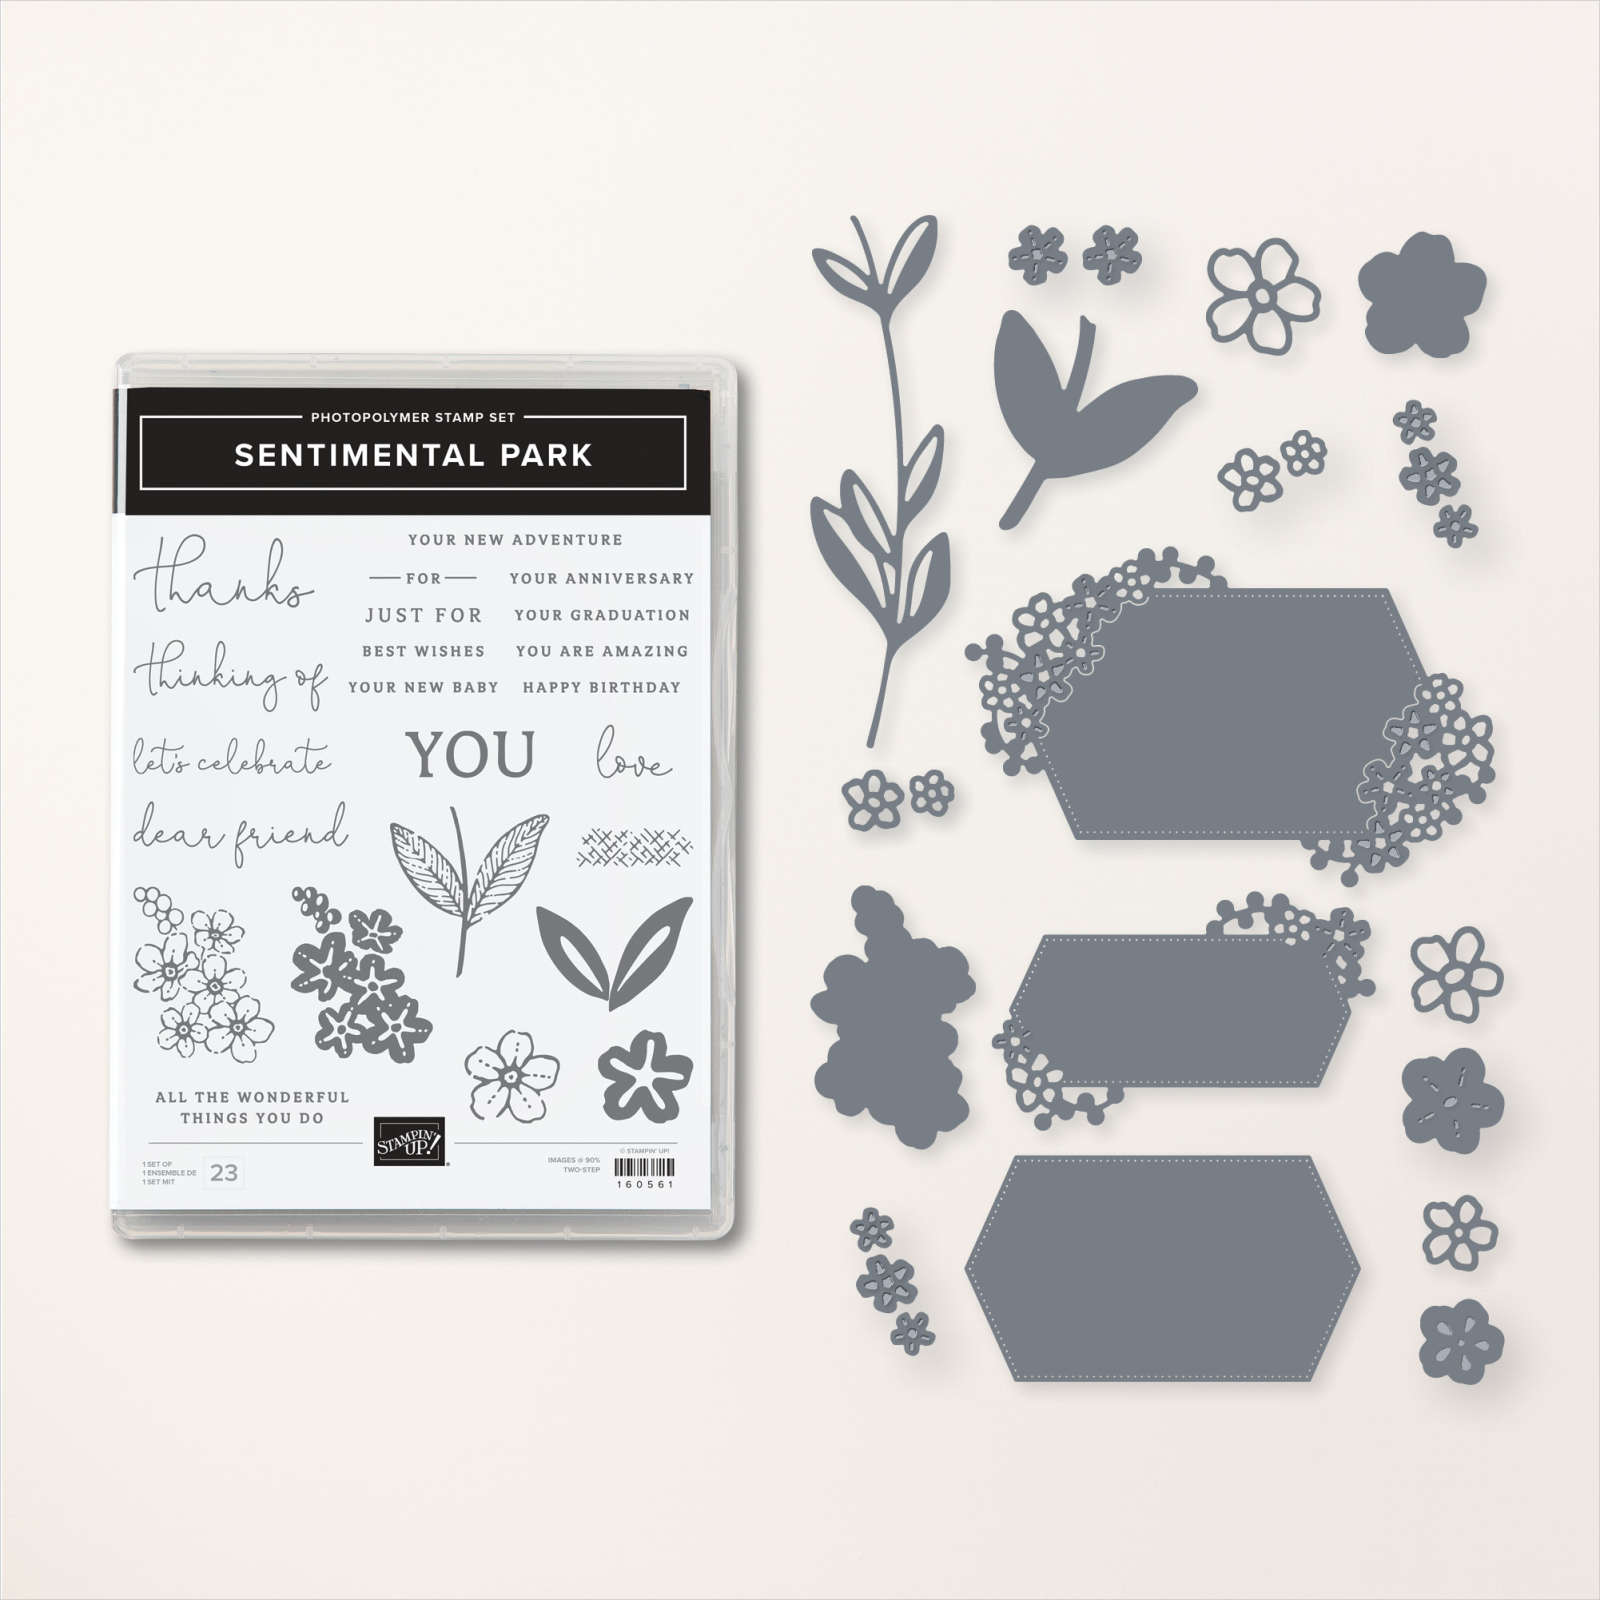
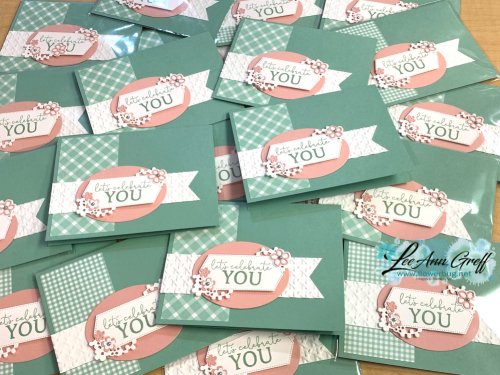
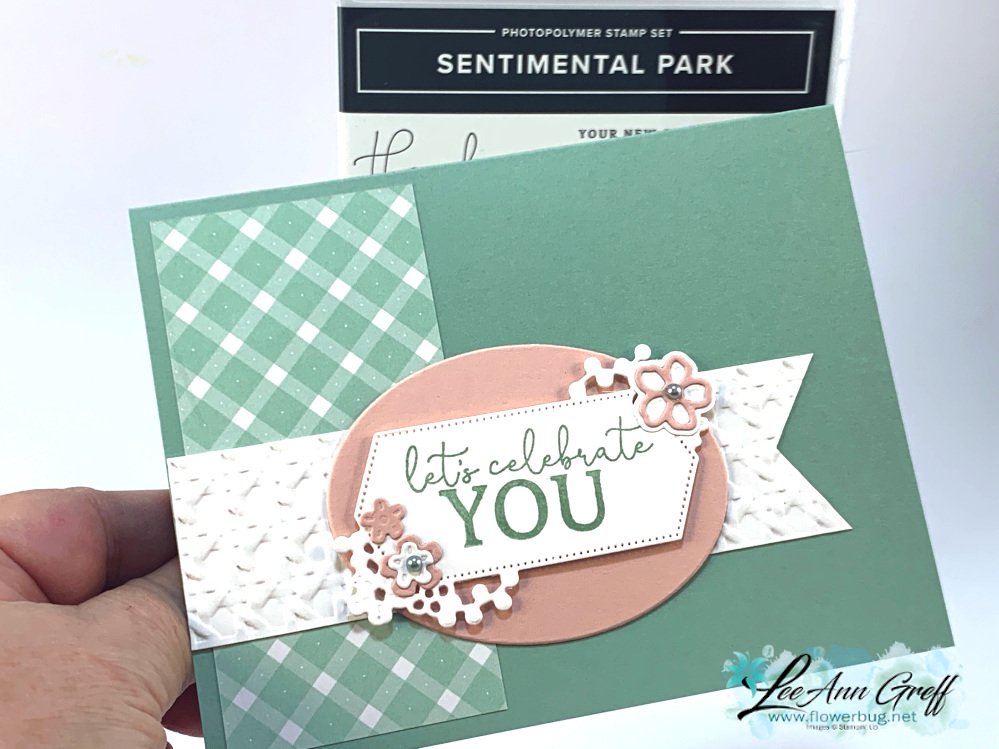
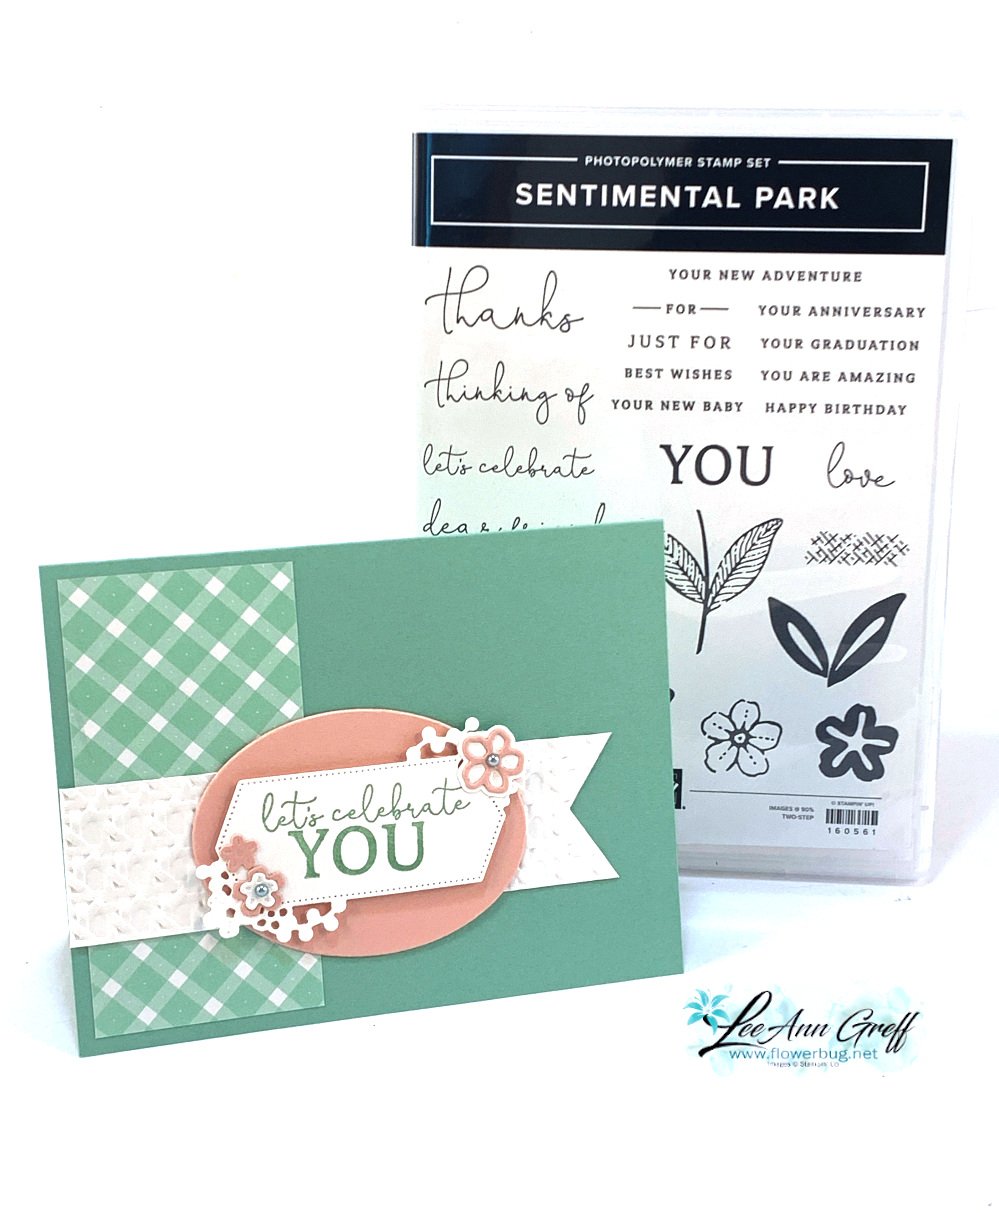
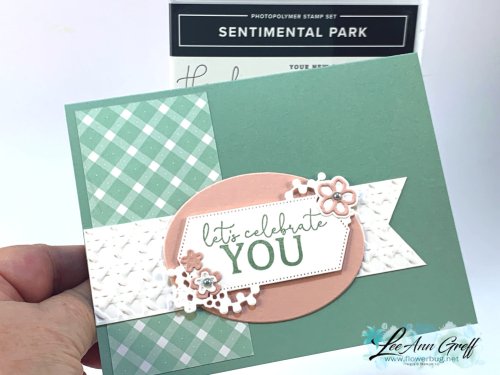
    Here's one I made with the Sentimental Park bundle seen here.  


    I chose to use the Country Gingham 6 X 6" designer paper pack; it has multiple gingham patterns in just a few colors.  I added White & Blushing Bride to it.  

    Notice that pretty white die-cut for the greeting; it has attached floral design on opposing corners for some pretty detail. There are two sizes of this type of die in this bundle and one without the side details.  This one fits inside the largest one; the floral detail has slits on the inside to allow the smooth die-cut to fit right in!  
    The Blushing Bride oval is from the Framed Florets dies. The pretty texture on the White banner is done with the Cane Weave 3D embossing folder seen here; also new in the Spring catalog.  

    My measurements are simple:

    • Card base 5 1/2" X 8 1/2" scored at 4 1/4"
    • DSP 2" X 4"
    • White banner strip 1 1/4" X 5"

    Notice the alternate print I used on some of the swaps below; I love having a few choices in similar patterns.  

    I'll share some photos of my new catalog party from Saturday later this week.  Stop back in!

    ~~~

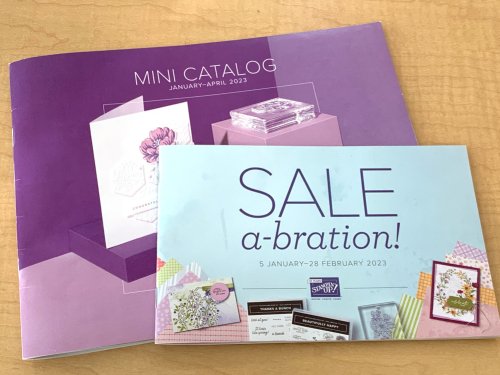
    Sale-a-Bration & the Spring Catalog!


    Order online using the links below:

    January Host code links: QFTB9AST or 69GXSA3B

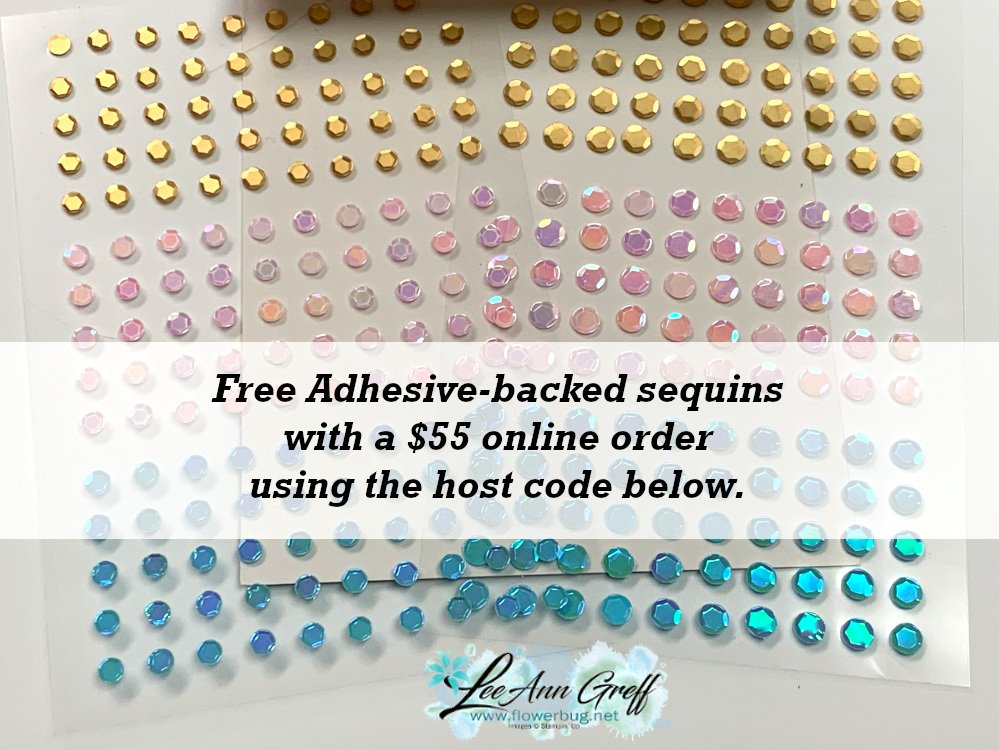
    Get free Pastel Sequins with online orders over $55 when using the host code above! 

    January Host code links:  QFTB9AST or 69GXSA3B

     Earn free products with my loyalty rewards! 

    Click here to download yours and earn a $50 shopping spree!

    ~~~

    Best Deal Ever on the Starter kit here!

    Get over $250 in products for just $129 including the new mini machine!

    Leave a Reply

    Your email address will not be published. Required fields are marked *

  • 3 NEW kit options and they’re all inclusive!


    If you're local to me in Minot, ND be sure to stop in for my New Catalog party today. 

    Great displays, yummy food, a neat take-a-way projects & of course great deals too!!

    It's Saturday, January 7th from 1- 4 pm. 

    ~~~

    Do you know about our Kits Collection?  It features many types of kits; perfect for all kinds of crafters.  They're also a wonderful gift to give since everything but a scissors is included.  

    Some feature ink and stamps and others are ready to assemble with pre-printed greetings.  You can see them all here.  

    Stampin' Up! recently added three new kits. 

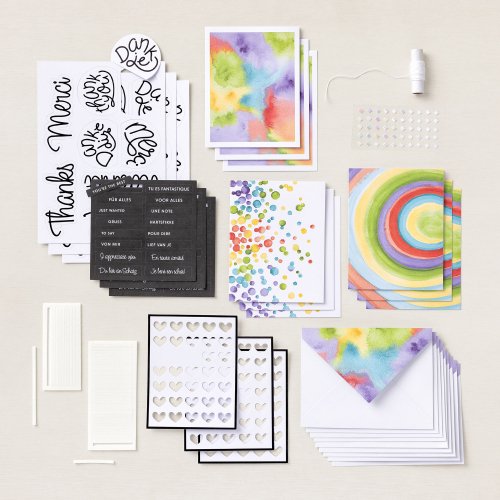
    This first kit is called Saying Thanks starts today and includes 9 colorful cards with envelopes.  See it here.

    Below are all of the elements in the kit.  It's a non-stamping kit; everything is printed for you.  It's perfect for quick cards or a gift! 


    This kit includes: 

    • Enough supplies to create 9 cards—3 each of 3 designs—and 9 coordinating envelopes.
    • Printed die-cut words, precut pieces, and enough adhesive to complete projects.
    • White baker's twine and iridescent diamond sequins.
    • Finished card size: 5-1/2" x 4-1/4" (14 x 10.8 cm).
    • Coordinating colors: Basic Black, Daffodil Delight, Gorgeous Grape, Granny Apple Green, Poppy Parade, Tahitian Tide.

    The second is called Timeless Greetings seen here.  It's great for anyone but perfect for guys. Sometimes it's difficult to make men's cards….  

    Below is the stamp set that's included in this kit.  The cost is $21.   

    This kit includes:
    * Timeless Greetings photopolymer stamp set
    * Acrylic stamp block
    * Soft Suede ink spot
    * Pre-designed projects
    * Step-by-step instructions
    * Precut pieces (No prep work! Get right to crafting)
    * Makes 8 cards: 4 each of 2 designs
    * Folded card size: 5-1/2" x 4-1/4" (14 x 10.8 cm)
    * 8 preprinted envelopes
    * Enough adhesive to complete projects
    * Brushed silver and copper foil

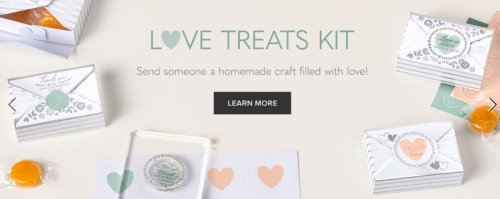
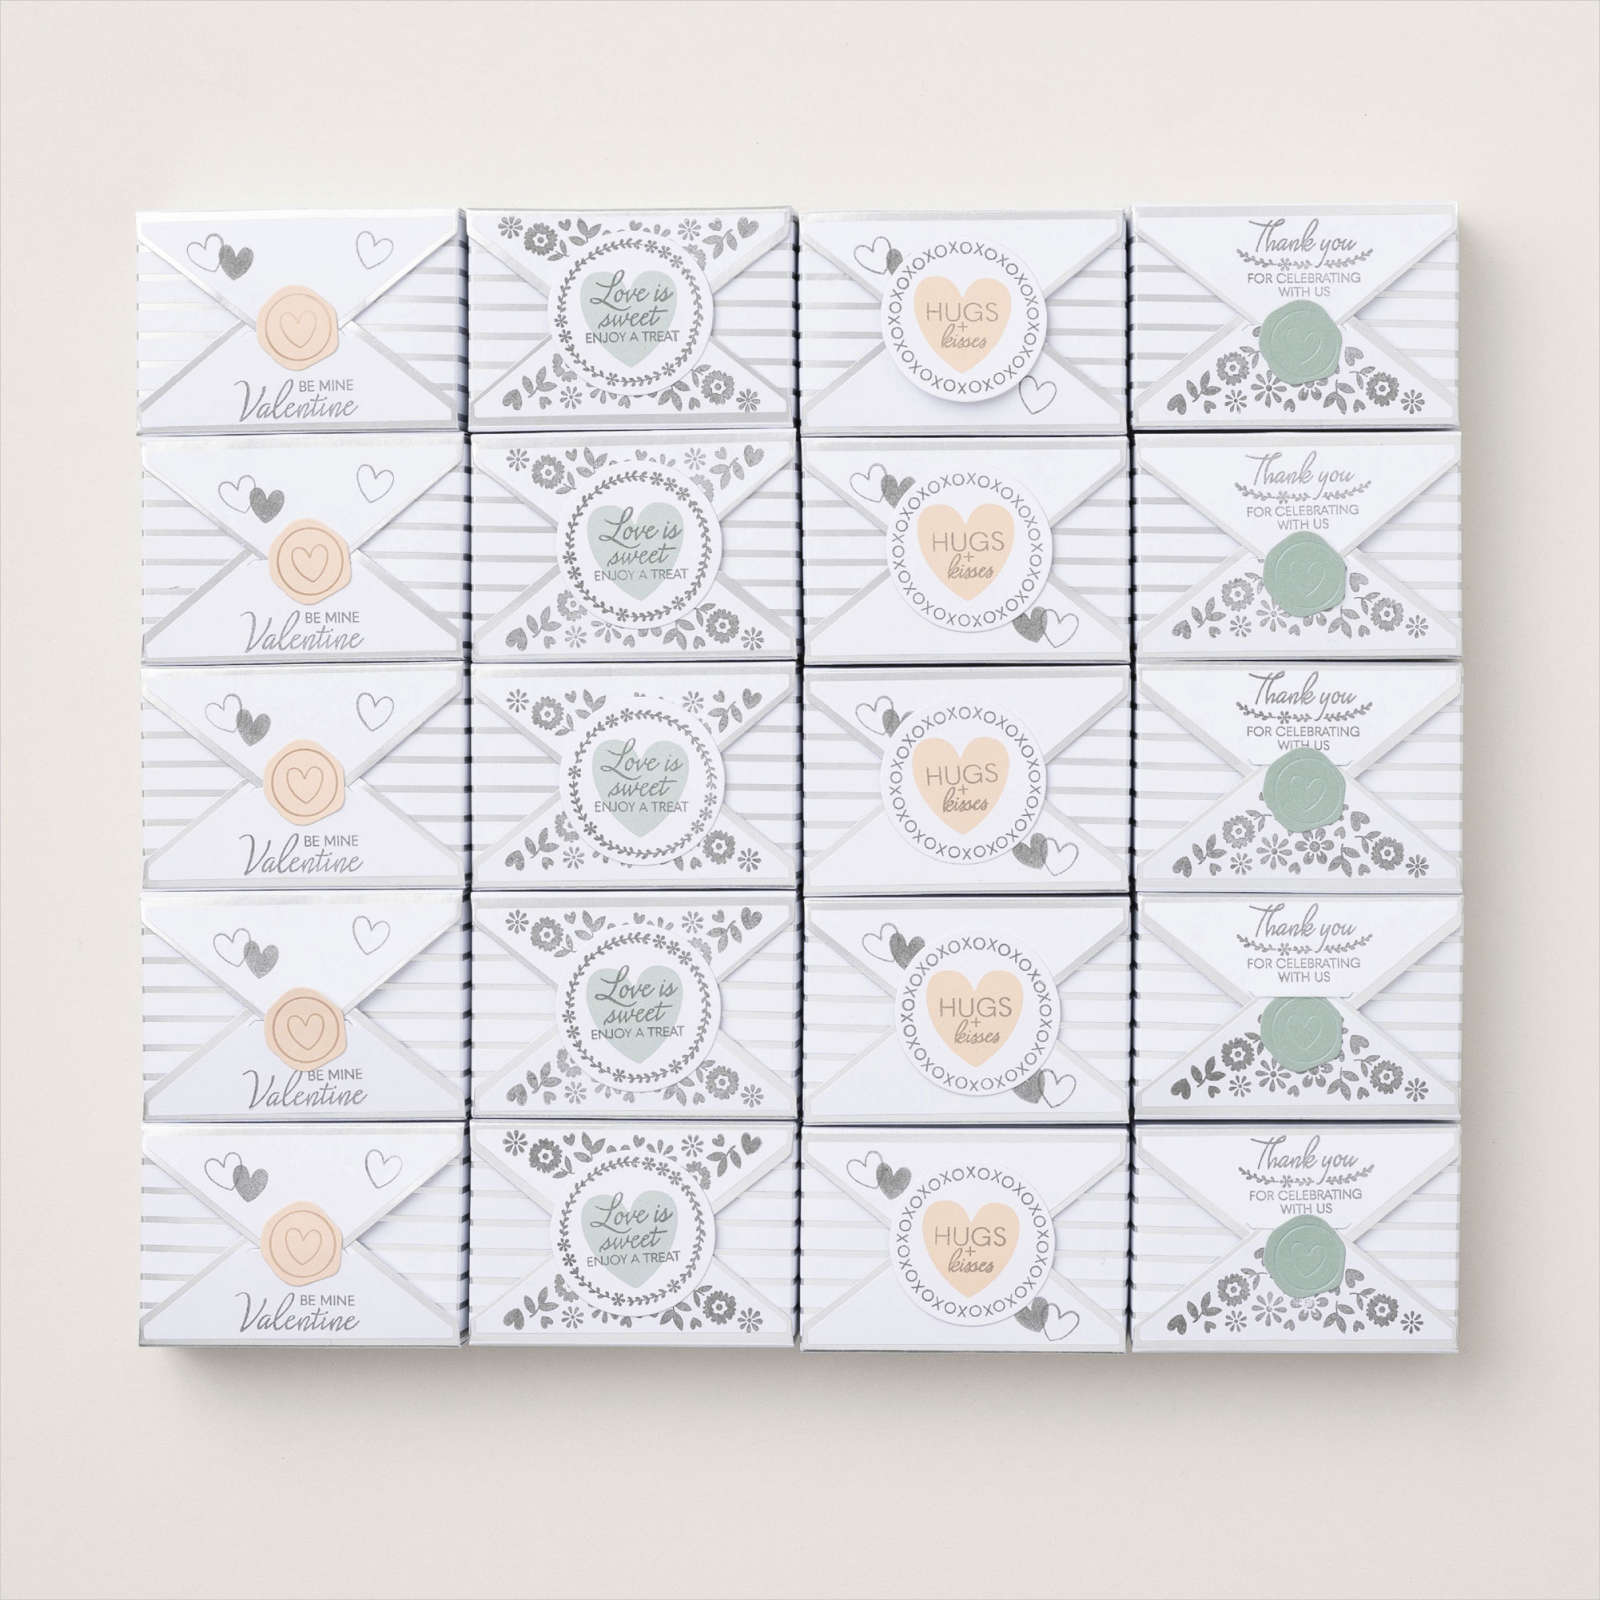
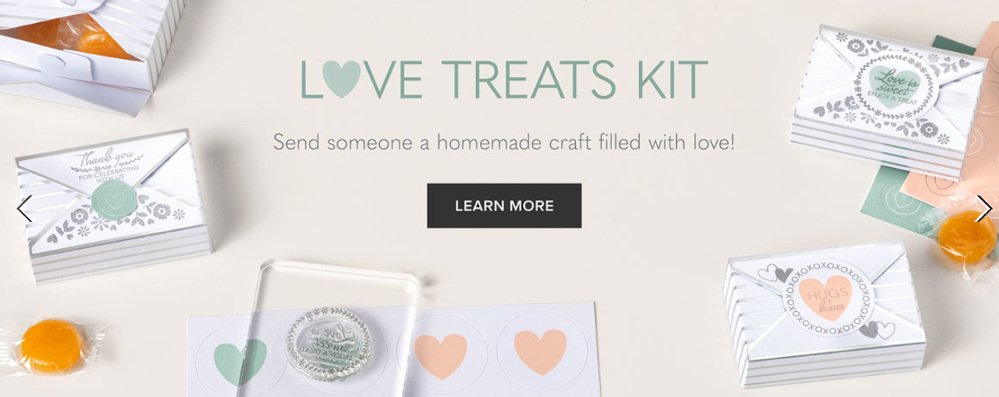
    Here's another kit they just added; it's called the Love Treats kit. Here's the link to it:

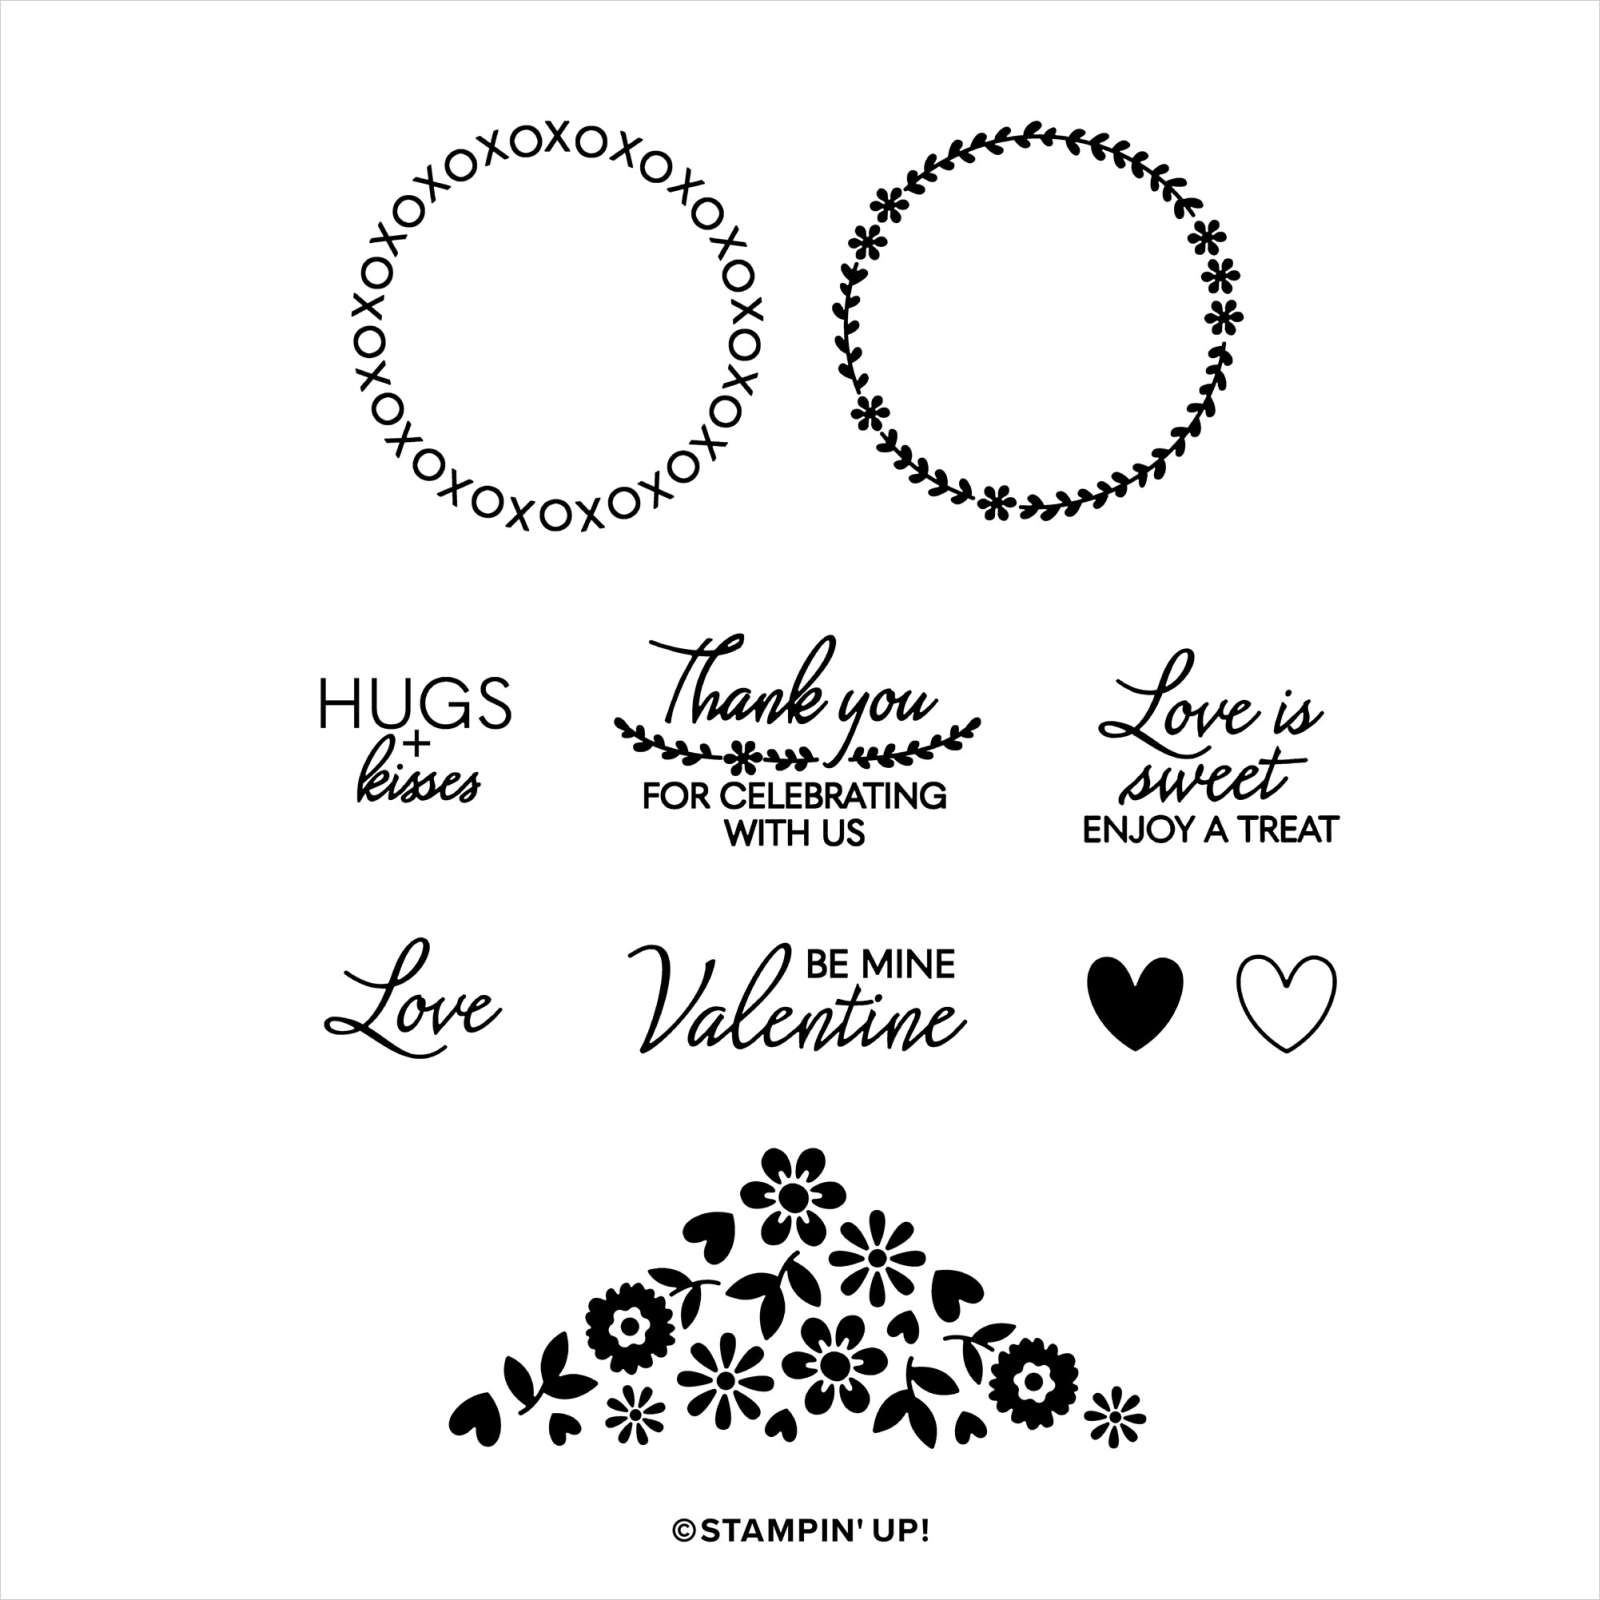
    This kit includes the following:

    • 20 treat boxes measuring 3" x 2" x 15/16" (7.6 x 5.08 x 2.3 cm)
    • One photopolymer love-themed stamp set
    • One Basic Gray Ink Spot
    • Different die-cut stickers with heart designs
    • Coordinating colors include Petal Pink and Soft Succulent
    • Building the 20 treat boxes takes less than 60 minutes to complete


    Stampin' Up! just posted their Paper Pumpkin 'year in review' video.  Here's a link to it.  
     

    Heads up on getting Paper Pumpkin kits:  If you want to get something free with purchase I highly recommend you order a pre-paid subscription during Sale-a-Bration.  For every $50 – 100 you spend you get free choices from the SAB catalog.  So opt in January 5th – February 28th and get even more!

    ~~~

    Clearance Rack deals!

     Order online using the links below:

    January Host code links: QFTB9AST or 69GXSA3B

    Get free Pastel Sequins with online orders over $55 when using the host code above! 

    January Host code links:  QFTB9AST or 69GXSA3B

     Earn free products with my loyalty rewards! 

    Click here to download yours and earn a $50 shopping spree!

    Leave a Reply

    Your email address will not be published. Required fields are marked *

  • Dainty Flowers cards with time saving tips!


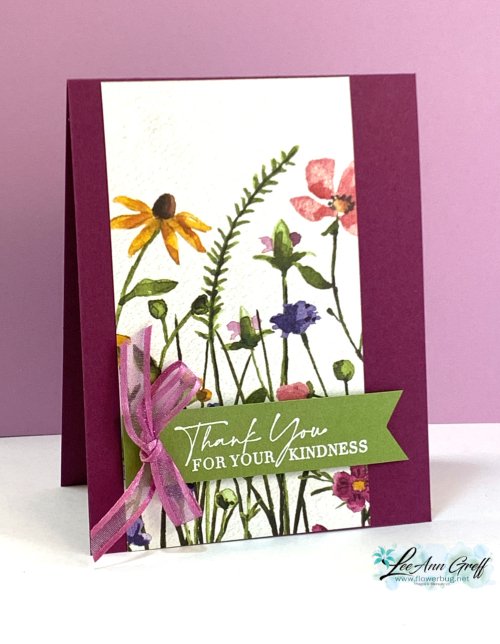
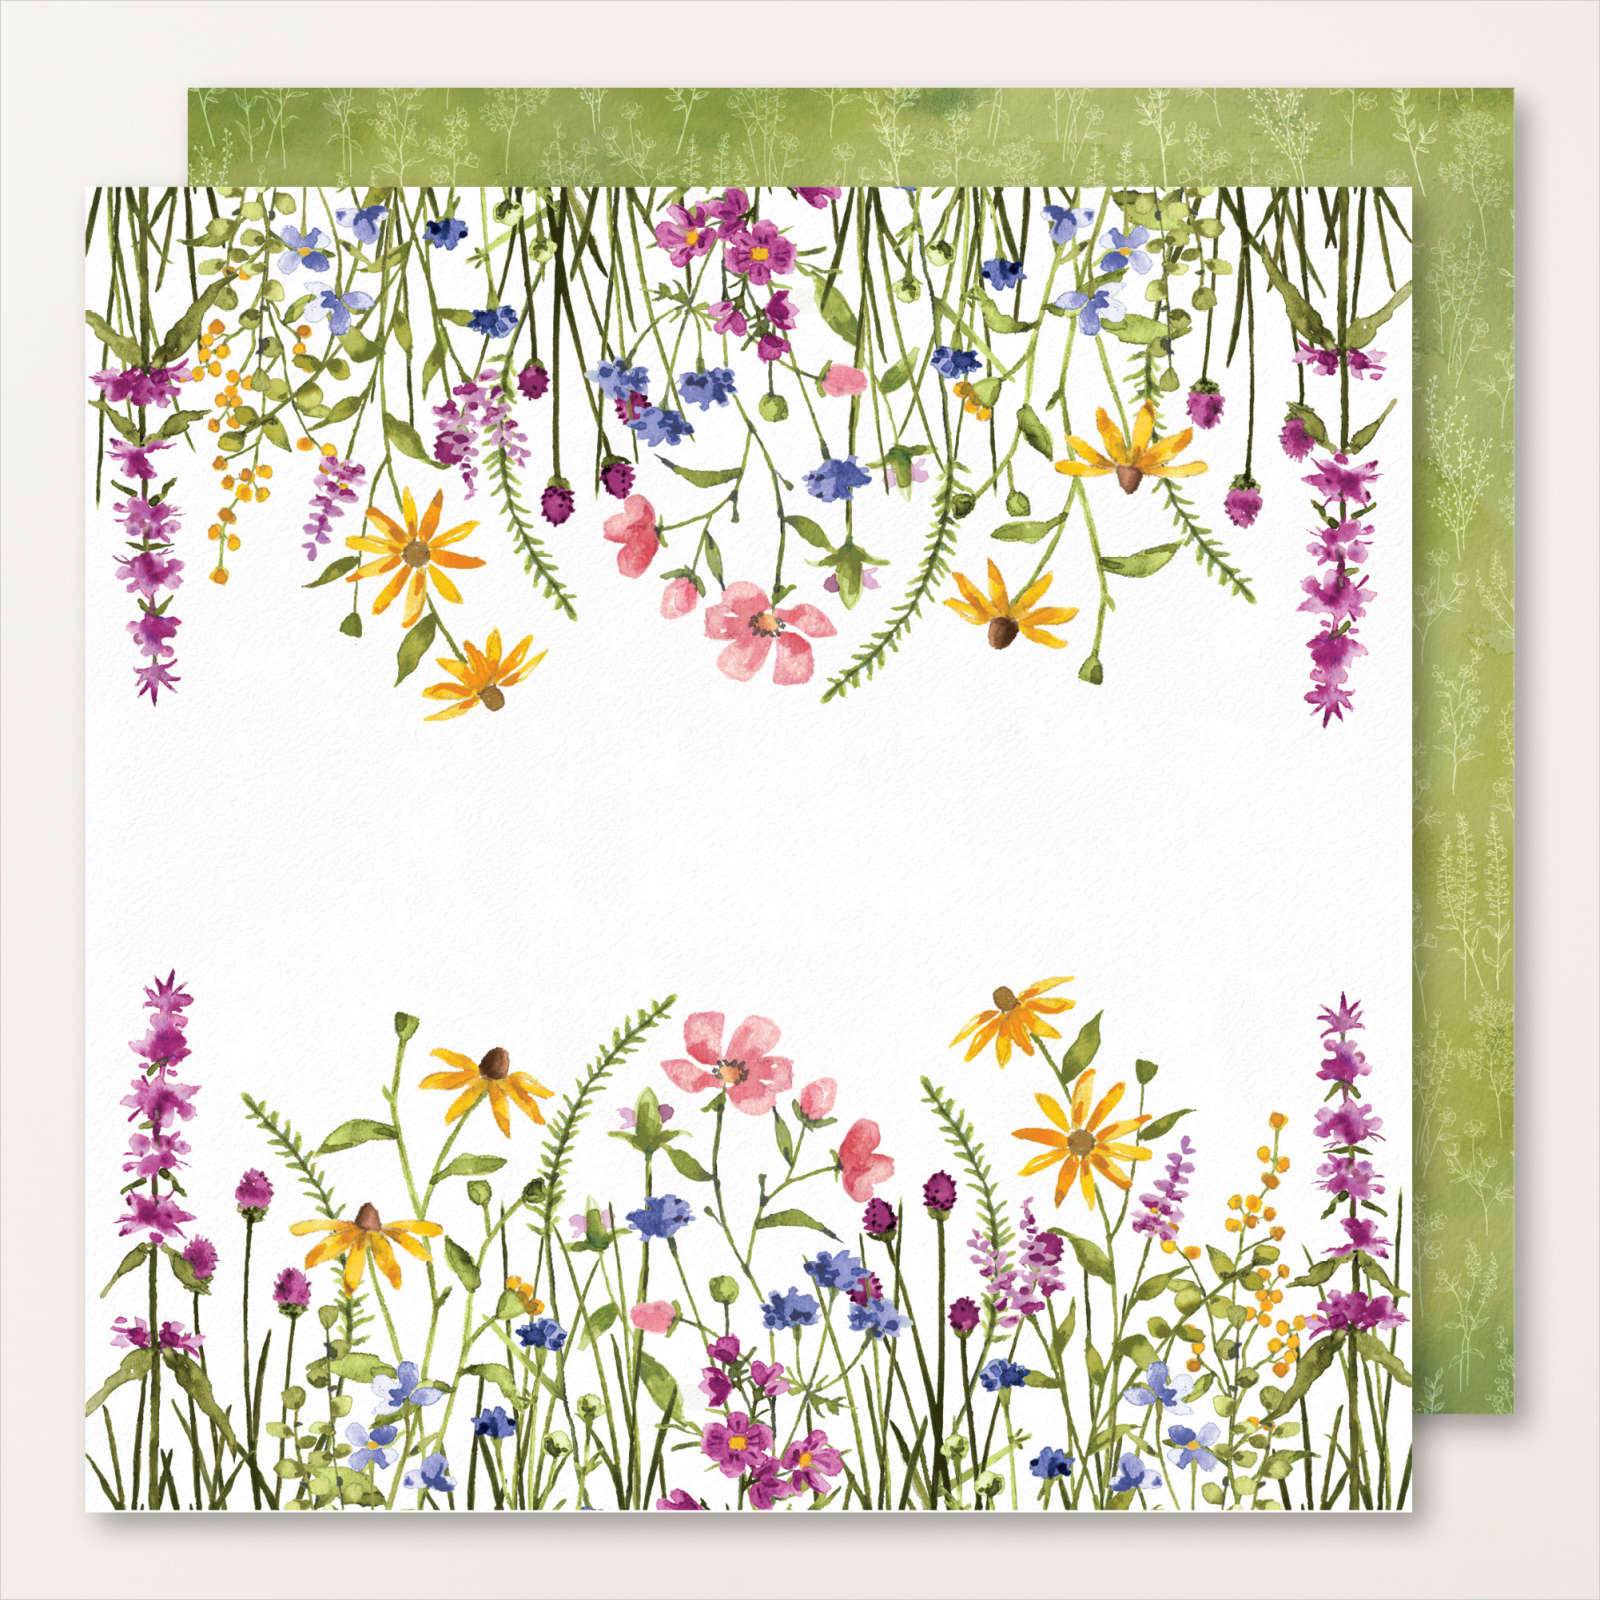
    I made this pretty card in just a few minutes with 1/8 of a 12 X 12" piece of the Dainty Flowers designer paper.  That means you can get 8 cards from each sheet! 

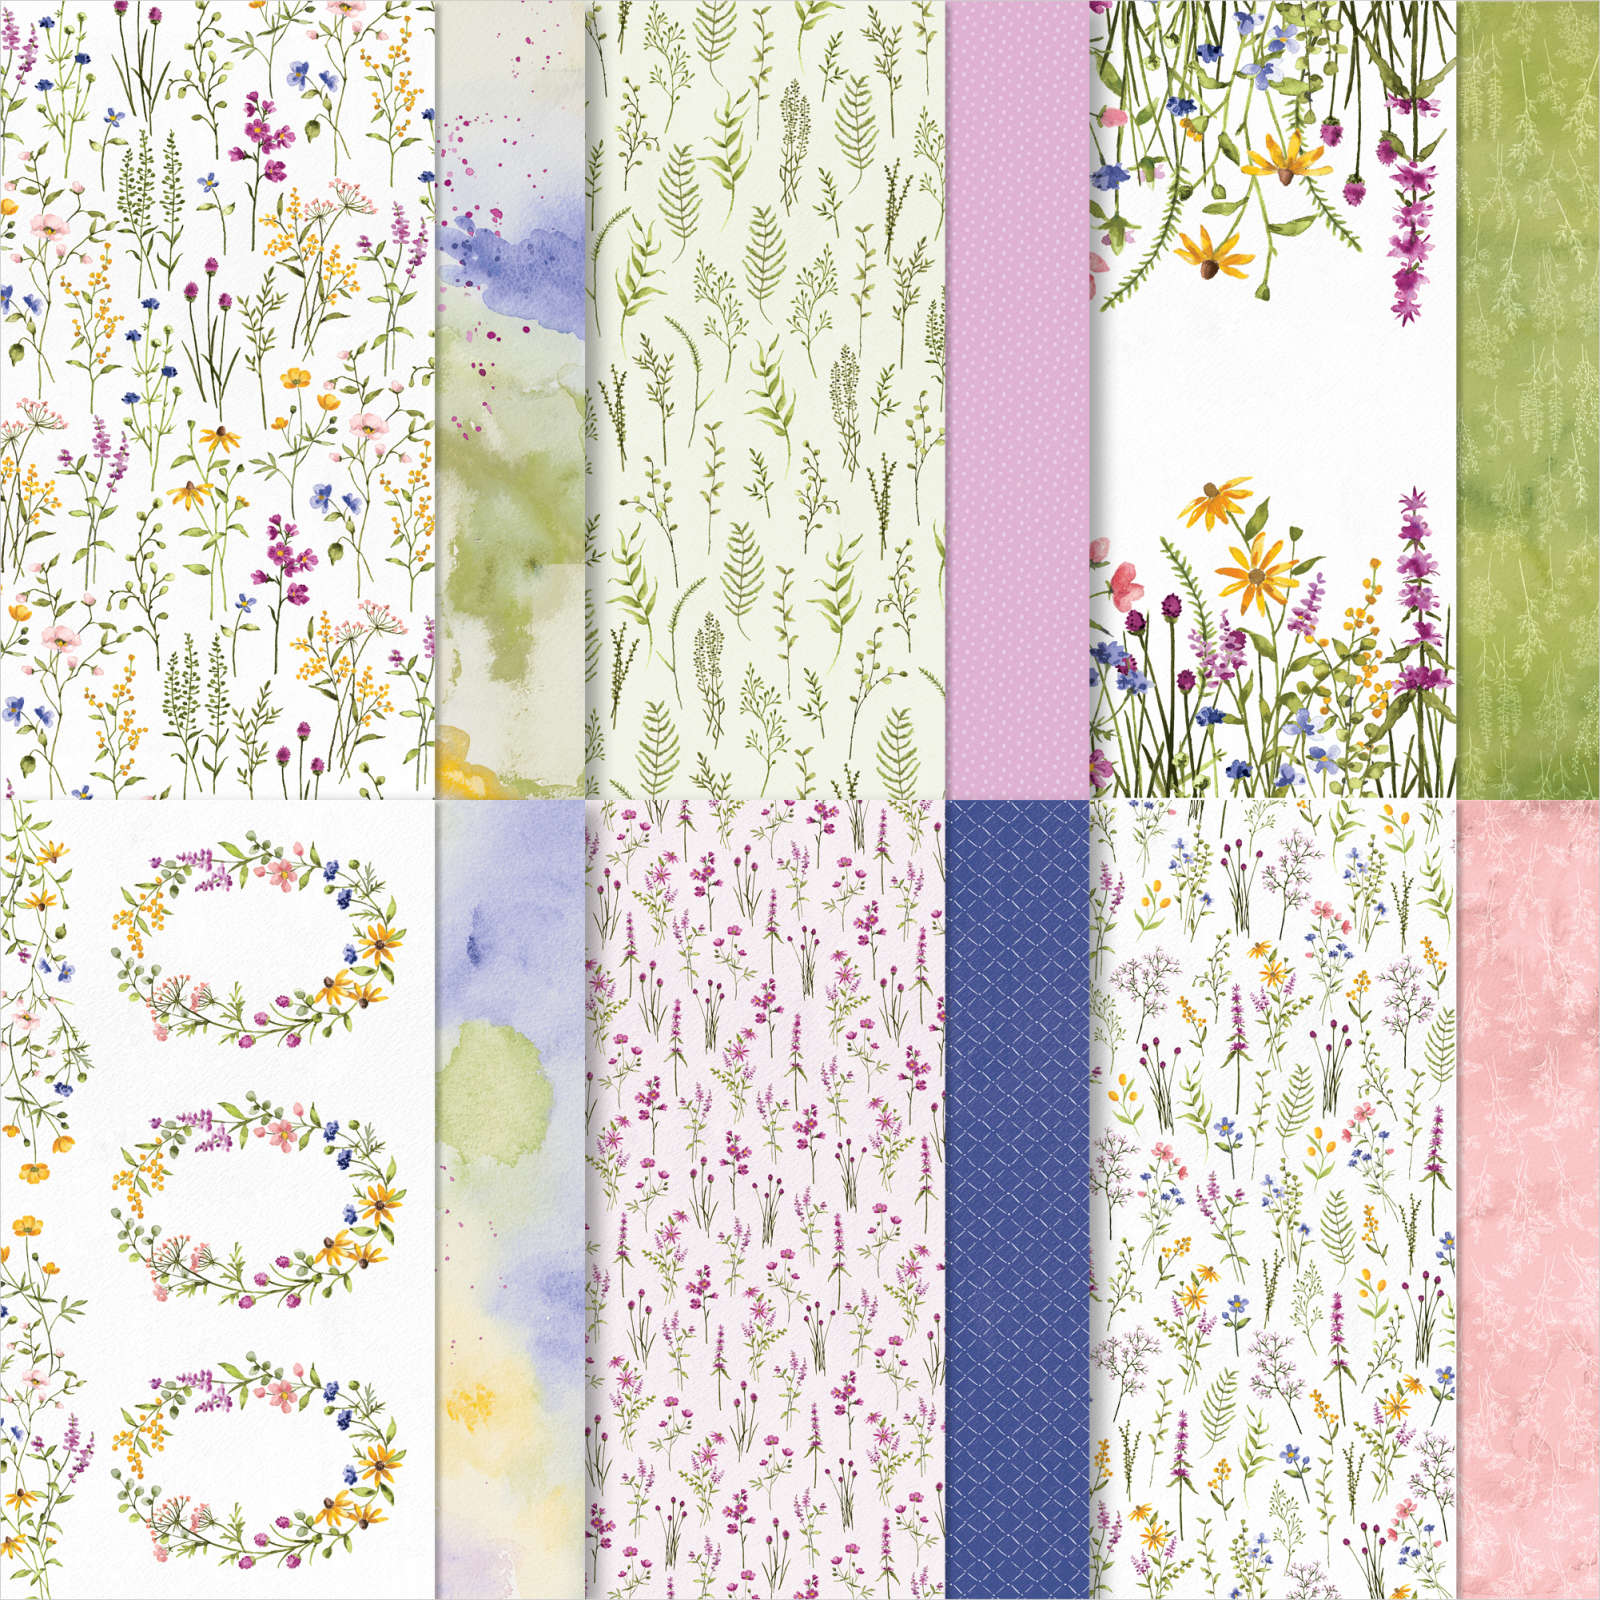
    I made the first cut across at 5 1/2".  Then cut each piece at 3" wide.  This gorgeous print is just one of many in this pack.  It's free with any $50 order during our Sale-a-Bration promotion from January 5th – February 28th.  See it here. 


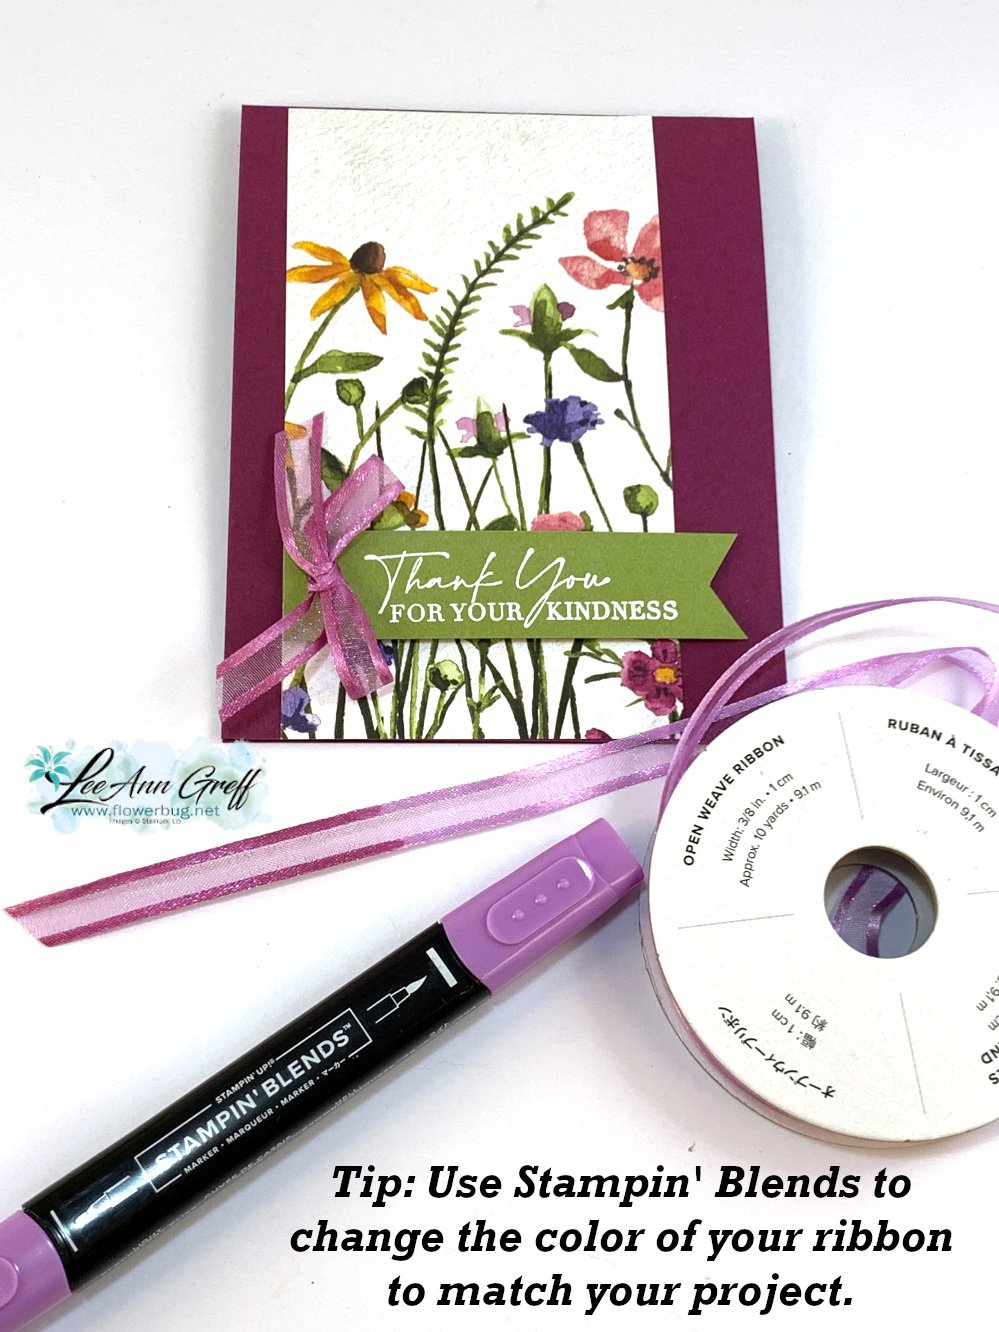
    If you don't have the ribbon color you want, color it with a Blends marker.  Our Blends markers come in a 2-pack of light and dark; try both to see which one fits your needs.  And did you know that if you go over it more than once you can get a darker shade?  This works on both paper AND ribbon! 

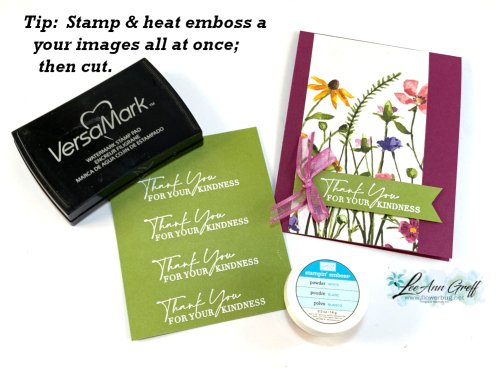
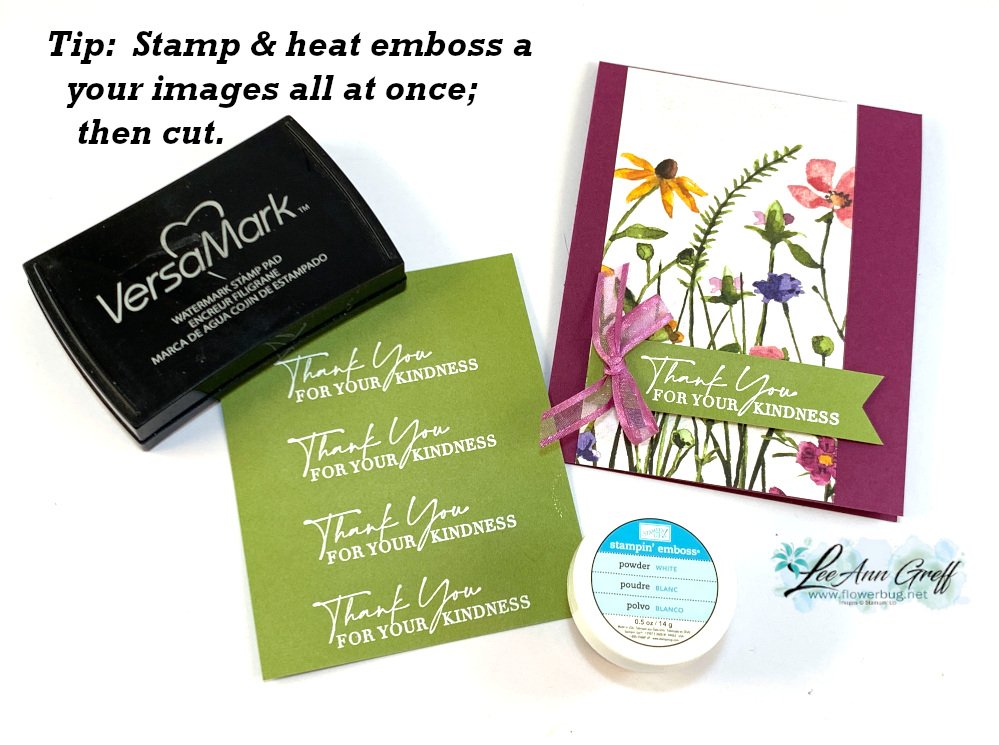
    If you're making multiples of the same card AND heat embossing why not stamp & heat emboss multiples at the same time?  

    I inked the greetings (from Dainty Delight) in Versamark ink and stamped on the Old Olive CS. Then covered in White embossing powder before heat embossing with the Heat Tool.  Now I could trim them into strips for my cards.  

    Tip; you cannot do an entire page at once or the ink dries before you can get powder on it.  I did 4-5 at a time and it works fine.  It all depends on how fast you can cover it with powder.  

    **Before stamping I swiped my card stock with the embossing buddy. This is an anti-static bag that prevents excess powder from sticking where you don't want it.  The embossing buddy is included in our Embossing Additions Tool Kit seen here. 

    You can see more cards in this video I shared on Tuesday.  Click here or on the photo below: 

    ~~~

    Sale-a-Bration & the Spring Catalog!


    Order online using the links below:

    January Host code links: QFTB9AST or 69GXSA3B

    Get free Pastel Sequins with online orders over $55 when using the host code above! 

    January Host code links:  QFTB9AST or 69GXSA3B

     Earn free products with my loyalty rewards! 

    Click here to download yours and earn a $50 shopping spree!

    ~~~

    Best Deal Ever on the Starter kit here!

    Get over $250 in products for just $129 including the new mini machine!


    Leave a Reply

    Your email address will not be published. Required fields are marked *


Notice: LeeAnn Greff, Independent Stampin’ Up! Demonstrator, Manager. The content of this website is my sole responsibility as an independent Stampin’ Up! demonstrator and the use of, and content of, the classes, services, or products offered on this website is not endorsed by Stampin’ Up! Copyright 2025