/


Latest Post

Fantastic card with the Merry Christmas stamp with a free project sheet & video


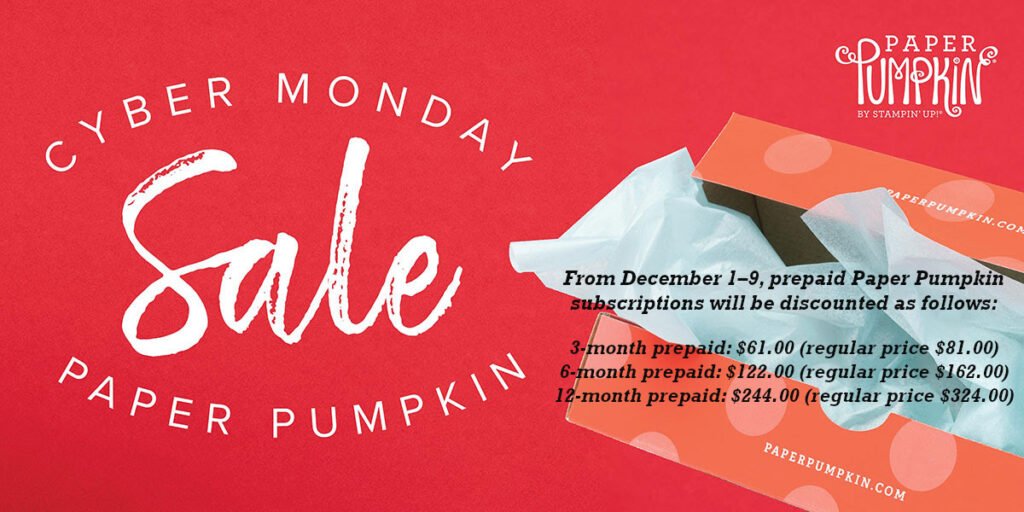
Today is the last day to get in on the Cyber Monday sale on Paper Pumpkin subscriptions.

Save big on a 3 month, 6 month or 12 month subscription. I love getting a crafty box in the mail each month!
Go here to subscribe.

~~~

The font on this Merry Christmas stamp sold me on it. Just a little bit of the fun, curviness I love.
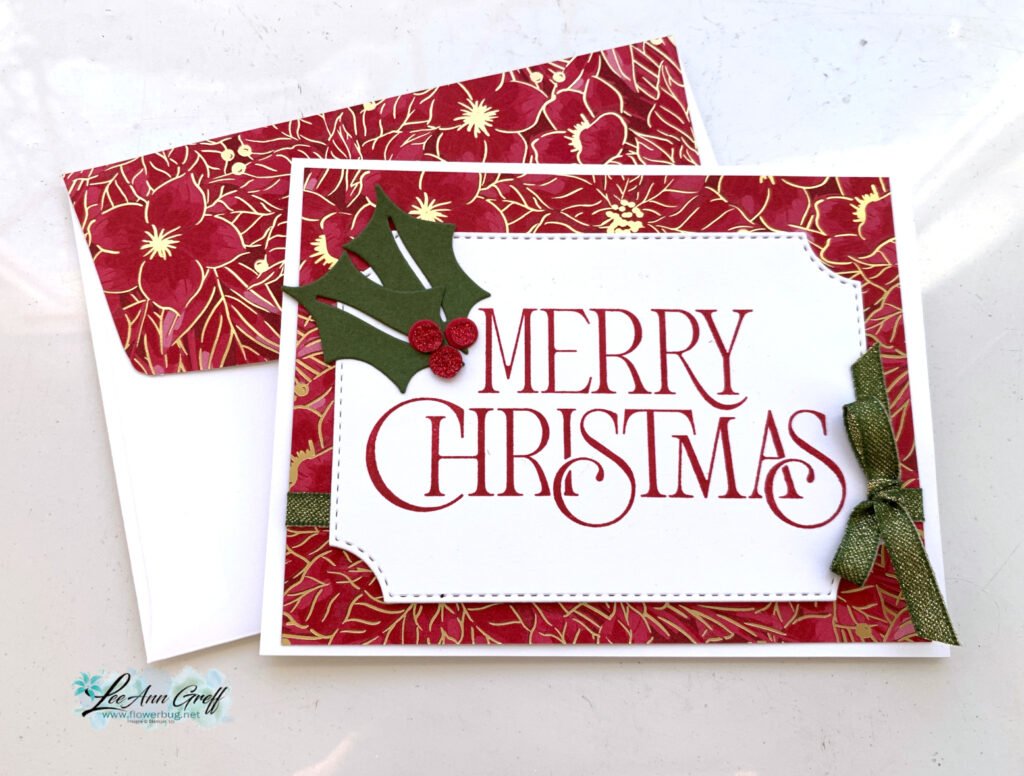
This Merry Christmas stamp is a true classic with a bit of that Victorian feel to it. I don’t often keep retired stamps but I will keep this one! It’s on sale now too; while supplies last. Click here to see it.

I paired it with the Traditions of Christmas designer paper here. It’s discounted and on the Last Chance list here. However it’s currently out of stock but should be back next week.
A bit of holly and berries with some ribbon and you’re done! As you can see I added the same DSP to my envelope flap. Now that makes a card extra special!

This next one features the Need for Tweed designer series paper. See that here. Fun prints with lots of texture. It’s also on sale right now and available while supplies last.
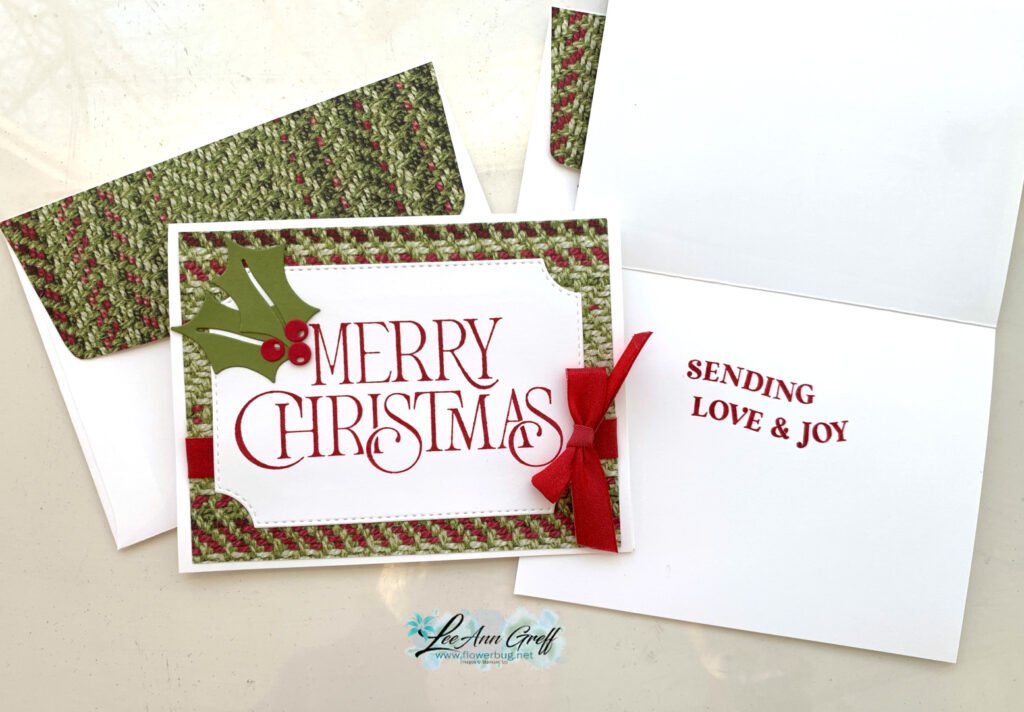
I stamped the inside with greetings from the Traditional Labels stamp set.

Aren’t they a beautiful set of cards! I will be making more of these and it’s a bonus that it uses up a nice piece of designer paper. No hoarding it!
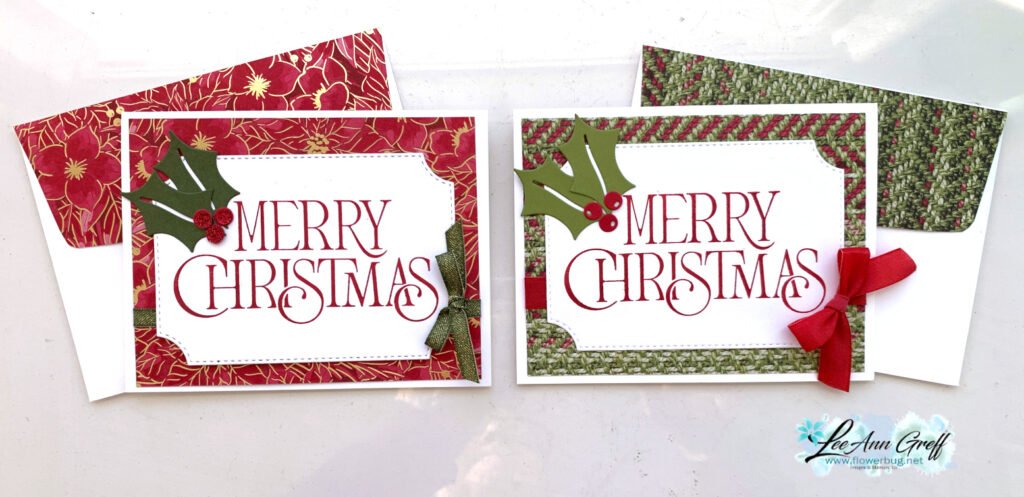
Here’s the free project sheet for you. Click here to download or print it.

Today is the last day!!

From December 1-9 get a nice discount on Paper Pumpkin subscriptions! Click here to order.

Get this product of the month for just $5 with any $75 purchase in December!
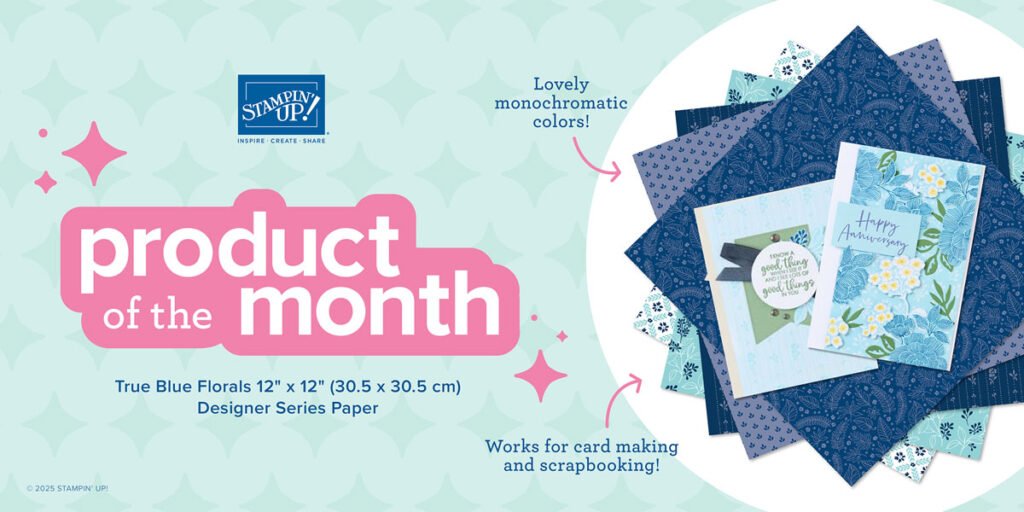
Get a free PDF tutorial with any online order from me in December!
All Posts

  • CUTE Rain or Shine fun-fold card kit to go; or choose the PDF tutorial option


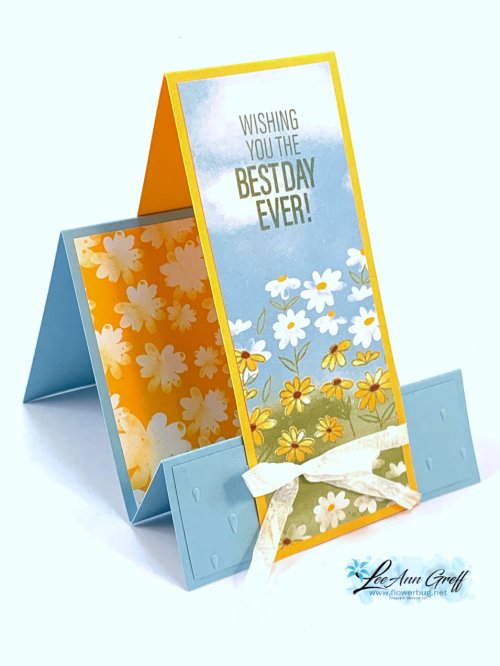
    When I saw the Rain or Shine specialty DSP I liked it but I didn't know I'd LOVE it until I played with it this weekend.  I thought it would be mostly for kids with cute animals (critters I call them) but it's so much more!  Each page of the designer paper has glossy accents on one side including rain, flowers, critters and clouds.  It's utterly charming! 

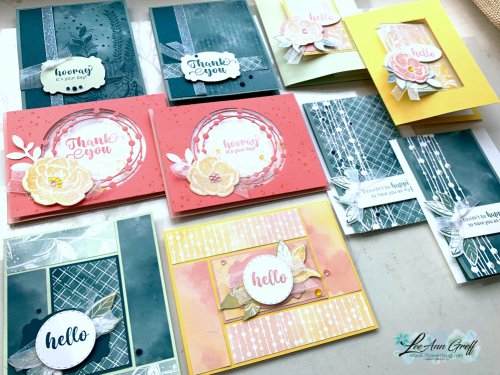
    I decided that each card in this kit would be a fancy fold; some are simple and others a bit 'fancy' but they are easy to achieve with my tutorial.  Look at these!

    The colors are both soft & bright – I chose to focus on Balmy Blue, Flirty Flamingo, Old Olive & Mango Melody.  A super fun and unique mix. 

    This pre-cut kit to go includes the 10 pre-cut cards & all punched or die-cut elements, 1/2 pkg of the Rain or Shine specialty DSP, a share of White crinkled ribbon and Flat Adhesive-backed pearls. The PDF tutorial is free with the kit!  That's $20 in product plus the 10 pre-cut cards for just $28. Get your kit here.   If you'd prefer the PDF tutorial only click here.  It's $15.  

    Opt in by March 19th to get the pre-cut kit.  After that date I'll order the product and cut out the kits.  They will be mailed out via Priority Mail at the end of March, barring any back orders. *The PDF tutorial is sent to you via email from my Shop. 


    You will need a paper trimmer (to cut your new DSP), adhesives, greeting images and Olive, Flirty Flamingo & Balmy blue ink pads.  I used the Playing in the Rain & Framed Occasions stamp sets for greetings but you can substitute others if needed. 

    Add on the Playing in the Rain stamp set or bundle at 10% off!  Message me here for that option and I'll send you an invoice for it all. 

    I have another new kit to go available in March – the Hello, Irresistible card kit.  See that here.   Get both and save $$. *Add on any other card kit with it and save on shipping costs!  Go here to see them all.  


    *My monthly subscribers will receive the Hello, Irresistible card kit unless they switch to the Rain or Shine kit. 

    ~~~

    March Specials:

    See the new Online Exclusives here! 

    *current host code:  TMJXFR2T

    Get a free class kit with online orders over $55 when using the host code above!

    Earn free products with my loyalty rewards! 

    Click here to download yours and earn a $50 shopping spree!

    Leave a Reply

    Your email address will not be published. Required fields are marked *

  • Exciting new Online Exclusive products are here! Irresistible Blooms shaker card with video tutorial


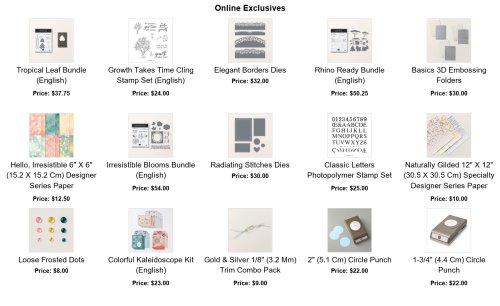
    Yesterday they released 12 new items in the Online Exclusives store.  These items are not in any printed catalog.

    Have you looked at them yet? Click here or on the photo below to see them online. 


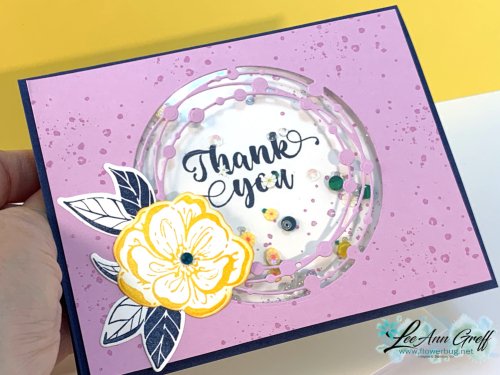
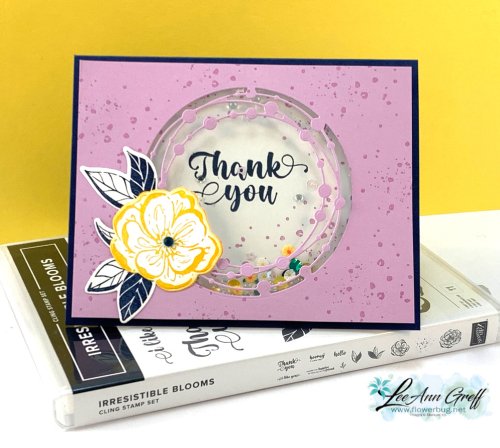
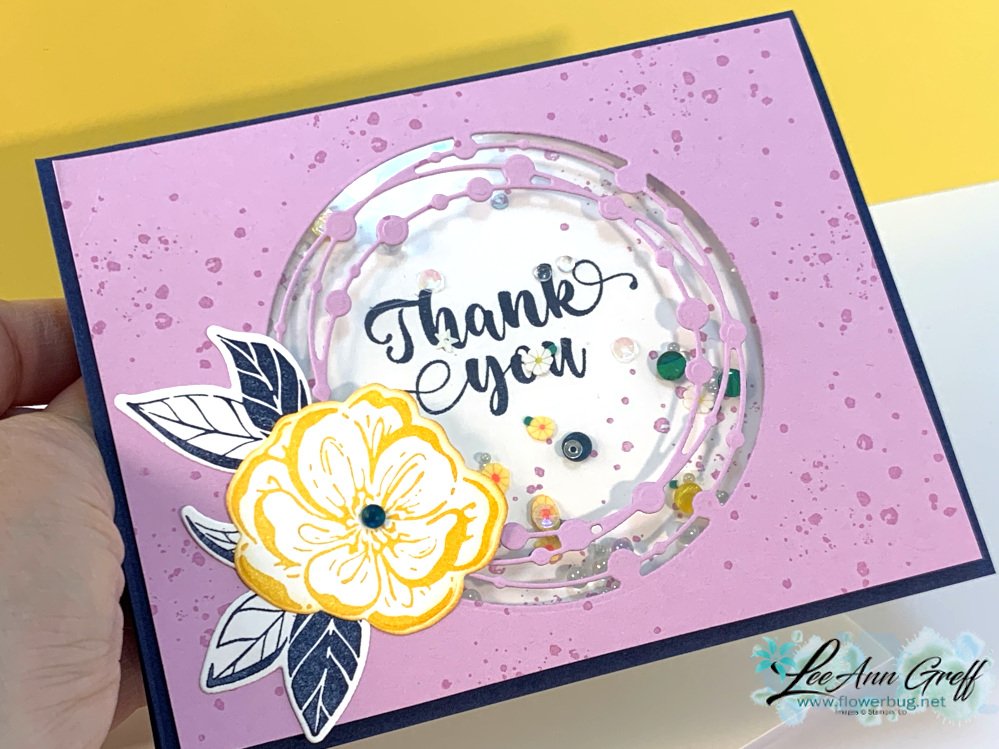
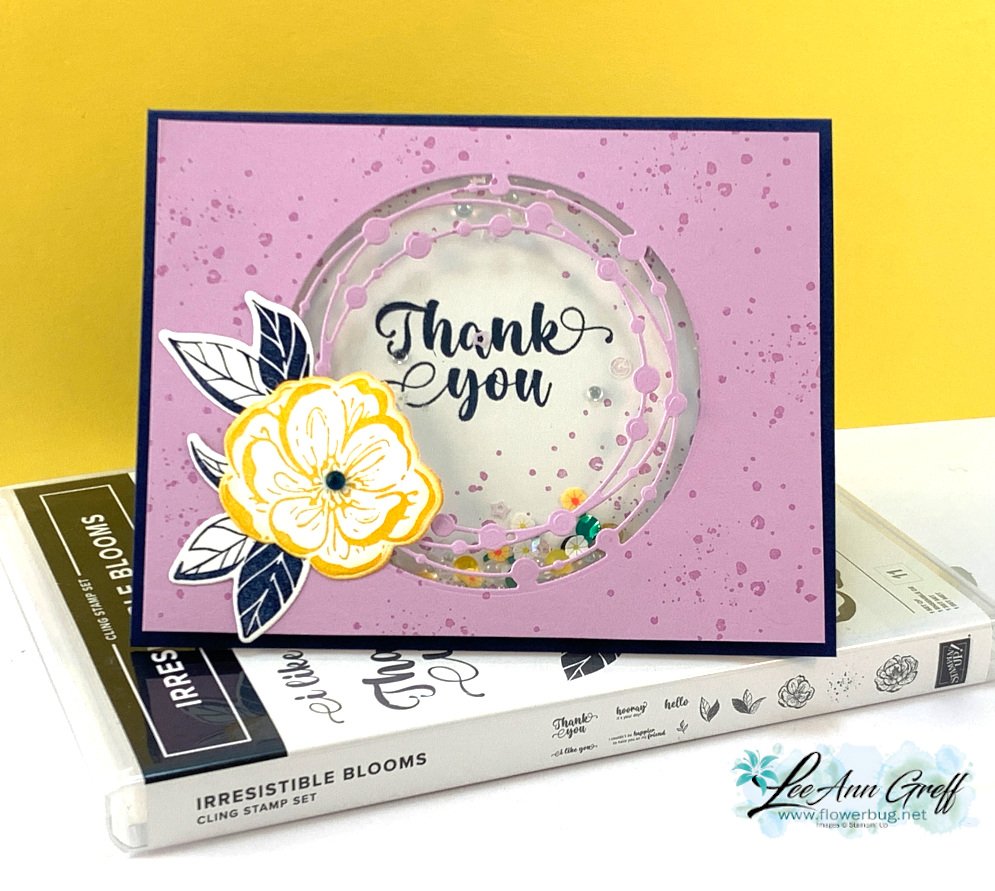
    I shared this fun shaker card on last week's FB Live video. It features one of the new Online Exclusive bundles called Irresistible Blooms.  

    I chose Fresh Freesia with Navy & Daffodil Delight as my colors.  I'm so ready for spring and yellow & purple are fresh, happy colors. 

    I used the circle die in this new bundle to cut a window in my Fresh Freesia front layer and stamped the spatter image all over the front.  Then I adhered my window sheet behind the opening. 

    Next I added Foam Adhesive strips around the opening, in the back. This keeps the shaker elements in the viewing window and contained. Peel off the backing on the foam strips and add your stamped layer over it.  

    *Tips: I like to peel off the backing before I add the shaker pieces.  This prevents movement that can cause the shaker pieces to jump.  I also like to cut my inside layer just a bit smaller so I can center it on this piece, upside down.  

    I stamped the flower & leave and die-cut them with the coordinating dies from the Irresistible Blooms bundle.  See it here.  

    Click here or on the photo below to watch the video tutorial.  It's the second of three products using this new bundle.  

    ~~~

    March Specials:

    See the new Online Exclusives here! 

    *current host code:  TMJXFR2T

    Get a free class kit to go with online orders over $55 when using the host code above!

    Earn free products with my loyalty rewards! 

    Click here to download yours and earn a $50 shopping spree!

    Leave a Reply

    Your email address will not be published. Required fields are marked *

  • Floating Panel card with video – so cool but incredibly easy!


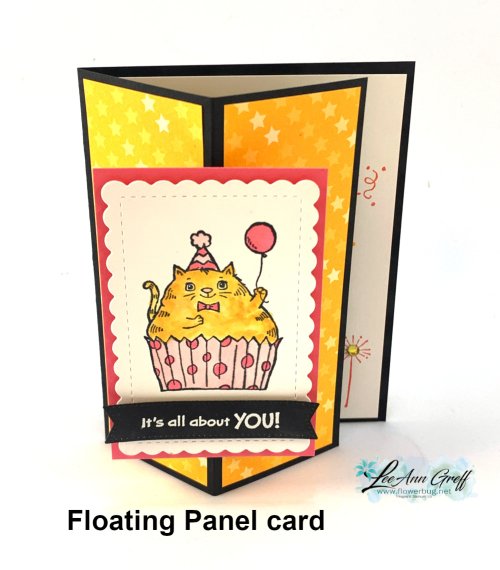
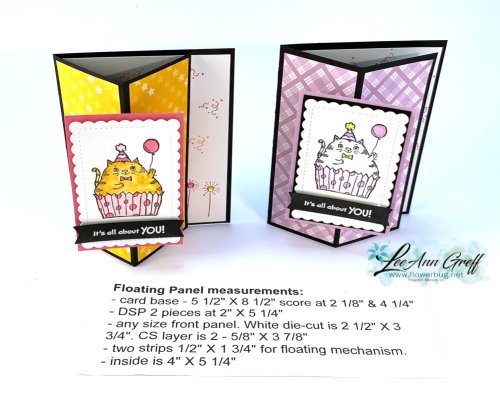
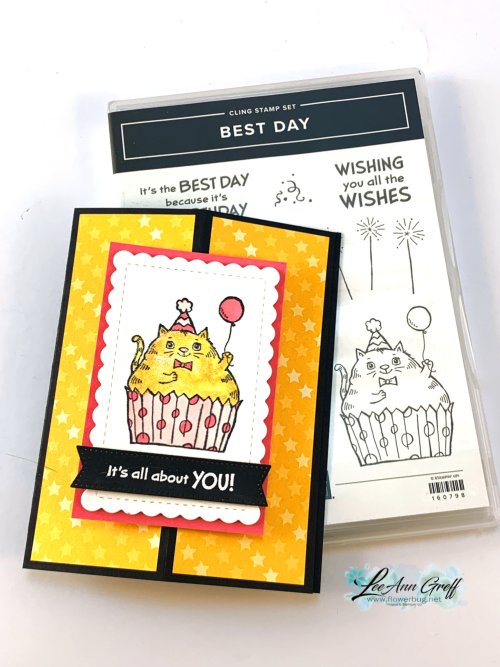
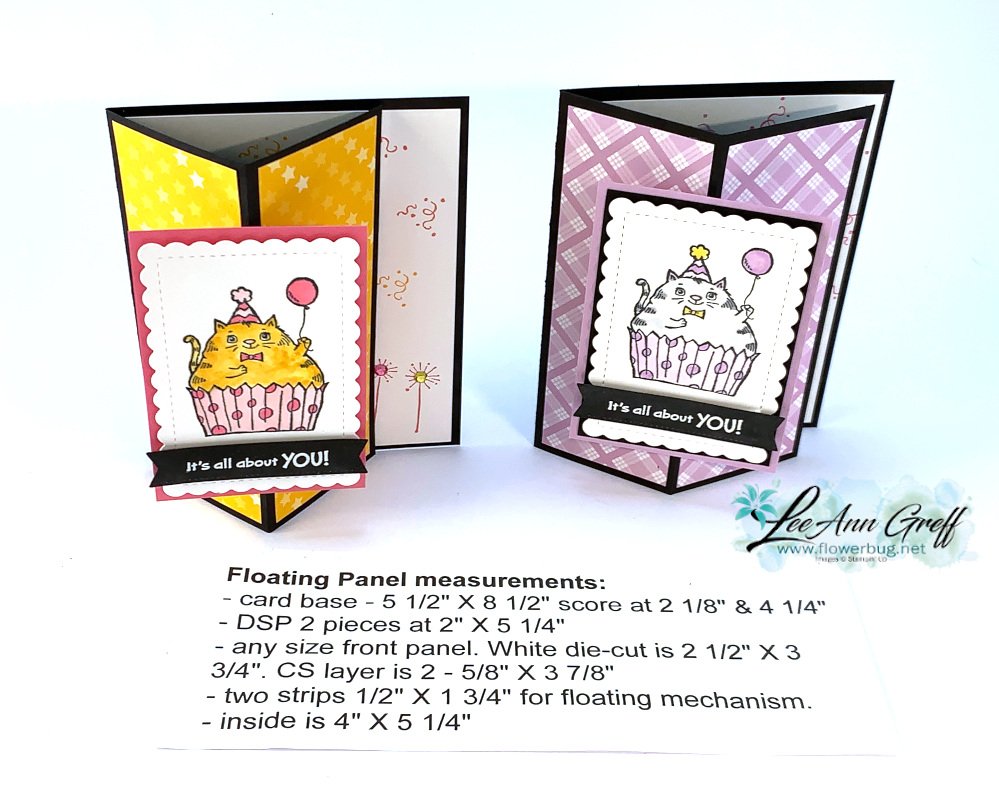
    On a recent FB Live class we made Floating Panel cards like this one made with the Best Day stamp set from the January-April catalog. Click here to see the cute Best Day stamp set.

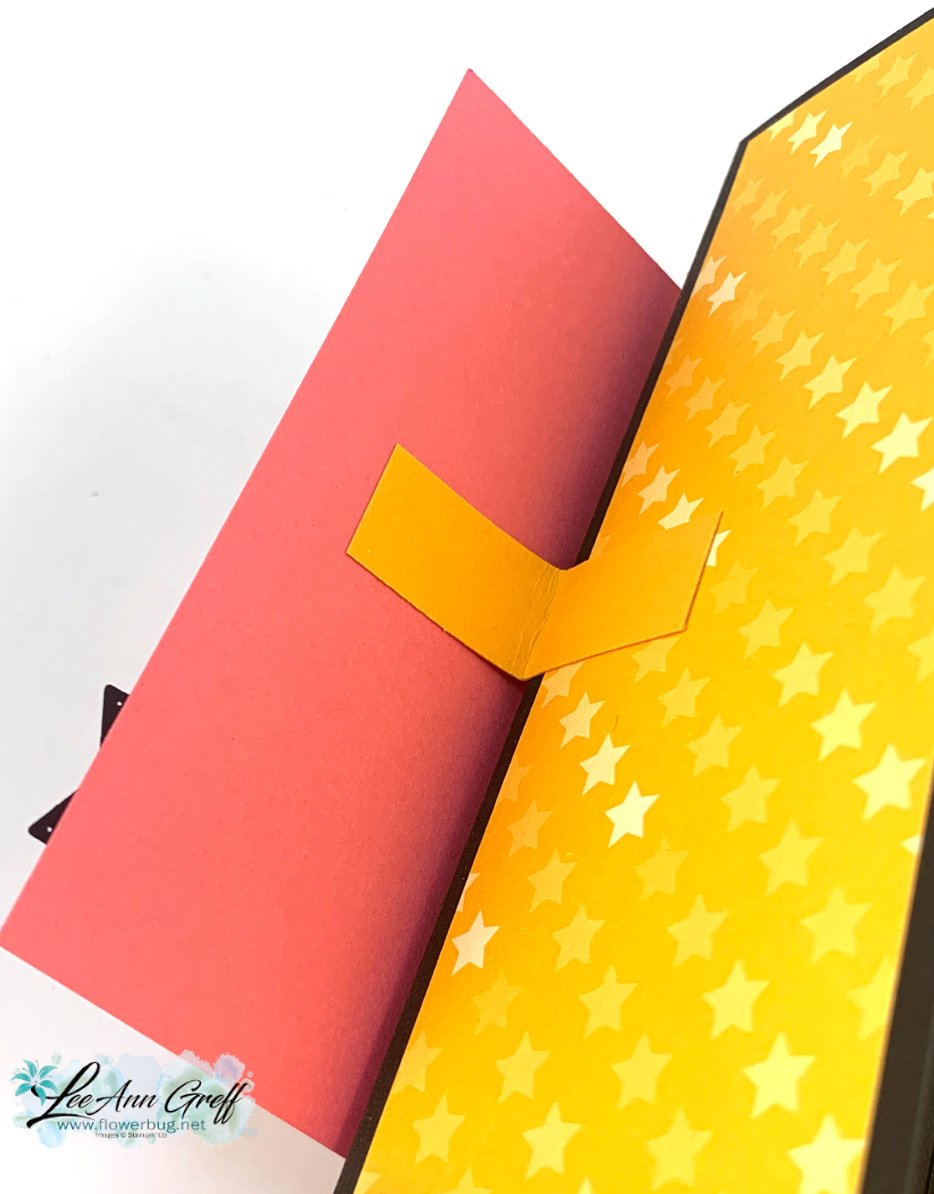
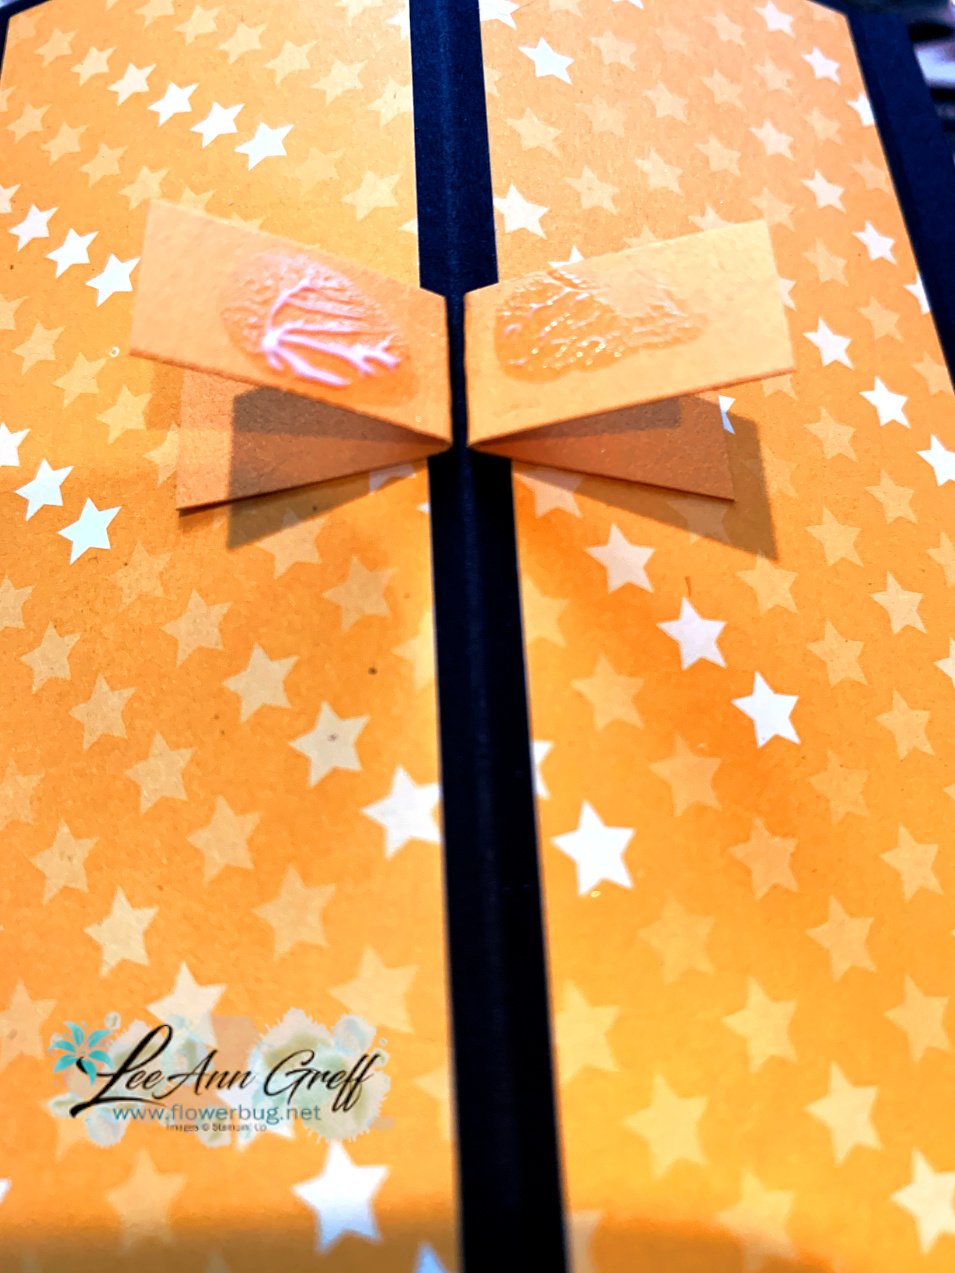
    See how the card front is folded in half but the panel is straight?  There's a neat, easy way to do that by adding two little pieces of card stock.  Each strip is folded in half and positioned on both the top panel and the card base.  See the other photo below to understand it.  Or watch the video here. 


    I also used the Dandy Designs designer paper from our Sale-a-Bration promotion.  Sadly that is now over; it ended February 28th.  


    My colors on the card above are Black, Mango Melody & Polished Pink.  I used Blends markers to color the cat image.  I added Wink of Stella for some shimmer as well.  

    Floating Panel measurements:

    • card base – 5 1/2" X 8 1/2" score at 2 1/8" & 4 1/4"
    • DSP 2 pieces at 2" X 5 1/4"
    • White scalloped (Scalloped Contours die) die-cut is 2 1/2" X 3 3/4"
    • CS layer is 2 5/8" X 3 7/8"
    • two strips 1/2" X 1 3/4" for floating mechanism 

    I used the Best Day stamp set here; it's adorable with lots of birthday images and greetings.  It's in the Jan-June catalog and you can see it here. 

    You can see how the two folded strips are added to the front center fold below: 

    I stamped the inside with images from the Best Day stamp set, adding some colored rhinestones to help the card stay open and in place.  Honestly a die-cut or punch would work better than a rhinestone.  

    Click here or on the photo below to watch the video.  

    ~~~

    March Specials:

    See the new Online Exclusives here! 

    *current host code:  TMJXFR2T

    Get a free card class with online orders over $55 when using the host code above!

    Earn free products with my loyalty rewards! 

    Click here to download yours and earn a $50 shopping spree!

    Leave a Reply

    Your email address will not be published. Required fields are marked *


Notice: LeeAnn Greff, Independent Stampin’ Up! Demonstrator, Manager. The content of this website is my sole responsibility as an independent Stampin’ Up! demonstrator and the use of, and content of, the classes, services, or products offered on this website is not endorsed by Stampin’ Up! Copyright 2025