/


Latest Post

Fancy Fold Accordion Heart Doilies!


I dreamed of doing this fun accordion fold with the Heart Doilies in my sleep.  I rarely do that!  Do you?  


I shared how in this week's Facebook Live yesterday.  My FB Live's are usually on Tuesdays at 11 am but I was out of town so switched to Wednesday this week.  It's so simple!  And you could do this with many of our dies too!  Click below to see it.

I also traced the flap of my envelope onto the From My Heart specialty designer paper to make this card extra, extra special!  

Details:

  • The pretty soft scallops on the edge of the DSP are from the new Braided Border punch.  I did one length of it and cut it in half for both cards. 
  • The greeting is stamped on a Timeless Label punch and added to another Heart Doily.  The stamps are from the Heart to Heart stamp set seen here. 
  • I used the new sparkly Faceted Gems from the From My Heart Suite.  See them here
  • You get 40 Heart doilies in one package for $5.50; a great deal at .14 cents each.

Cutting:

  • I cut a strip of the From My Heart designer paper at 3" X 12" and cut that into two pieces 3" X 5 1/2" long.  The hearts are the reverse side of the pretty foil double sided designer paper on the envelope.  When you use these measurements you can get 8 cards from one sheet!  It's a great way to use up the designer paper you may be 'hoarding'. 
  • The white layer inside is 3 1/2" X 4 3/4"; my favorite size for inside cards as you can get 5 from one sheet of 8 1/2" X 11".  

I folded each doily in half and glued each one to the next just on the outer curve.   I adhered the folded doilies to the card with either Tombo liquid adhesive or Tear & Tape; it's super strong!

~~~

Three January Specials just for you! 

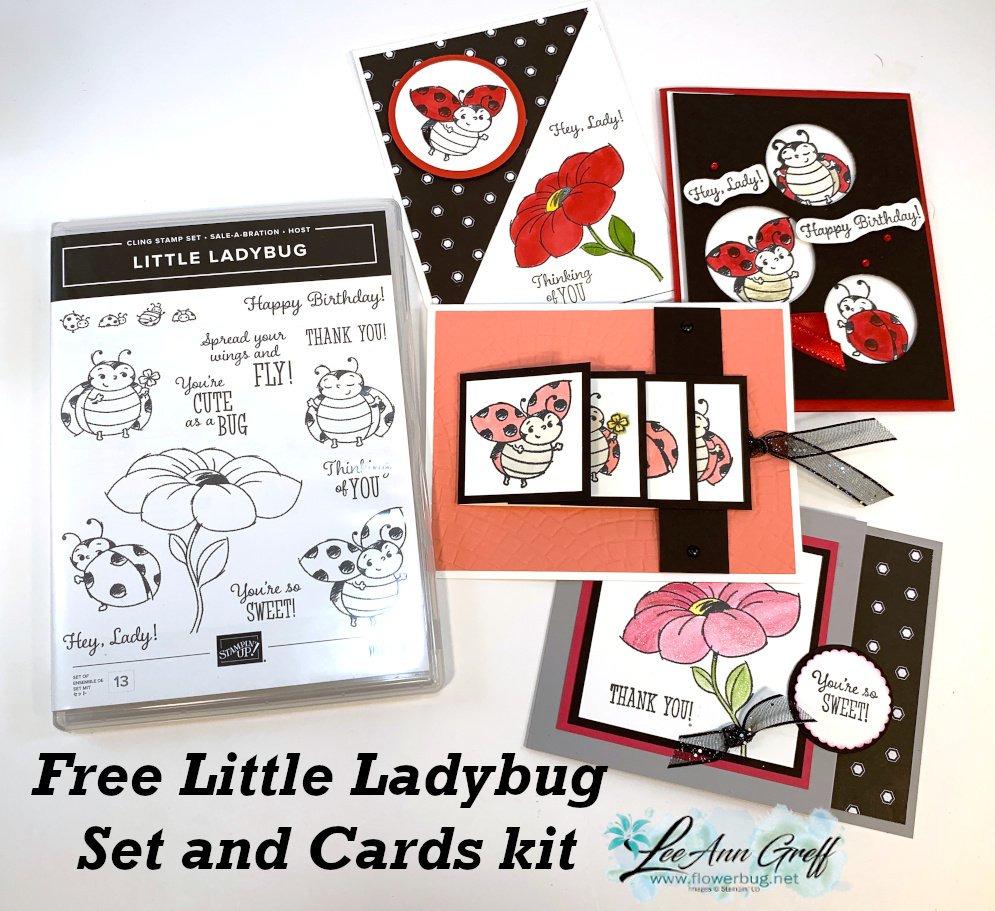
  1. All January online orders will earn a ticket in the drawing for a free Little Ladybug stamp set!

Order online here

2. All online orders will receive a 10 cards pdf tutorial in an email.

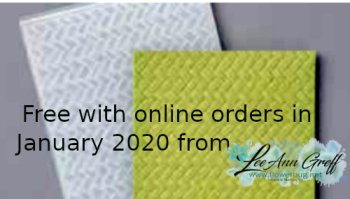
3. And if your order is over $65 you'll get a free Coastal Weave embossing folder too!
January Host Code is GEEFZCZV

Order online here

All Posts

  • Spring Retreat; get it in a bag ‘to go’!


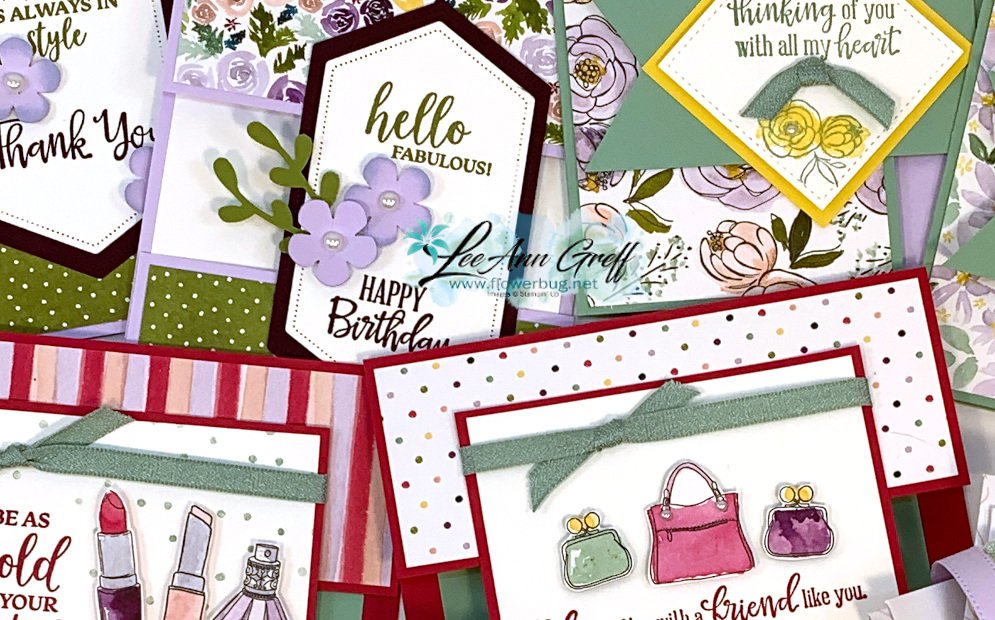
    Due to the current pandemic our Spring Retreat has been changed to a kit to go.  Sadly I won't get to pamper my gals at the event but everyone can stamp safely in the comfort of your own home.  I have a bunch of fabulous projects, gifts and surprises planned for the kits to go!   

    Cost is $45 and includes the following:
    – $20 in Stampin' Up! products (including the Well Dressed Designer paper) and 20 projects!!
    – a pre-cut cards and gifts class with 12 projects (including 8 fun fold cards!) with envelopes
    – a Birthday cards class with 8 cards with envelopes
    – printed tutorials for both classes!
    – cute surprises and yummy treats
     
    *Pre-pay by tomorrow, April 7th to get a free, super cute bonus project!
    Registration is closed for this event. 
    *Projects will not be stamped but will need mostly greetings; we'll do the rest for you!
    *Opt for pick up or add $12 for shipping directly to you. 


    Ssh, here's a sneak peak of one of the classes:


    ~~~~

    Two April ordering specials to choose from:

    All online orders in April will receive my tutorial of the month; with 16 cards

    featuring the Ornate Garden products seen here.

    Orders between $55 and $99 will receive a free Simple Shammy!

    Use this host code for April: MMM4SXSB  

    ~~~~~

    Or….

    Join my $1000 party! 

    The first 10 people in April to order over $100 using this exclusive party host code 49HFZ6G3 will get a free Little Ladybug cards class that includes the stamp set and a 4 pre-cut cards kit! 

    I have 8 spots left as of today.


    Leave a Reply

    Your email address will not be published. Required fields are marked *

  • Ornate Garden; simply done


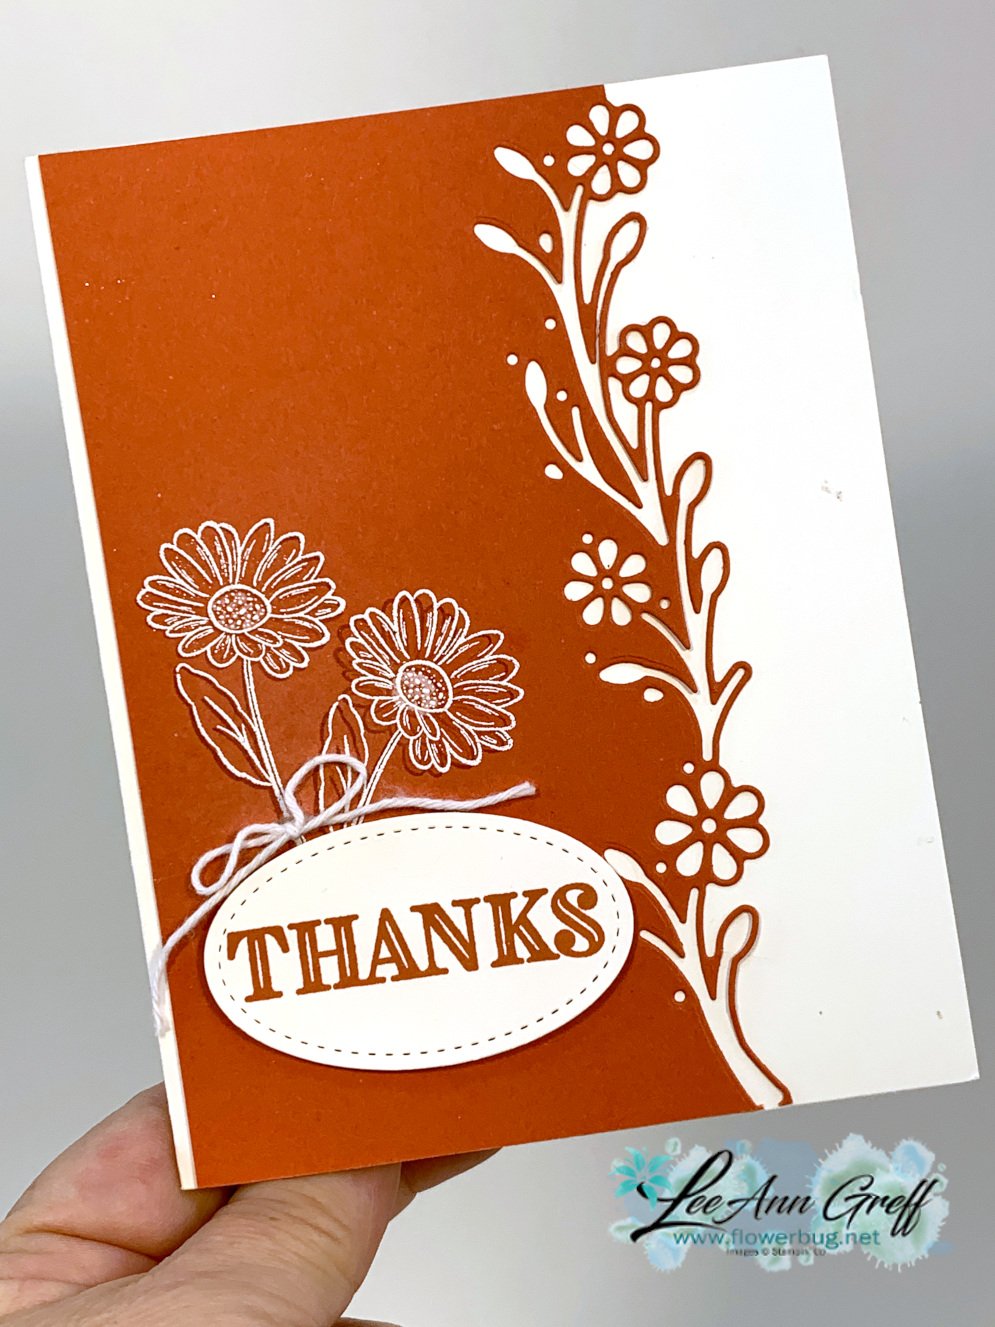
    Today I have another card featuring the new Ornate Garden products; the new early release from the upcoming 2020 Annual Catalog.  You can see all of it here. 

    For this card I chose to use the Ornate Border dies for the pretty edge. The greeting is from the Ornate Thanks set and the embossed daisy is from the Ornate Style stamp set.

    You might see a little halo around the right daisy…. I first stamped it in Terracotta Tile, but it didn't show up well enough.  So I tried to stamp again to heat emboss it in White.  I was off a bit but I'm okay with it anyway. The stitched oval is a die from the Stitched Shapes dies.  

    I made a bunch of these for a swap last month; it's a pretty easy card with just a few special 'extras'.  

    ~~~~

    Two April ordering specials:

    All online orders in April will receive my tutorial of the month; with 16 cards

    featuring the Ornate Garden products seen here.

    Orders between $55 and $99 will receive a free Simple Shammy!

    Use this host code for April: MMM4SXSB  

    ~~~~~

    Or….

    Join my $1000 party! 

    The first 10 people in April to order over $100 using this exclusive party host code 49HFZ6G3 will get a free Little Ladybug cards class that includes the stamp set and a 4 cards pre-cut kit! 


    Leave a Reply

    Your email address will not be published. Required fields are marked *

  • Stamp with me! Tonight: Thursday, April 2nd at 8 pm on Facebook Live


    Sadly, my April events are all cancelled due to the current pandemic.  I haven't had a month without seeing my stamping friends in many, many years!  We're having virtual clubs instead this month but it just won't be the same!

    I know many of you are in the same situation so I decided to do a weekly 'Stamp with Me' Facebook Live on Thursdays at 8 pm CDT. It's a virtual stamping class. Join me Thursday night, April 2nd here on my FB page.  


    We'll be making these 3 cards plus a bonus technique I'll demonstrate. Remember you don't have to use these exact products!  You can easily substitute other paper, stamps etc.

    If you don't have the Magnolia Lane designer paper you can use any other paper you own instead.  It will be fun to see what everyone uses; we'll share our projects with each other afterwards. 

    Here are the supplies and measurements so you're ready to stamp with me:

    Measurements:

    • Card bases; one White 5 1/2" X 8 1/2", two of Mossy Meadow 4 1/4" X 11" 
    • Designer Paper – two designs cut at 4" square. Cut one  on the diagonal in half.  For the other, make a mark at 1 1/4" from the upper right and also from the lower left. 
    • Good Morning Magnolia stamp set

    Extras: (it might look like a long list; but it's mostly accessories) 

    • Black Memento & Petal Pink inks
    • Blends markers – Petal Pink, Light Mossy Meadow
    • one large oval die-cut (largest Stitched Shape oval die or cut a rectangle at 2 1/2" X 3 1/2") 
    • a 1 1/2" White circle and a Petal Pink Pretty Label punched piece. (You can easily substitute any shapes here) 
    • Champagne rhinestones 
    • Petal Pink ribbon
    • Sponge dauber for Petal Pink ink 
    • Mini glue dots
    • Dimensionals 

    ~~~~

    Two April ordering specials:

    All online orders in April will receive my tutorial of the month; with 16 cards

    featuring the Ornate Garden products seen here.

    Orders between $55 and $99 will receive a free Simple Shammy!

    Use this host code for April: MMM4SXSB  

    ~~~~~

    Or….

    Join my $1000 party! 

    The first 10 people in April to order over $100 using this exclusive party host code 49HFZ6G3 will get a free Little Ladybug cards class that includes the stamp set and a 4 cards pre-cut kit! 


    Leave a Reply

    Your email address will not be published. Required fields are marked *


Notice: LeeAnn Greff, Independent Stampin’ Up! Demonstrator, Manager. The content of this website is my sole responsibility as an independent Stampin’ Up! demonstrator and the use of, and content of, the classes, services, or products offered on this website is not endorsed by Stampin’ Up! Copyright 2025