/


Latest Post

Fabulous swaps by my Flowerbug’s Team using new Stampin’ Up! products


My Flowerbug's Team has optional swaps each month. This month we used new Spring or Sale-a-Bration catalog products.  You're going to love these cards!

Roxanne made this cool card using the 'Way to Grow' stamp set seen here.  I think it's a totally new style of images we haven't seen before by Stampin' Up!  She shows it off wonderfully!  
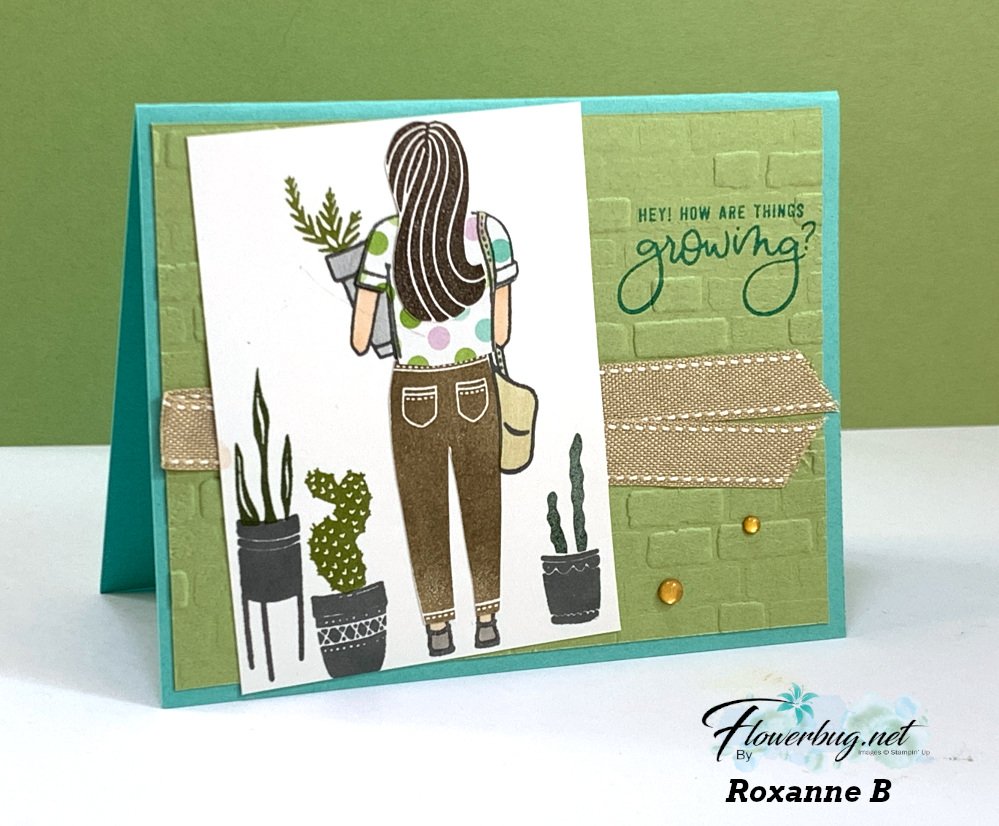
She did do a bit of fussy cutting – the hair, shirt and pants.  Notice the shirt is stamped on Dandy Designs paper from the SAB catalog!  So cute!  

Look at the card sample on page 38 of the Spring catalog; she cased the layout on the bottom.  This is a great reminder that we can use the catalog samples as inspiration.  

Her colors are Coastal Cabana, Pear Pizzazz with Crumb Cake in the ribbon.  The Pear Pizzazz layer is textured with the Brick & Mortar 3D folder.  

~~~

Next is a special card made by Annette.  She gives out calendar cards to her friends each year, so she made one for our swap participants too.  She orders these calendars online; there are several sites. Look on Amazon or Google for mini tear off calendars.  
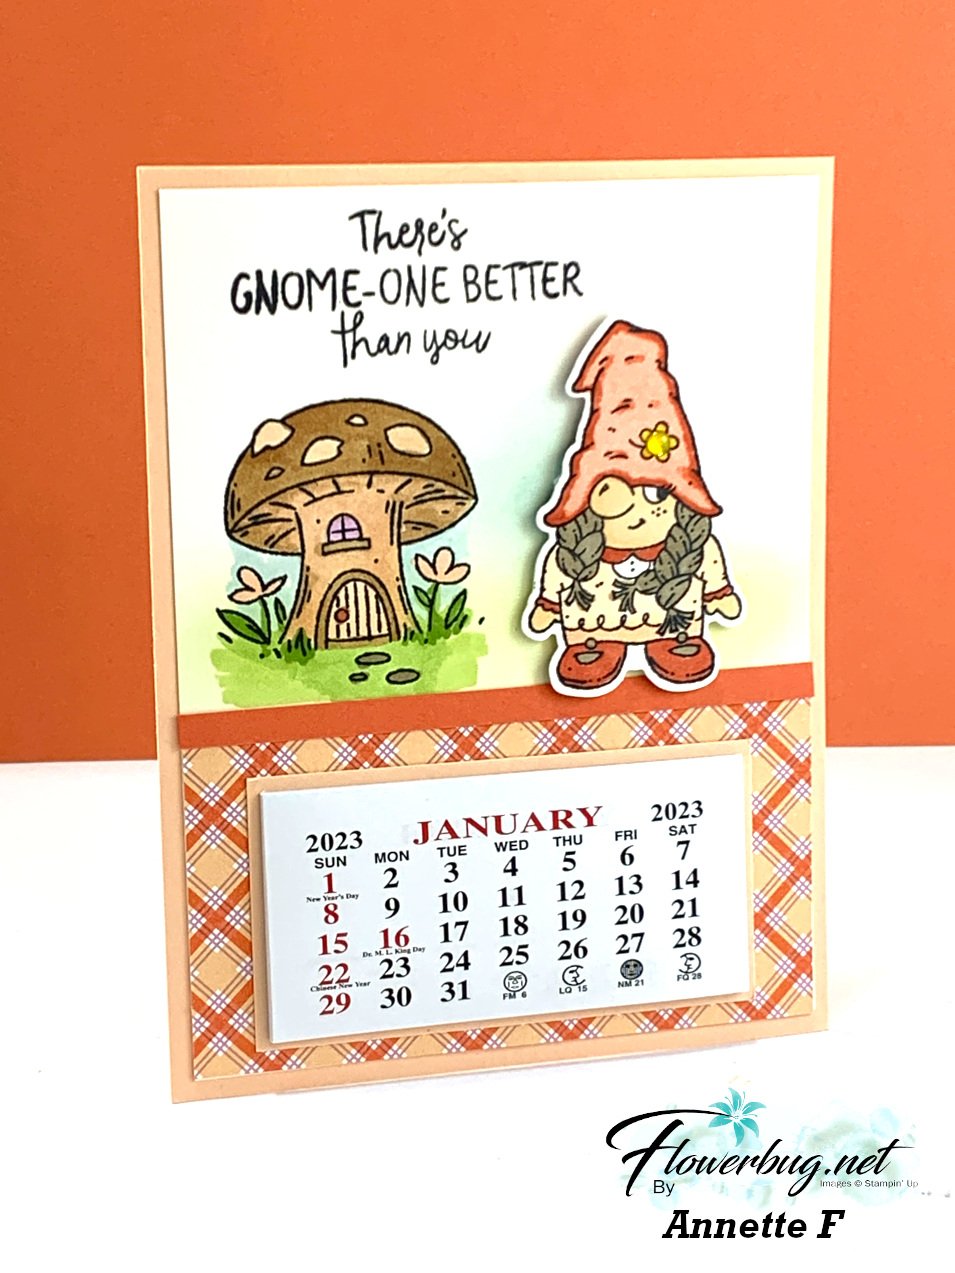
She featured the new Friendly Gnomes stamp set here.  Isn't the coloring and shading beautiful?  She used Blends markers to color and ink and blending brushed for the background.  The gnome is die-cut with the Gnomes dies – they carried over from the Holiday catalog through May 1st.  

The designer paper is from the Dandy Designs pack – from our Sale-a-Bration catalog.  It's a big pack of 48 sheets; free with any $100 order from Stampin' Up!  See it here.  

Next today is a cute Easter card made by Candy.  She used the Easter Bunny stamp set seen here.  It has a coordinating Easter Bunny punch too!  
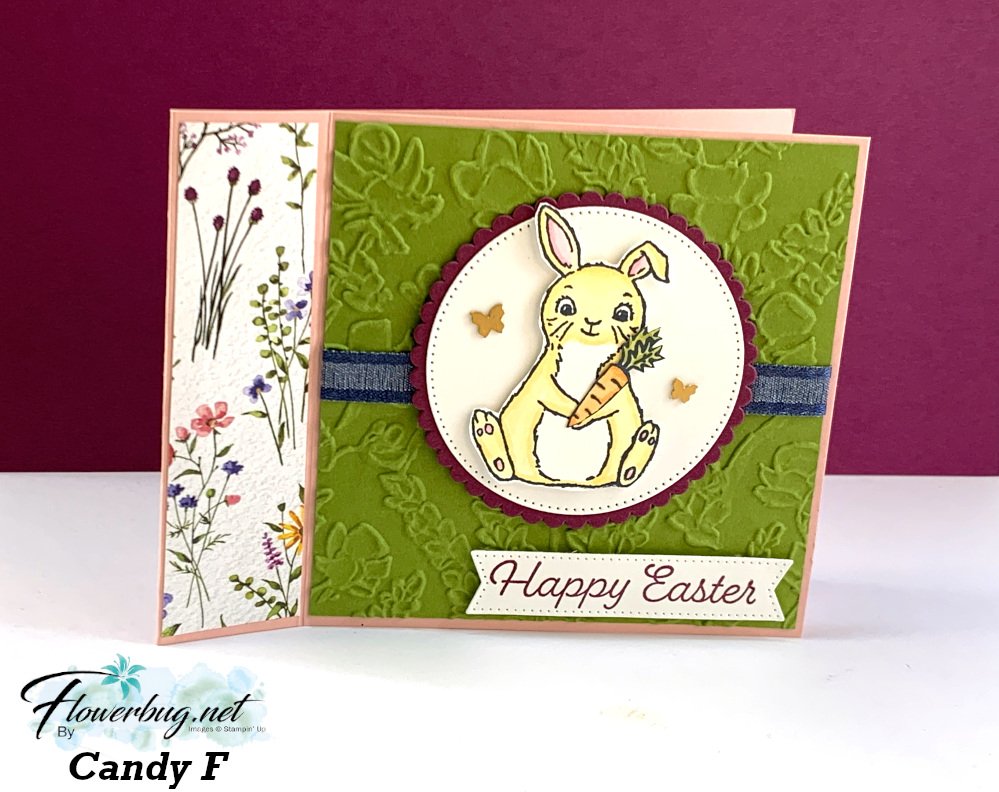
Her card is a fun fold – called a Book Binding card fold.  It starts out with a 4 1/4" X 11" card stock.  Score it at 4 1/4" and 5 1/2". The Dainty Flowers SAB DSP is 1 1/8" X 4".  The card stock layer is 4" square.  

She stamped and colored the bunny; then fussy cut it to pop up on the Stylish Shapes & Layering Circles dies.  Her embossing folder is the Pretty Flowers folder in the annual catalog.  Other additions are the Brushed Brass butterflies and Navy bordered ribbon.  

If you love to swap you'll love our Team swaps; consider joining our Flowerbug's Team! Or maybe you just want to be a part of a friendly stamping group!  It's a great time to choose the Starter Kit deal; details here or below. 

~~~

February specials:
February Host code links:

  CNV2VCBT or 7EUM6NB9 or N9YXCDAD 

Get free Pastel Sequins with online orders over $55 when using the host code above!

 Earn free products with my loyalty rewards! 
Click here to download yours and earn a $50 shopping spree!

~~~

Best Deal Ever on the Starter kit here!

Choose $175 in products for just $129 plus the new mini machine!

Or choose $175 for $99 without a new Mini.  AMAZING!

All Posts

  • All Around Wreath for Christmas


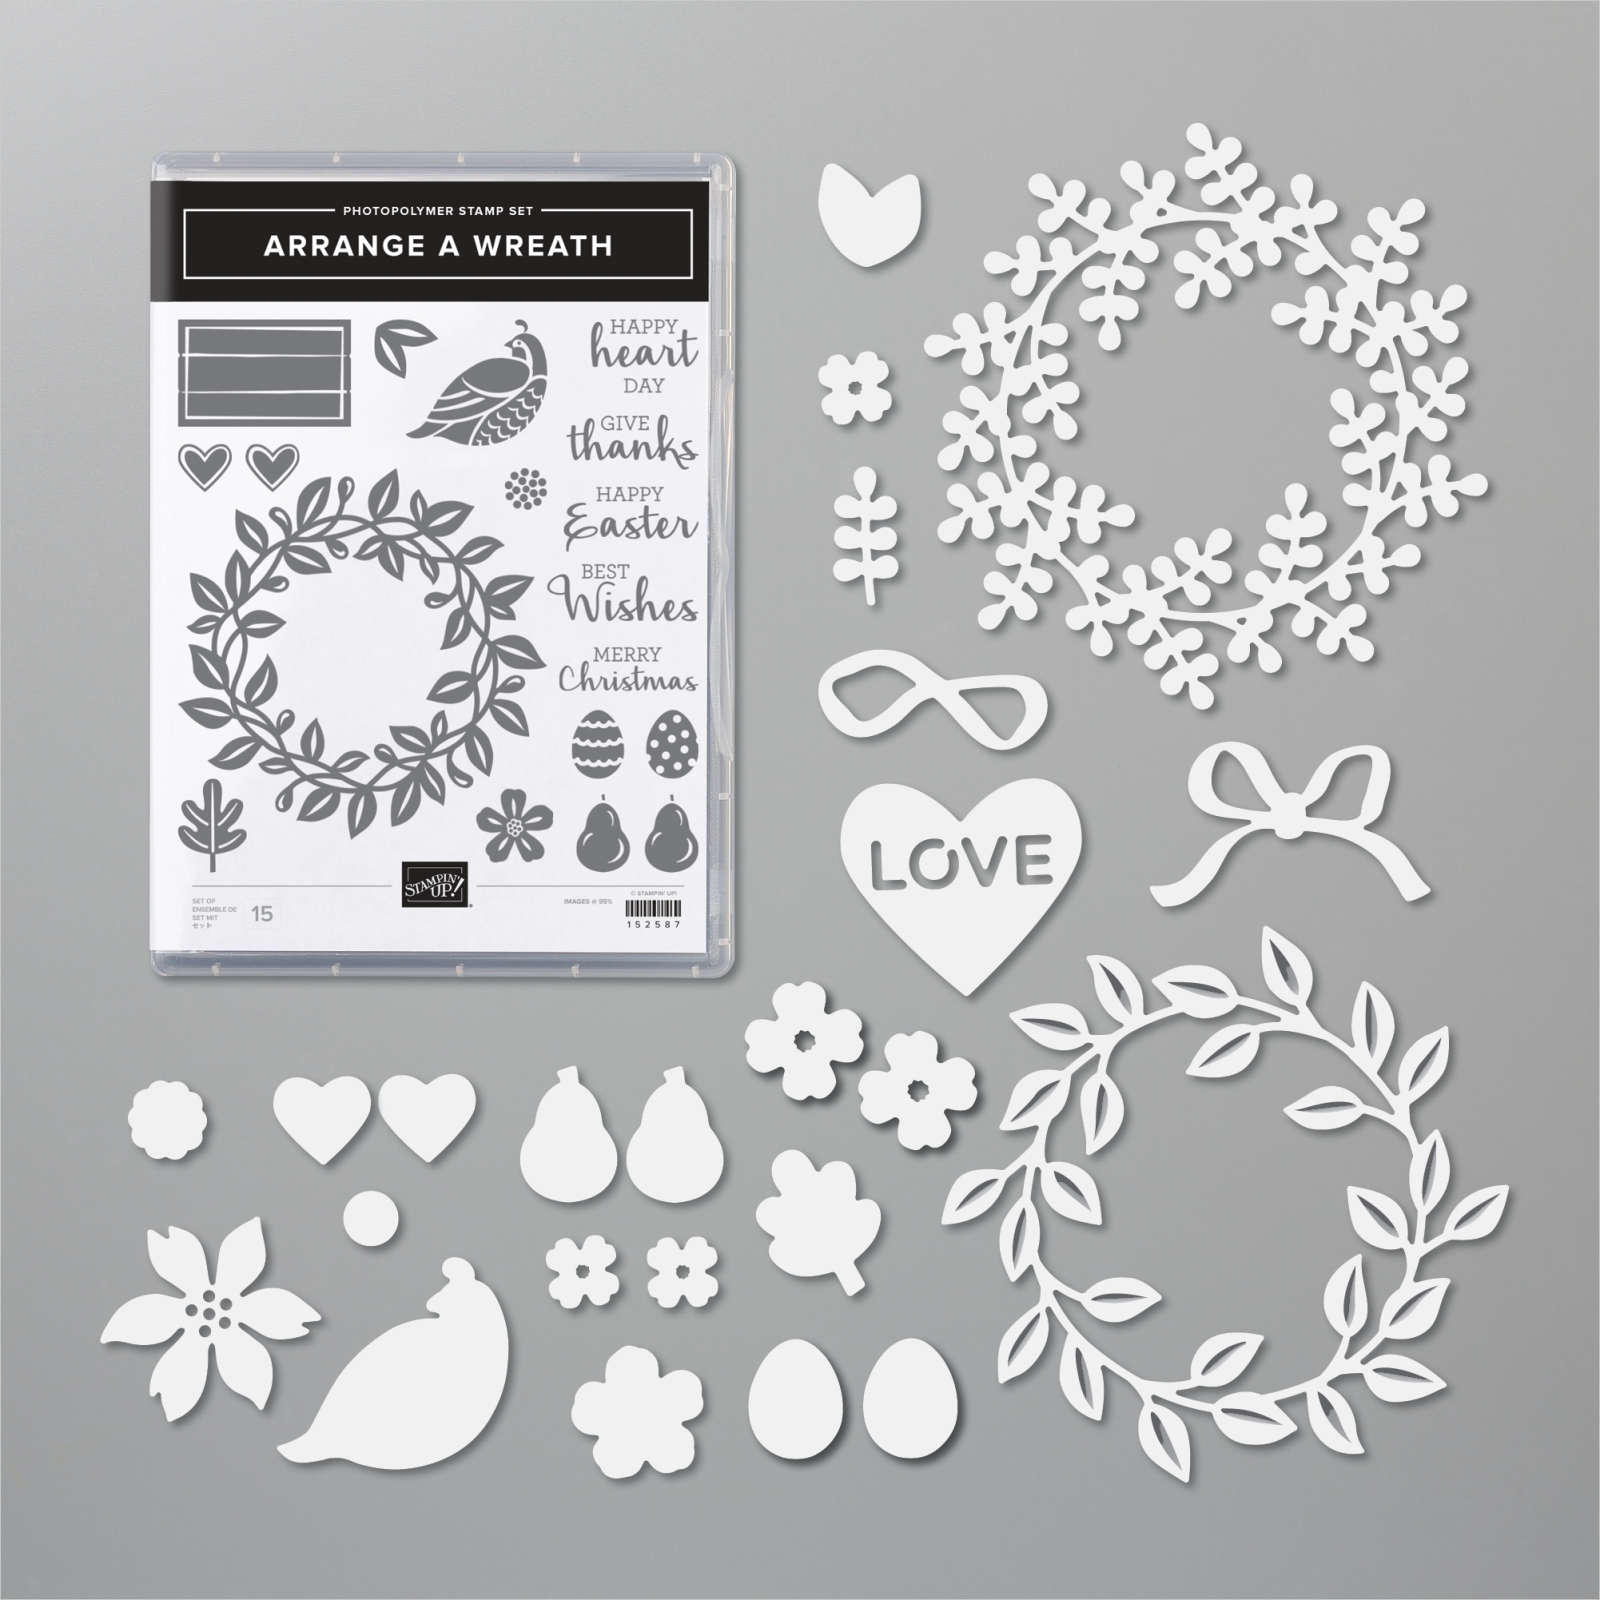
    Have you noticed the All Around Wreath bundle in the annual catalog? Click here; it's quite the gem!  So many occasions are covered in the greetings and die-cuts.  

    Marilyn made this pretty Christmas themed wreath for our Team Christmas card swap. 

    She chose to use two shades of green here; Mossy Meadow with Pear Pizzazz along with a few touches of Gold.  The pears are heat embossed in Gold powder as well as the shimmery thread.  

    Other details:

    • The greeting is die-cut with the Hippo & Friends dies seen here
    • The Vanilla layer is textured with the Pinewood Planks embossing folder
    • She used the same wreath die-cut but in two colors, separating them slightly on the card. 

    ~~~

    November Specials!

    Current Host code is GRC9VVUU


    All online orders receive my FREE Curvy Celebrations 22 project PDF Tutorial! 


    Leave a Reply

    Your email address will not be published. Required fields are marked *

  • Retro style circles layout; super easy! Catch the Live video tonight!


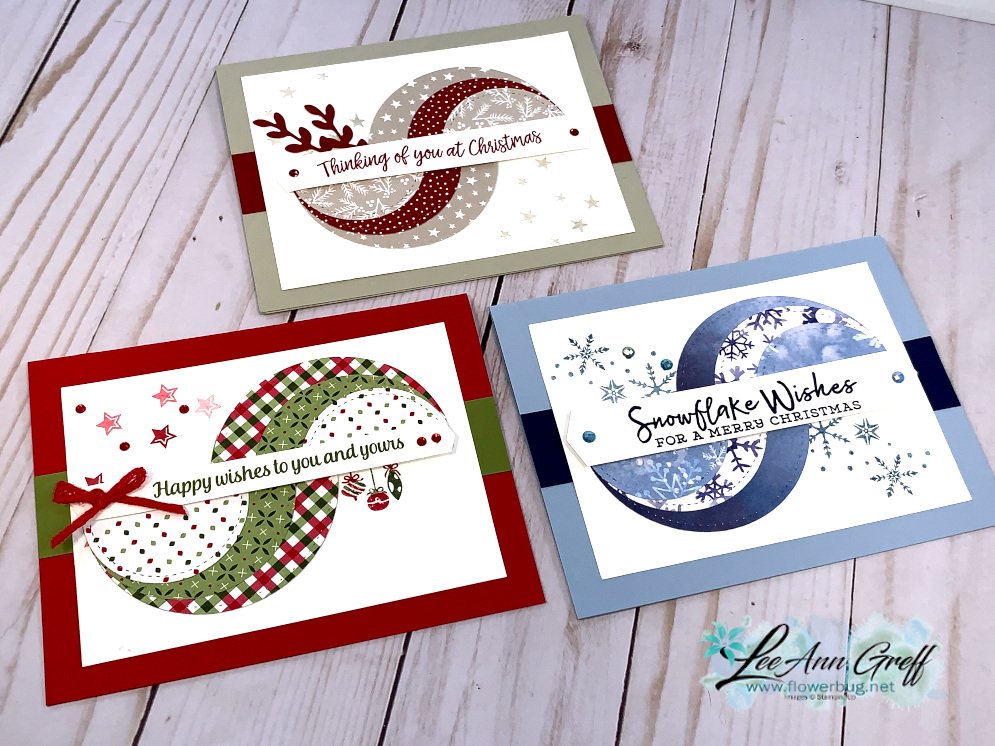
    Tonight at 7:30 pm Central Time I'm sharing how to make these retro style circle cards on Facebook Live.  Click here to join me.   You can also see this video below!

    Basically you need three sizes of circle dies or punches for the start of this layout.  Cut them in half and layer together with the edges meeting on one side. Adhere and add a long greeting between the two. 

    Watch how on my FB Live replay!

    Measurements:

    • 5 1/2" X 8 1/2" card base
    • 3 1/2" X 4 3/4" Whisper White; the greeting strip is about 5" long and either 1/2" or 3/4" wide depending on your greeting image.
    • 1" X 5 1/2" horizontal strip
    • Circles from the Stitched Shapes dies are the largest three circles. 

    You'll want ink, stamps and embellishments that coordinate with your Designer Paper.  Remember you could use card stock instead of DSP. 


    Products used:

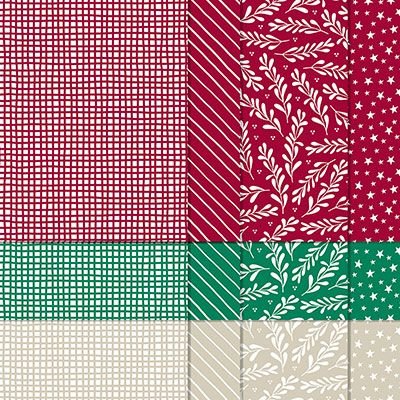
    • Designer papers – Heartwarming Hugs, new Classic Christmas & Snowflake Splendor
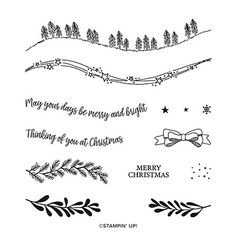
    • Stamps – Tree Angle, Snowflake Wishes & Curvy Christmas
    • Colors – Real Red & Olive, Seaside Spray & Night of Navy, Sahara Sand & Cherry Cobbler  
    • Other: Stitched Shapes dies, Curvy Dies & Pick a Banner punch

    ~~~

    November Specials!

    Current Host code is GRC9VVUU


    All online orders receive my FREE Curvy Celebrations 22 project PDF Tutorial! 

    Leave a Reply

    Your email address will not be published. Required fields are marked *

  • Curvy Christmas & the Postage Punch


    Check out this easy card using the new Curvy Christmas stamp set and the Postage Punch!  

    It's super simple! Here's how I made it:

    1. Stamp the curvy trees image on the White CS using Shaded Spruce ink.  Color the trees with a Light Shaded Spruce Blends marker.  Add a tiny star using Cherry Cobbler ink on one tree. Adhere it to the Cherry Cobbler layer and to the main card.
    2. Punch out three pieces of Classic Christmas designer paper with the Postage Punch seen here.  Adhere to the White CS. 
    3. Stamp the greeting in Cherry Cobbler ink on a 1/2" strip of White CS.  Punch the ends with the Banners Pick a Punch. Add it to the card with mini dimensionals. 
    4. Finish with a few Holiday rhinestones. 

    You can see this stamp set here; it's only available through January 4th.  And the Classic Christmas Designer Paper is here while supplies last. 

    Remember that everyone who orders any of these products or places an online order with me in November will receive a free 22 project PDF tutorial featuring the Curvy Celebration products! 


    ~~~

    November Specials!

    Current Host code is GRC9VVUU


    All online orders receive my FREE Curvy Celebrations 22 project PDF Tutorial! 

    Leave a Reply

    Your email address will not be published. Required fields are marked *


Notice: LeeAnn Greff, Independent Stampin’ Up! Demonstrator, Manager. The content of this website is my sole responsibility as an independent Stampin’ Up! demonstrator and the use of, and content of, the classes, services, or products offered on this website is not endorsed by Stampin’ Up! Copyright 2025