/


Latest Post

Encircled in Nature in Autumn colors – free project sheet & video tutorial


I shared this pretty card on last week's Live video. I featured the Encircled in Nature bundle.

My colors include Basic Beige, Cajun Craze and Old Olive.  I used Daffodil Delight, Peach Pie and Calypso Coral for the sunset, adding each color softly with Blending Brushes.

I textured the extra layer (4" X 5 1/4") of Basic Beige with the Birch Wood 3D embossing folder seen here. Then I lightly sponged Basic Beige ink over it with a Blending Brush. I added Cajun Craze & Old Olive ink to the die-cut leaves with. 

This pretty bundle is one of our Online Exclusives; available while supplies last.  It's already been out for awhile so I'm wondering how much longer it will be available. *if you want it act fast! 

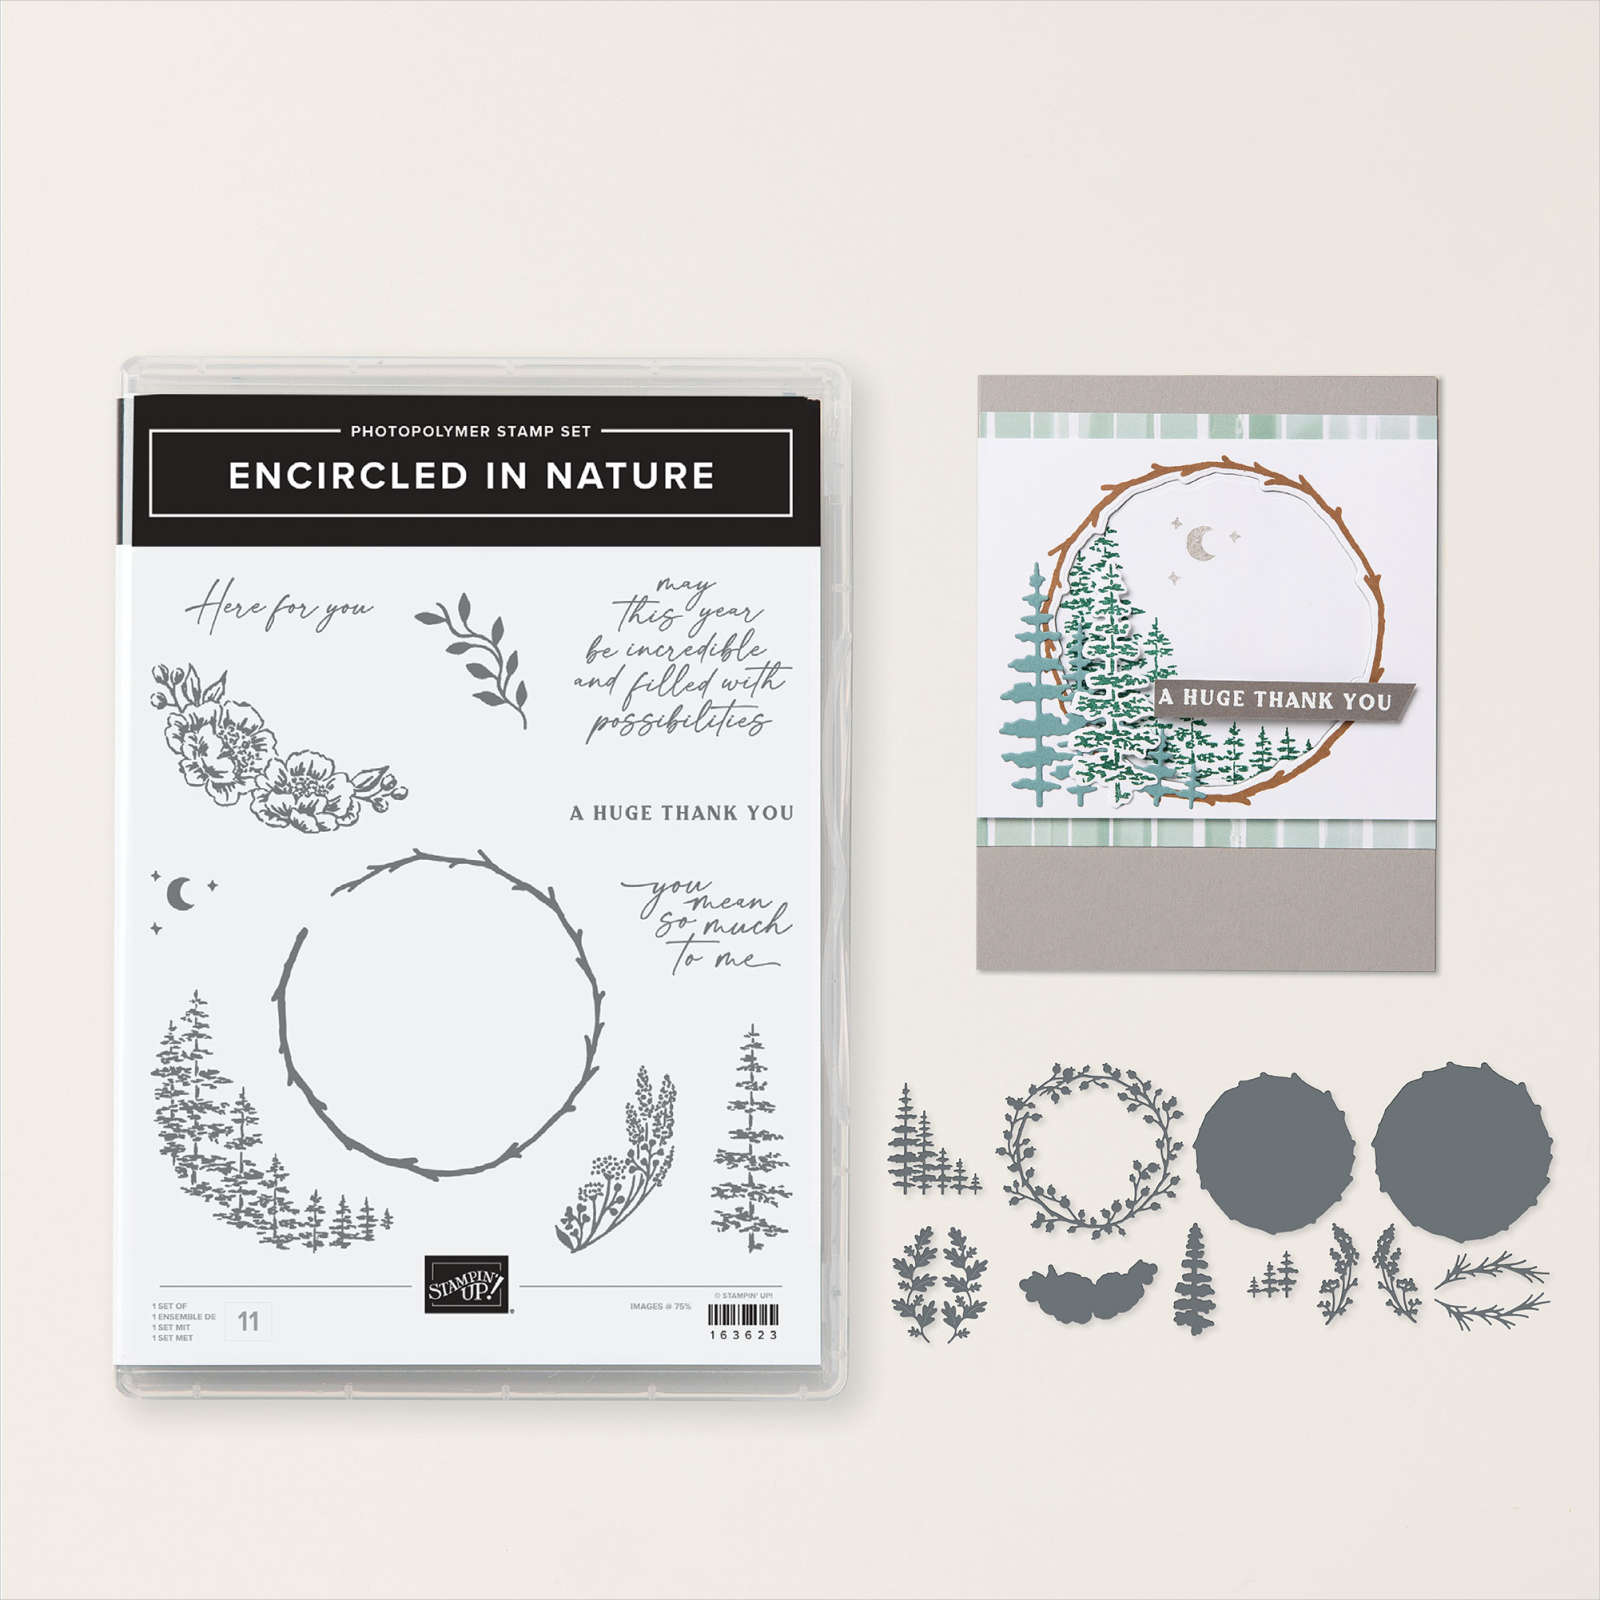
Here's a photo of the bundle; click here to see it online. 

Besides the video tutorial below here's the free project sheet for it. Click on the following link to download or print it. Download Encircled in Nature Fall wreath

I cut the wreath circle from both layers at the same time, saving one for the sunset layer adhered inside the card. 

I finished it off with some 2023-25 In Color sparkle gems. Catch the video tutorial below to get the tips on creating this card. 

Below is the video tutorial for this pretty card and another one in a winter version. Follow me on YouTube here or my Facebook channel here. 

~~~

Lots of November Specials:

See the new Online Exclusives here

*current host code link:  

 M7S96HPT

Get a package of Gold Textured dots with your online order 

Online orders over $75 get an extra special gift; I still have a few left!

(I still have a few left)  *must use a host code 


~~~

       All online orders in November will receive a free PDF tutorial featuring the Reindeer Days suite

All Posts

  • New, beautiful Splendid Autumn card kit to go; now with an exclusive video tutorial!


    Stampin' Up! knows we love scenic designer series paper and they created another winner with the Splendid Autumn DSP. I chose to feature it for one of my September card kits to go. 

    Each of the cards are a unique fun fold layout. I chose these designs specifically to show off the pretty papers. 

    I offer both a pre-cut kit with products or the PDF tutorial option.  Both include the tutorial and now an unlisted video on how to assemble each card!  The PDF tutorial is emailed to you immediately after purchase from my shop. The video link is emailed to you soon after.  The pre-cut card kit is mailed out at the end of September.

    This month's kit to go includes the following:

    • 1/2 pkg Splendid Autumn 6" Designer Series Paper
    • a share of Faux Glass gems and woven gold leaves
    • a share of Wild Wheat rustic ribbon
    • both the PDF tutorial and the video tutorial

    Click here to purchase the card kit to go for $31 plus shipping. Click here to get the PDF tutorial for $16.  *see all of the available kits or tutorials here. 

    *this is the kit my subscribers will receive.   Subscribe here if you're interested in receiving a card kit filled with both products AND a pre-cut card kit.  My subscribers get their kits at a reduced rate.

    I used the Layering Leaves stamp set for my greetings. I LOVE it; it's a go-to for an all occasions greeting set. 

    However you can substitute any greetings instead.  I specifically plan my cards kits so you only need greeting images; not a specific stamp set.

    *I'll share the other new kit for September tomorrow!

    ~~~

    September Specials:

    *current host code links: ENS36KE4 or ZN49FXMV


    ~~~

    Check out the new Scrapbooking Line from Stampin' Up! 

    See the Brochure here

    ~~~

    All online orders will receive a free PDF tutorial featuring the

    Splendid Autumn suite

    Leave a Reply

    Your email address will not be published. Required fields are marked *

  • A pretty Regal Winter Tent card with free project sheet & video tutorial. So easy!


    I haven't made a tent card in a long time! It can also be called an easel card too. 

    This card layout really shows off our pretty designer paper. And it's sooo easy too!  As you can see it's basically 3 layers and an embellishment.  See the Regal Winter DSP here. 

    My colors were inspired by the pretty DSP and include Pretty Peacock, Cherry Cobbler & White. That Cherry Cobbler gold edged ribbon is new; it's fine and easy to work with. 

    The greeting is from the Regal Flora stamp set however the greeting is originally all in one row.  I cut it in half and stamped them separately to fit on my die-cut. They're easy to reposition back together like it came. 

    Here's a view of the inside: 

    Click on the following link to download or print the free project sheet: Download Regal Flora Easel card

    Below is the video for this card and another. Be sure to follow me on my YouTube channel here.  I shared another gorgeous card with this suite 2 weeks ago.  

    ~~~

    September Specials:

    *current host code links: ENS36KE4 or ZN49FXMV


    ~~~

    Check out the new Scrapbooking Line from Stampin' Up! 

    See the Brochure here

    ~~~

    All online orders will receive a free PDF tutorial featuring the

    Splendid Autumn suite

    Leave a Reply

    Your email address will not be published. Required fields are marked *

  • Easy stack & cut layout with Regal Winter with free project sheet & video


    This is one of the cards I shared on last week's Live video.  I chose to feature the beautiful Regal Winter suite seen here. It's new from our 2024 Holiday catalog by Stampin' Up! 

    Isn't the color combination pretty?  It's Blueberry Bushel with Wild Wheat & White.  It's interesting that I chose the color combo from the pretty Regal Winter designer series paper but afterwards I realized they are complimentary colors.  Check out pages 132-133 in the 2024-25 Annual Catalog. Blues & purple are complimentary colors with yellow hues. I explain how to do this this in my video seen here. 

    If you have trouble combining colors together start with two main colors.  Using our designer papers as a starting point can make it quite easy. I tend to grab the card stock and hold them next to each other.  I can usually tell if they work well.  But if you can't try using our color wheel information on the pages above.  

    Isn't that double die-cut pretty?  It comes as one die but cuts the main and the outer frame all at once. Click here to see the Regal Flora bundle and here for the Regal Winter designer paper. 

    I stamped the leaf image in Wild Wheat and the blue flower is stamped & die-cut. Next I colored the white areas with a Wild Wheat Blends marker.  Love the golden highlights!  

    Click here to print or download the free project sheet. Download Regal Flora Golden Hues of Blue

    How did I cut the three pieces of designer paper for this card? I explain in the video below and in the tutorial above.  But basically you stack 3 pieces of designer paper measuring 3 3/4" X 5" and cut into 3 pieces. It's incredibly gorgeous designer paper! 

    As long as you cut them all together it does not matter where your cuts are. You'll get 3 card fronts from the pieces you'll get.  These are layered onto another 4" X 5 1/4" piece of card stock. 

    Below is the video tutorial for this and one other card. I hope you watch it AND follow me on my YouTube channel too!

    ~~~

    September Specials:

    *current host code links: ENS36KE4 or ZN49FXMV


    ~~~

    Check out the new Scrapbooking Line from Stampin' Up! 

    See the Brochure here

    ~~~

    All online orders will receive a free PDF tutorial featuring the

    Splendid Autumn suite

    Leave a Reply

    Your email address will not be published. Required fields are marked *


Notice: LeeAnn Greff, Independent Stampin’ Up! Demonstrator, Manager. The content of this website is my sole responsibility as an independent Stampin’ Up! demonstrator and the use of, and content of, the classes, services, or products offered on this website is not endorsed by Stampin’ Up! Copyright 2025