/


Latest Post

Easy stack & cut layout with Regal Winter with free project sheet & video


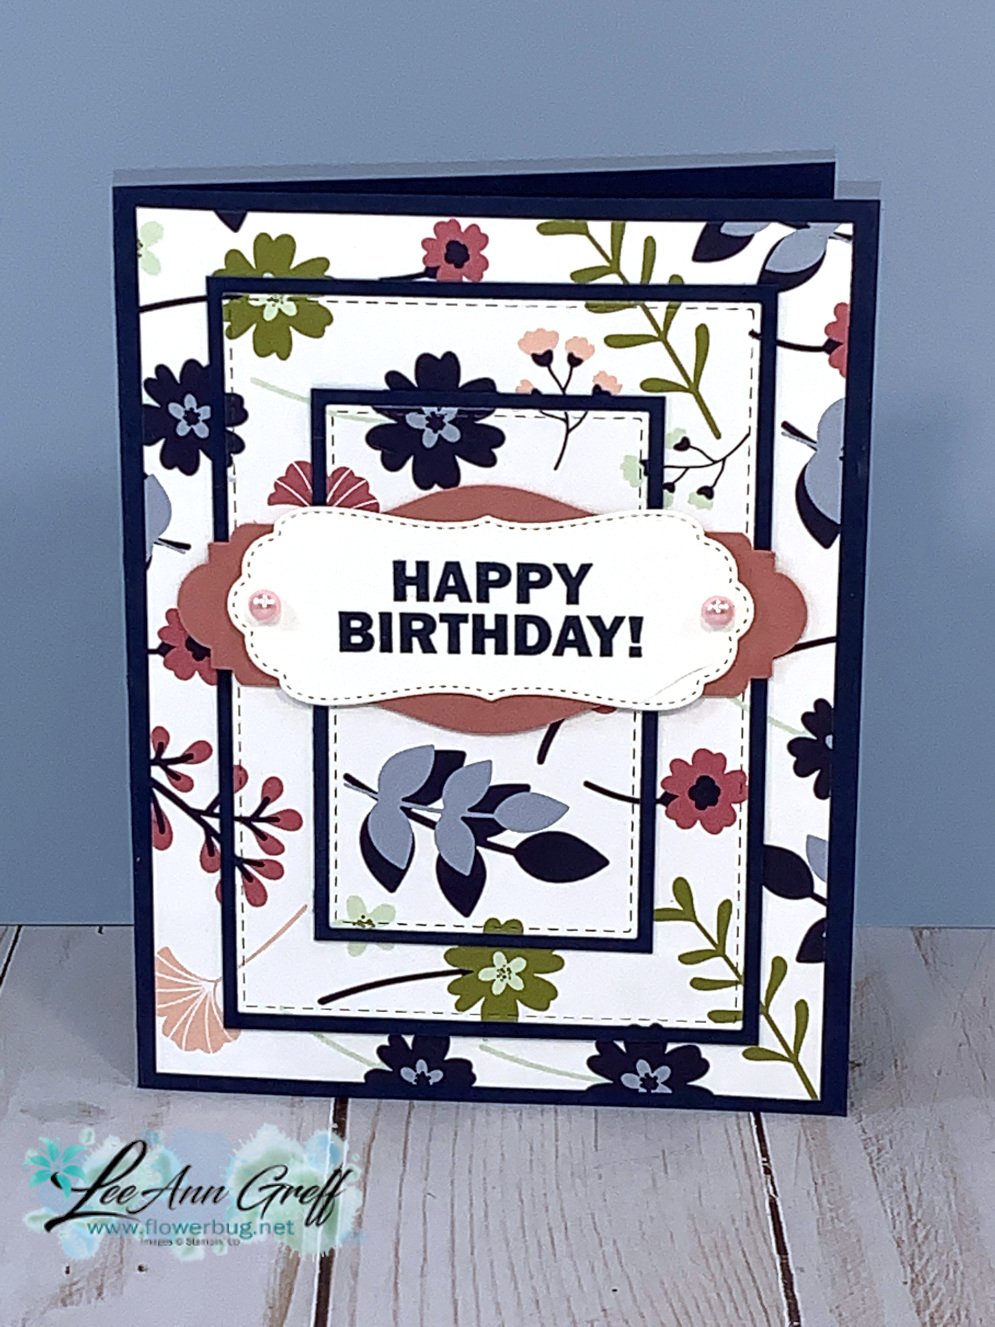
This is one of the cards I shared on last week's Live video.  I chose to feature the beautiful Regal Winter suite seen here. It's new from our 2024 Holiday catalog by Stampin' Up! 

Isn't the color combination pretty?  It's Blueberry Bushel with Wild Wheat & White.  It's interesting that I chose the color combo from the pretty Regal Winter designer series paper but afterwards I realized they are complimentary colors.  Check out pages 132-133 in the 2024-25 Annual Catalog. Blues & purple are complimentary colors with yellow hues. I explain how to do this this in my video seen here. 

If you have trouble combining colors together start with two main colors.  Using our designer papers as a starting point can make it quite easy. I tend to grab the card stock and hold them next to each other.  I can usually tell if they work well.  But if you can't try using our color wheel information on the pages above.  

Isn't that double die-cut pretty?  It comes as one die but cuts the main and the outer frame all at once. Click here to see the Regal Flora bundle and here for the Regal Winter designer paper. 

I stamped the leaf image in Wild Wheat and the blue flower is stamped & die-cut. Next I colored the white areas with a Wild Wheat Blends marker.  Love the golden highlights!  

Click here to print or download the free project sheet. Download Regal Flora Golden Hues of Blue

How did I cut the three pieces of designer paper for this card? I explain in the video below and in the tutorial above.  But basically you stack 3 pieces of designer paper measuring 3 3/4" X 5" and cut into 3 pieces. It's incredibly gorgeous designer paper! 

As long as you cut them all together it does not matter where your cuts are. You'll get 3 card fronts from the pieces you'll get.  These are layered onto another 4" X 5 1/4" piece of card stock. 

Below is the video tutorial for this and one other card. I hope you watch it AND follow me on my YouTube channel too!

~~~

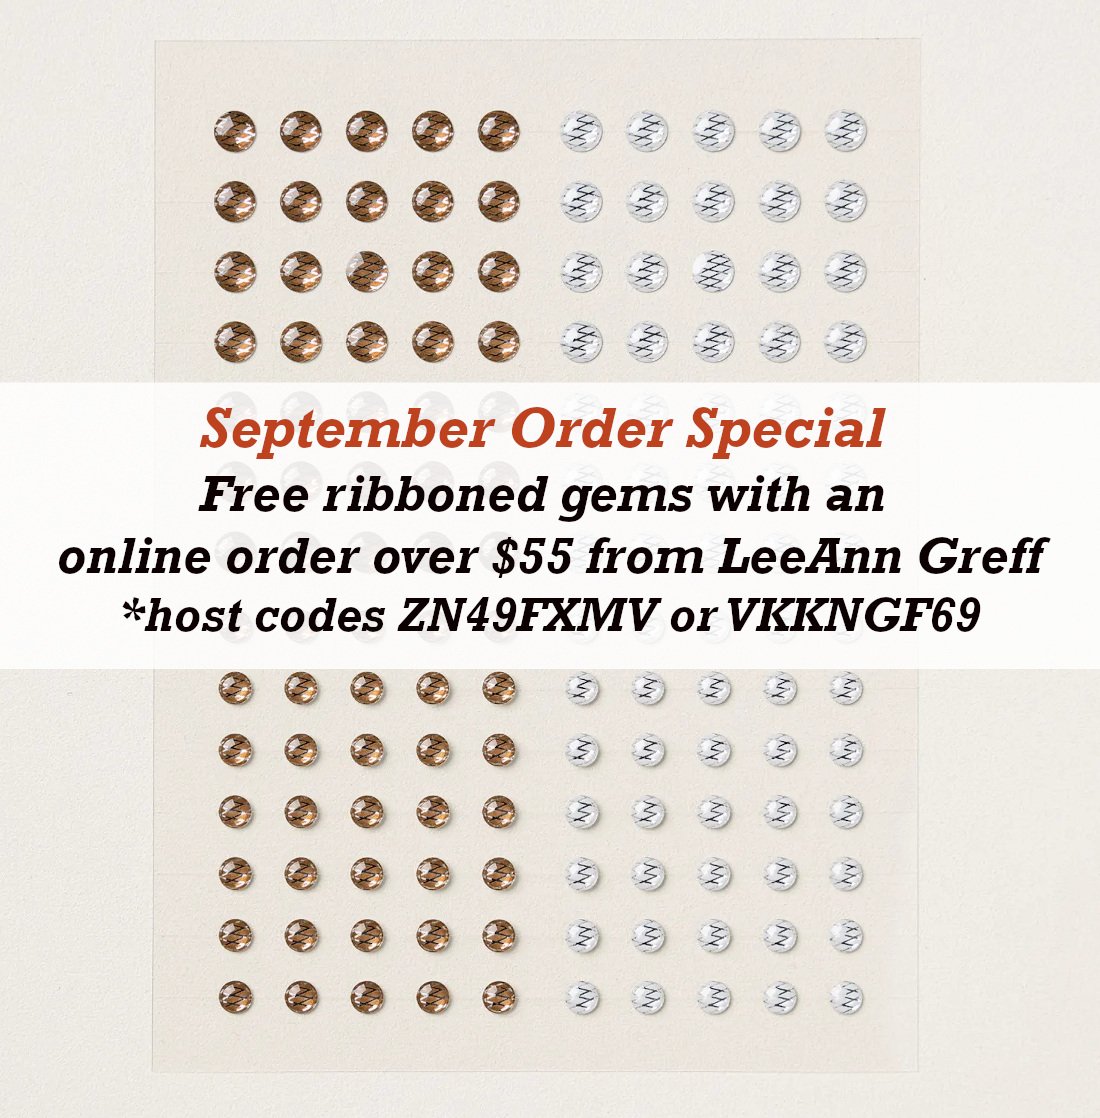
September Specials:

*current host code links: ENS36KE4 or ZN49FXMV

~~~

Check out the new Scrapbooking Line from Stampin' Up! 
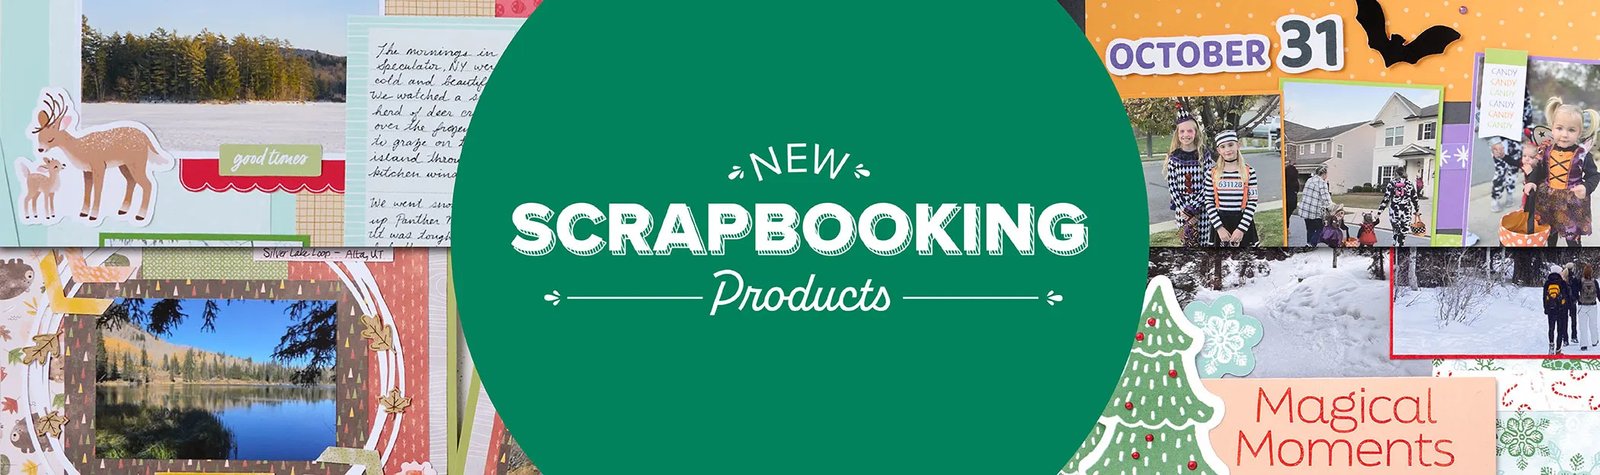
See the Brochure here

~~~

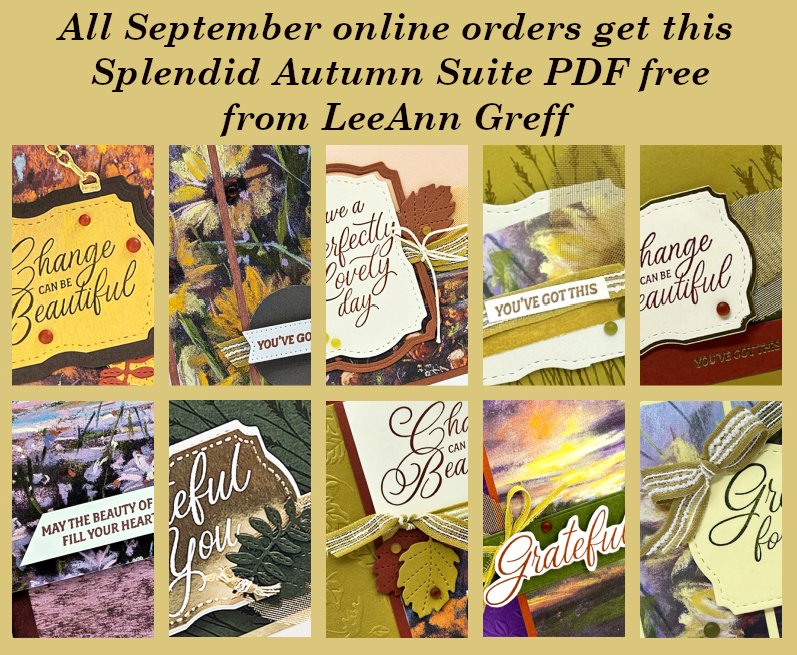
All online orders will receive a free PDF tutorial featuring the

Splendid Autumn suite
All Posts

  • All Around Wreath for Christmas


    Have you noticed the All Around Wreath bundle in the annual catalog? Click here; it's quite the gem!  So many occasions are covered in the greetings and die-cuts.  

    Marilyn made this pretty Christmas themed wreath for our Team Christmas card swap. 

    She chose to use two shades of green here; Mossy Meadow with Pear Pizzazz along with a few touches of Gold.  The pears are heat embossed in Gold powder as well as the shimmery thread.  

    Other details:

    • The greeting is die-cut with the Hippo & Friends dies seen here
    • The Vanilla layer is textured with the Pinewood Planks embossing folder
    • She used the same wreath die-cut but in two colors, separating them slightly on the card. 

    ~~~

    November Specials!

    Current Host code is GRC9VVUU


    All online orders receive my FREE Curvy Celebrations 22 project PDF Tutorial! 


    Leave a Reply

    Your email address will not be published. Required fields are marked *

  • Retro style circles layout; super easy! Catch the Live video tonight!


    Tonight at 7:30 pm Central Time I'm sharing how to make these retro style circle cards on Facebook Live.  Click here to join me.   You can also see this video below!

    Basically you need three sizes of circle dies or punches for the start of this layout.  Cut them in half and layer together with the edges meeting on one side. Adhere and add a long greeting between the two. 

    Watch how on my FB Live replay!

    Measurements:

    • 5 1/2" X 8 1/2" card base
    • 3 1/2" X 4 3/4" Whisper White; the greeting strip is about 5" long and either 1/2" or 3/4" wide depending on your greeting image.
    • 1" X 5 1/2" horizontal strip
    • Circles from the Stitched Shapes dies are the largest three circles. 

    You'll want ink, stamps and embellishments that coordinate with your Designer Paper.  Remember you could use card stock instead of DSP. 


    Products used:

    • Designer papers – Heartwarming Hugs, new Classic Christmas & Snowflake Splendor
    • Stamps – Tree Angle, Snowflake Wishes & Curvy Christmas
    • Colors – Real Red & Olive, Seaside Spray & Night of Navy, Sahara Sand & Cherry Cobbler  
    • Other: Stitched Shapes dies, Curvy Dies & Pick a Banner punch

    ~~~

    November Specials!

    Current Host code is GRC9VVUU


    All online orders receive my FREE Curvy Celebrations 22 project PDF Tutorial! 

    Leave a Reply

    Your email address will not be published. Required fields are marked *

  • Curvy Christmas & the Postage Punch


    Check out this easy card using the new Curvy Christmas stamp set and the Postage Punch!  

    It's super simple! Here's how I made it:

    1. Stamp the curvy trees image on the White CS using Shaded Spruce ink.  Color the trees with a Light Shaded Spruce Blends marker.  Add a tiny star using Cherry Cobbler ink on one tree. Adhere it to the Cherry Cobbler layer and to the main card.
    2. Punch out three pieces of Classic Christmas designer paper with the Postage Punch seen here.  Adhere to the White CS. 
    3. Stamp the greeting in Cherry Cobbler ink on a 1/2" strip of White CS.  Punch the ends with the Banners Pick a Punch. Add it to the card with mini dimensionals. 
    4. Finish with a few Holiday rhinestones. 

    You can see this stamp set here; it's only available through January 4th.  And the Classic Christmas Designer Paper is here while supplies last. 

    Remember that everyone who orders any of these products or places an online order with me in November will receive a free 22 project PDF tutorial featuring the Curvy Celebration products! 


    ~~~

    November Specials!

    Current Host code is GRC9VVUU


    All online orders receive my FREE Curvy Celebrations 22 project PDF Tutorial! 

    Leave a Reply

    Your email address will not be published. Required fields are marked *


Notice: LeeAnn Greff, Independent Stampin’ Up! Demonstrator, Manager. The content of this website is my sole responsibility as an independent Stampin’ Up! demonstrator and the use of, and content of, the classes, services, or products offered on this website is not endorsed by Stampin’ Up! Copyright 2025