/


Latest Post

Easy stack & cut layout with Regal Winter with free project sheet & video


This is one of the cards I shared on last week's Live video.  I chose to feature the beautiful Regal Winter suite seen here. It's new from our 2024 Holiday catalog by Stampin' Up! 

Isn't the color combination pretty?  It's Blueberry Bushel with Wild Wheat & White.  It's interesting that I chose the color combo from the pretty Regal Winter designer series paper but afterwards I realized they are complimentary colors.  Check out pages 132-133 in the 2024-25 Annual Catalog. Blues & purple are complimentary colors with yellow hues. I explain how to do this this in my video seen here. 

If you have trouble combining colors together start with two main colors.  Using our designer papers as a starting point can make it quite easy. I tend to grab the card stock and hold them next to each other.  I can usually tell if they work well.  But if you can't try using our color wheel information on the pages above.  

Isn't that double die-cut pretty?  It comes as one die but cuts the main and the outer frame all at once. Click here to see the Regal Flora bundle and here for the Regal Winter designer paper. 

I stamped the leaf image in Wild Wheat and the blue flower is stamped & die-cut. Next I colored the white areas with a Wild Wheat Blends marker.  Love the golden highlights!  

Click here to print or download the free project sheet. Download Regal Flora Golden Hues of Blue

How did I cut the three pieces of designer paper for this card? I explain in the video below and in the tutorial above.  But basically you stack 3 pieces of designer paper measuring 3 3/4" X 5" and cut into 3 pieces. It's incredibly gorgeous designer paper! 

As long as you cut them all together it does not matter where your cuts are. You'll get 3 card fronts from the pieces you'll get.  These are layered onto another 4" X 5 1/4" piece of card stock. 

Below is the video tutorial for this and one other card. I hope you watch it AND follow me on my YouTube channel too!

~~~

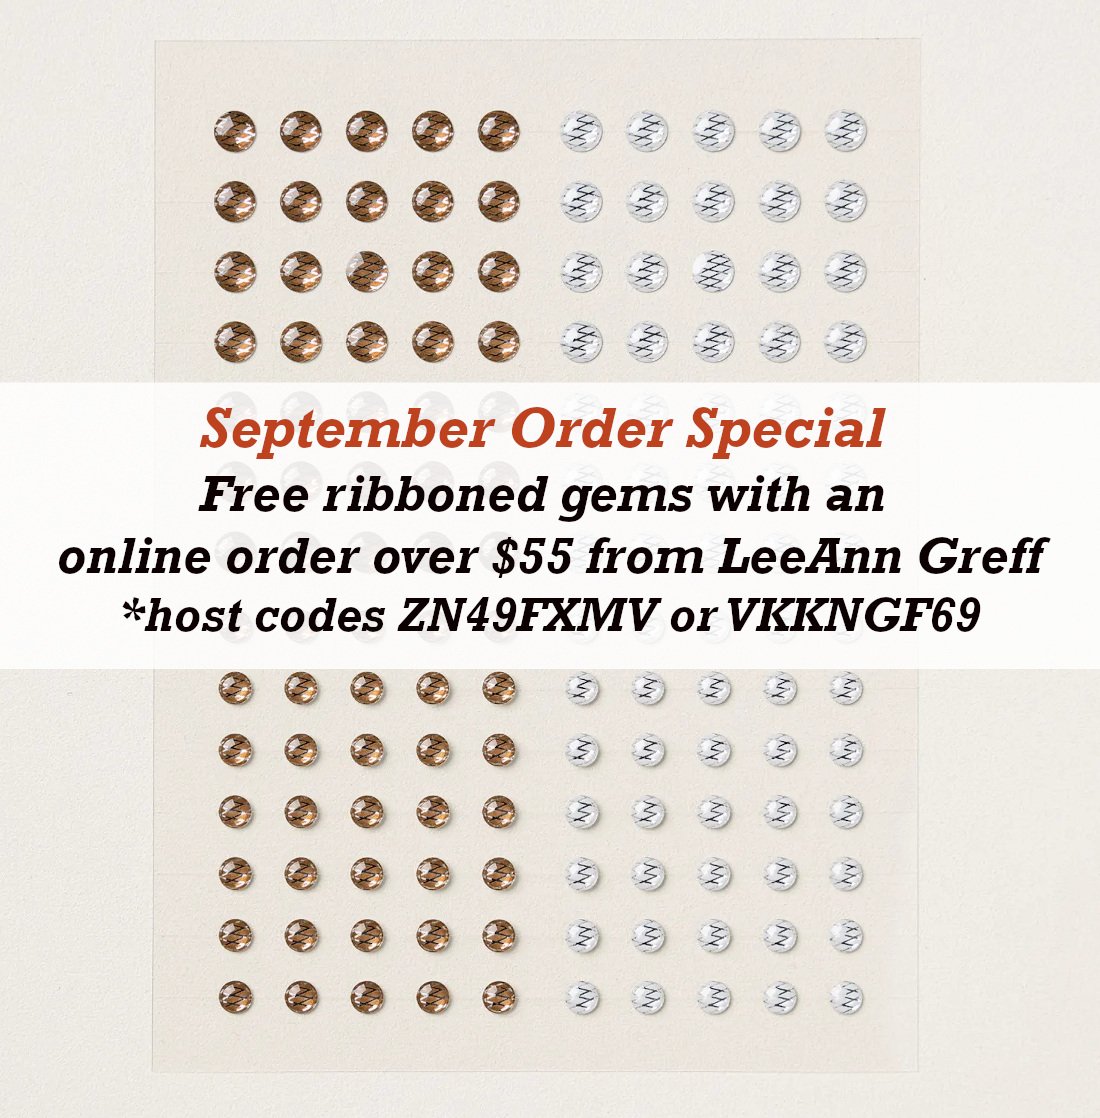
September Specials:

*current host code links: ENS36KE4 or ZN49FXMV

~~~

Check out the new Scrapbooking Line from Stampin' Up! 
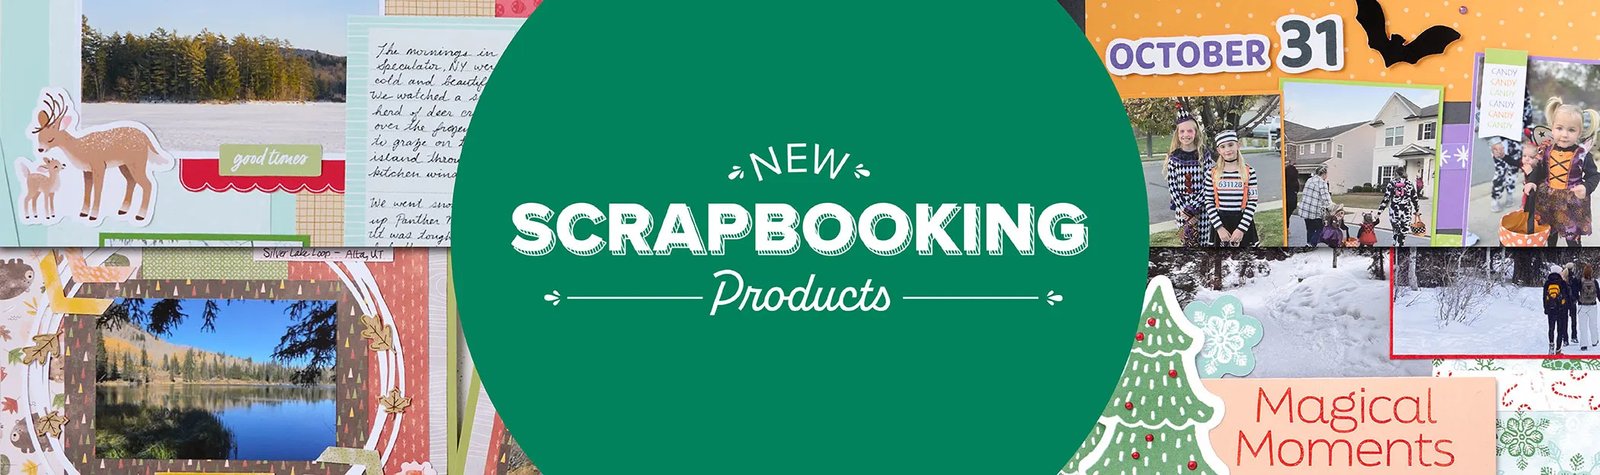
See the Brochure here

~~~

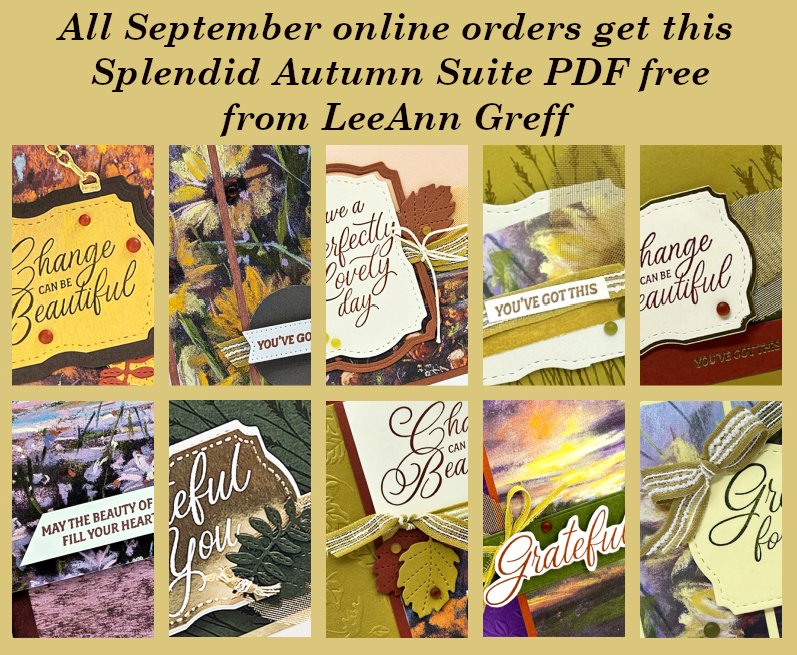
All online orders will receive a free PDF tutorial featuring the

Splendid Autumn suite
All Posts

  • Two striking ‘WOW’ cards with Paper Strips!


    This week I'm sharing the cards I made on last week's Facebook Live video.  If you aren't following me on Facebook yet click here. I host a video each Tuesday morning at 11 am CT and twice a month on Monday evenings as well. 

    I had a bunch of paper strips leftover from cutting out for cards and kits and created some fun & unique cards with them. 

    This is one of my most favorites of all of the cards I made with my paper strips.  I find the colors stunning together!  

    The colors are Bermuda Bay, Coastal Cabana, Smoky Slate, Basic Gray, Bumblebee & Daffodil Delight.  The 1/4" strips are simply adhered to the 4 1/4" X 11" card front and the excess is trimmed off afterwards. 

    These unique flowers are made with the Pierced Bloom dies seen here. Each flower has 4 layers.  

    The greeting is from the Happiest of Birthdays set; seen here.  

    ~~~

    Next is another striking card using the same colorful strips added horizontally this time. 

    The pretty leafy die-cut is from the Christmas Layers dies seen here. They're on sale for $17.40 (was $29) now while supplies last!  the greeting is from the Simply Succulent set seen here.

    Below is the video with 10 unique and amazing cards all made with leftover paper strips! 

    ~~~

    April Specials!

    Annual Catalog Retiring List; many discounted items while supplies last! 

    Current Host code is PX6ZWGM7

    Order online here

    ~~~

    Get a free multipurpose glue stand with an online order over $60 using the host code above. You'll receive a color of my choice unless you let me know your preference. *if you'd rather have gems; let me know.

    *If your order is over $150 do not use the code; you'll still receive a gift! 

    You can also order them in my Shop here. 

    All online orders will receive a free 14 project PDF tutorial

    Leave a Reply

    Your email address will not be published. Required fields are marked *

  • Happy Easter with a Floating Die-cuts Technique card


    Our family gathers together for Easter most of the time; when we can that is. 

    We do jelly bean hunts with our granddaughter inside and an Easter Egg hunt outside weather permitting.  What are your traditions for Easter?   

    I shared this card on last week's Facebook Live when I did Paper Strips Techniques. You can see it here.  

    On this card I adhered strips or punched circles to our Acetate and then used the Oval Dies to cut them out.  I had to run it through multiple times as our acetate is very thick. But it die work!  

    Other products used here:

    ~~~

    April Specials!

    Annual Catalog Retiring List; many discounted items while supplies last! 

    Current Host code is PX6ZWGM7

    Order online here

    ~~~

    Get a free multipurpose glue stand with an online order over $60 using the host code above. You'll receive a color of my choice unless you let me know your preference. *if you'd rather have gems; let me know.

    *If your order is over $150 do not use the code; you'll still receive a gift! 

    You can also order them in my Shop here. 

    All online orders will receive a free 14 project PDF tutorial

    Leave a Reply

    Your email address will not be published. Required fields are marked *

  • A beautiful scene with the ‘Here’s to You’ kit; a Paper Pumpkin alternate idea


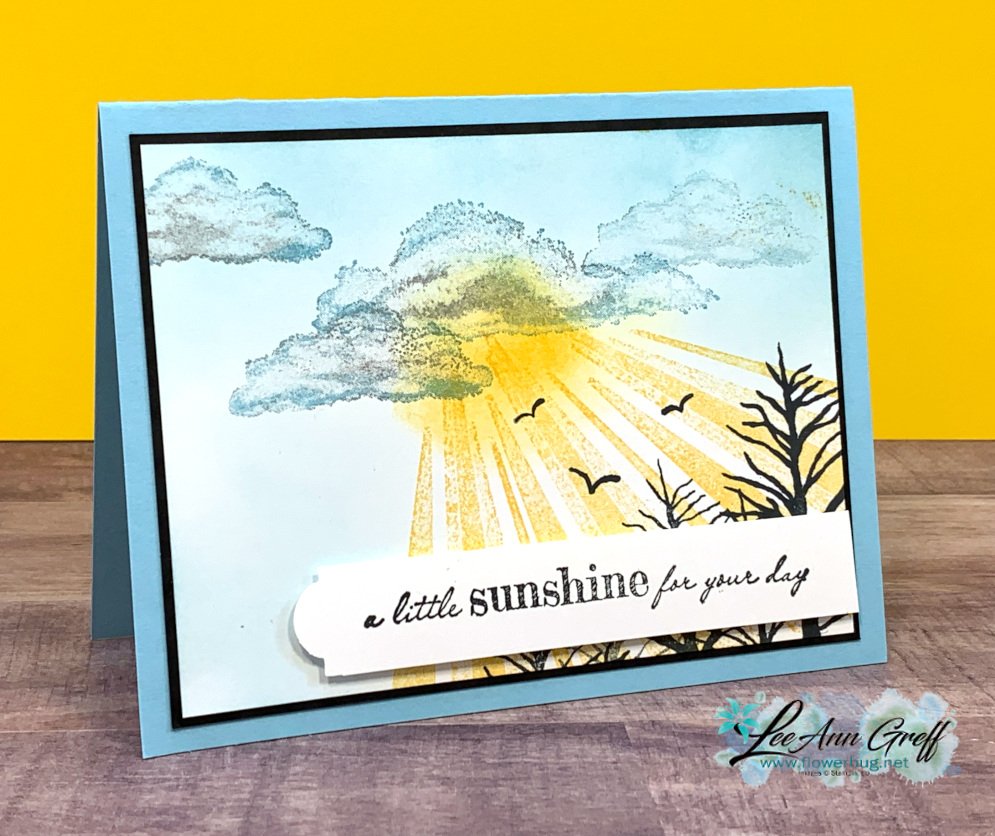
    The March Paper Pumpkin kit included stencils and a sponge in the kit so I had to play with creating a scene.  It's one of my favorite techniques! 

    One of the stencils has clouds in it.  I used Pool Party ink and lightly sponged on the upper part of my White CS. 

    Then I sponged Daffodil Delight and Calypso Coral ink about an inch and a half from the bottom edge.  Now I stamped the trees image in the kit with Pretty Peacock ink.  I did not reink the stamp each time so as I stamped repeatedly I achieved the appearance of a distant forest. Love this!!  

    The birds and greeting images also came in this kit.  

    Are you a Paper Pumpkin subscriber?  If not you can be!  Sign up to achieve them every month here.  

    Or choose a pre-paid option here.  

    Did you know that you can pick & choose your kits?  Subscribers receive an email BEFORE the kits is mailed giving you a chance to opt out if the kit doesn't appeal to you.  Or you can add on to receive a second kit.  You're in charge! 

    The April kit is called 'So Cool' with a 'treats' theme. Opt in to get it by April 10th! 

    • The So Cool Paper Pumpkin Kit is a little taste of summer fun, with enough supplies to make 12 colorful, shaped cards with coordinating envelopes. Six card bases are popsicle shaped, the other six are semicircles: three watermelons and three rainbows. All of the cards are splashed with cheerful, vivid watercolor images. The kit also includes two full-size, matching sticker sheets, die-cut accents, fun embellishments, and more.
    • Even though the So Cool Kit was designed with kids in mind, these fun-shaped cards, featuring vivid watercolors, are versatile enough to gift to kids of all ages—the young in years and the young at heart. They’re a great way to send some “sunshine in a card!” Who wouldn’t love that?
    • The kit’s exclusive So Cool Stamp Set is versatile, offering sentiments that can be used for multiple occasions such as birthdays, congrats, cheer, and more! It’s a great addition to any crafter’s collection.

    ~~~

    April Specials!

    Annual Catalog Retiring List; many discounted items while supplies last! 

    Get a free multipurpose glue stand with an online order over $60 using the host code above. You'll receive a color of my choice unless you let me know your preference. *or choose the Artistry Blooms sequins

    *If your order is over $150 do not use the code; you'll still receive a gift! 

    You can also order them in my Shop here. 

    All online orders will receive a free 14 project PDF tutorial


    Leave a Reply

    Your email address will not be published. Required fields are marked *


Notice: LeeAnn Greff, Independent Stampin’ Up! Demonstrator, Manager. The content of this website is my sole responsibility as an independent Stampin’ Up! demonstrator and the use of, and content of, the classes, services, or products offered on this website is not endorsed by Stampin’ Up! Copyright 2025