/


Latest Post

Easy Pinwheel ‘Patch’ cards with video!


Last night I featured Pinwheel cards on my FB Live 'Stamp with Me'.  I shared my method of making these easily in the video below. 

Here's my favorite!

The card above is made with Polished Pink CS, Pattern Play DSP, Dots & Checks embossing folder duo and In Symmetry stamp set.  I colored the white ribbon with Polished Pink blends.  

Here's the video: 

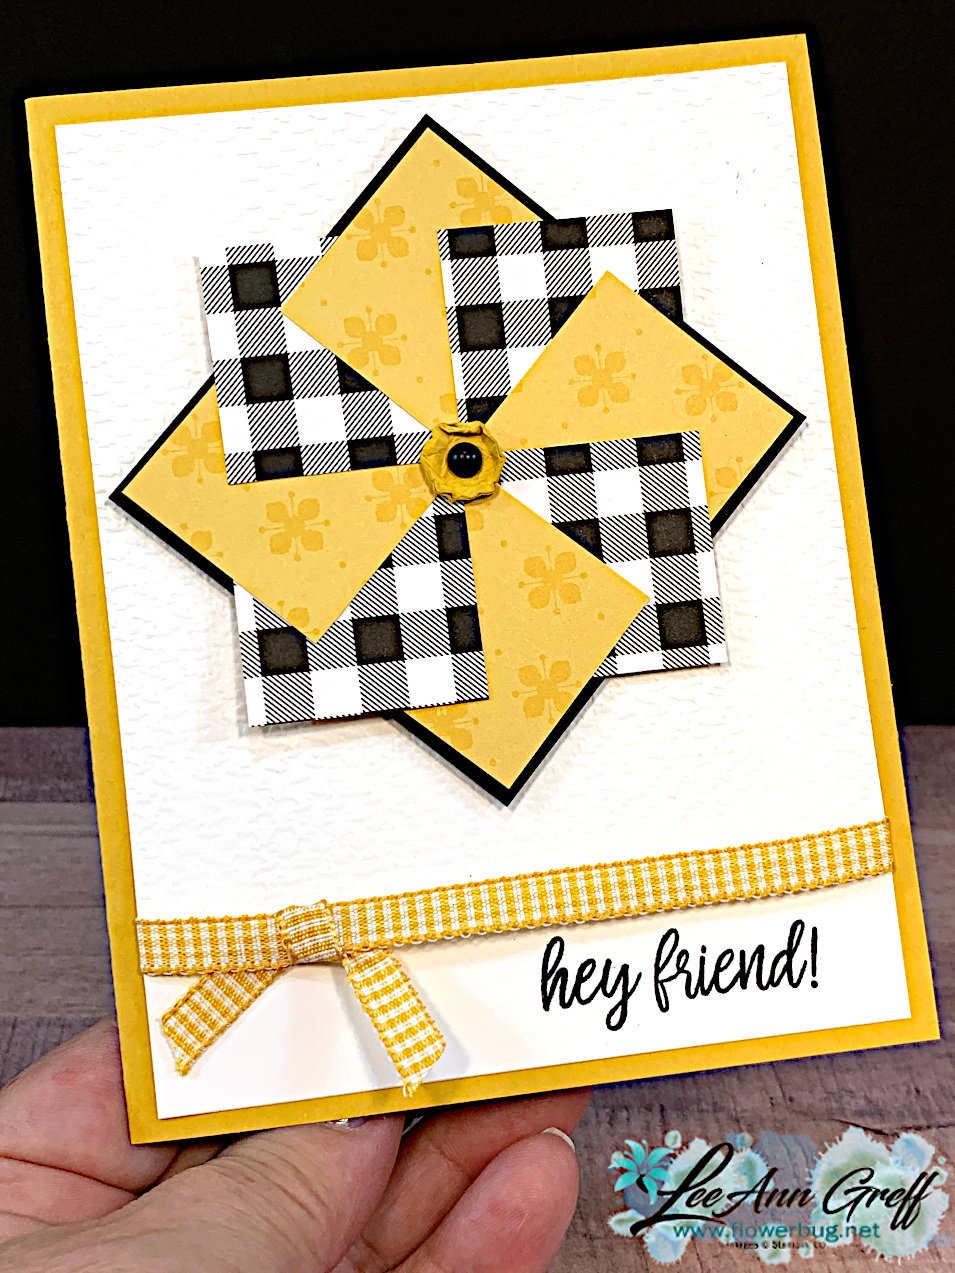
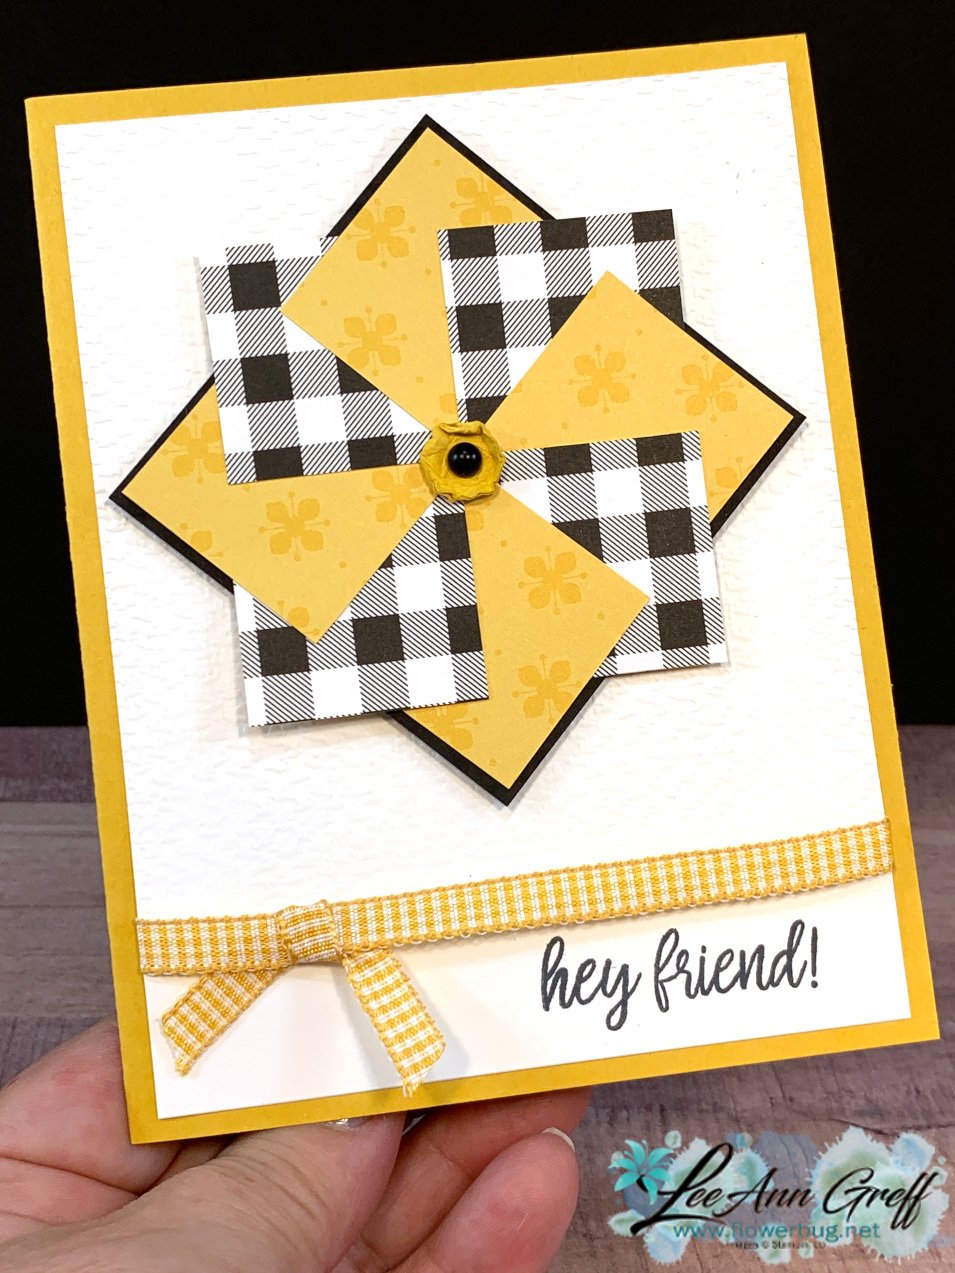
This next card featured Bumblebee with the 2020-22 In Color prints and the cute buffalo check (Pattern Party Hostess DSP seen on page 171). 

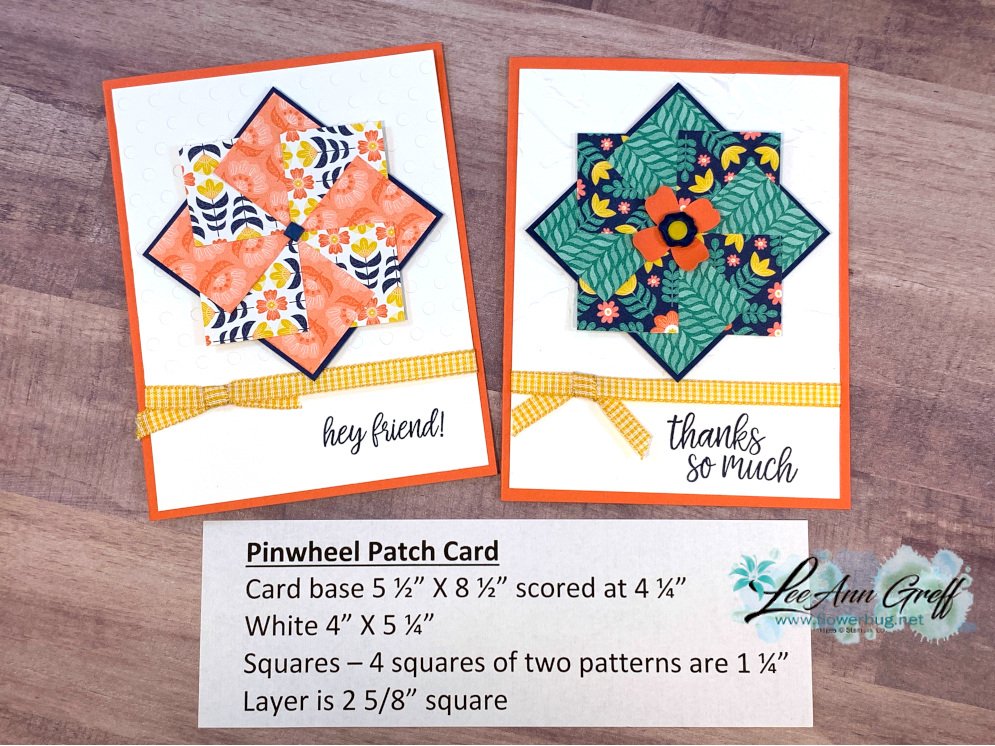
Below are the cards I made featuring Sweet Symmetry DSP seen here.  It's one of 9 designer paper packs that will be on sale in July! 

The card bases are Calypso Coral, ink and layers are Night of Navy.  
*If you want to join me for my weekly FB Live's click here and follow me to be notified when I'm Live. 

LeeAnn's End of June Special

  • Get 5 free pre-cut cards with a $35 order & a 10 card PDF tutorial. *add your own stamped greeting to finish the cards
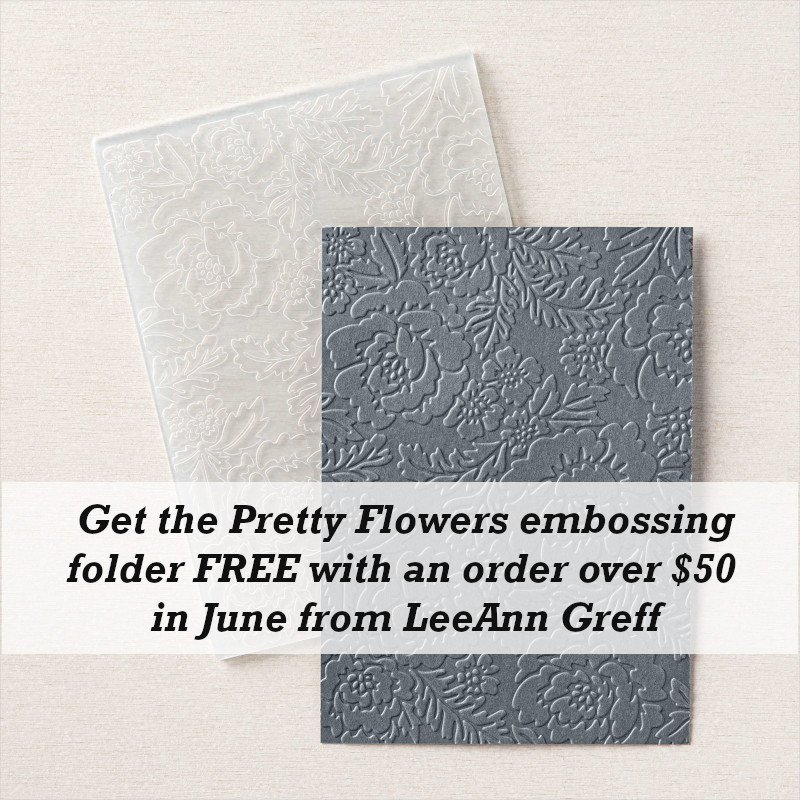
  • Place any order over $50 and receive 5 card kits & the Pretty Flowers embossing folder (or an embellishment if you already have the folder)
  • Orders over $100 get 10 pre-cut cards, the Pretty Flowers embossing folder and the PDF tutorial!!
  • Use Host Code SBCRHZWG or ZTUEGSGT

The last chance list is out!  Check out the retiring and discounted products here. 


All Posts

  • Cool Chevron fun fold with a free project sheet & video tutorial


    Tomorrow is the last day to redeem your Bonus Coupons for orders placed in July. 

    Don't let them go to waste!  Order here today!

    ~~~

    I was inspired to make this fun chevron card fold when my friend Susie Wood shared hers with me.  It's a neat way to use your scraps of designer paper for a unique card front.  See hers here.  

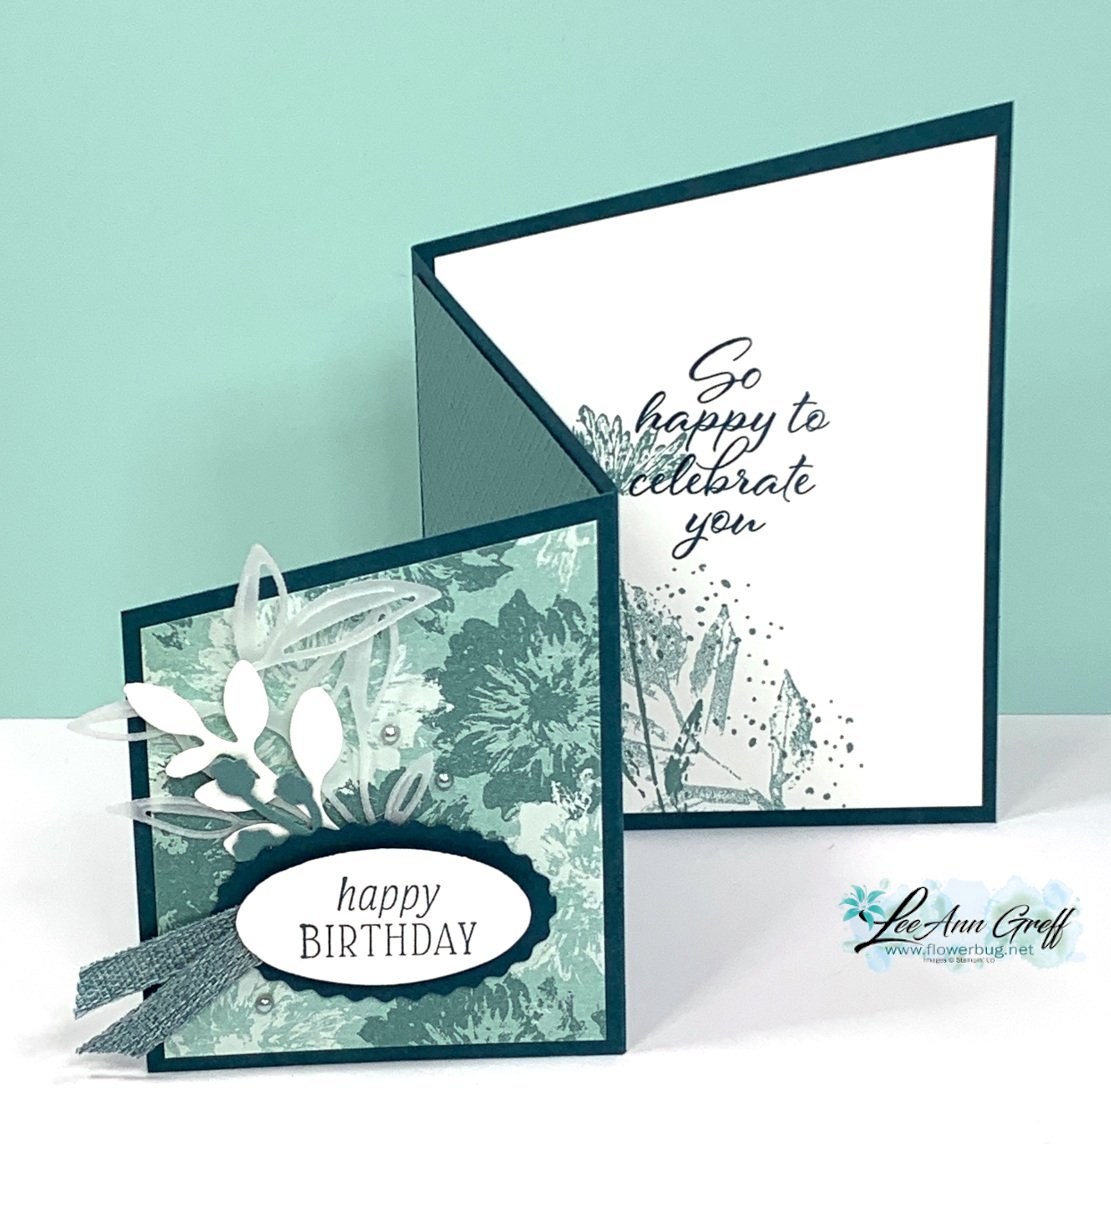
    I chose to use the Botanically Inked designer paper for my cards.

    I made one before and one during a recent live video. See it here.  
    I also created a project sheet with photos and measurements for you to print out.  I'm doing this for all of my video projects now! Download Chevron Designer Paper project sheet  

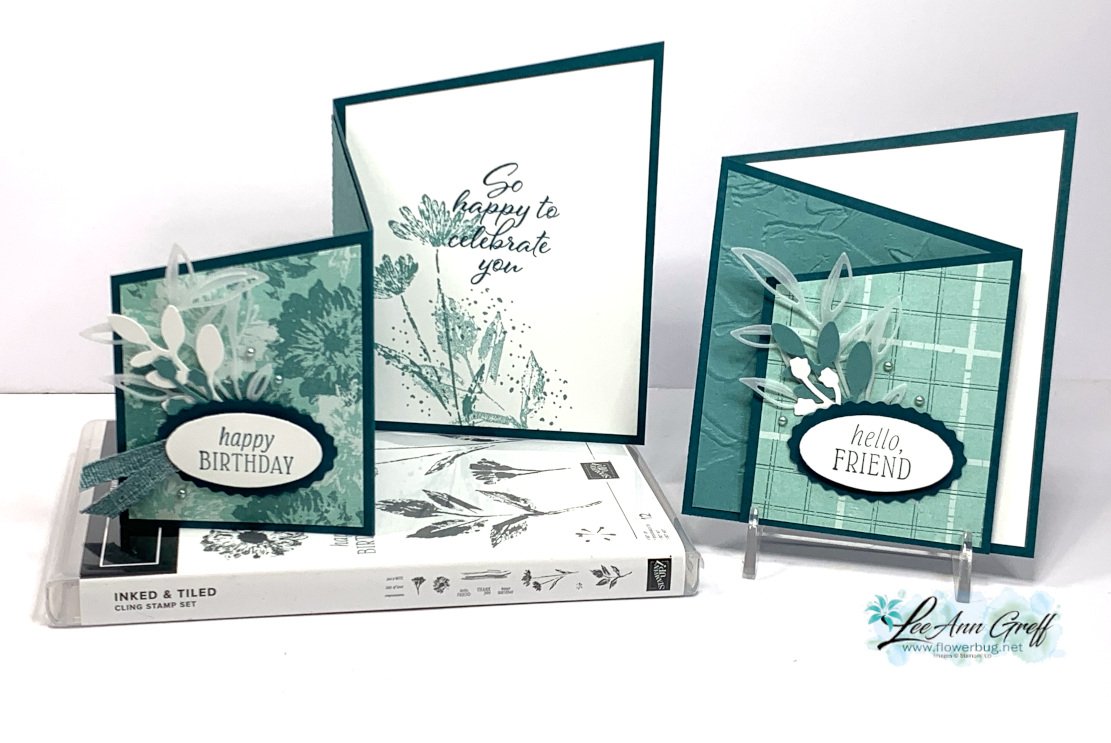
    I've used the Inked & Tiled stamp set a lot; I love the images and the greetings fit in the Double Oval punch perfectly! 

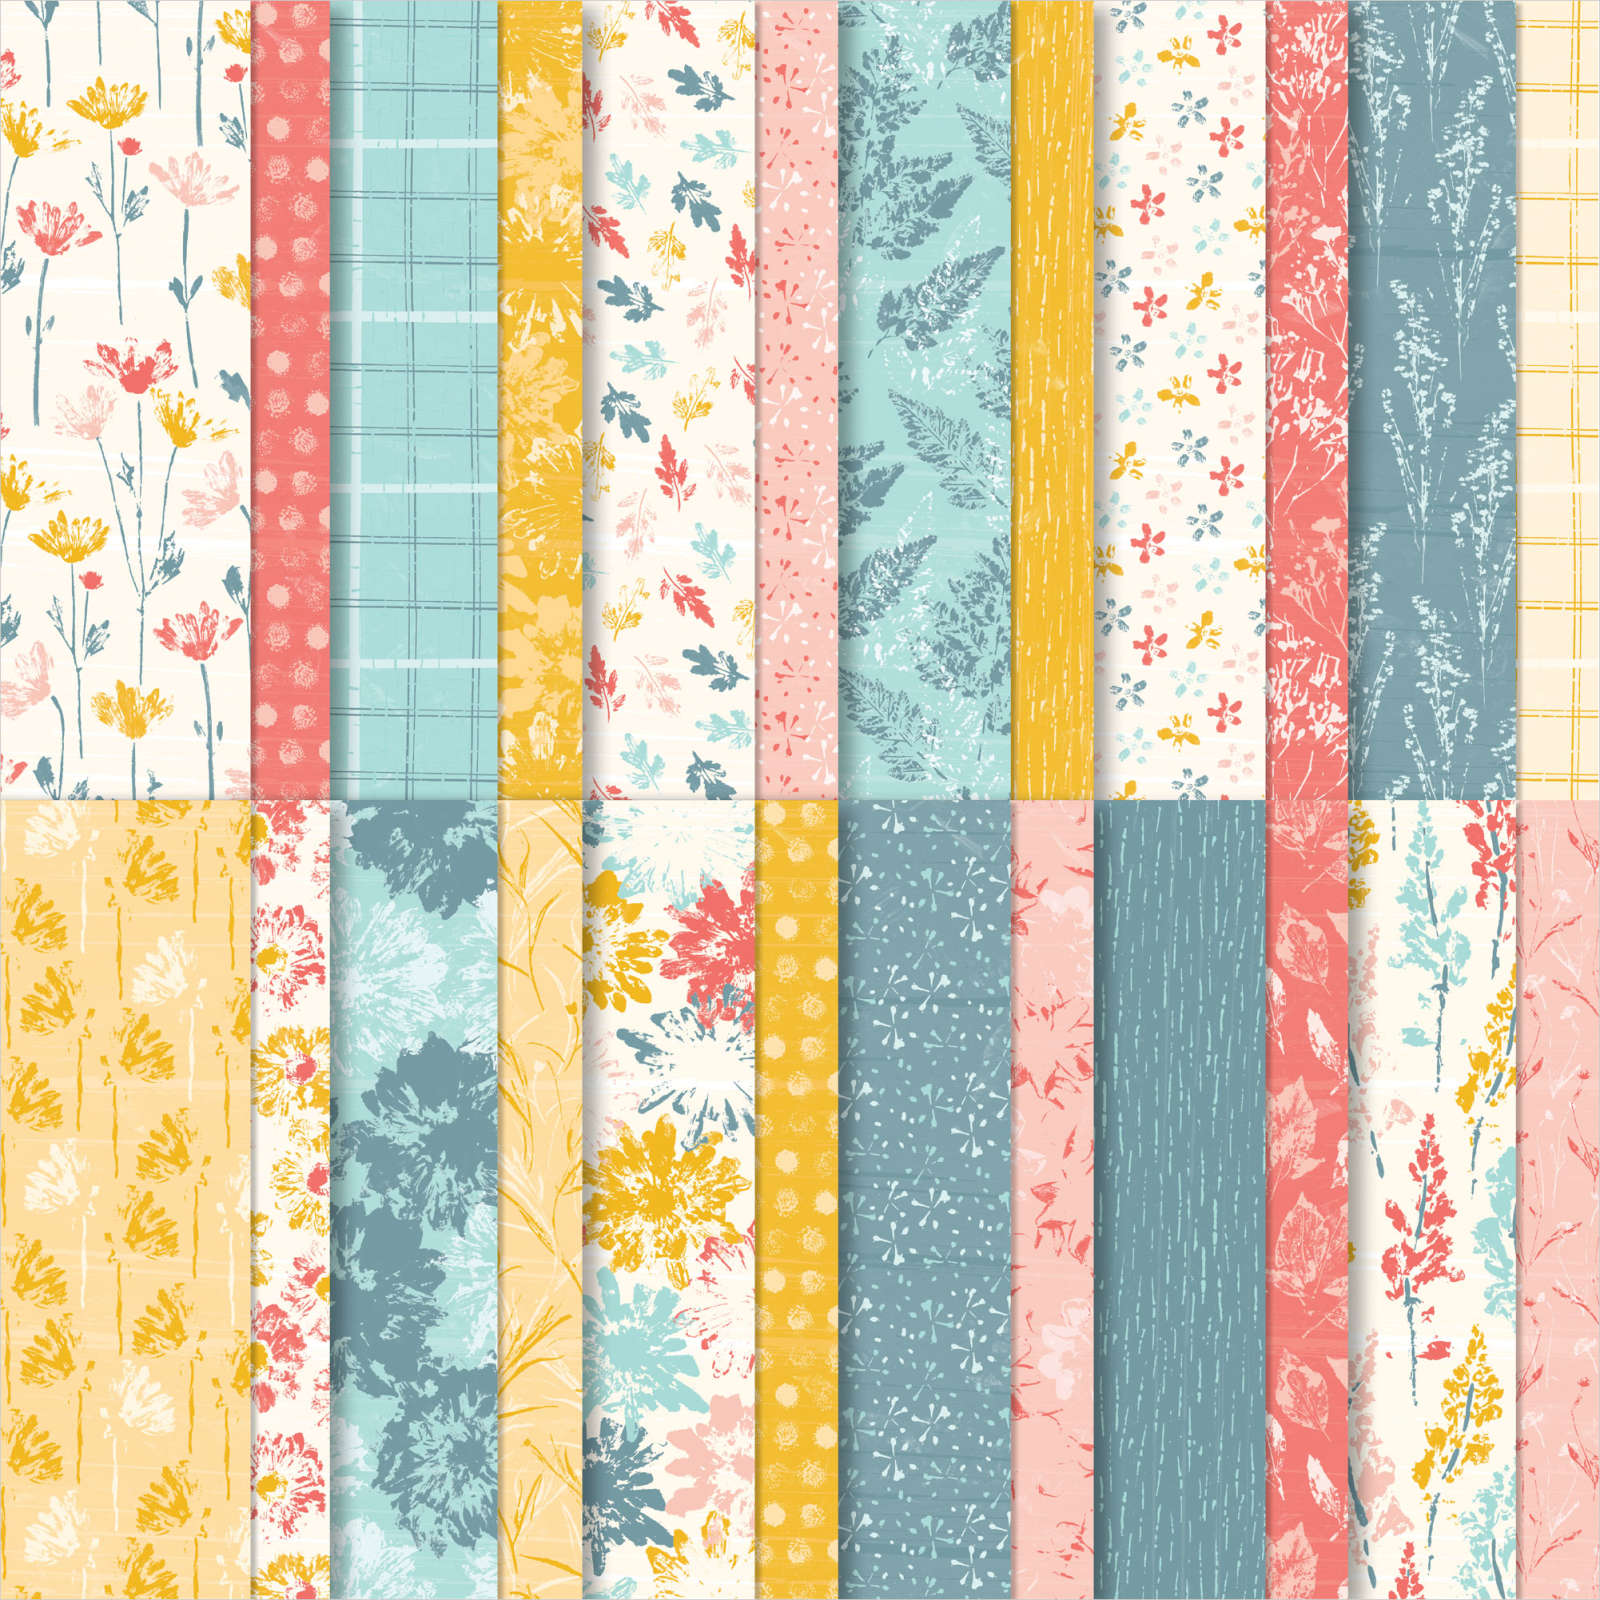
    The designer paper is the Inked Botanicals seen here.  
    Follow me on Facebook to watch my weekly Tuesday lives here. And my YouTube channel here! 


    Click on the photo below to watch the video; I share a second card idea using the Inked Botanicals DSP as well.  

     ~~~

    August Specials: 

     *current host codes: GRWNYQ6K

    Free Gift with orders in August: 

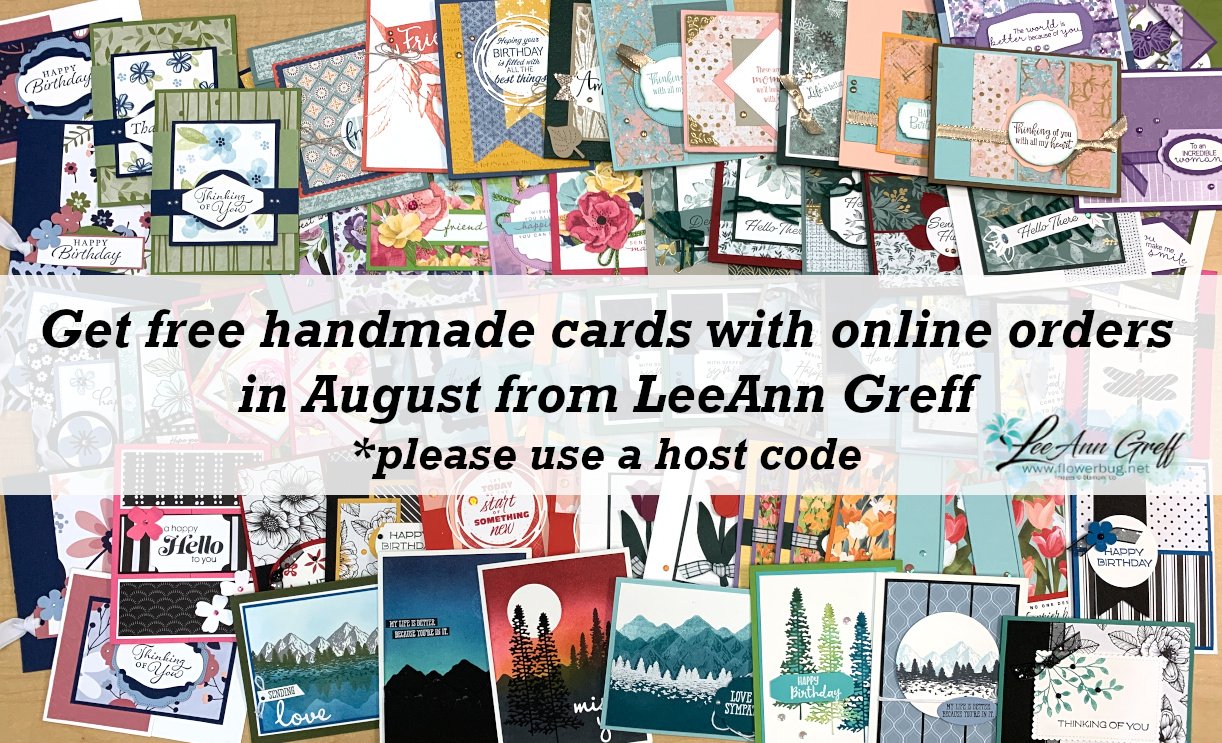
    Get a pack of at least 5 beautiful cards with orders over $50 this month. 

    The more you order the more cards you get!

    *cards are previous card kits to go; over the top and many fun folds.  

    **Redeem your Bonus coupons in August! 

    Leave a Reply

    Your email address will not be published. Required fields are marked *

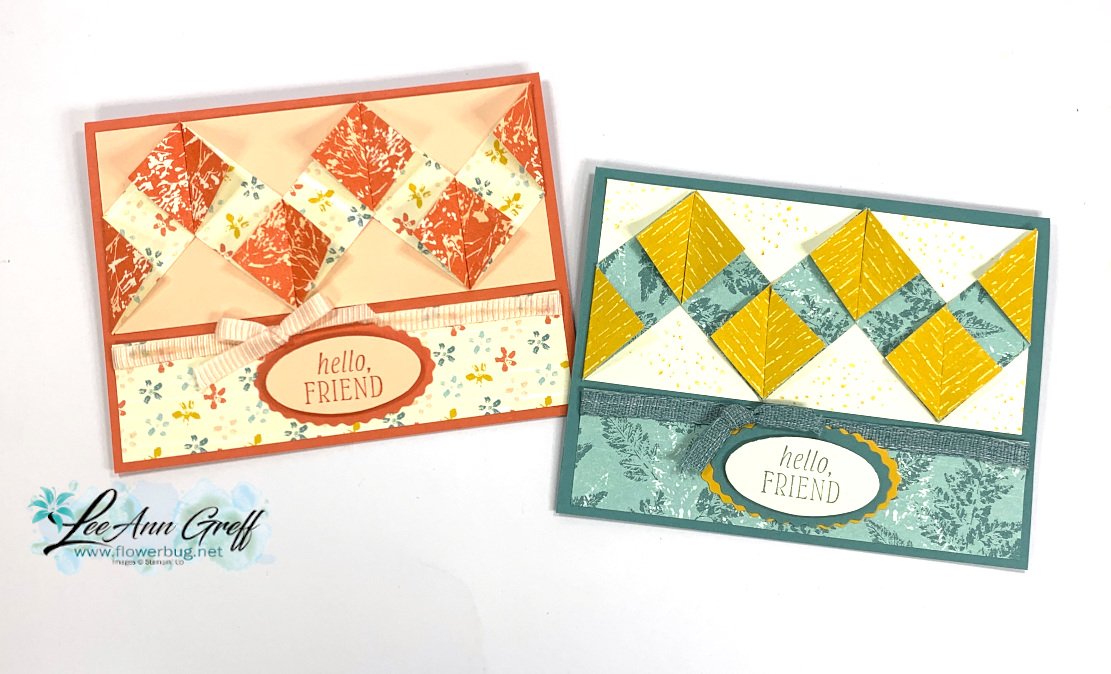
  • Inked Botanicals Diagonal Z-fold card; with a free printable project sheet!


    Each month at my local Card Clubs we make at least one fun fold card.  Here's the  pretty card we made in August: 

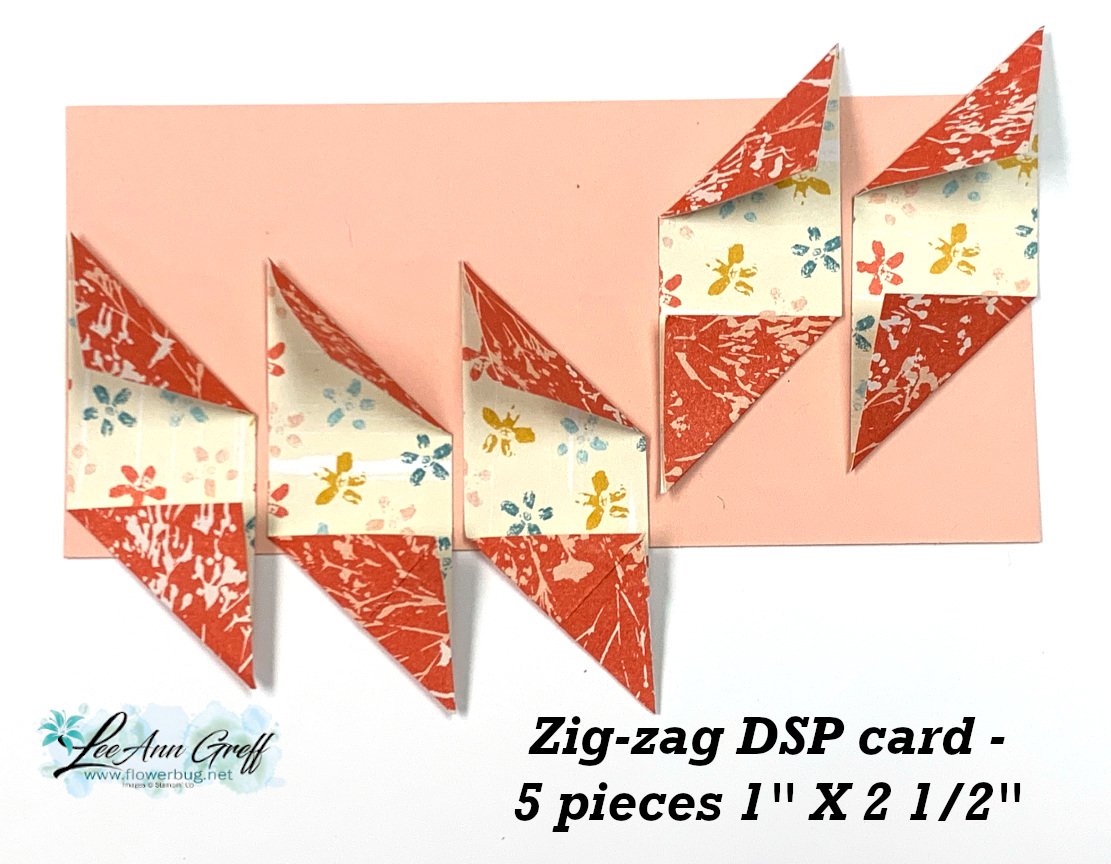
    It's called a Diagonal Z-fold card.  You might think it looks a bit intimidating but it's really not.  I shared how to make it in a recent video seen here.  Plus I have a free project sheet for you as well!  Download Diagonal Z-fold card

    I textured the Lost Lagoon layer with either the 3D Basics folders or the Painted Texture 3D folder.  

    My colors include Lost Lagoon, Pretty Peacock and White with a bit of Vellum added with the die-cut leaf (Gorgeously Made dies).  The other sprig and leaf are from the Bough punch (temporarily out of stock). 

    Below is the template I made.  You start out with an 8 1/2" X 11" sheet of card stock.  Make a mark at 3" down from the upper right and 3" up from the lower left.  Cut in half on the diagonal.  

    Then place the flat side of the card stock on your paper trimmer or scoring board and score at 4 1/4" and 8".  That's it!  

    To create the diagonal layers for each area you start with full rectangles like a normal card and cut off the upper portion at an angle. Measurements are given in the project sheet above.  

    I've used the Inked & Tiled stamp set a lot; I love the images and the greetings fit in the Double Oval punch perfectly! 

    The designer paper is the Inked Botanicals seen here.  

    Follow me on Facebook to watch my weekly Tuesday lives here. And my YouTube channel here! 

    Click on the photo below to watch the video; I share a second card idea using the Inked Botanicals DSP as well.  

     ~~~

    August Specials: 

     *current host codes: GRWNYQ6K

    Free Gift with orders in August: 

    Get a pack of at least 5 beautiful cards with orders over $50 this month. 

    The more you order the more cards you get!

    *cards are previous card kits to go; over the top and many fun folds.  

    **Redeem your Bonus coupons in August! 

    Leave a Reply

    Your email address will not be published. Required fields are marked *

  • Join me for a Free Fun Fold card class – Live tonight!


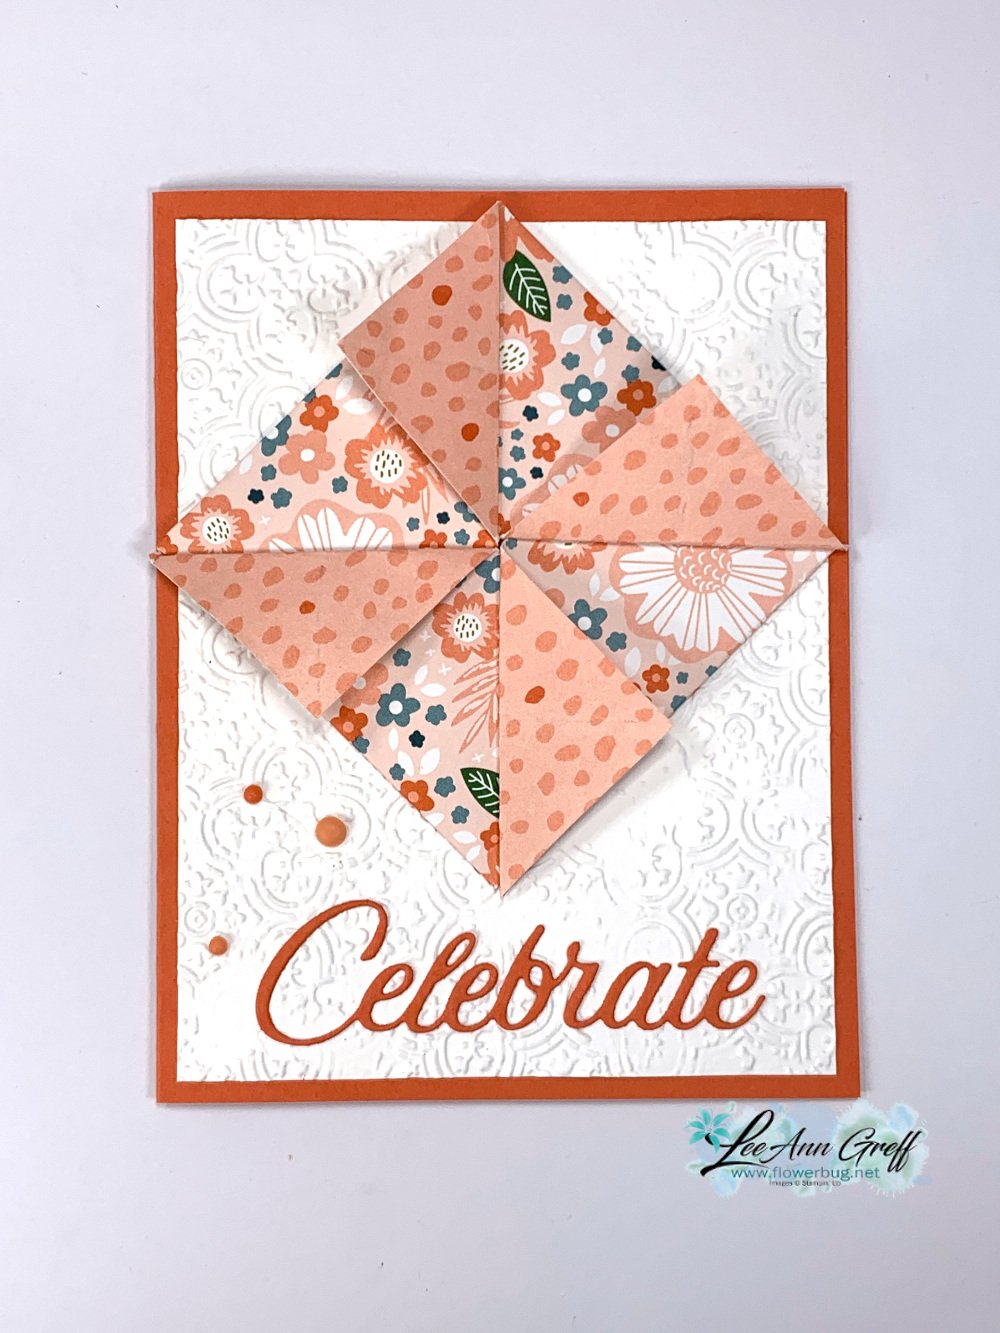
    We're making this neat Tuck & Fold 'Peek-a-Boo' card tonight on my Facebook Page here.  It starts at 7:30 pm CT Monday evening.  

    I encourage my followers to prep their pieces ahead of time and create along with me on the Live video. 

    You'll need the following pieces & tools:

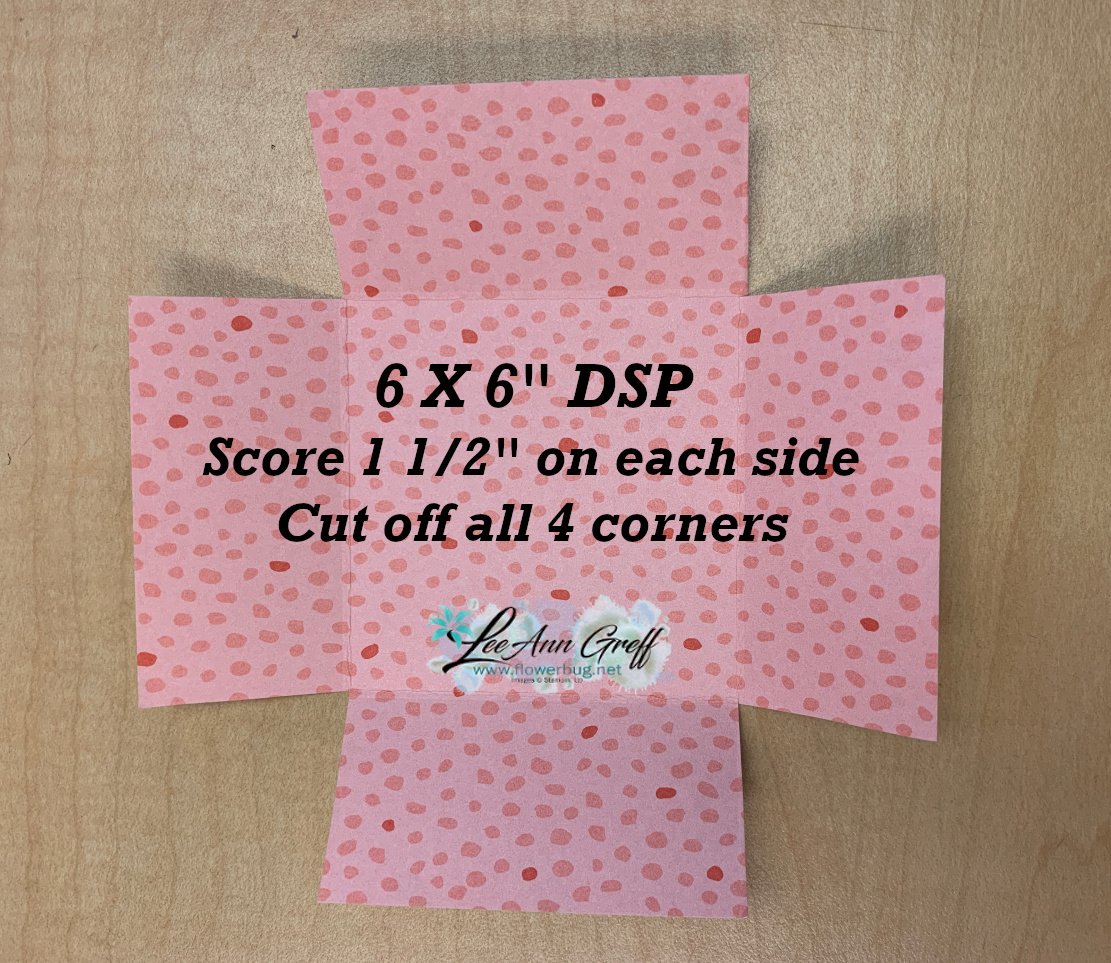
    • Designer paper 6 X 6". Score it at 1 1/2" on all 4 sides.  Cut off all 4 corners. 
    • Card base 8 1/2" X 5 1/2" score at 4 1/4"
    • Front & inside layers 4" X 5 1/4"
    • Greeting for front
    • White layer inside the DSP fold – 2 3/4" square 
    • Embellishments, adhesive, stamps & ink as desired 

    I'm using a brand new designer paper from the upcoming Holiday catalog.  It's called Garden Walk. It comes in 6 X 6" size – 48 sheets – 6 each of 6 designs.  

    **I'll be offering a designer paper share later this week; it includes eighty 6 X 6" pieces of our newest, beautiful designer papers – all for $37 including shipping!  Let me know if you want in on this; I'm taking names now and can invoice you after Wednesday.  

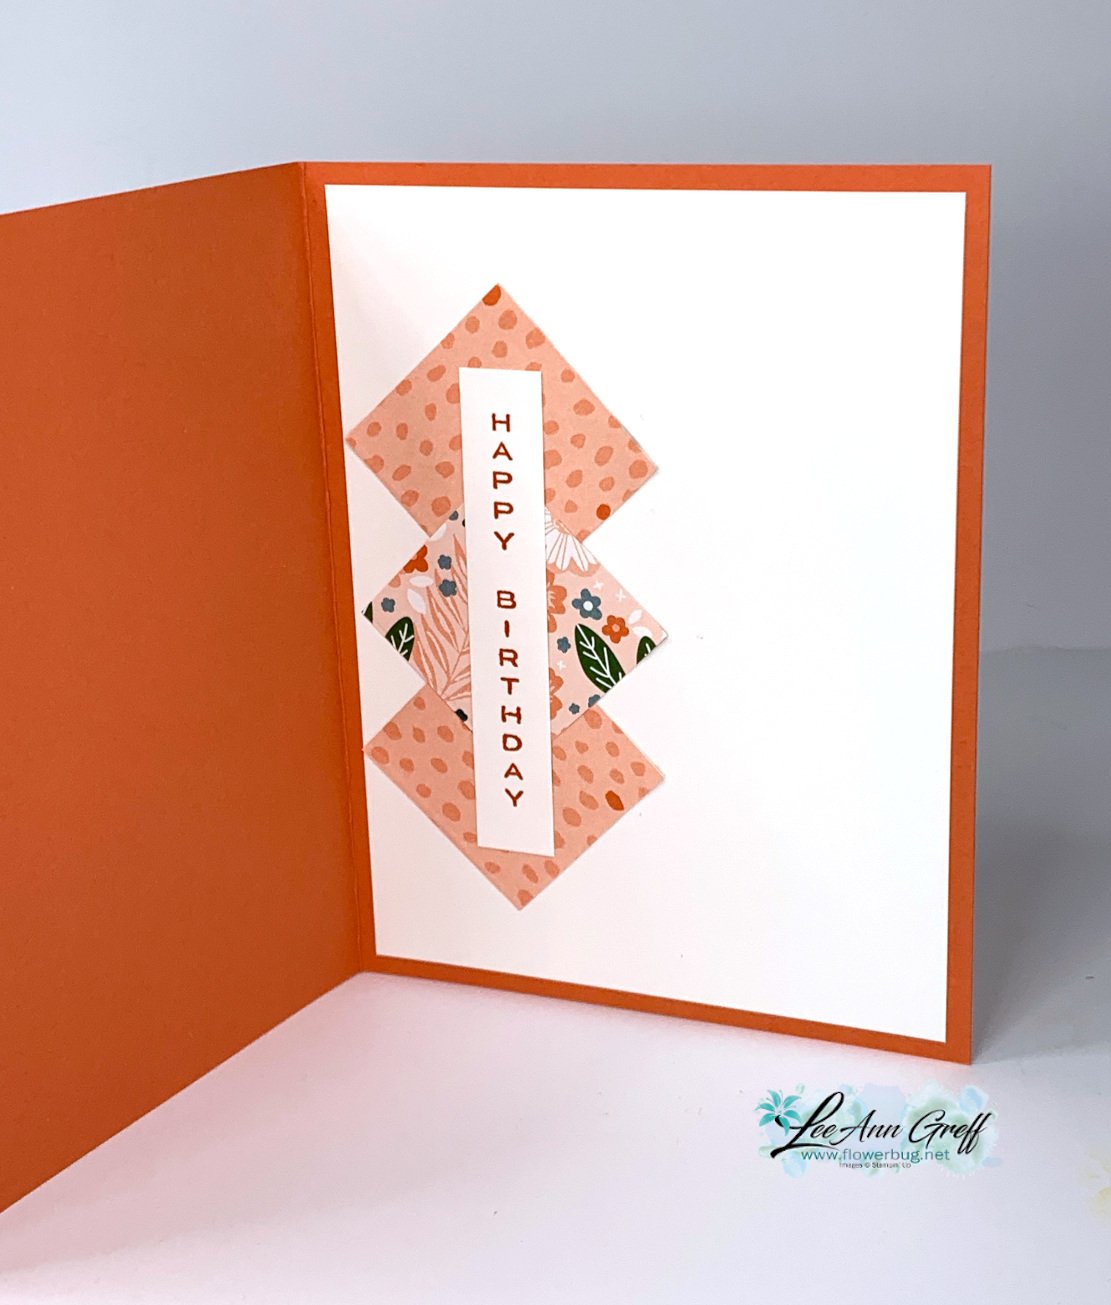
    Here's the inside view:  I saved 3 of the 4 cut off corners to create a unique way to add my greeting.  

    My card base is Calypso Coral as well as the ink. The stamps are both from a new set called So Sincere.  It's one of my very favorites in the Holiday catalog! 

    I hope you join me tomorrow night; Monday, August 28th at 7 pm CT here.  If you aren't on Facebook the video will be uploaded to my YouTube channel here. 

    Oh; did you spy the new embossing folder? It's called Distressed Tile; it is in the upcoming Holiday catalog.  

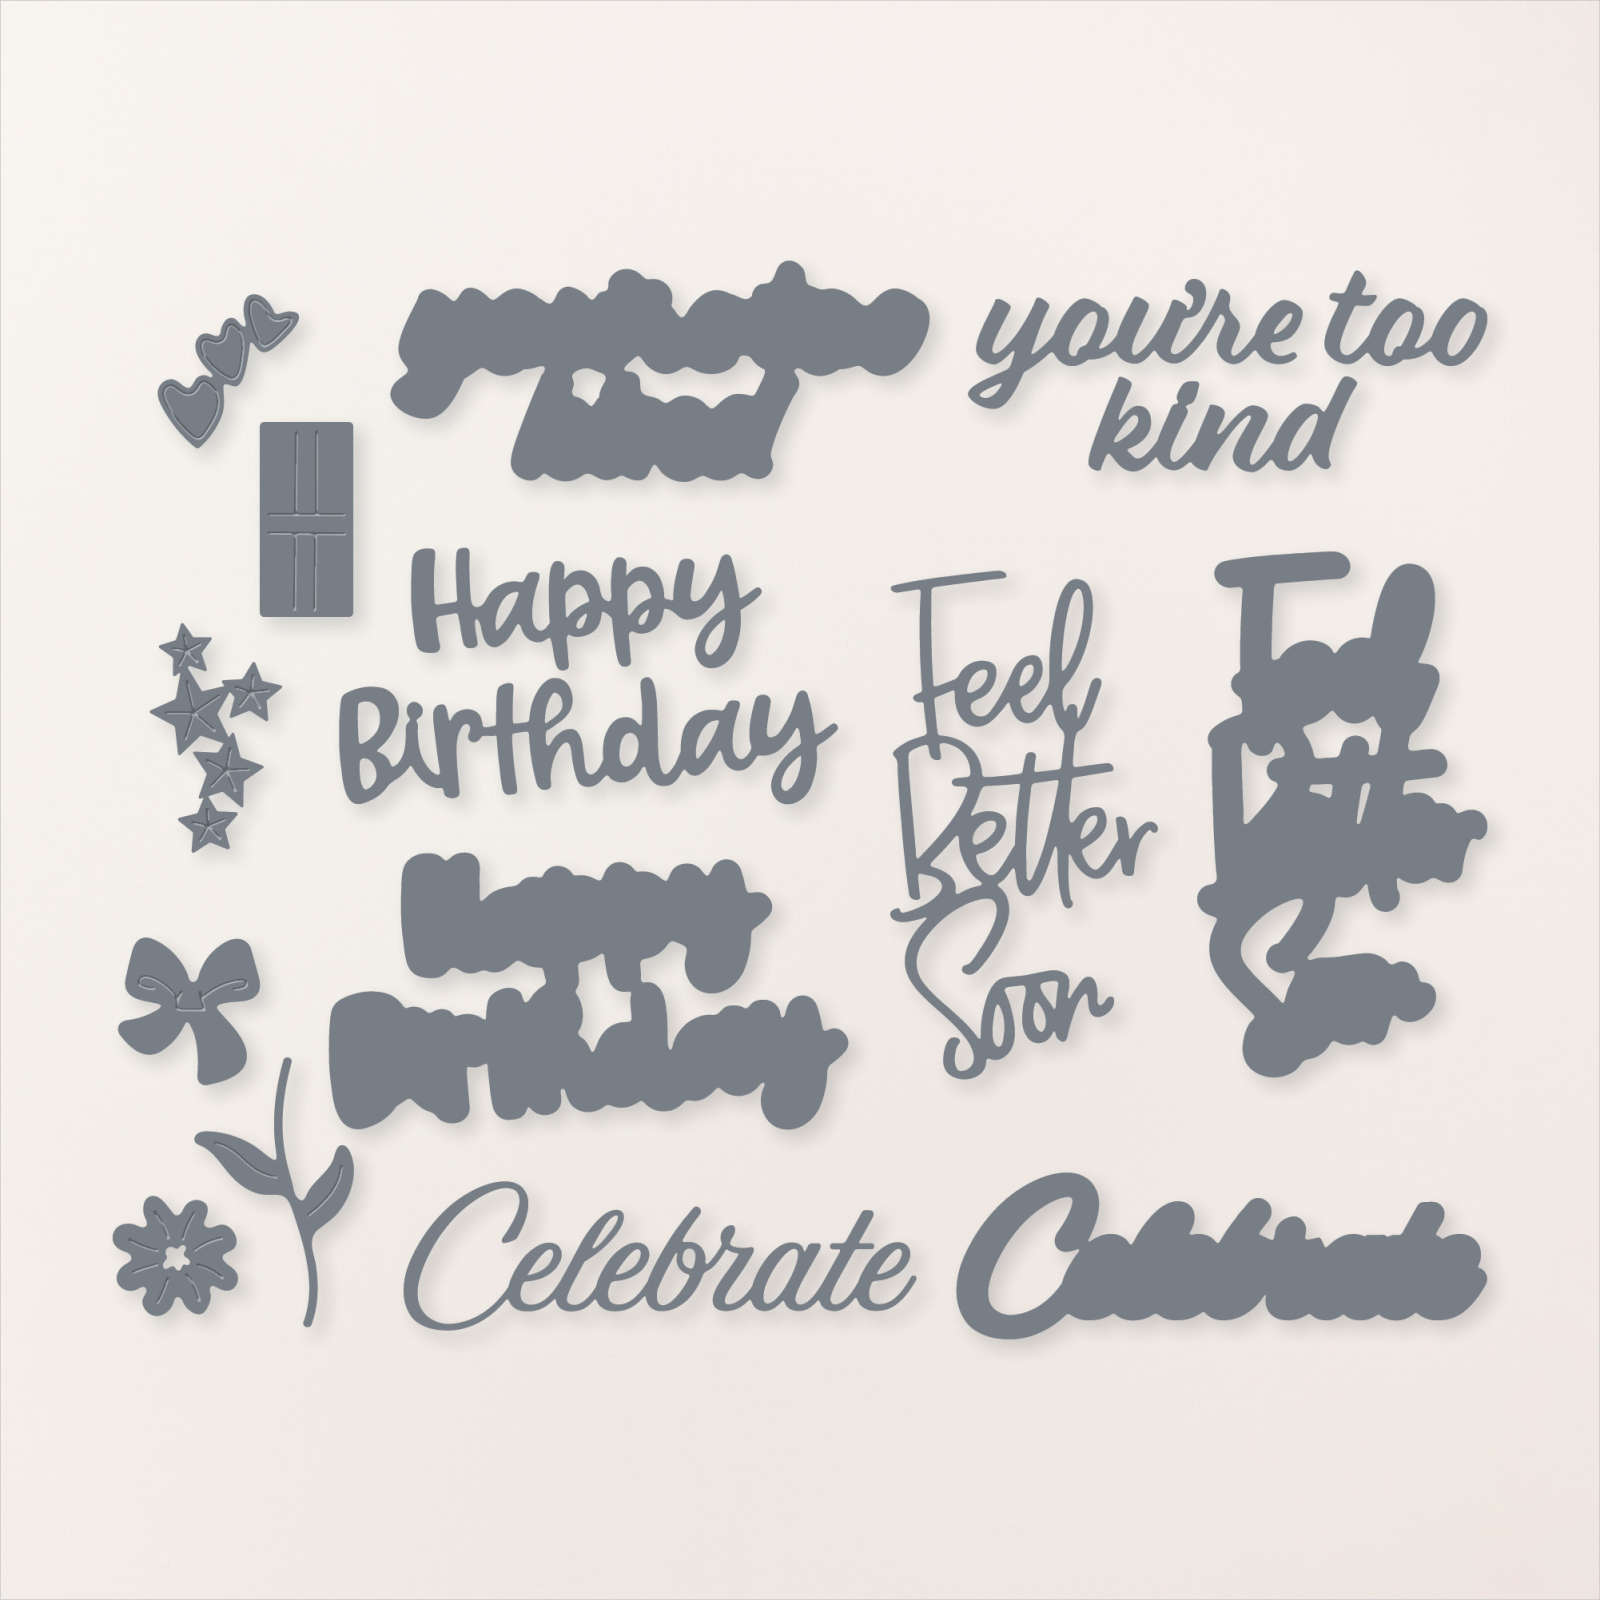
    The 'Celebrate' die-cut is from the Wanted to Say dies seen here. 

     ~~~

    August Specials: 

     *current host codes: GRWNYQ6K

    Free Gift with orders in August: 

    Get a pack of at least 5 beautiful cards with orders over $50 this month. 

    The more you order the more cards you get!

    *cards are previous card kits to go; over the top and many fun folds.  

    **Redeem your Bonus coupons in August! 

    Leave a Reply

    Your email address will not be published. Required fields are marked *


Notice: LeeAnn Greff, Independent Stampin’ Up! Demonstrator, Manager. The content of this website is my sole responsibility as an independent Stampin’ Up! demonstrator and the use of, and content of, the classes, services, or products offered on this website is not endorsed by Stampin’ Up! Copyright 2025