/


Latest Post

Easy Ornament cards with video tutorial


Have you ever made an 'ornament' card?  They're quite easy if you have a circle die or punch.  The possibilities are endless; just like real ornaments!

I shared how during last week's Stamp with Me Live.  Follow me here on FB to catch my weekly videos. I challenge my followers to share their version of an ornament card by January 2nd to get in on door prize drawing.  Share yours here. 

You can use designer paper, dies or just greetings to embellish them.  
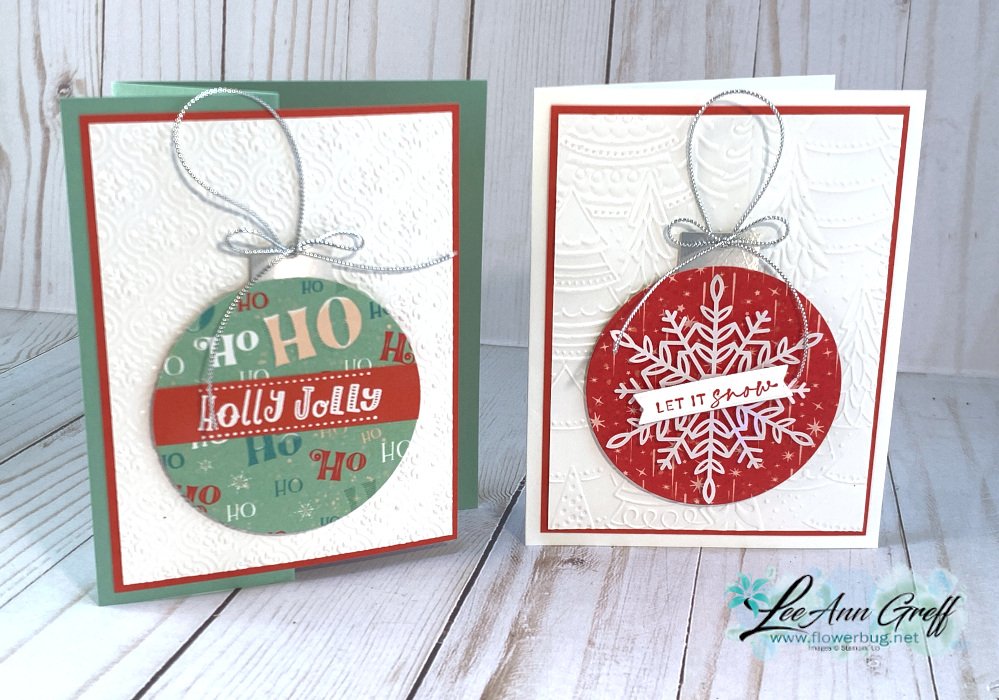
Or use our Wonderful Snowflakes elements like the card on the right above; they're on sale for just $2.40 each!  You get 24 of them; see them here.  An amazing deal!!

There are many fantastic deals on the Last Chance sale or the Clearance Rack refresh.  See them all here while supplies last.

Here are a few more I made on the video:
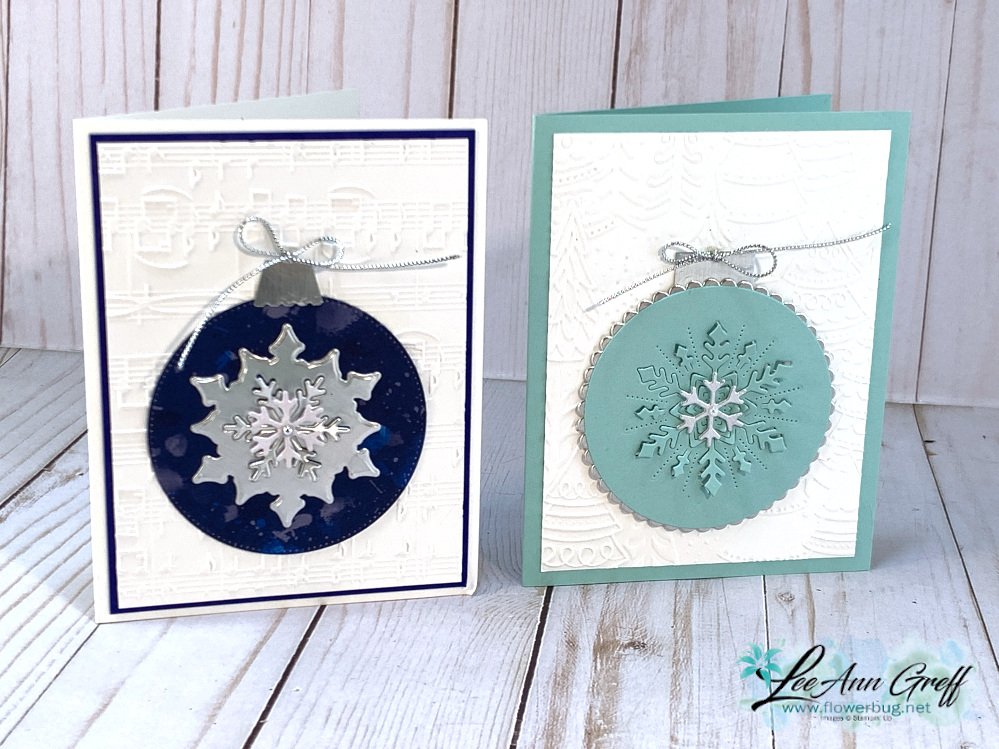
I used the Frosted Flurry dies here; they're on sale for just $13.60 instead of $34!!  WOW!  Click here to see them online
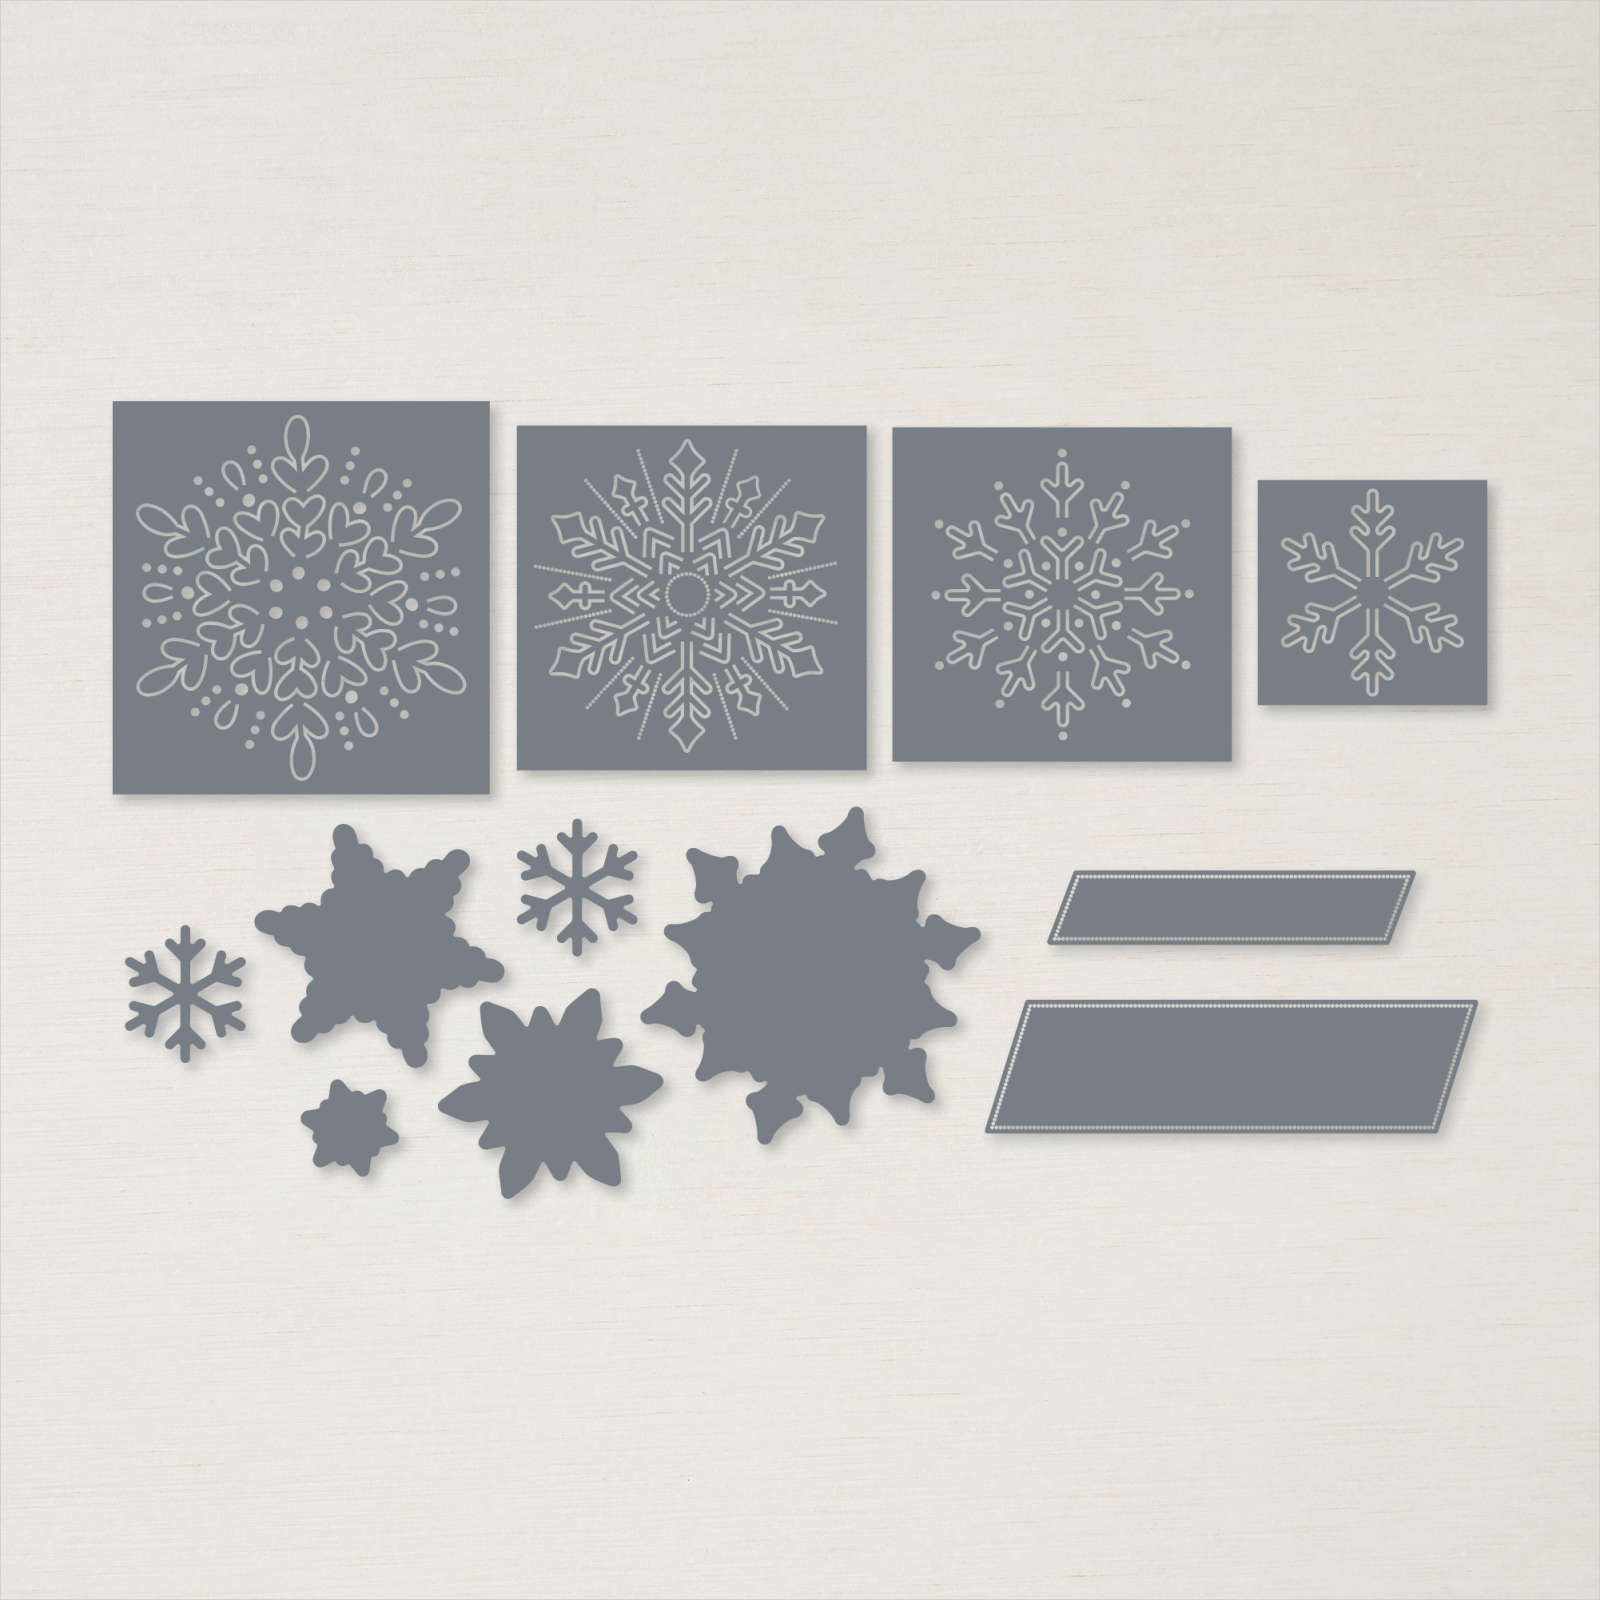
I love the greeting dies and the fact that it has snowflakes that can be cut out fully or just partially like the right one above. 

Click on the photo below to watch the video. 

~~~

Clearance Rack Refresh!

Last Chance list is here!  

Order online using the links below:

Host code link: DXYW7GV3

Free Card Class in December: *I still have 4 left! 

Get a FREE card class from me with online orders over $55 when using either host code above!

 Earn free products with my loyalty rewards! 

Click here to download yours and earn a $50 shopping spree!
All Posts

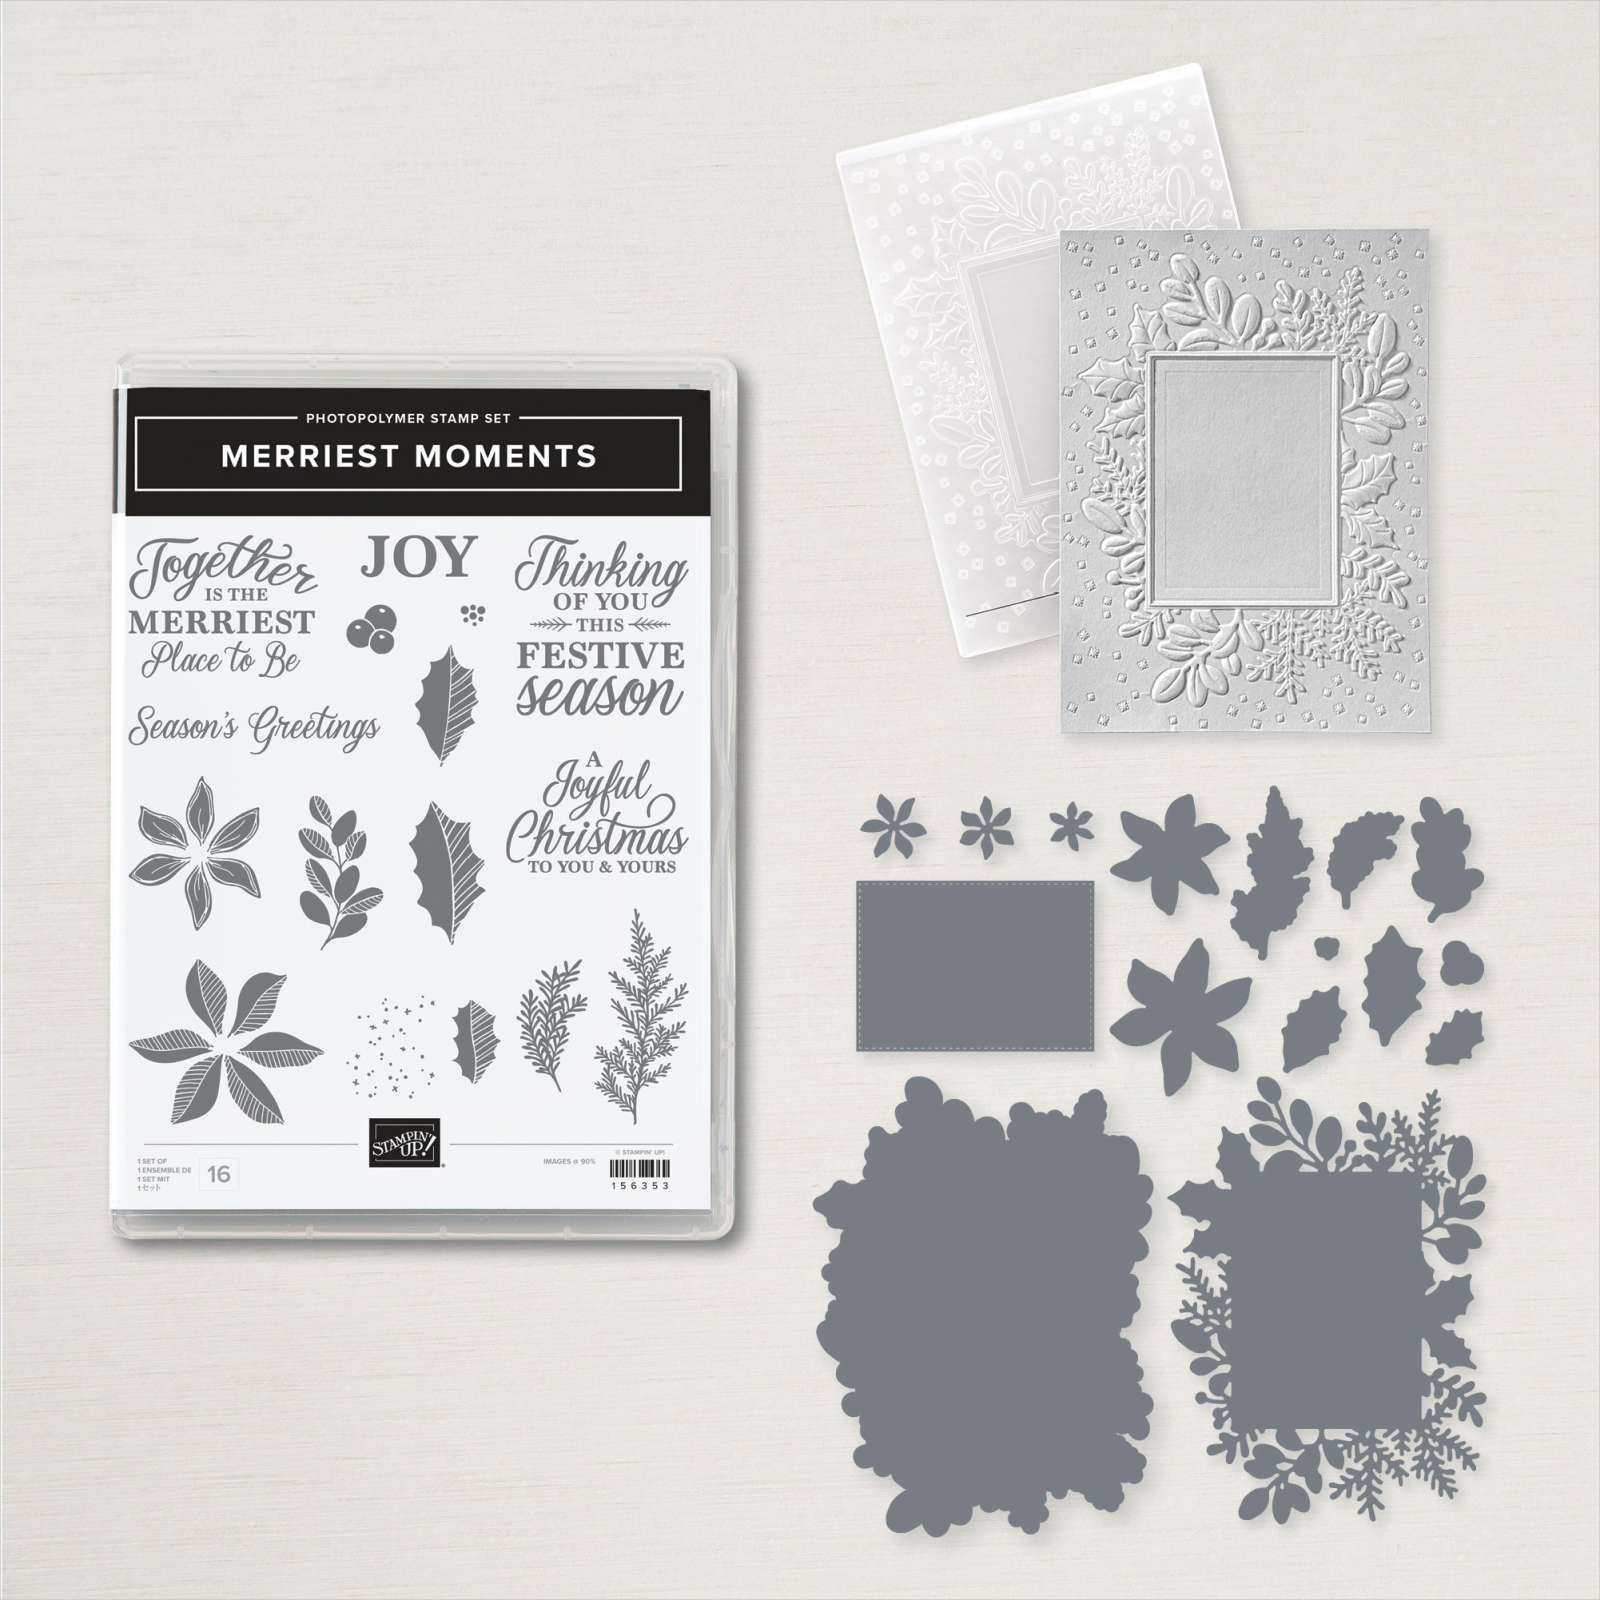
  • There’s so much you can do with the Merriest Moments bundle!


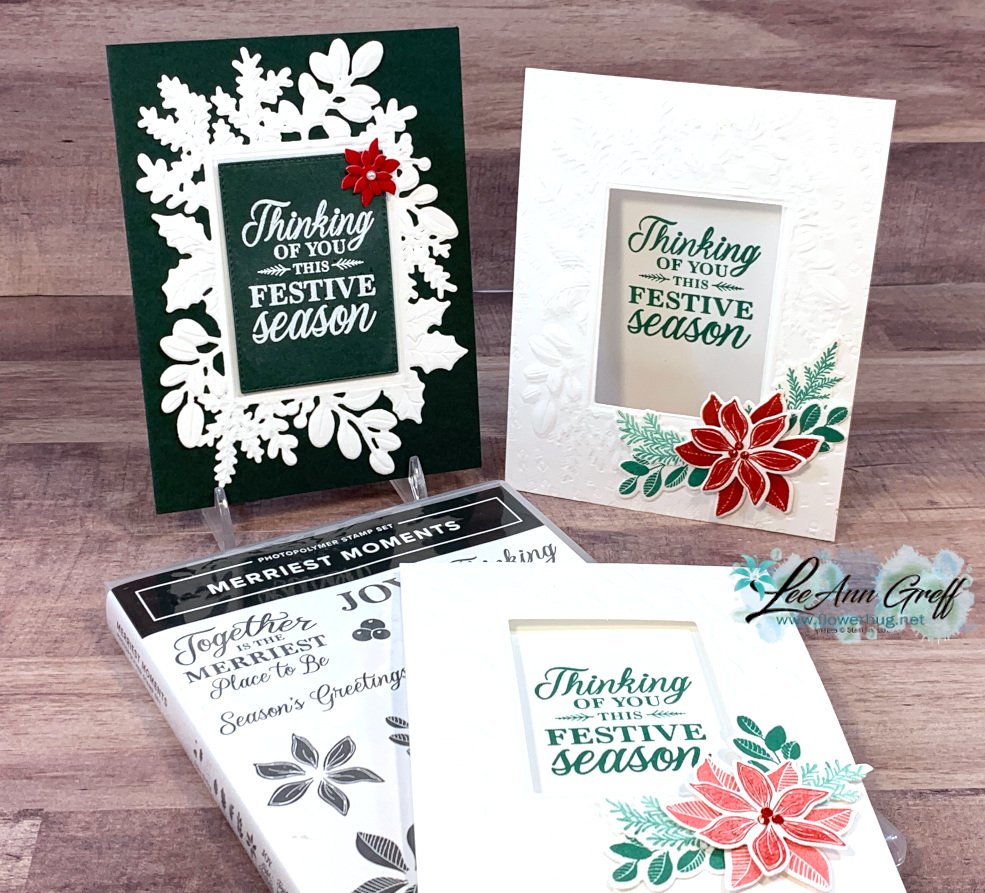
    On this week's FB Live I featured the Merriest Moments bundle seen here – a beautiful bundle that includes a Hybrid embossing folder. This type of folder enables you to die-cut AND emboss at the same time!  

    However it's important to only use the large outline die inside your Hybrid folder.  Do not use the detailed die.  You can use that after or before you emboss. 

    Look at these gorgeous cards in Evening Evergreen, White, Red & Just Jade. 

    This next card really shows off the stunning die-cut & texture as well as the pretty holiday greeting.  That cute baby poinsettia is made from our Red velvet paper and the dies in this bundle.  The colors are Evening Evergreen, White and Red. 

    The set of cards below have a window die-cut in the Thick White card base after texturing.  I did run the front back through the Hybrid embossing folder again after I cut the window because it flattened a bit when die-cut.  *This is shown in the video below or click here. 

    I added just a few die-cuts and the greeting to finish them.  Simple yet beautiful! 

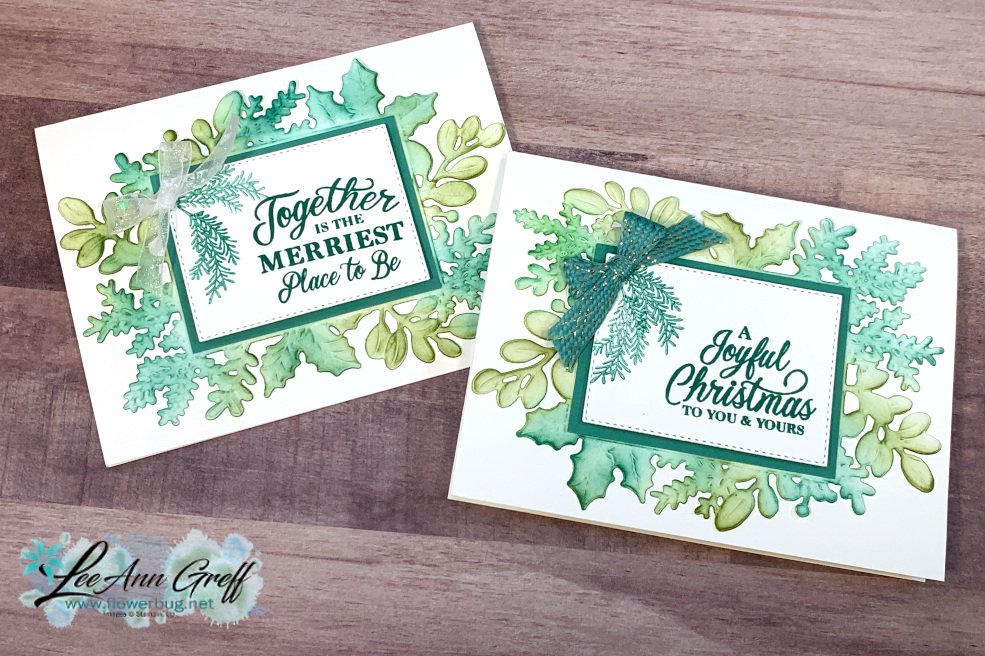
    Next is a gorgeous card we made at my October Card Clubs.  The pretty die-cut has been sponged with ink before or after it's embossed with the Hybrid embossing folder.  Either way works fine. 

    I chose an unlikely combo of Old Olive & Just Jade.  Who knew they'd be so beautiful together?! 

    See this amazing bundle here in my store.   

    Below is the video where I show how to make most of these cards.  I hope you watch it and get inspired to create yourself! 

    ~~~

    October Specials

    Host code: G3FX9NGA

    *click here to order

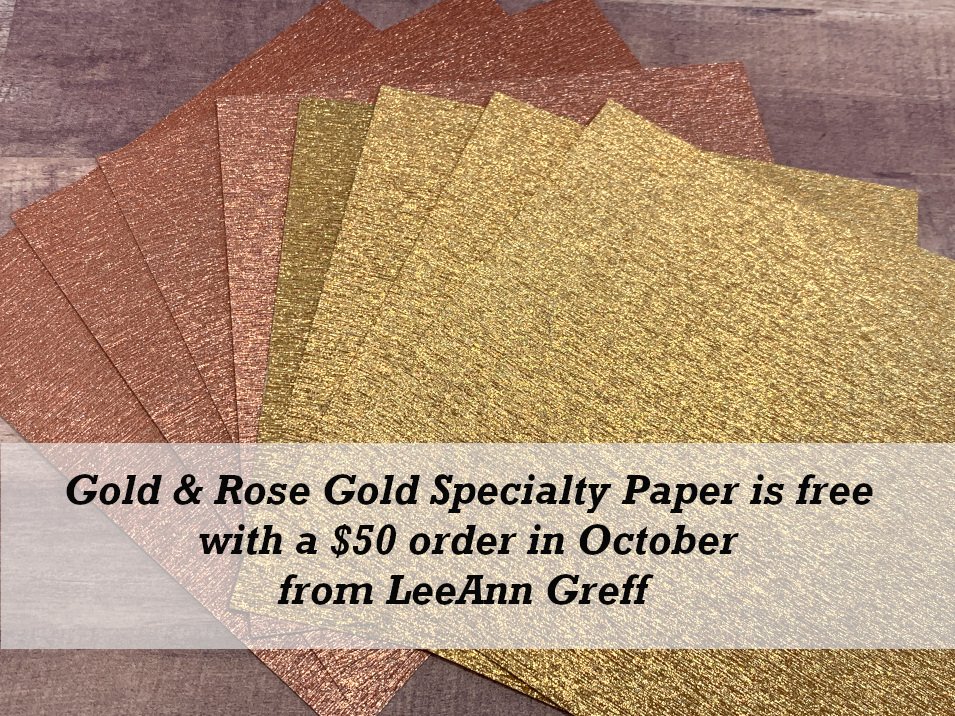
    Get a free package of Gold & Rose Gold Metallic specialty paper from me with a $50 online order in October! 

    All online orders will receive my October Gingerbread & Peppermint PDF tutorial free! 
     

    Leave a Reply

    Your email address will not be published. Required fields are marked *

  • Angled Gatefold card with easy latch closure; the Christmas version


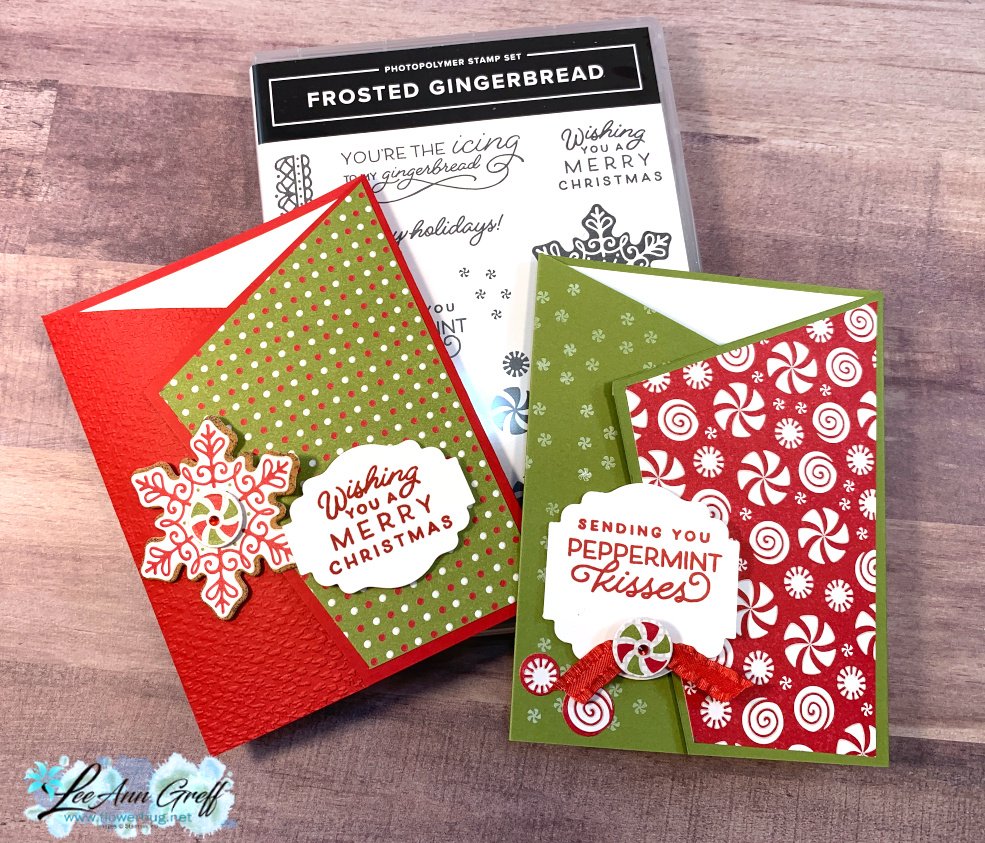
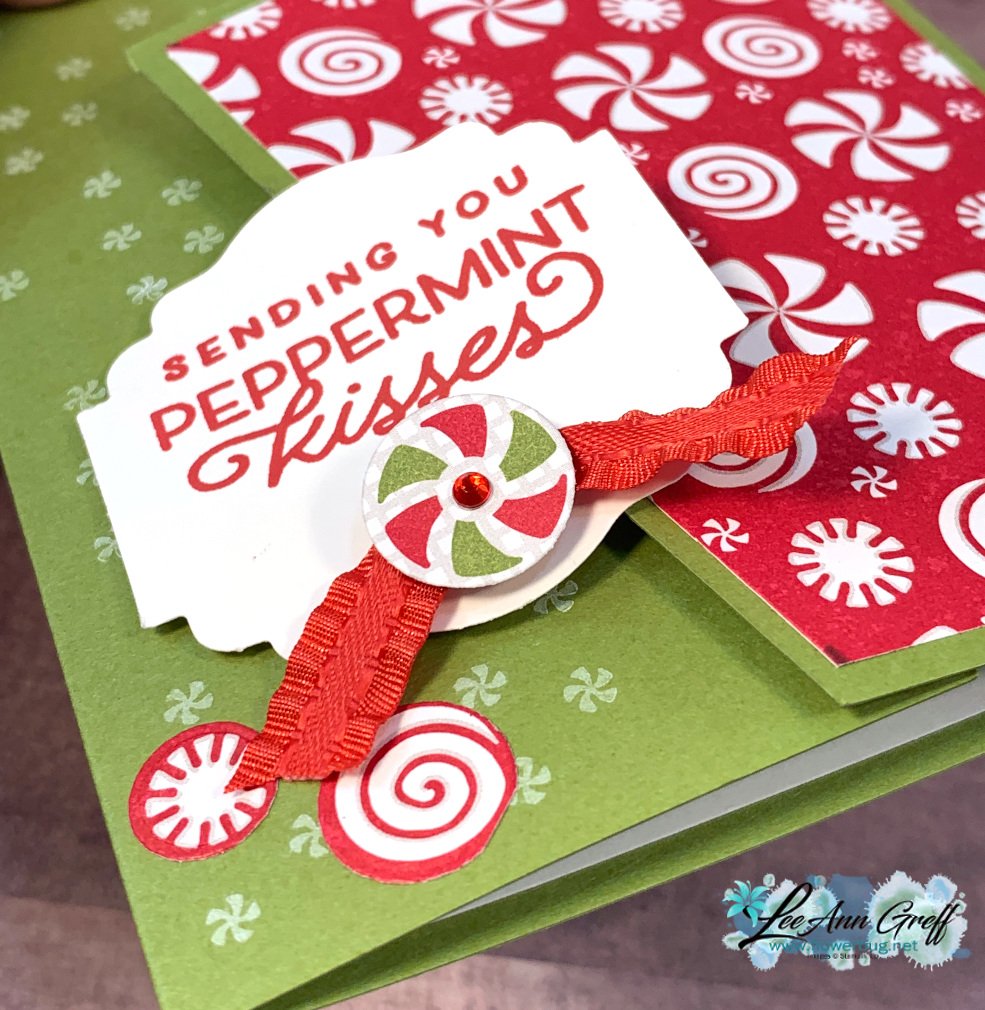
    Here's the other set of Angled Gatefold cards I made on last week's Stamp with Me Live.  Every other Monday I show a fun or easy way to use your Designer Paper. Don't hoard it; use it!  Follow me on Facebook here. 

    Each card is held closed by the punch or die-cut on the left. Placing your dimensionals on the left edge of each allows you to slip the right card flap between the greeting and the left front flap of the card base.  Don't get it?  Watch the video below! 

    See how the left flap is under the greeting? 

    Here's the link to the video; or scroll down to watch it here. 

    The colors are traditional red & green – Real Red & Old Olive.  I stamped the left side with the tiny peppermint image using White Craft ink.

    This adorable designer paper is called Gingerbread & Peppermint. It's 6 X 6" and in our Stampin' Up! Holiday catalog.  See it here. 

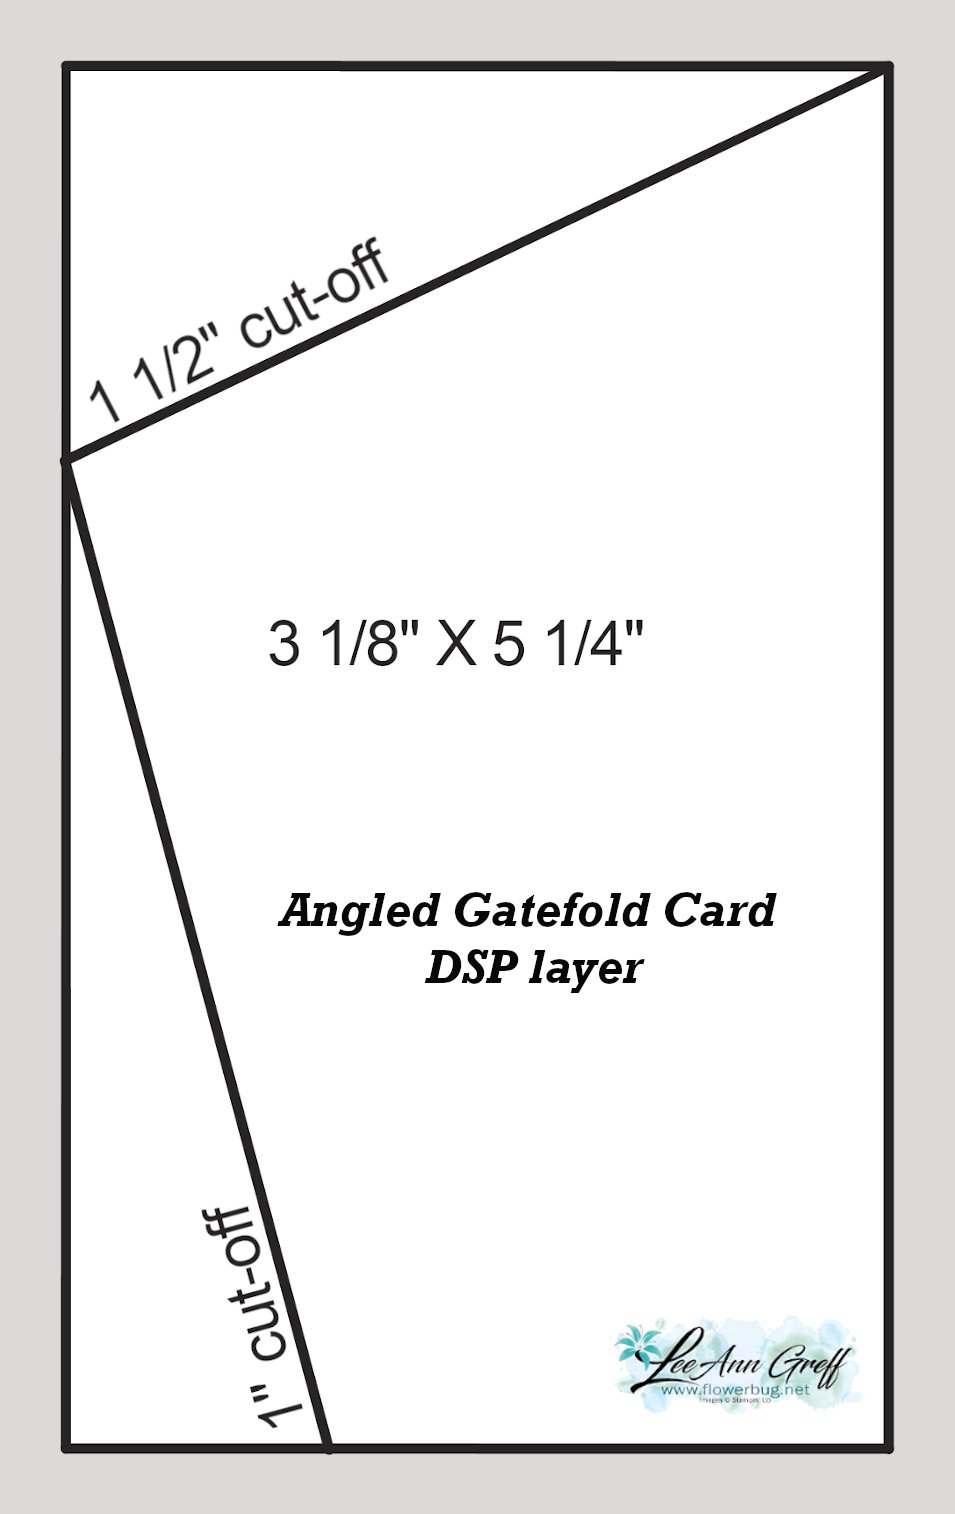
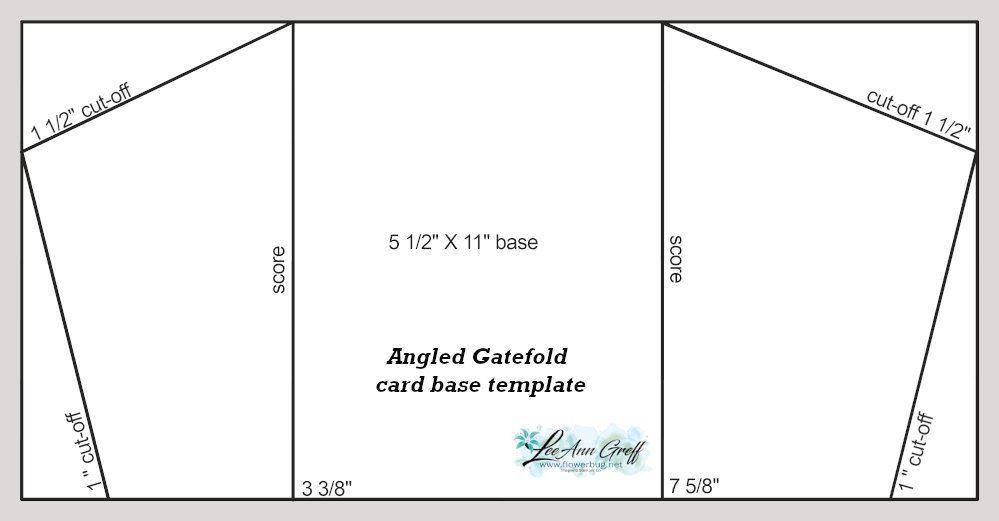
    Here are the templates; 


    And here's the video below; it's short & you'll find these cards quite easy to make! 

    ~~~

    October Specials

    Host code: G3FX9NGA

    *click here to order

    Get a free package of Gold & Rose Gold Metallic specialty paper from me with a $50 online order in October! 

    All online orders will receive my October PDF tutorial free! 

    This month it features the Gingerbread & Peppermint suite.

    Leave a Reply

    Your email address will not be published. Required fields are marked *

  • FLASH SALE on Cling Stamps; today only!


    Do not miss out on discounted stamps!  Get those on our wish list today!

     Click here for the list with photos. 

    Click here for the ONE PAGE flyer  in page order – no photos


    Here are a few cards I made with some of the sets on sale. 


    Positive Thoughts set


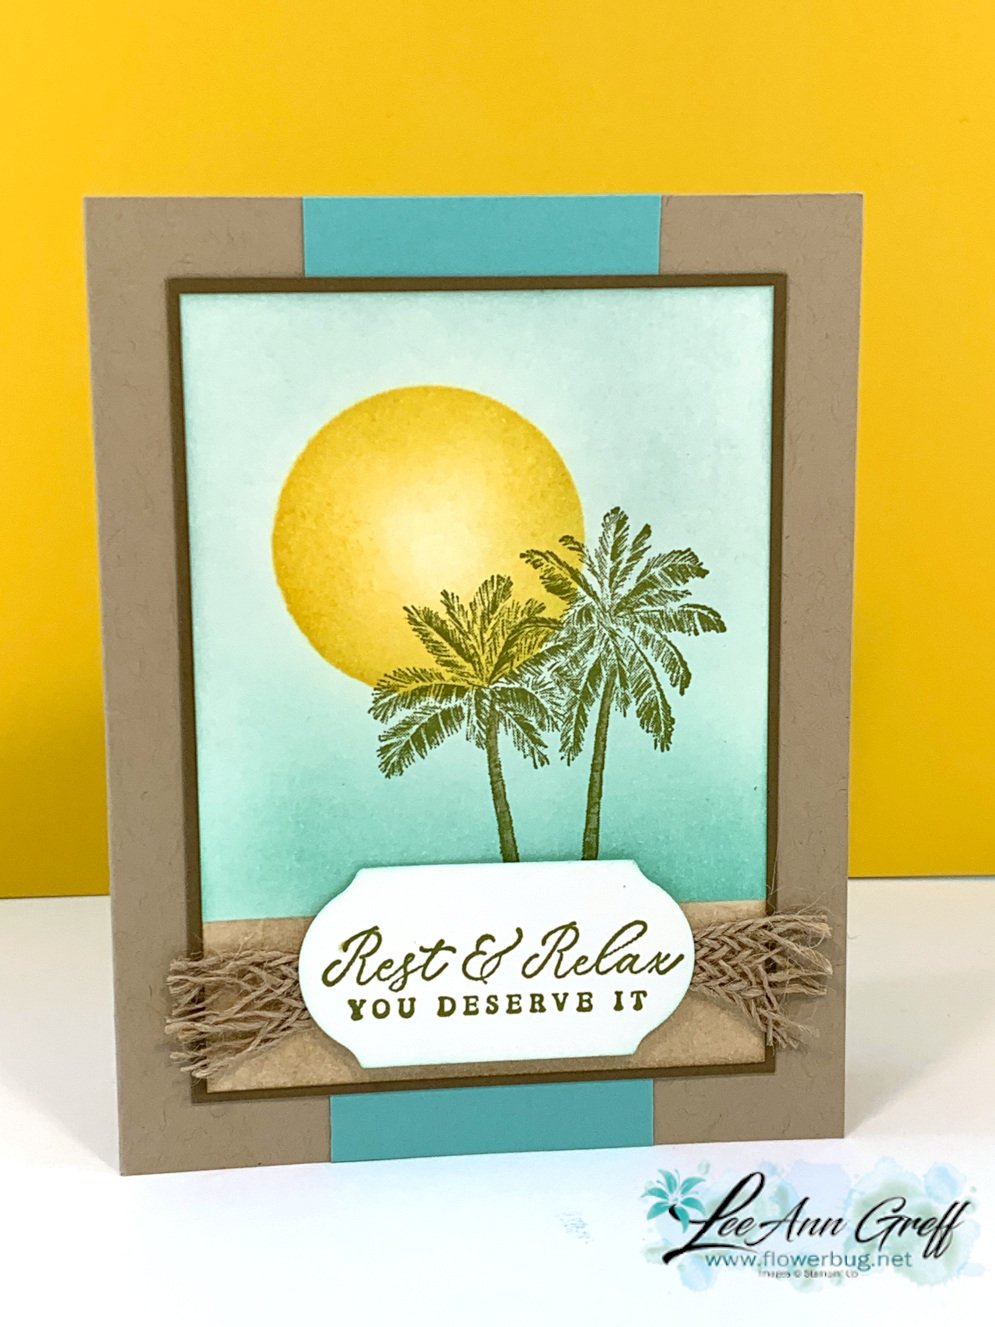
    Timeless Tropical set 

    Bamboo Beauty

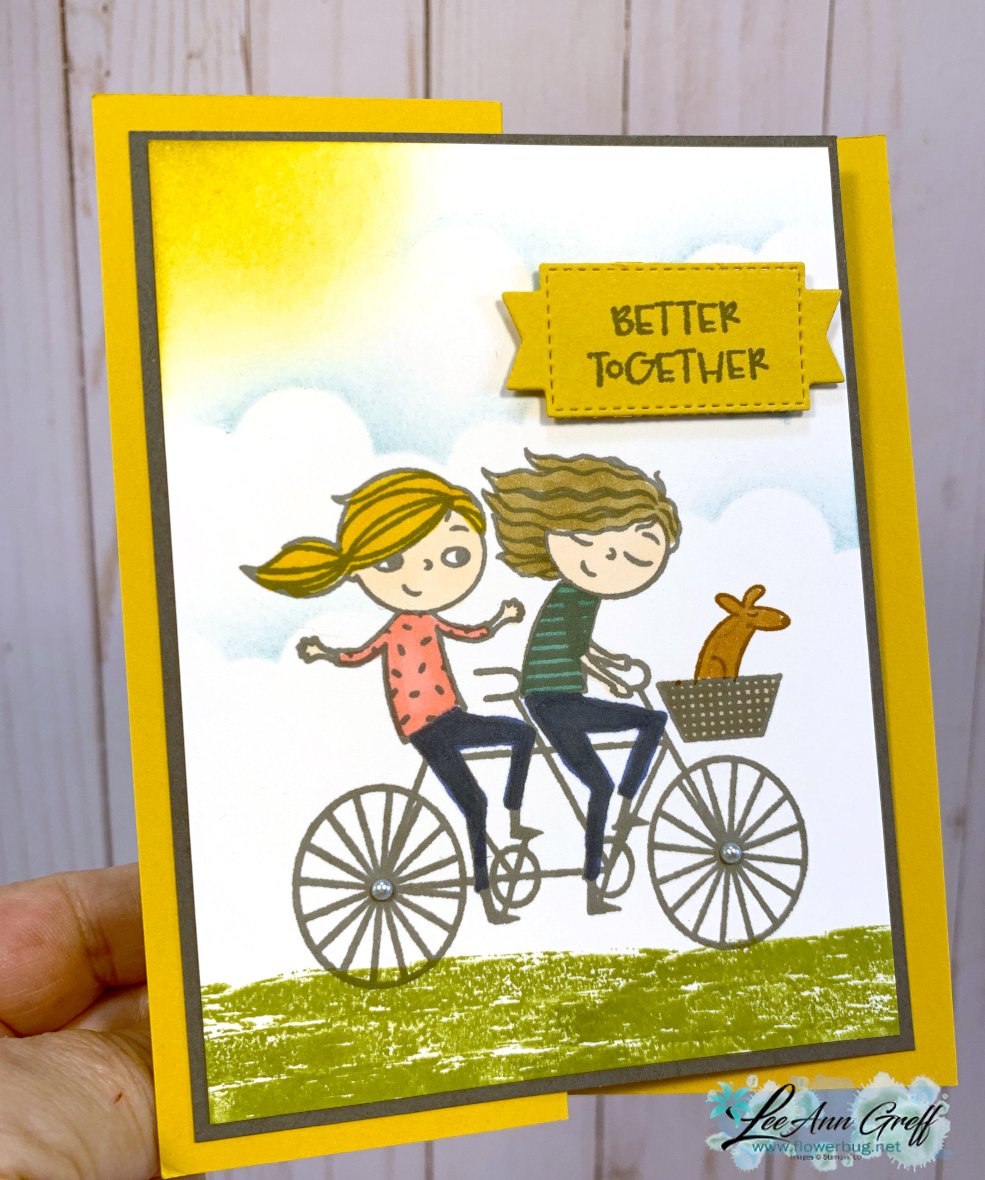
    Better Together set


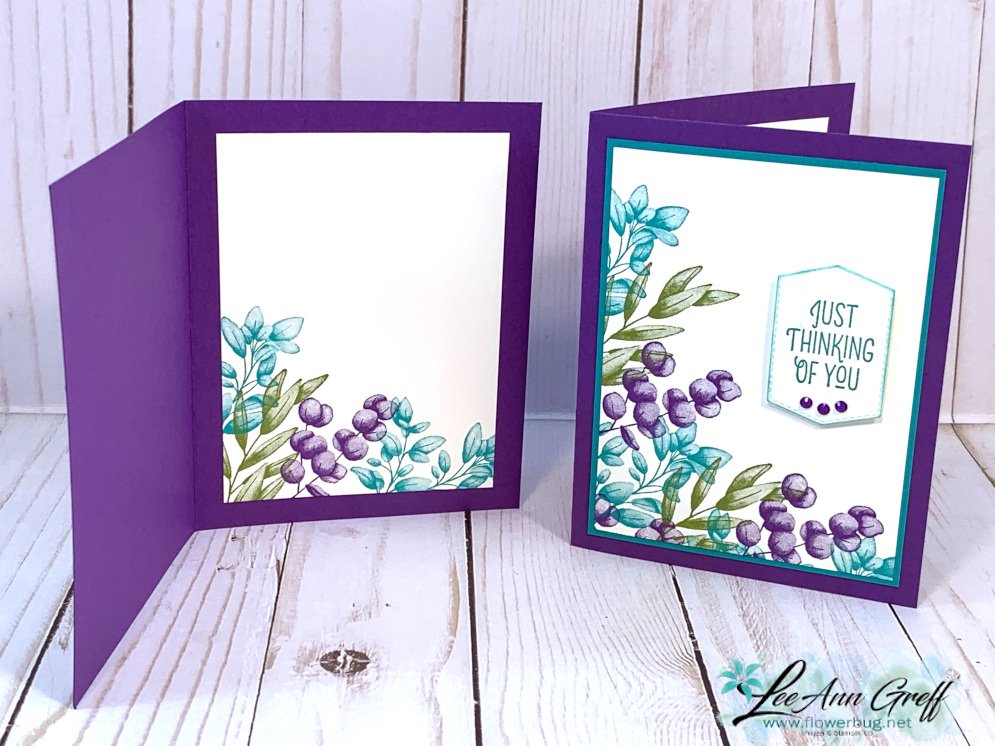
    Forever Fern set

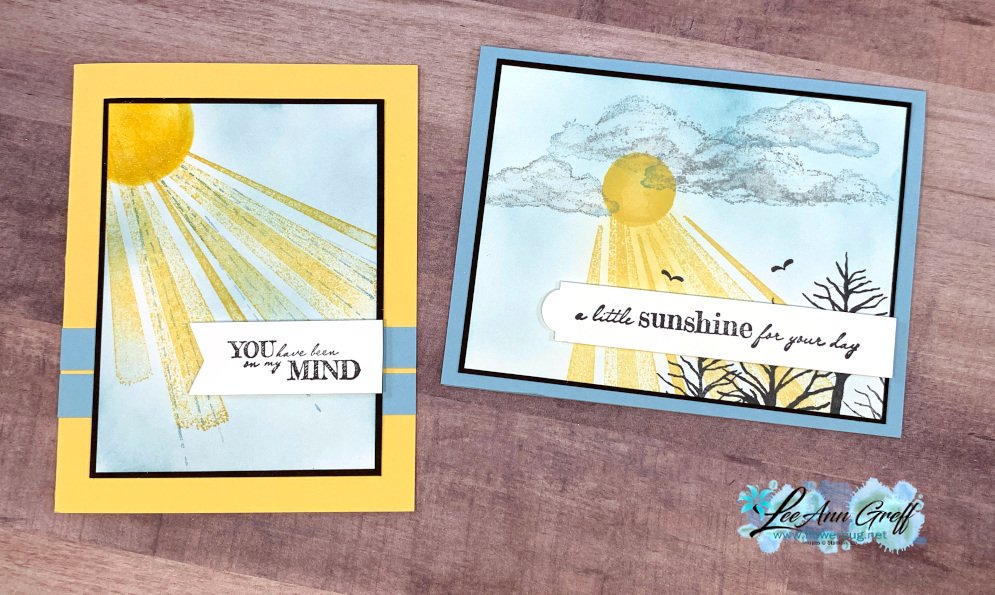
    After the Storm set

    Celebrate Sunflowers set

    Here's a link to the online store to order today. 

    Or watch the carousel below to get a glimpse of them all. *if you do not see it in your email, click on the title of the post to get to the actual blog.  


    *Current host code is G3FX9NGA 

    Remember that if your order is over $50 you'll also receive a free gift from me! Details below: 

    ~~~

    October Specials

    Host code: G3FX9NGA

    *click here to order

    Get a free package of Gold & Rose Gold Metallic specialty paper from me with a $50 online order in October! 

    All online orders will receive my October Gingerbread & Peppermint PDF tutorial free! 


    Leave a Reply

    Your email address will not be published. Required fields are marked *


Notice: LeeAnn Greff, Independent Stampin’ Up! Demonstrator, Manager. The content of this website is my sole responsibility as an independent Stampin’ Up! demonstrator and the use of, and content of, the classes, services, or products offered on this website is not endorsed by Stampin’ Up! Copyright 2025