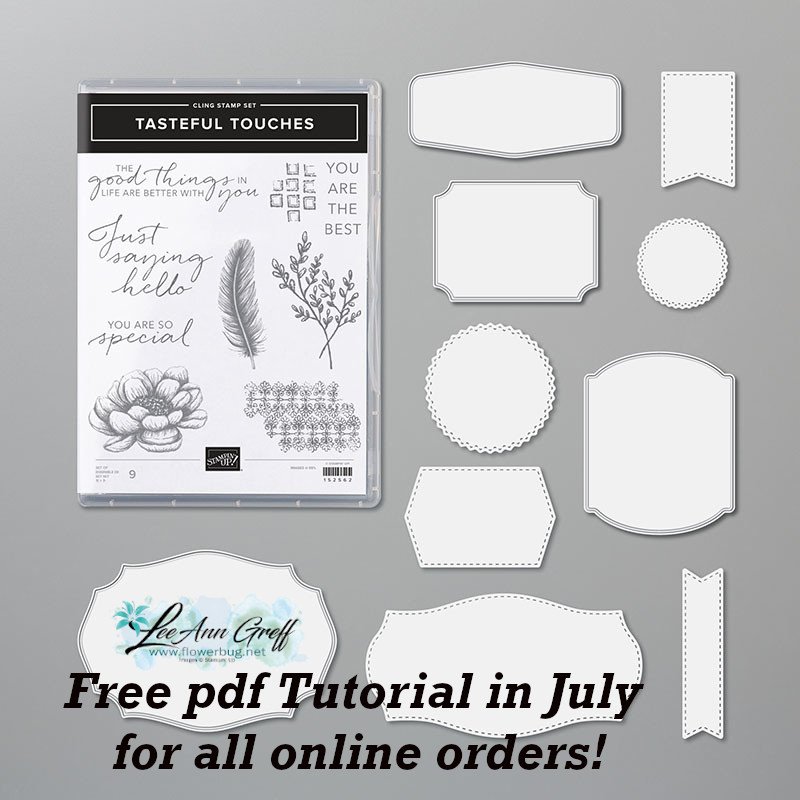
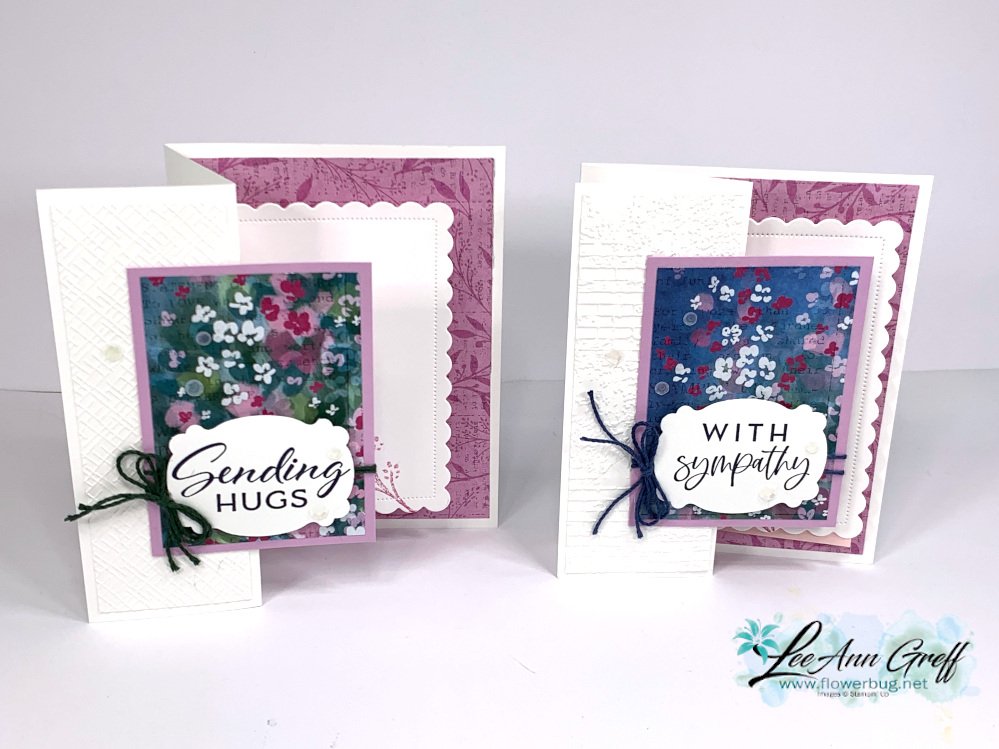
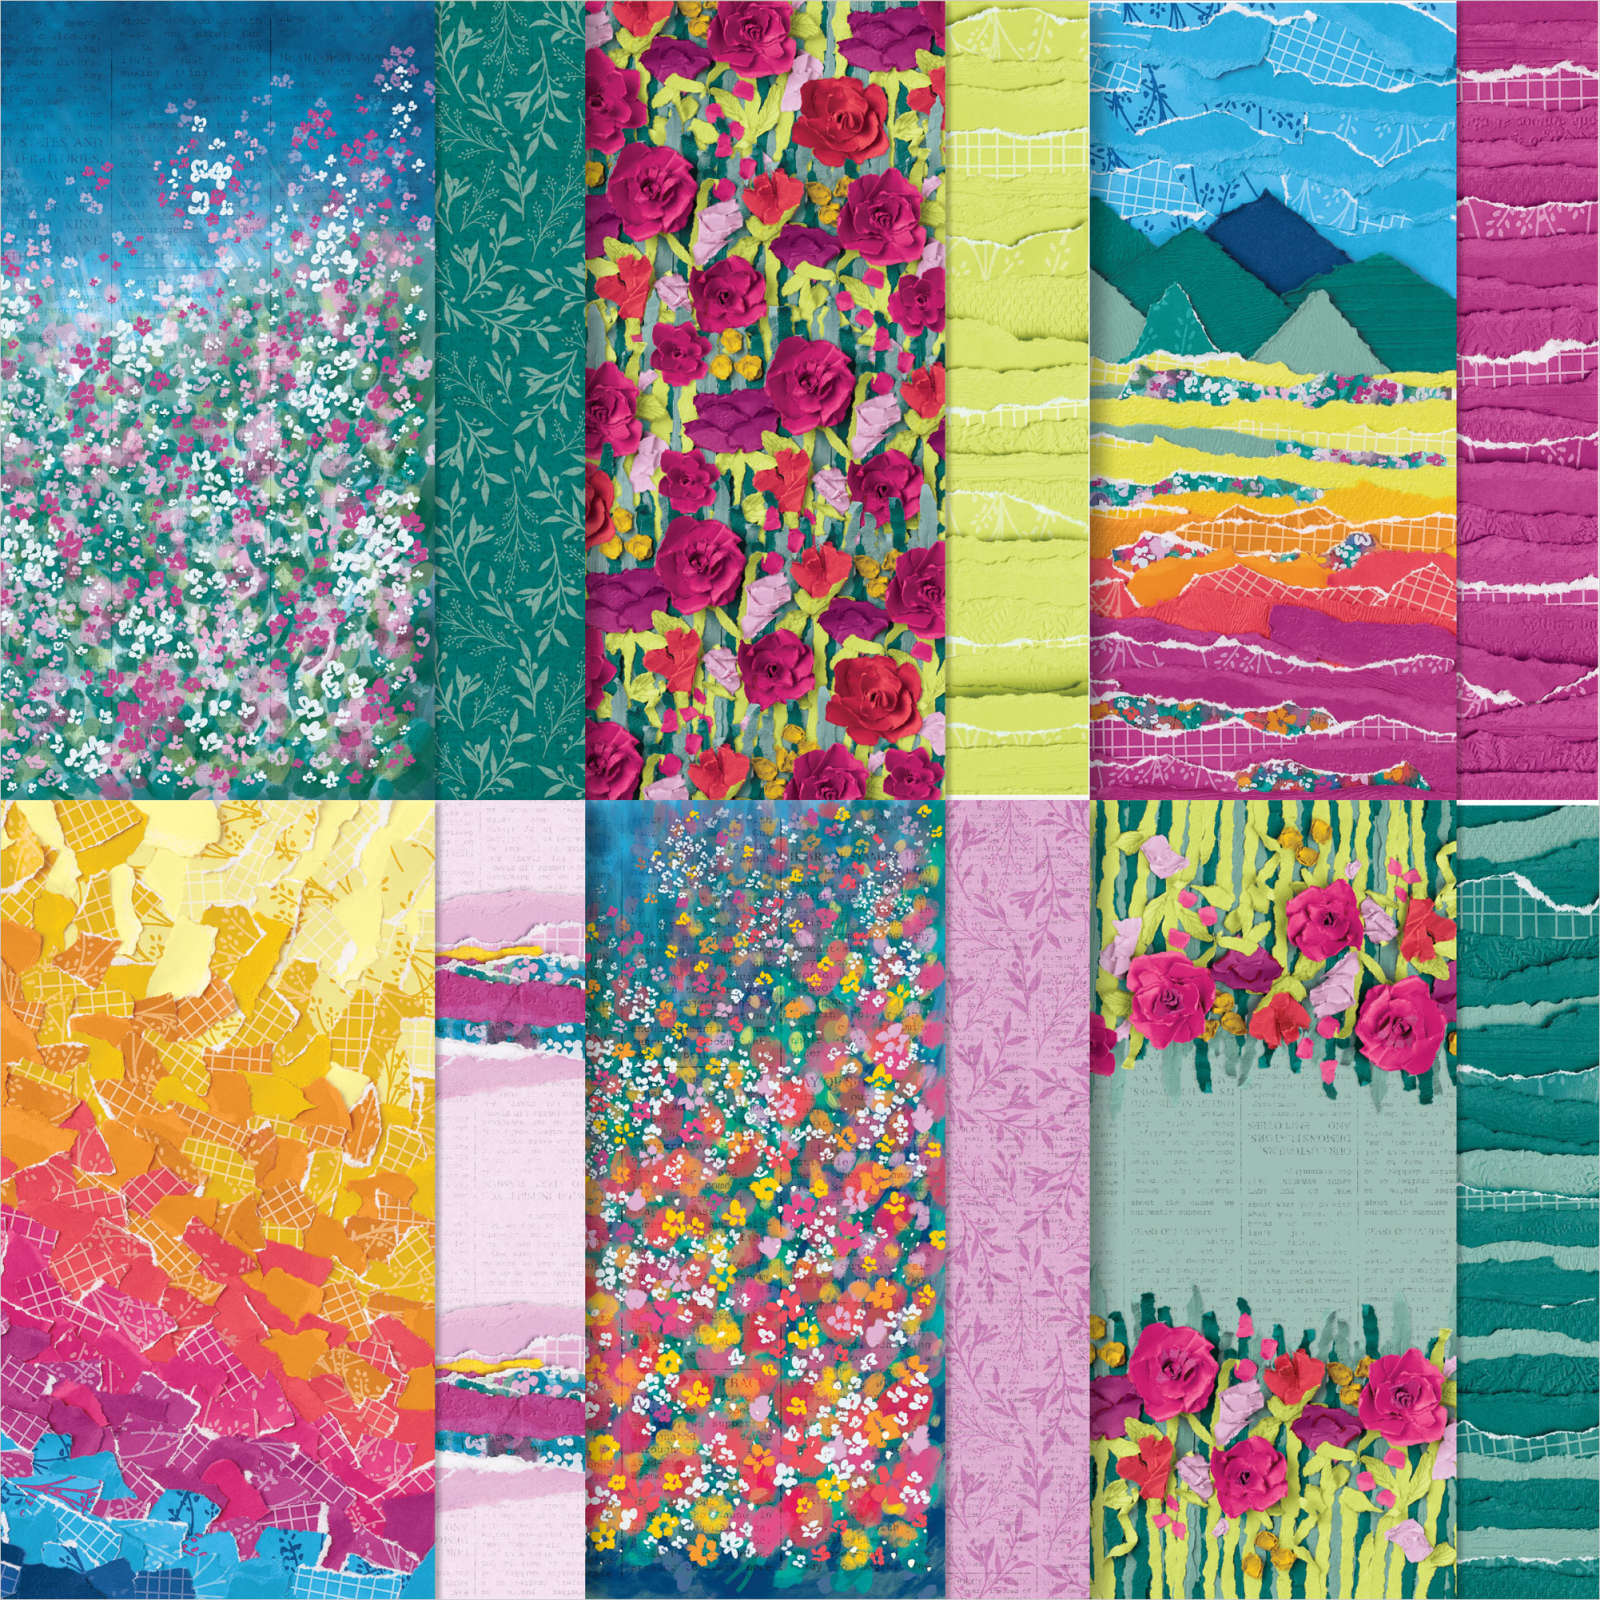
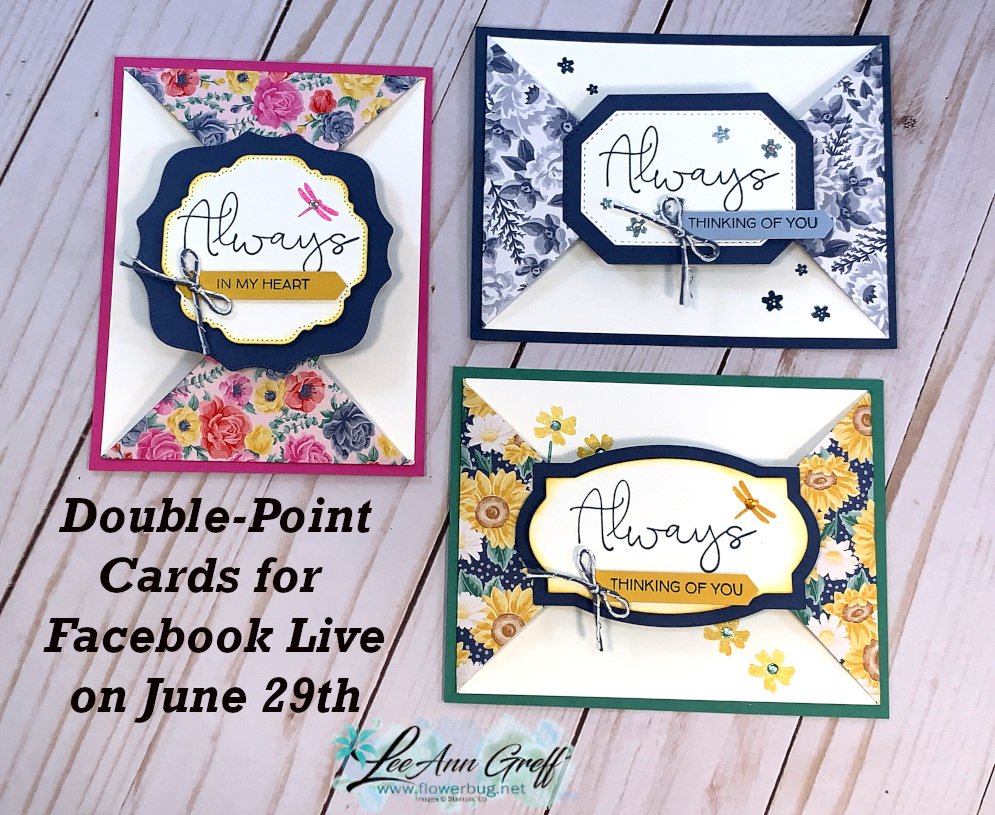
I chose to use the Flowers for Every Season designer paper and the Field of Flowers stamp set. The dies are from the Hippo & Friends dies seen here. I LOVE these label dies!
Measurements:
Card base 4 1/4" X 5 1/2"
White inside 5 1/4" X 4"
DSP 3" X 4", scored at 1" on the long side
Label dies or punches to 'connect' the points
Products Used:
Field Of Flowers Photopolymer Stamp Set [152589] – Price: $17.00 – see here
Ridiculously Awesome Cling Stamp Set [152512] – Price: $22.00 – see here
Hippo & Friends Dies [153585] – Price: $36.00 – see here
Flowers For Every Season 6" X 6" (15.2 X 15.2 Cm) Designer Series Paper [152486] – Price: $11.50 – seen here
2020–2022 In Color Enamel Dots [152480] – Price: $8.00 – see here
The inside 'box' that pops up the scalloped rectangle layer is adhered to both the side and back of the card. It folds flat when mailing but sure adds nice dimension when the card is opened.
I was surprised to see the One Horse Open Sleigh designer paper back in stock. It was unavailable last week but it's back now. I featured it in one of my July card kits to go. See it here online.
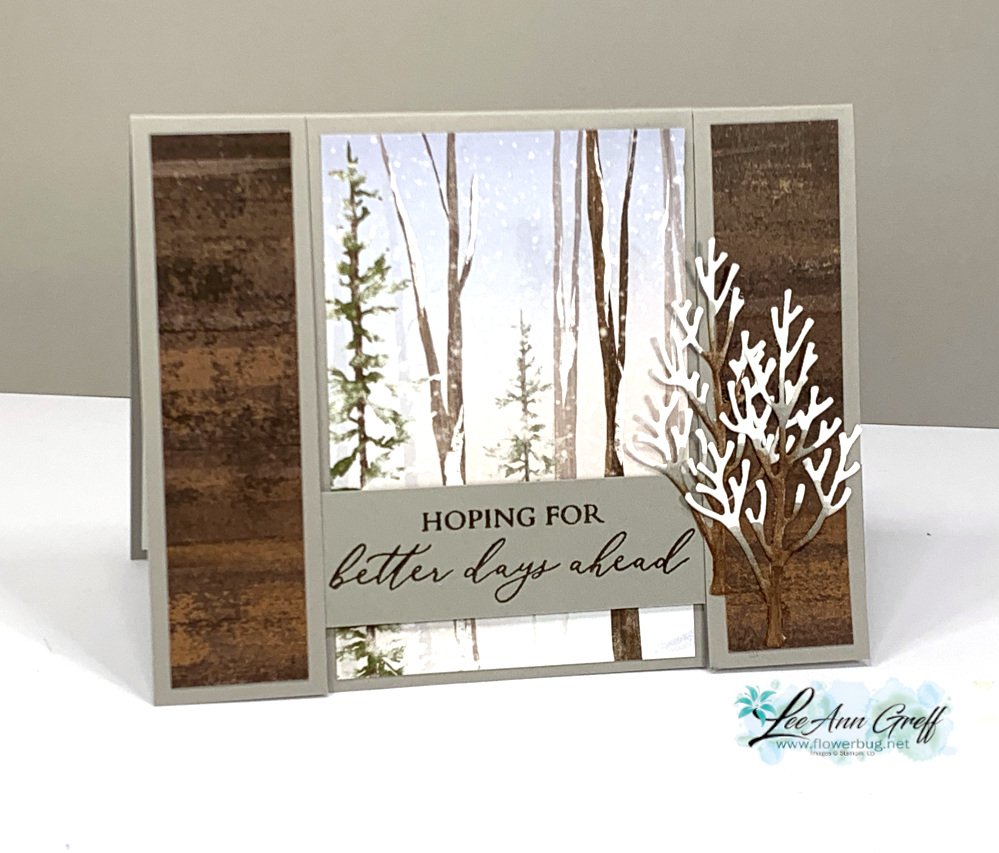
I added a few die-cut trees on the right side. I colored them with Blends markers – adding brown and Gray Granite to the white. The greeting is from the Lasting Joy stamp set.
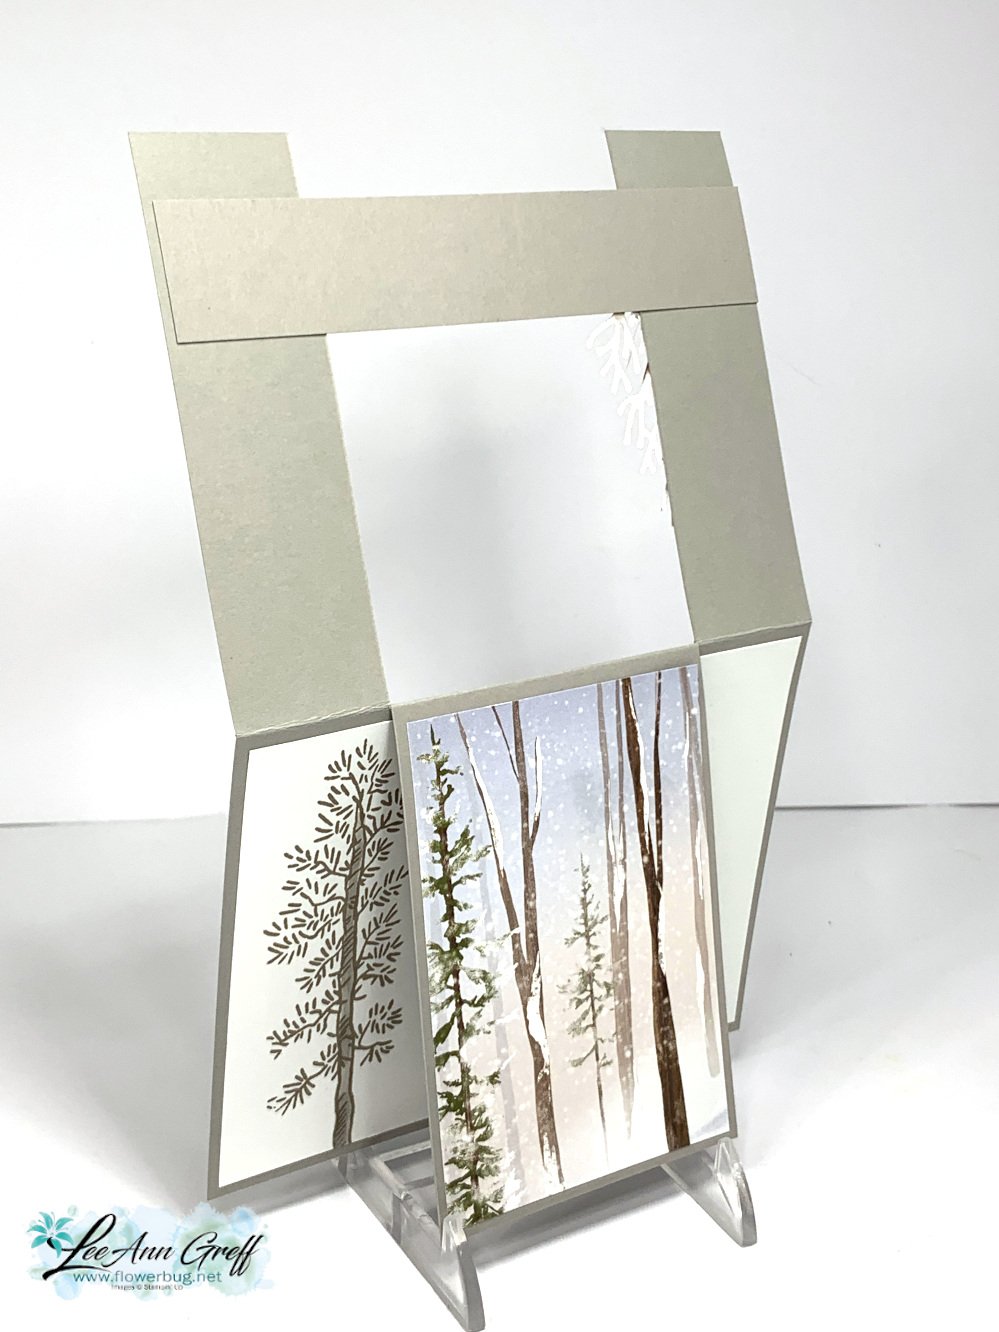
The Gray Granite card base is a simple 5 1/2" X 8 1/2" scored at 4 1/4". Then you cut up to the score line at the 1 1/4" mark on front; on both sides.
I added designer paper to the center panel and also to both side panels. The horizontal piece 'spans' under the to side panels like this:
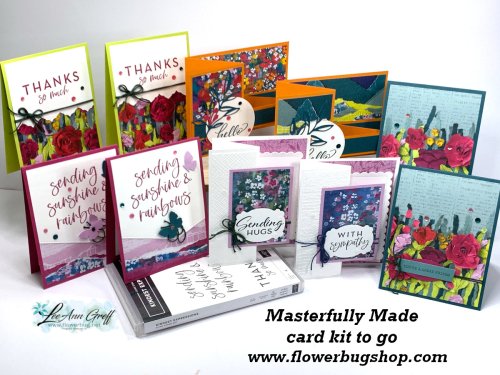
This card was included in both my PDF tutorial and the pre-cut card kit to go; each card is a fancy fold. I have just two kits left. You can see them both here along with other kits and tutorials.
~~~
July Specials:
Bonus Days!
Get a $5 coupon for each $50 order you place in July. Redeem in August!
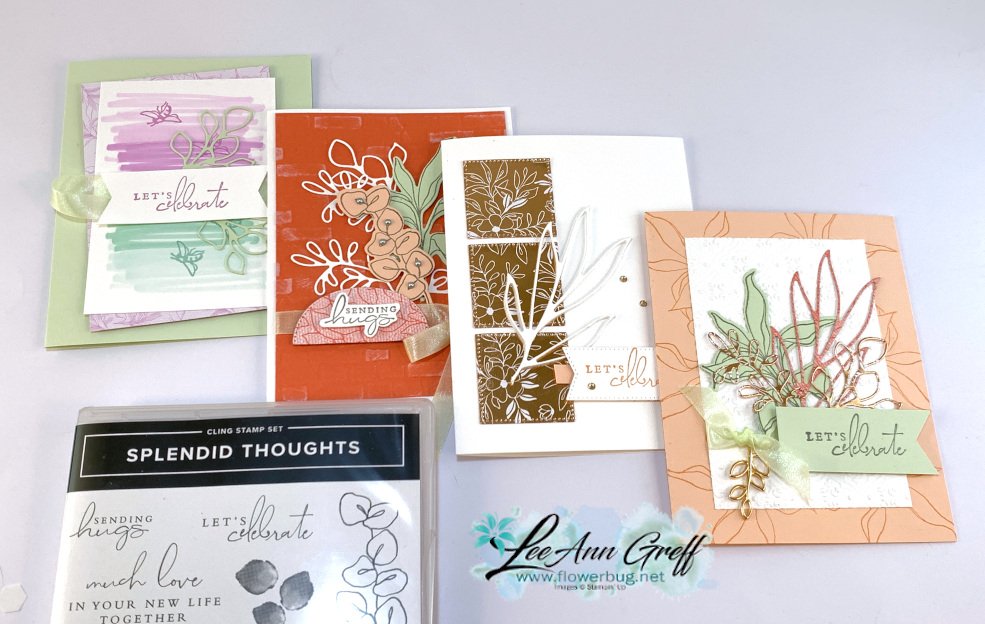
I am surprised that the stamp set and dies are both there along with the pretty Soft Seafoam ribbon and the Open Leaf Trinkets.*Both are now just $1.25! Click on the blue highlighted words to see these items in the Clearance Rack.
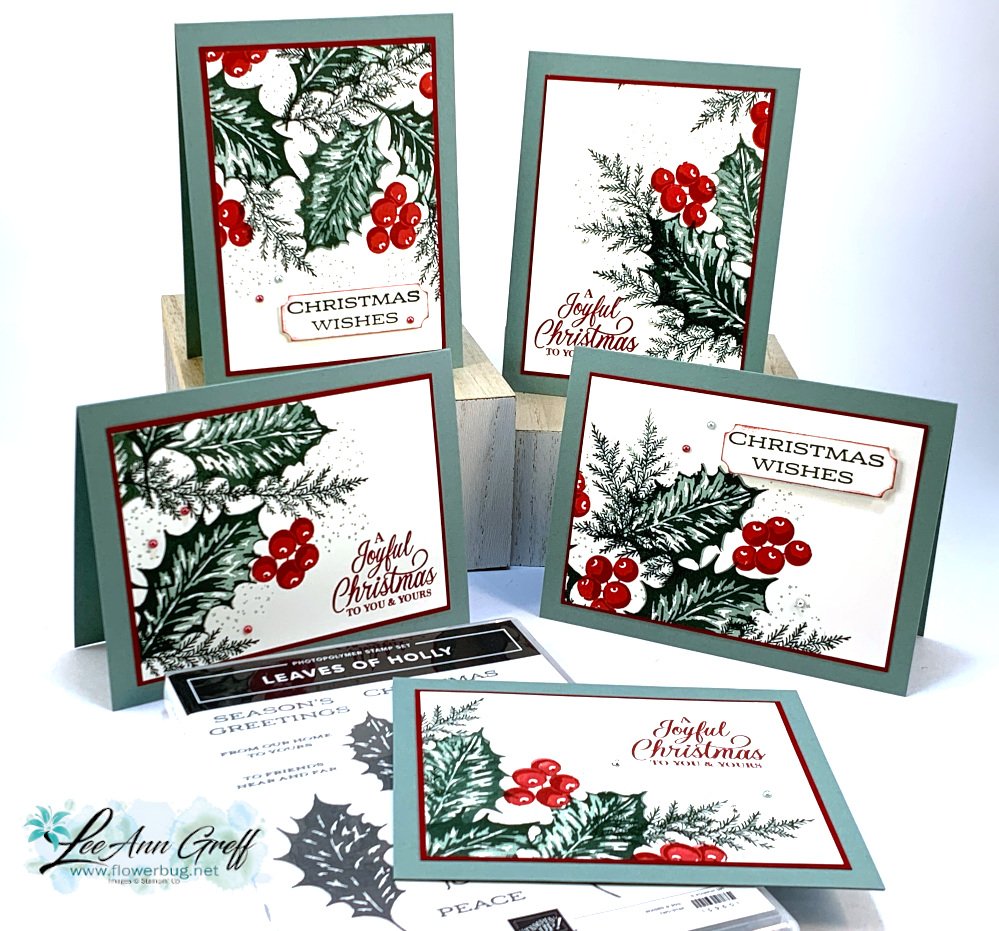
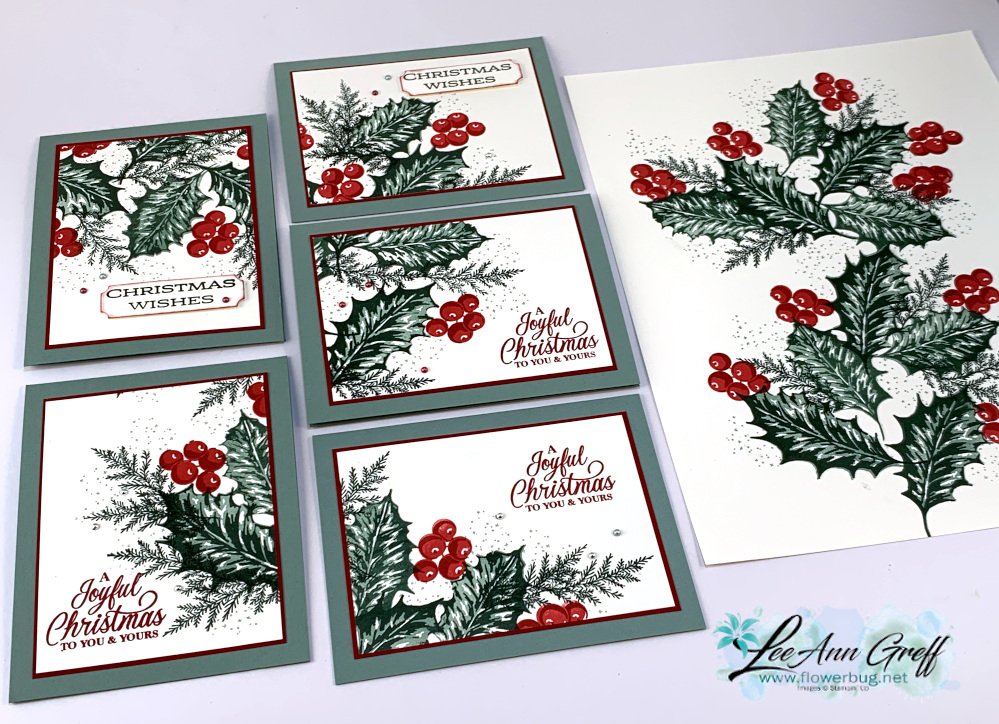
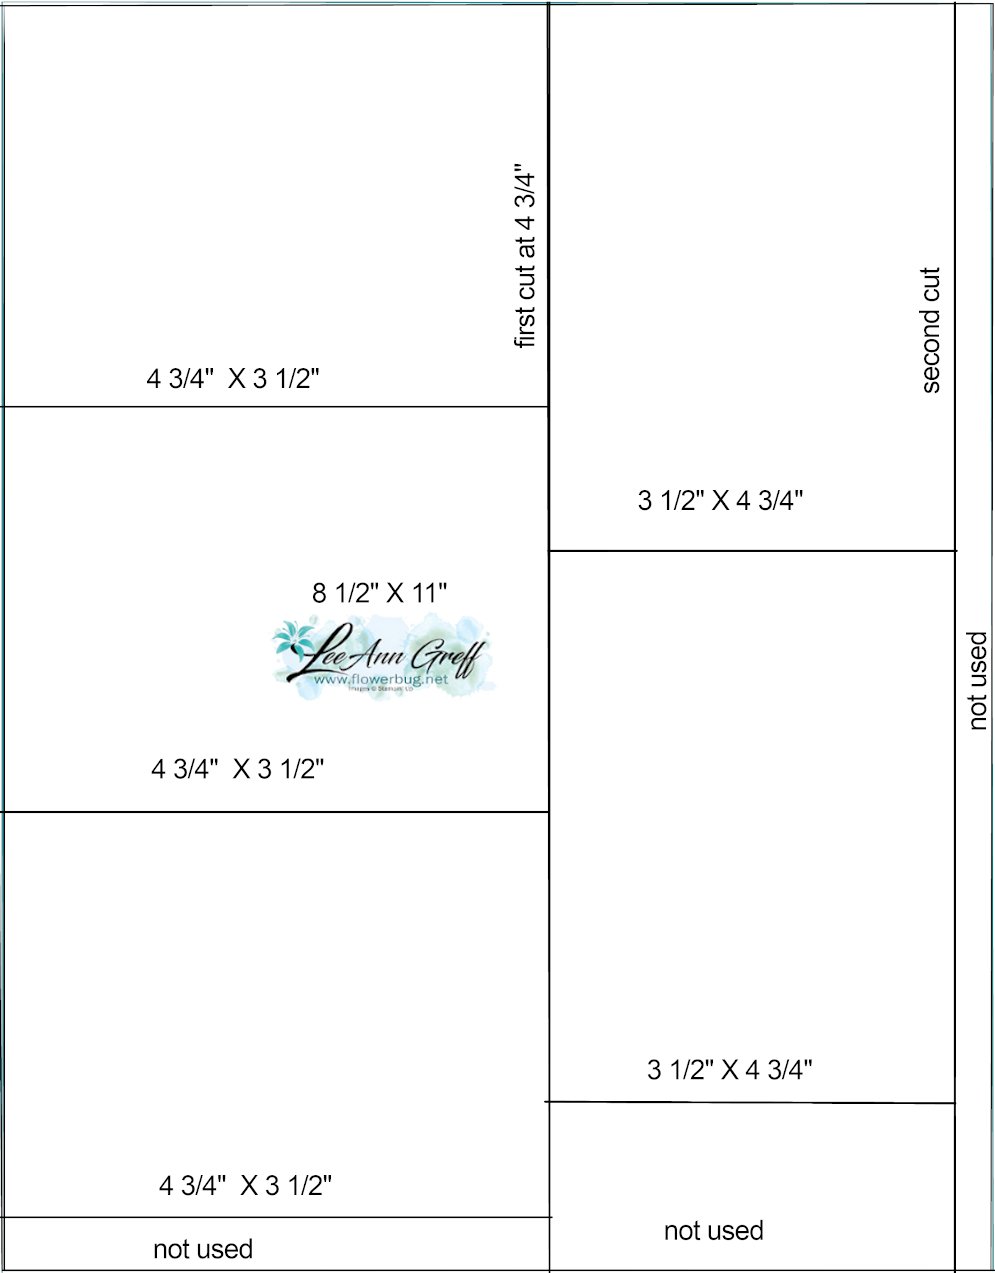
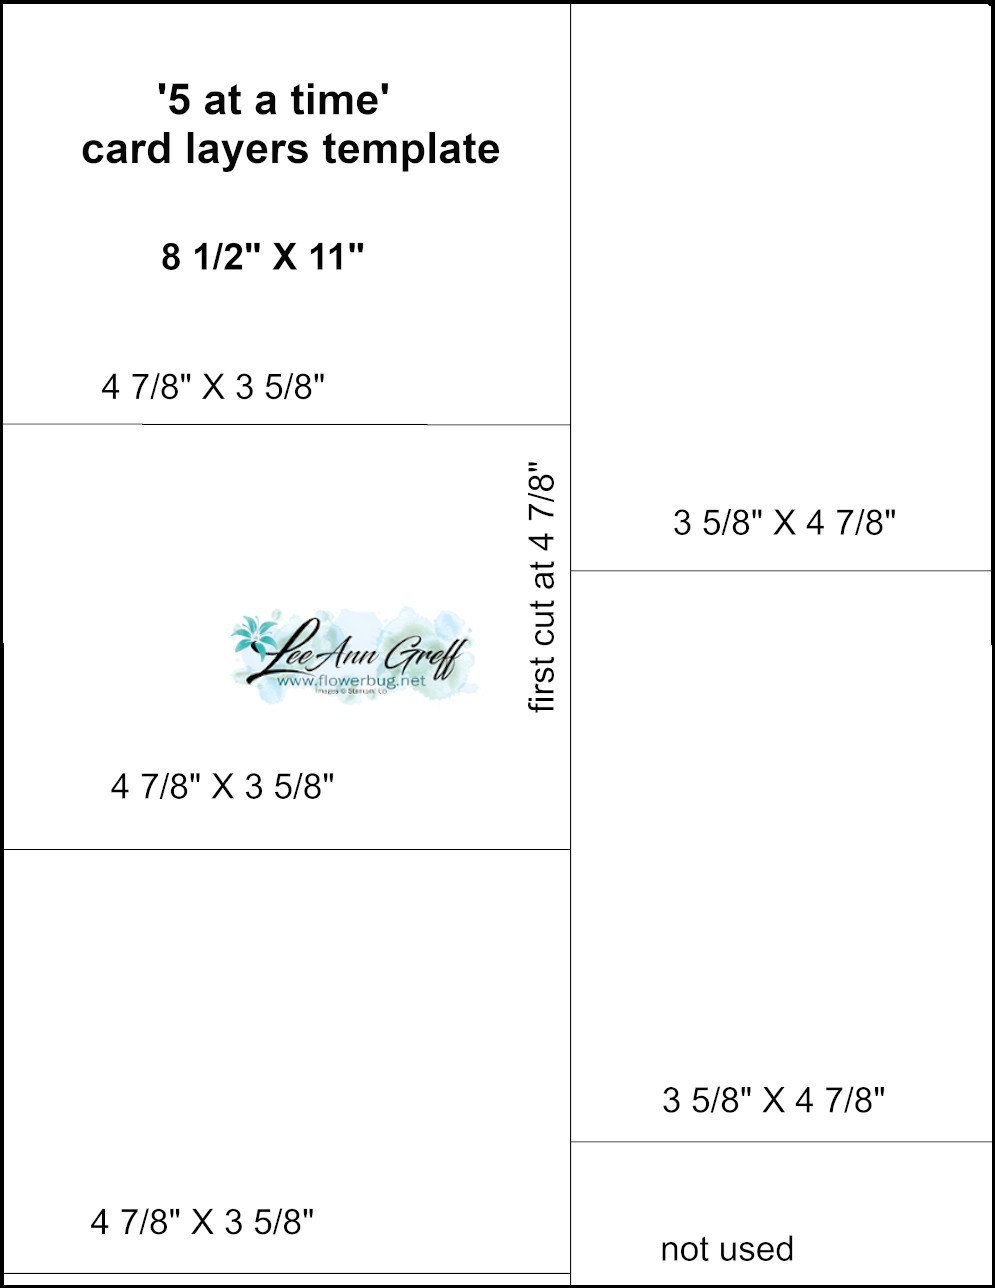
I call it the 5 at a time technique. You stamp one sheet of neutral paper and then cut it into 5 pieces using my template below. And the neat thing is the layers under the stamped White card stock are also cut using a template. Just 2 sheets of card stock to make 5 card fronts! *Watch the video below or click here.
See how I stamped down the center of the White card stock on the photo above? Next I cut it using the template below:
The first template is what you stamp on. The one below is for the layers under the stamped pieces. It's just 1/8" larger for a nice thin layered accent.
Notice: LeeAnn Greff, Independent Stampin’ Up! Demonstrator, Manager. The content of this website is my sole responsibility as an independent Stampin’ Up! demonstrator and the use of, and content of, the classes, services, or products offered on this website is not endorsed by Stampin’ Up! Copyright 2025
Leave a Reply