/


Latest Post

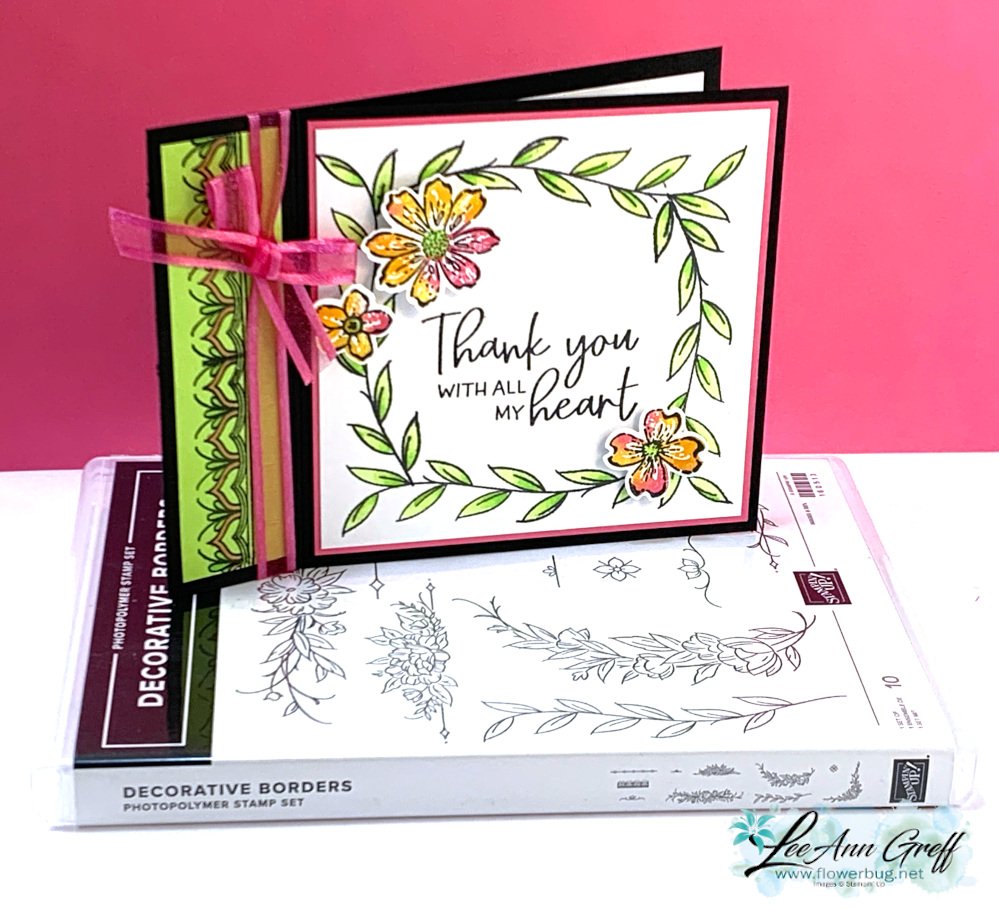
Decorative Borders Book Binding card with video tutorial


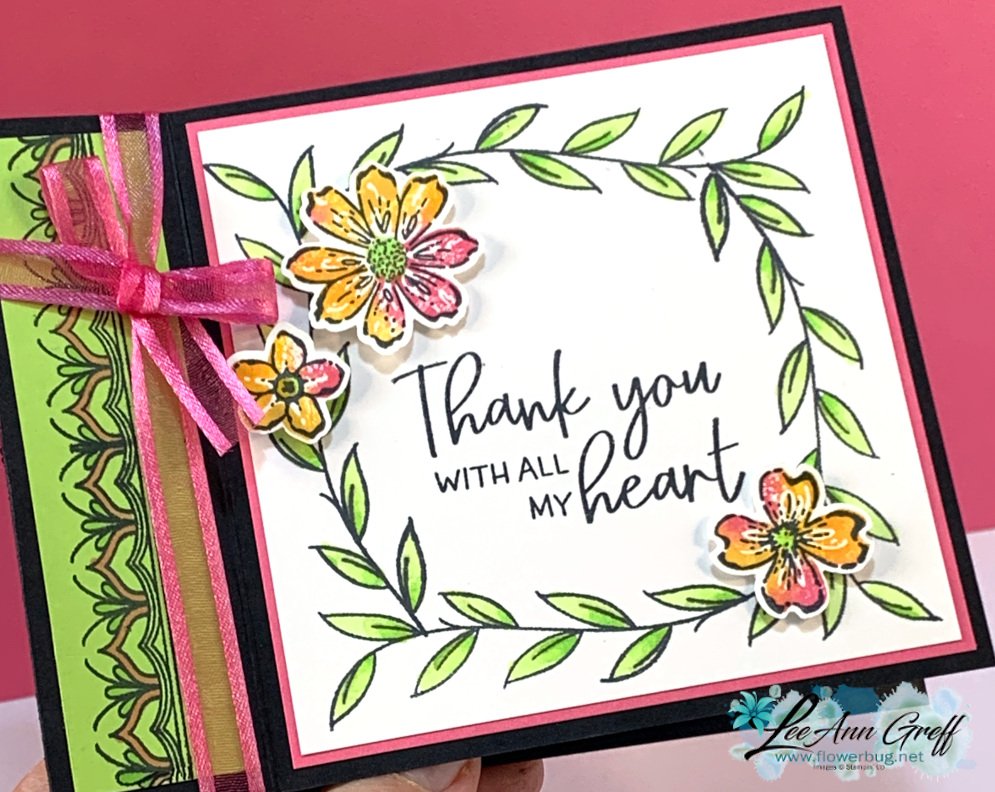
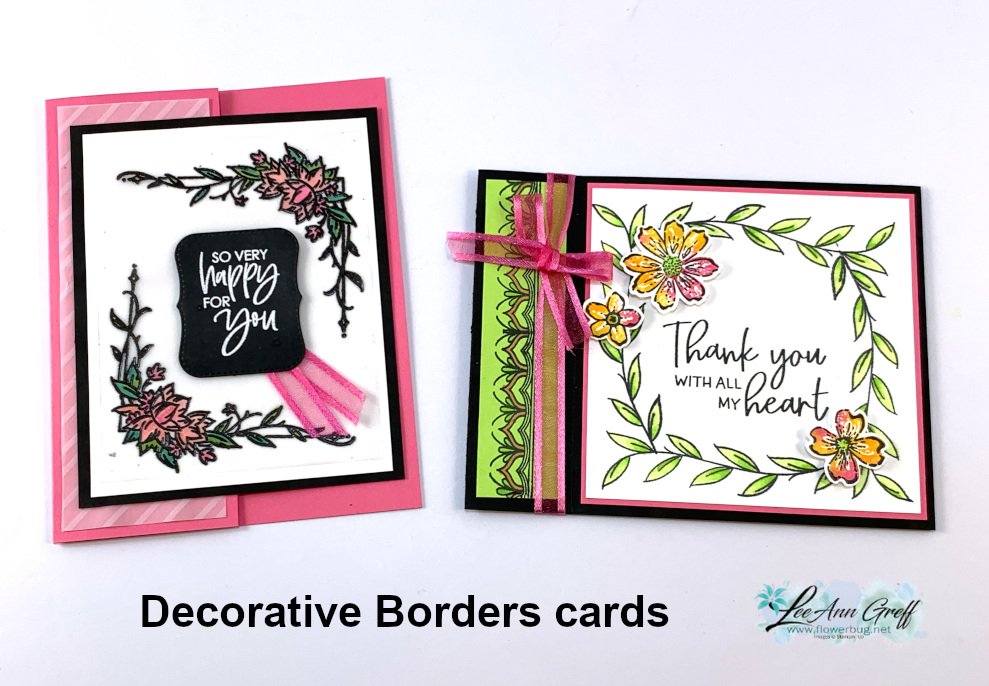
I shared this special card on a recent FB Live.  It features a few techniques and is a fun fold card too.  

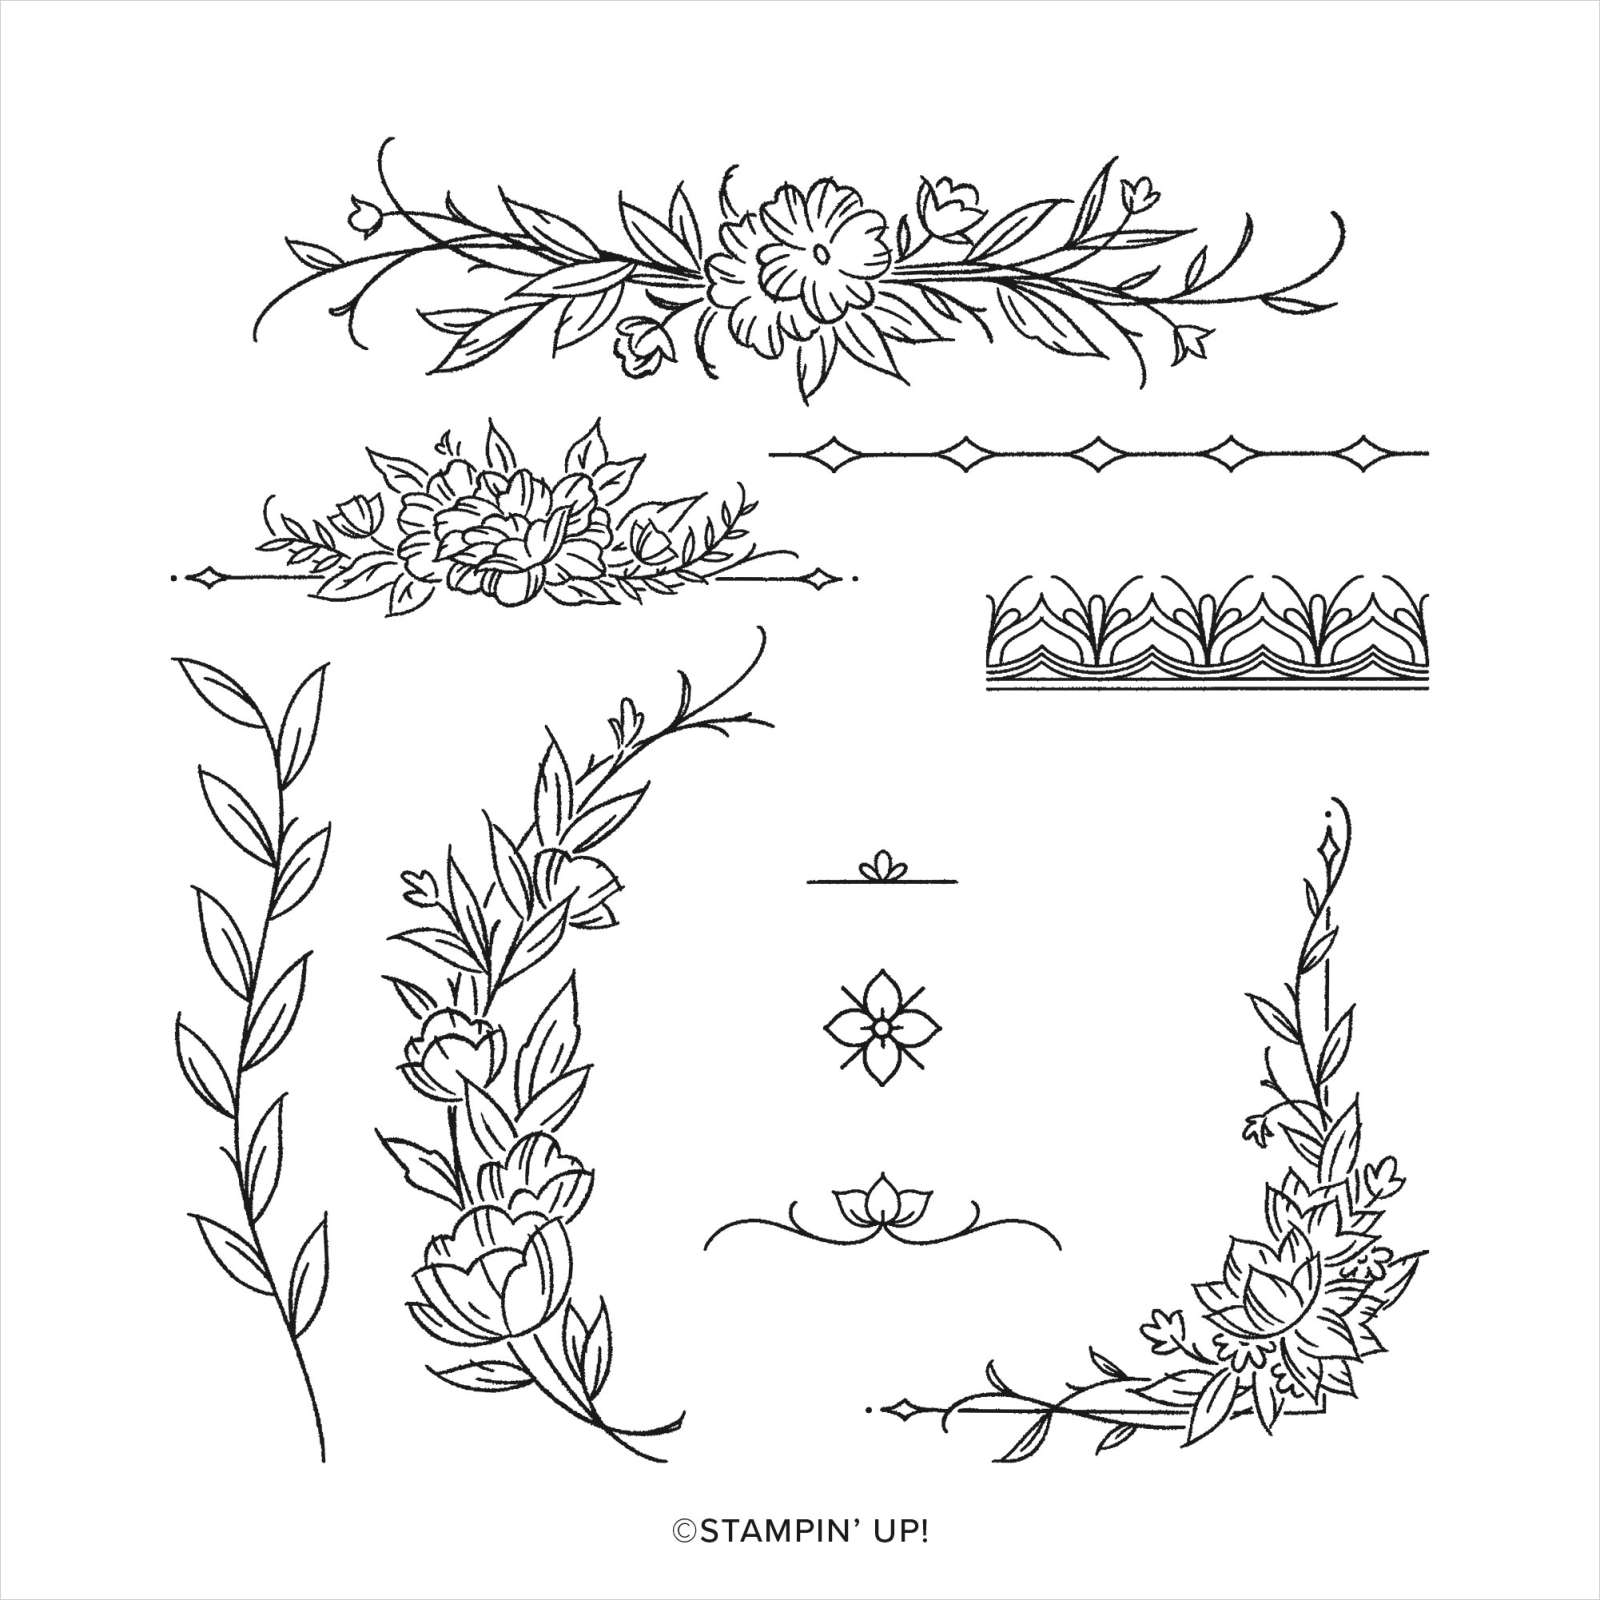
It's made with the Decorative Borders stamp set seen here; a new favorite! 
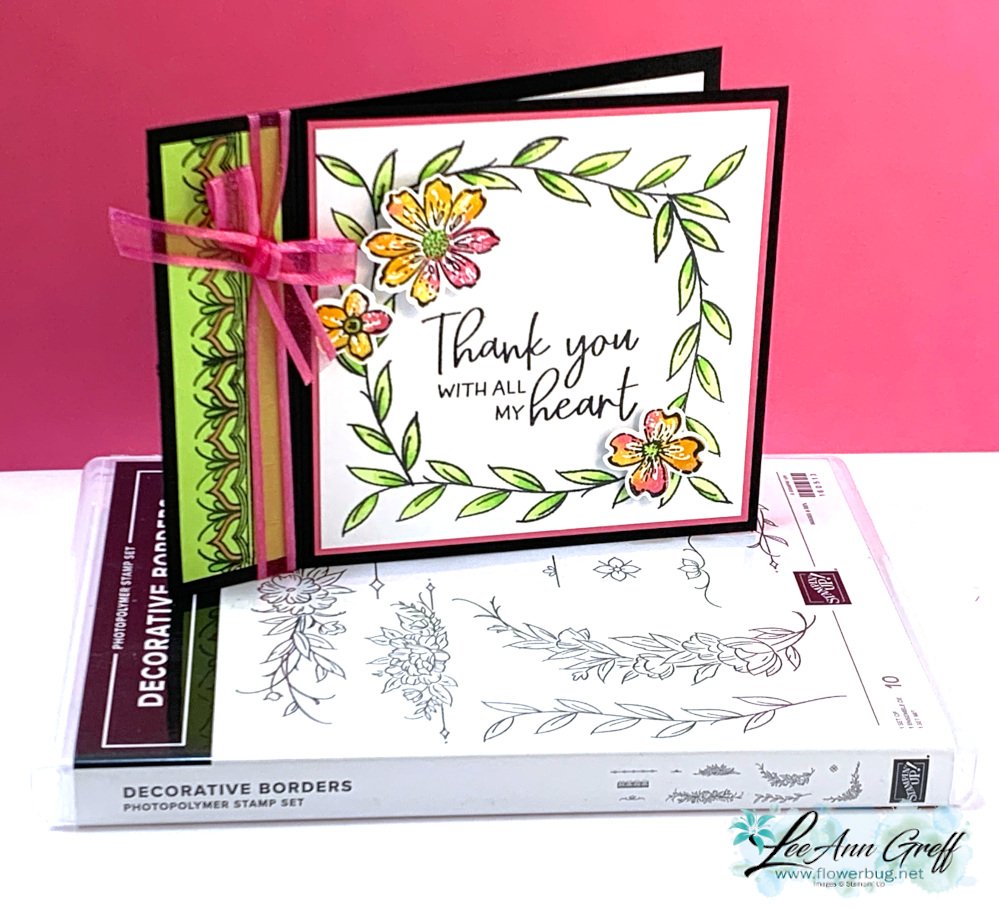
When I saw this pretty leaves image I thought of creating a frame with it.  I show how on the video below.

This book binding fold is so easy; it's just one extra fold line! 

Measurements:

  • Black card base 4 ¼” X 11” score at 4 ¼” & 5 ½”
  • White 3 7/8” square, inside is 4" square
  • Polished Pink 4”
  • Parakeet Party 1” X 4

I used my Stamparatus to create the pretty border on the Parakeet Party strip and a Baby Wipe technique for the colorful flowers. The leaves are colored with Blends markers; note the pretty shading!  Parakeet Party & Granny Apple Green blends.

The greeting is from the Framed Florets set seen here.

There are so many ways you might use this set; I share a few more in the video below.  It would be perfect to decorate your envelopes too! 
Here's how I finished the inside of the card. 
Click here or on the photo below to watch the video. 

~~~

March Specials:

See the new Online Exclusives here! 

*current host code:  TMJXFR2T or BFE4C2KM

Get a free class kit with online orders over $55 when using the host code above!

Earn free products with my loyalty rewards! 

Click here to download yours and earn a $50 shopping spree!
All Posts

  • Fun layout with brand new products! Video & free project sheet too.


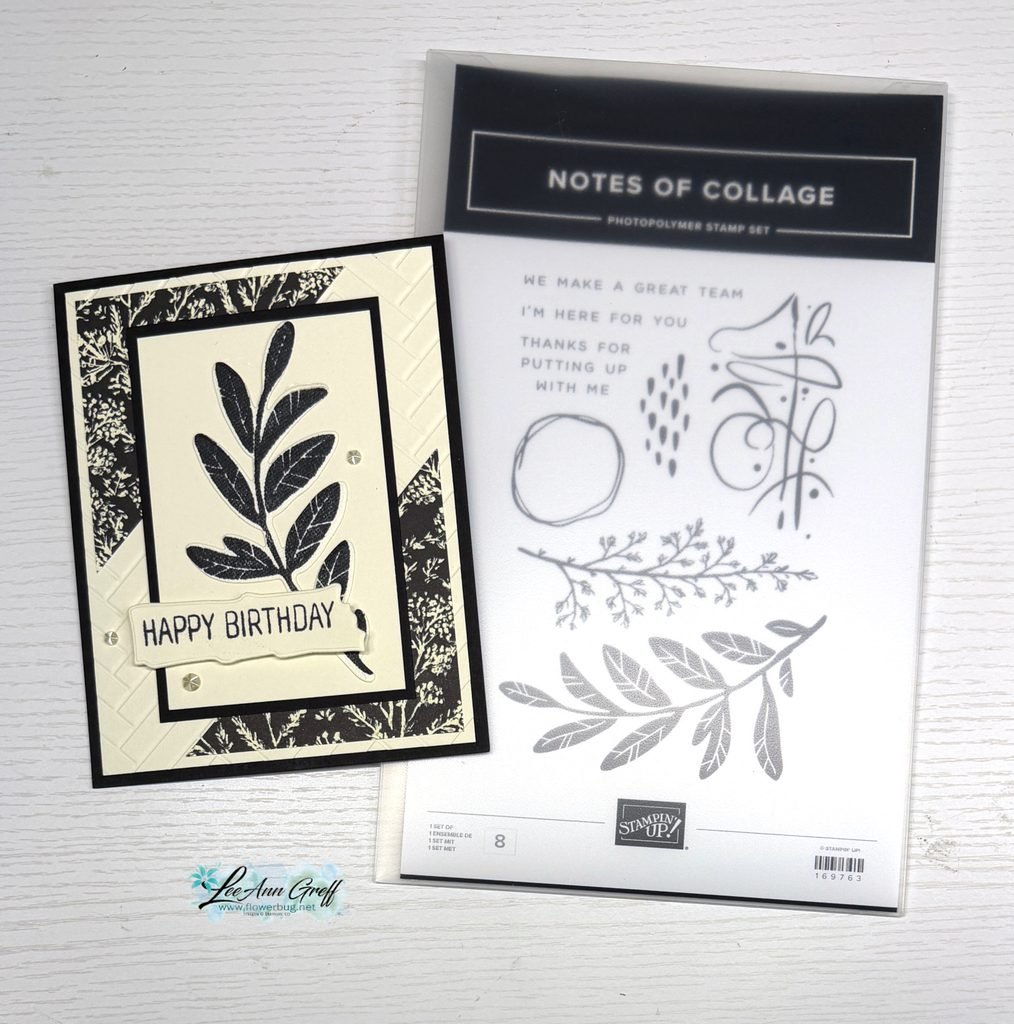
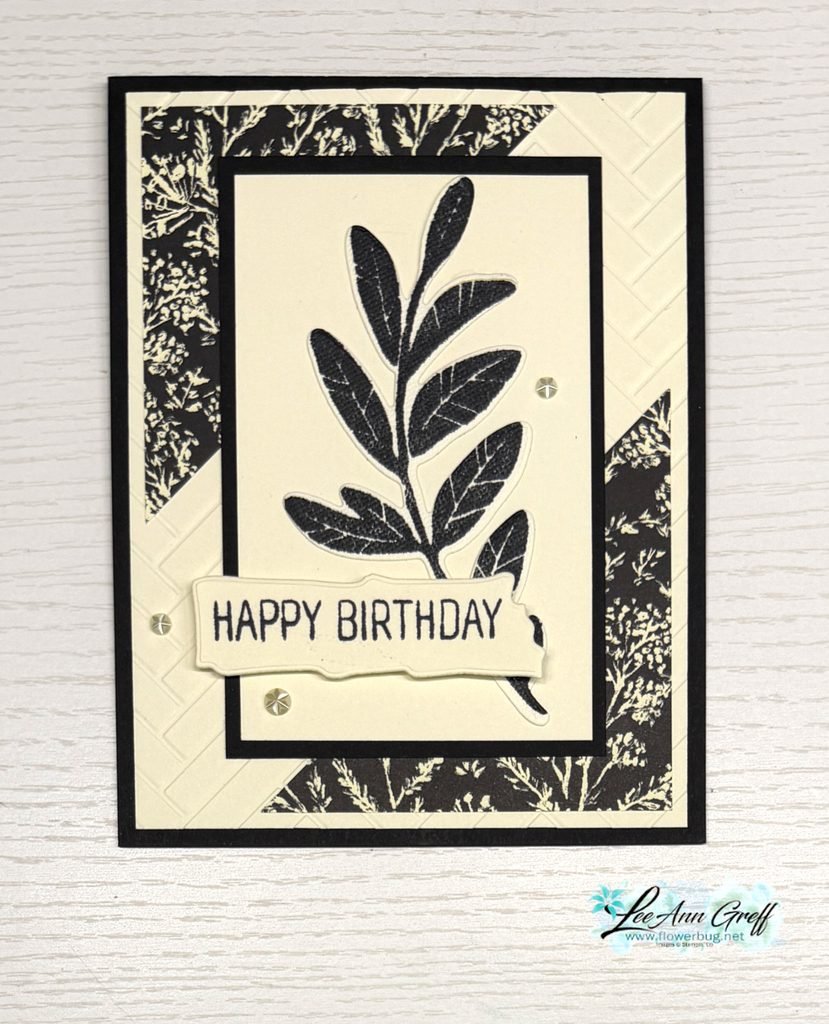
    I shared this pretty card on last week’s video. How classy is the Vanilla with Black?

    I made 20 of these for a recent online card swap. I love swapping!

    Look closely at the layout. You could easily adapt this to any designer paper or stamp/die set. I like the fact that you only need a 3″ square of designer paper. Besides saving on DSP, it give a little relief from what could be a busy background if you use a large layer of patterned paper.

    Check out that unique textured background; that’s the new Timeless Herringbone embossing folder.

    This is created with products from two brand new suites. The bundle is called Notes of Collage and the designer paper is Somewhere in Time. Both will be available for everyone starting November 1st.

    That unique greeting die-cut is included in the Notes of Collage bundle.

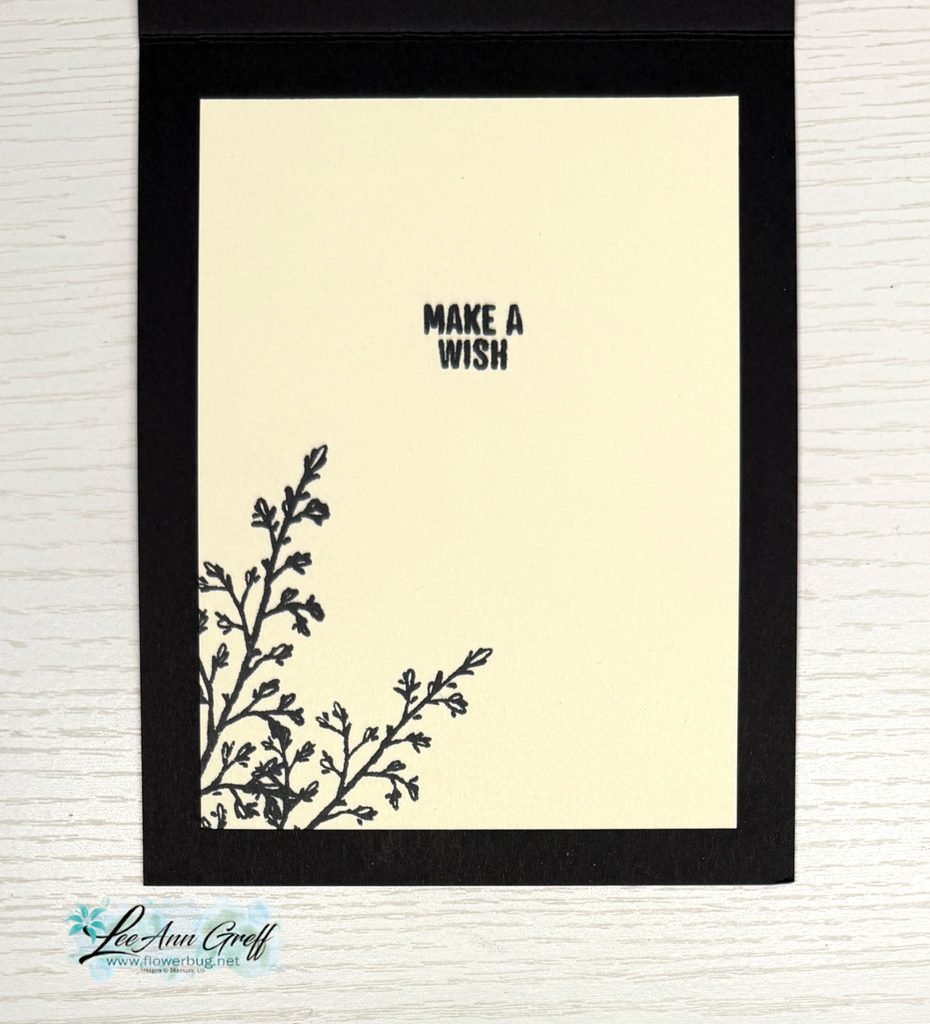
    Here’s how I stamped the inside:

    I created a free project sheet with measurements for you. Click here to download or print it.

    And below is the video tutorial for you.

    November Specials:

    November Specials:

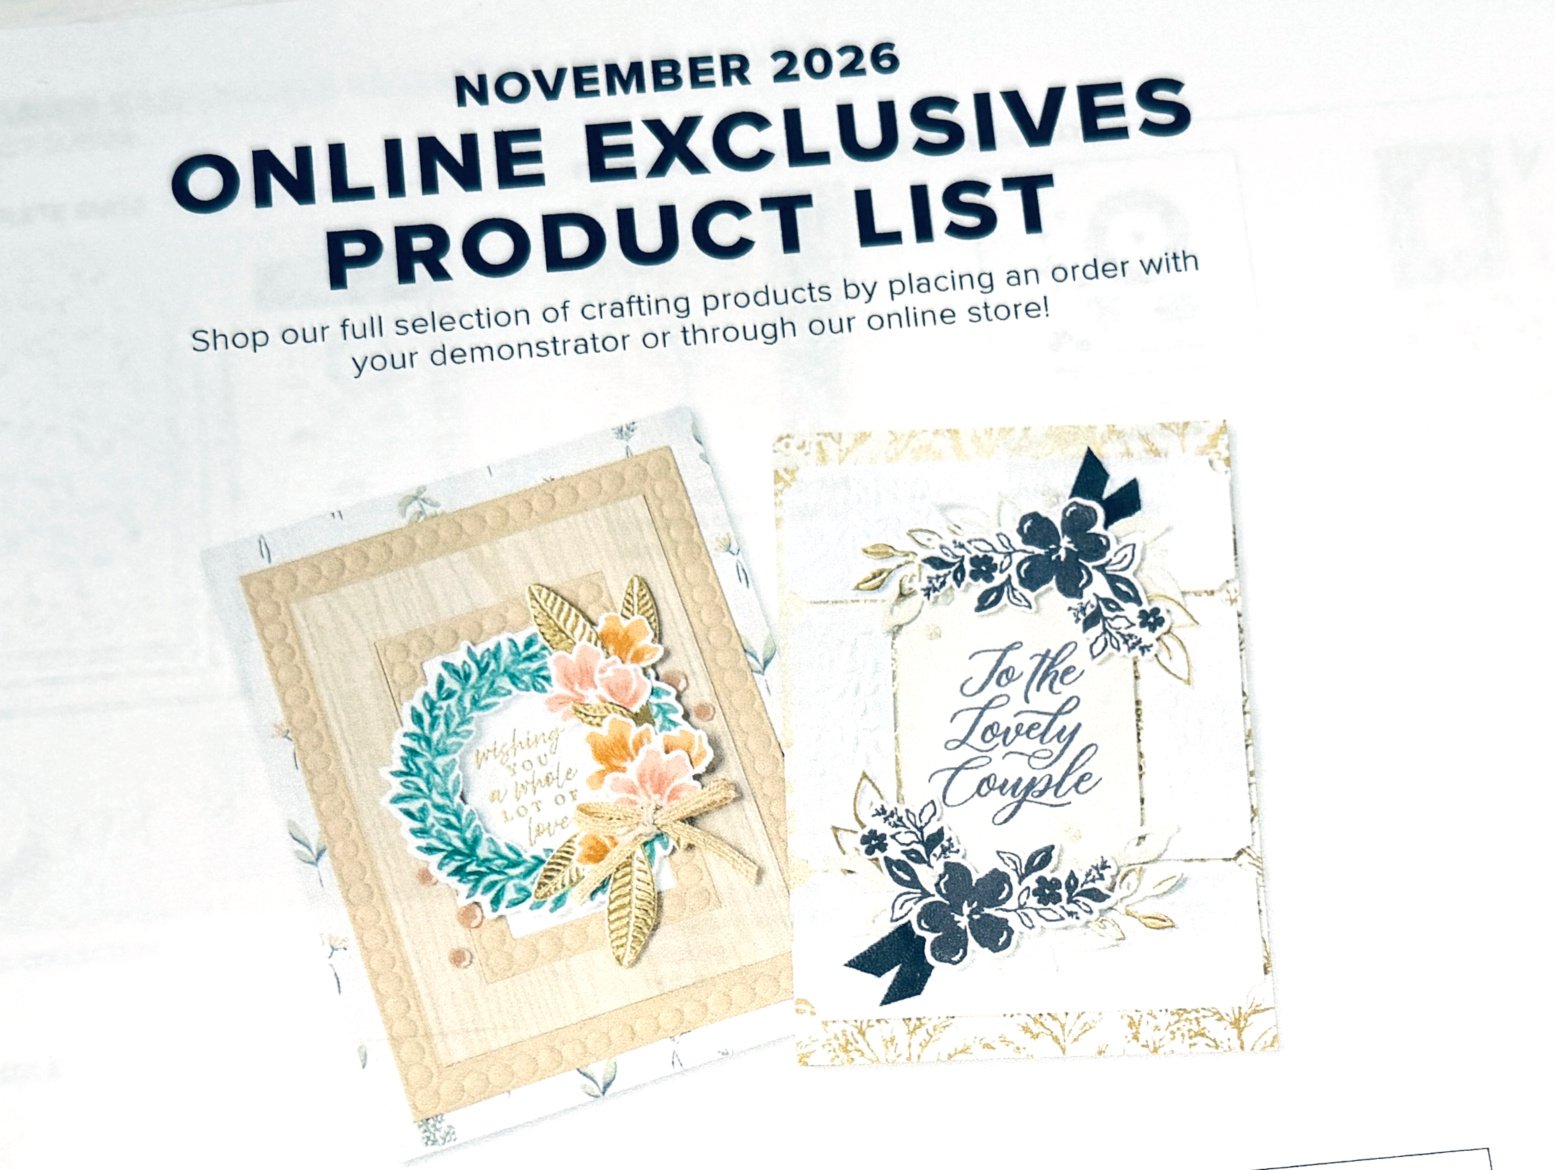
    The November Online Exclusive products are now available! See them all here.

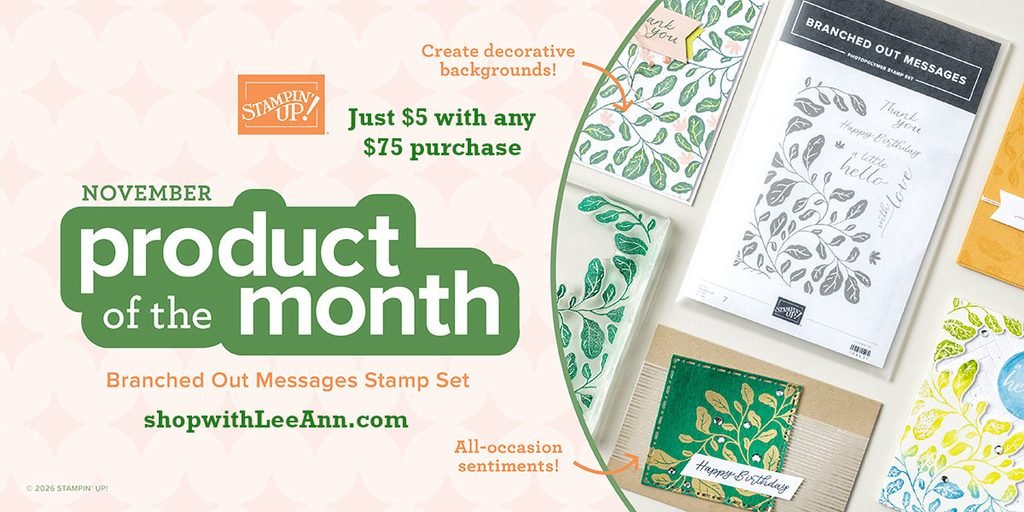
    The newest product of the month is the Branched Out Messages stamp set; it’s just $75 with a $75 minimum order.

    Get a free card kit from me with any order of $50 or more!

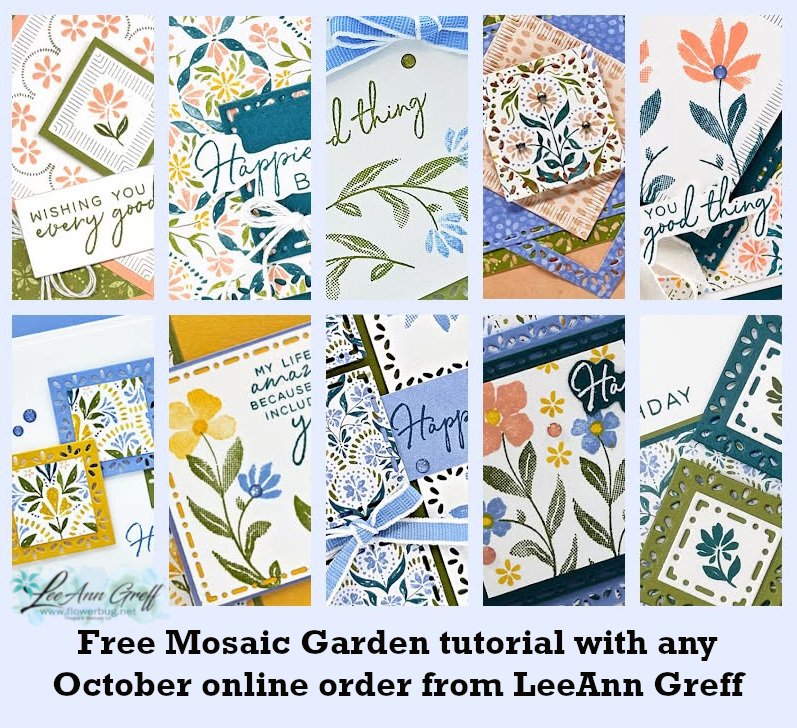
    The Mosaic Garden suite is gorgeous! Get this PDF tutorial free with ANY online order!

    Leave a Reply

    Your email address will not be published. Required fields are marked *

  • Sharing Halloween cards today!


    My Team swap theme was fall or Halloween cards. So just in time for tomorrow’s spooky day here are some of my Team’s creations:

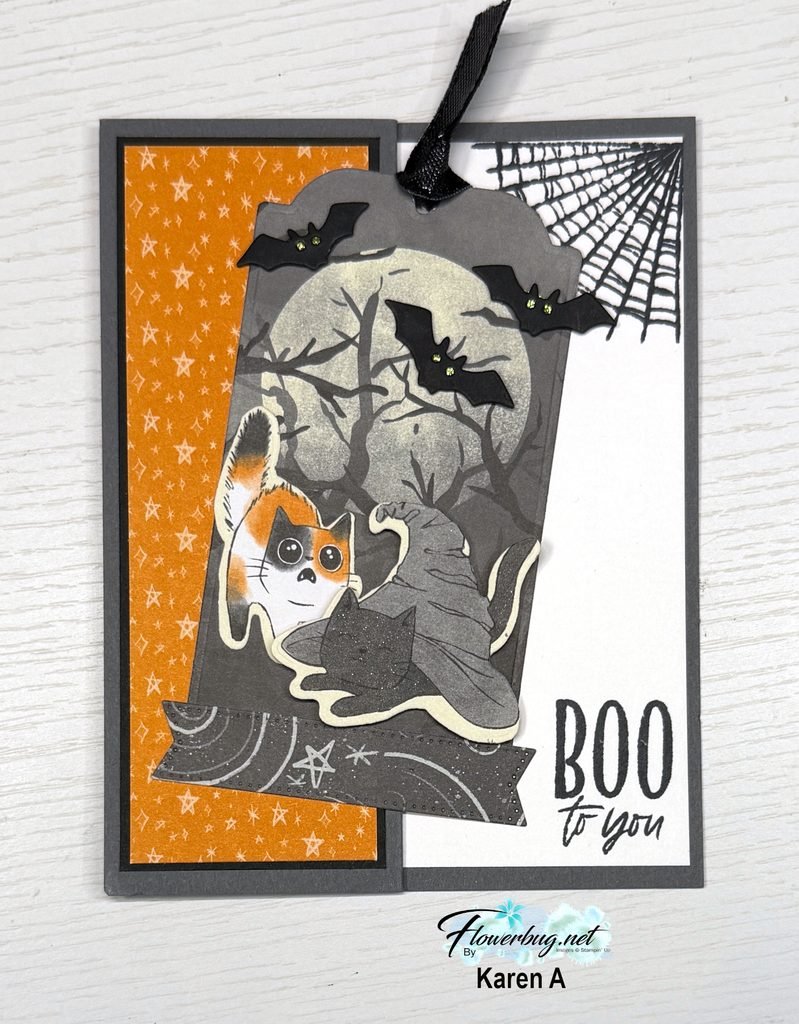
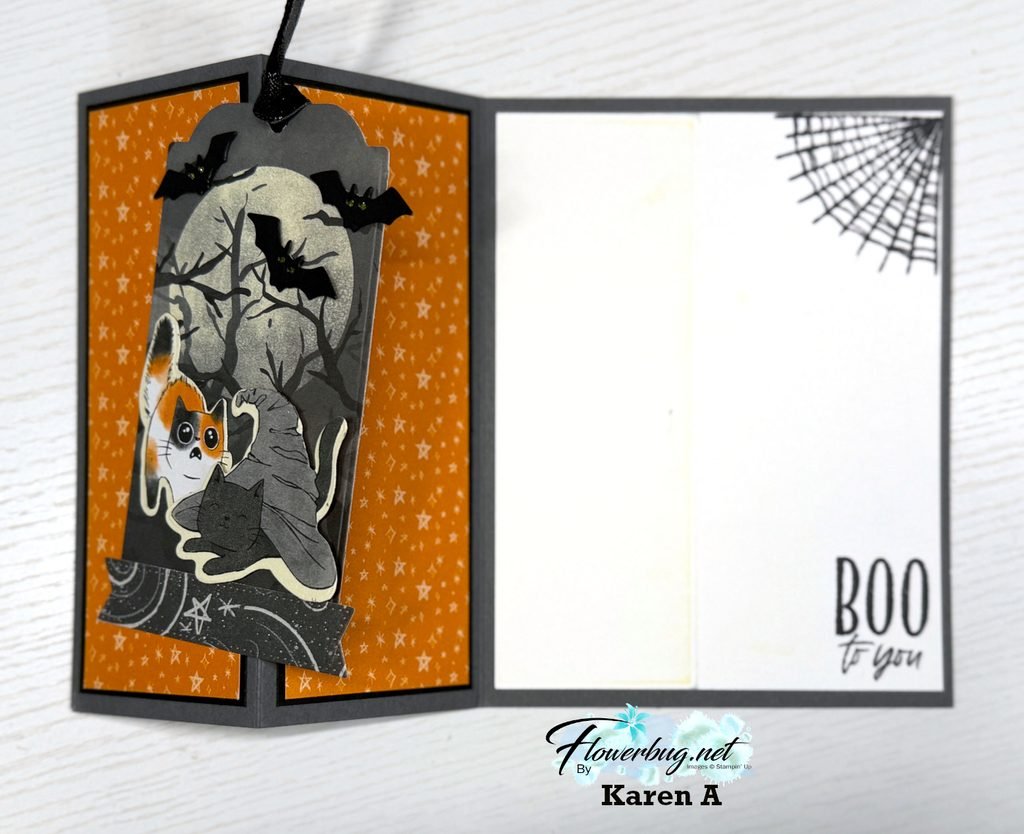
    First is Karen’s card:

    She featured the Oh My Fright bundle and the Frightfully Times DSP here. That DSP tag is a die-cut included in the bundle. It’s a fun fold; here’s the view when opened:

    The tag is adhered to just the front panel. Love the spiderweb and greeting that shows from the front AND the inside.

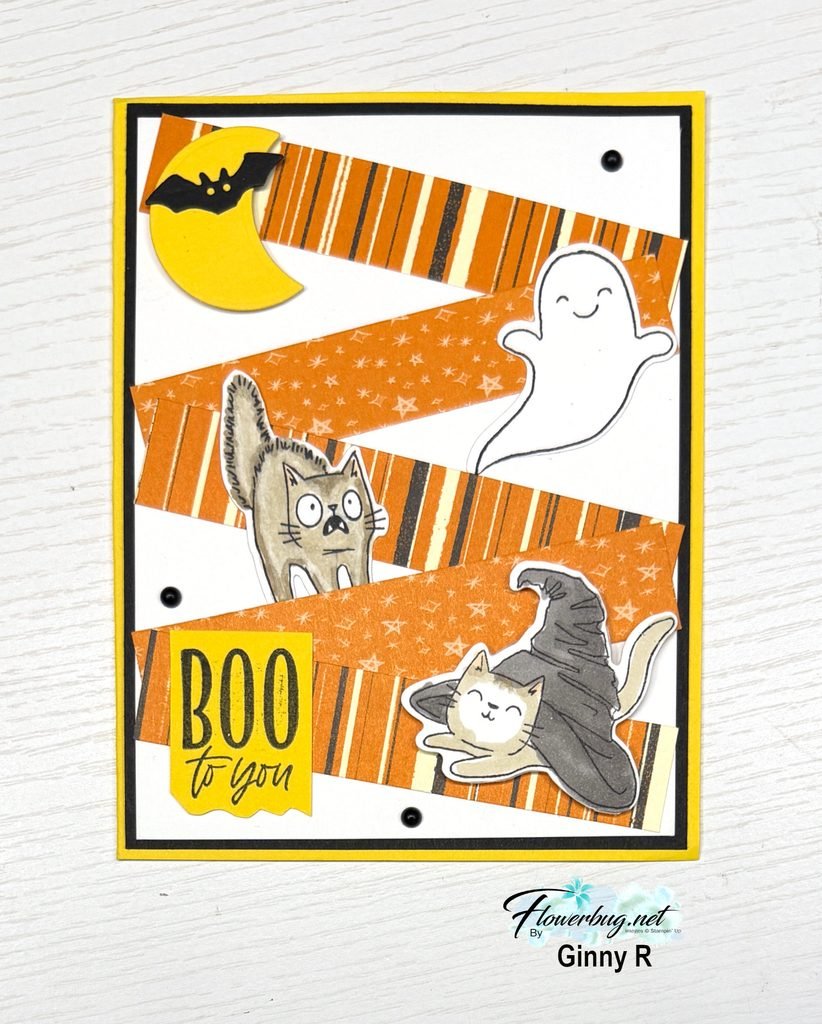
    Next is Ginny’s card; she used the same products but is totally different!

    Isn’t this a neat way to add the die-cut critters? Those 3/4″ strips of DSP placed at angles is fun! She’s a cat lover so this is totally her!

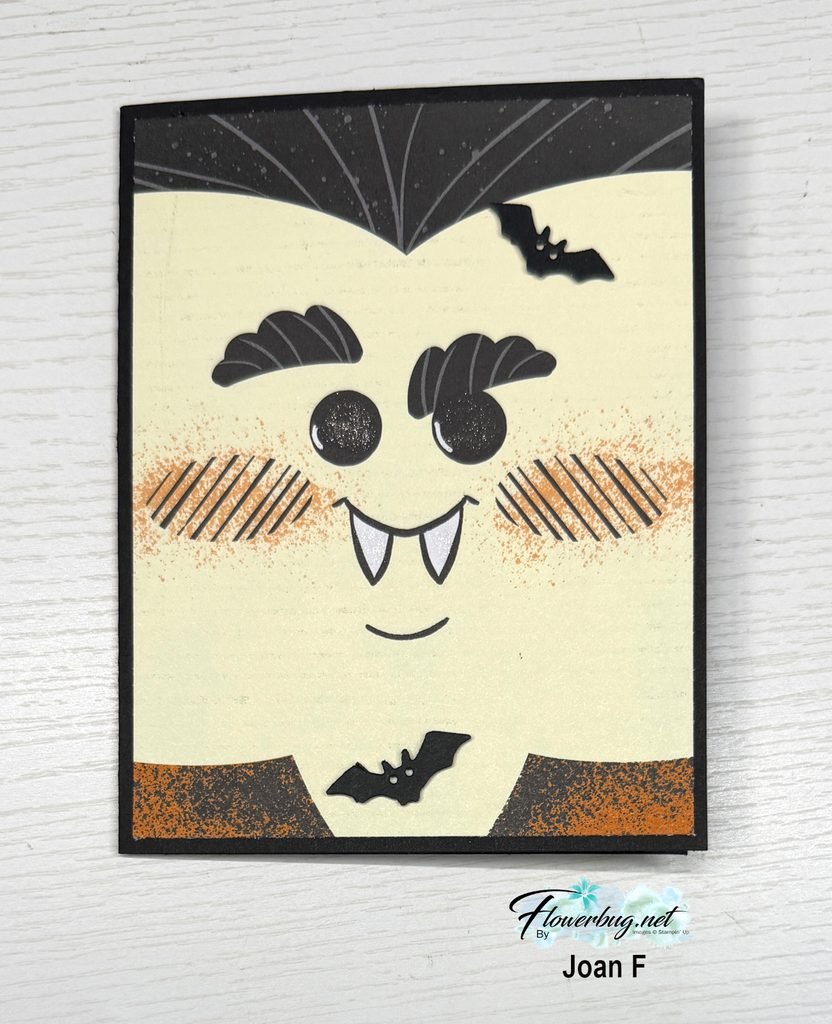
    Next is Joan’s card who created a fun fold layout. It looks pretty normal from the front…

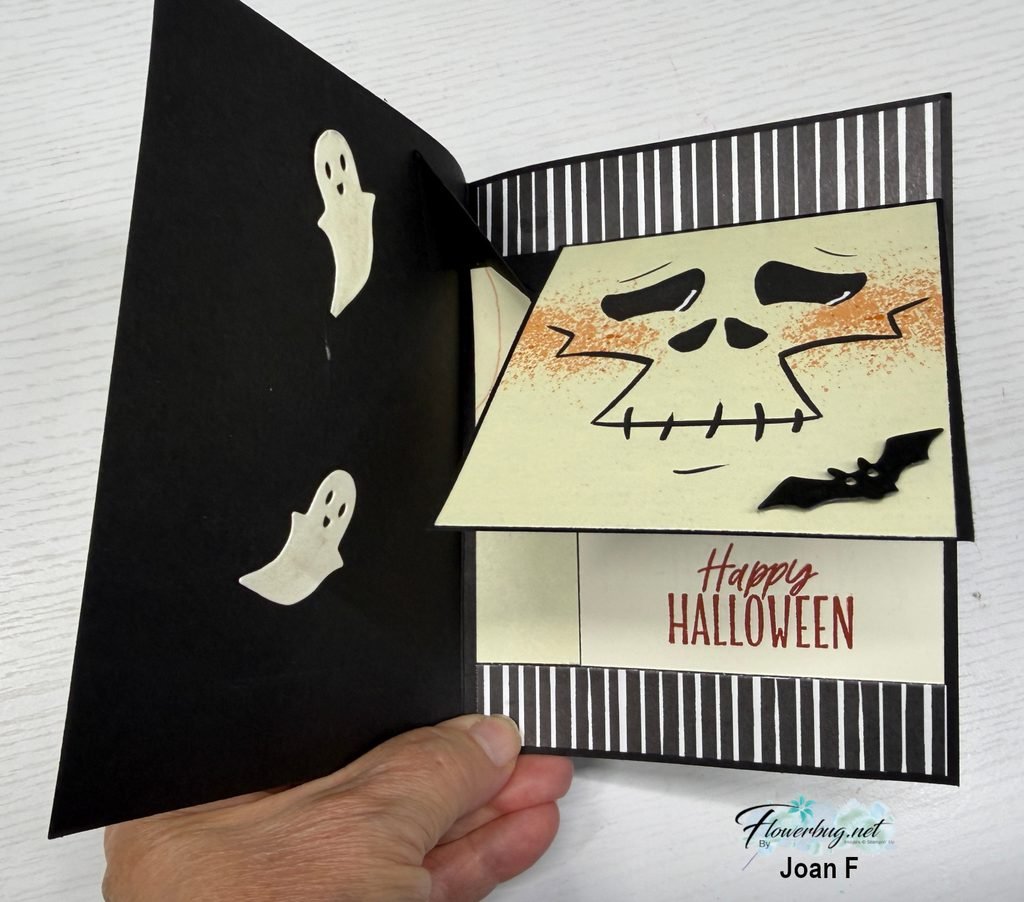
    But here’s how the inside opens:

    She added a scored and folded mechanism that pops up the inside panel when opened. I cannot give measurements for this but maybe I’ll demo it on a video soon.

    Here DSP is called Spooktacular 6 X 6″ DSP but it has sold out. The stamps and dies are from the Oh My Fright bundle seen here.

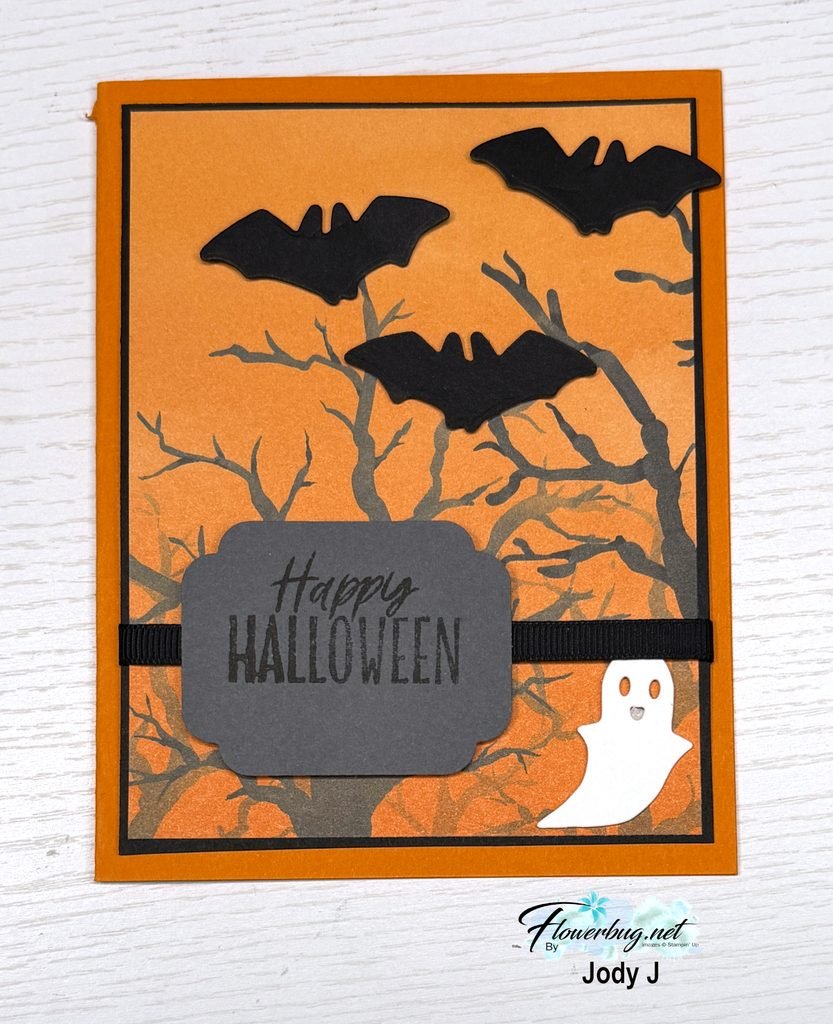
    Lastly is Jody’s card that features this same bundle and the Frightfully Fun DSP.

    She used the new Advent Labels punch for her greeting. See that punch here.

    Thanks for stopping in today. I hope you enjoy your Halloween tomorrow!

    I’ll share more Team swaps next week. Stay tuned!

    Leave a Reply

    Your email address will not be published. Required fields are marked *

  • 5 fast Christmas cards with my 5 at a time templates!


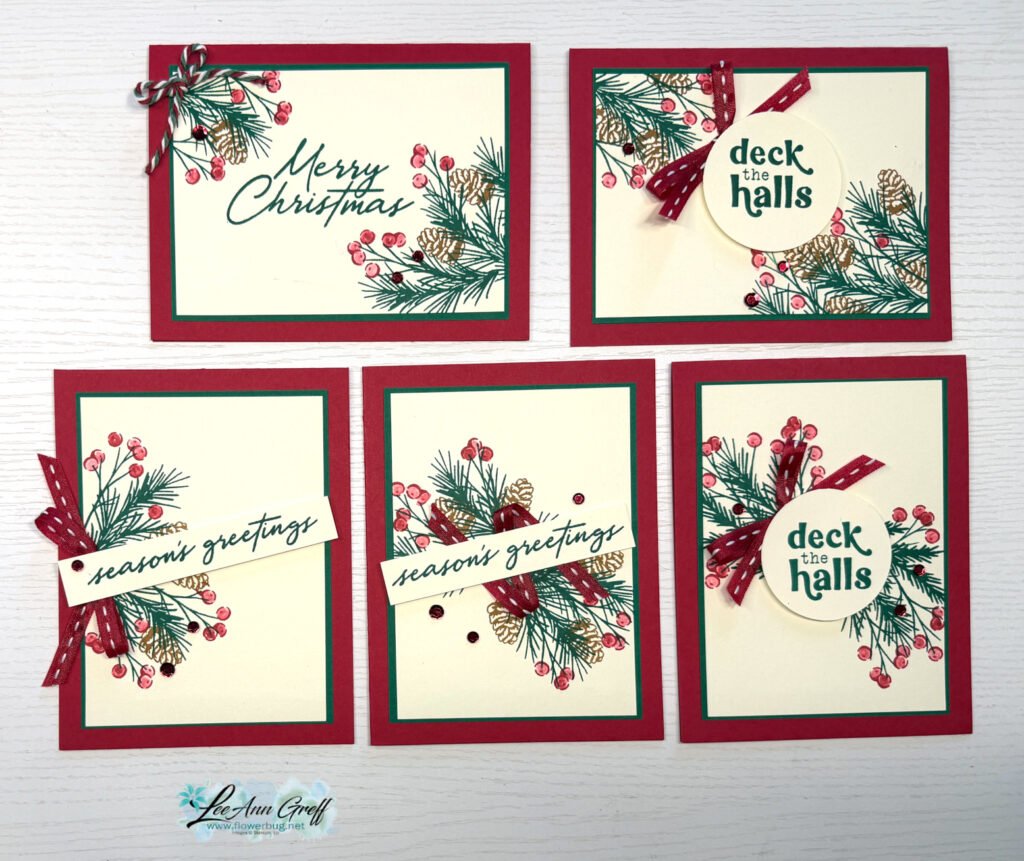
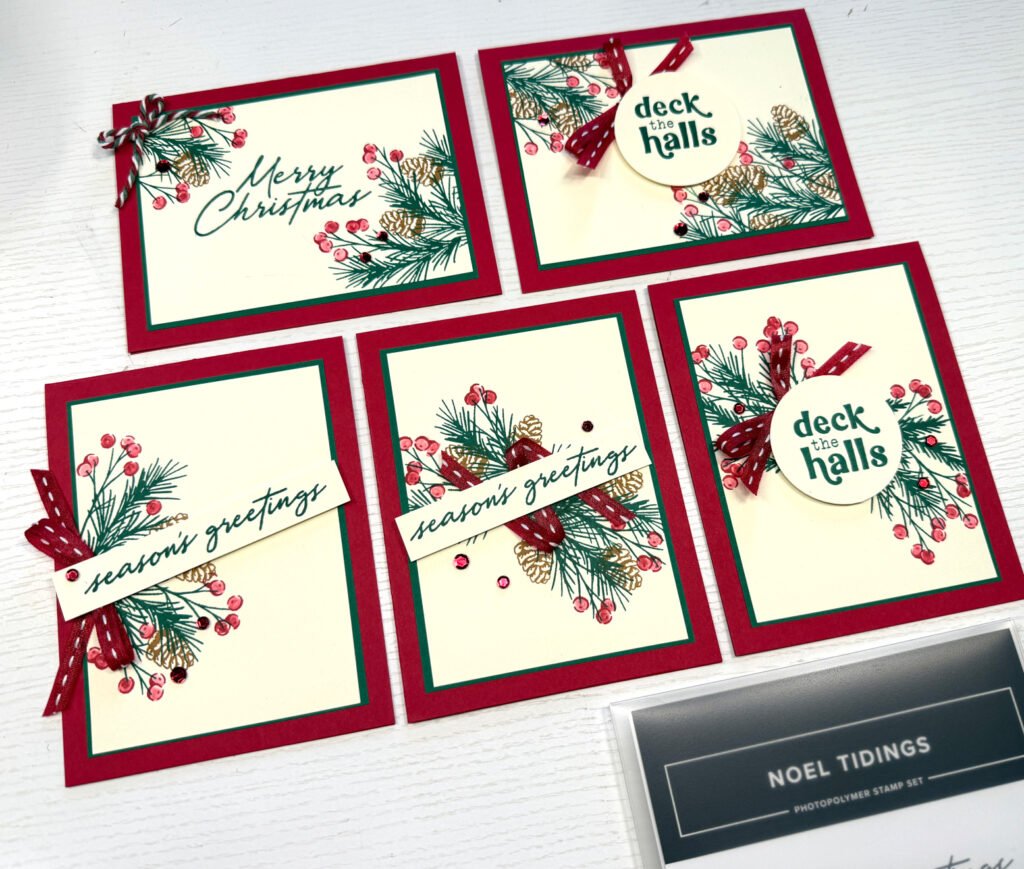
    And today I’ll share the 3rd group of ‘5 at a time’ cards from my video last week. This time I went with a Holiday theme!

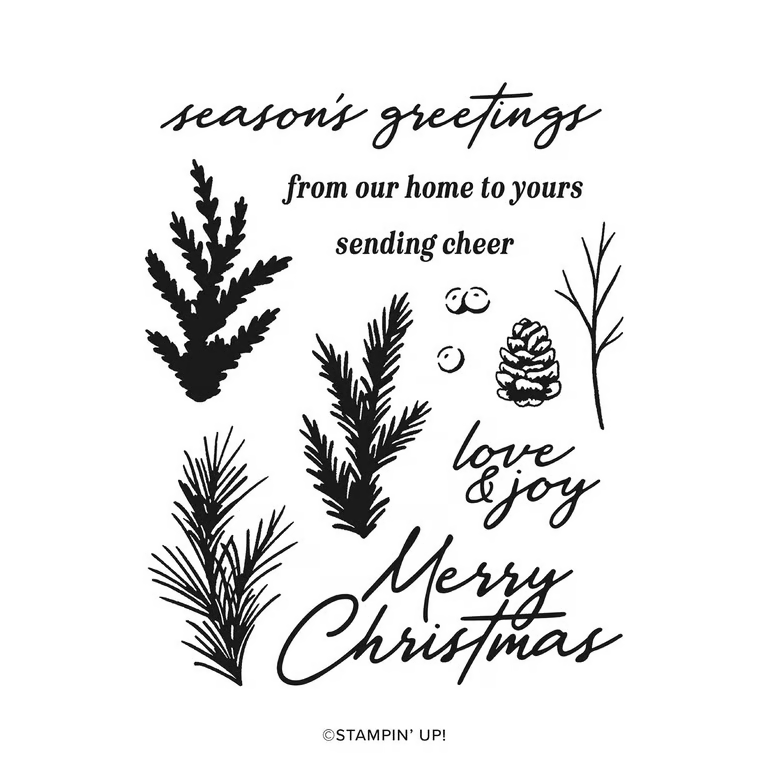
    My colors include Cherry Cobbler, Shaded Spruce, Pecan Pie and Very Vanilla. The Noel Tidings stamp set seen here has everything you need to create pretty card fronts or backgrounds for your holiday cards.

    There is a beautiful set of dies that coordinate with this stamp set. See the bundle here. The dies are currently out of stock; but you can add your email address to the product to be notified when it becomes available.

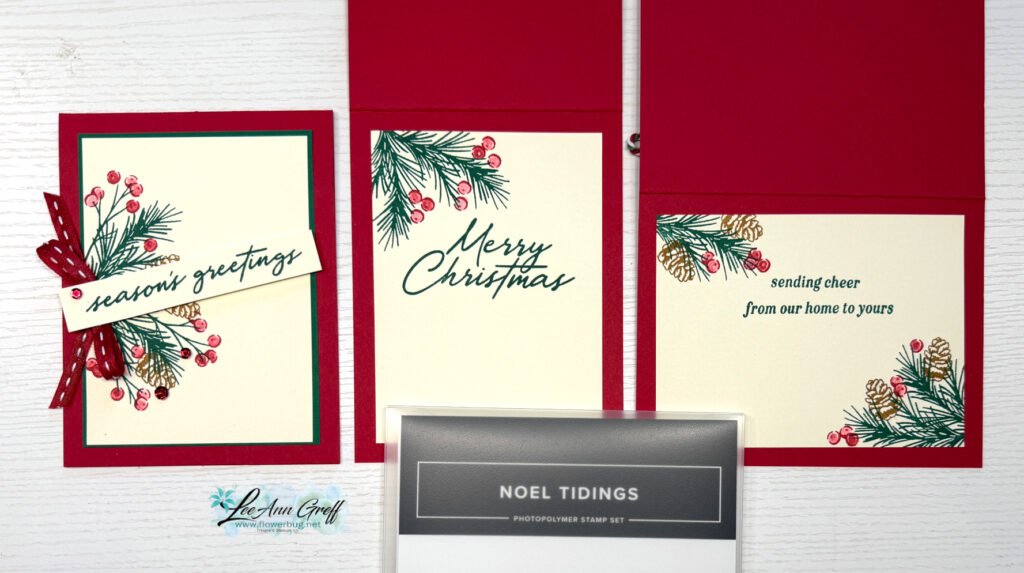
    Below you can see how I stamped the inside layers.

    Both of these templates are included in the free project sheet I created. Click here to print or download it.

    I’ll be proud to send these cards to my family and friends this Christmas.

    Below is the video tutorial for these cards; you can watch me stamp them and get my tips for coloring the berries with a blender pen too.

    The Starter kit deal ends on Saturday! I hope you’ll consider joining my team and taking advantage of the continual discount on all future Stampin’ Up! products!

    Click here to get the deal!!

    Leave a Reply

    Your email address will not be published. Required fields are marked *


Notice: LeeAnn Greff, Independent Stampin’ Up! Demonstrator, Manager. The content of this website is my sole responsibility as an independent Stampin’ Up! demonstrator and the use of, and content of, the classes, services, or products offered on this website is not endorsed by Stampin’ Up! Copyright 2025