/


Latest Post

Cute Little Ladybug projects!


I created some adorable projects on my Facebook Live this week with the Little Ladybug's stamp set!  Check it out here.  Every Tuesday at 11 am CT I'm Live here.  **Although it will be on Wednesday, January 22nd next week instead.

We made them at my Flowerbug's Team meeting on Saturday too. 

The Little Ladybug stamp is found at the back of the Sale-a-Bration catalog.  It's FREE with any $300 order.  Tomorrow I'll share ideas on how you can earn it yourself. 

Or place an order with me during January and get in on the prize drawing for one lucky person who will get this stamp set free!   


The card above on the left was made by my friend Susie Wood; it's a spinner card!  I loved it so much I had to make one.  I'll share the details on that card tomorrow and another card next week. 

I used punches to create the windows on this card from the 5 1/4" X 4" Black CS; it's really a great way to highlight your images.  Sometimes I struggle with smaller images; just what do you do with them to create a great card?! 

You could use anything in the windows; greetings, flowers, critters – the sky's the limit!  Look at your stamps in a whole new way! 

Did you notice the 'fussy cut' greetings?  I have a tip for you!  Save the paper backing on your red rubber stamps and use it as an outline to trace over your stamped greeting.  Or if you didn't save it, trace the main rubber stamp itself.  Save the template in your stamp case for repeated use. 

~~~

Three January Specials just for you! 

1. All January online orders will earn a ticket in the drawing for a free Little Ladybug stamp set!

2. All online orders will receive a 10 cards pdf tutorial in an email.


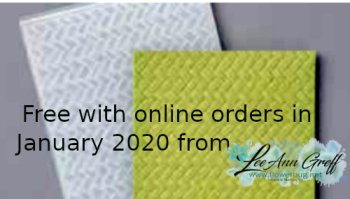
3. And if your order is over $65 you'll get a free Coastal Weave embossing folder too!

January Host Code is GEEFZCZV
Order online here

All Posts

  • Dragonfly Garden Quick Fun-fold Card with video!


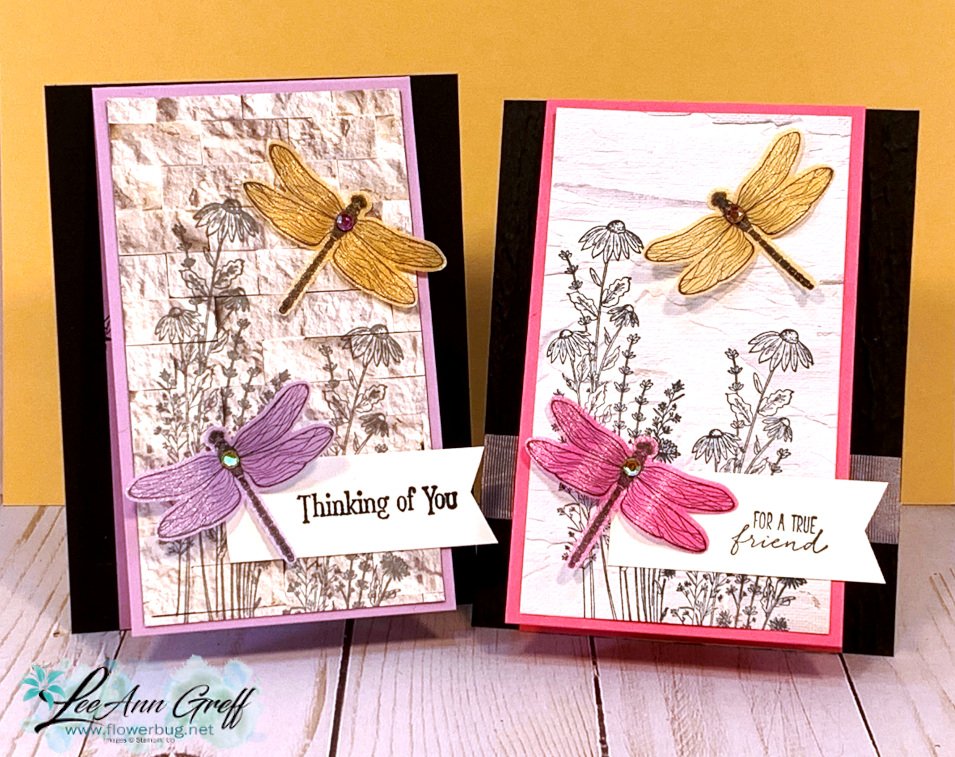
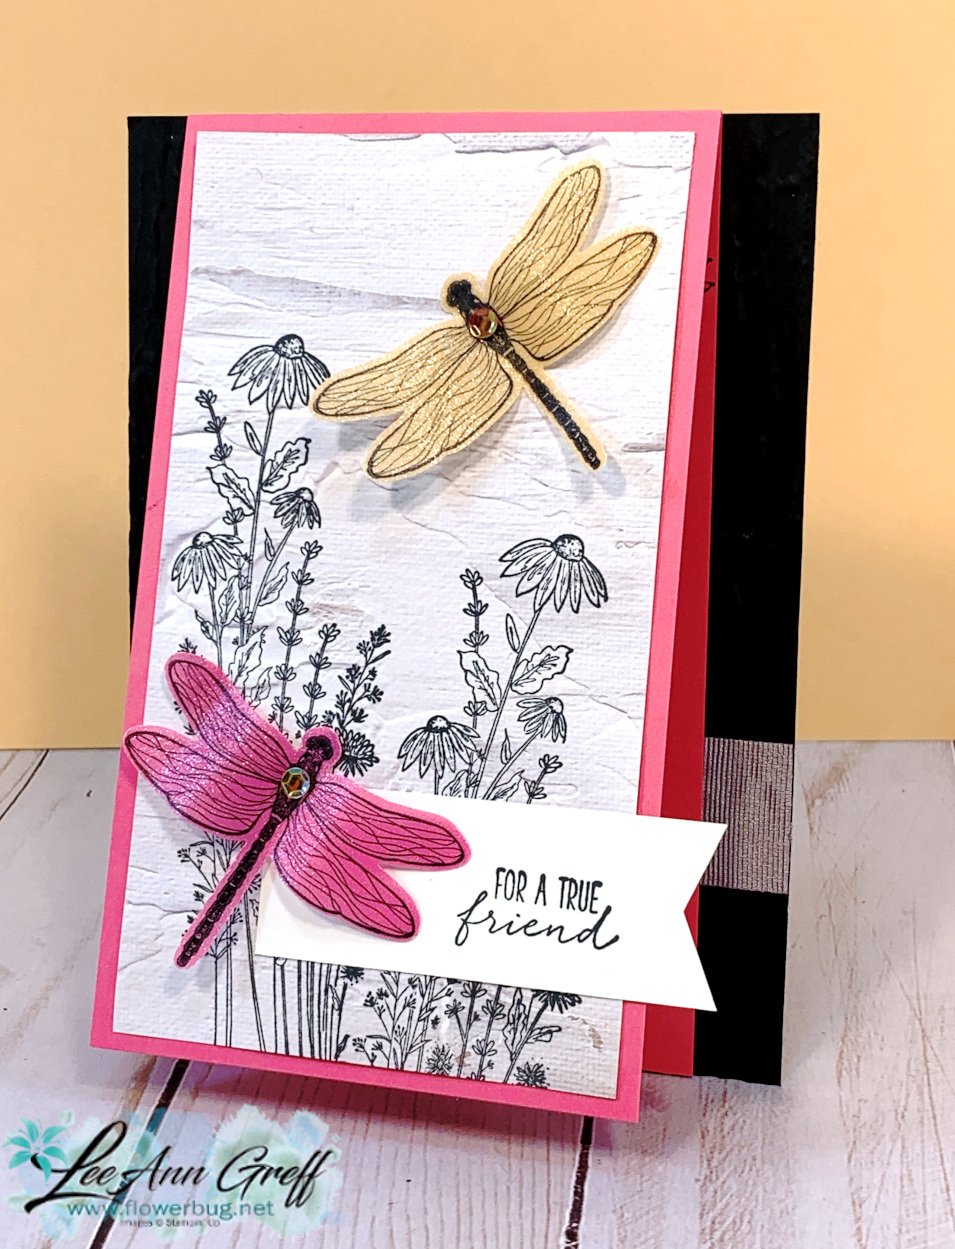
    We made this pretty dragonfly card at last month's Card Clubs.  

    I knew I wanted to use the new In Color shimmer vellum and thought the Dragonflies punch would work perfectly.  It sure did!  I wish you could see the shimmer in person; it's beautiful! 

    They had a choice of Polished Pink or Fresh Freesia for their card and could punch a variety of colors for their dragonflies.  

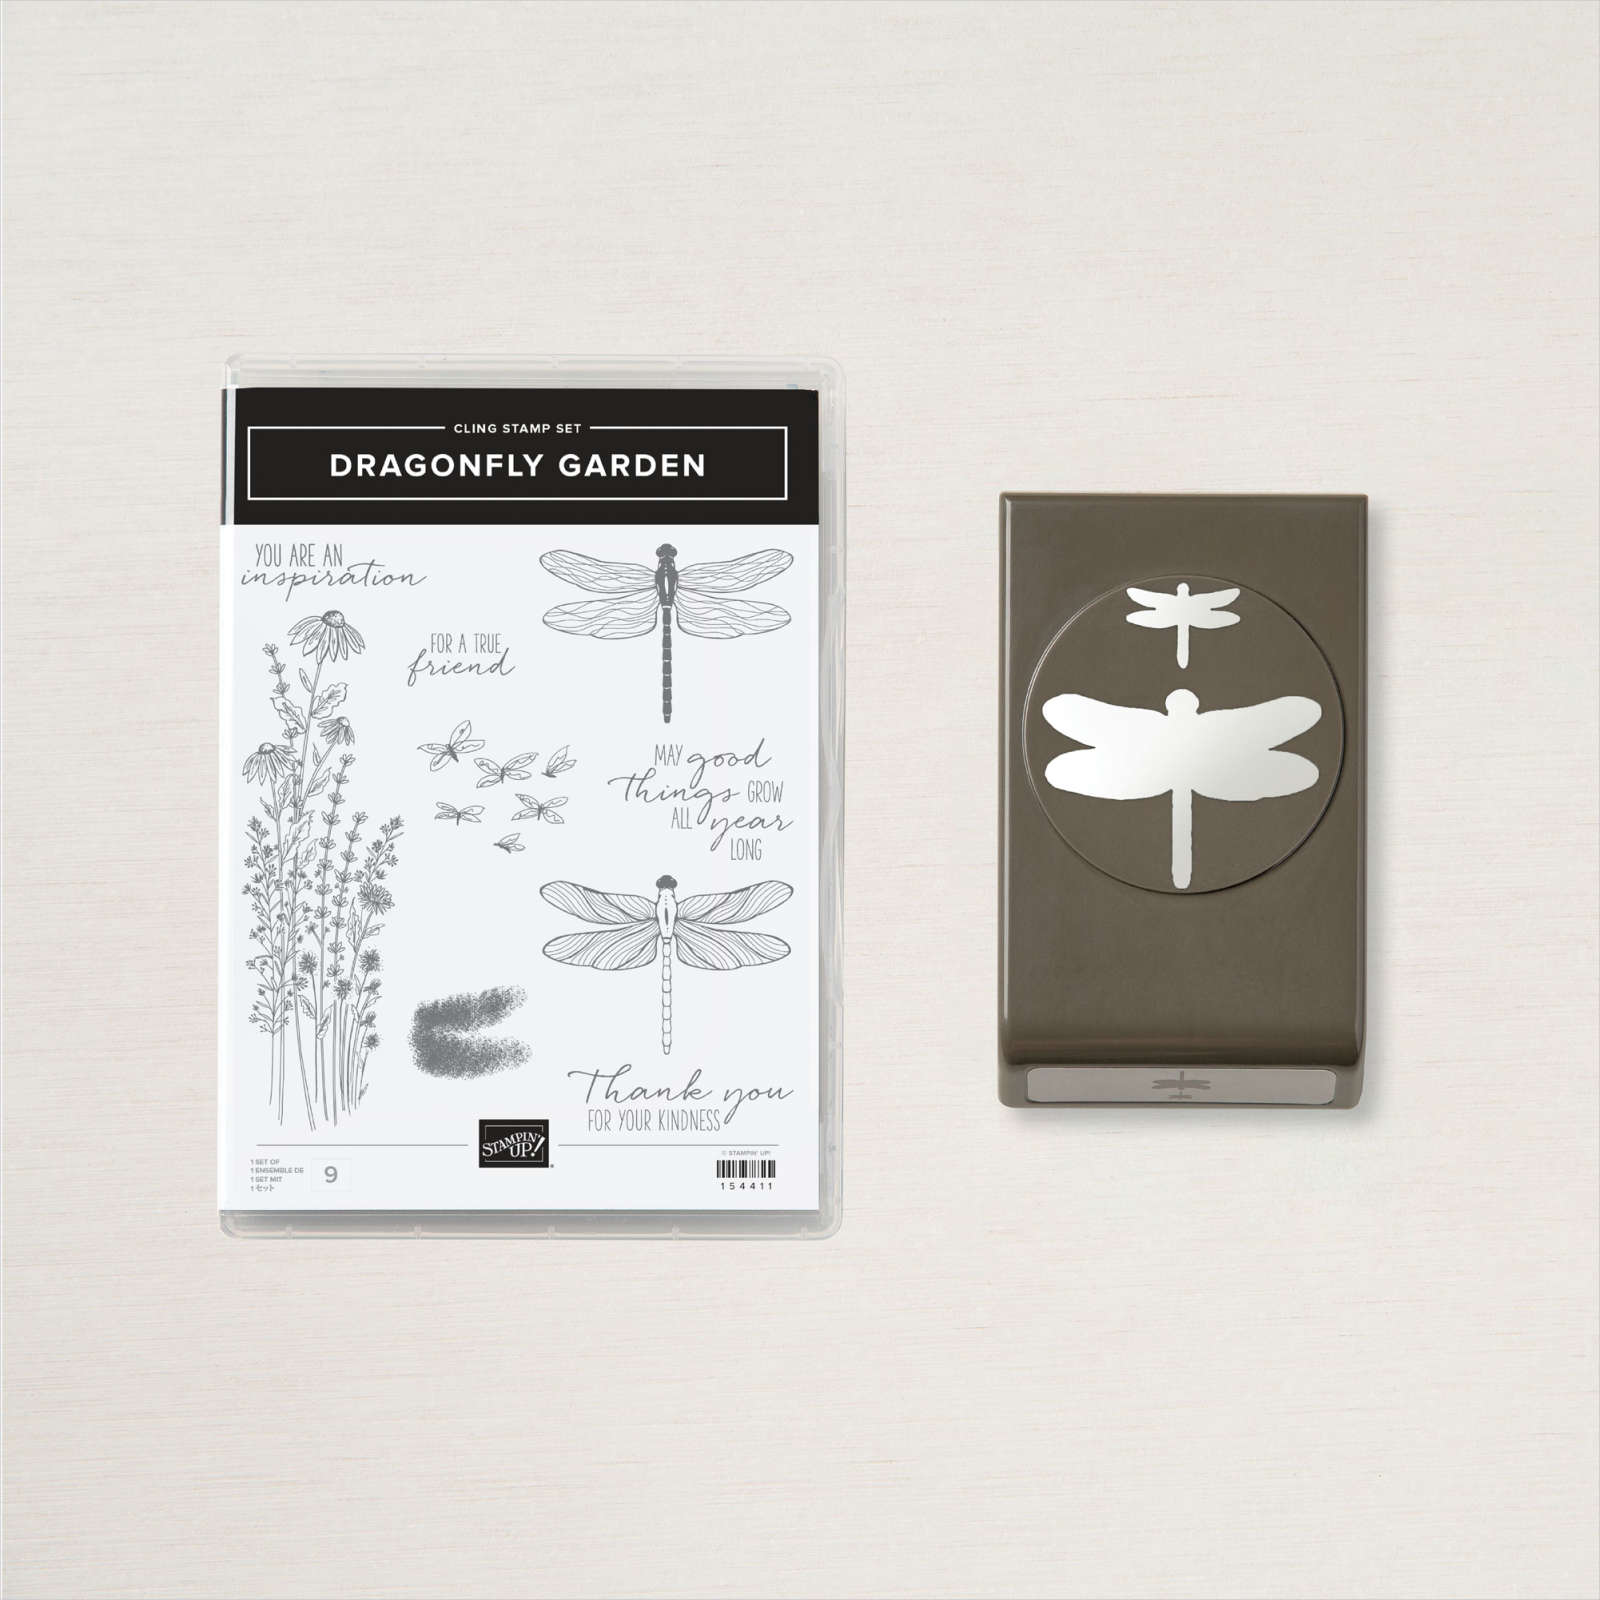
    We used the Dragonfly Garden stamp set which is bundled with the Dragonflies punch in the bundle seen here. See how the wings are curled?  The bone folder works beautifully for this.  *Watch the video below to see how it's done. 

    Tip: I recommend using Stazon Black ink when stamping on the vellum so it dries quickly. Vellum paper doesn't 'absorb' ink easily so it can stay wet a long time. 

    Below are the measurements for you and Download May Dragonfly Garden fun fold here

    • Black base 4 1/4" X 5 1/2"
      Fresh Freesia or Polished Pink 3 1/4" X 11" scored at 5 1/2"
      In Good Taste Designer paper 3" X 5 1/4"
      White strip 1" X 3"
      Shimmer Vellum scraps for Dragonfly punches

    Click on the photo below to watch the short video. 

    June Specials:

    The last chance list is out!  Check out the retiring and discounted products here. 


    Host code: MMCUKBSX  Click here to order

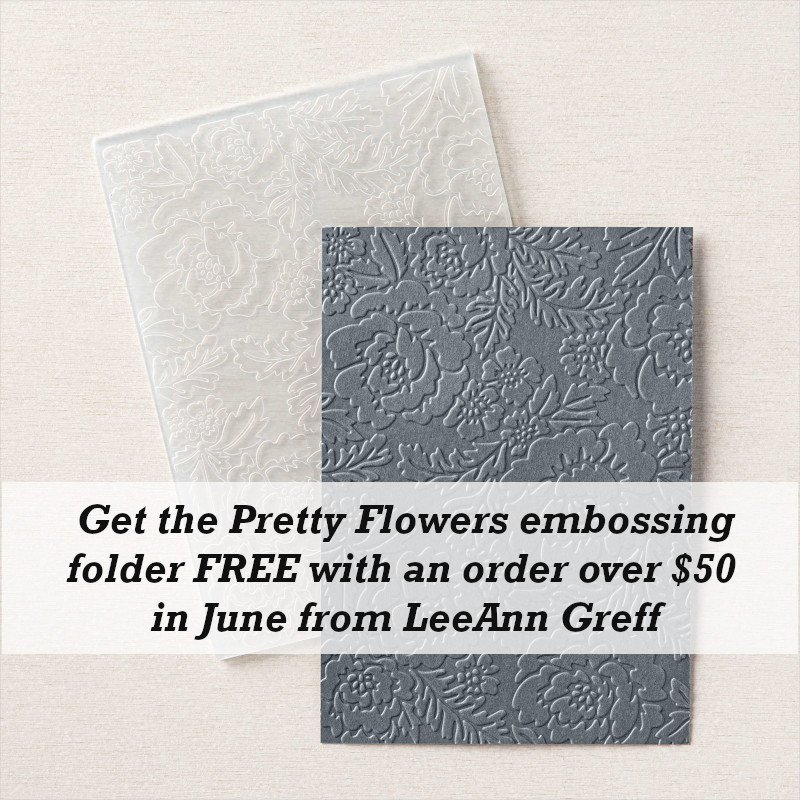
    Use this host code if your order is under $150. If it's over you'll still get the embossing folder but you'll also earn host benefits! Better yet, choose the Starter Kit and choose $125 in product and FREE Shipping as well!  Click here!

    *All online orders in May receive a free PDF full of project ideas with 2 new catalog suites! 

    Leave a Reply

    Your email address will not be published. Required fields are marked *

  • Plentiful Plants Cards


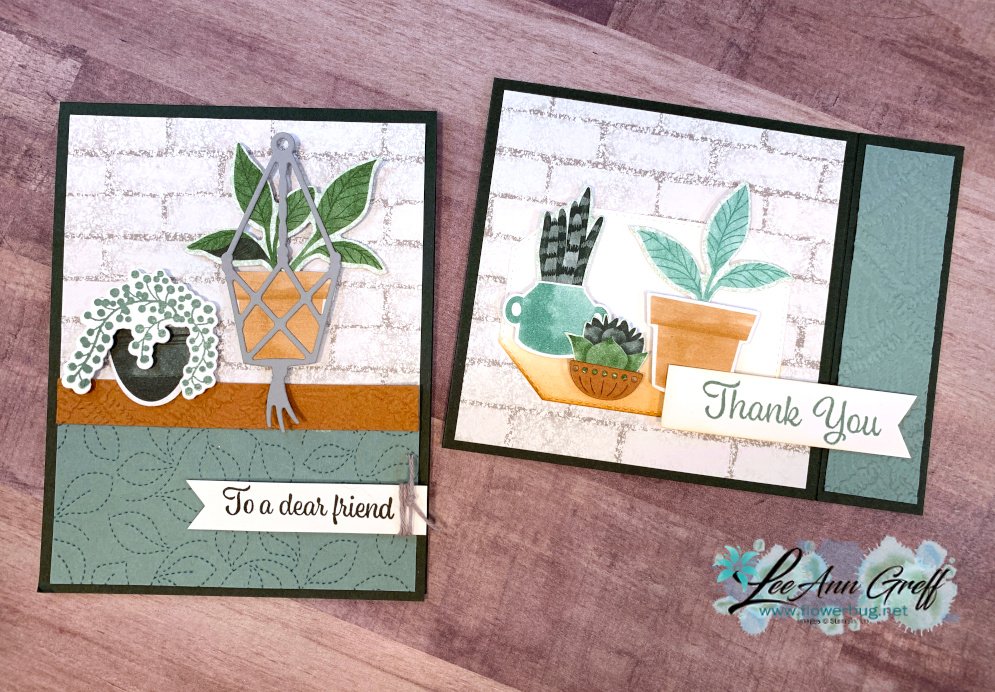
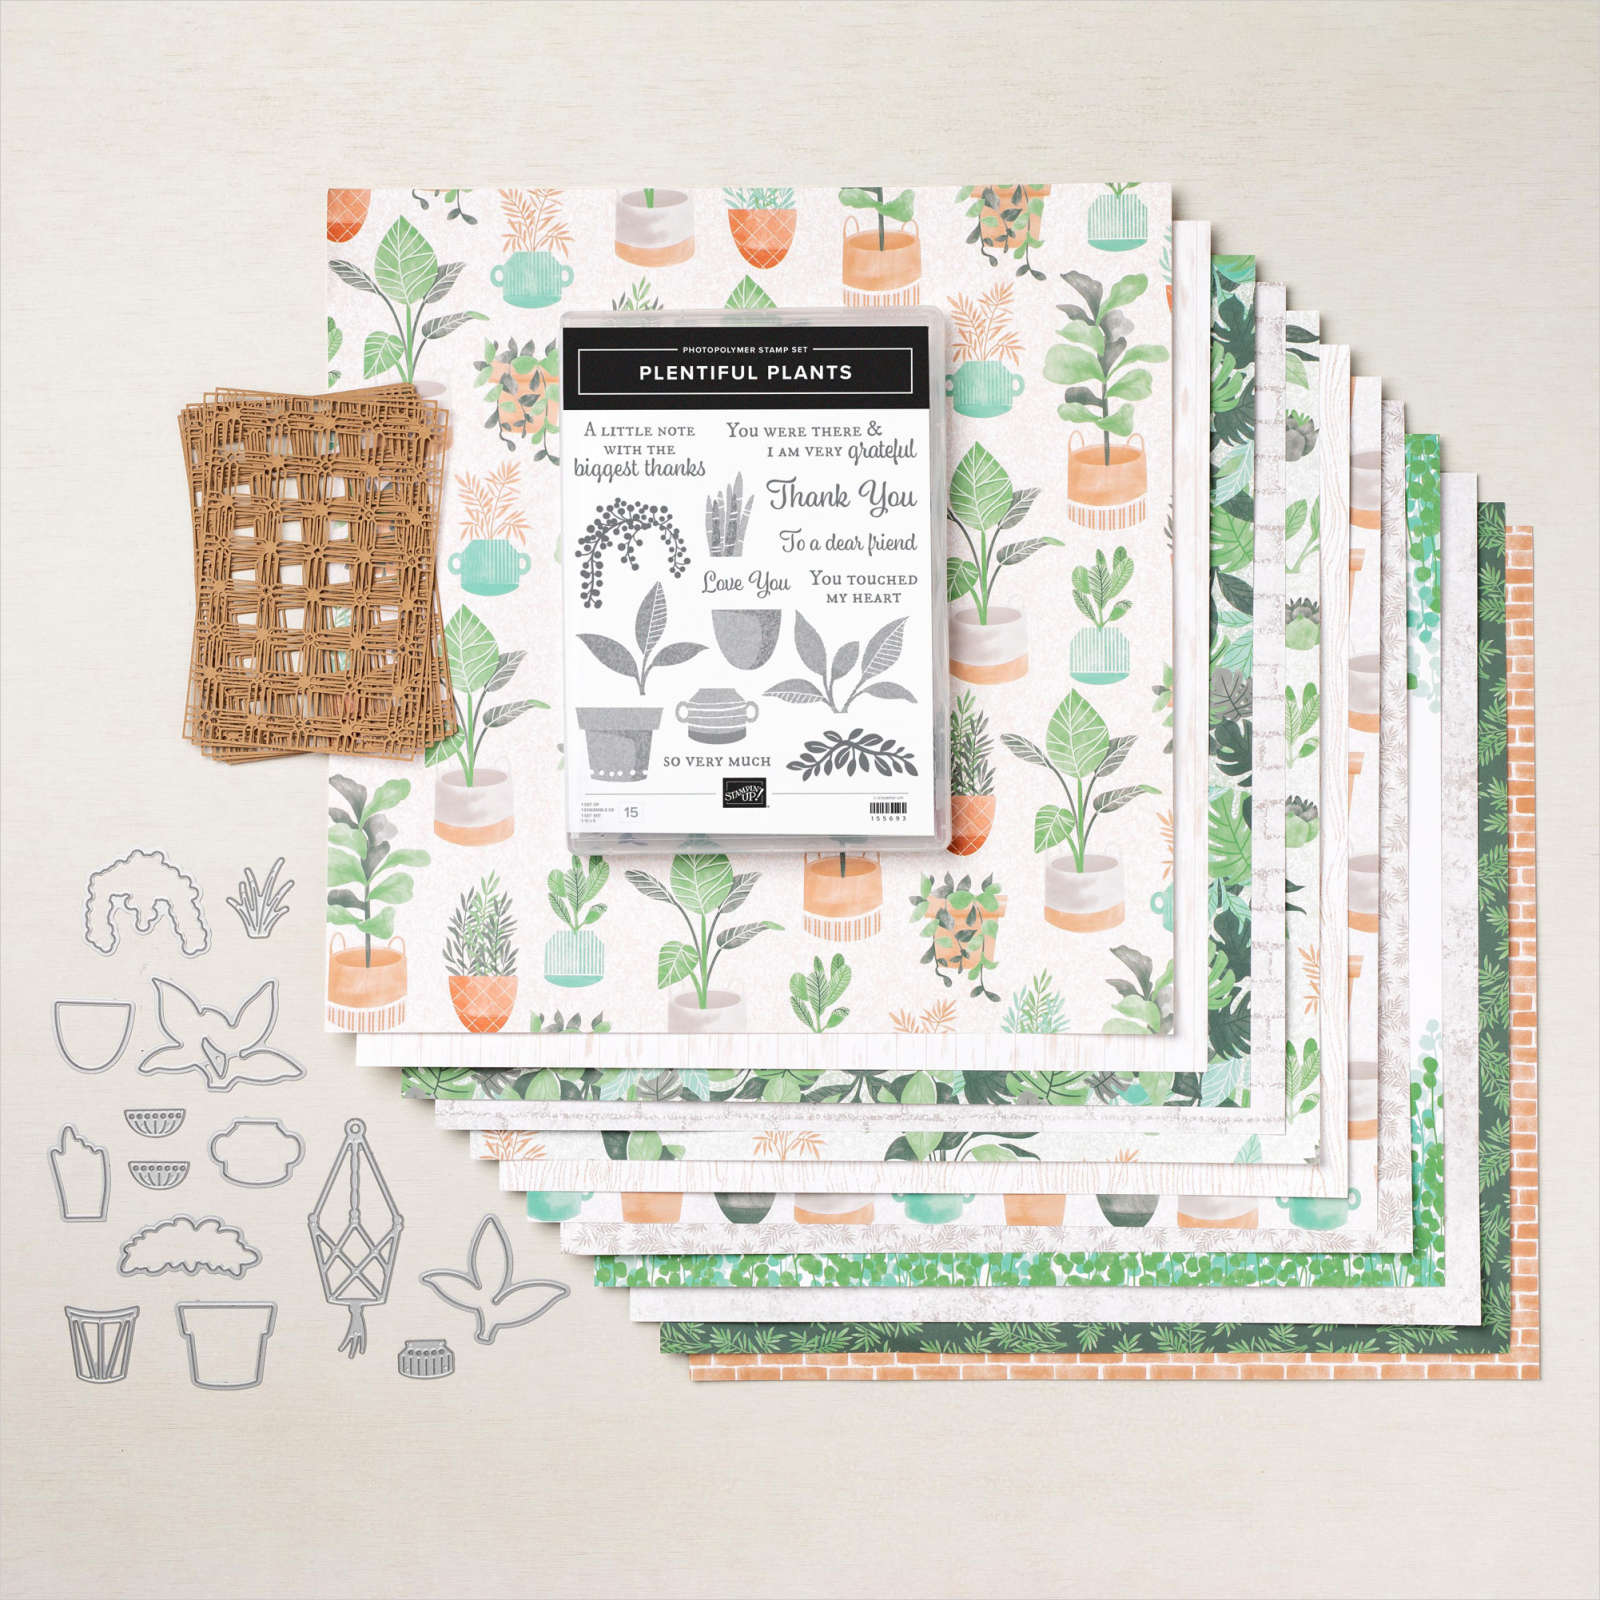
    I took some time to play with the new Plentiful Plants bundle last week and came up with these cards: 

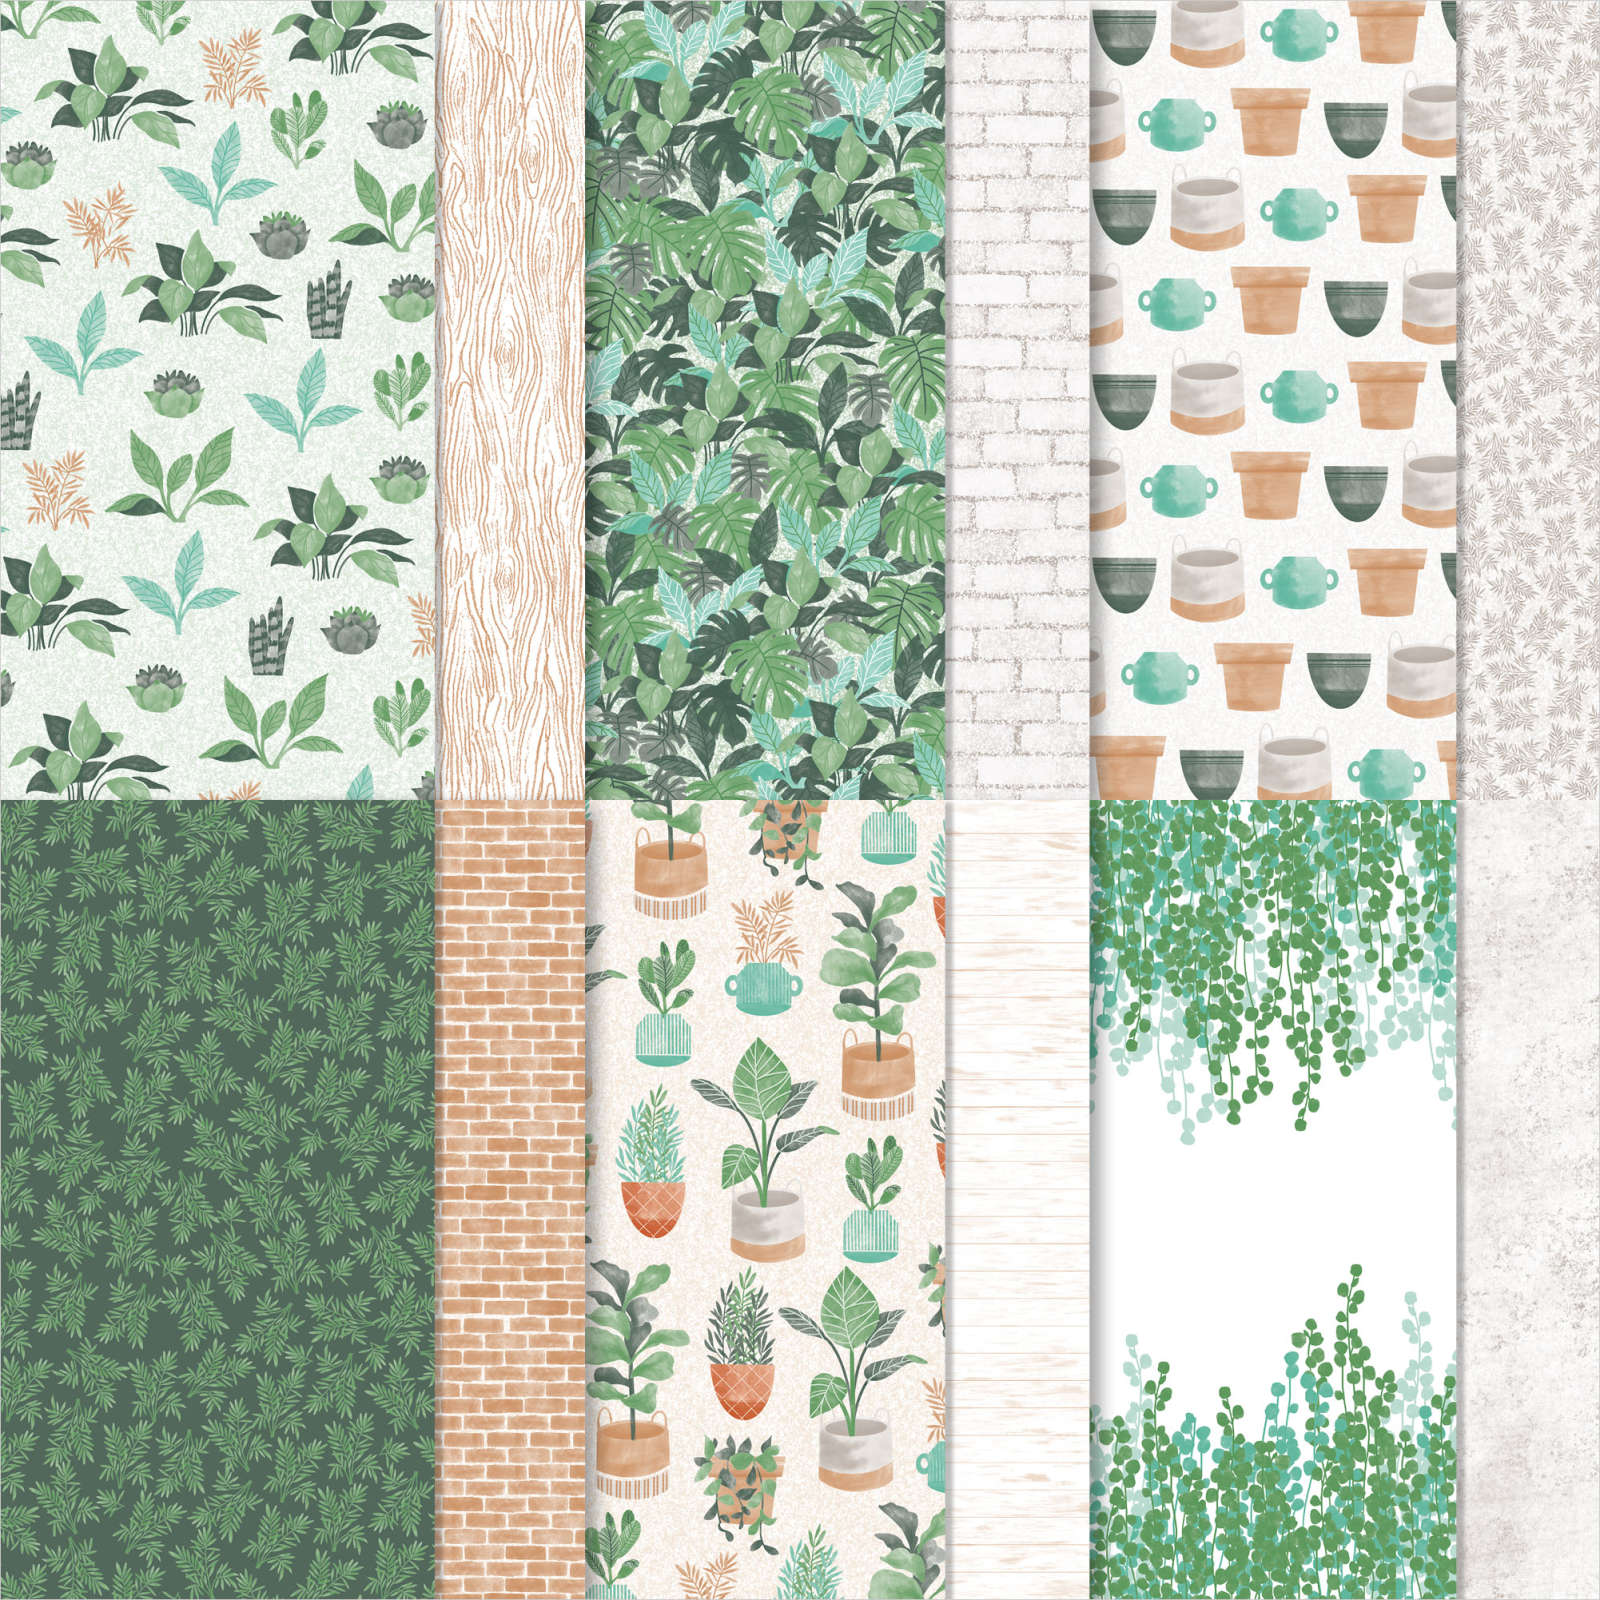
    Can you believe that both the brick, the pots and leaves are all cut from the designer paper?  I did stamp the plant on the left but the others are all die-cut from the Bloom Where You're Planted DSP. I love when Stampin' Up! gives us paper and dies that coordinate.  

    The bottom Soft Succulent CS is made with the Stitched Leaves die; one of my new favorites!  See it here.  

    ~~~

    This next card also features the Bloom Where You're Planted DSP. 

    Each of the three plants & pots are from the DSP except for the bowl in the center.  That is a die-cut made from Cinnamon Cider CS.  I placed them on a die-cut from the Hippo & Friends dies.  I sponged the bottom with Cinnamon Cider ink.  

    This card is 4 1/4" X 11" and scored at 1 1/4" and 6 3/4".  The right flap is glued down and has a 1" X 4" Soft Succulent strip adhered to it.  It was textured with the Macrame 3D embossing folder seen here. 

    You can see this suite here. 

    June Specials:

    The last chance list is out!  Check out the retiring and discounted products here. 


    Host code: MMCUKBSX  Click here to order

    Use this host code if your order is under $150. If it's over you'll still get the embossing folder but you'll also earn host benefits! Better yet, choose the Starter Kit and choose $125 in product and FREE Shipping as well!  Click here!

    *All online orders in May receive a free PDF full of project ideas with 2 new catalog suites! 

    Leave a Reply

    Your email address will not be published. Required fields are marked *

  • Bright Color Combo card with the new Watercolor Shapes set


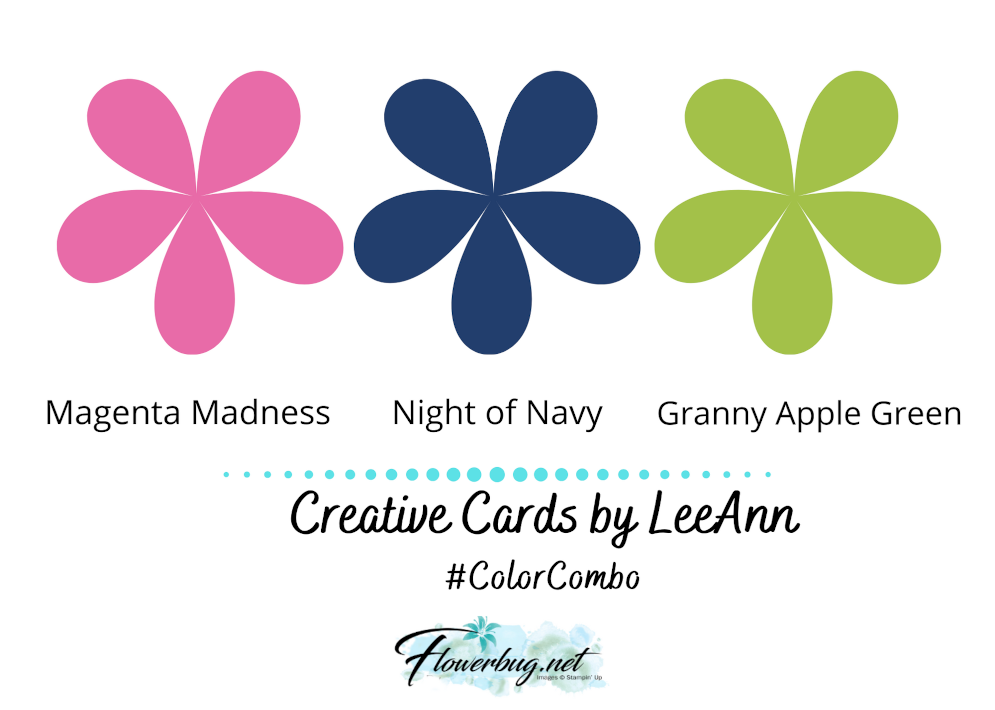
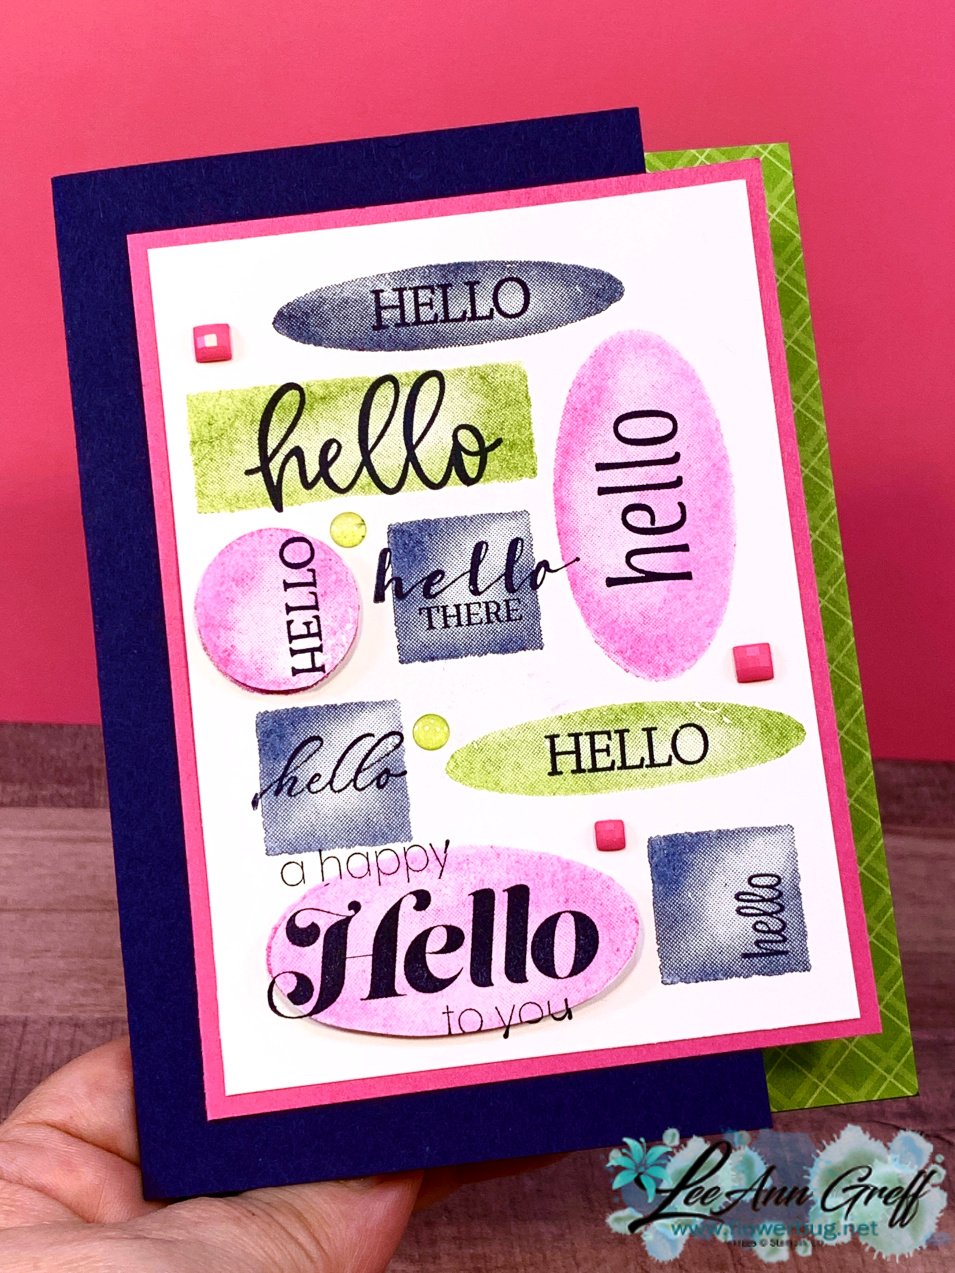
    I have lots of creative challenges for my Flowerbug's Team and this time it was a color challenge featuring Night of Navy, Magenta Madness & Granny Apple Green.  Fun, vibrant colors I knew would be fun to play with. 

    I cut off an inch from the right edge of my Navy card and added a strip of Granny Apple Green DSP on the inside edge.  

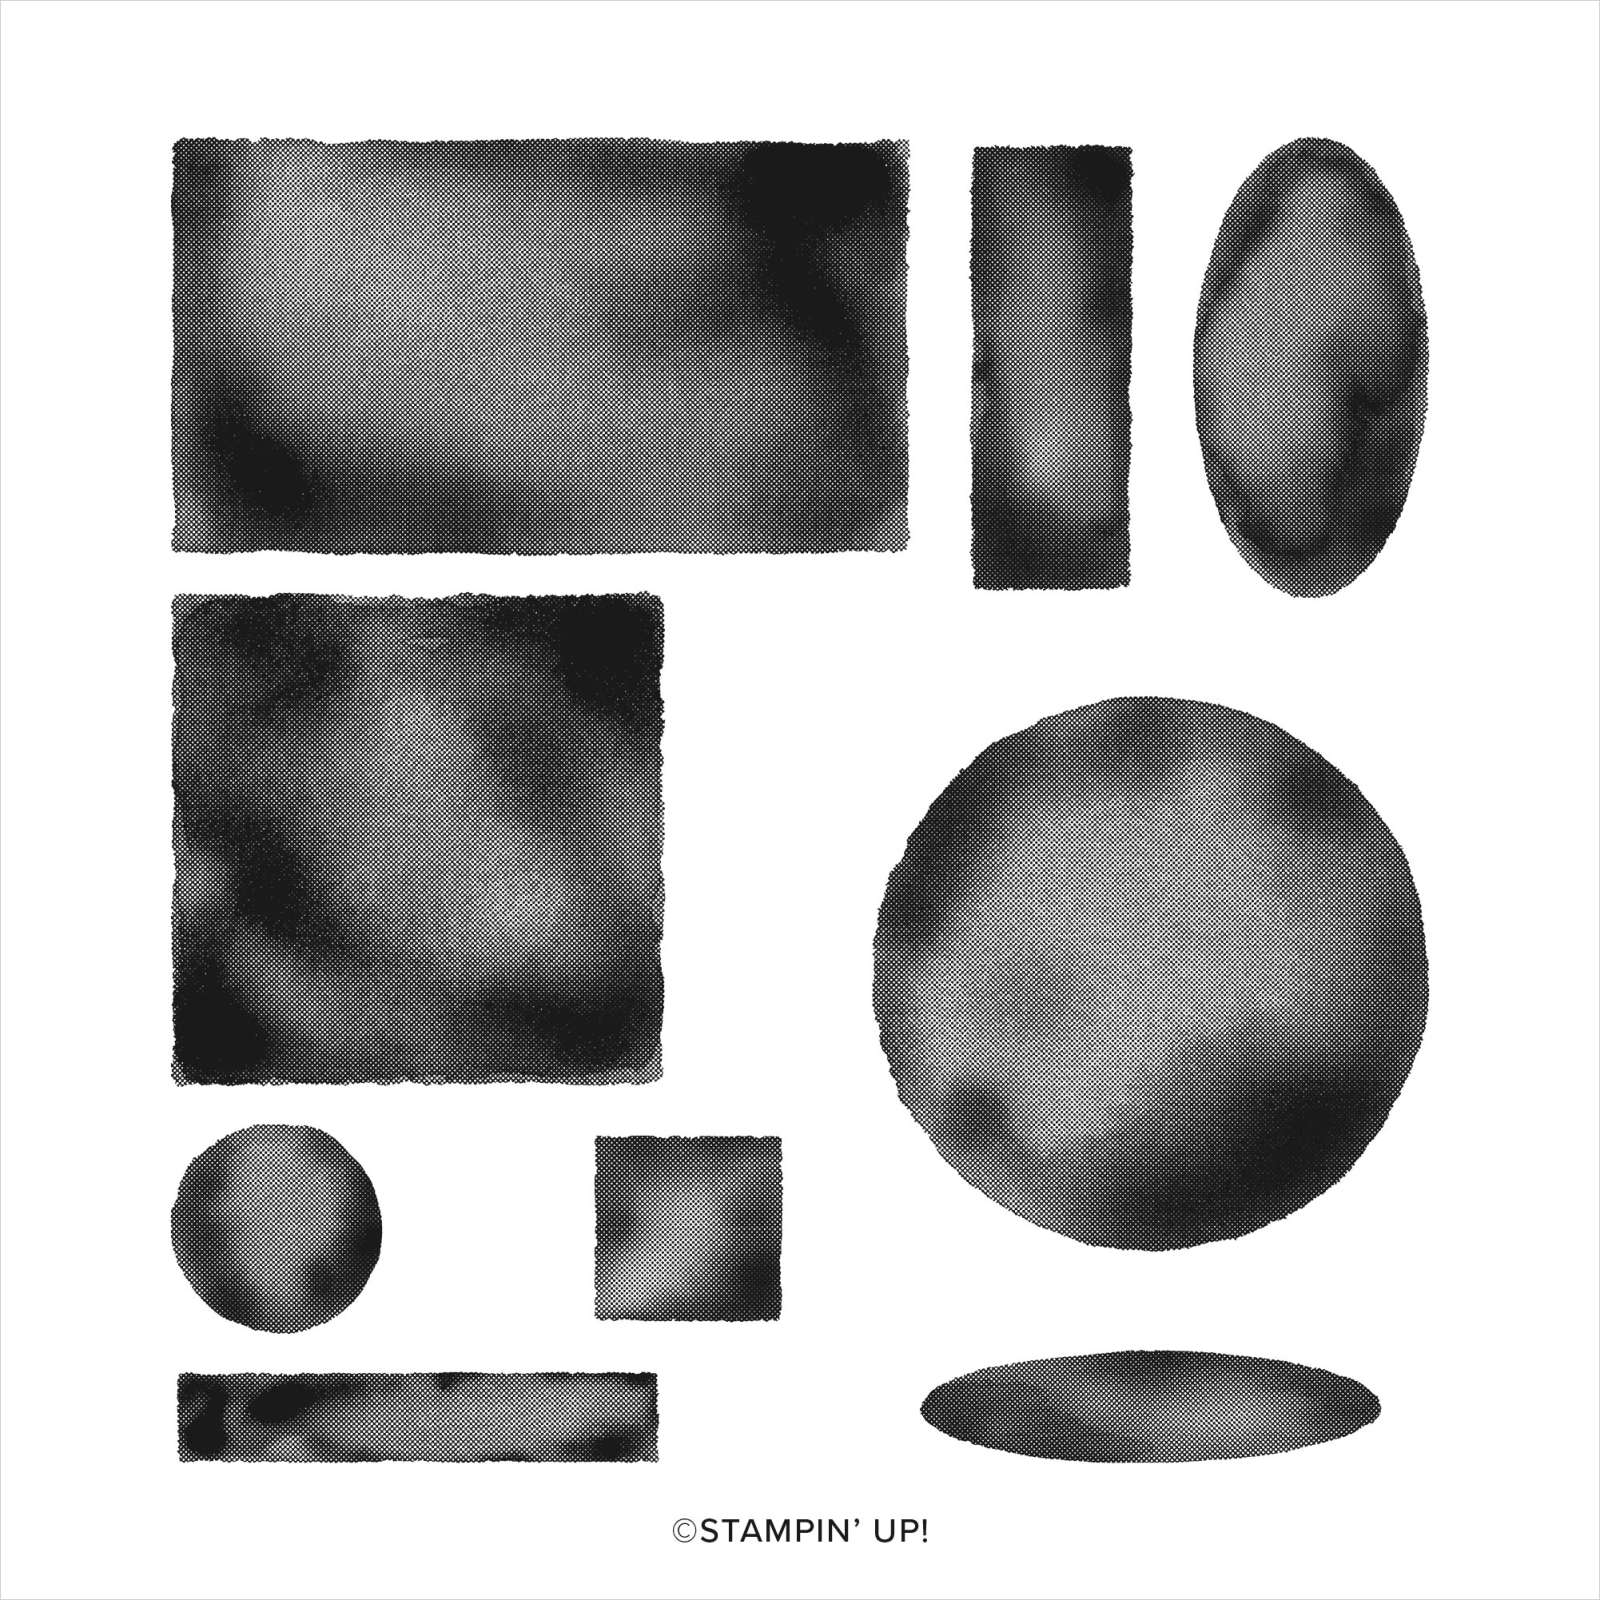
    I chose to use a stamp set that I hadn't used yet; Watercolor Shapes seen here.  

    I stamped the watercolor shapes all over the 3 1/4" X 4 1/2" White CS but I did stamp off first for a lighter hue.  The greeting stands out more then. 

    I found a 'hello' greeting in each of the following stamp sets; Blossoms in Bloom, Create with Friends, Timeless Tropical, Sweet as a Peach, Artistically Inked & Sweet Strawberry.  I had no idea we had that many 'hello's' in our sets! 

    What do you think of this color combination?  

    I stamped a few of these images twice and fussy cut them so I could add some dimension to the card front.  I also added the new In Color Square Gems and a few of the Clear Epoxy Essentials that I colored Granny Apple Green with a Blends marker. 

    June Specials:

    The last chance list is out!  Check out the retiring and discounted products here. 


    Host code: RB3VHBUK  Click here to order

    Use this host code if your order is under $150. If it's over you'll still get the embossing folder but you'll also earn host benefits! Better yet, choose the Starter Kit and choose $125 in product and FREE Shipping as well!  Click here!

    *All online orders in May receive a free PDF full of project ideas with 2 new catalog suites! 

    Leave a Reply

    Your email address will not be published. Required fields are marked *


Notice: LeeAnn Greff, Independent Stampin’ Up! Demonstrator, Manager. The content of this website is my sole responsibility as an independent Stampin’ Up! demonstrator and the use of, and content of, the classes, services, or products offered on this website is not endorsed by Stampin’ Up! Copyright 2025