/


Latest Post

Cute Little Ladybug projects!


I created some adorable projects on my Facebook Live this week with the Little Ladybug's stamp set!  Check it out here.  Every Tuesday at 11 am CT I'm Live here.  **Although it will be on Wednesday, January 22nd next week instead.

We made them at my Flowerbug's Team meeting on Saturday too. 

The Little Ladybug stamp is found at the back of the Sale-a-Bration catalog.  It's FREE with any $300 order.  Tomorrow I'll share ideas on how you can earn it yourself. 

Or place an order with me during January and get in on the prize drawing for one lucky person who will get this stamp set free!   


The card above on the left was made by my friend Susie Wood; it's a spinner card!  I loved it so much I had to make one.  I'll share the details on that card tomorrow and another card next week. 

I used punches to create the windows on this card from the 5 1/4" X 4" Black CS; it's really a great way to highlight your images.  Sometimes I struggle with smaller images; just what do you do with them to create a great card?! 

You could use anything in the windows; greetings, flowers, critters – the sky's the limit!  Look at your stamps in a whole new way! 

Did you notice the 'fussy cut' greetings?  I have a tip for you!  Save the paper backing on your red rubber stamps and use it as an outline to trace over your stamped greeting.  Or if you didn't save it, trace the main rubber stamp itself.  Save the template in your stamp case for repeated use. 

~~~

Three January Specials just for you! 

1. All January online orders will earn a ticket in the drawing for a free Little Ladybug stamp set!

2. All online orders will receive a 10 cards pdf tutorial in an email.


3. And if your order is over $65 you'll get a free Coastal Weave embossing folder too!

January Host Code is GEEFZCZV
Order online here

All Posts

  • My ‘5 at a time’ card templates are addicting!


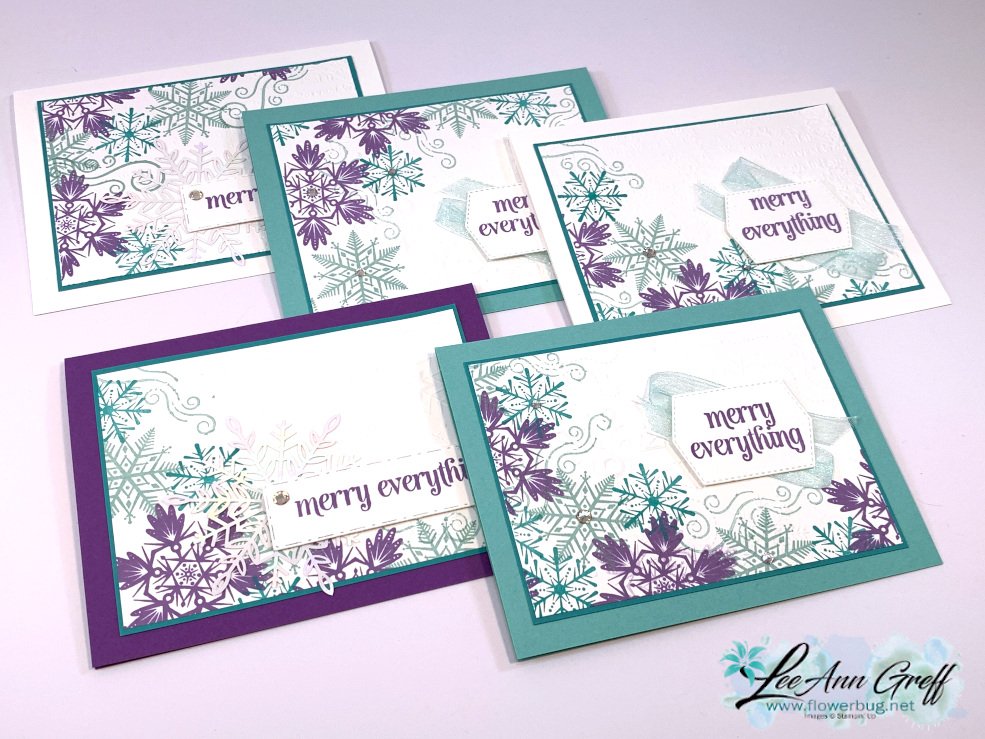
    I'm so excite to share this fun & unique idea!  I created two templates that help you make 5 cards at a time.  It's addicting & you'll be looking at your stamps in a whole new way!  

    I shared this on last week's Facebook Live and it was a hit!  It's so fun to do. 

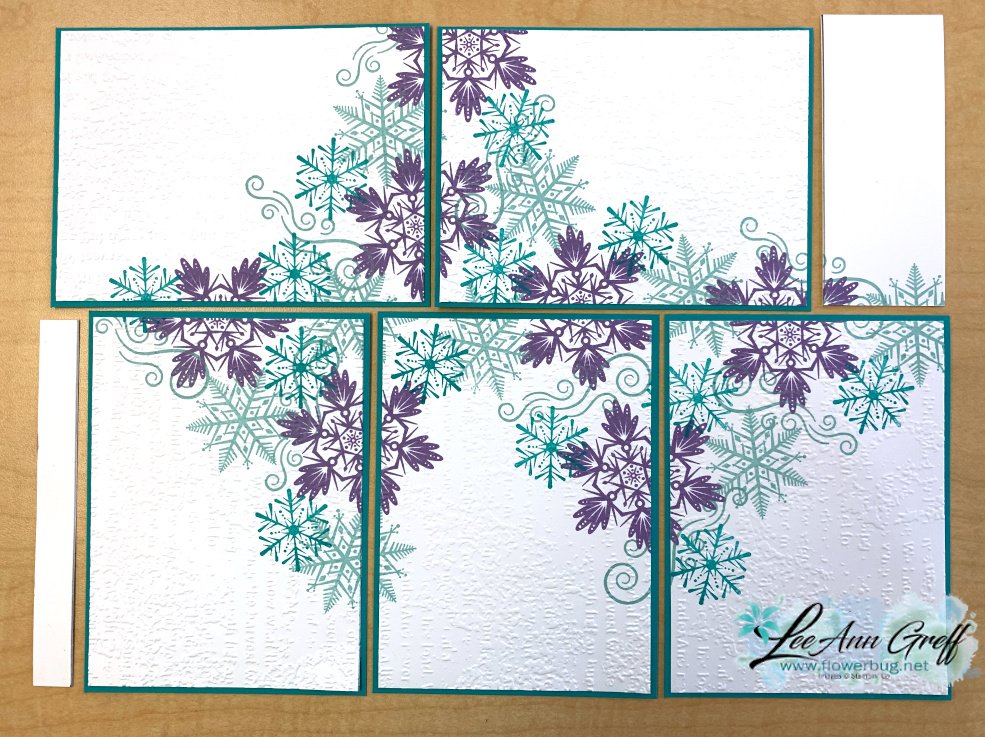
    For these cards I used the Merry Snowflakes stamp set (seen here) & Pool Party, Bermuda Bay & Highland Heather inks. The card stock is White, Gorgeous Grape, Bermuda Bay & Coastal Cabana. If you follow me you know these are some of my favorite colors! They're perfect for snowflakes. 

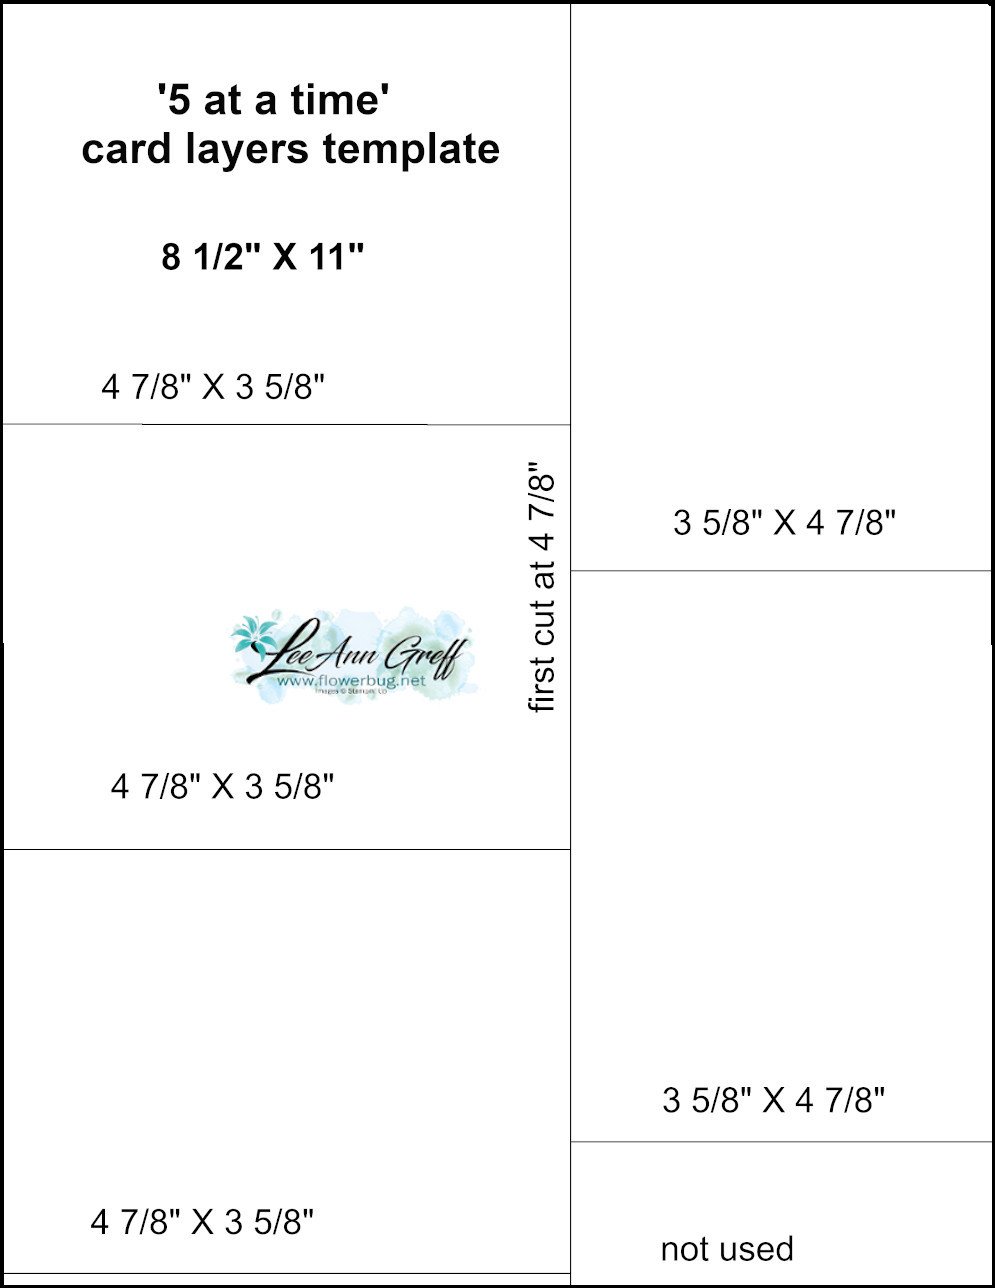
    Below are the templates.  Remember these are 8 1/2" X 11" to start with.  For these cards I stamped before I cut but you can certainly cut your pieces first if you'd like to. 


    As you can see these templates have very little waste. 

    Before I stamped I scored on the 4 3/4" and 3 1/2" lines leaving the piece intact. You could also draw a light pencil mark so you know where to stamp. 

    And here is how the White card stock is stamped. (I forgot to take a photo before I cut and layered them.)

    Can you see that the images concentrate on two sides of each piece leaving one corner free & clear? Basically you're stamping down the middle and on each of the lines. This keeps the cards from being too busy. 

    I added a few iridescent Wonderful snowflakes (seen here) to some of them; I cannot get enough of these!  They're such a great size & value – you get 24 for $6. 

    I hope you watch the video below to see the tips & tricks on using these templates. 

    Below is the video so you can see how it's done. 


    ~~~

    December Specials:

    Host code: Z2RQ7BB6 

     *click here to order

    Use the host code above & get a free card stock sampler ring with a $50 order in December! 

    See the last chance list here

    See the July-December catalog carry over list here

    Christmas cards stamp a stack; limited supply! 

    Leave a Reply

    Your email address will not be published. Required fields are marked *

  • Retiring & Last Chance lists are out! Plus a Pop & Flip Penguin fun fold card with video


    We now know what is retiring and what is returning from the July-September holiday catalog.

    • All products are available while supplies last, and there are no purchase limits.

    See the last chance list here

    See the July-December catalog carry over list here


    The Clearance Rack has been updated with new products!  

    See it all here. 

    ~~~

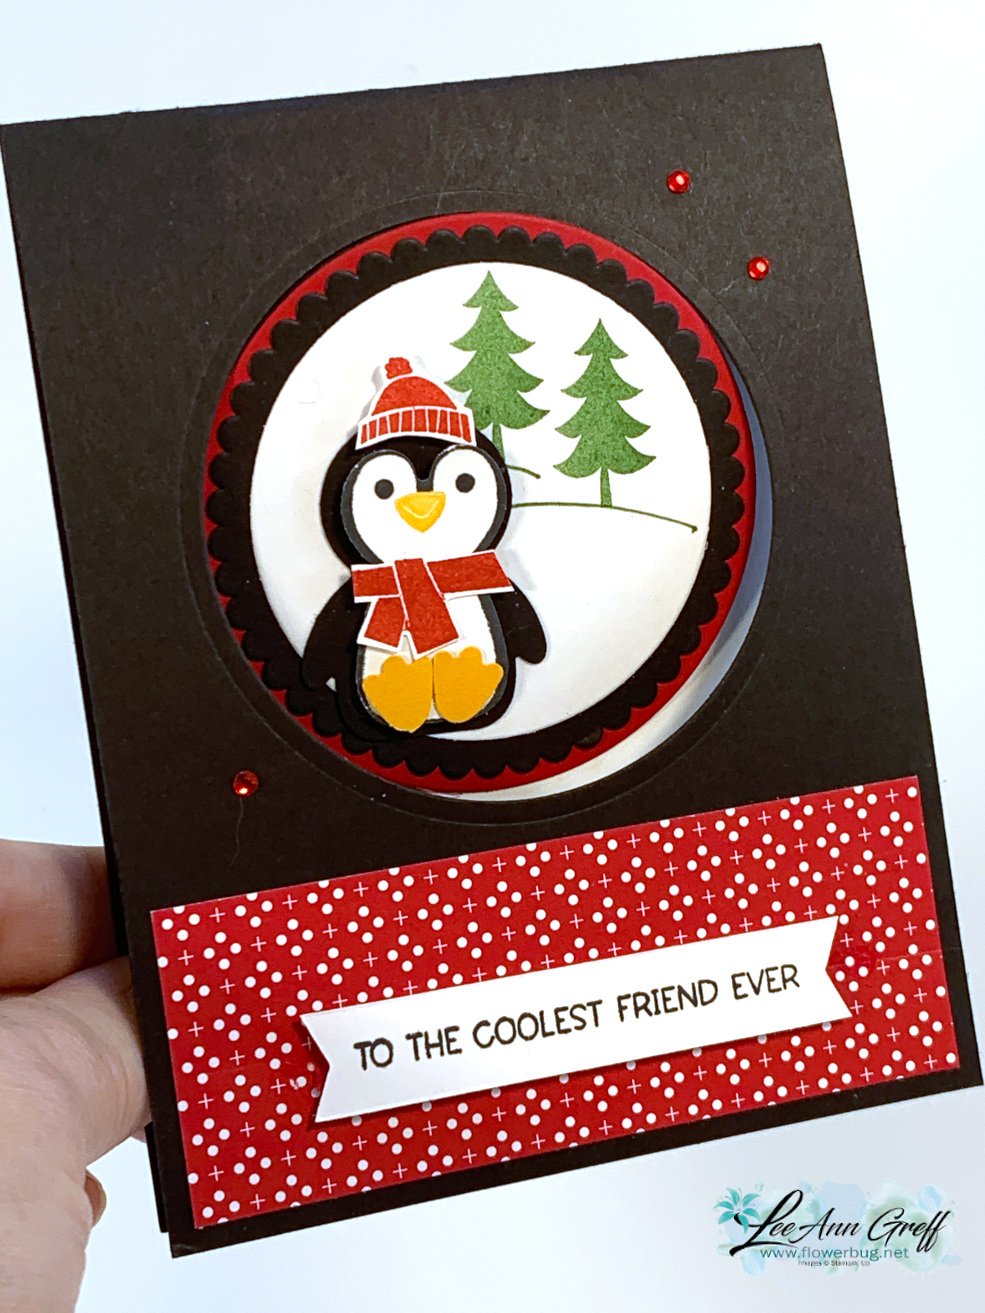
    I'm also sharing this amazing card we made at my November card clubs. I cased it from my friend Susie Wood; she generously shared her idea and card with me. You can see more of her work here on her blog. 

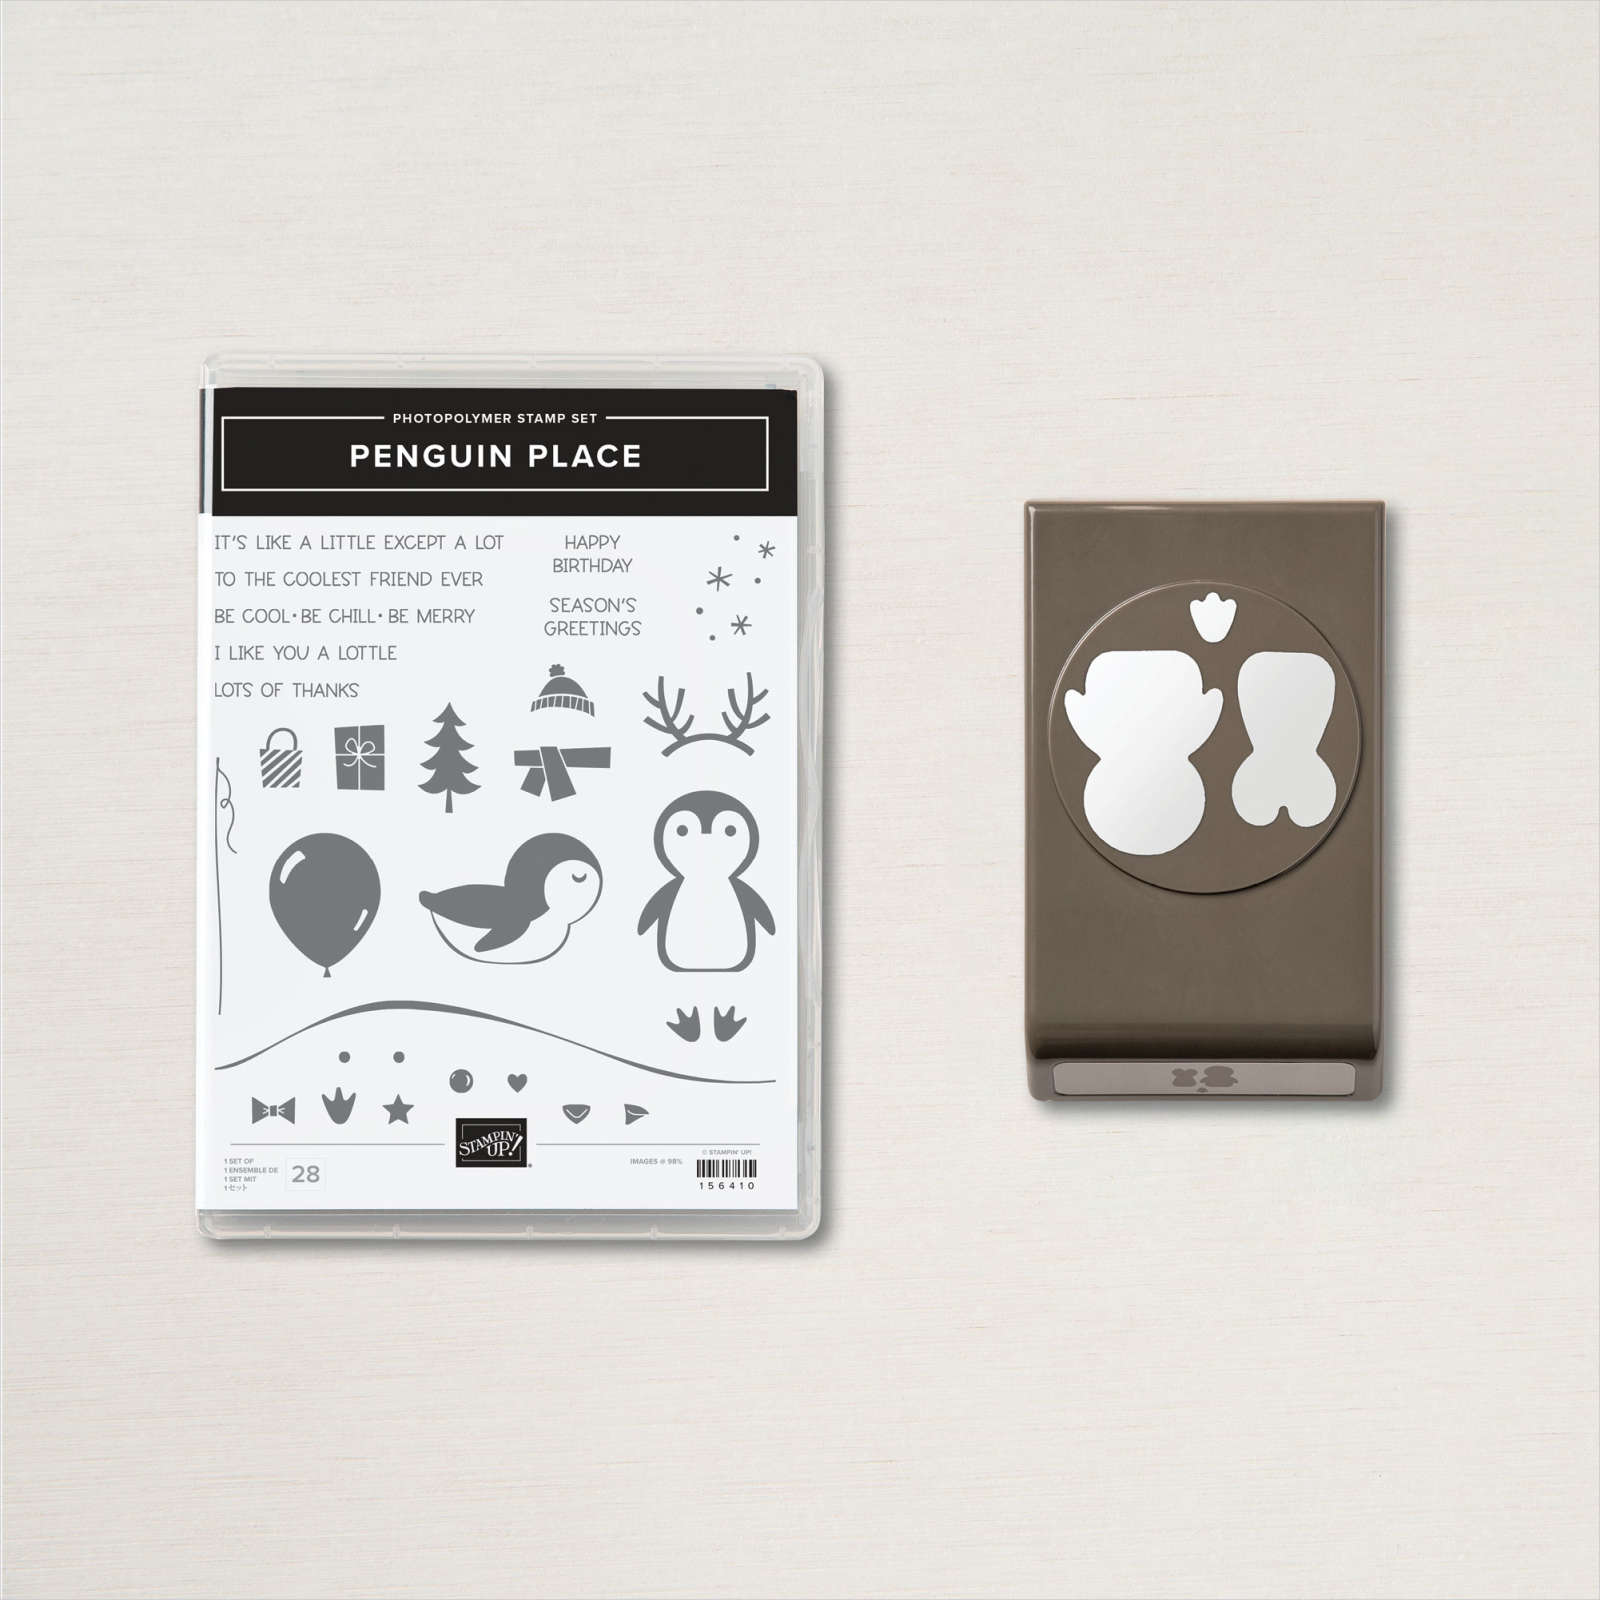
    Isn't it adorable?!  I just loved her colors & design and had to case it almost exactly!  And guess what?!  The Penguin Place bundle is back in stock!!  See it here online; it will not return as a bundle at 10% off after this catalog period.

    In addition to the Penguin Place bundle I used the Heartwarming Hugs designer paper (retiring), Circles Collection dies & Black glitter paper (retiring).

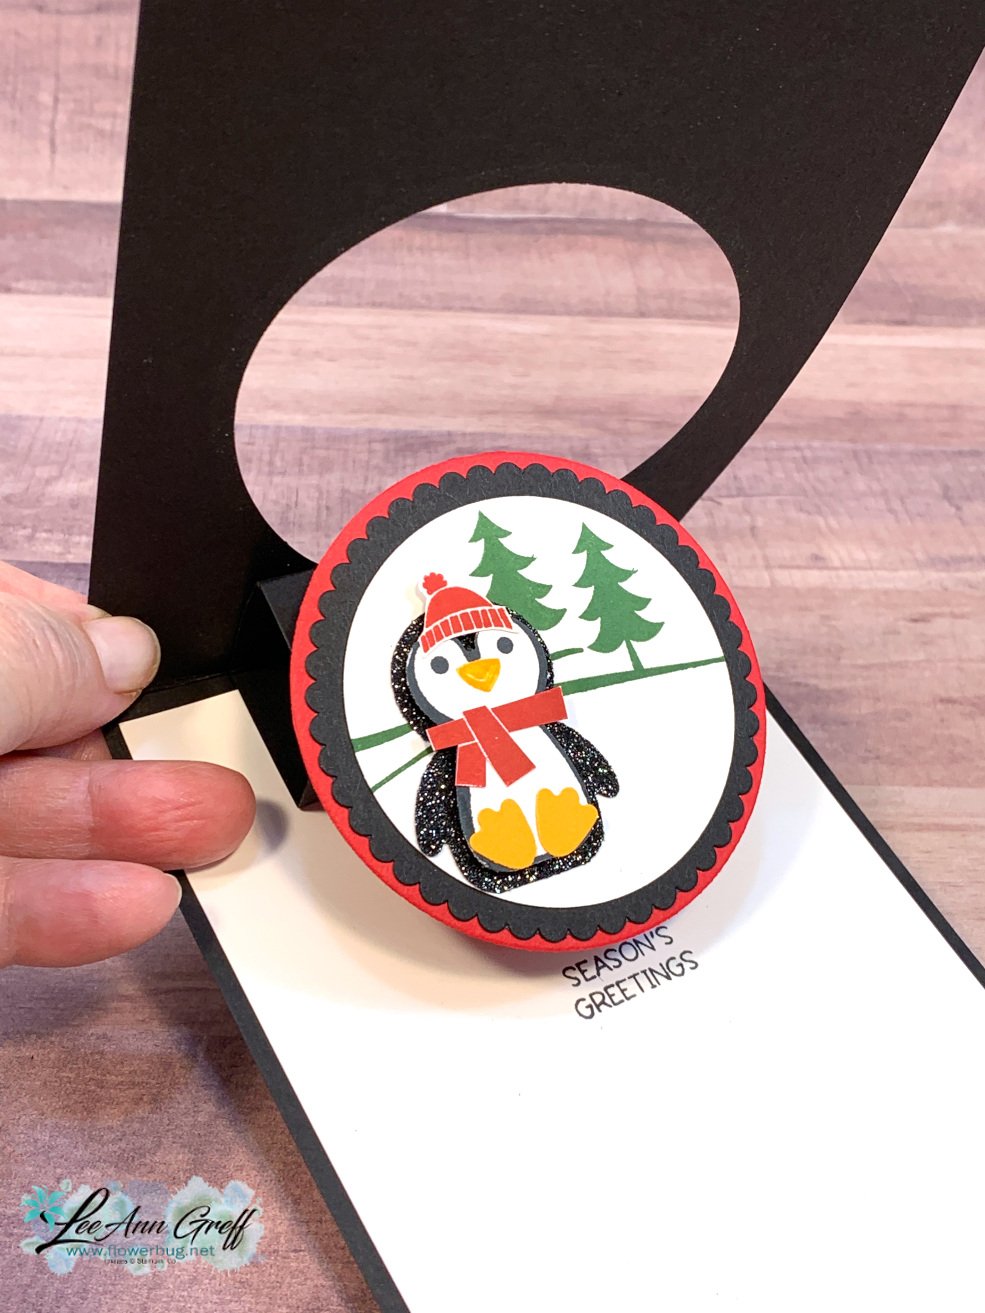
    The next two photos show the box inside the fold.  There's also a flap you attach your circles to.  See the measurements below.  The video will help you the most though! 


    Here's how it looks from the side:


    Measurements:

    • Black – card base 4 1/4" X 11" scored at 5 1/2", Black scalloped circle 2 3/4", plus a 2" X 4 1/2" strip, scored every inch for the flip box & a 3/4" X 2" strip for the flip part
    • White inside 4" X 5 1/4", White circle 2 1/3"
      Heartwarming Hugs DSP 1 1/2" X 4"
      Red circle 2 7/8"

    Here's the video for this card; I hope you watch it and feel comfortable enough to try making one. 

    ~~~

    December Specials:

    Host code: Z2RQ7BB6 

     *click here to order

    Use the host code above & get a free card stock sampler ring with a $50 order in December! 

    See the last chance list here

    See the July-December catalog carry over list here


    Leave a Reply

    Your email address will not be published. Required fields are marked *

  • Eden’s Garden card in fresh colors


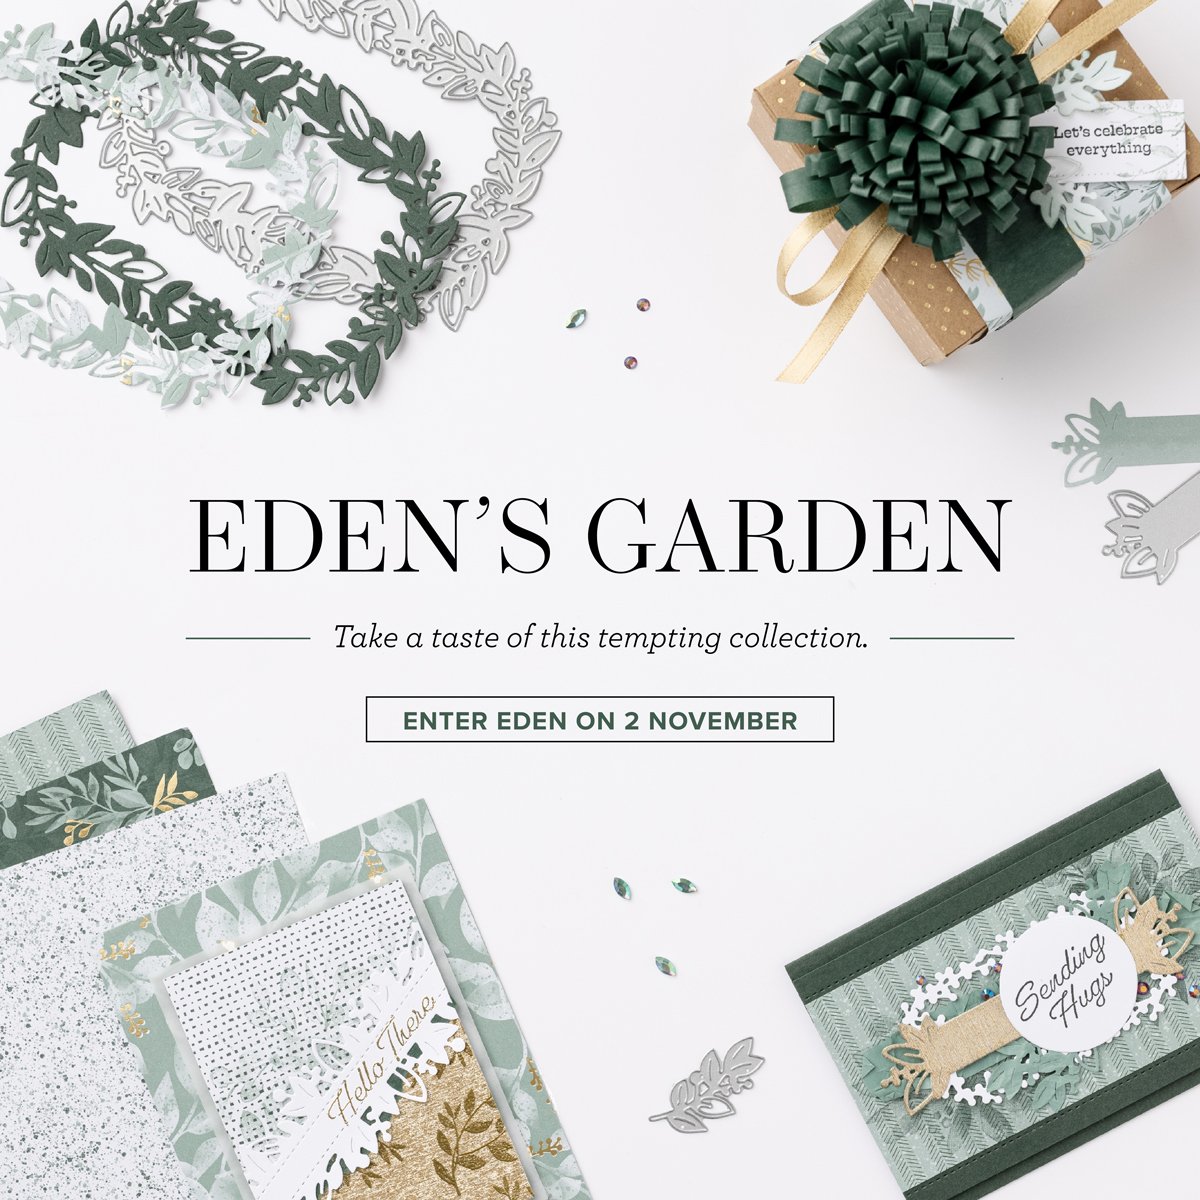
    The Eden's Garden collection is featured in greens, gold & white.  See it here.

    Well I thought I'd play with purple, green & white for this pretty card.  

    I stamped the images in Old Olive & Gorgeous Grape along one side of the card. Then I textured it with the Timeless Type 3D embossing folder.  Lastly I added a greeting on a Picture This die-cut. 

    Measurements: 

    • card base 5 1/2" X 8 1/2"
    • White 3 3/4" X 5"
    • Old Olive 4" X 5 1/4" 

    *Did you know I'm offering a free 4 card class with all online orders over $50 in November?  Plus every online order gets a 22 card tutorial featuring the Eden's Garden collection! 

    Get your bundle here and the Ever Eden DSP here and you'll be set to create with my project tutorial! 

    ~~~

    There's still time!

    Today is the last day of the AMAZING 'Join to Save' promotion!

    It's just $75 & you get $125 in product & FREE shipping!  

    Click here to get the best deal on the Stampin' Up! Starter kit!


    ~~~

    November Specials: 

    Host codes: Z2RQ7BB6

    *click here to order

    Online orders over $50 get a pre-cut card class of 4 cards & PDF tutorial.
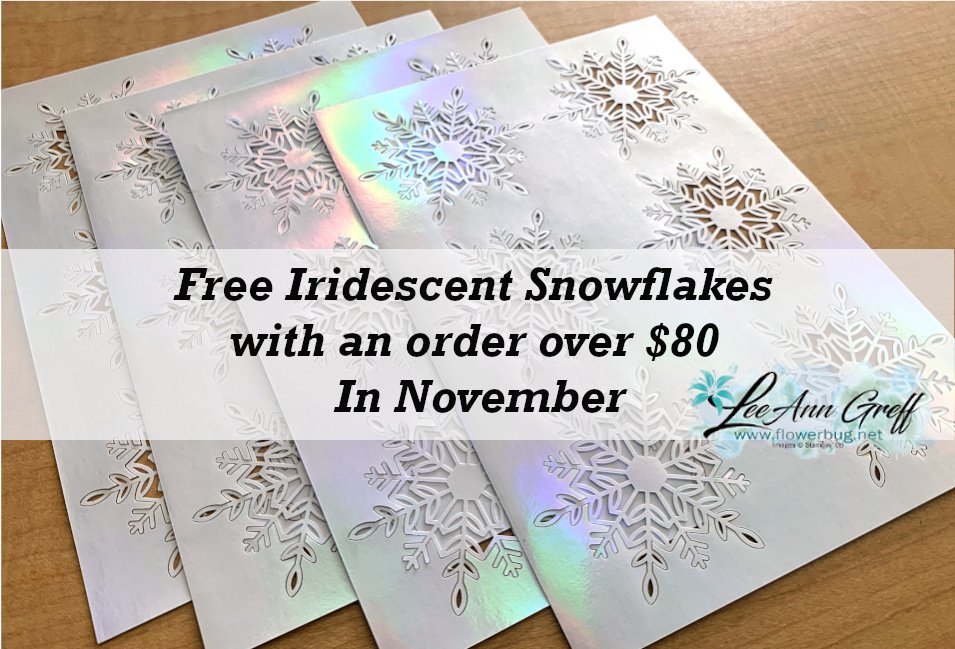
    *Orders over $80 will receive the card kit PLUS 24 Iridescent snowflakes!

    All online orders will receive my Eden's Garden PDF 22 project tutorial free! 


    Get any of the tutorials or kits to go below in my Kit & Tutorial shop here:

    Peaceful Wishes Christmas – limited supply available; 20 cards!


    Christmas cards stamp a stack; limited supply! 

    Leave a Reply

    Your email address will not be published. Required fields are marked *


Notice: LeeAnn Greff, Independent Stampin’ Up! Demonstrator, Manager. The content of this website is my sole responsibility as an independent Stampin’ Up! demonstrator and the use of, and content of, the classes, services, or products offered on this website is not endorsed by Stampin’ Up! Copyright 2025