/


Latest Post

Cute Little Ladybug projects!


I created some adorable projects on my Facebook Live this week with the Little Ladybug's stamp set!  Check it out here.  Every Tuesday at 11 am CT I'm Live here.  **Although it will be on Wednesday, January 22nd next week instead.

We made them at my Flowerbug's Team meeting on Saturday too. 

The Little Ladybug stamp is found at the back of the Sale-a-Bration catalog.  It's FREE with any $300 order.  Tomorrow I'll share ideas on how you can earn it yourself. 

Or place an order with me during January and get in on the prize drawing for one lucky person who will get this stamp set free!   


The card above on the left was made by my friend Susie Wood; it's a spinner card!  I loved it so much I had to make one.  I'll share the details on that card tomorrow and another card next week. 

I used punches to create the windows on this card from the 5 1/4" X 4" Black CS; it's really a great way to highlight your images.  Sometimes I struggle with smaller images; just what do you do with them to create a great card?! 

You could use anything in the windows; greetings, flowers, critters – the sky's the limit!  Look at your stamps in a whole new way! 

Did you notice the 'fussy cut' greetings?  I have a tip for you!  Save the paper backing on your red rubber stamps and use it as an outline to trace over your stamped greeting.  Or if you didn't save it, trace the main rubber stamp itself.  Save the template in your stamp case for repeated use. 

~~~

Three January Specials just for you! 

1. All January online orders will earn a ticket in the drawing for a free Little Ladybug stamp set!

2. All online orders will receive a 10 cards pdf tutorial in an email.


3. And if your order is over $65 you'll get a free Coastal Weave embossing folder too!

January Host Code is GEEFZCZV

Order online here

All Posts

  • Use your nesting dies to create a designer paper window – video & free project sheet


    On last week's Live video I shared a neat way to use nesting dies to create a frame with your double sided designer series paper. 

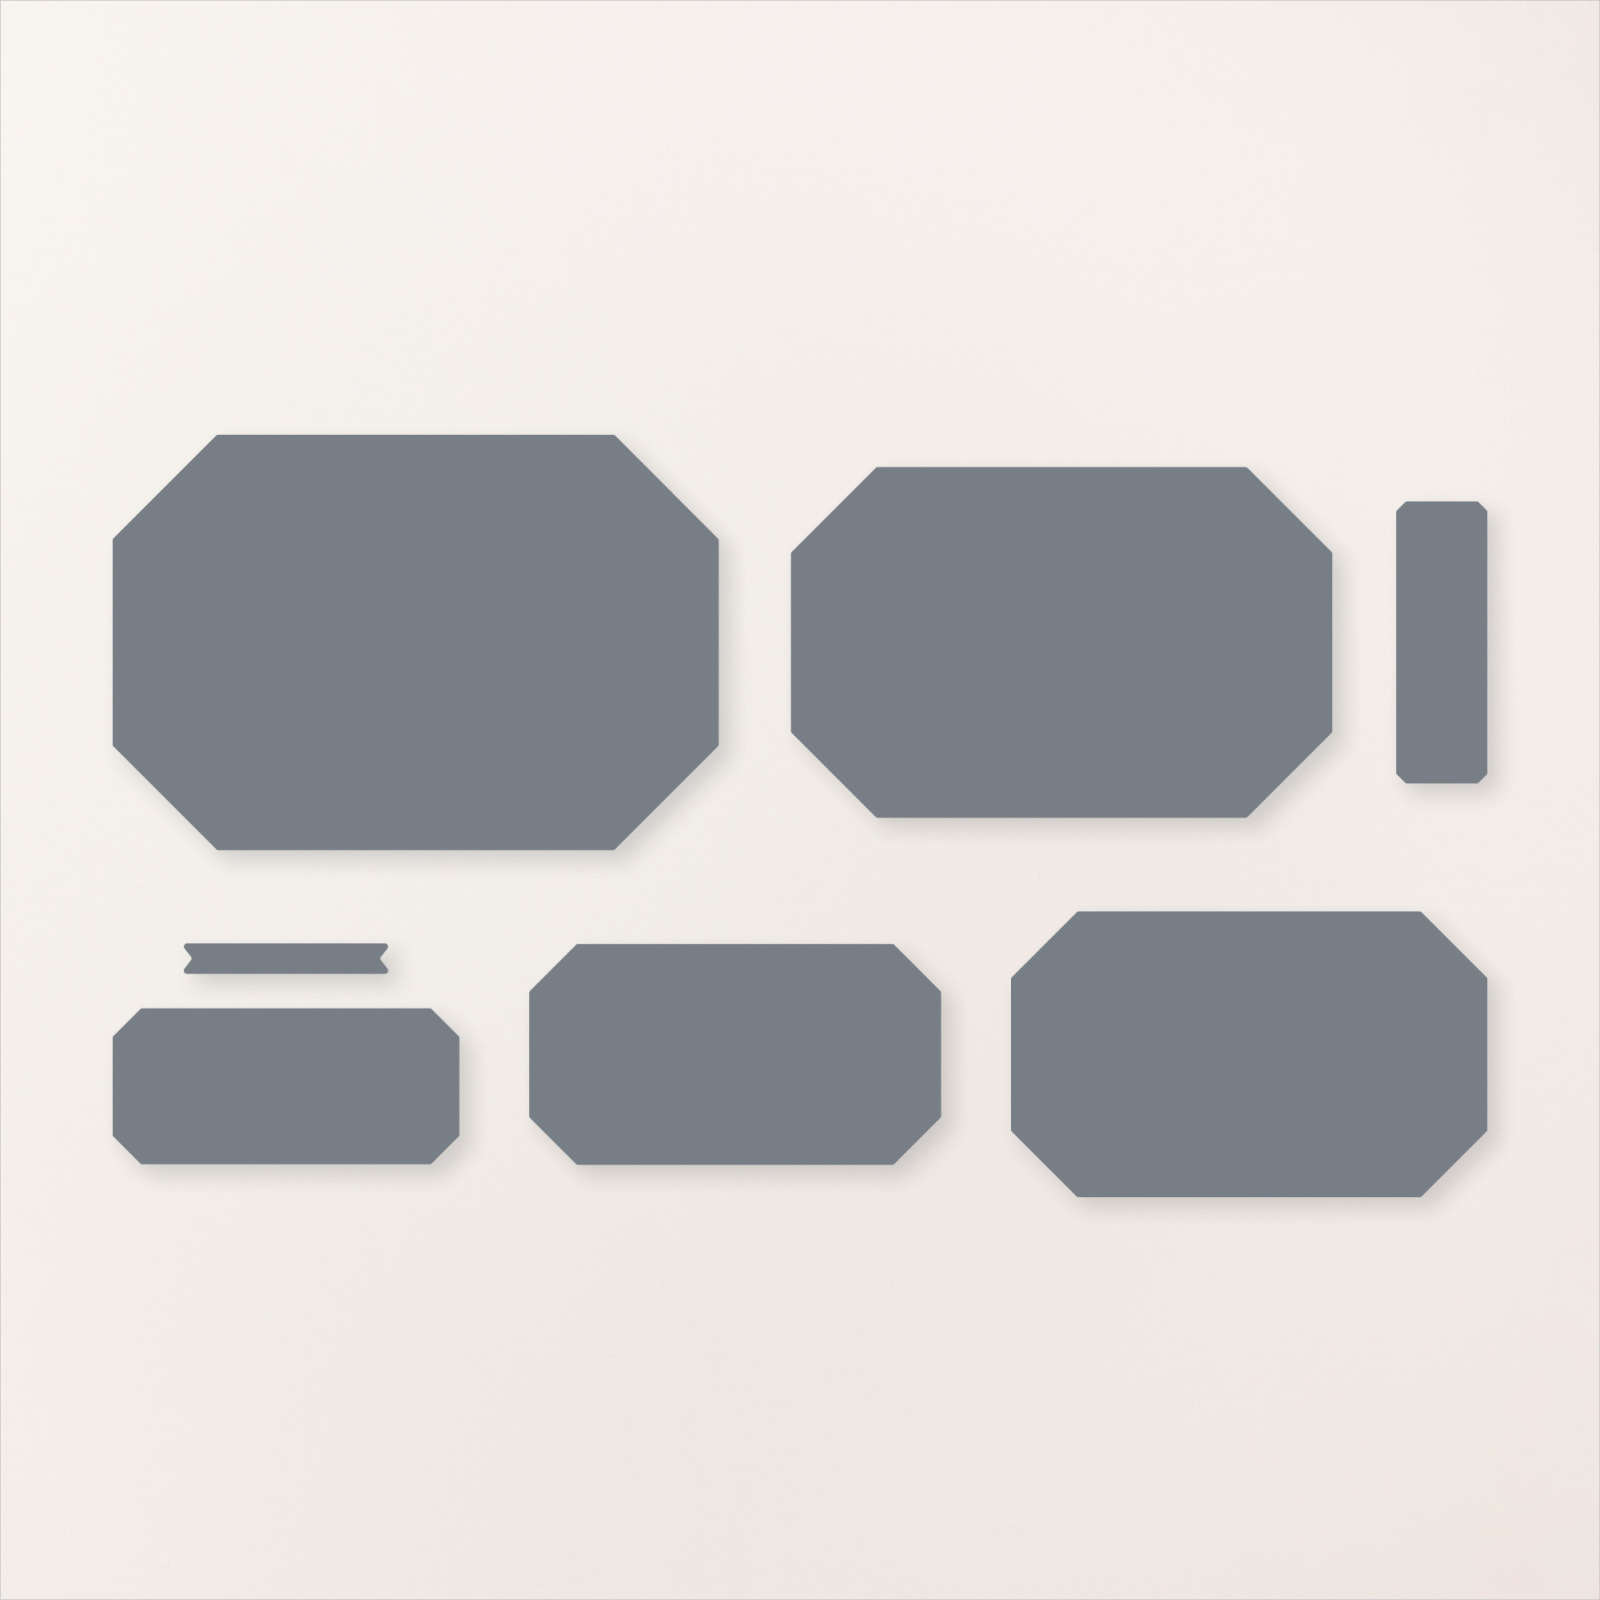
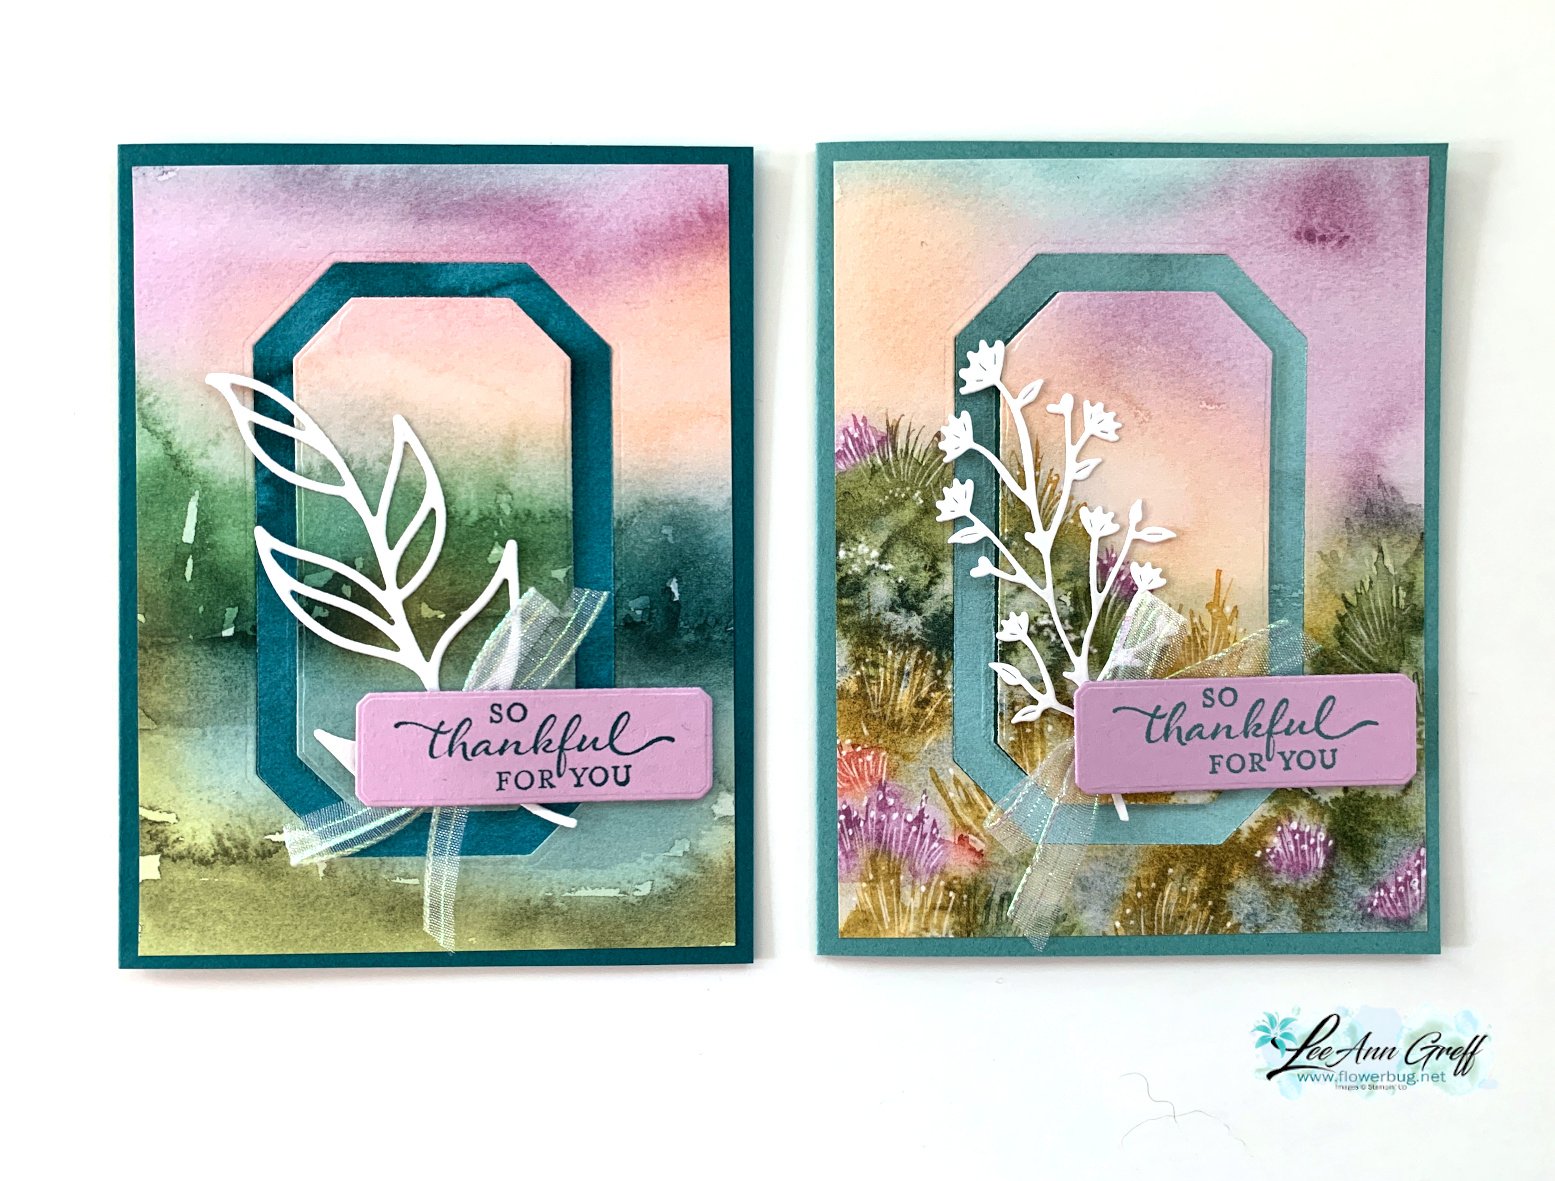
    I chose to feature the Thoughtful Moments DSP with this neat technique. Simply choose two dies that are the same shape and about 1/4-1/2" apart.  Die-cut and then flip over the narrow frame to reveal the opposite side of the Designer Series Paper. It's so neat! 

    **This Designer Paper and many more will be on sale starting Tuesday, August 6th! Details will be shared tomorrow. 

    The leaf die is from the Friends for Life dies. My nesting dies are called Countryside Corners and can be seen here.

    Tip – be sure the color of the opposite side of your paper coordinates with the front. I chose the card base to match the frame – Pretty Peacock. My greeting is in Fresh Freesia. 

    Here are both cards shown on the video; the second card on the right has a Lost Lagoon frame & card base.  The White die-cut on the right card is from the Thoughtful Wishes bundle.

    Here's the free project sheet you can download or print: Download Thoughtful Journey Window card

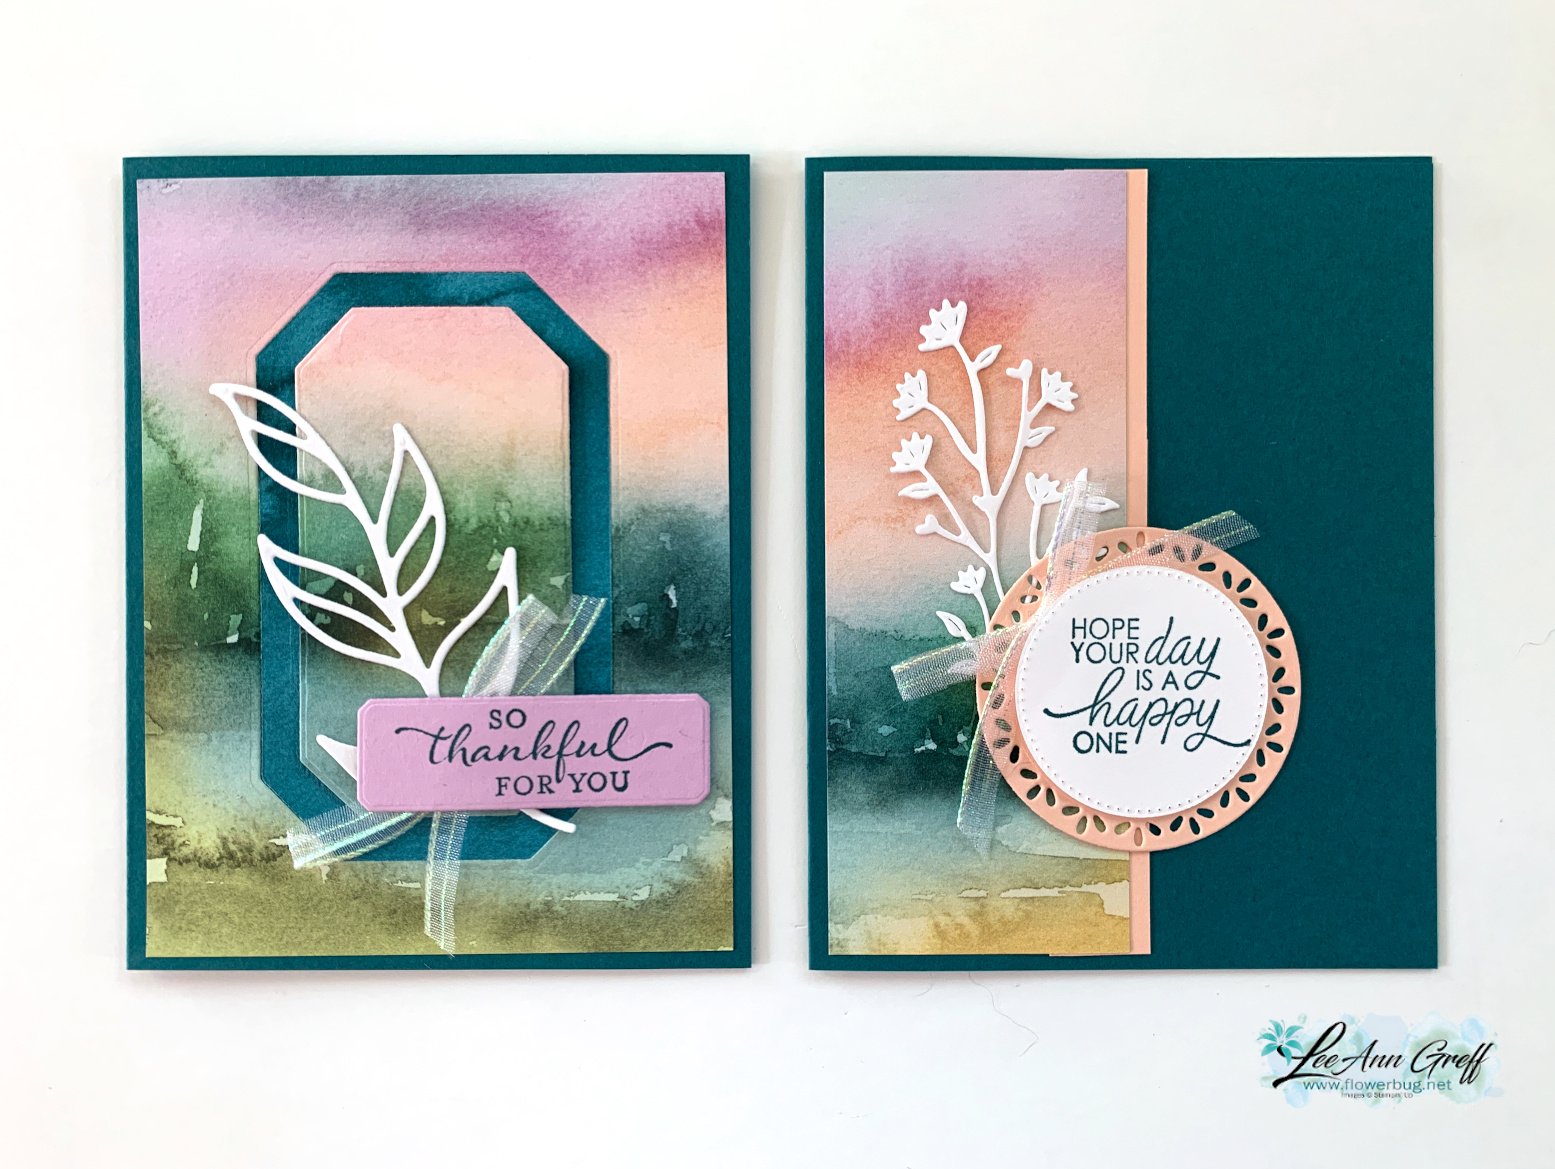
    The designer paper for these cards is 4" X 5 1/4" which leaves a 2" strip for another project.  I wanted to share a quick card to use up that leftover piece:

    I simply added it to the card base with a coordinating card stock strip on the edge. Then added layering circles for my greeting.

    If you're wondering about the ribbon, it's the pretty Iridescent 1/2" striped trim seen here.  I cut it in half to get 1/4" thick trim. It has been unavailable for awhile but it's back now.

    Here are all 4 cards I shared in the video you can see here. 

    Here's the video below to see how this is done plus another card idea with the beautiful Thoughtful Journey designer paper.  I'll share the second card Wednesday. 

    ~~~

    August Specials:

    *current host code link: BDGBJHAE


    Redeem your $5 coupon now! 

    ~~~

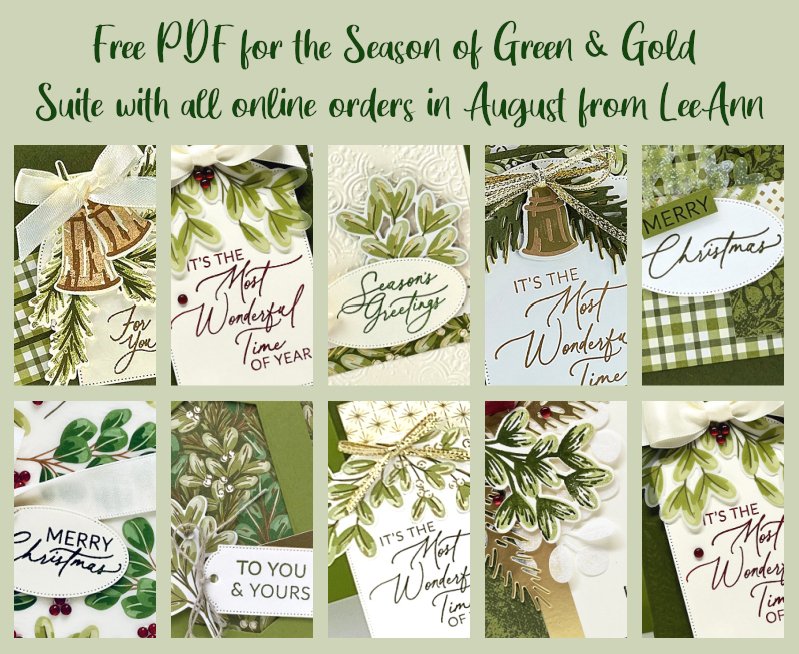
    All online orders will receive a free PDF tutorial featuring the

    Season of Green & Gold suite

    Leave a Reply

    Your email address will not be published. Required fields are marked *

  • Check out the Last of the July Team swaps


    Today I'm sharing the last of our July Team swap cards. Our theme was thank you cards without flowers. 

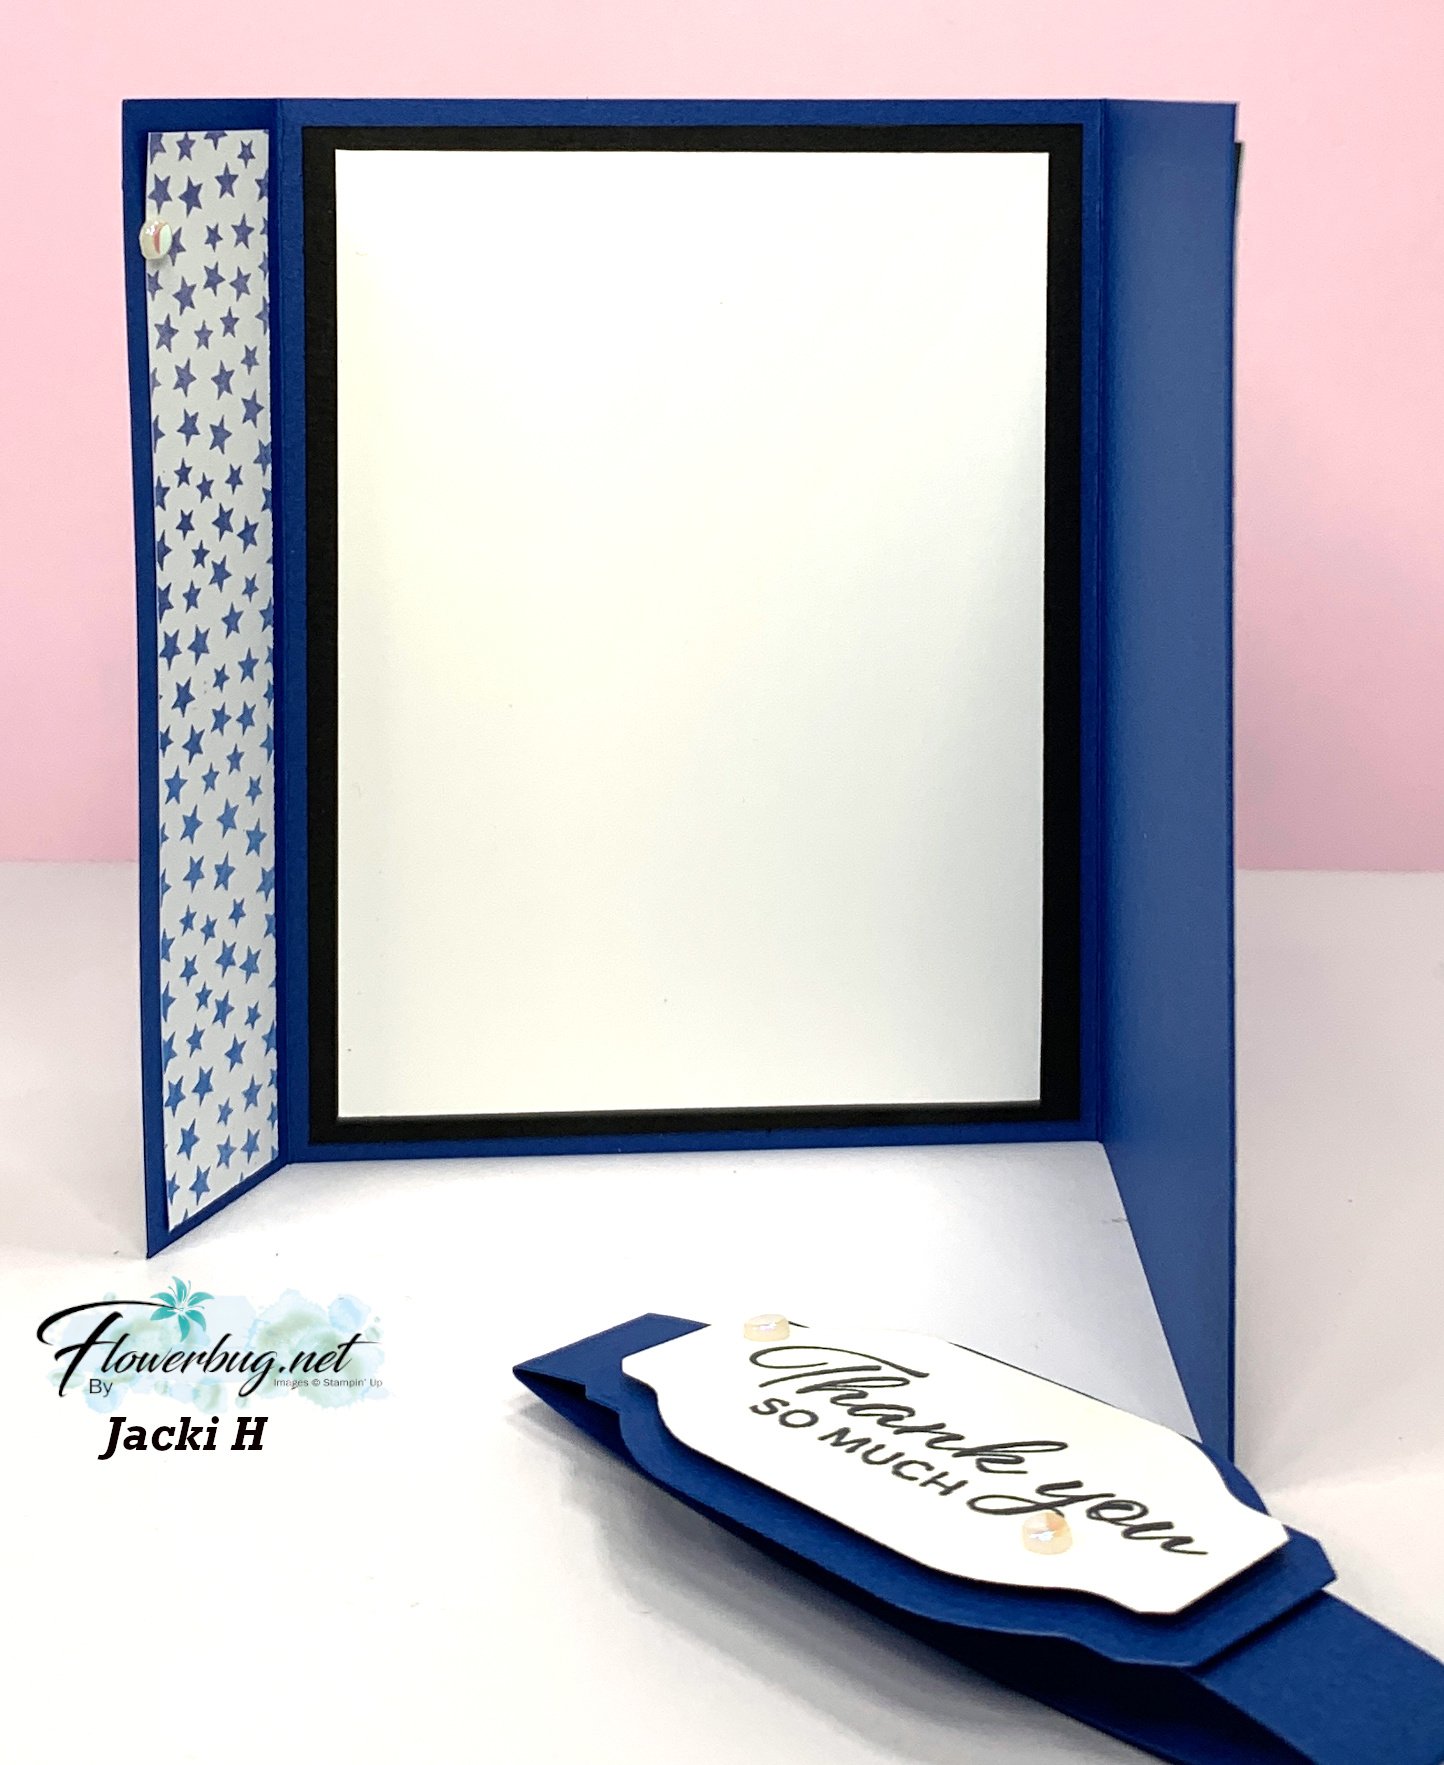
    Jackie made this special fun fold card that has a gift card option: 

    It's held together with a belly band with a greeting attached. She used the Bright & Beautiful designer paper – it carried over from last year's annual catalog and can be seen online here. 

    Products used:

    • Her greeting is from the Layering Leaves set
    • Greeting dies are from Something Fancy seen here
    • The texture is from the Cane Weave 3D embossing folder seen here

    The front right flap folds back and is secured at the top and bottom leaving space to add a gift card or money if you'd like. 

    Measurements:

    • Blueberry Bushel card base 11" X 5 1/2" scored at 1 1/4", 5 1/2", 9 1/4"
    • Designer paper left front & inside panels 1" X 5 1/4", right front panel is 1 1/2" X 5 1/4"
    • White inside 3 5/8" X 5", textured right panel 3 1/4" X 5"
    • Black inside 4" X 5 1/4"
    • Belly band 7 1/2" X 3/4" 

    ~~~

    Ginny made this cute card with the A Little Latte designer paper

    Her colors include Calypso Coral and Pecan Pie. She cased this card from Karen Ksenzahovie from Creative Stamping Designs. I like the little details of the three DSP strips under the coffee cups. Her greeting is heat embossed in White. 

    ~~~

    Mary also featured the A Little Latte designer paper and the Latte Love bundle.  These products can be seen online here. 

    Her colors include Pecan Pie with Lost Lagoon and White.  She trimmed off an inch from the left front to reveal the cute trio of die-cut coffee cups inside.  Cute detail! 

    Thanks for hanging in with us to see all of the July Team swaps!  

    ~~~

    August Specials:

    *current host code link: BDGBJHAE


    Redeem your $5 coupon now! 

    ~~~

    All online orders will receive a free PDF tutorial featuring the

    Season of Green & Gold suite

    Leave a Reply

    Your email address will not be published. Required fields are marked *

  • Fun Summery card swaps by my Team


    This week I've been sharing our July card swaps made by my Flowerbug's Team.  Our theme was thank you cards without flowers. 

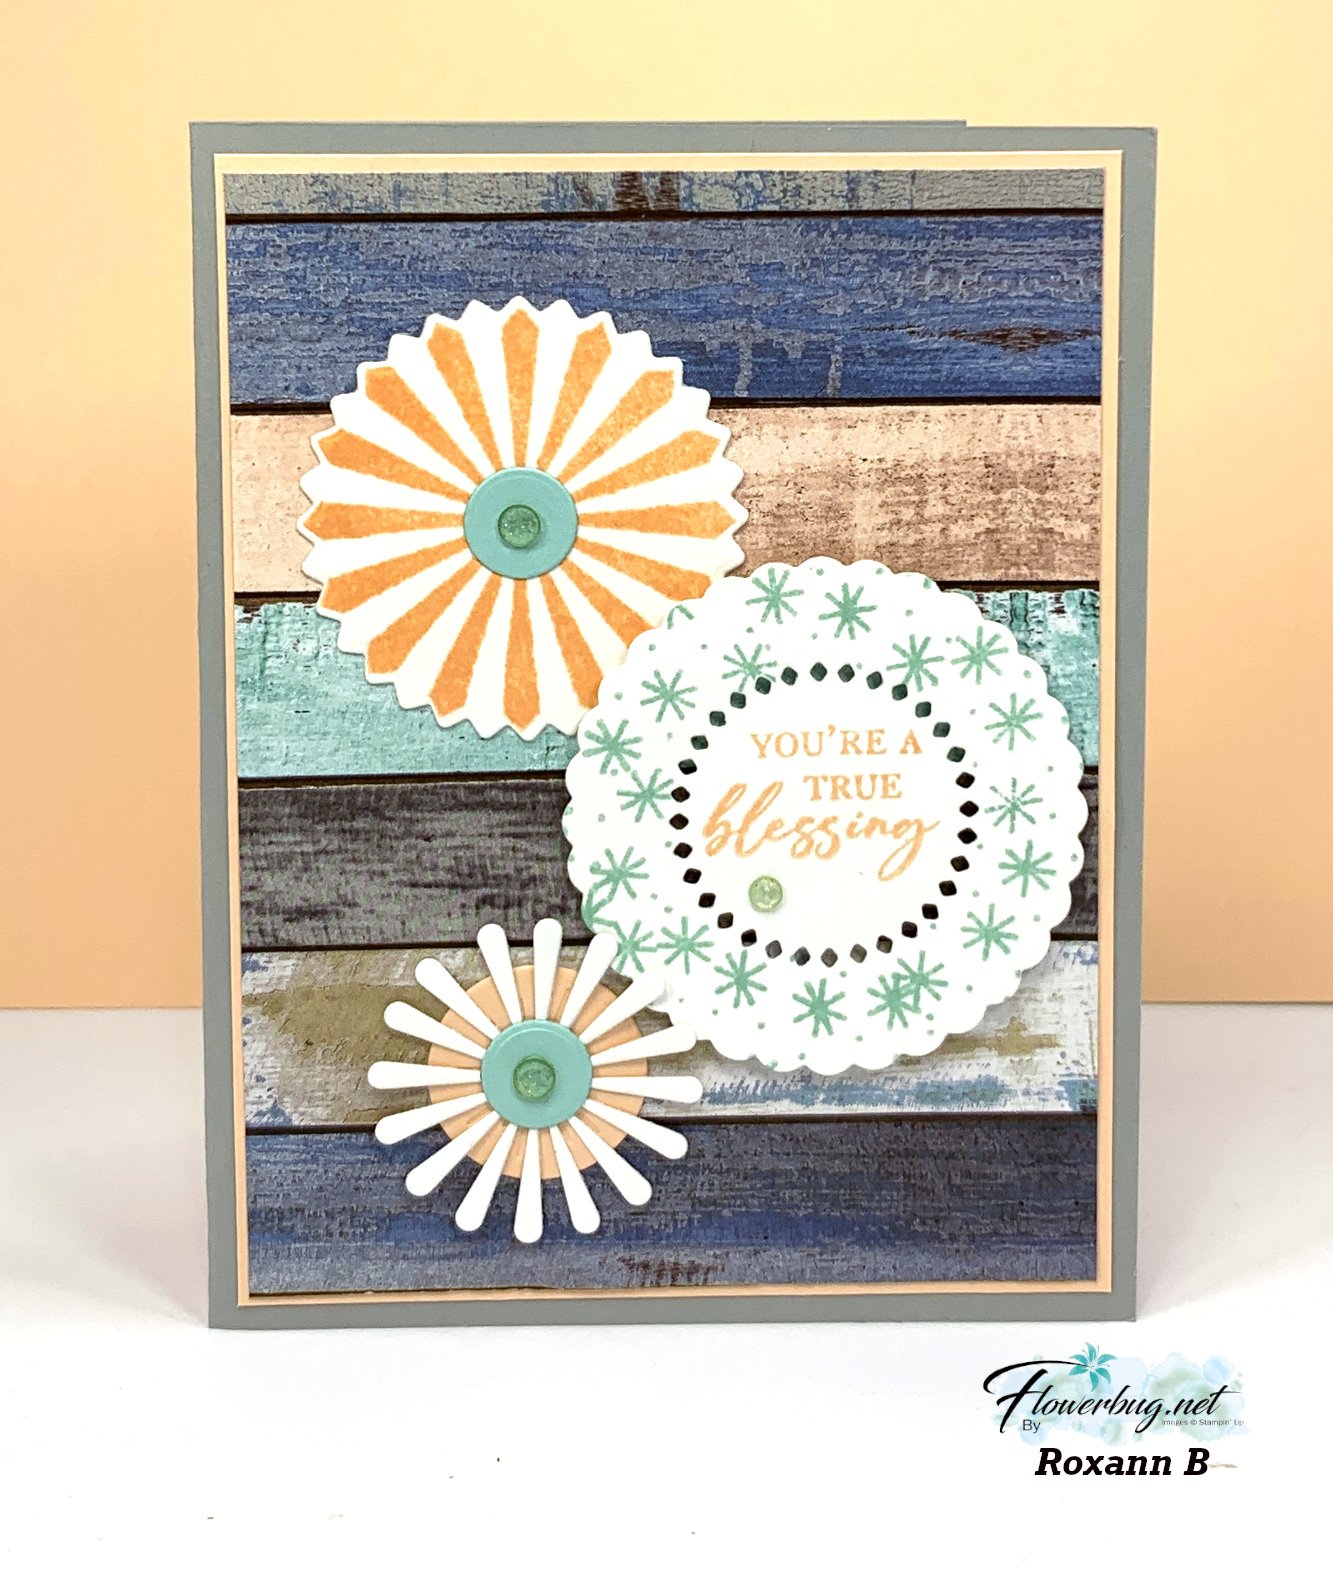
    Roxann made this adorable card with the Round we Go bundle:

    See the Round we Go bundle here. Her background paper is from the Country Woods DSP seen here. Her colors are Smoky Slate, Petal Pink and Pool Party with White. What a fun and eye-catching card!

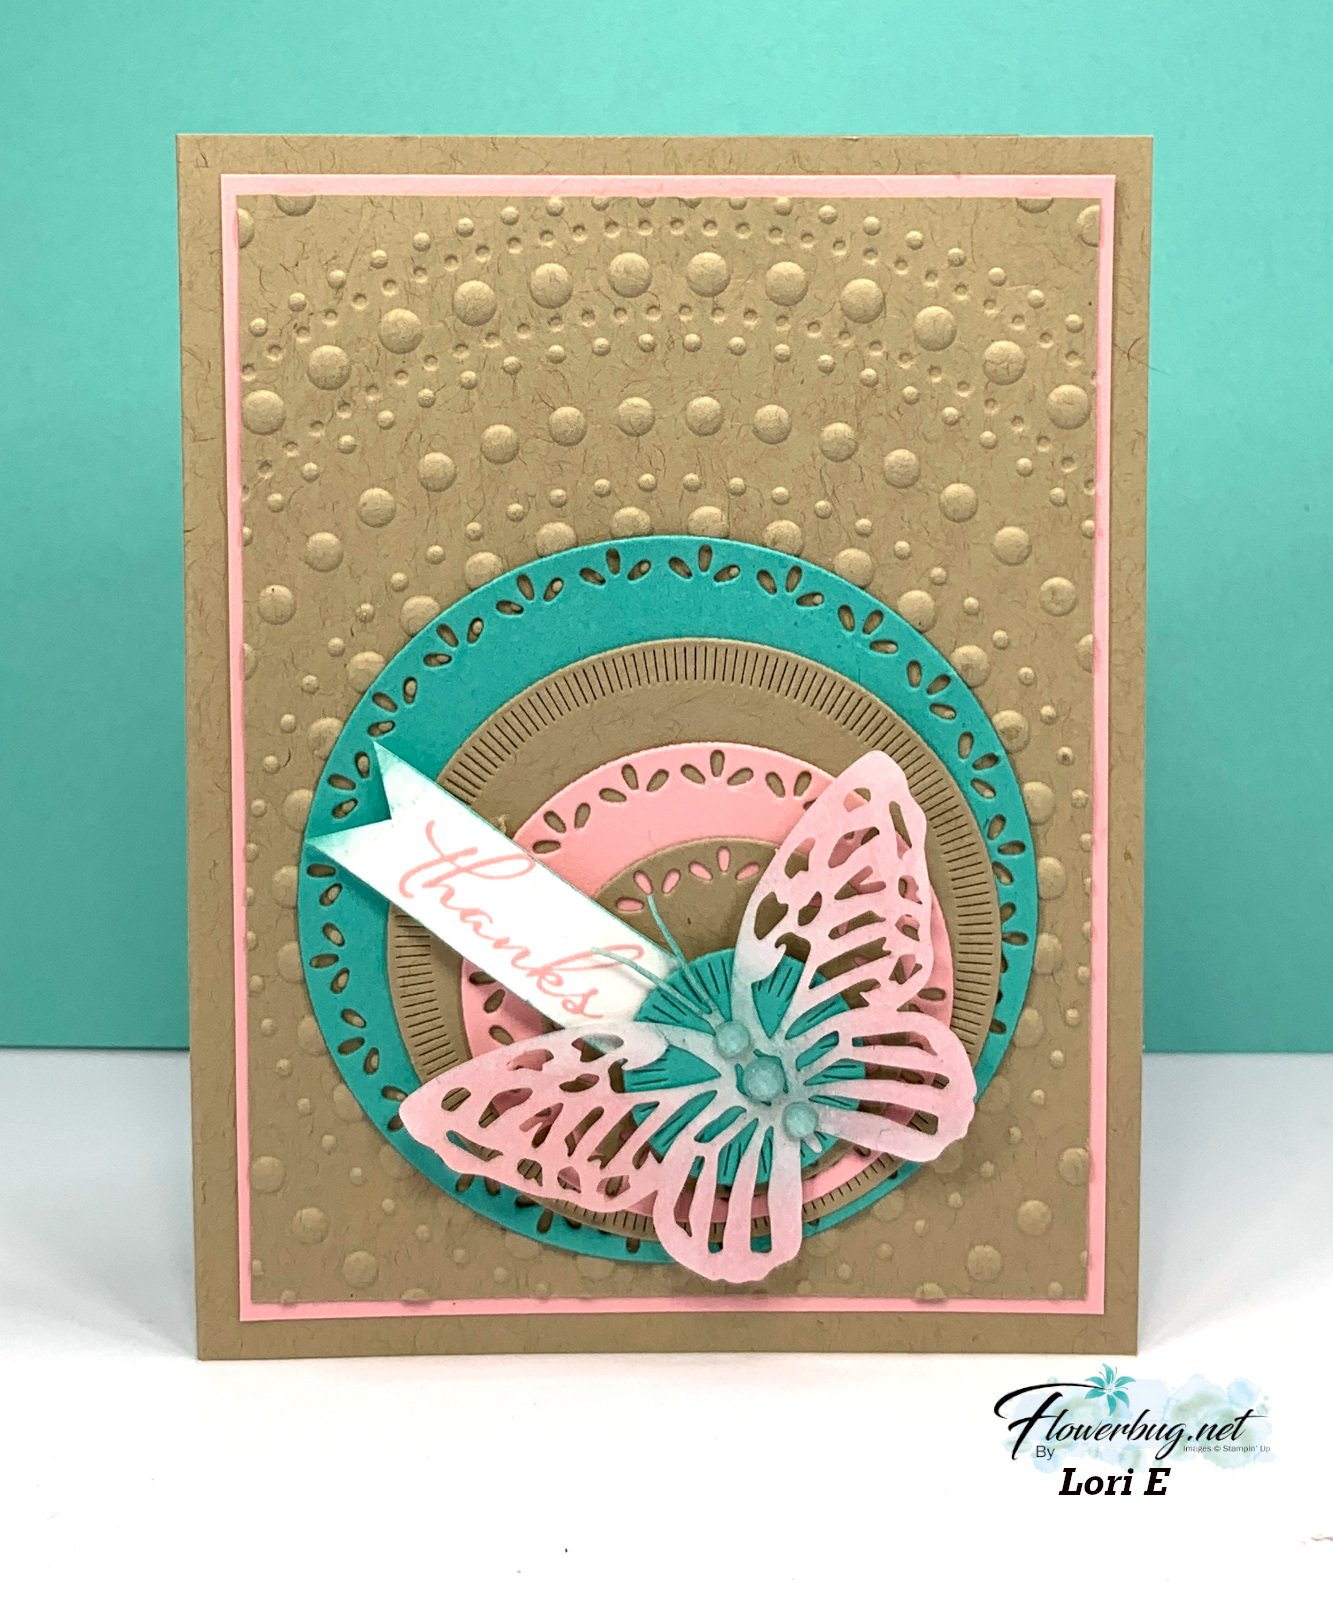
    Lori made this one with the Spotlight on Nature dies and the Butterfly Paper Accents seen here.  

    Unfortunately the Spotlight on Nature dies are unavailable again – this must be the third time since they were released! Her colors include Crumb Cake, Pretty in Pink and Summer Splash with White. The amazing Dotted Circles 3D embossing folder is featured on her background.  Love how it fits so perfectly with the circles! It's in low inventory but you can see that here. 

    ~~~

    Candy made this beautiful card with the Sketched Butterfly bundle seen here. 

    I love her soft colors of Lost Lagoon with Smoky Slate, Black and Very Vanilla.  She used Lost Lagoon & Smoky Slate Blends markers to color that pretty butterfly. She also used the dark Lost Lagoon blends marker to color her Black & Very Vanilla large check ribbon. 

    Tomorrow I'll post the last of the July Team swaps. 

    ~~~

    August Specials:

    *current host code link: BDGBJHAE


    Redeem your $5 coupon now! 

    ~~~

    All online orders will receive a free PDF tutorial featuring the

    Season of Green & Gold suite


    Leave a Reply

    Your email address will not be published. Required fields are marked *


Notice: LeeAnn Greff, Independent Stampin’ Up! Demonstrator, Manager. The content of this website is my sole responsibility as an independent Stampin’ Up! demonstrator and the use of, and content of, the classes, services, or products offered on this website is not endorsed by Stampin’ Up! Copyright 2025