/


Latest Post

Cute Little Ladybug projects!


I created some adorable projects on my Facebook Live this week with the Little Ladybug's stamp set!  Check it out here.  Every Tuesday at 11 am CT I'm Live here.  **Although it will be on Wednesday, January 22nd next week instead.

We made them at my Flowerbug's Team meeting on Saturday too. 

The Little Ladybug stamp is found at the back of the Sale-a-Bration catalog.  It's FREE with any $300 order.  Tomorrow I'll share ideas on how you can earn it yourself. 

Or place an order with me during January and get in on the prize drawing for one lucky person who will get this stamp set free!   


The card above on the left was made by my friend Susie Wood; it's a spinner card!  I loved it so much I had to make one.  I'll share the details on that card tomorrow and another card next week. 

I used punches to create the windows on this card from the 5 1/4" X 4" Black CS; it's really a great way to highlight your images.  Sometimes I struggle with smaller images; just what do you do with them to create a great card?! 

You could use anything in the windows; greetings, flowers, critters – the sky's the limit!  Look at your stamps in a whole new way! 

Did you notice the 'fussy cut' greetings?  I have a tip for you!  Save the paper backing on your red rubber stamps and use it as an outline to trace over your stamped greeting.  Or if you didn't save it, trace the main rubber stamp itself.  Save the template in your stamp case for repeated use. 

~~~

Three January Specials just for you! 

1. All January online orders will earn a ticket in the drawing for a free Little Ladybug stamp set!

2. All online orders will receive a 10 cards pdf tutorial in an email.


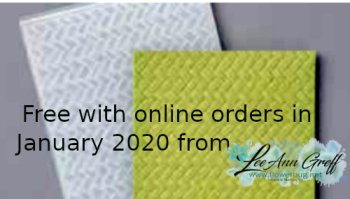
3. And if your order is over $65 you'll get a free Coastal Weave embossing folder too!

January Host Code is GEEFZCZV

Order online here

All Posts

  • A few favorite craft storage tips


    I thought I'd share some of my favorite ways to store my stamping products.  Some people enjoy organizing more than creating! 

    First is how I store my stamp sets.  In a dresser drawer.  I purchased a few dressers from IKEA many years ago and they've held up very well despite multiple moves.  

    Here's a photo of my craft studio.  I am very, very lucky to have such a beautiful room in our home for my business and classes. 


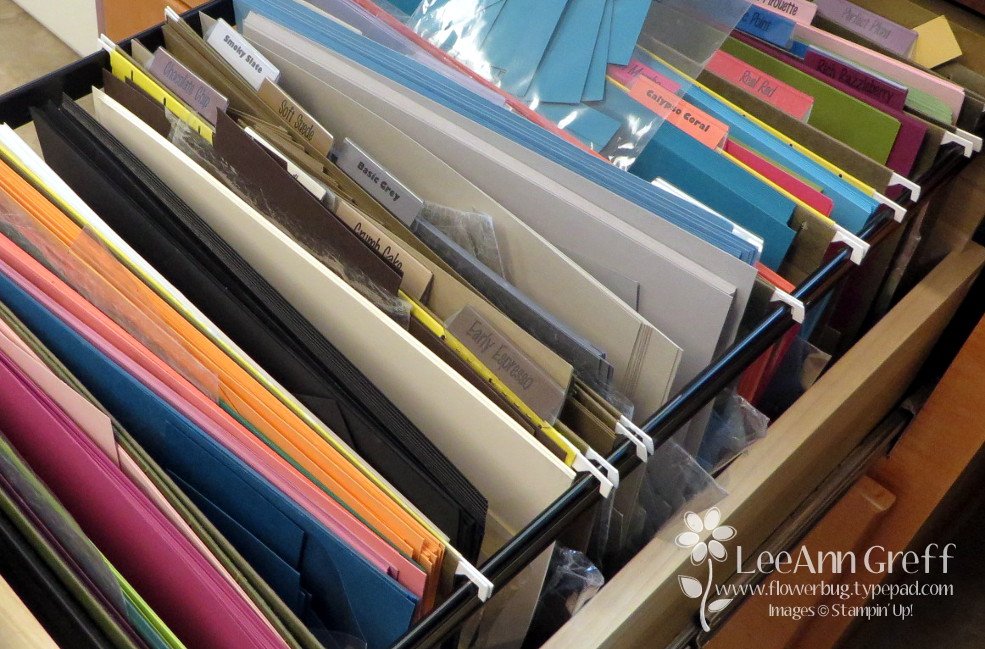
    Here's how I store my 8 1/2" X 11" card stock and paper scraps.  In front of each color of card stock I keep a cello bag for the scraps in that color. I've used this method for years and it really helps me use my scraps.

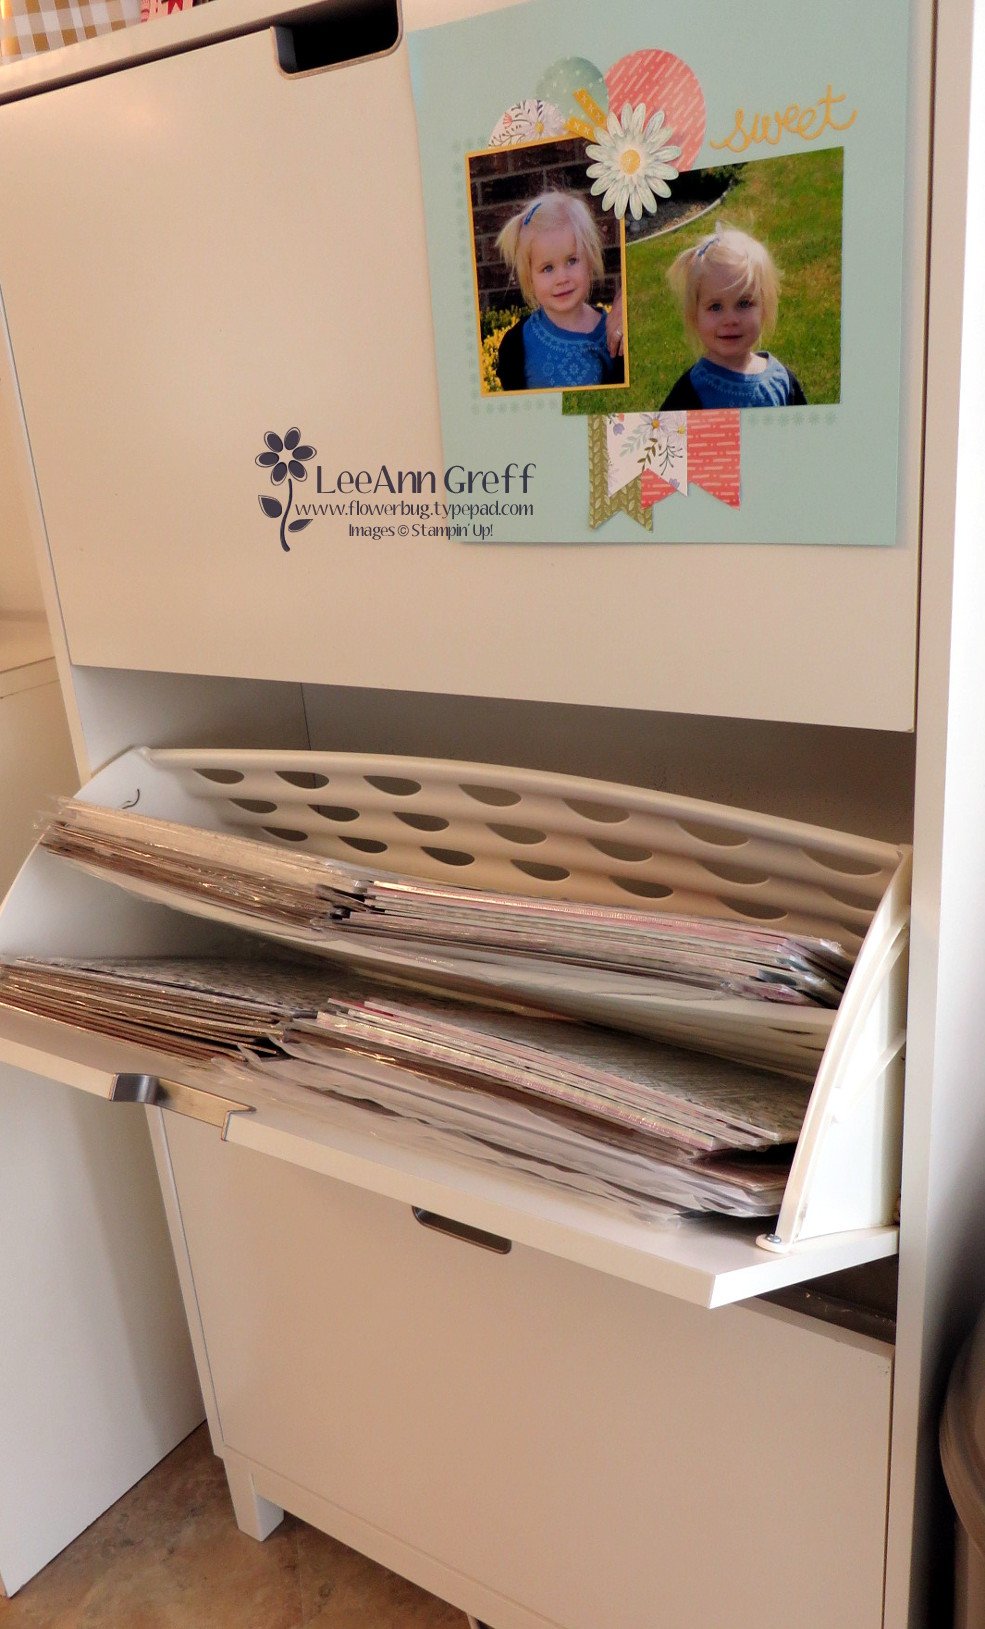
    Next is how I store my 12 X 12" designer paper and scrapbook pages. 

    It's a shoe storage cabinet! My 12 X 12" paper fits like it was made just for it!  You can get two stacks side by side in it since it's about 30" wide.    Plus it has a divider to fit even more paper above it.  I love the way the doors hinge open.  There are three doors and it's only about a foot deep.

    Lastly here's how I store my inks, markers and ribbon. These are Stampin' Up! storage and they're fully customizable to fit what you need.  Click here to see the options. 

    I love that it fits right on my work area for easy reach. As you can see I organize my inks in rainbow order. I'm not sure why my Blends aren't but I know my granddaughter will love to do that for me this week while she's here.  

    ~~~

    December Specials:

    *current host code link:  

    P243X6VH

    3 new designer papers!

    ~~~

    Available December 3rd; while supplies last!

    ~~~

    ~~~

    Leave a Reply

    Your email address will not be published. Required fields are marked *

  • Merry Christmas!


    I hope you enjoy a beautiful Holiday with family & friends.  

    Leave a Reply

    Your email address will not be published. Required fields are marked *

  • Diagonal Fun Fold with new products! Free project sheet & video too.


    Today I'm sharing a neat fun fold I hadn't made for awhile.  It's a diagonal fold that is fun and easy. 


    I used a few new, upcoming products from both the 2025 Spring and the 2025 Sale-a-Bration catalogs.  The greeting & punch are made with the Bright Borders set and coordinating To the Point punch.  The designer paper is the Toadstool Gardens 6" DSP from the SAB catalog.  It's free with any $60 purchase from January 7th – February 28th, 2025.  

    I made over 20 of them for a mail out swap I joined.  The colors include Melon Mambo & Granny Apple Green. 


    I share how to make it in the video here and seen below.  Basically it involves trimming off half of one side of the card base, flipping it and adhering it back to the card front.  The only confusing this can be adding your designer paper.  I suggest using a non-directional paper when trying this out. 

    Here's the free project sheet you can print or download. Click on the following link: Download Bright Borders Diagonal fun fold


    Below is the video if you'd like to see how to assemble this card. I also share a pretty Sophisticated Sled project too.

    ~~~

    December Specials:

    *current host code link:  

    P243X6VH

    3 new designer papers!

    ~~~

    Available December 3rd; while supplies last!

    ~~~

    ~~~

    Leave a Reply

    Your email address will not be published. Required fields are marked *


Notice: LeeAnn Greff, Independent Stampin’ Up! Demonstrator, Manager. The content of this website is my sole responsibility as an independent Stampin’ Up! demonstrator and the use of, and content of, the classes, services, or products offered on this website is not endorsed by Stampin’ Up! Copyright 2025