/


Latest Post

Cut once for two card fronts with the Border Basics dies; video tips & tutorial too


I shared one of the cards I made in last week's video and here's another one. Both feature the same three products: Masterfully Made designer paper, Wanted to Say dies and the Border Basics dies.  
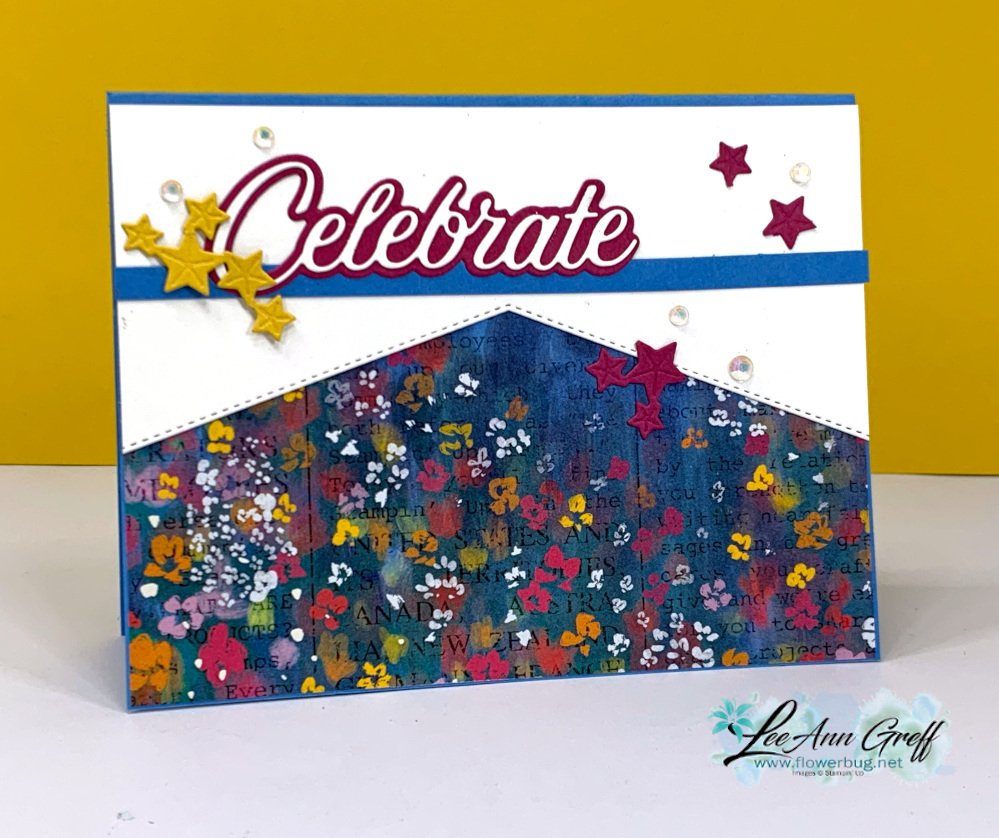
I used the White die-cut leftover from the card I shared yesterday on this card; basically getting two cards from one die-cut!

The Border Basics dies are wonderful and so versatile since they die-cut the stitched edge on both sides.  Below is a photo of the inside of the card: 
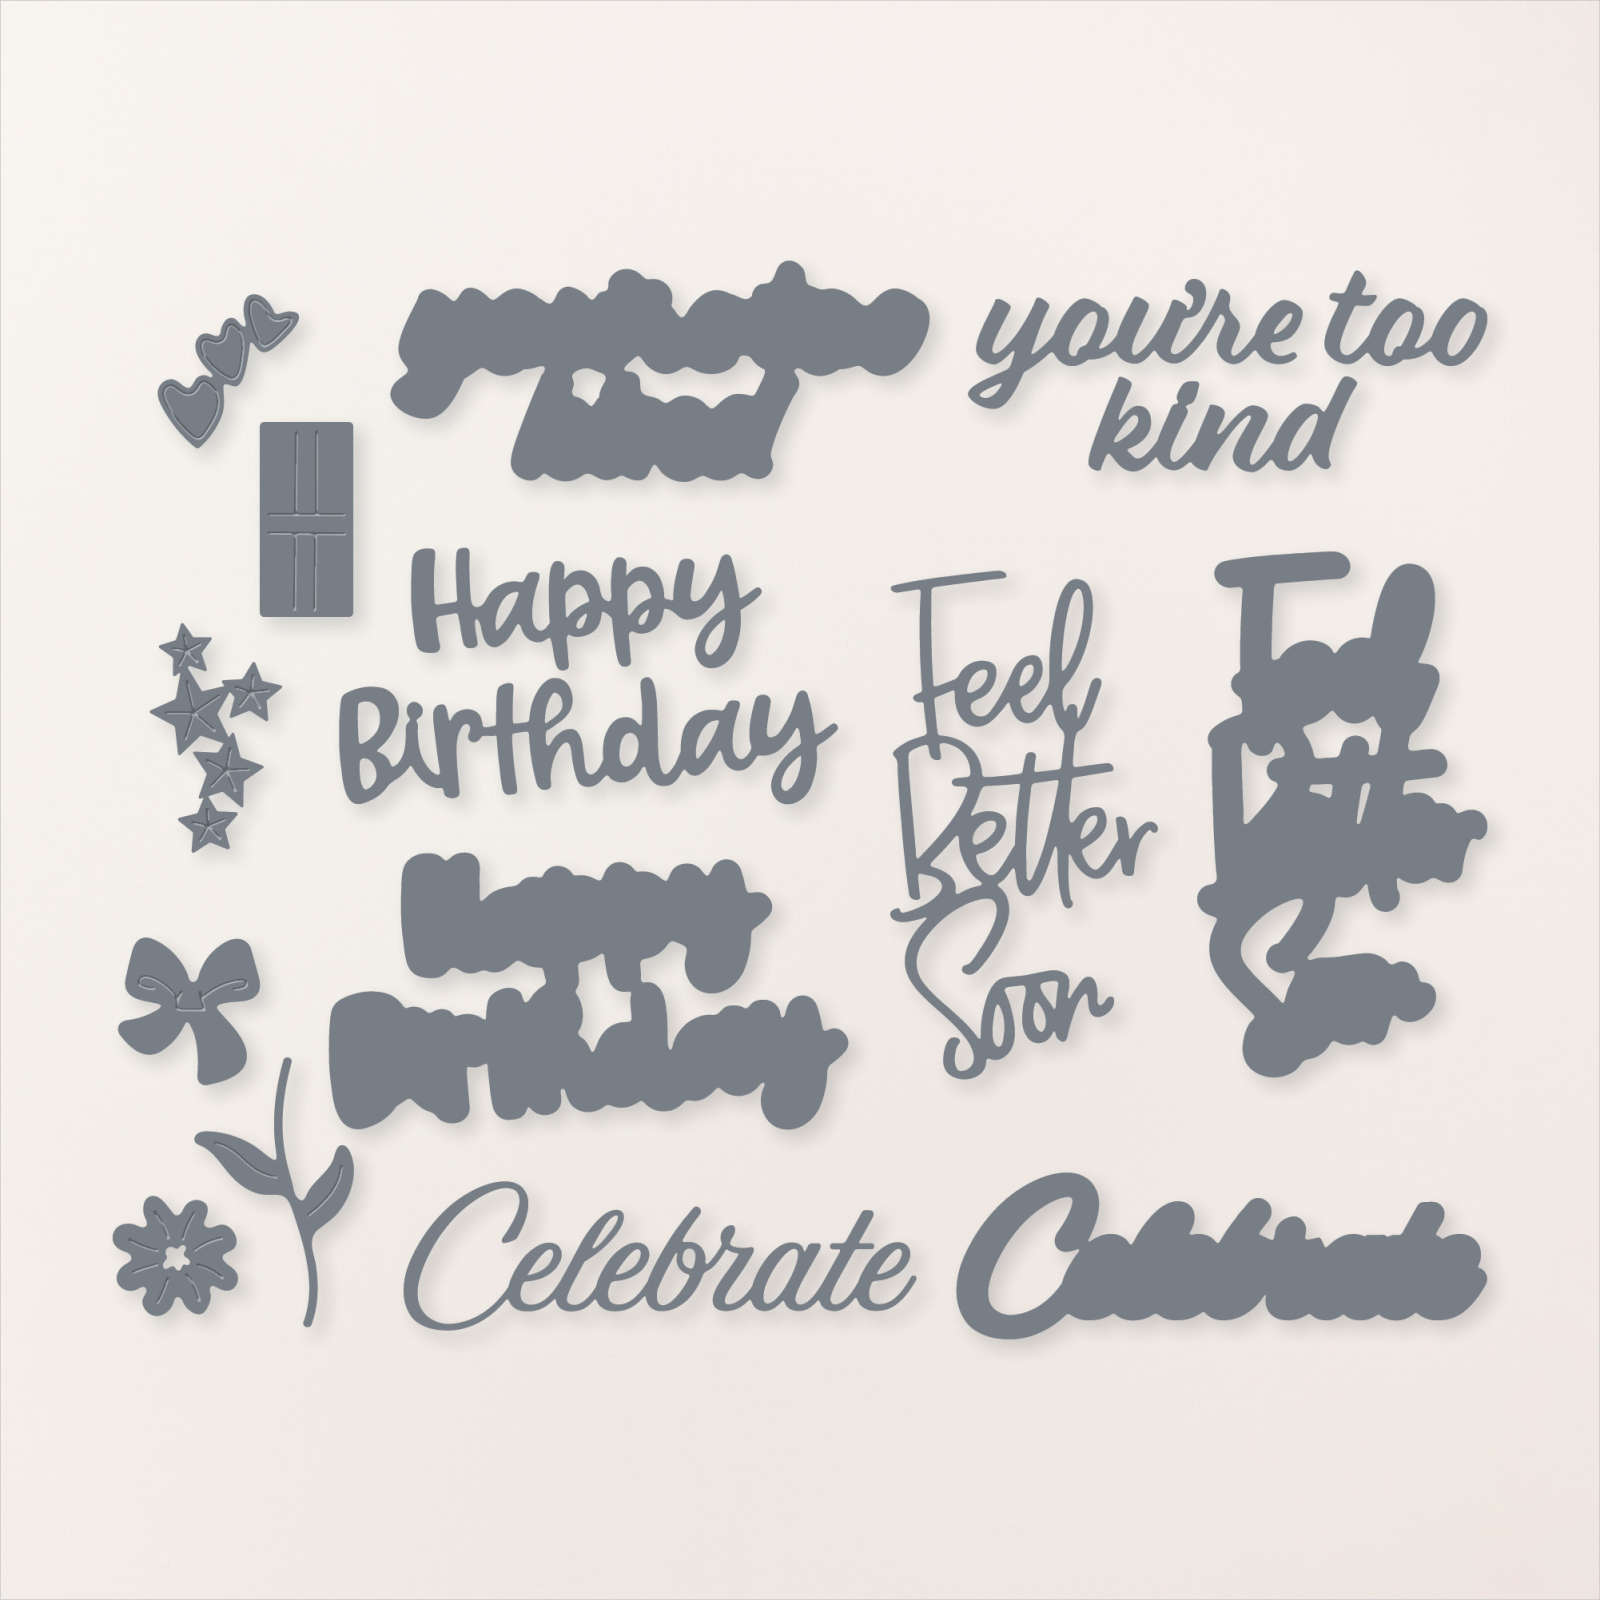
The Celebrate, Happy Birthday, stars and present die-cuts are all from the Wanted to Say dies seen here: 
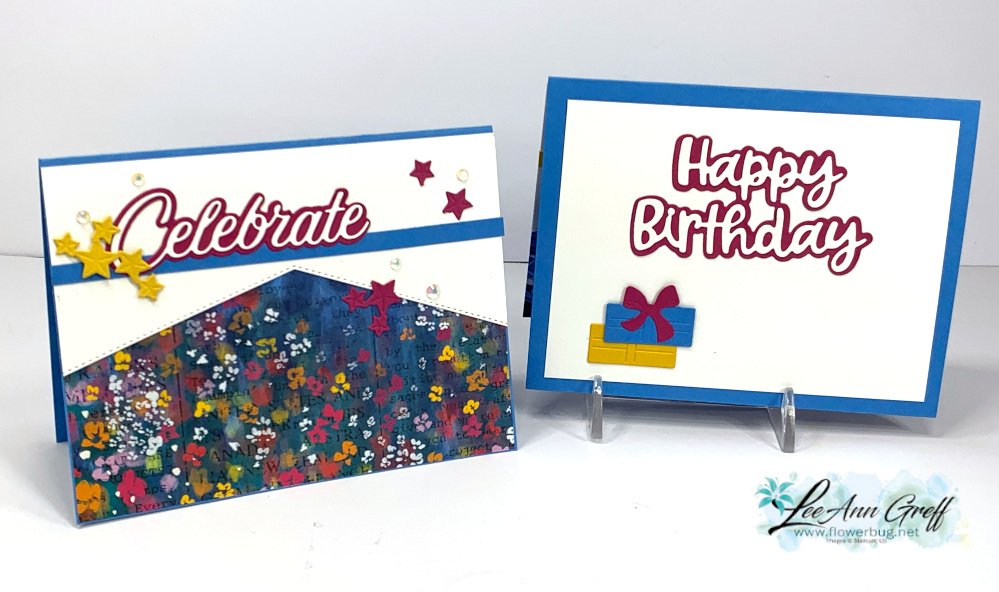
Here are both cards I shared; each with a different piece of the Masterfully Made CS.  As you can see I added a thin line of card stock to rest the 'Celebrate' die-cut on. I love the effect!

You can see this beautiful designer paper here.  It's discounted in June; down to $10.62.
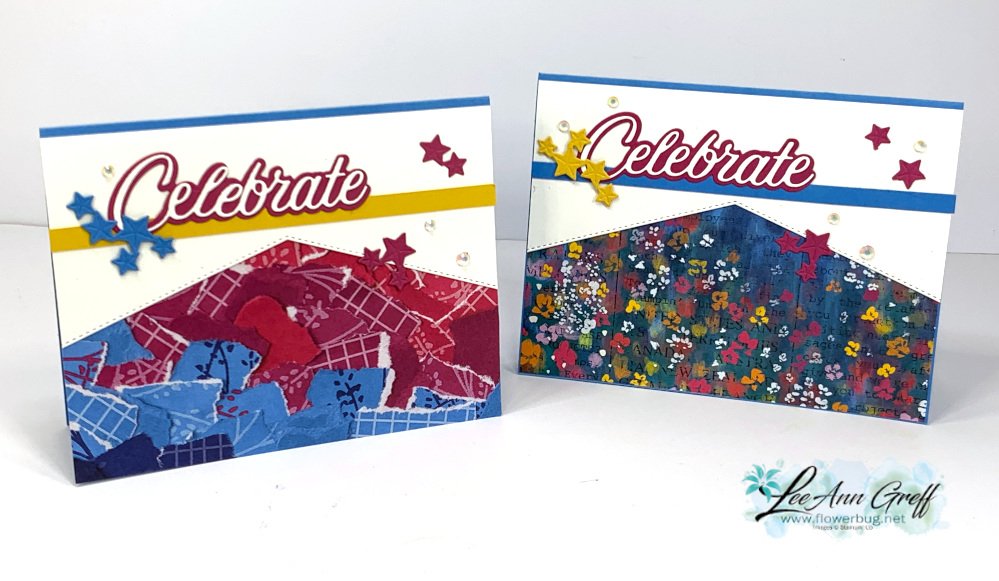
The photo below shows both cards; one cut for two card front! 

I cut the right side of the card front off (on the left card) and used that piece on the card on the right. Essentially I cut the card front in half and added it to the card on the right, adding DSP underneath to show off the angles.  One cut; two cards!  

You can see how I made this card on the video here.  Or click on the photo below to watch. Remember to follow me on Facebook here or on my YouTube channel here. 

~~~

June Specials:

Designer Paper is 15% off in June!
WOW – get $155 in product for $99 with free shipping! click here!

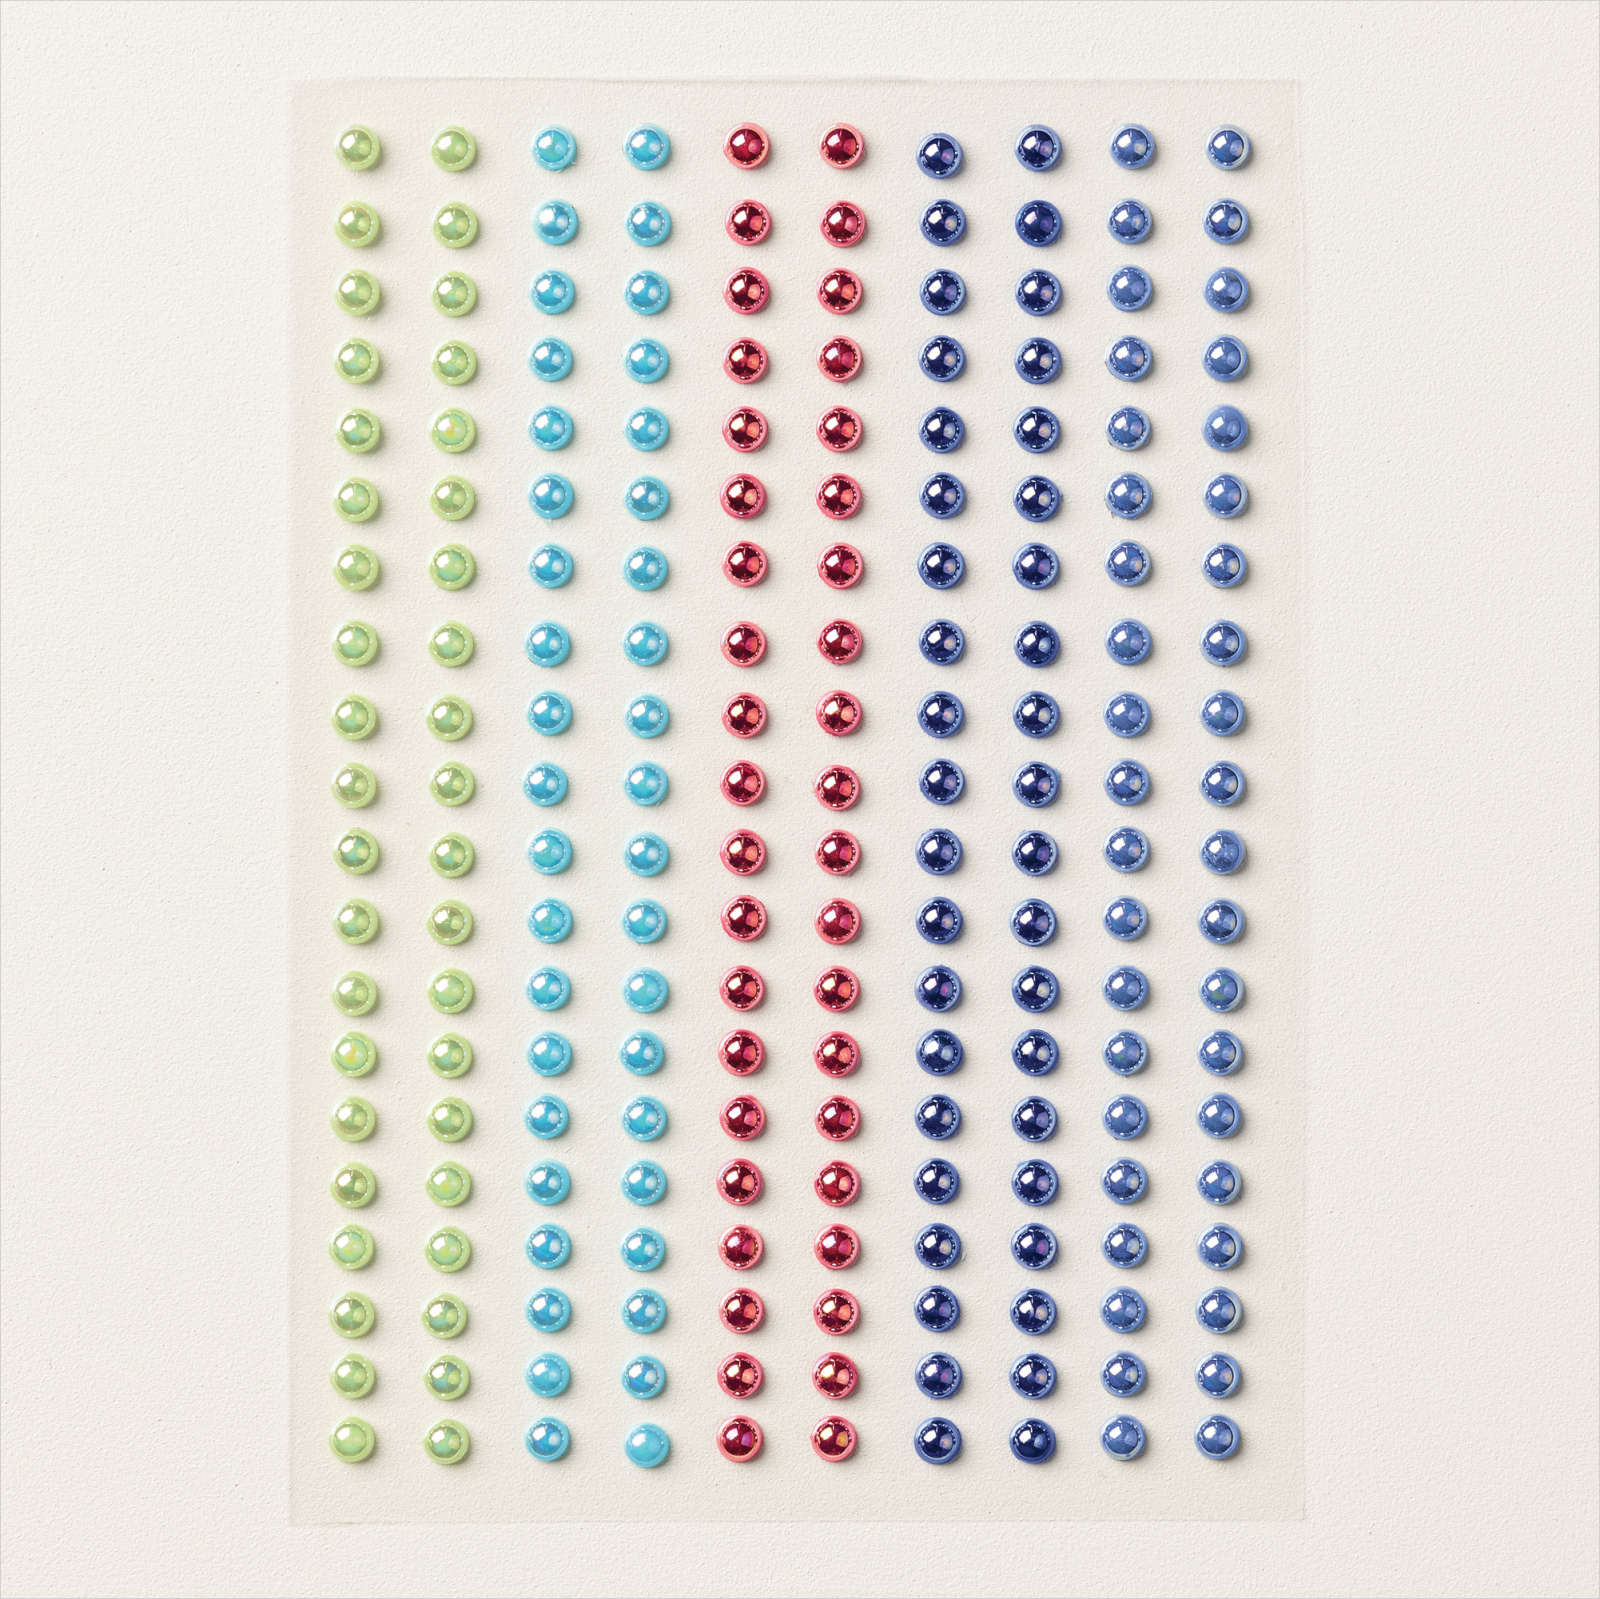
Get a package of In Color pearls with online orders over $55 using a host code.

*current host code: M7SCQSVS 
 Earn free products with my loyalty rewards! 

Click here to download yours and earn a $50 shopping spree!
All Posts

  • August Specials with Stampin’ Up!


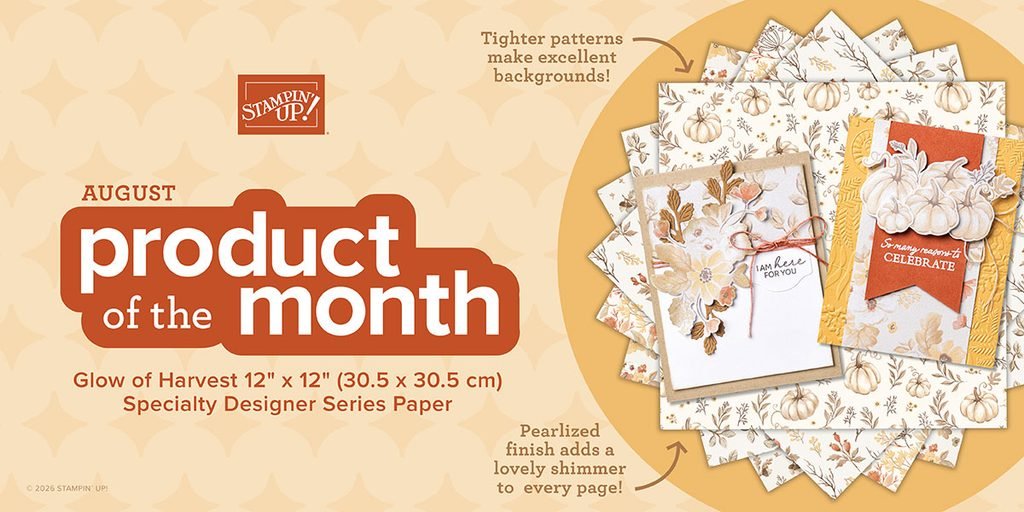
    Each month Stampin’ Up! offers a NEW Product of the Month – it’s just $5 with any $75 purchase. It’s available as of today while supplies last….

    This month it’s the gorgeous Glow of Harvest Specialty designer paper. It has a pearlized sheen that makes it extra special.

    Click here to start shopping to earn yours.

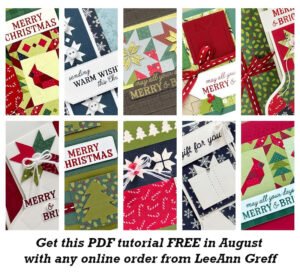
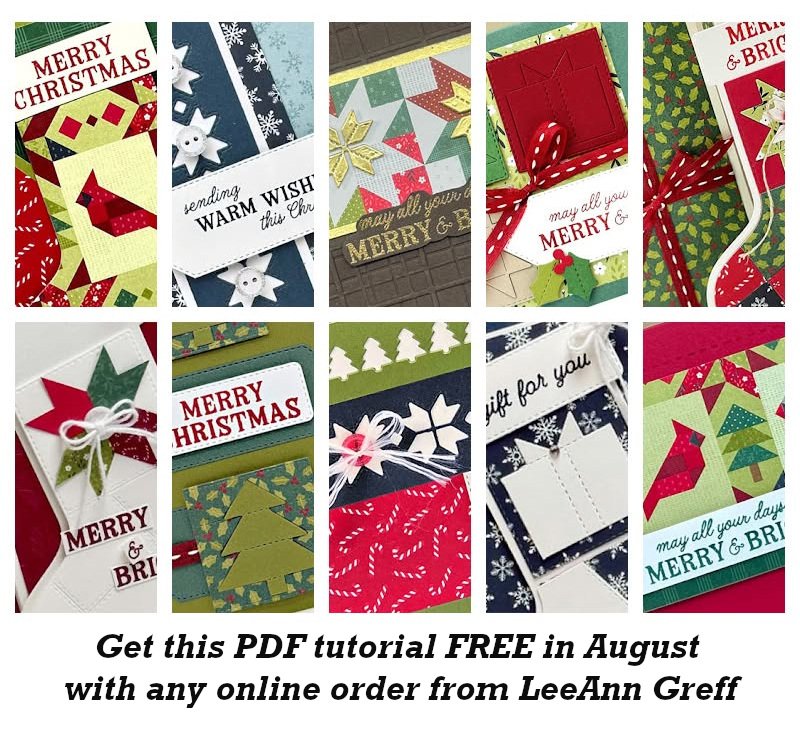
    Each month I offer a full tutorial filled with projects featuring a new suite to anyone who purchases from me online. This month it’s the new A Stitched Season suite. It’s really not too early to start planning your Holiday projects!

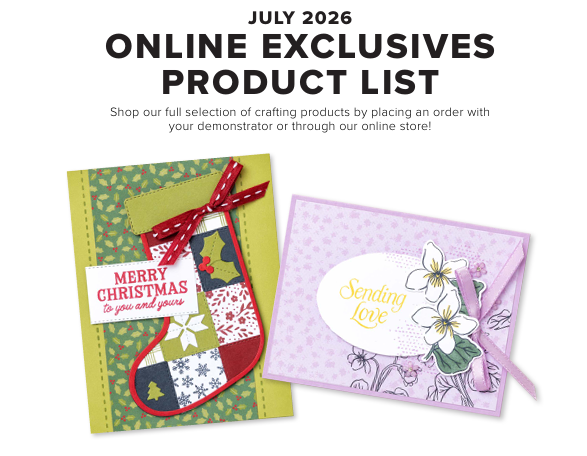
    Here’s the list of the latest Online products available now! Click here to see it.

    Leave a Reply

    Your email address will not be published. Required fields are marked *

  • Velvet Meadow gatefold card with video & free project sheet


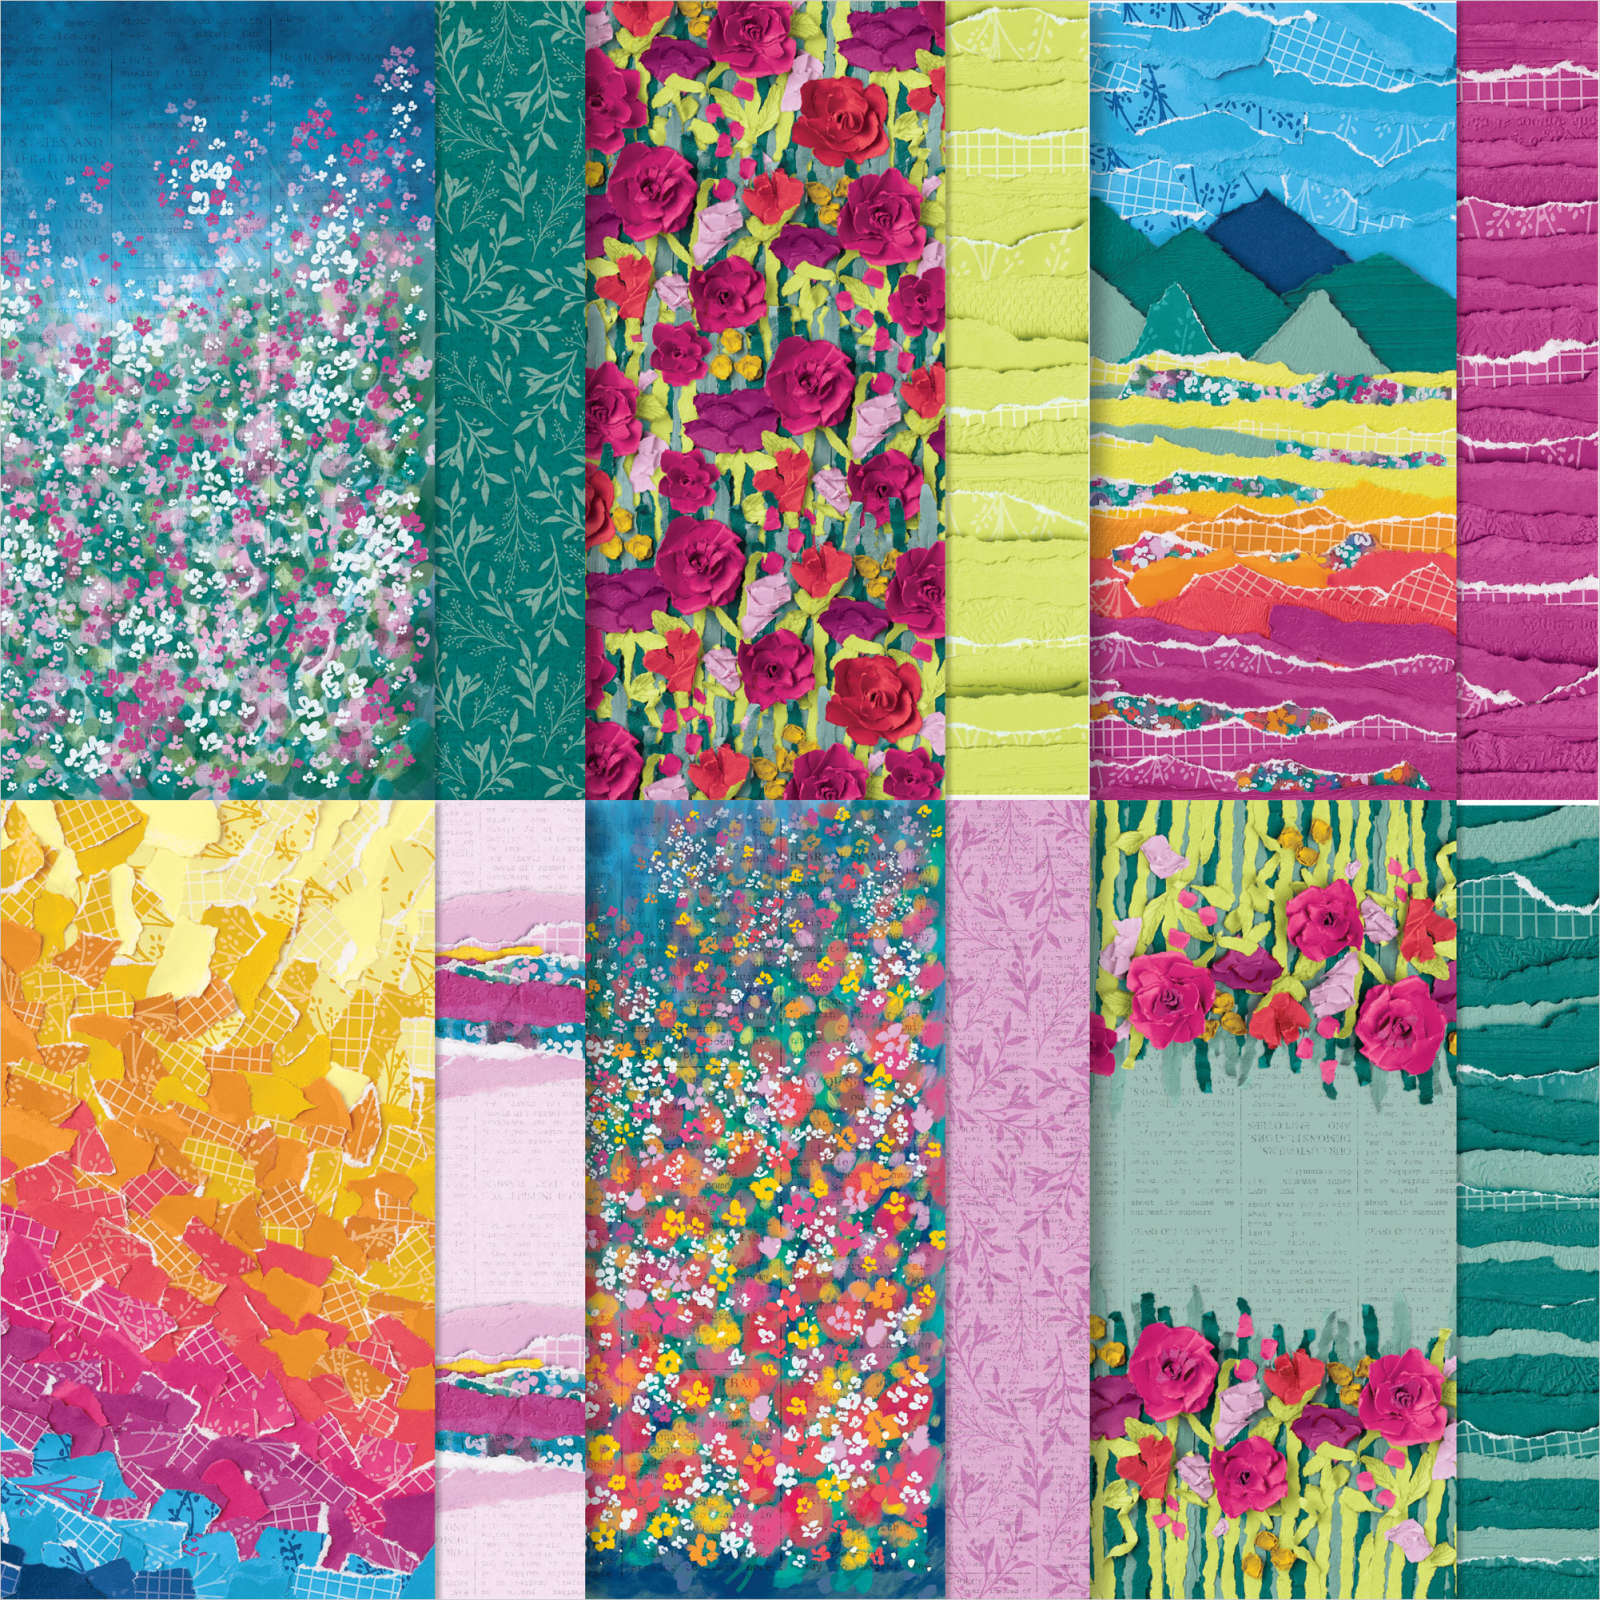
    This is another card we made at my July card clubs. It features the Velvet Meadow specialty DSP seen here.

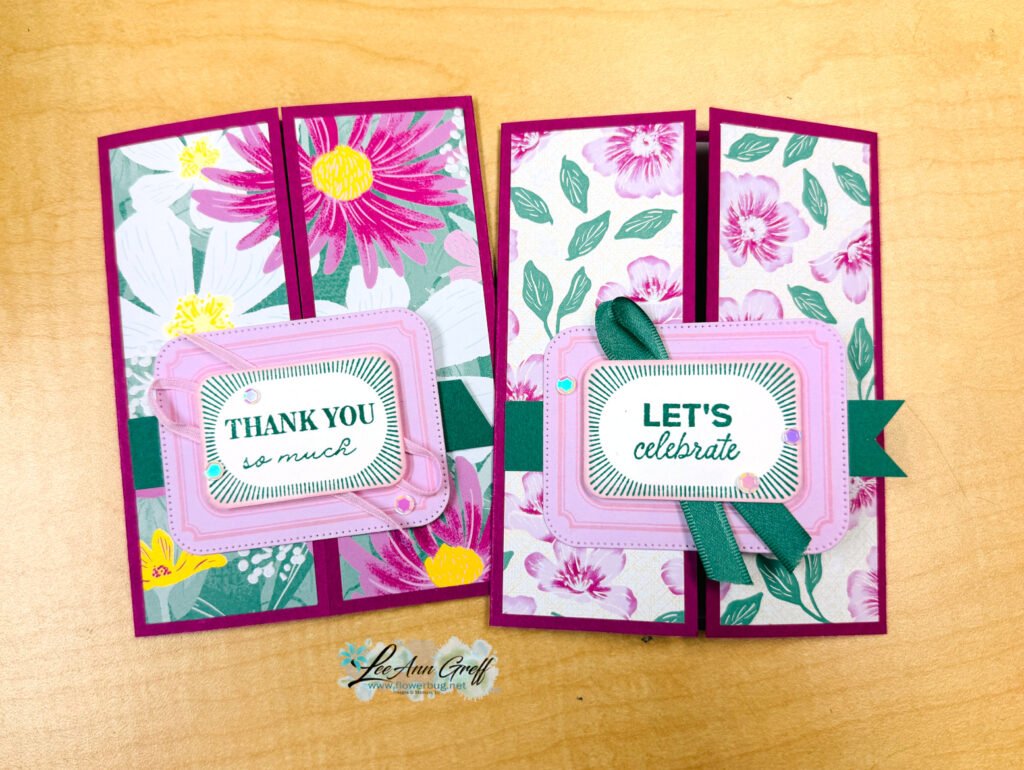
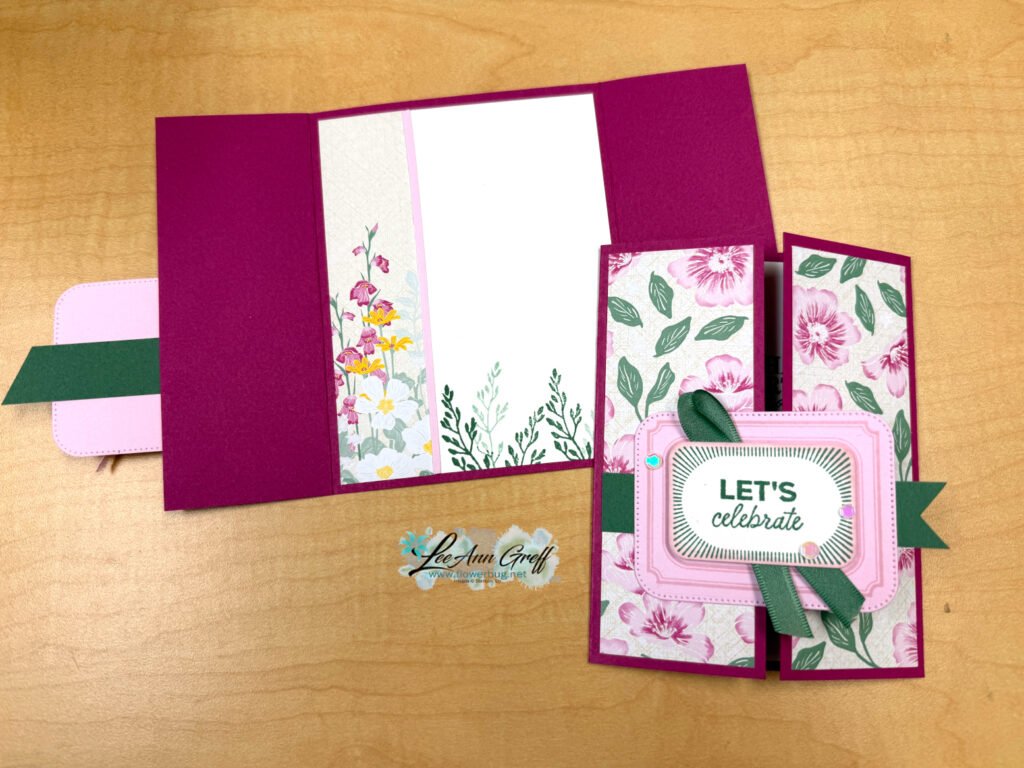
    It’s a simple gatefold card. I matched most of the DSP so it created a full panel on the front. This DSP has fussy or flocked areas on it. It does feel velvety!

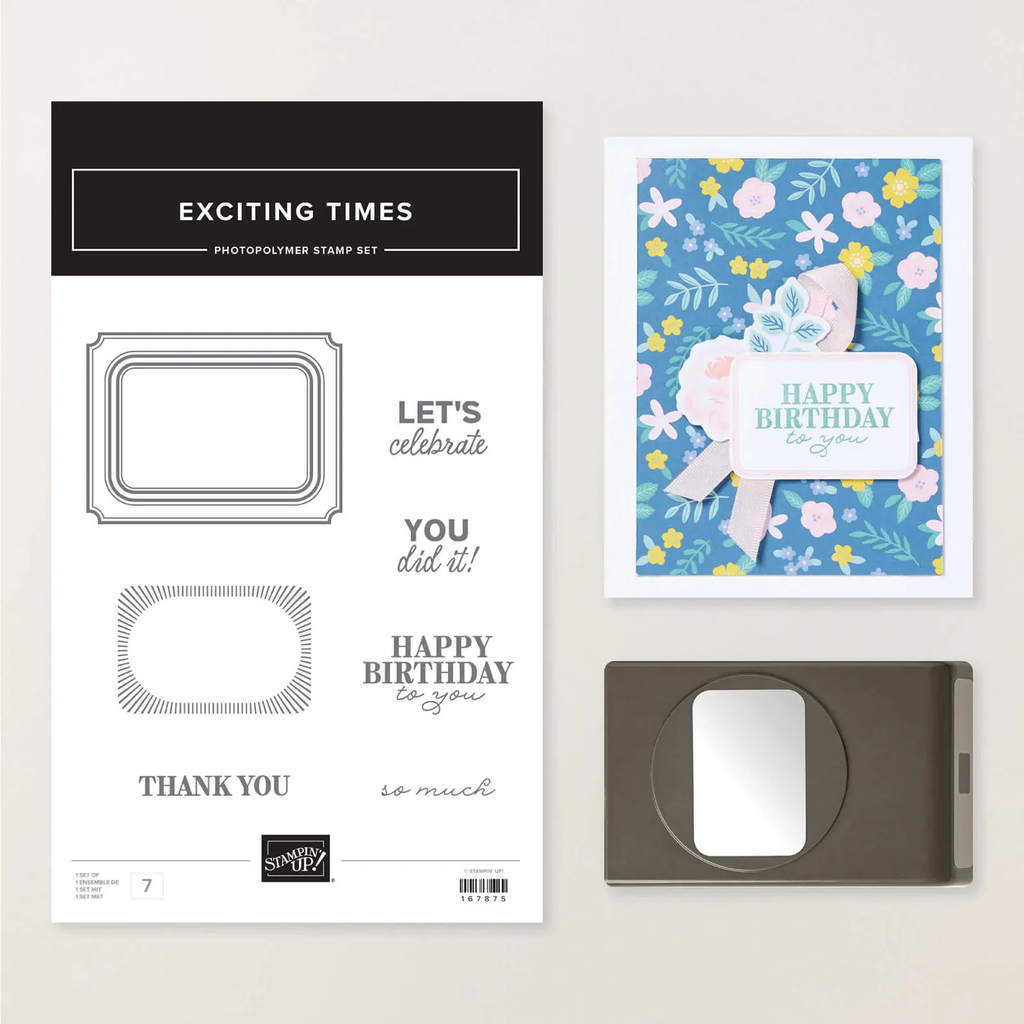
    I also used the new Exciting Times punch bundle for the center. You can see it here.

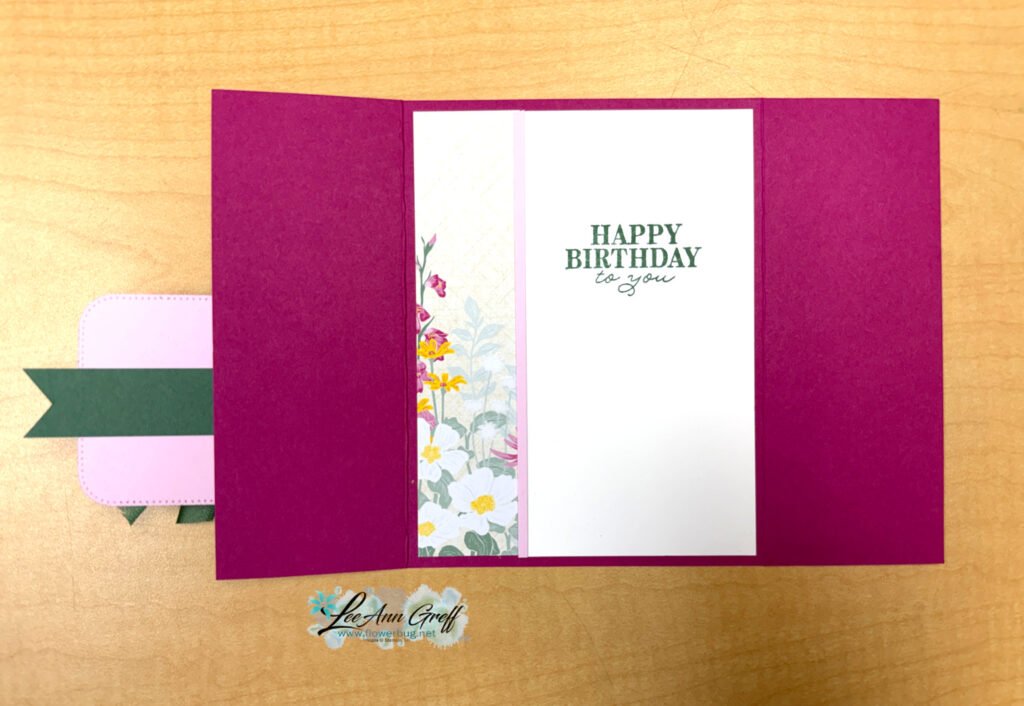
    Here’s what the inside looks like. I added a strip of the DSP along with the white for stamping and signing. Then added a skinny divider of Bubble Bath for a little accent color.

    My colors include Berry Burst, Bubble Bath and Peaceful Pine.

    I created a free project sheet for this card; click here to download or print it. Remember it’s a great idea to save these on your computer for easy access.

    The video tutorial for this card and one more neat fun fold is below. Thanks for popping in today!

    August Specials:

    Get this PDF FREE with any online order in August!

    As of tomorrow you can redeem this beautiful specialty DSP with any $75 purchase!
    Item #168598

    Leave a Reply

    Your email address will not be published. Required fields are marked *

  • Update on our move to Bismarck, ND


    If you haven’t watched my recent videos you may not know that we have moved from Minot, ND to Bismarck, ND this month. It’s been a super busy time of downsizing, selling excess, packing and moving.

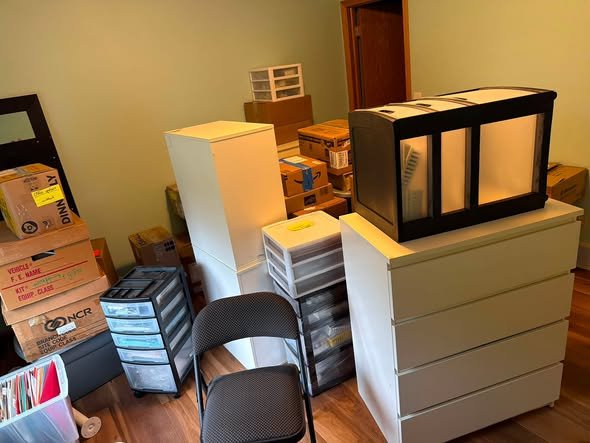
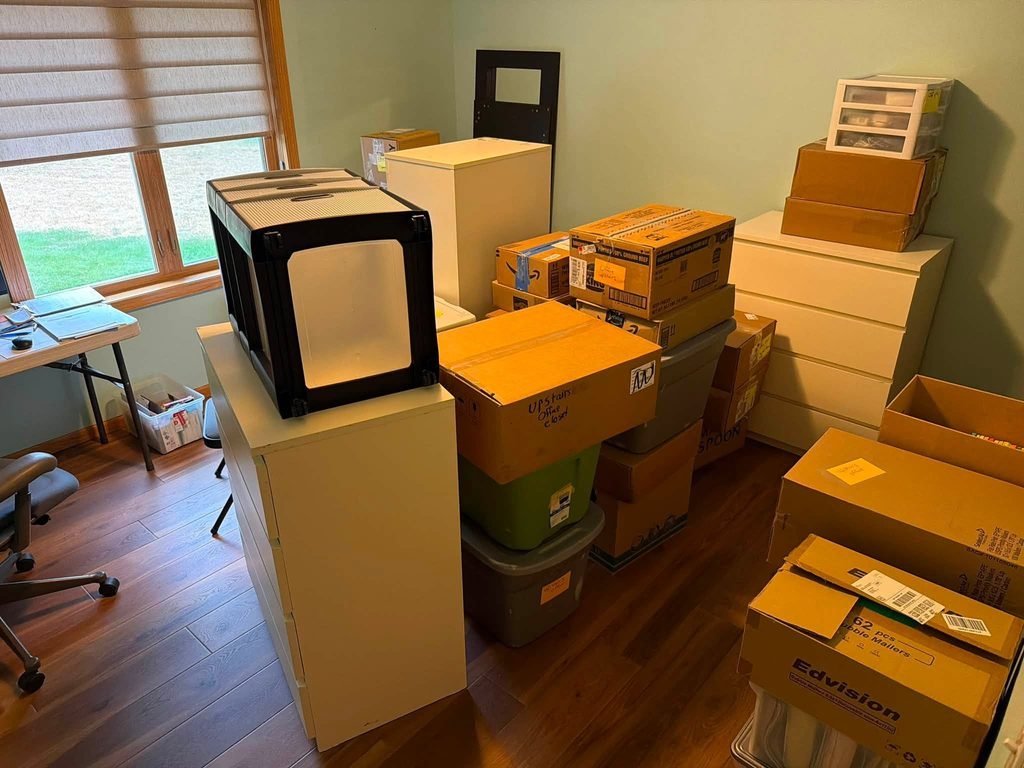
    Why did we move? Well, there are many reasons but mostly my husband retired and we moved to be closer to our son and other family. It was very difficult to leave our beautiful home but we will love our new home too. Here’s a picture of my office/craft room before I was able to unpack. I’ll share new photos once I’m settled.

    In that back doorway is a walk in closet; that will help with storage! I did find a nice L shaped desk and hope to get that set up today; then I can really set up my room.

    This is why I’ve been missing in action lately; it’s hard to do both stamping/business and moving/getting settled. So I’m taking a bit of a break in August. Have patience with me; I’ll be back to blogging and videos soon!

    Leave a Reply

    Your email address will not be published. Required fields are marked *


Notice: LeeAnn Greff, Independent Stampin’ Up! Demonstrator, Manager. The content of this website is my sole responsibility as an independent Stampin’ Up! demonstrator and the use of, and content of, the classes, services, or products offered on this website is not endorsed by Stampin’ Up! Copyright 2025