/


Latest Post

Cut once for two card fronts with the Border Basics dies; video tips & tutorial too


I shared one of the cards I made in last week's video and here's another one. Both feature the same three products: Masterfully Made designer paper, Wanted to Say dies and the Border Basics dies.  
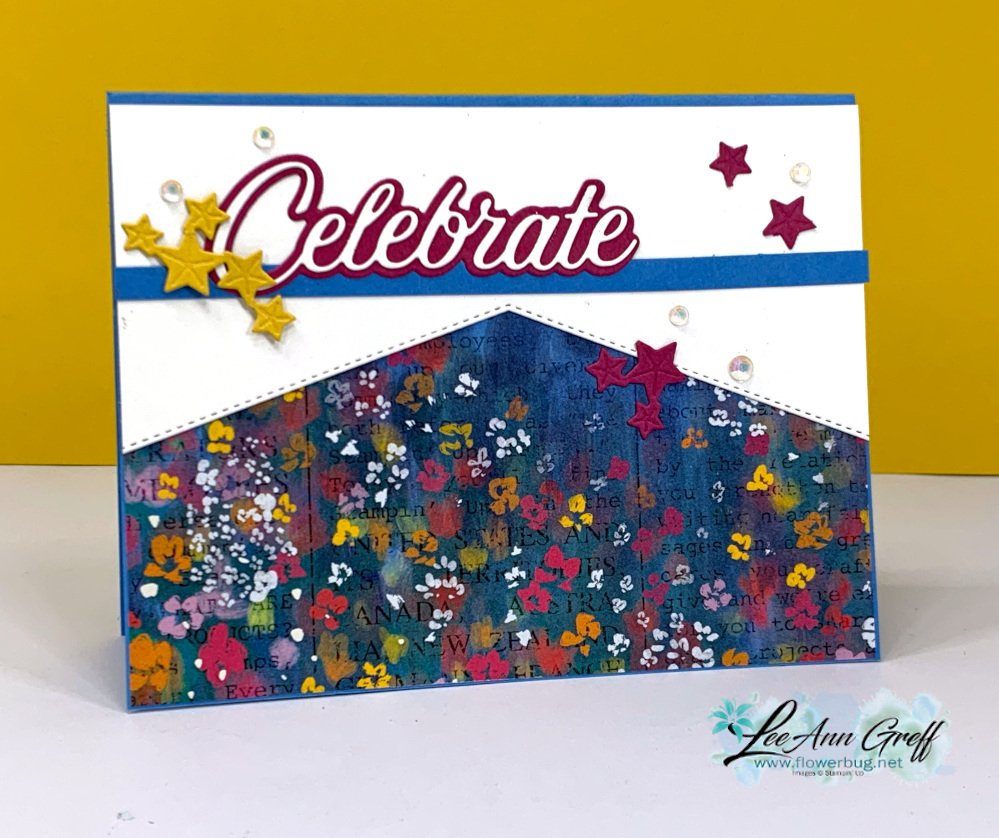
I used the White die-cut leftover from the card I shared yesterday on this card; basically getting two cards from one die-cut!

The Border Basics dies are wonderful and so versatile since they die-cut the stitched edge on both sides.  Below is a photo of the inside of the card: 
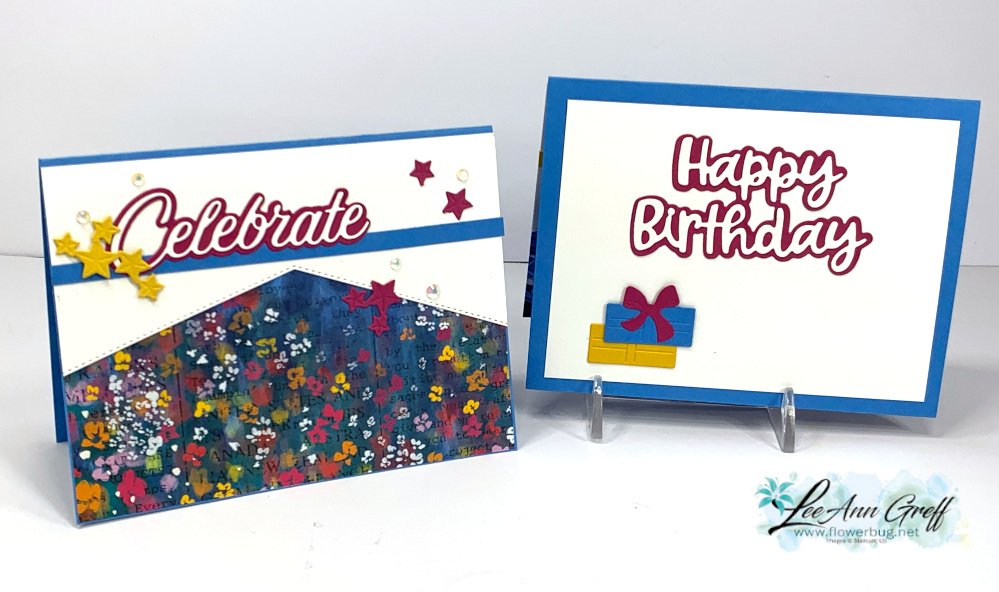
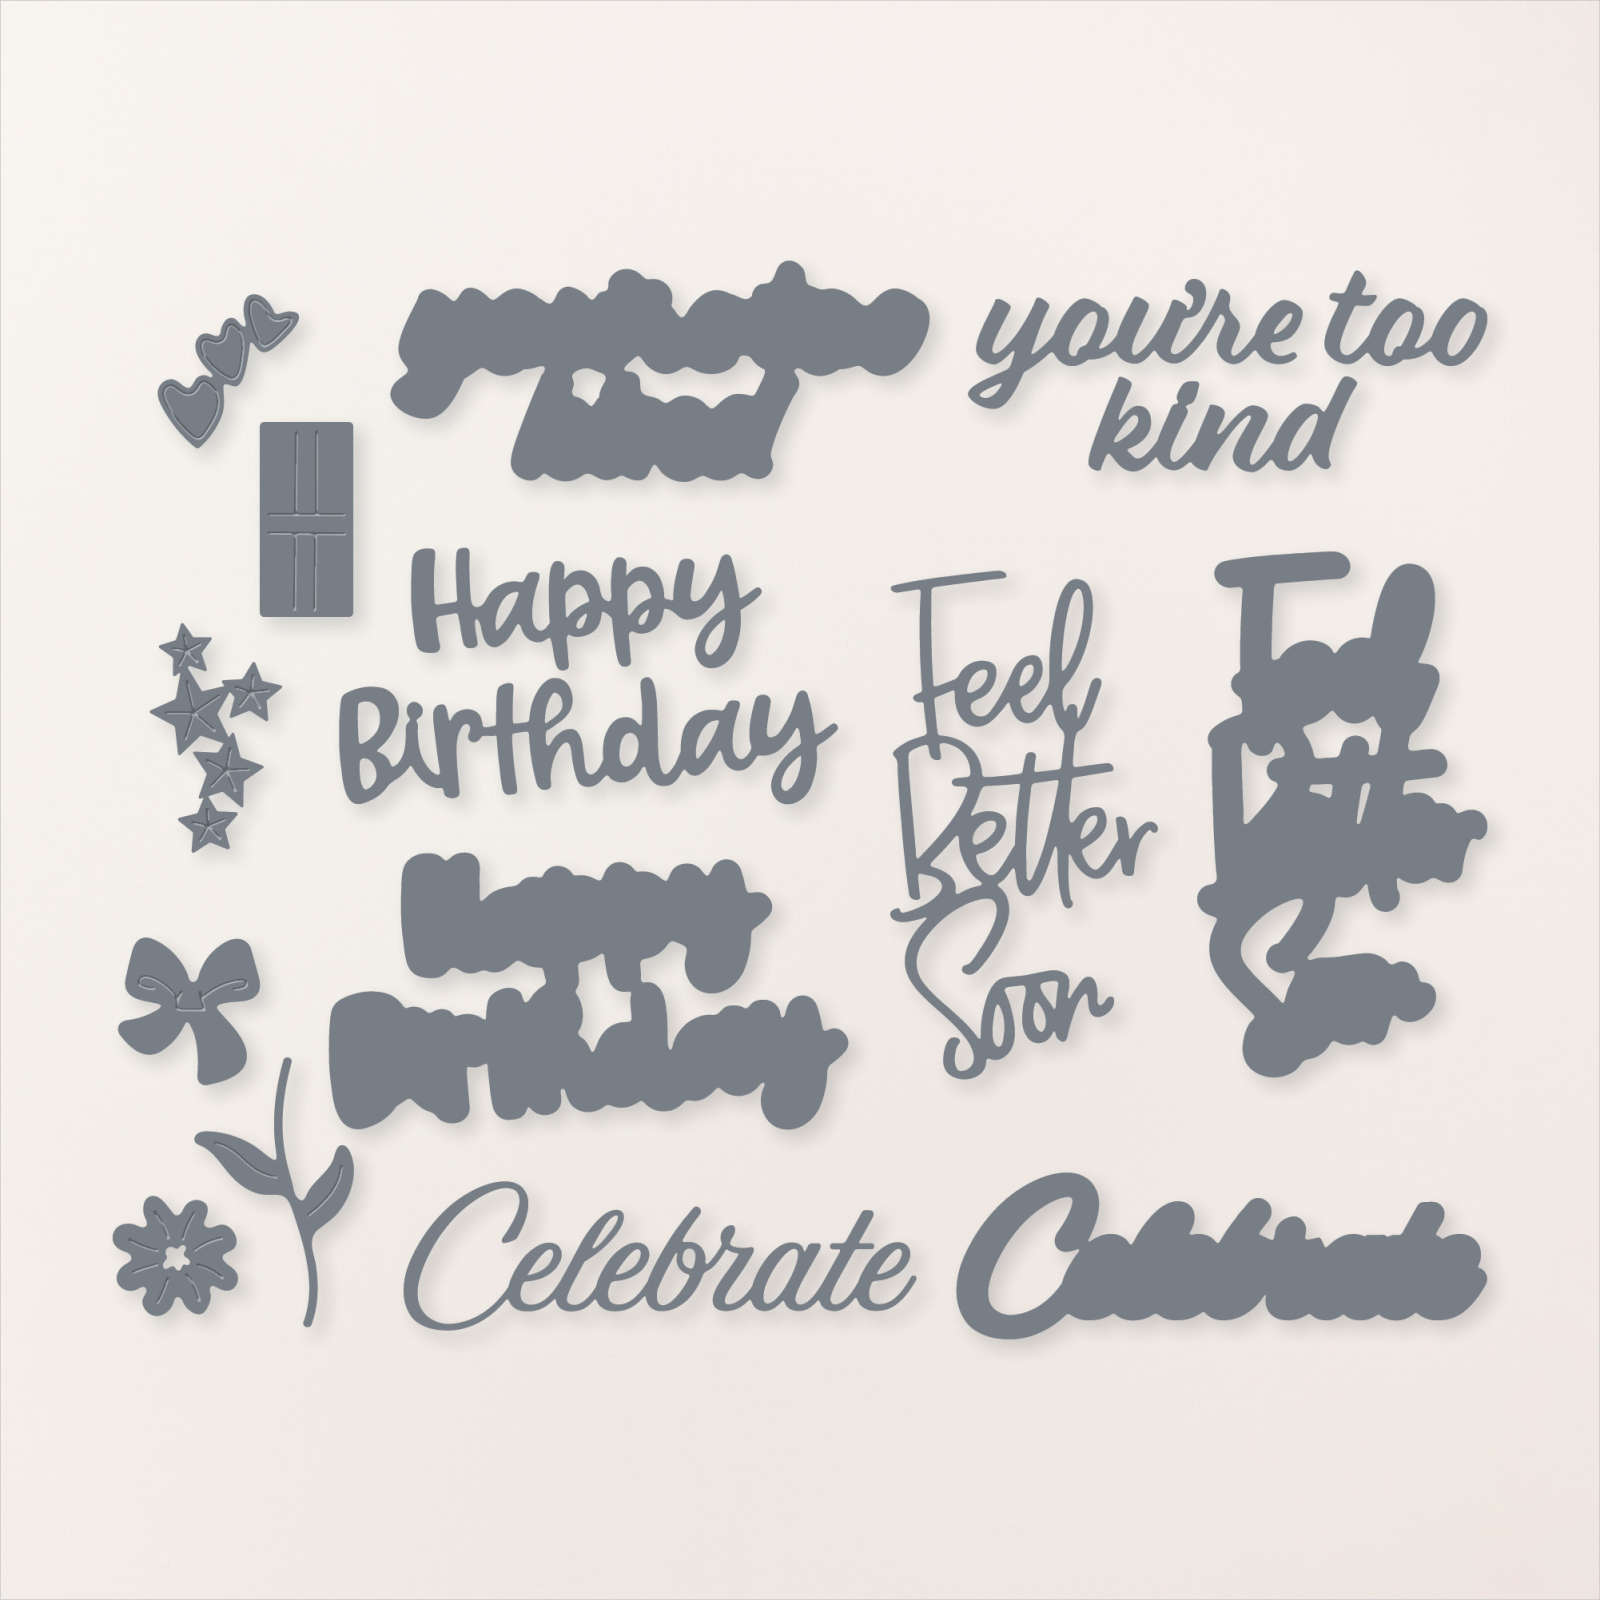
The Celebrate, Happy Birthday, stars and present die-cuts are all from the Wanted to Say dies seen here: 
Here are both cards I shared; each with a different piece of the Masterfully Made CS.  As you can see I added a thin line of card stock to rest the 'Celebrate' die-cut on. I love the effect!

You can see this beautiful designer paper here.  It's discounted in June; down to $10.62.
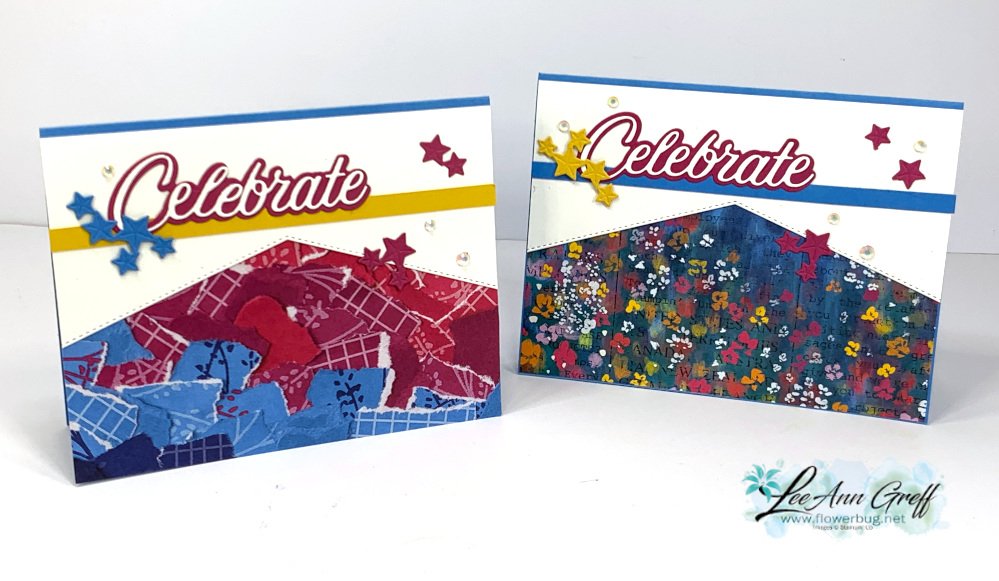
The photo below shows both cards; one cut for two card front! 

I cut the right side of the card front off (on the left card) and used that piece on the card on the right. Essentially I cut the card front in half and added it to the card on the right, adding DSP underneath to show off the angles.  One cut; two cards!  

You can see how I made this card on the video here.  Or click on the photo below to watch. Remember to follow me on Facebook here or on my YouTube channel here. 

~~~

June Specials:

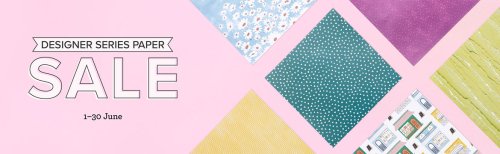
Designer Paper is 15% off in June!
WOW – get $155 in product for $99 with free shipping! click here!

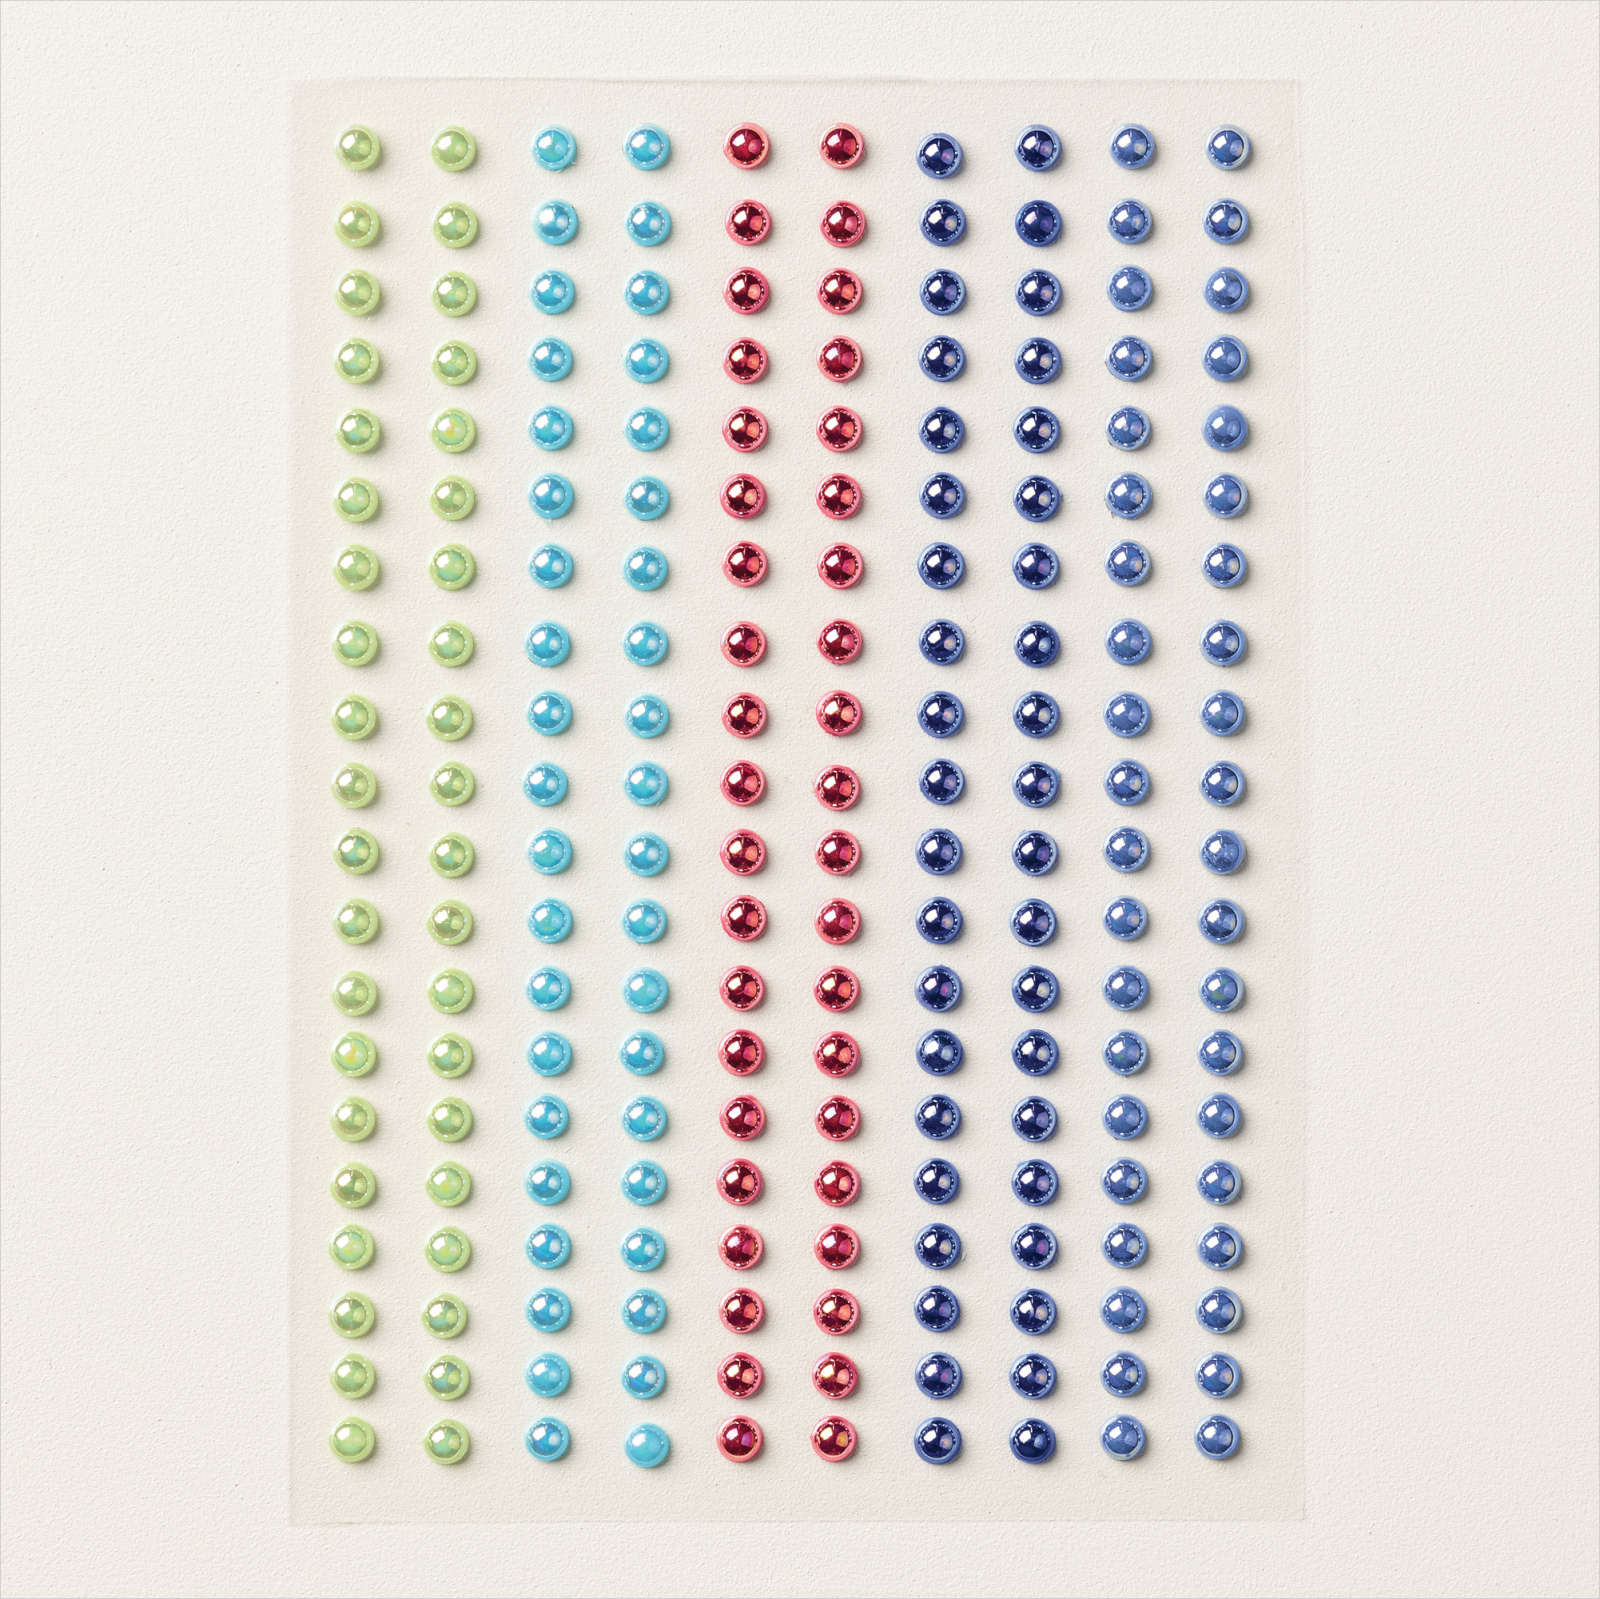
Get a package of In Color pearls with online orders over $55 using a host code.

*current host code: M7SCQSVS 
 Earn free products with my loyalty rewards! 

Click here to download yours and earn a $50 shopping spree!
All Posts

  • Get inspired by a sketch with this sweet Splash of Sparkles card


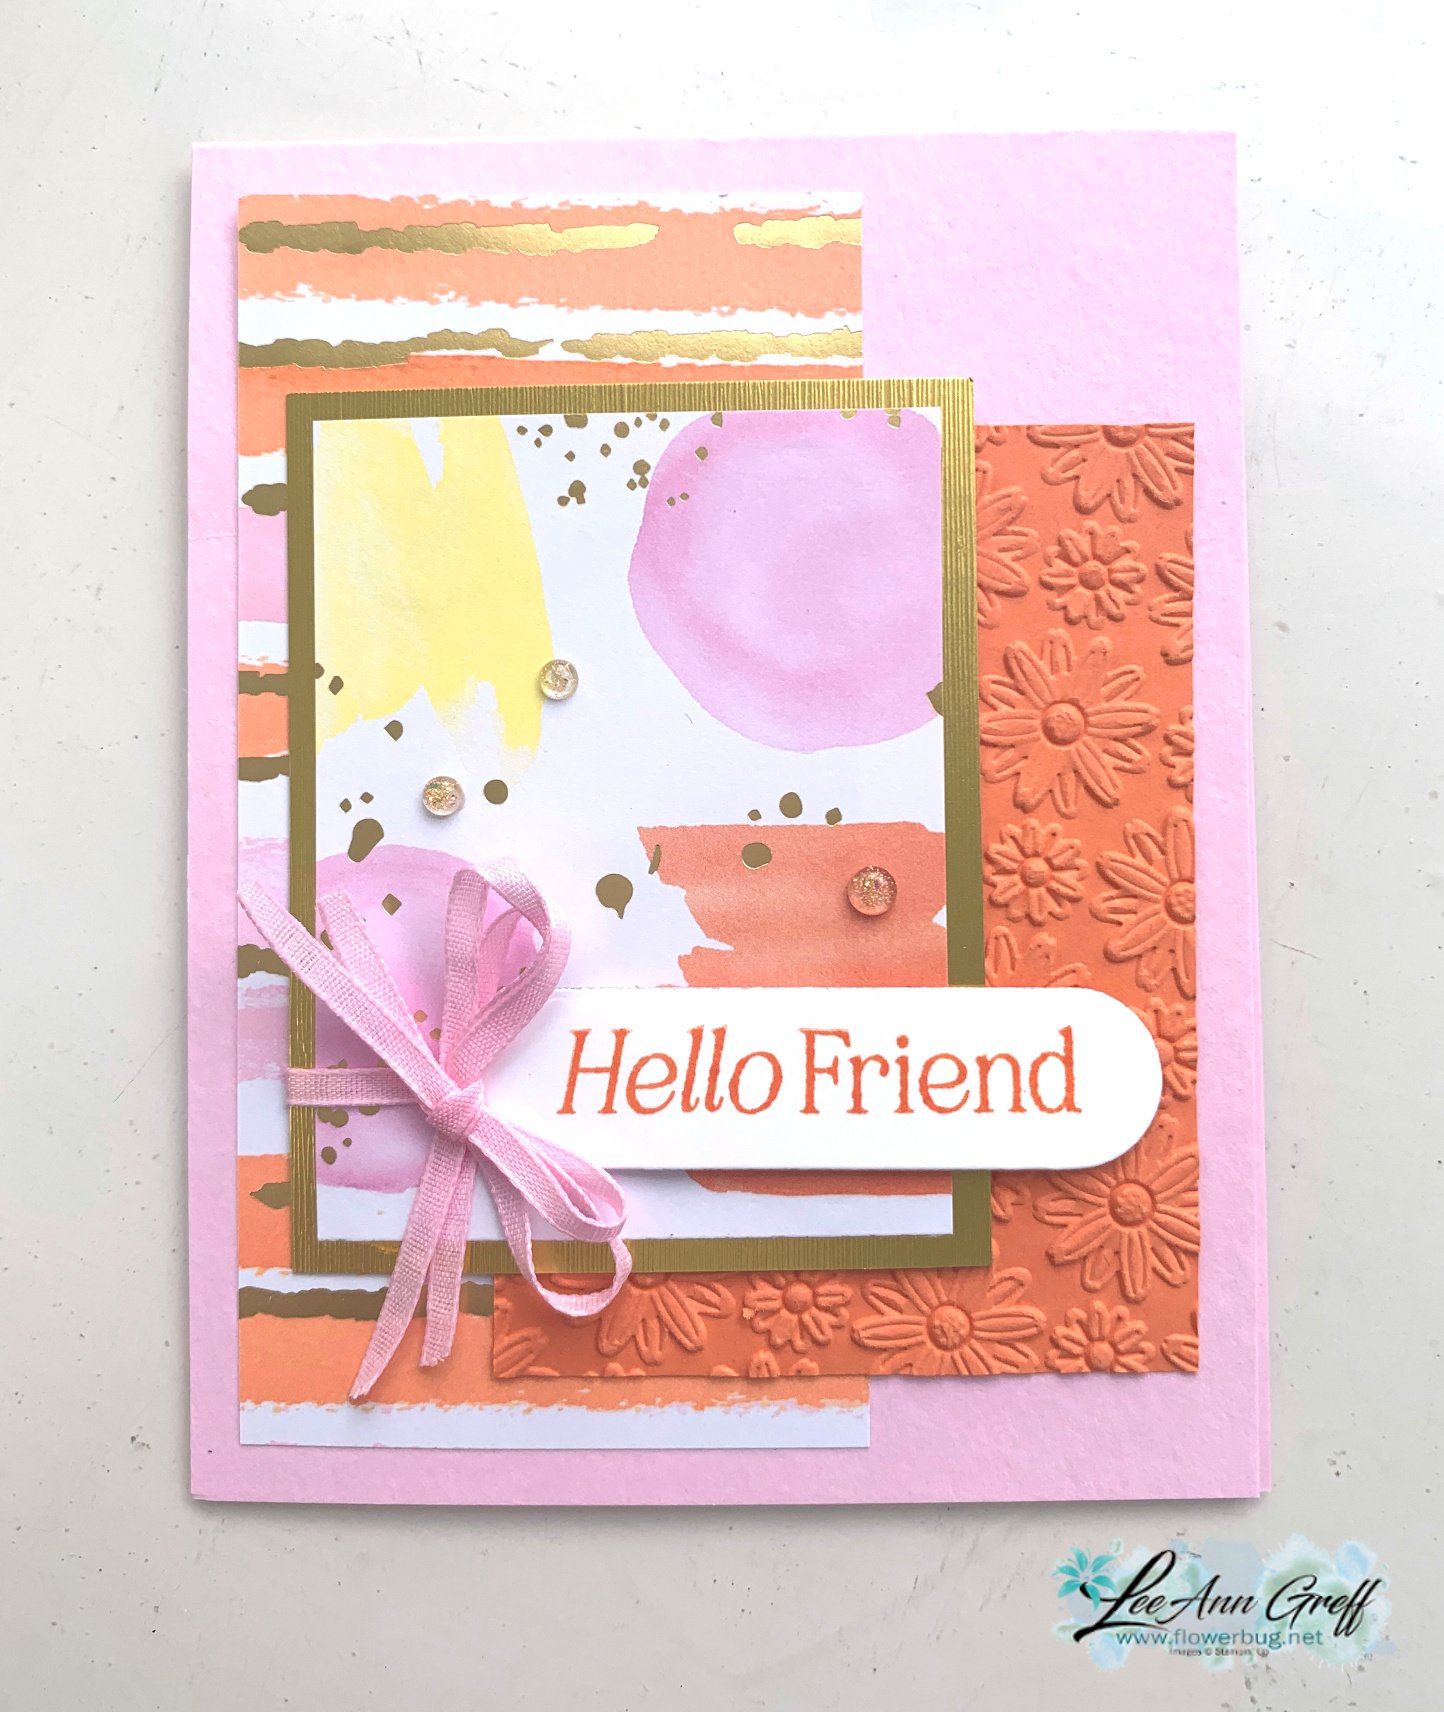
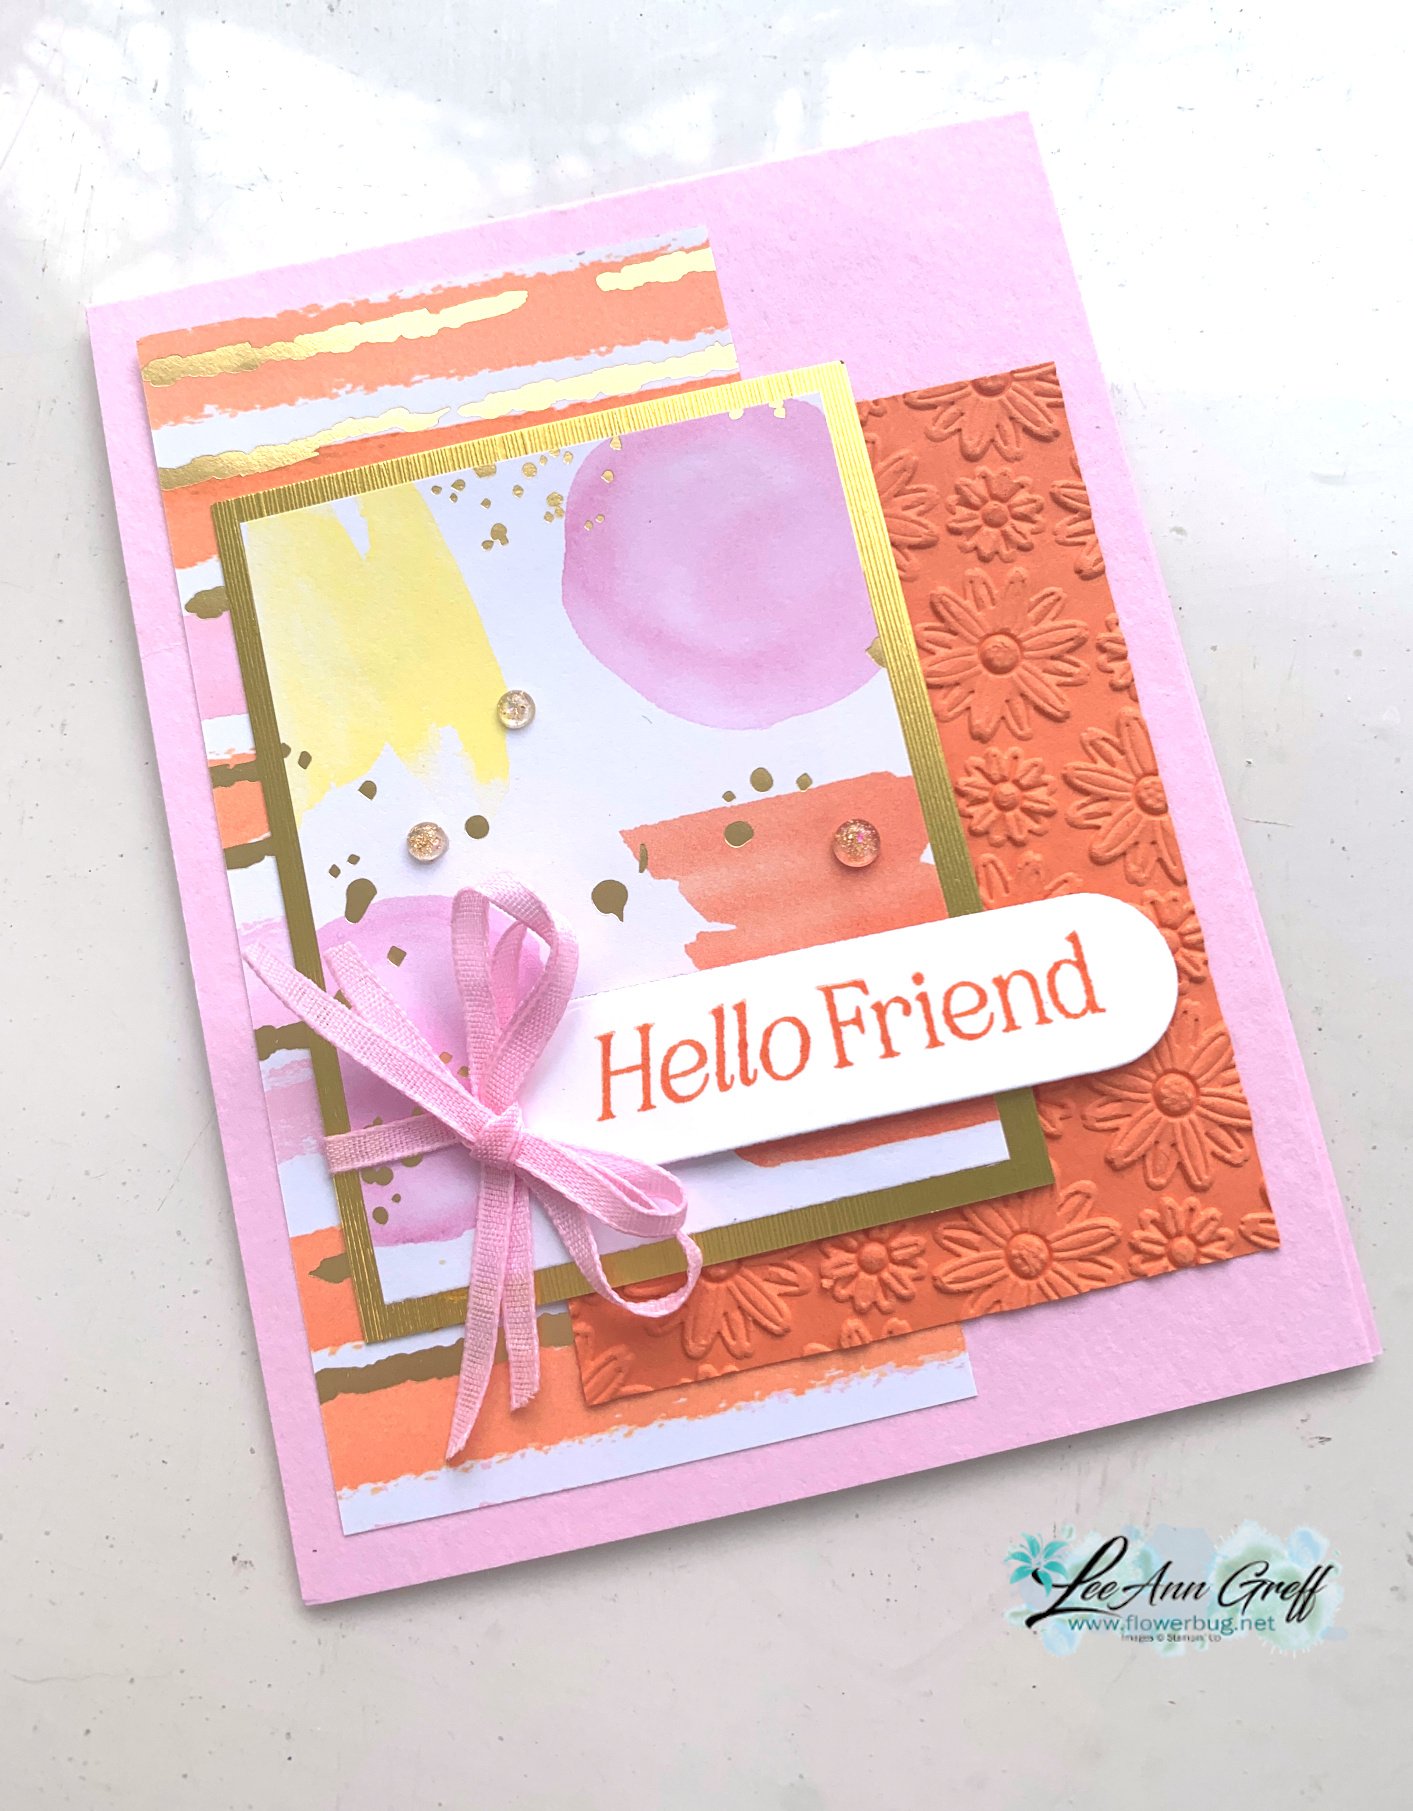
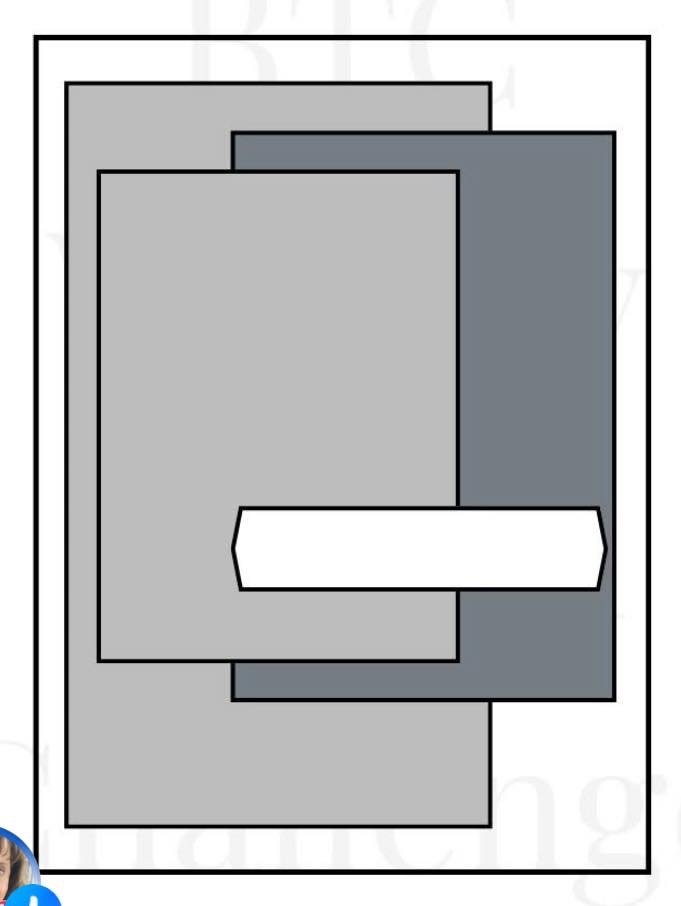
    Each month I give my Flowerbug’s a creative challenge and they can participate if they’d like. This month it was a sketch:

    You can find card sketches like this all over Pinterest or other online sites. I think they’re a wonderful and easy way to create a card. Remember that sketches are a starting point; they don’t have to be exact or even that similar. They’re a great way to be inspired.

    I chose the Splash of Sparkles specialty designer paper for mine. See it here.

    My colors include Bubble Bath, Timid Tiger, Gold & White; all inspired by the beautiful designer paper. Who would have thought to combine these colors together? But the DSP is the magic that makes it work.

    I used a few different products here:

    Here’s a link to my sketches board on Pinterest. I hope you find some to be inspired by!

    March Specials!

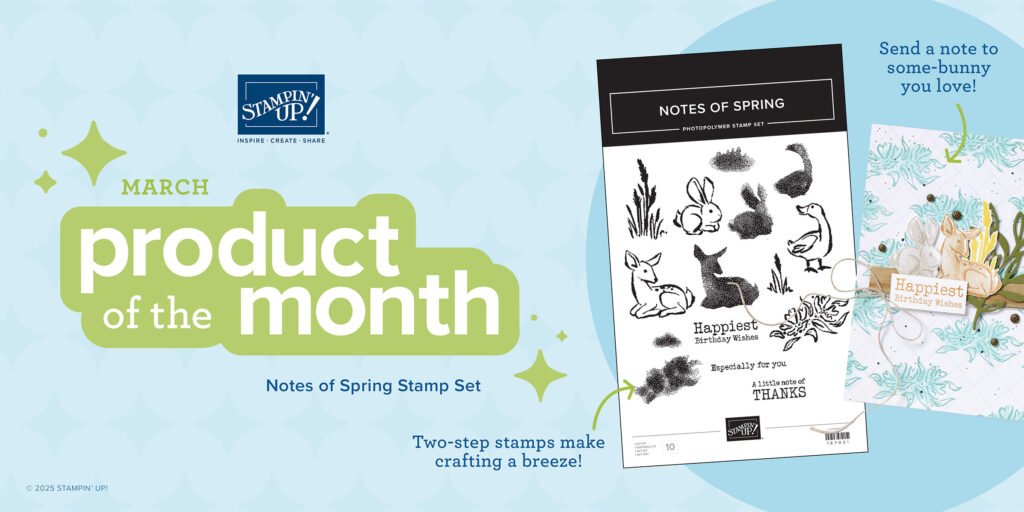
    March Product of the Month is the Notes of Spring stamp set!

    It’s just $5 with a $75 purchase.

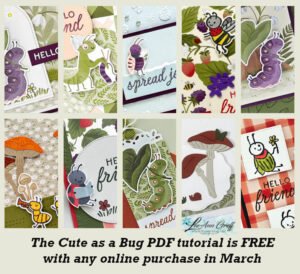
    Get my March PDF free with any Online purchase!

    NEW Online Exclusives are here!

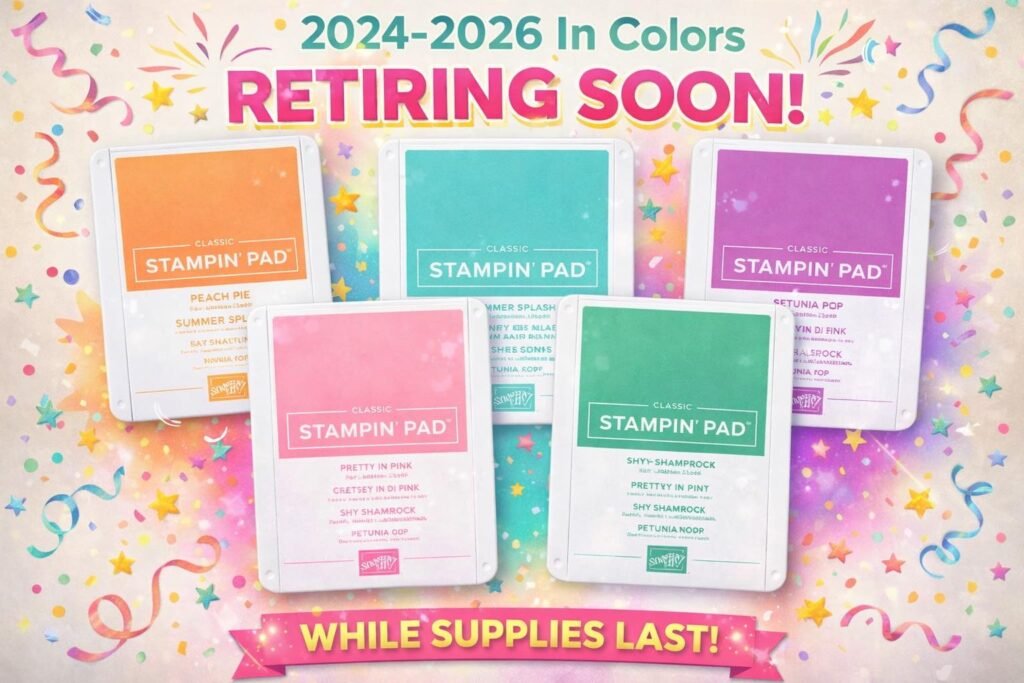
    Get the retiring In Colors while you can; they’re already going fast!

    Leave a Reply

    Your email address will not be published. Required fields are marked *

  • Another version of the Triple Flap fun fold card with Easter Joy DSP


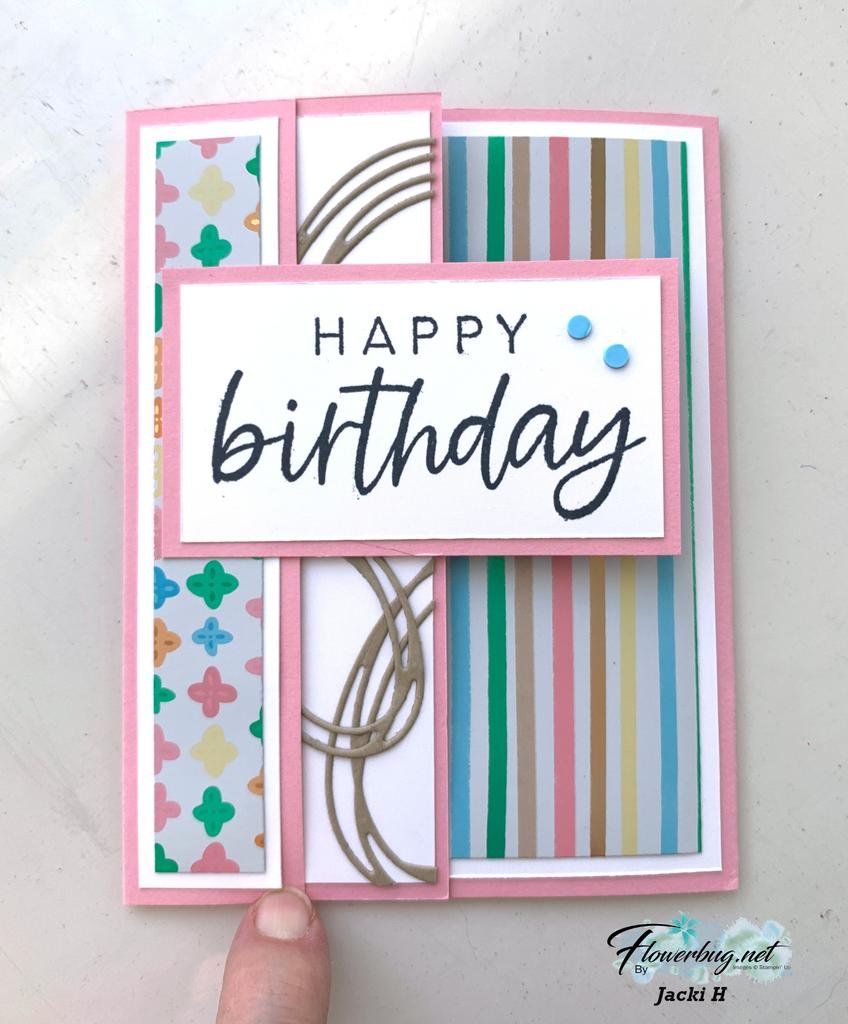
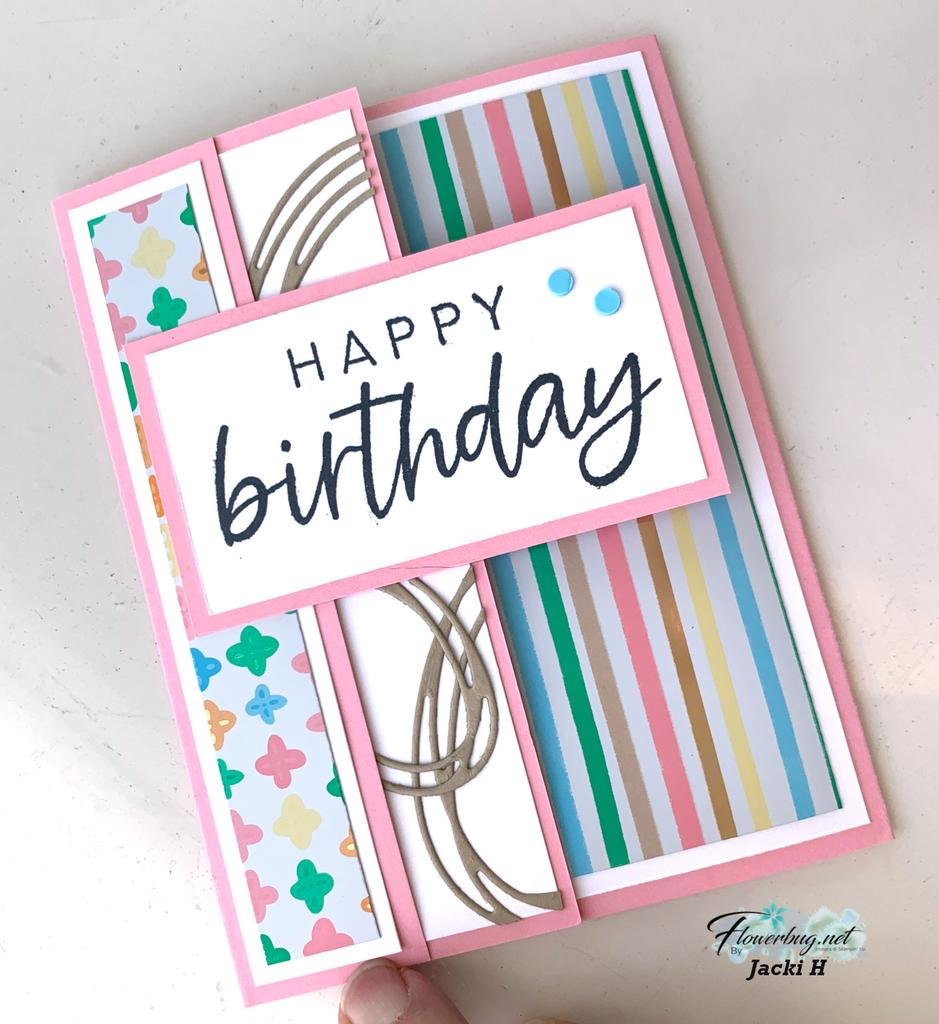
    Today I’m sharing Jacki’s amazing card swap from our Team’s February swap.

    She used Pretty in Pink with Crumb Cake and the Easter Joy Specialty designer paper. The fun dies in Crumb Cake are from the Swirled Designs bundle seen here.

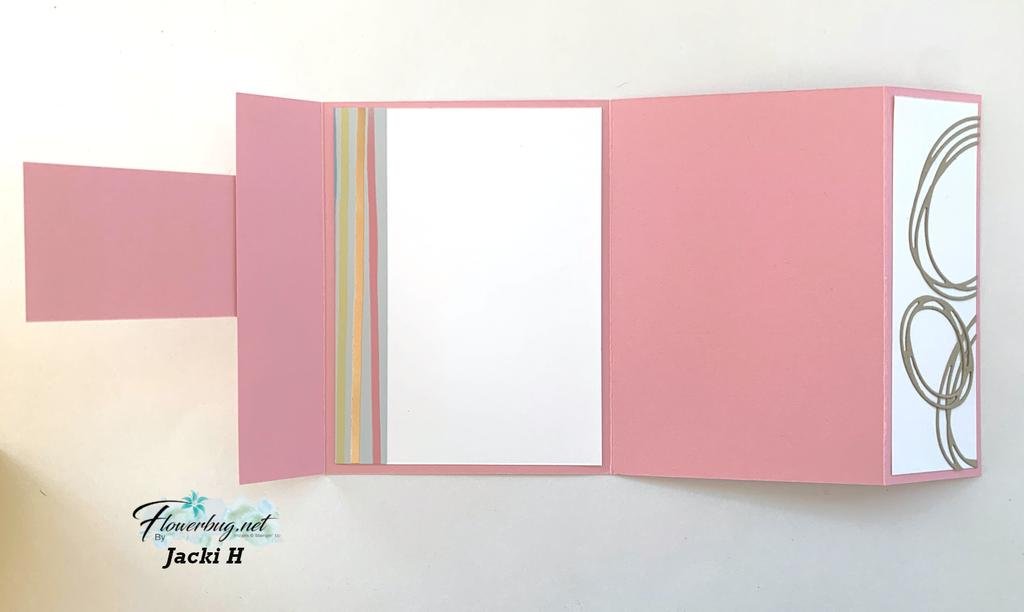
    This is what it looks like when you open the left flap:

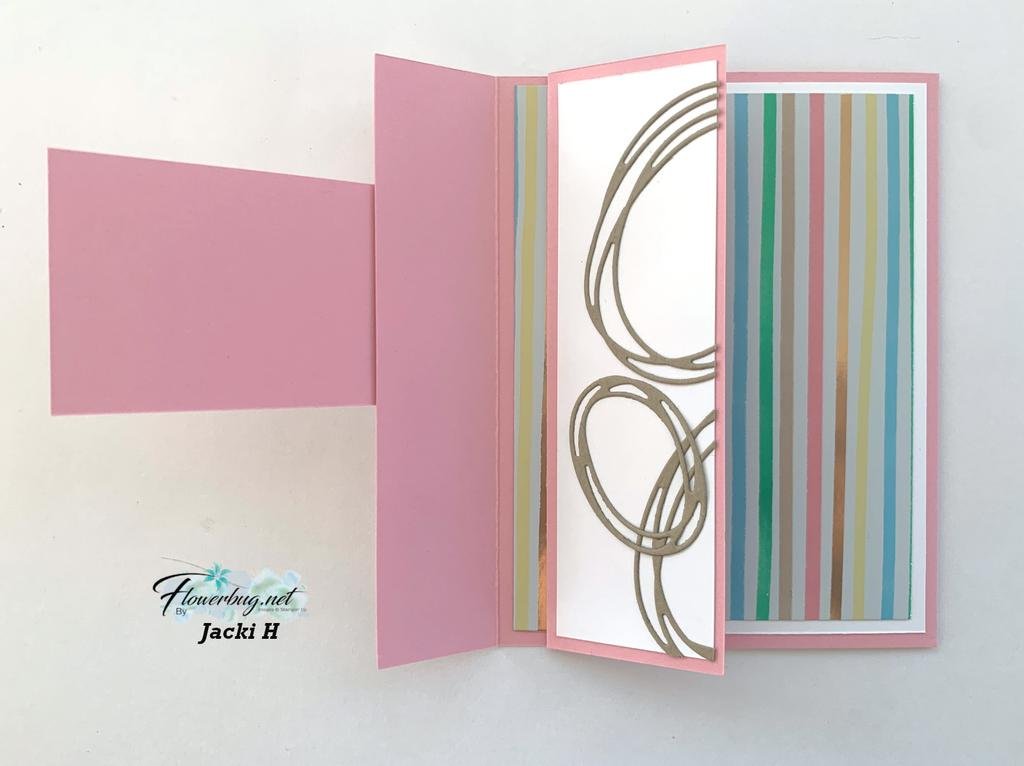
    And here is the card fully opened:

    Isn’t it neat?! I loved it so much I had to case this fold. I shared my version yesterday. See it here.
    I also shared a free project sheet with measurements on yesterday’s post.

    What a special and fun card she made! Thanks Jacki!

    March Specials!

    March Product of the Month is the Notes of Spring stamp set!

    It’s just $5 with a $75 purchase.

    Get my March PDF free with any Online purchase!

    NEW Online Exclusives are here!

    Get the retiring In Colors while you can; they’re already going fast!

    Leave a Reply

    Your email address will not be published. Required fields are marked *

  • Gorgeous Triple Fold card with Garden Poetry with video & free project sheet


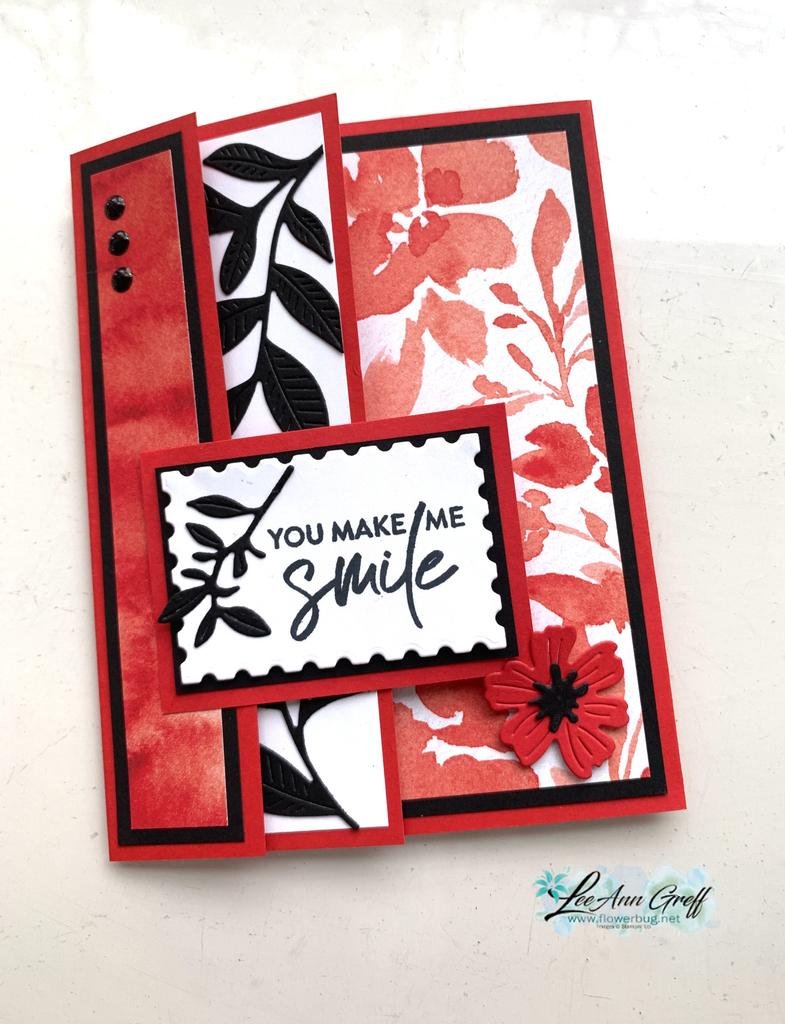
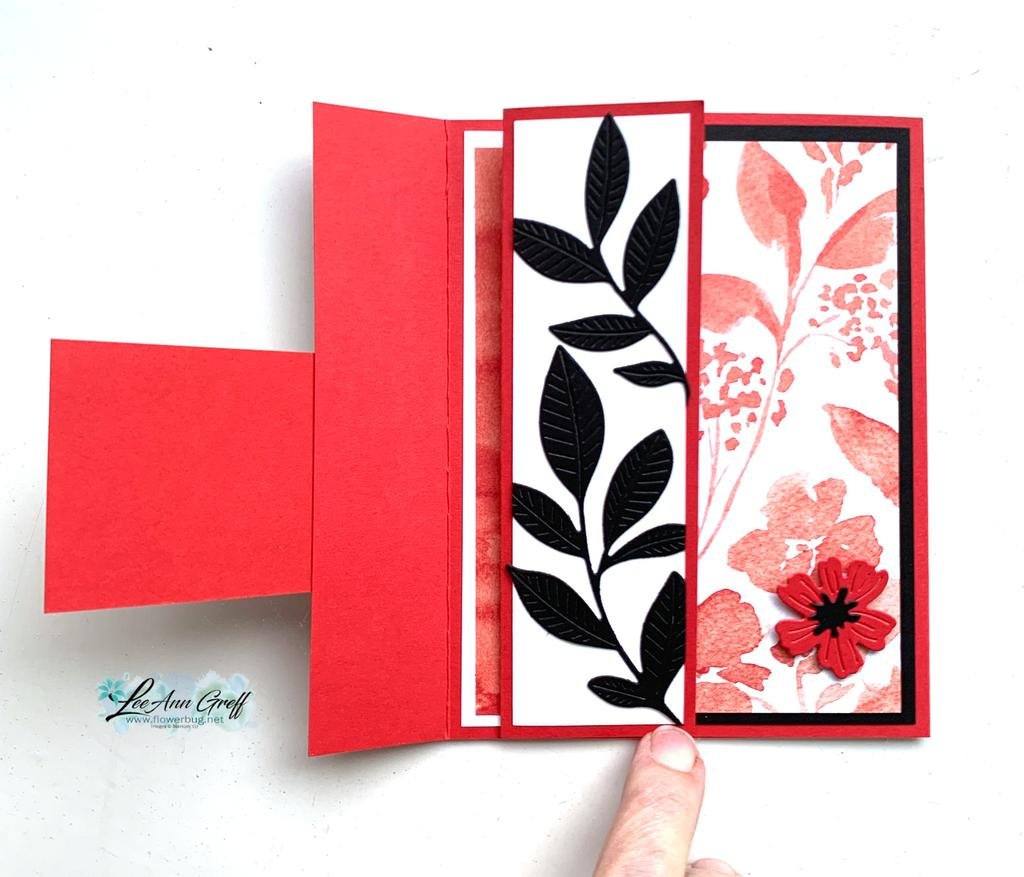
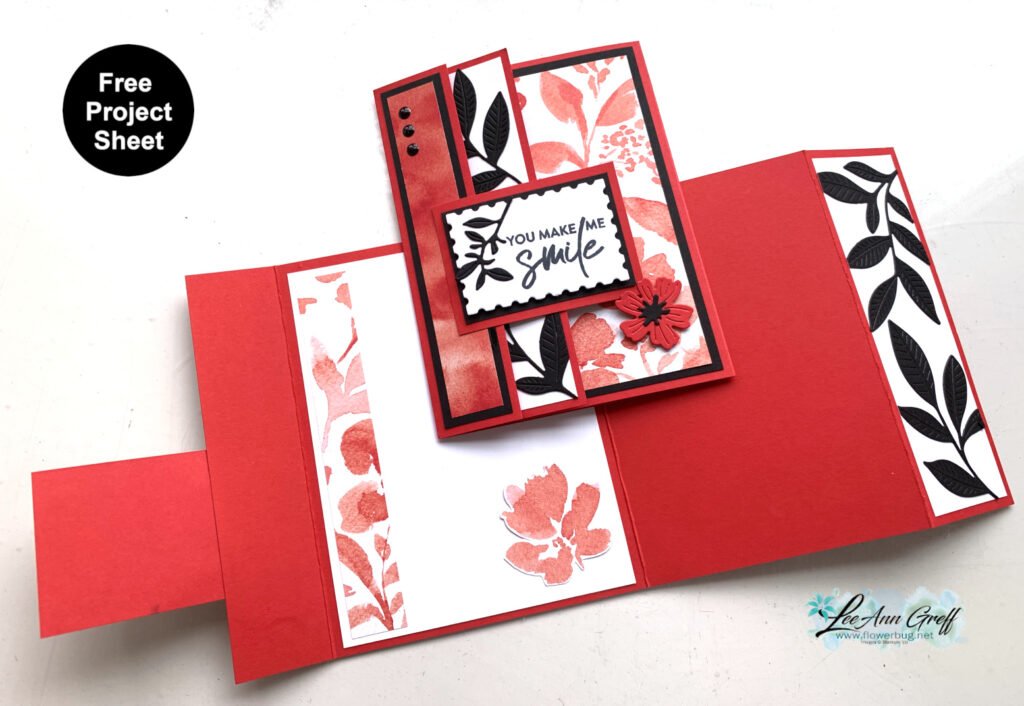
    I shared this stunning card on last week’s Live video. It features a few of my favorite products..

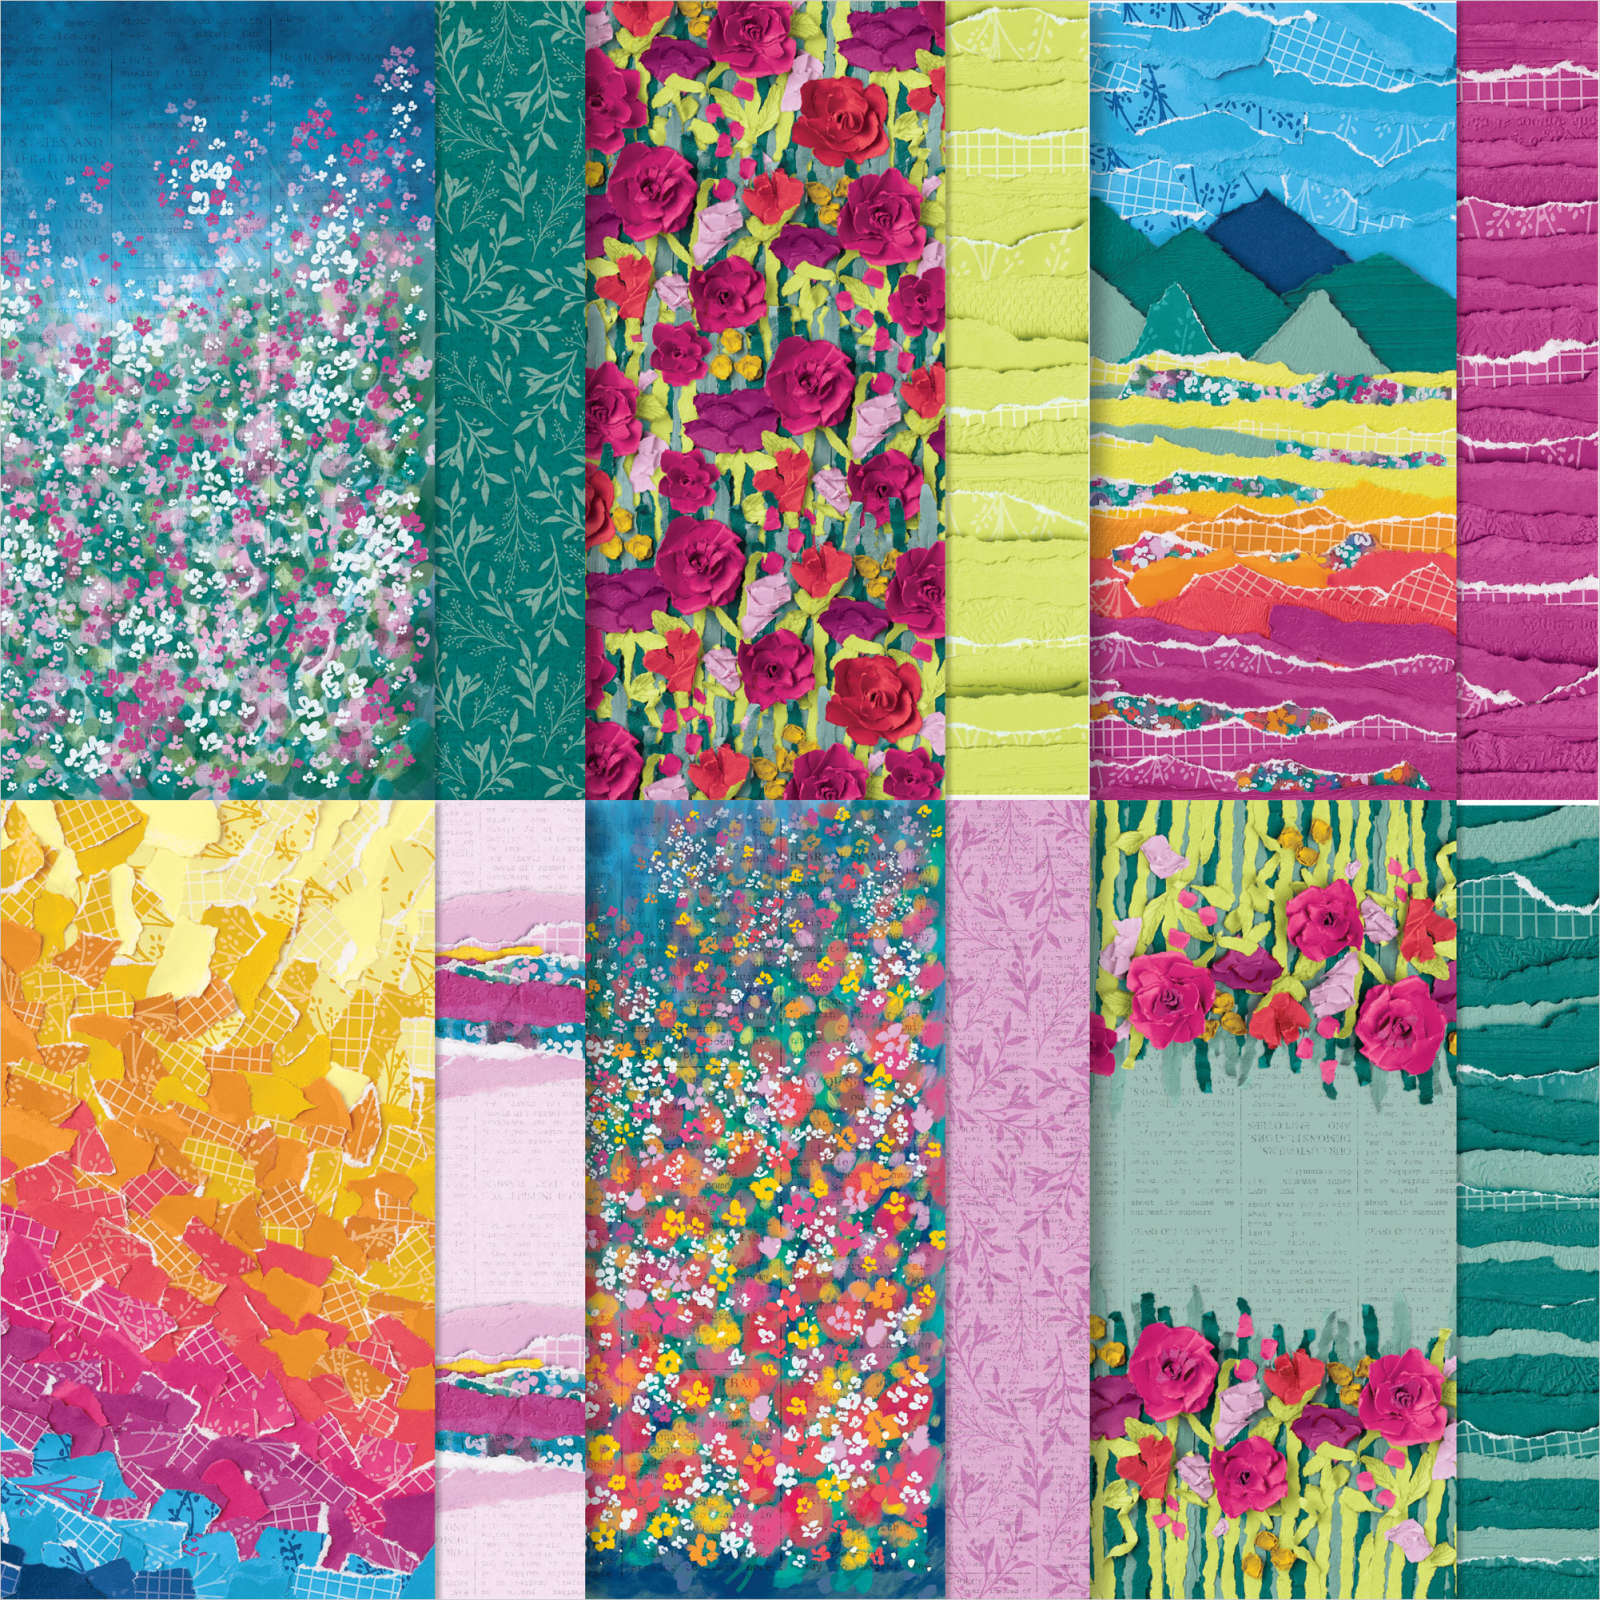
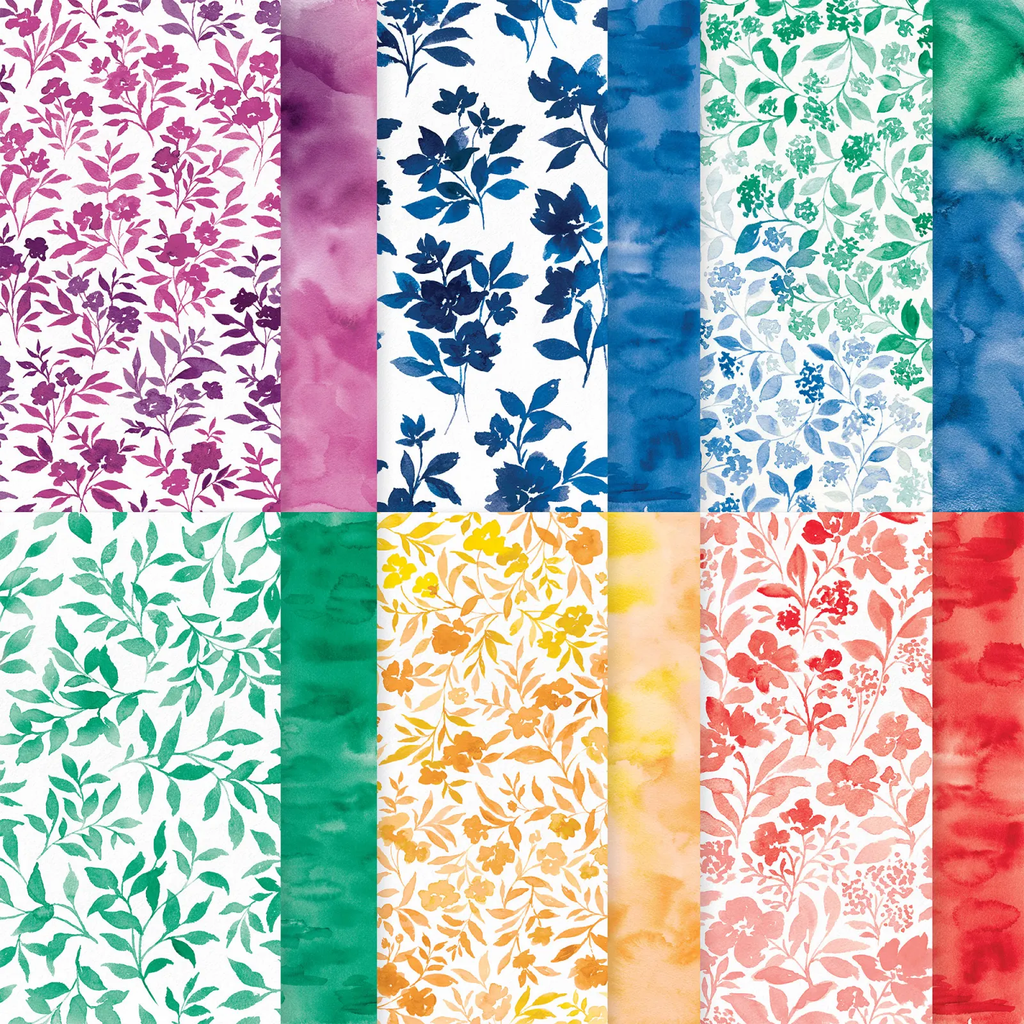
    I chose to feature my favorite new designer paper – Garden Poetry seen here. Aren’t the patterns and watercolor backgrounds beautiful?

    This is Poppy Parade, Black & White.
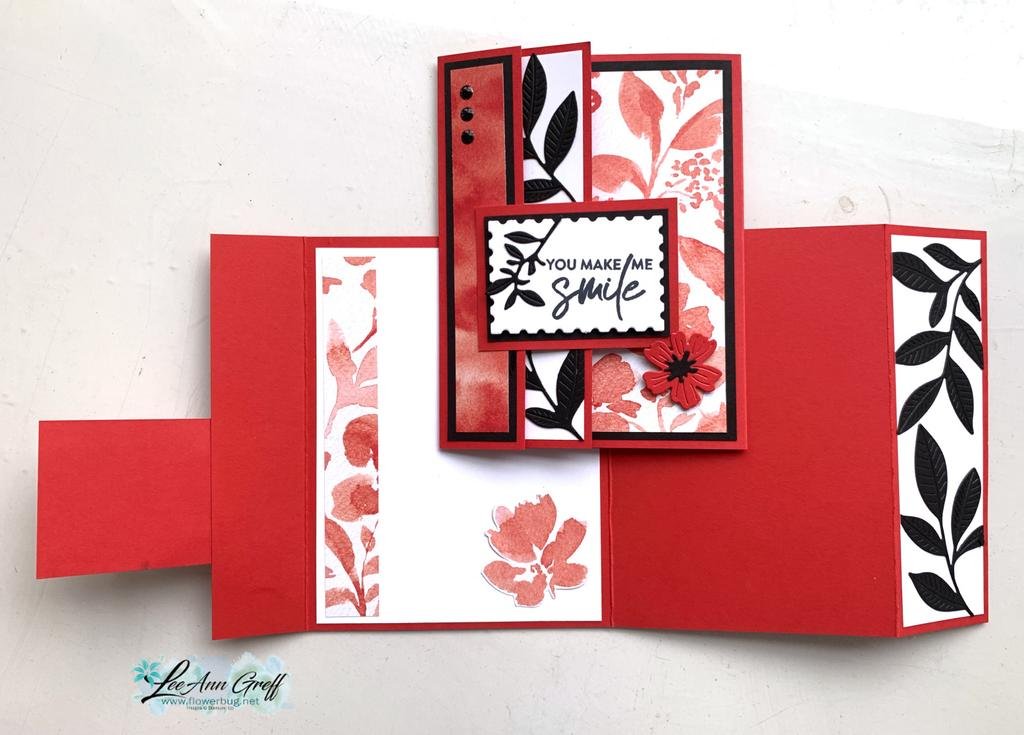
    The other items I used are the Nature’s Symphony bundle, the Perennial Postage and Springtime Scenes dies (flower).

    The front left flap opens like this:

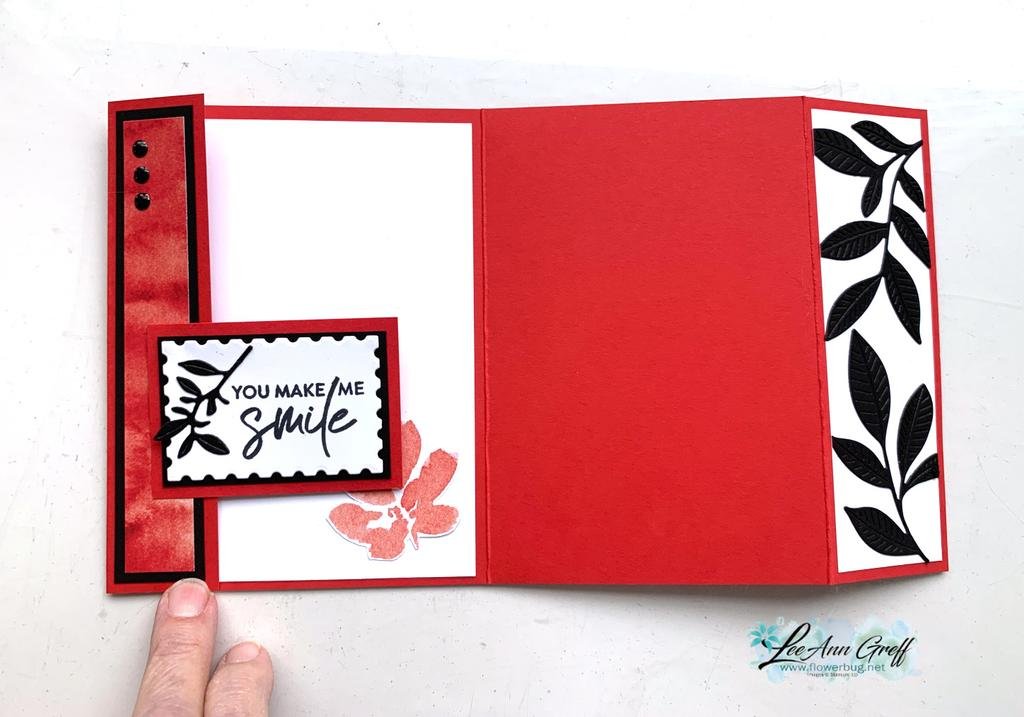
    Then you open the right side and fold the left in and this is what you see:

    I fussy cut a flower from the designer paper to add inside. The Black die-cut leaves are both from the Nature’s Symphony dies.

    Here’s the free project sheet; click here to download or print it off.

    The card was inspired by my teammate Jacki, who shared this neat fun fold in our February swap. I’ll share her card tomorrow.

    Below is the video tutorial; I hope you like it enough to make one. It’s a super fun card!

    March Specials!

    March Product of the Month is the Notes of Spring stamp set!

    It’s just $5 with a $75 purchase.

    Get my March PDF free with any Online purchase!

    NEW Online Exclusives are here!

    Get the retiring In Colors while you can; they’re already going fast!

    Leave a Reply

    Your email address will not be published. Required fields are marked *


Notice: LeeAnn Greff, Independent Stampin’ Up! Demonstrator, Manager. The content of this website is my sole responsibility as an independent Stampin’ Up! demonstrator and the use of, and content of, the classes, services, or products offered on this website is not endorsed by Stampin’ Up! Copyright 2025