/


Latest Post

Cut once for two card fronts with the Border Basics dies; video tips & tutorial too


I shared one of the cards I made in last week's video and here's another one. Both feature the same three products: Masterfully Made designer paper, Wanted to Say dies and the Border Basics dies.  
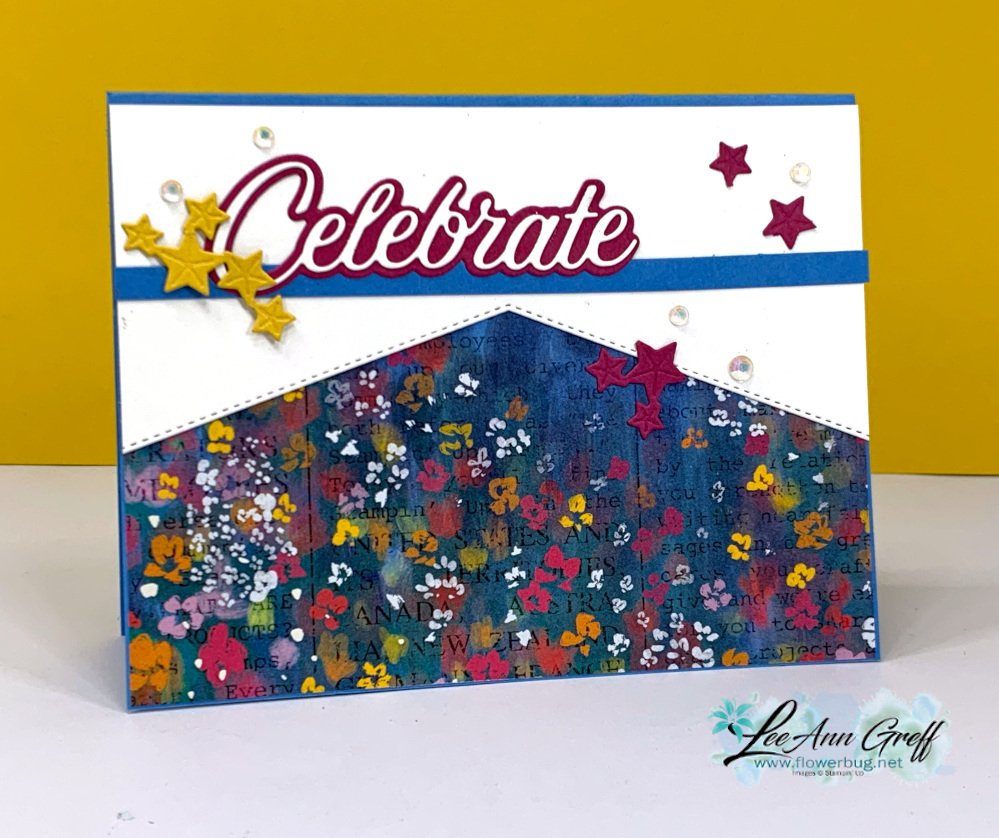
I used the White die-cut leftover from the card I shared yesterday on this card; basically getting two cards from one die-cut!

The Border Basics dies are wonderful and so versatile since they die-cut the stitched edge on both sides.  Below is a photo of the inside of the card: 
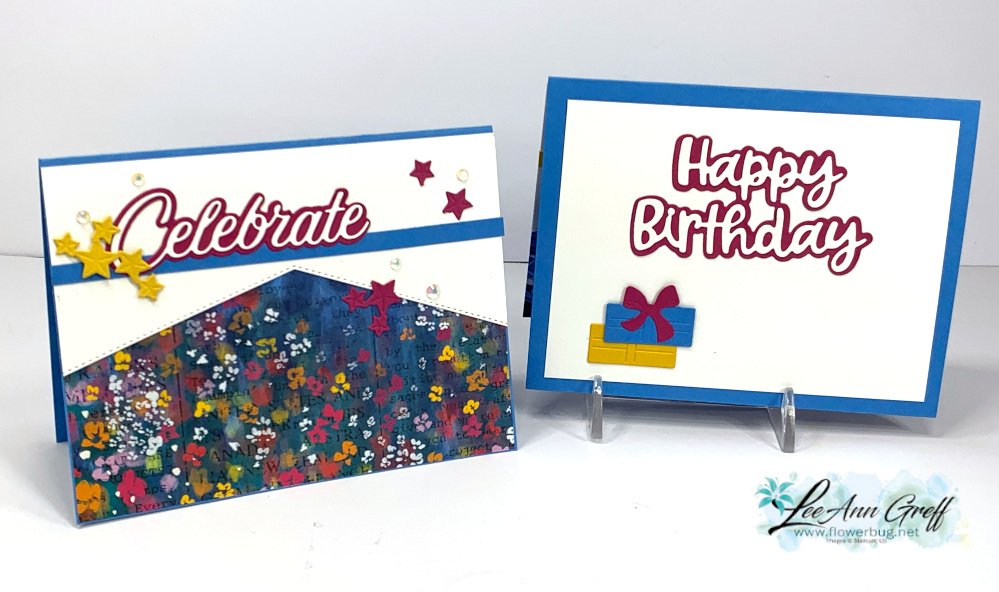
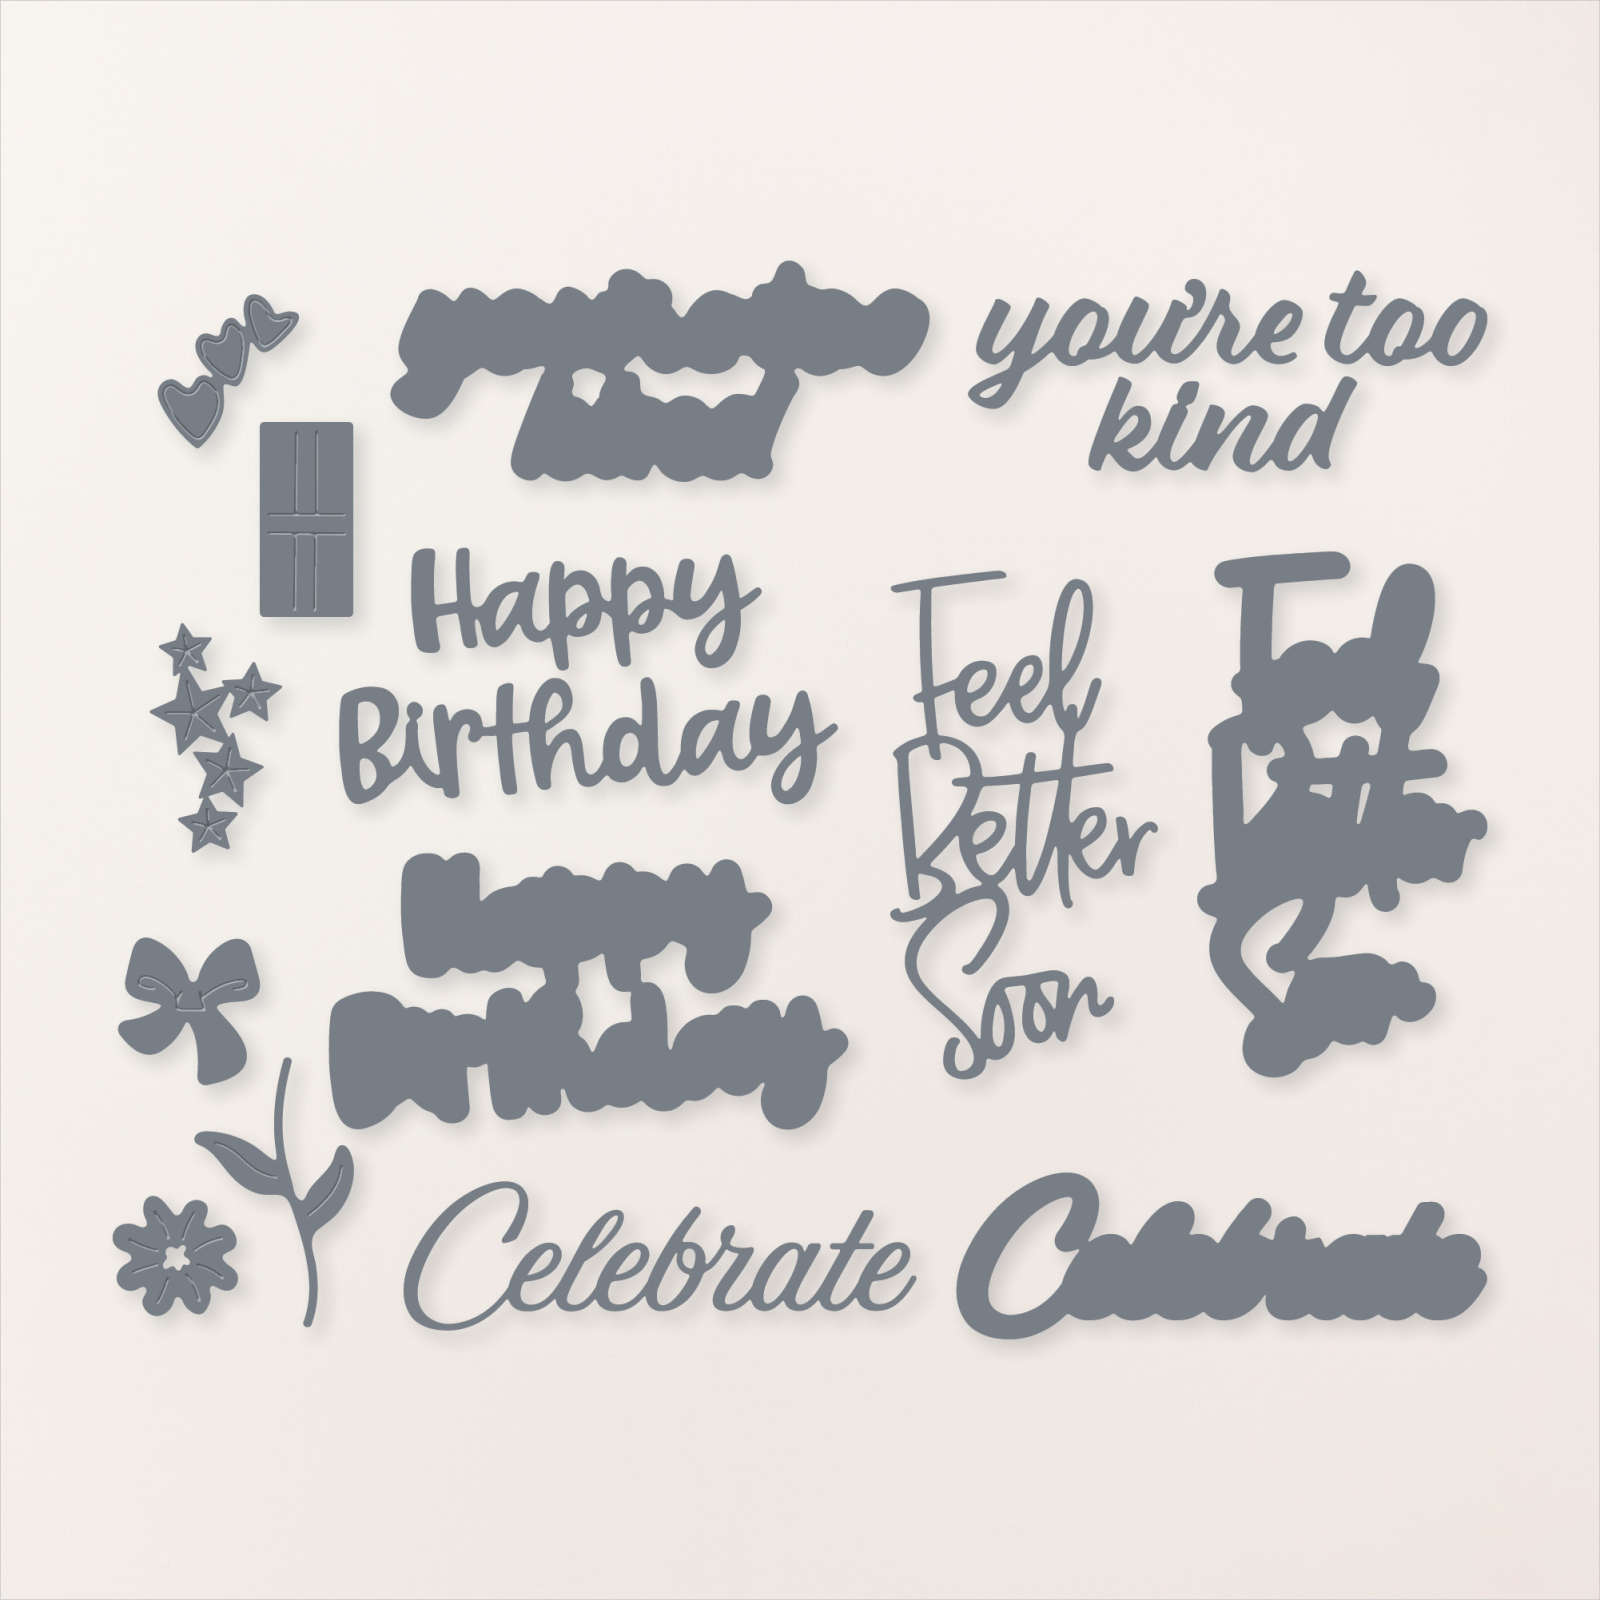
The Celebrate, Happy Birthday, stars and present die-cuts are all from the Wanted to Say dies seen here: 
Here are both cards I shared; each with a different piece of the Masterfully Made CS.  As you can see I added a thin line of card stock to rest the 'Celebrate' die-cut on. I love the effect!

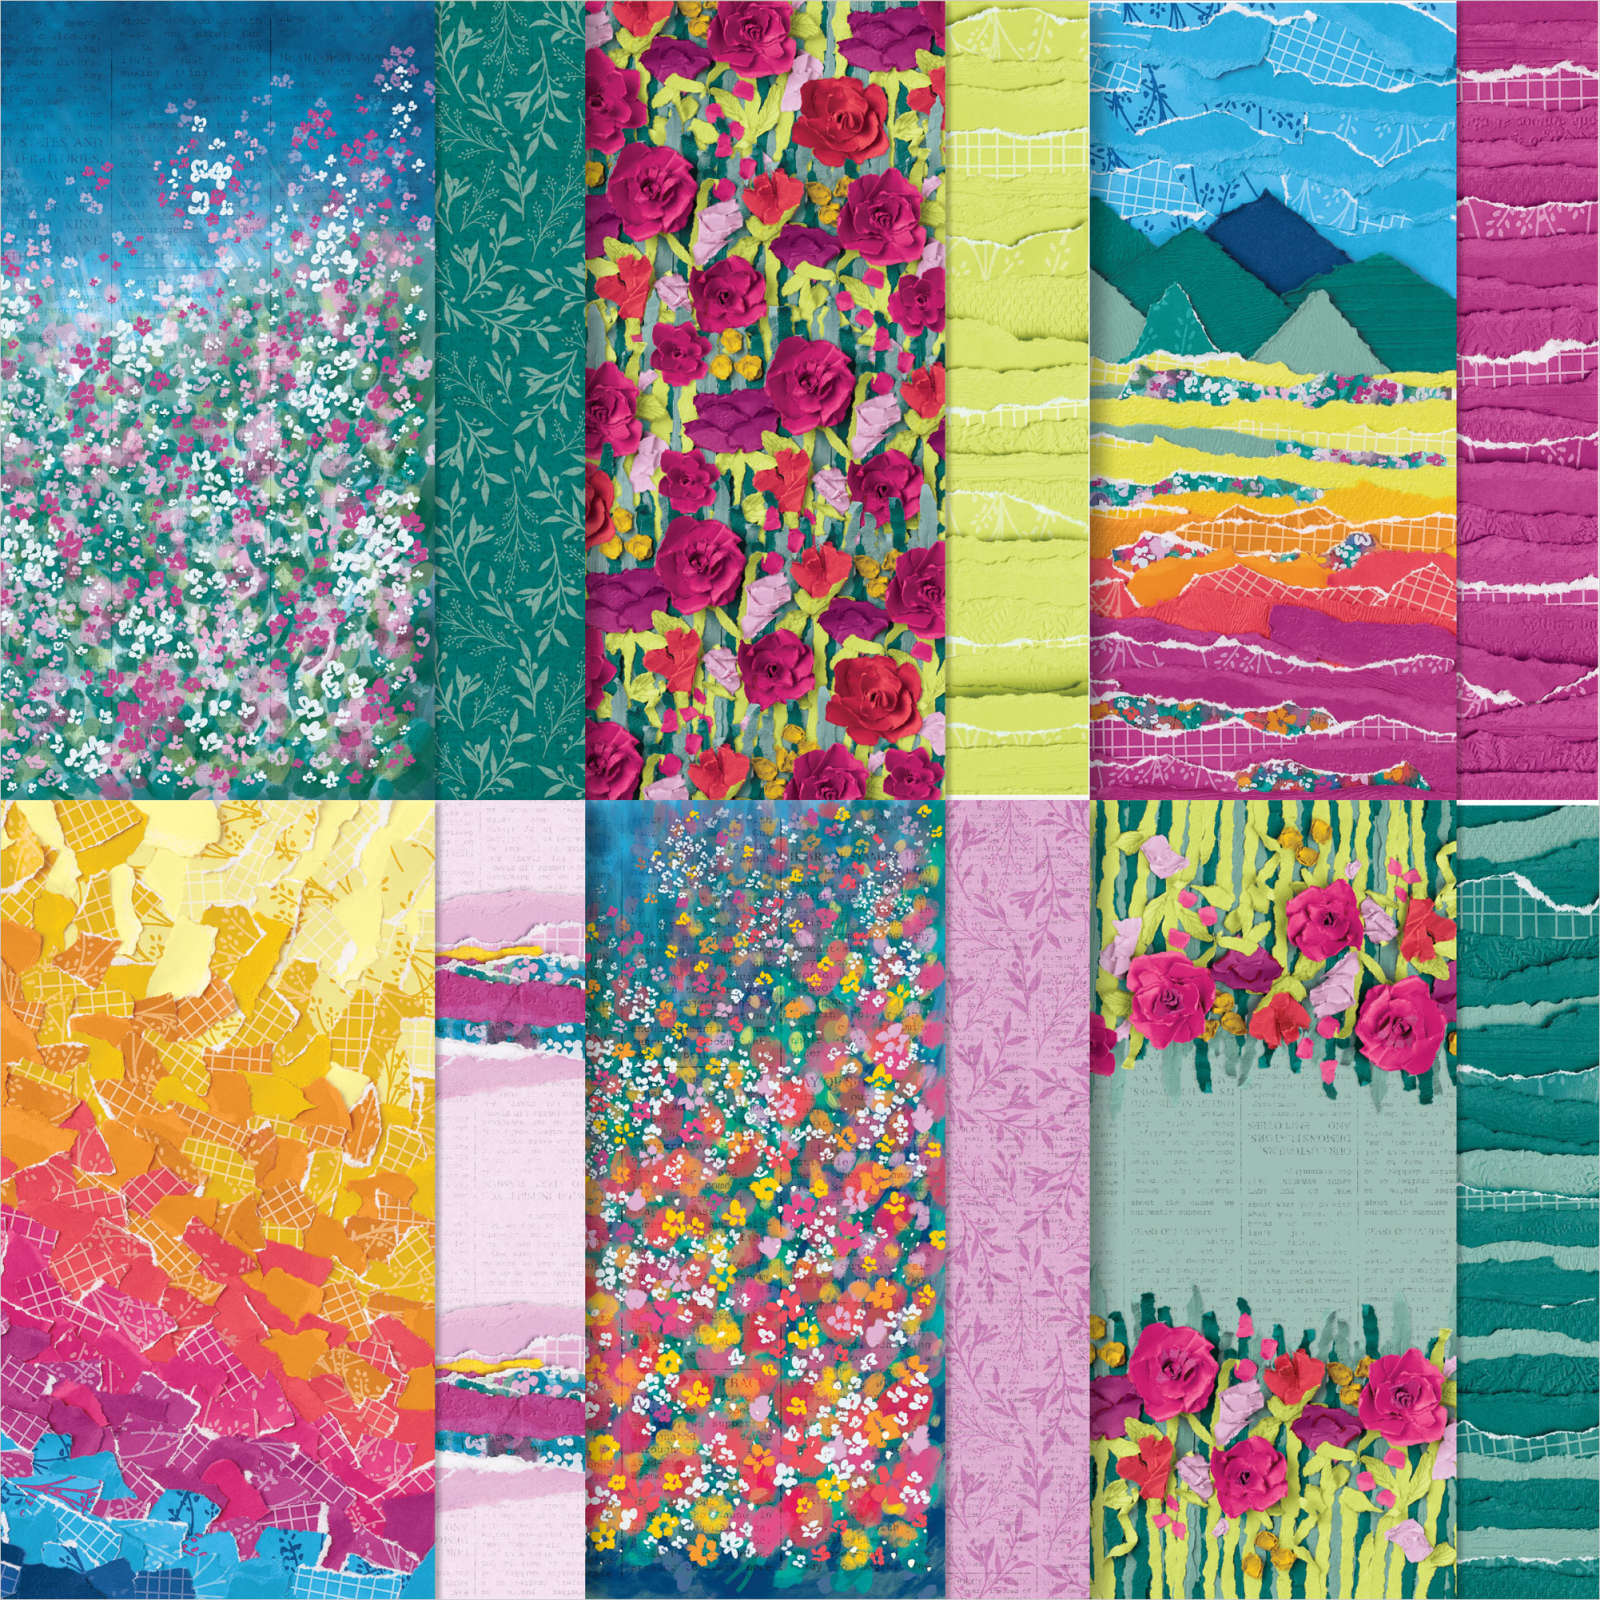
You can see this beautiful designer paper here.  It's discounted in June; down to $10.62.
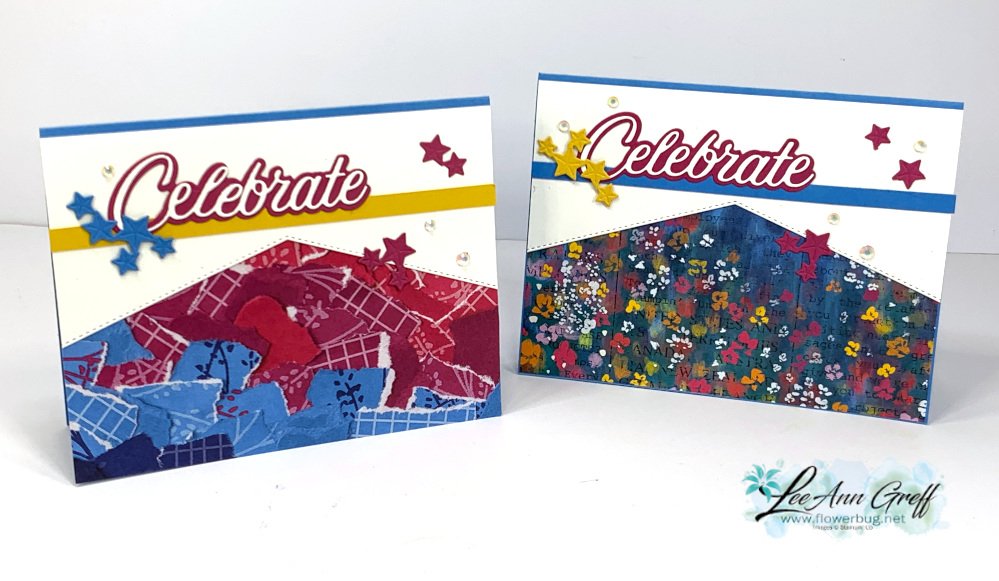
The photo below shows both cards; one cut for two card front! 

I cut the right side of the card front off (on the left card) and used that piece on the card on the right. Essentially I cut the card front in half and added it to the card on the right, adding DSP underneath to show off the angles.  One cut; two cards!  

You can see how I made this card on the video here.  Or click on the photo below to watch. Remember to follow me on Facebook here or on my YouTube channel here. 

~~~

June Specials:

Designer Paper is 15% off in June!
WOW – get $155 in product for $99 with free shipping! click here!

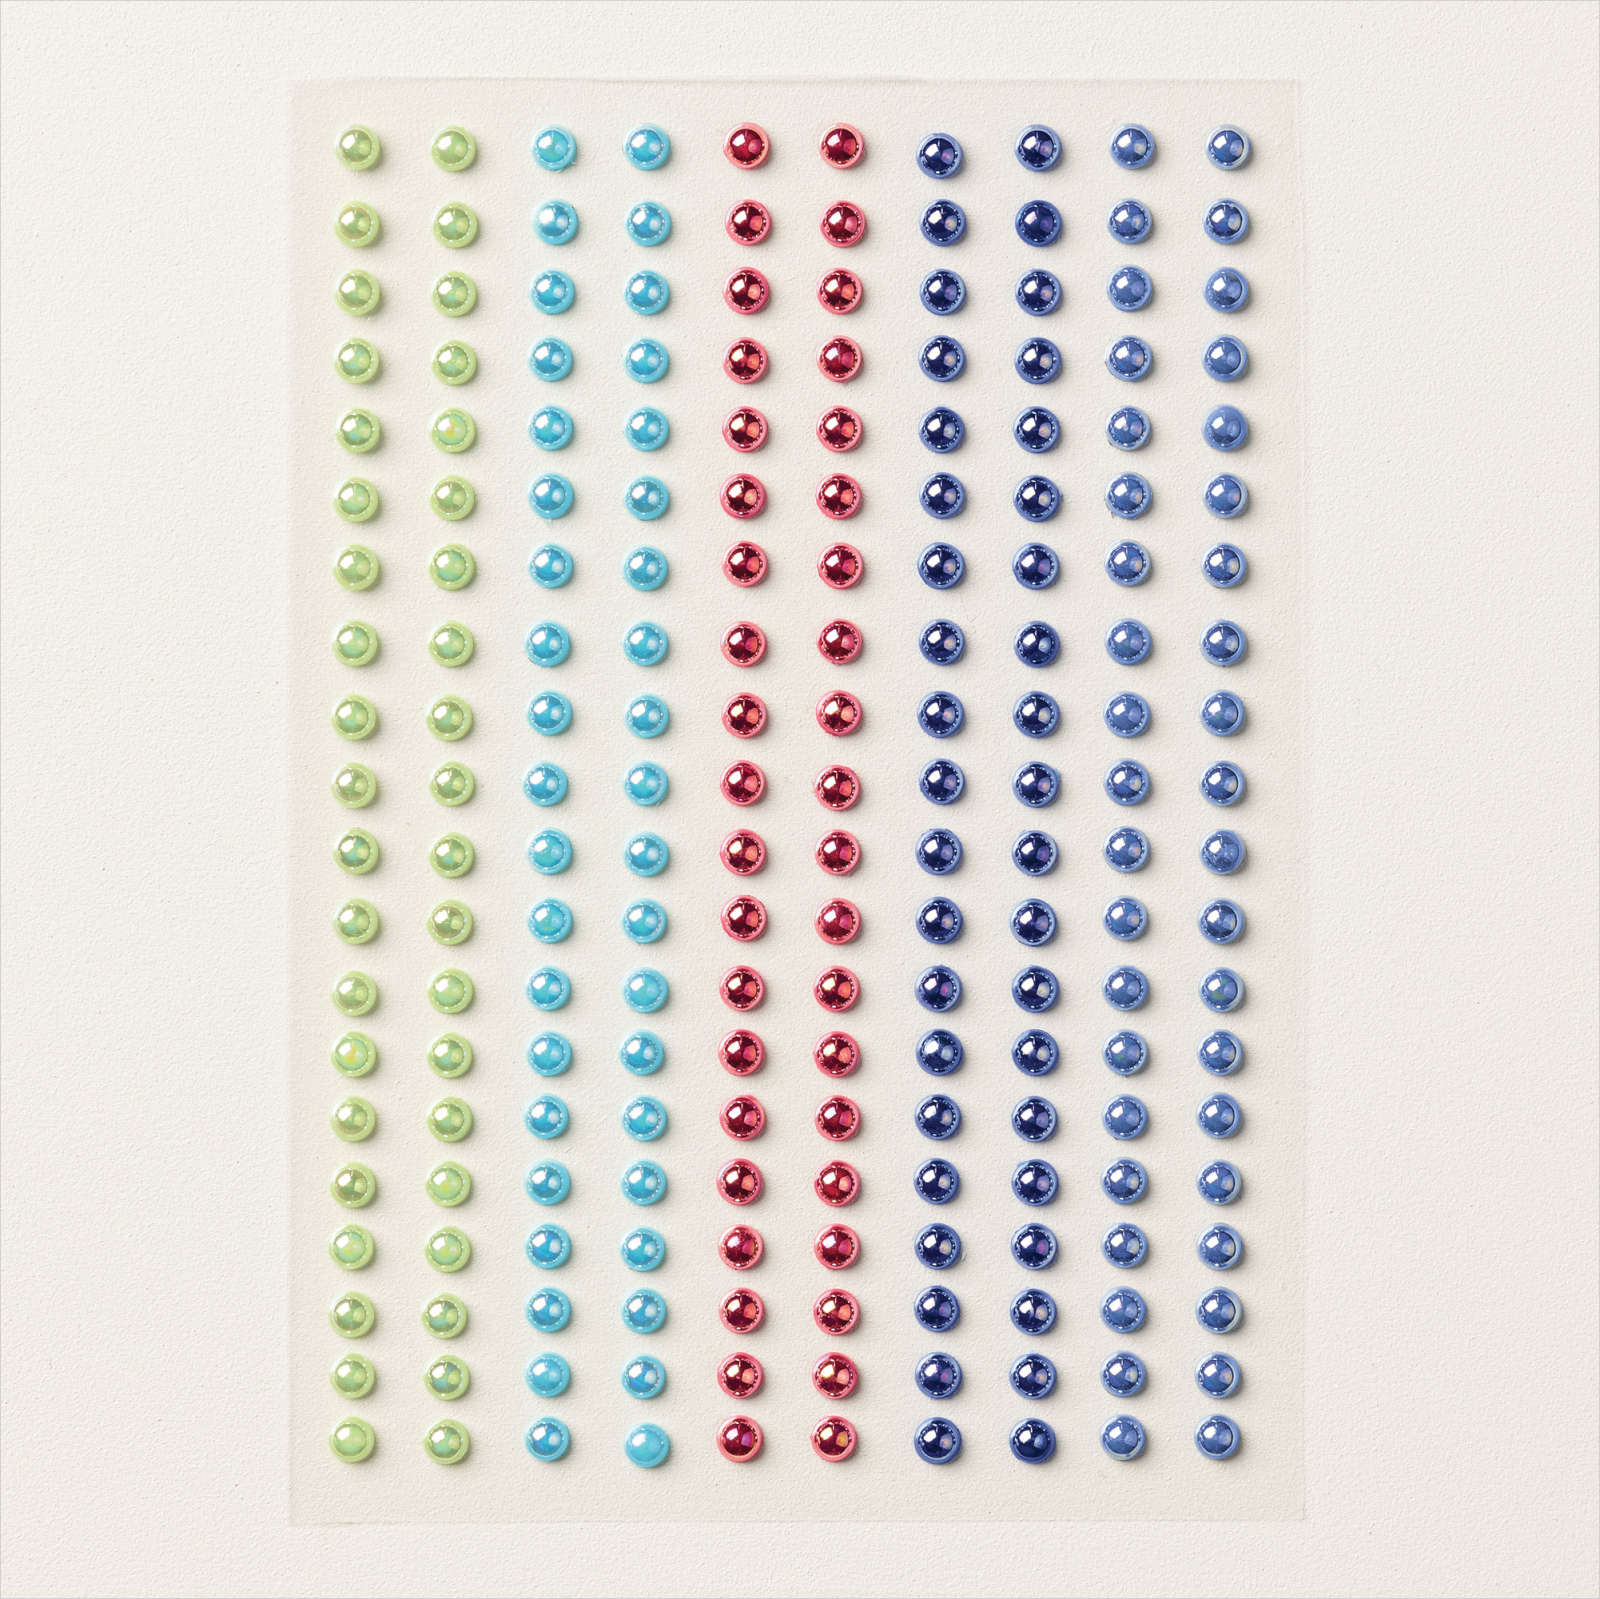
Get a package of In Color pearls with online orders over $55 using a host code.

*current host code: M7SCQSVS 
 Earn free products with my loyalty rewards! 

Click here to download yours and earn a $50 shopping spree!

All Posts

  • April’s Paper Pumpkin is ‘Delicate Wings’ and looks amazing


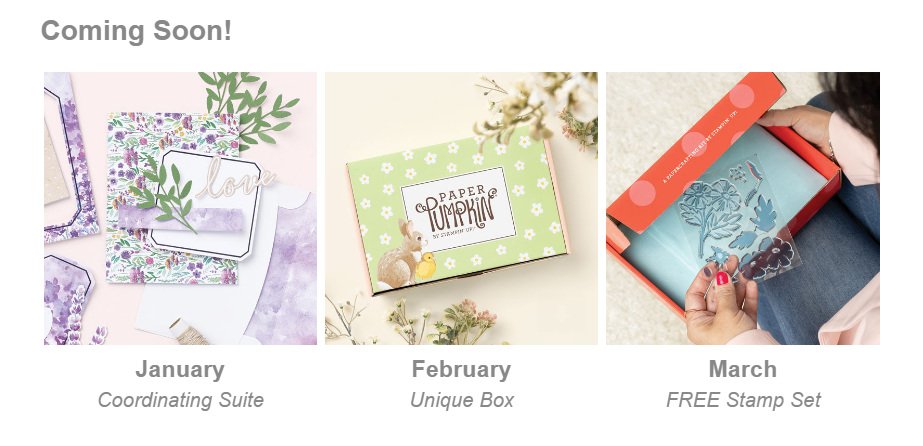
    I thought I'd share some sneak peaks of upcoming Paper Pumpkin kits.  

    April's kit is called Delicate Wings


    Did you know that you are in charge of which kits you receive?  Once you purchase a pre-paid subscription or subscribe you can opt out of any kit you do not want. Stampin' Up! shares what's coming up each month so you can decide if you want it or not.  You have complete control!

    You're also eligible to purchase any of the refill kits or add-on's SU offers. See them all here. 

    *Plus when you subscribe with me, LeeAnn Greff, you'll qualify for a FREE tutorial each month.

    • This tutorial PDF is filled with 10 or more alternate ideas for additional projects you can make with each month's kit (includes photos & instructions) – making your kit go a lot further!  *see example photo below

    Here is more info on how Paper Pumpkin works:

    A MONTHLY CRAFTING SUBSCRIPTION

    EVERYTHING YOU NEED IN A CRAFT BOX

    One issue crafters often run into is feeling overwhelmed by their project. Lack of inspiration, proper supplies and crafty know-how might discourage you from even starting a project and unlocking your creative potential!

    This never happens with a craft subscription box from Paper Pumpkin. That’s because everything you need for your project is included in your monthly art box. All you have to do is open it up and get started. You’ll be able to make cards, treat bags, gift boxes and so much more with your monthly art box subscription.

    BUILD YOUR STAMP COLLECTION

    Among the items in each Paper Pumpkin monthly craft kit is a reusable rubber stamp. So after you’re done creating your monthly craft, you’ll have a valuable stamp to add to your collection. You even get a free clear stamping block with your first craft box. Plus, you get a different color ink pad every month as well.

    PRINT & VIDEO INSTRUCTION MAKE CRAFTING EASY

    Even the craftiest among us worry that we’ll have trouble understanding how to do a project, or that we’ll make a mistake. You never have to worry about that with Paper Pumpkin! That’s because not only does each monthly arts and crafts box come with clear, easy-to-understand printed instructions, but we also upload a video to YouTube so you can watch a professional guide you through the craft.

    ~~~

    April Specials: 

    *current host code link:  TQWBXR4T

    ~~~

    A free gift with orders in April:

    All online orders in April will receive a free multi-project tutorial!

    Leave a Reply

    Your email address will not be published. Required fields are marked *

  • Quick, pretty cards for springtime greetings in this kit to go


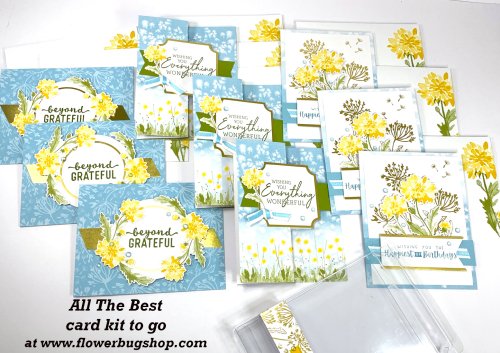
    Here's another card kit option in April; it features the All the Best Paper Pumpkin kit. 

    Aren't these spring floral cards beautiful? I jazzed up the cards in this kit a bit from the originals.

    This kit includes 9 cards, matching envelopes and an acetate box.  You'll make 3 each of 3 card designs.

    It includes the following:

    • 9 card bases, greeting labels, pre-cut or die-cut elements 
    • a share of blue sparkle gems
    • adhesives
    • 9 envelopes
    • an acetate box to gift or store cards in
    • PDF tutorial

    See this kit here.  It's $25 plus shipping.  

    *This kit does not include stamps or inks; you'll need assorted greetings and Balmy Blue or Olive inks to complete the cards

    The kits will be mailed out at the end of April. The PDF tutorial will be sent via email immediately after payment. Check your junk folder. 

    *This kit features the December 2023 Paper Pumpkin refill kit.

    Check out the other card kits available here to combine & save on shipping if you order more than one.

    ~~~

    April Specials: 

    *current host code link:  TQWBXR4T

    ~~~

    A free gift with orders in April:

    All online orders in April will receive a free multi-project tutorial!

    Leave a Reply

    Your email address will not be published. Required fields are marked *

  • Beautiful Nature’s Sweetness specialty paper – for gorgeous cards in this kit to go or PDF tutorial


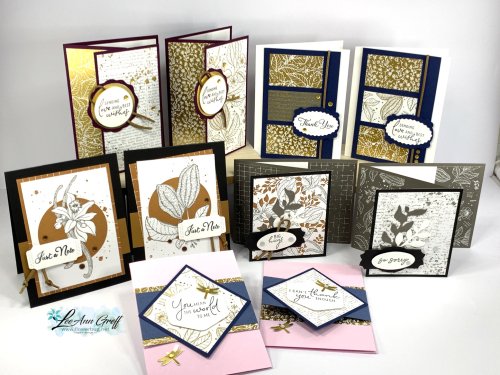
    I chose to feature the stunning Nature's Sweetness specialty paper for one of my April card kits to go.  It's filled with pretty gold foil patterns and botanical prints. As usual the photo does not do them justice! 

    This card kit to go includes the following:

    • 10 pre-cut cards – 2 each of 5 designs including a few fancy fold layouts
    • 1/2 pkg of the Nature's Sweetness specialty designer paper (6" X 12")
    • a share of the faux leather trim
    • a share of neutral sequins
    • the PDF tutorial with photos, measurements, supplies & step by step directions

    You'll receive the PDF tutorial immediately after payment; check your email. The pre-cut kit & products will be sent at the end of April. 

    The cost for the pre-cut kit & products is $29 plus shipping. Click here to see it. 

    See the PDF tutorial here; it's $15 and does not include product. 

    *This is the kit my subscribers will receive in April.  If you're interested in getting a pre-cut kit each month with $20 in product  Click here to opt in. You can cancel or opt out at any time. It's $28 plus shipping. 


    *This kit does not include stamped images.  You'll need assorted greeting images and a few inks to complete the cards.

    You'll use a paper trimmer to cut your new designer paper using the measurements in the tutorial. Everything else is pre-cut for you. 

    Check out the other card kits available here and save on shipping if you order more than one. I'll share my other new card kit in tomorrow's post.

    ~~~

    April Specials: 

    *current host code link:  TQWBXR4T

    ~~~

    A free gift with orders in April:

    All online orders in April will receive a free multi-project tutorial!

    Leave a Reply

    Your email address will not be published. Required fields are marked *


Notice: LeeAnn Greff, Independent Stampin’ Up! Demonstrator, Manager. The content of this website is my sole responsibility as an independent Stampin’ Up! demonstrator and the use of, and content of, the classes, services, or products offered on this website is not endorsed by Stampin’ Up! Copyright 2025