/


Latest Post

Cut once for two card fronts with the Border Basics dies; video tips & tutorial too


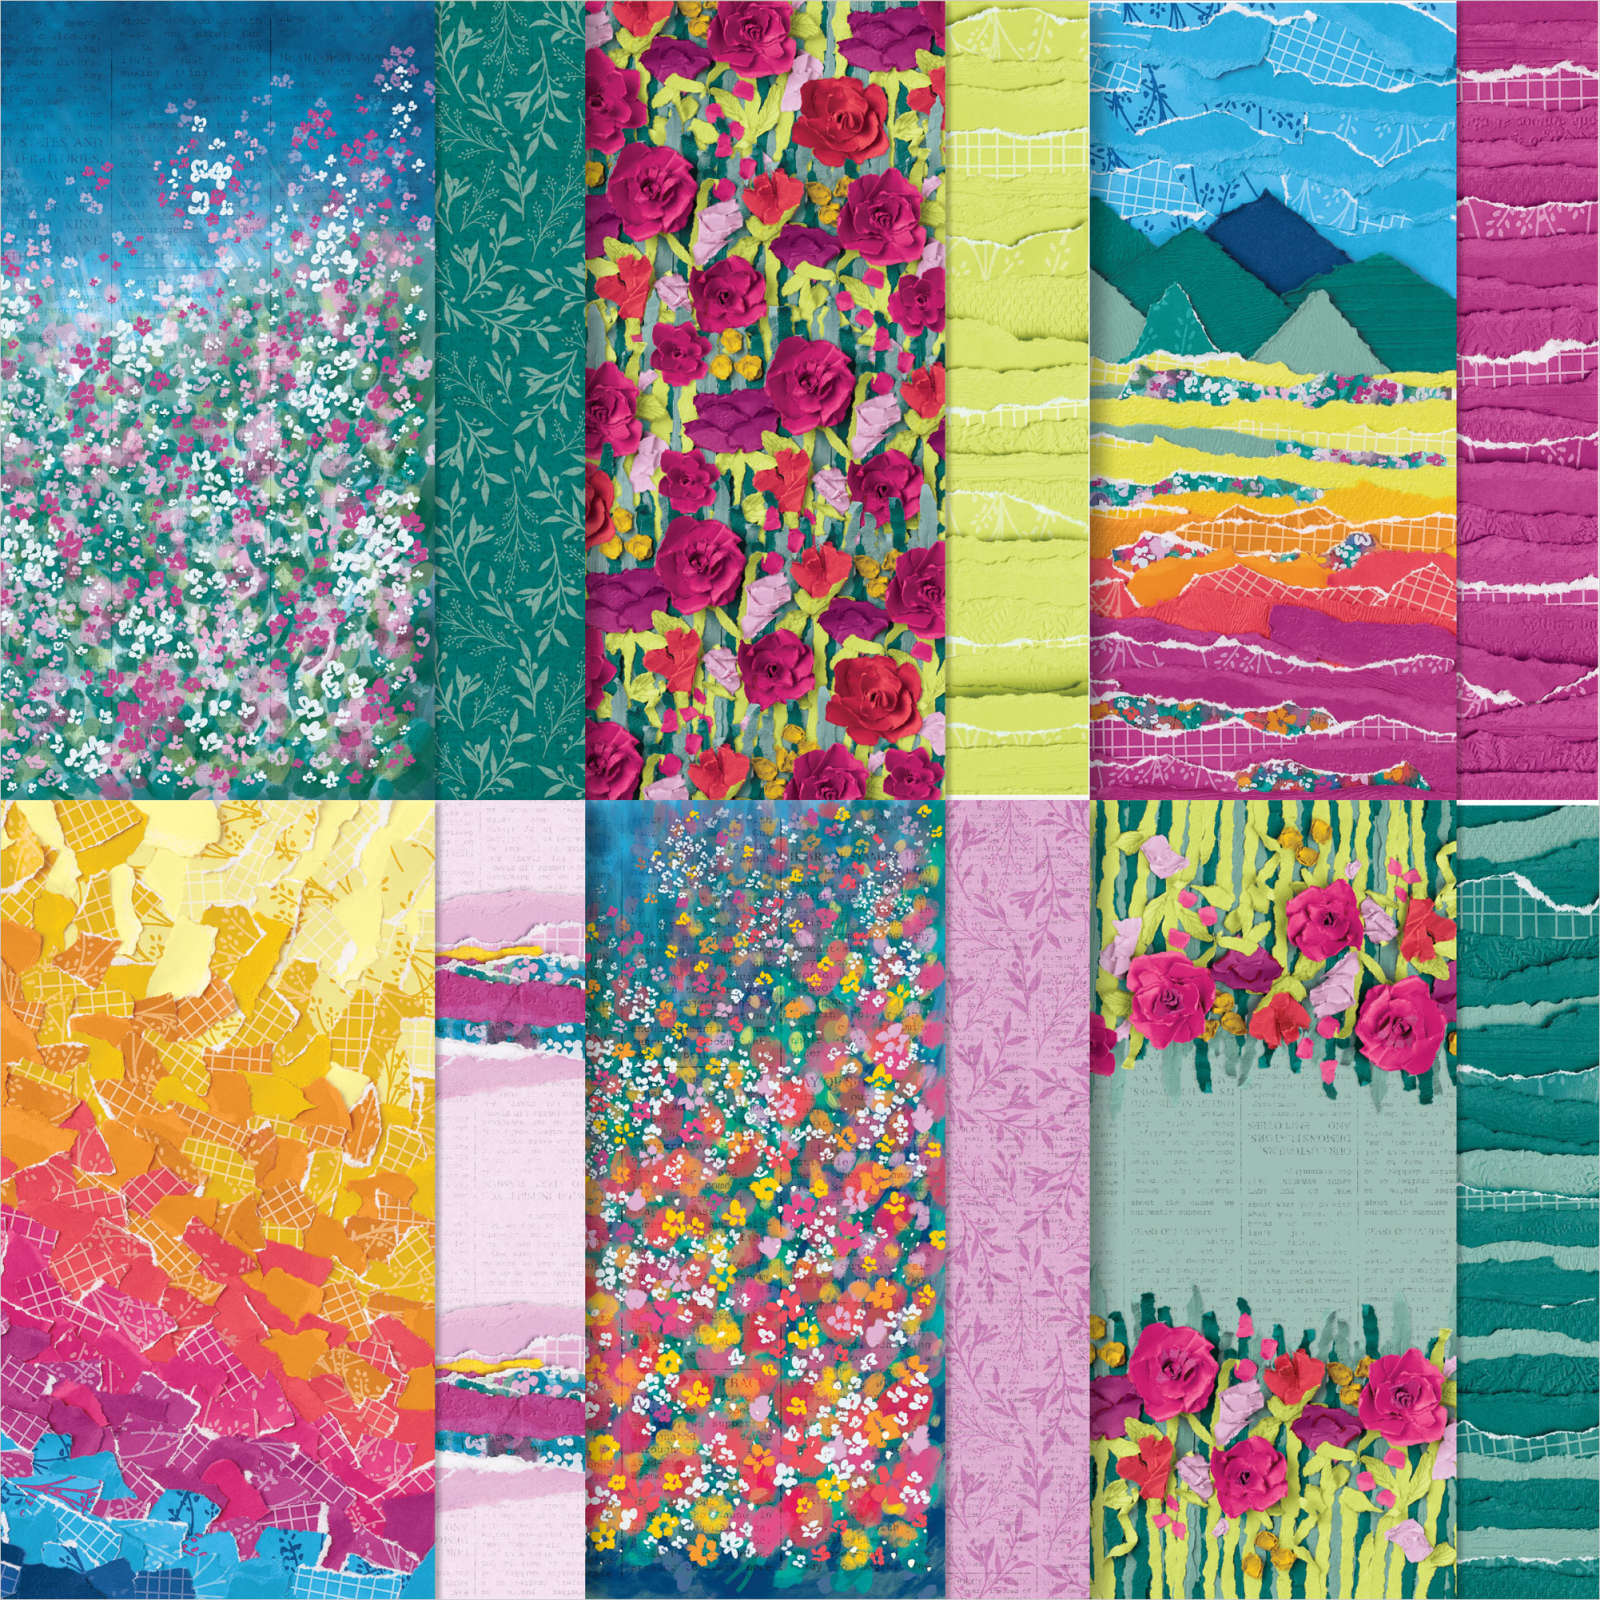
I shared one of the cards I made in last week's video and here's another one. Both feature the same three products: Masterfully Made designer paper, Wanted to Say dies and the Border Basics dies.  
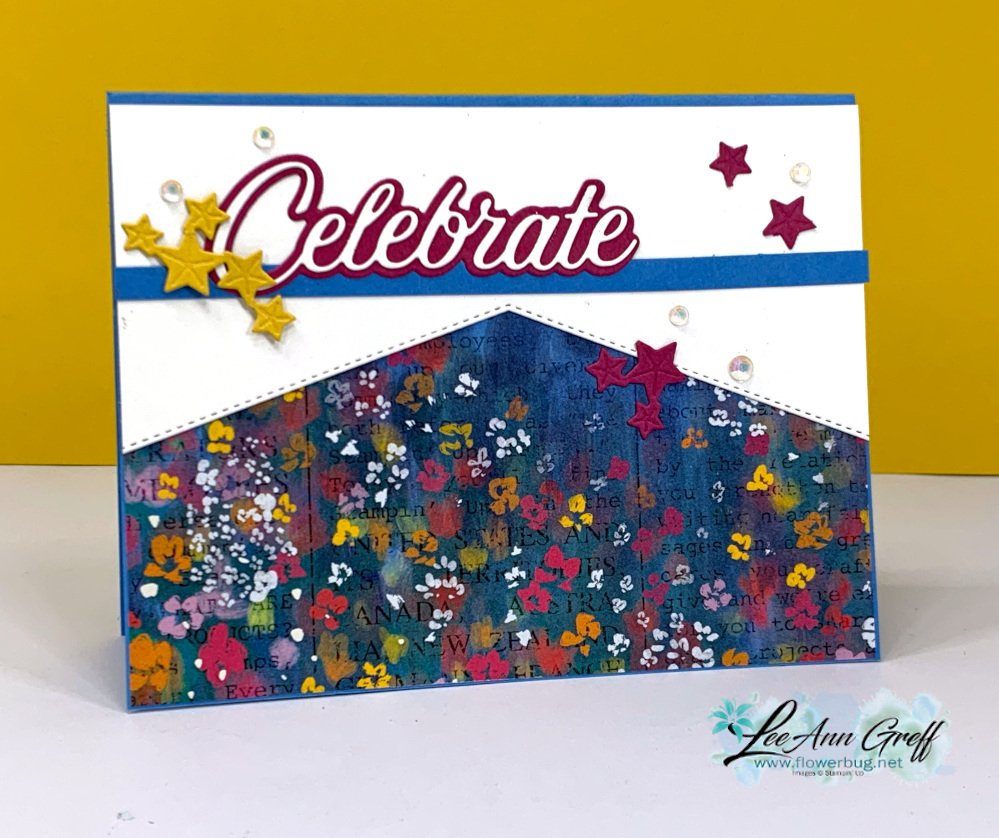
I used the White die-cut leftover from the card I shared yesterday on this card; basically getting two cards from one die-cut!

The Border Basics dies are wonderful and so versatile since they die-cut the stitched edge on both sides.  Below is a photo of the inside of the card: 
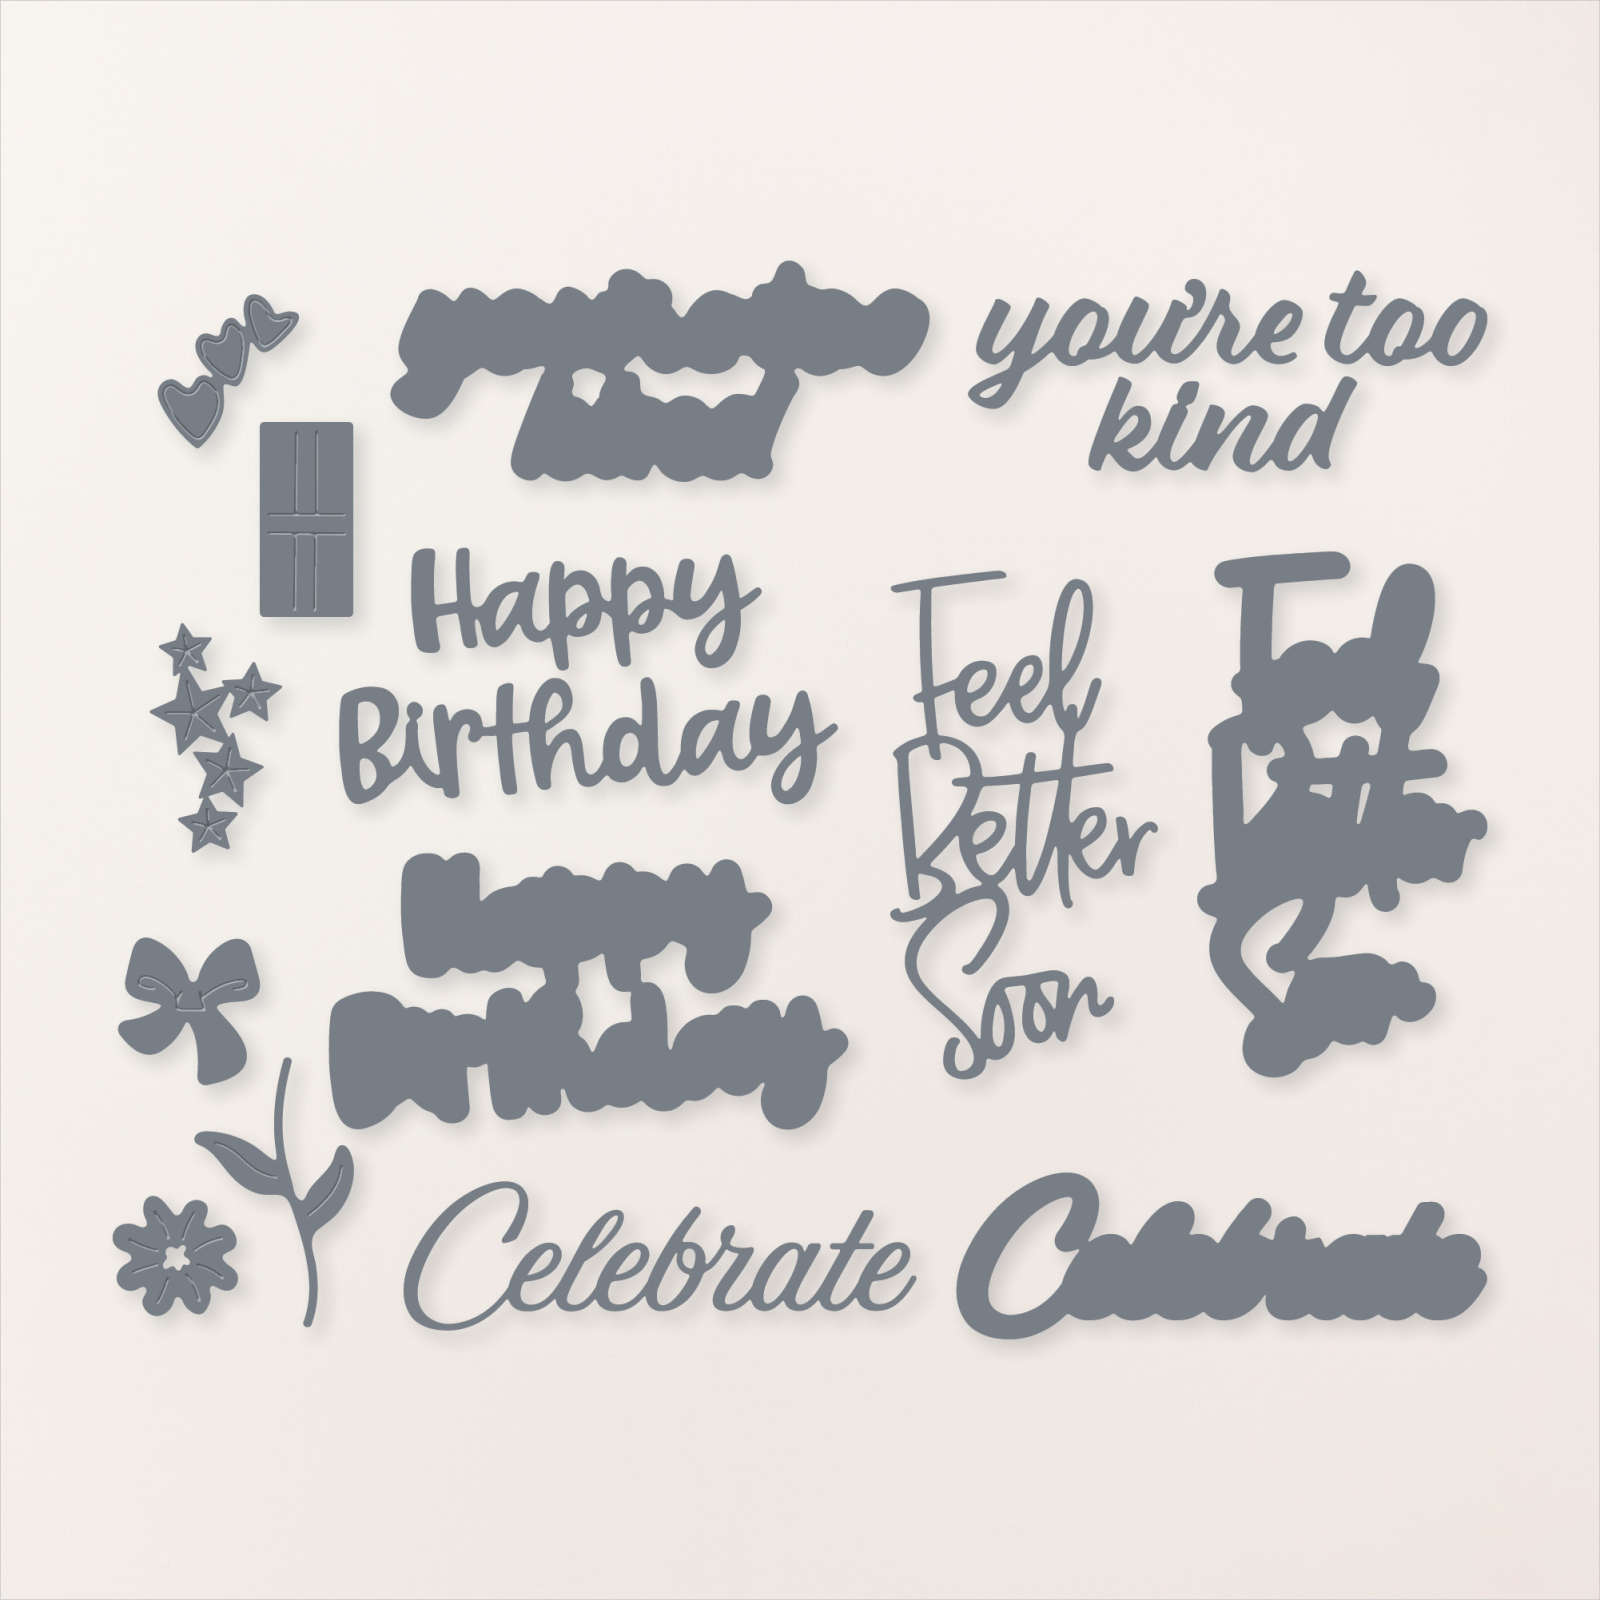
The Celebrate, Happy Birthday, stars and present die-cuts are all from the Wanted to Say dies seen here: 
Here are both cards I shared; each with a different piece of the Masterfully Made CS.  As you can see I added a thin line of card stock to rest the 'Celebrate' die-cut on. I love the effect!

You can see this beautiful designer paper here.  It's discounted in June; down to $10.62.
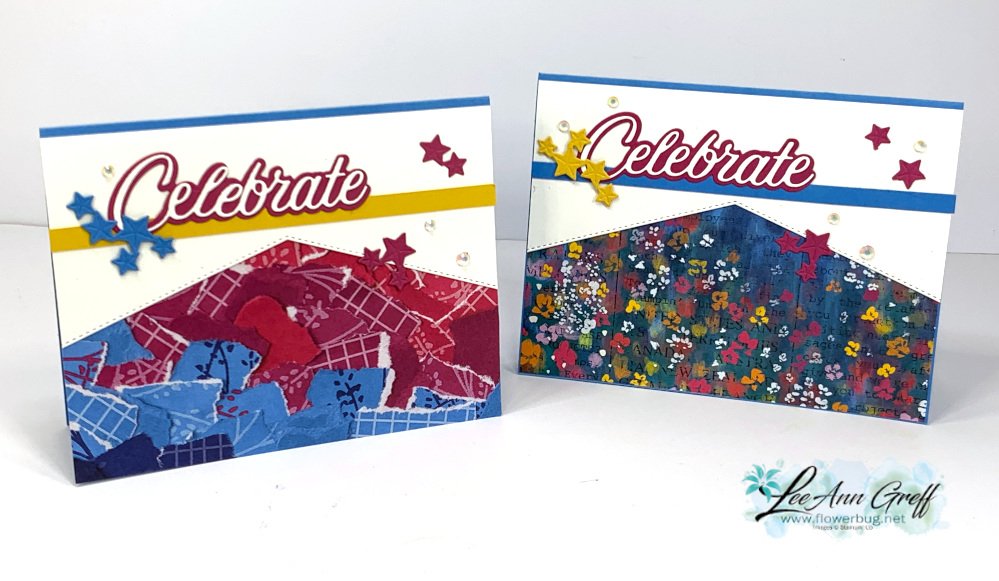
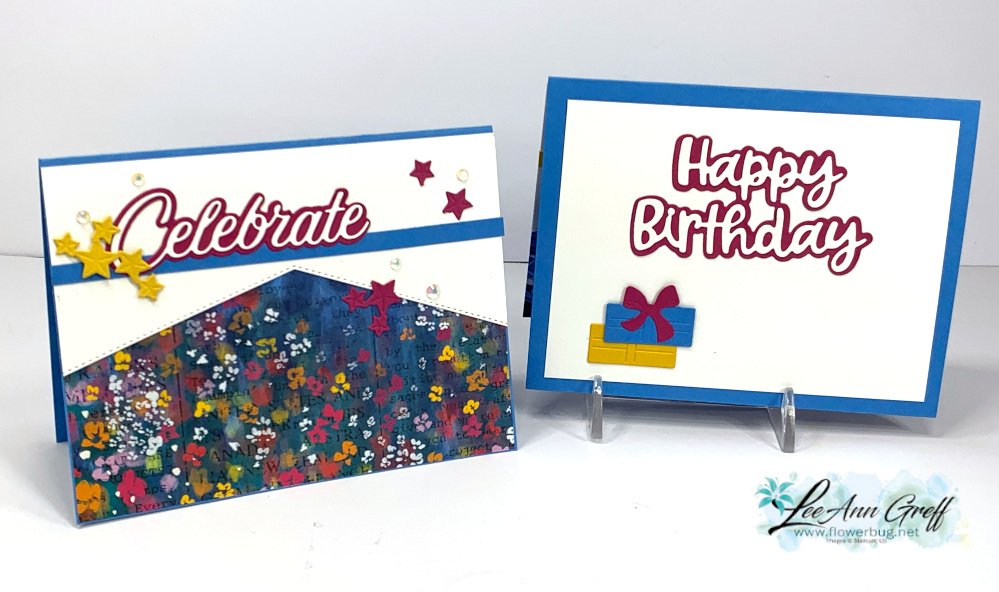
The photo below shows both cards; one cut for two card front! 

I cut the right side of the card front off (on the left card) and used that piece on the card on the right. Essentially I cut the card front in half and added it to the card on the right, adding DSP underneath to show off the angles.  One cut; two cards!  

You can see how I made this card on the video here.  Or click on the photo below to watch. Remember to follow me on Facebook here or on my YouTube channel here. 

~~~

June Specials:

Designer Paper is 15% off in June!
WOW – get $155 in product for $99 with free shipping! click here!

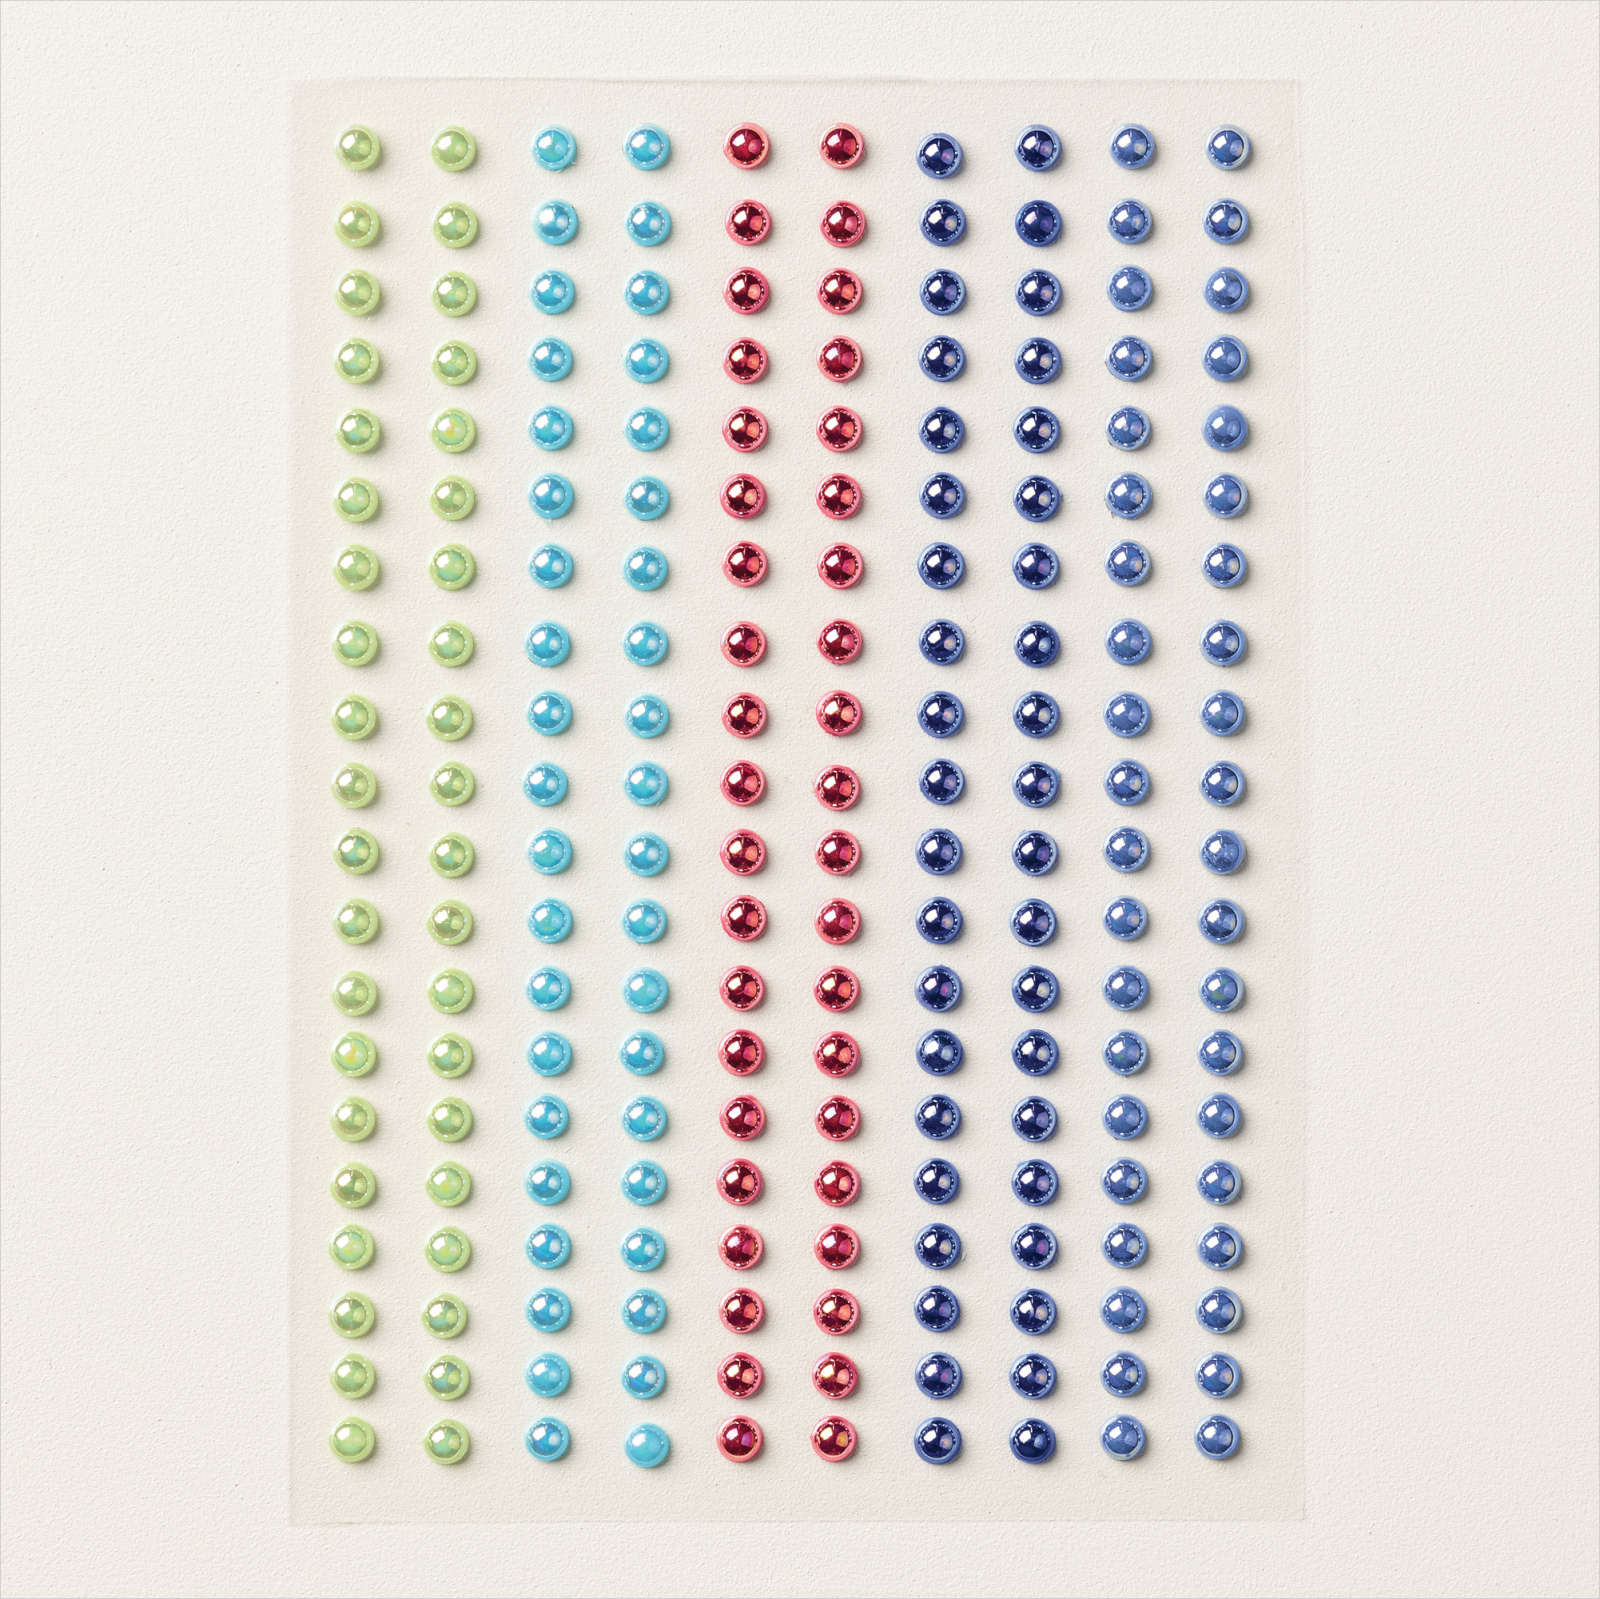
Get a package of In Color pearls with online orders over $55 using a host code.

*current host code: M7SCQSVS 
 Earn free products with my loyalty rewards! 

Click here to download yours and earn a $50 shopping spree!
All Posts

  • Double Easel fun fold card with video & free project sheet


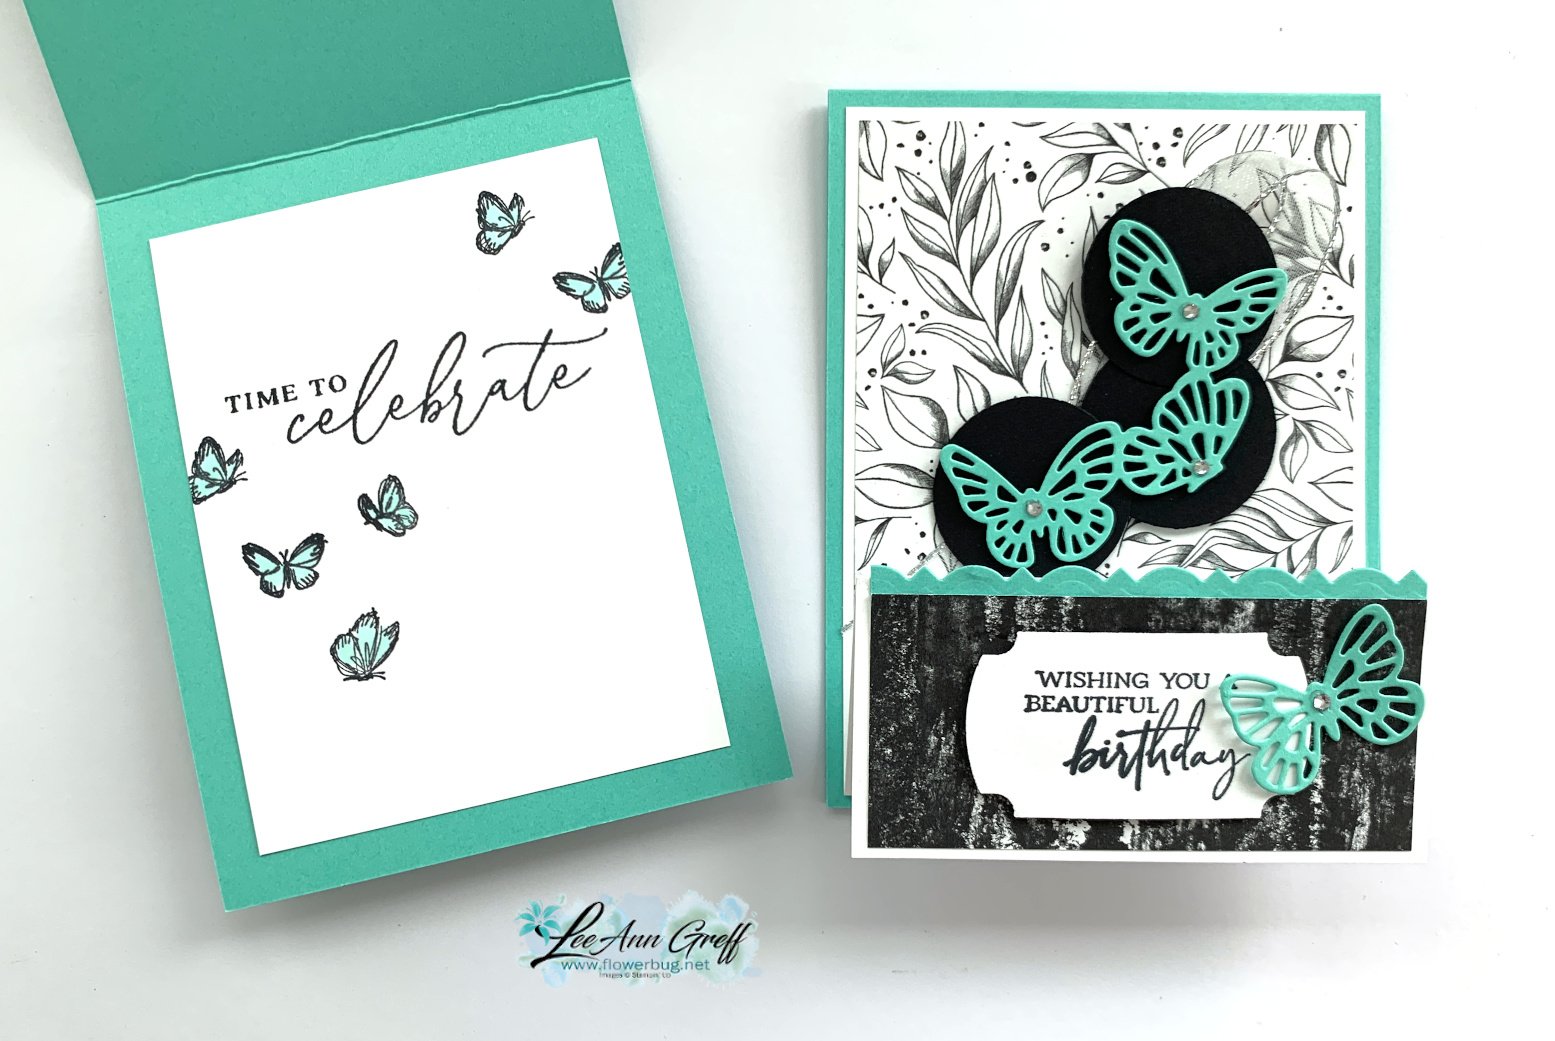
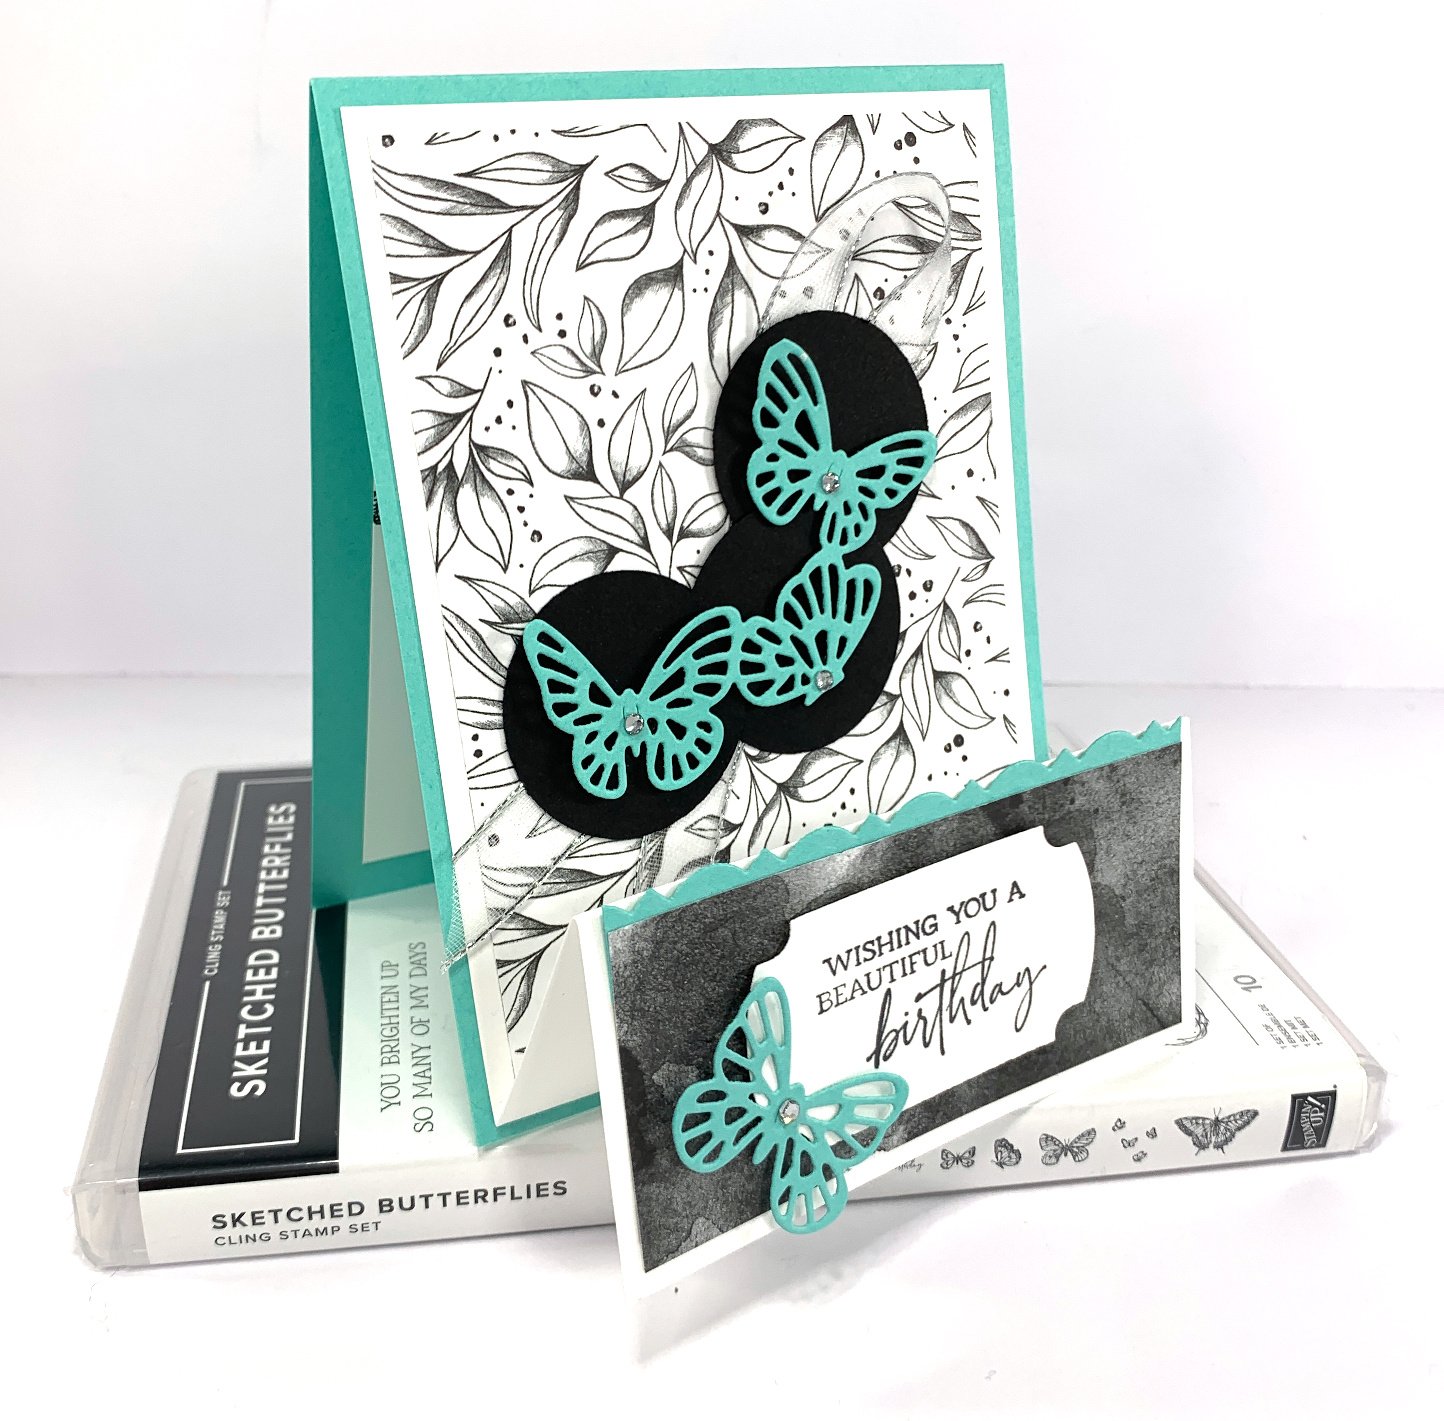
    I shared this neat fun fold on last week's Live video.  I record them on Facebook Live then upload to YouTube so you can view them either place. 

    My color combination is Summer Splash with Black & White.  The new Botanical Textures DSP inspired this fun fold card. 
    I love how the three butterflies die-cut is placed on 3 Black circles; they would have been lost if placed directly on the DSP. 
    We made this project at last week's Team gathering.  They loved it! 
     
    Products used:
    • Botanical Textures DSP seen here
    • Sketched Butterfly bundle
    • Beautiful Butterflies stamp set
    • Fancy Border dies (seen here) 
    • Label punch

    I created a free project sheet with measurements & directions for you. Click on this link to download or print it.  Download Botanical Butterfly Easel card

    I also included the video below. What do you think of it?  I hope you'll try one!

    Below is the video tutorial: I hope you watch it and see the other really special fancy fold.  I'll share that tomorrow! 

    ~~~

    March Specials:

    *current host code link:  

    PNQMAWXD

    Get a free Floral Delight tutorial with any online order in March!

     Free Iridescent Foil gems!


    Leave a Reply

    Your email address will not be published. Required fields are marked *

  • Last of the Clean & Simple Team swaps!


    Today I'm sharing the last of the March Team swaps with the Clean & Simple theme.  No designer paper!

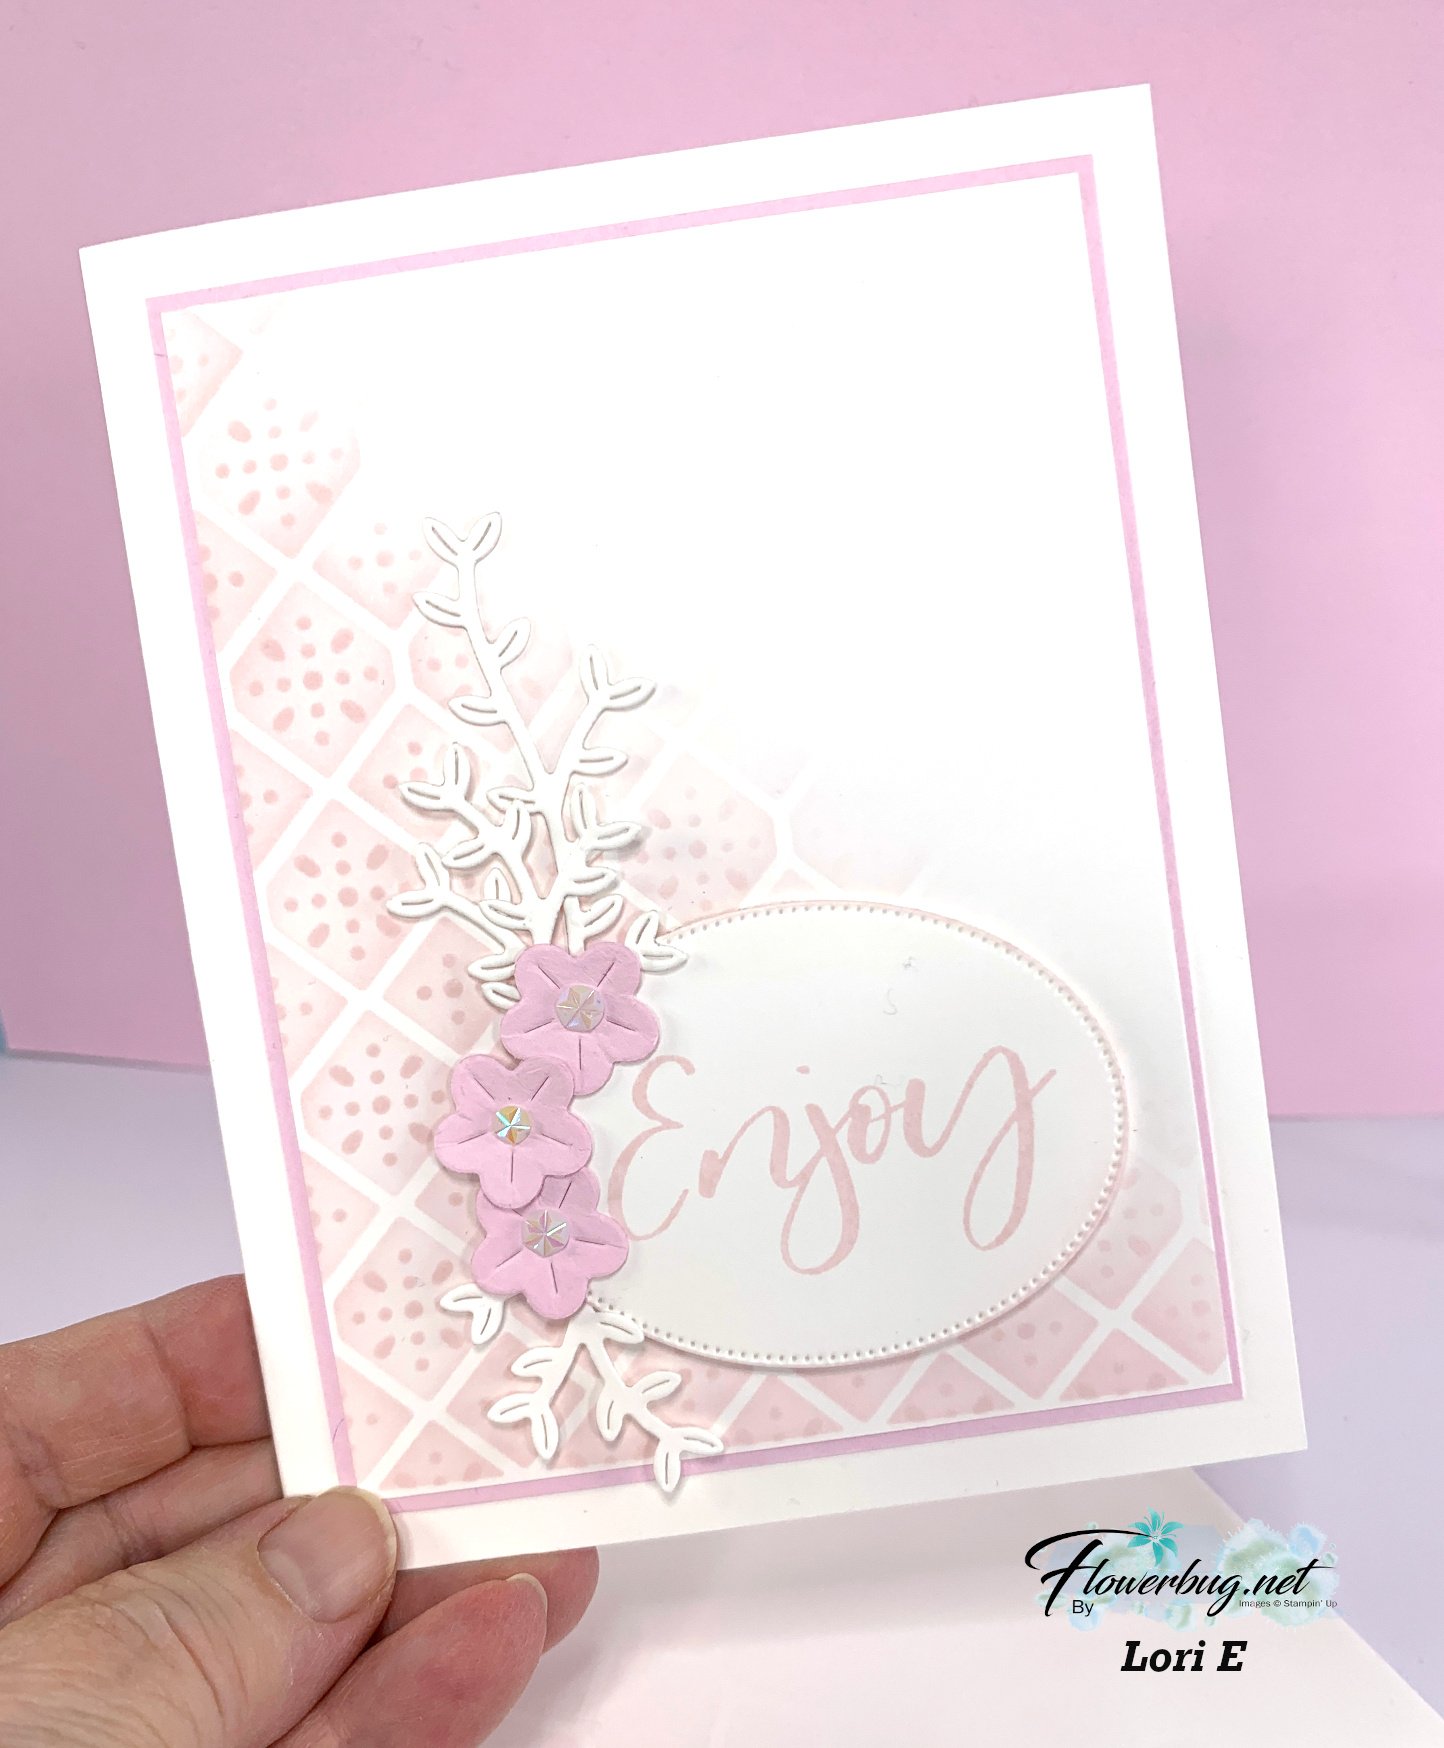
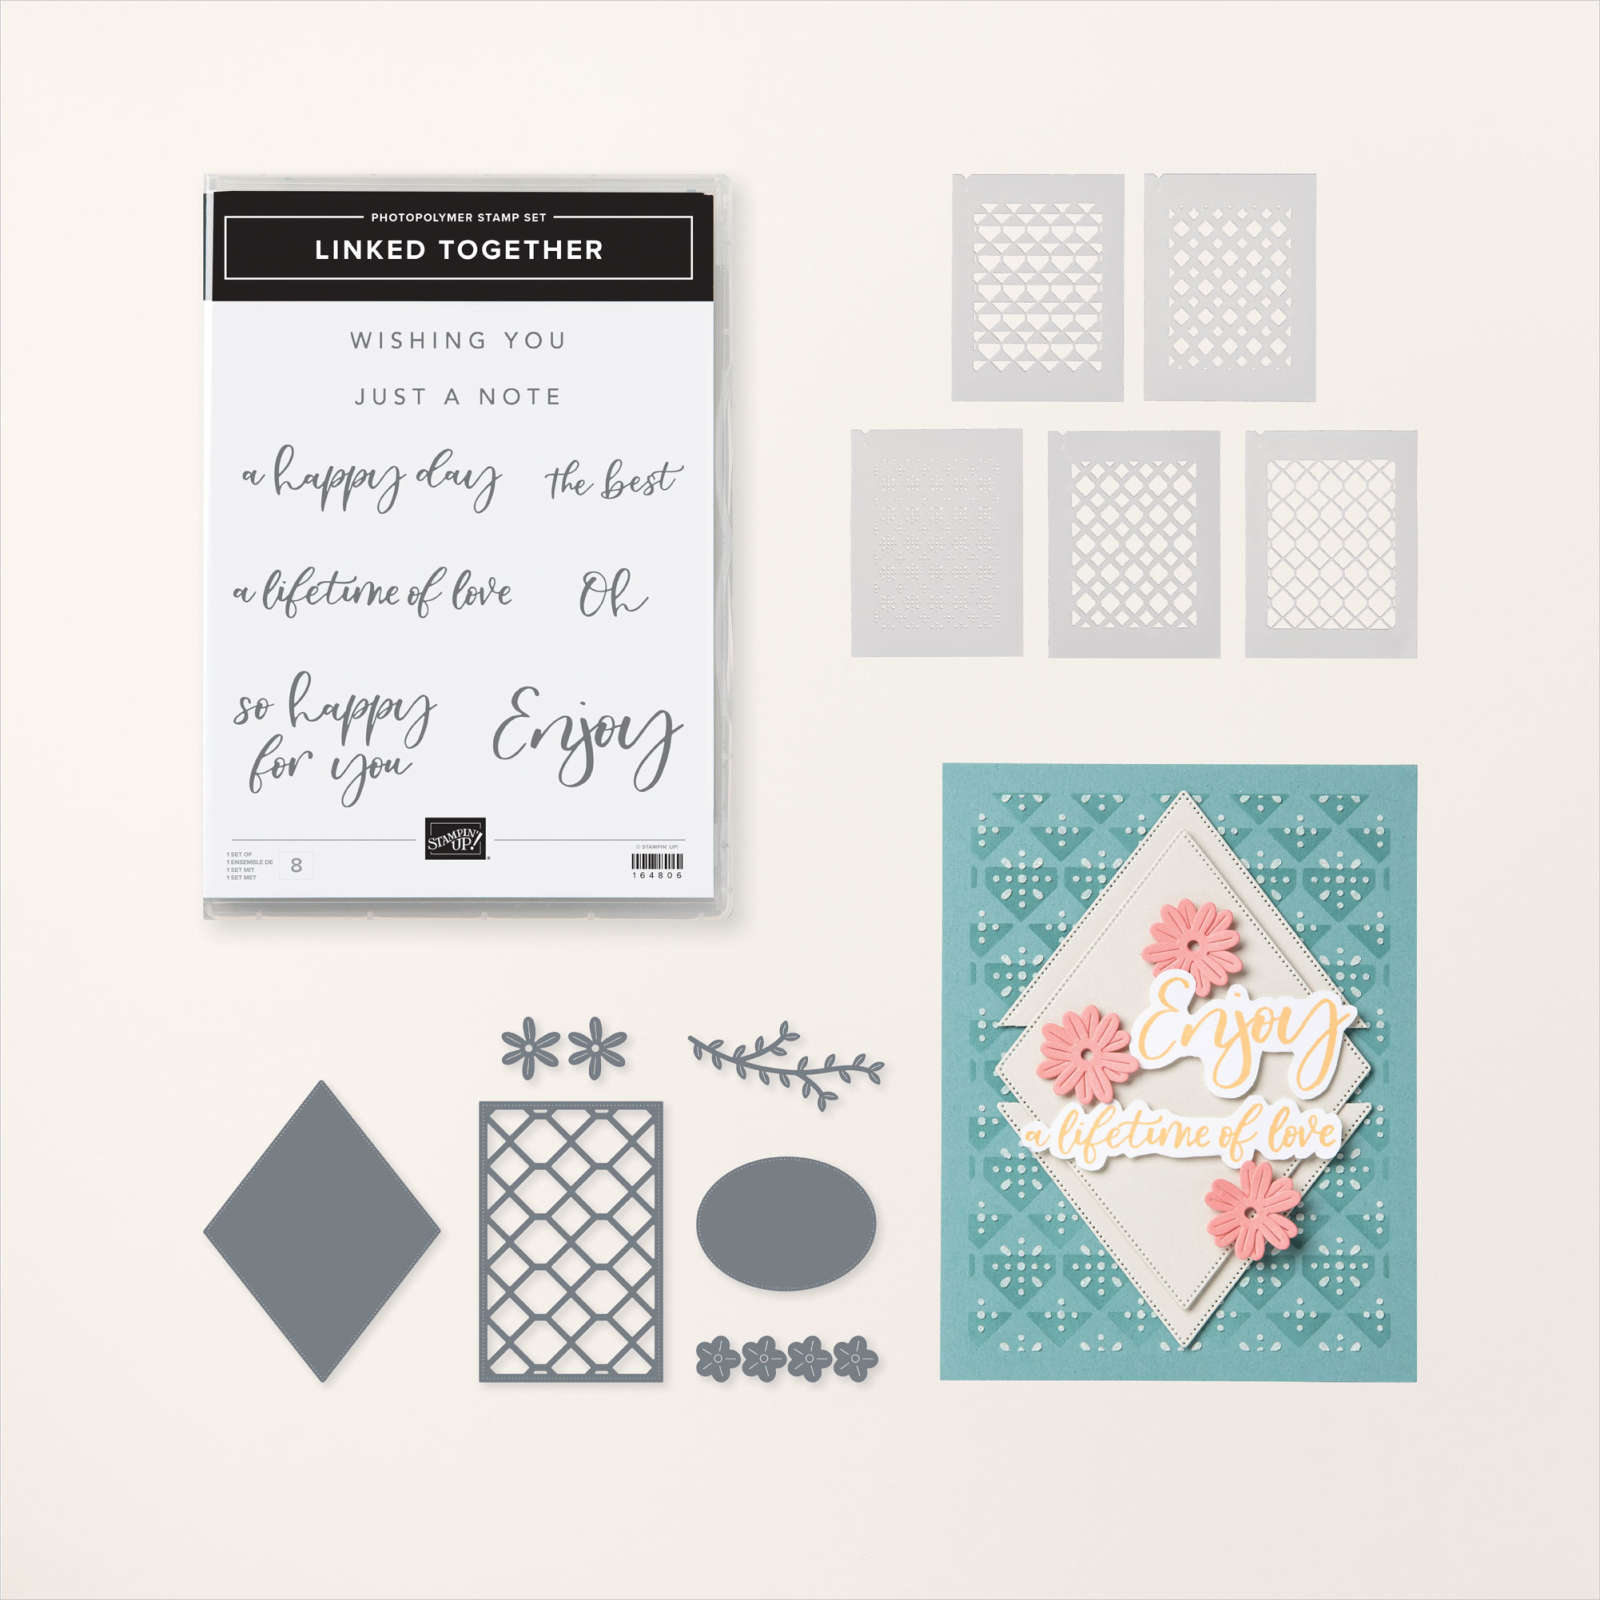
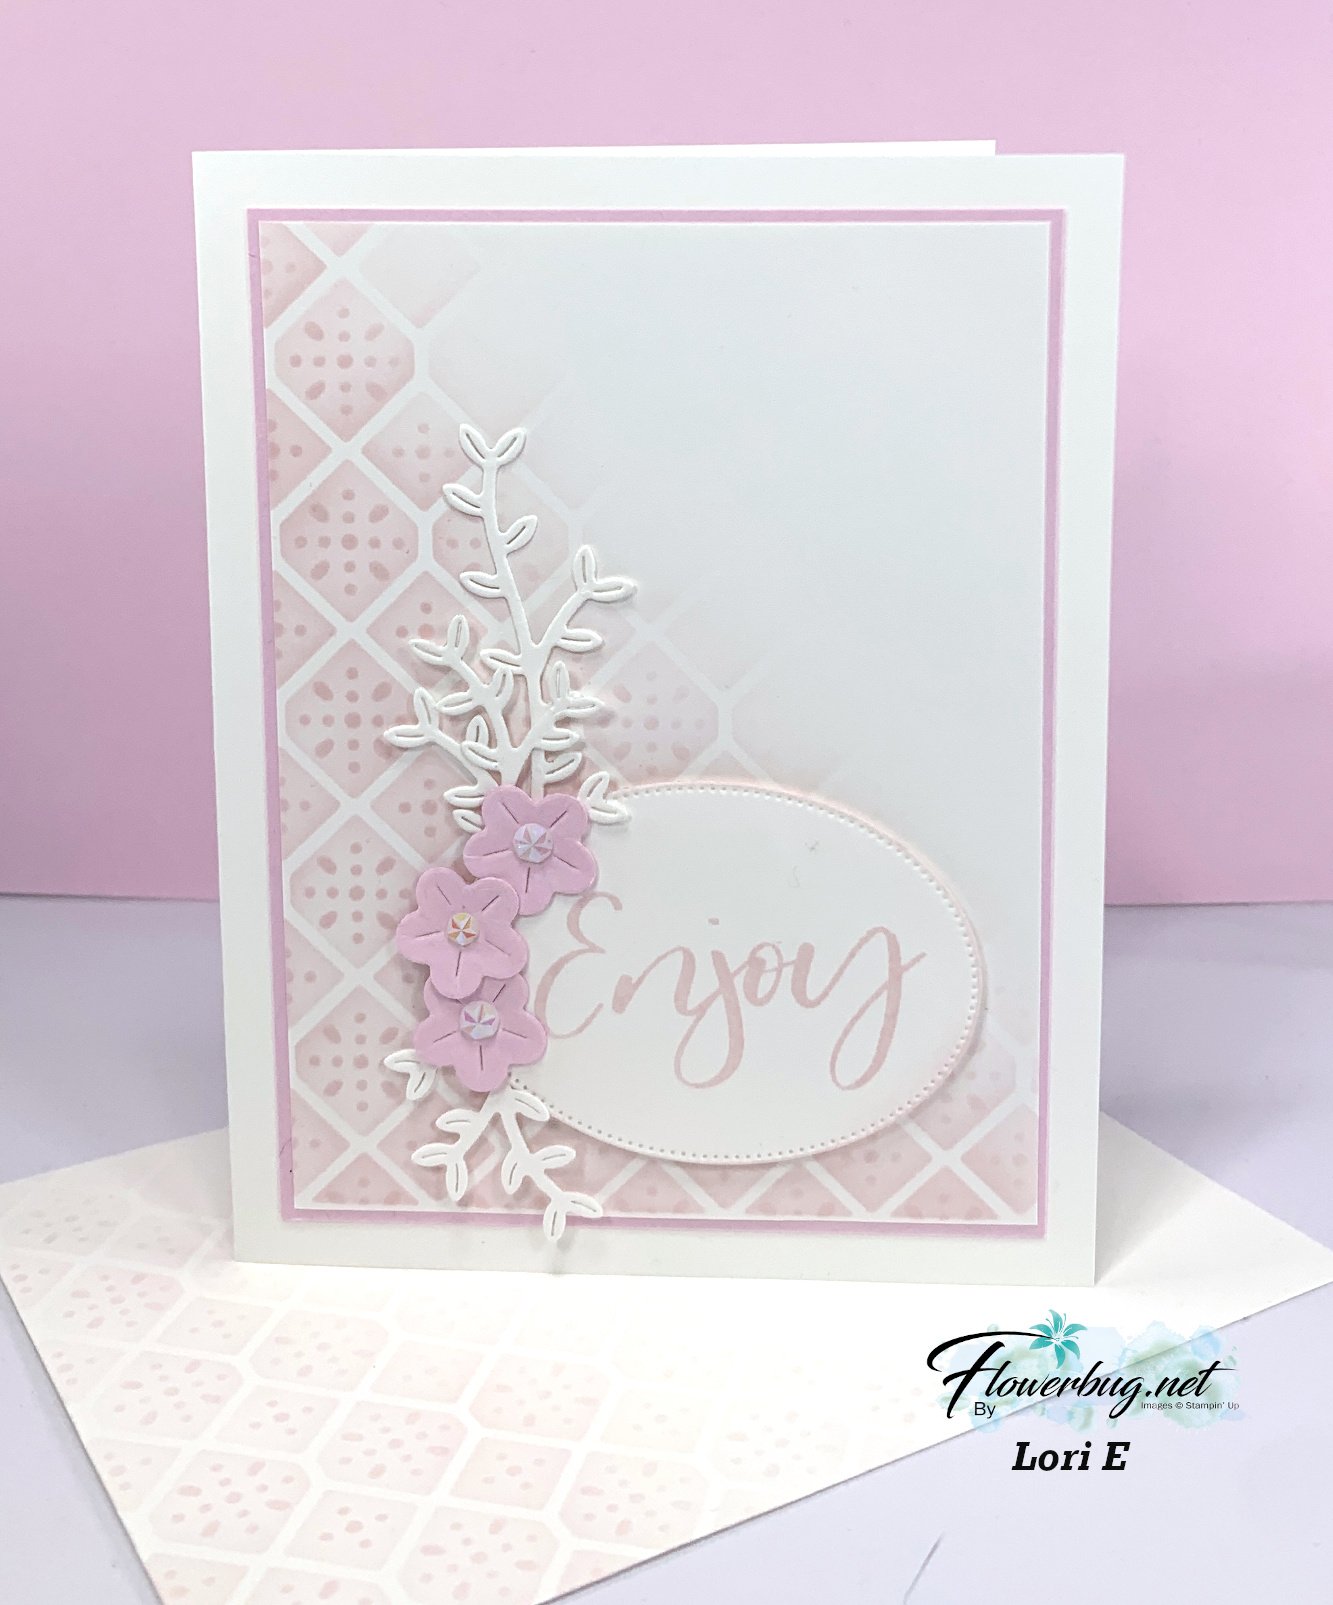
    Lori created with pretty card with the Linked Together bundle seen here. 

    This bundle has stamps, dies and masks which is how she created her background.  All using Bubble Bath ink! 

    I love her soft background and the die accents she added by the greeting.  Just gorgeous!  

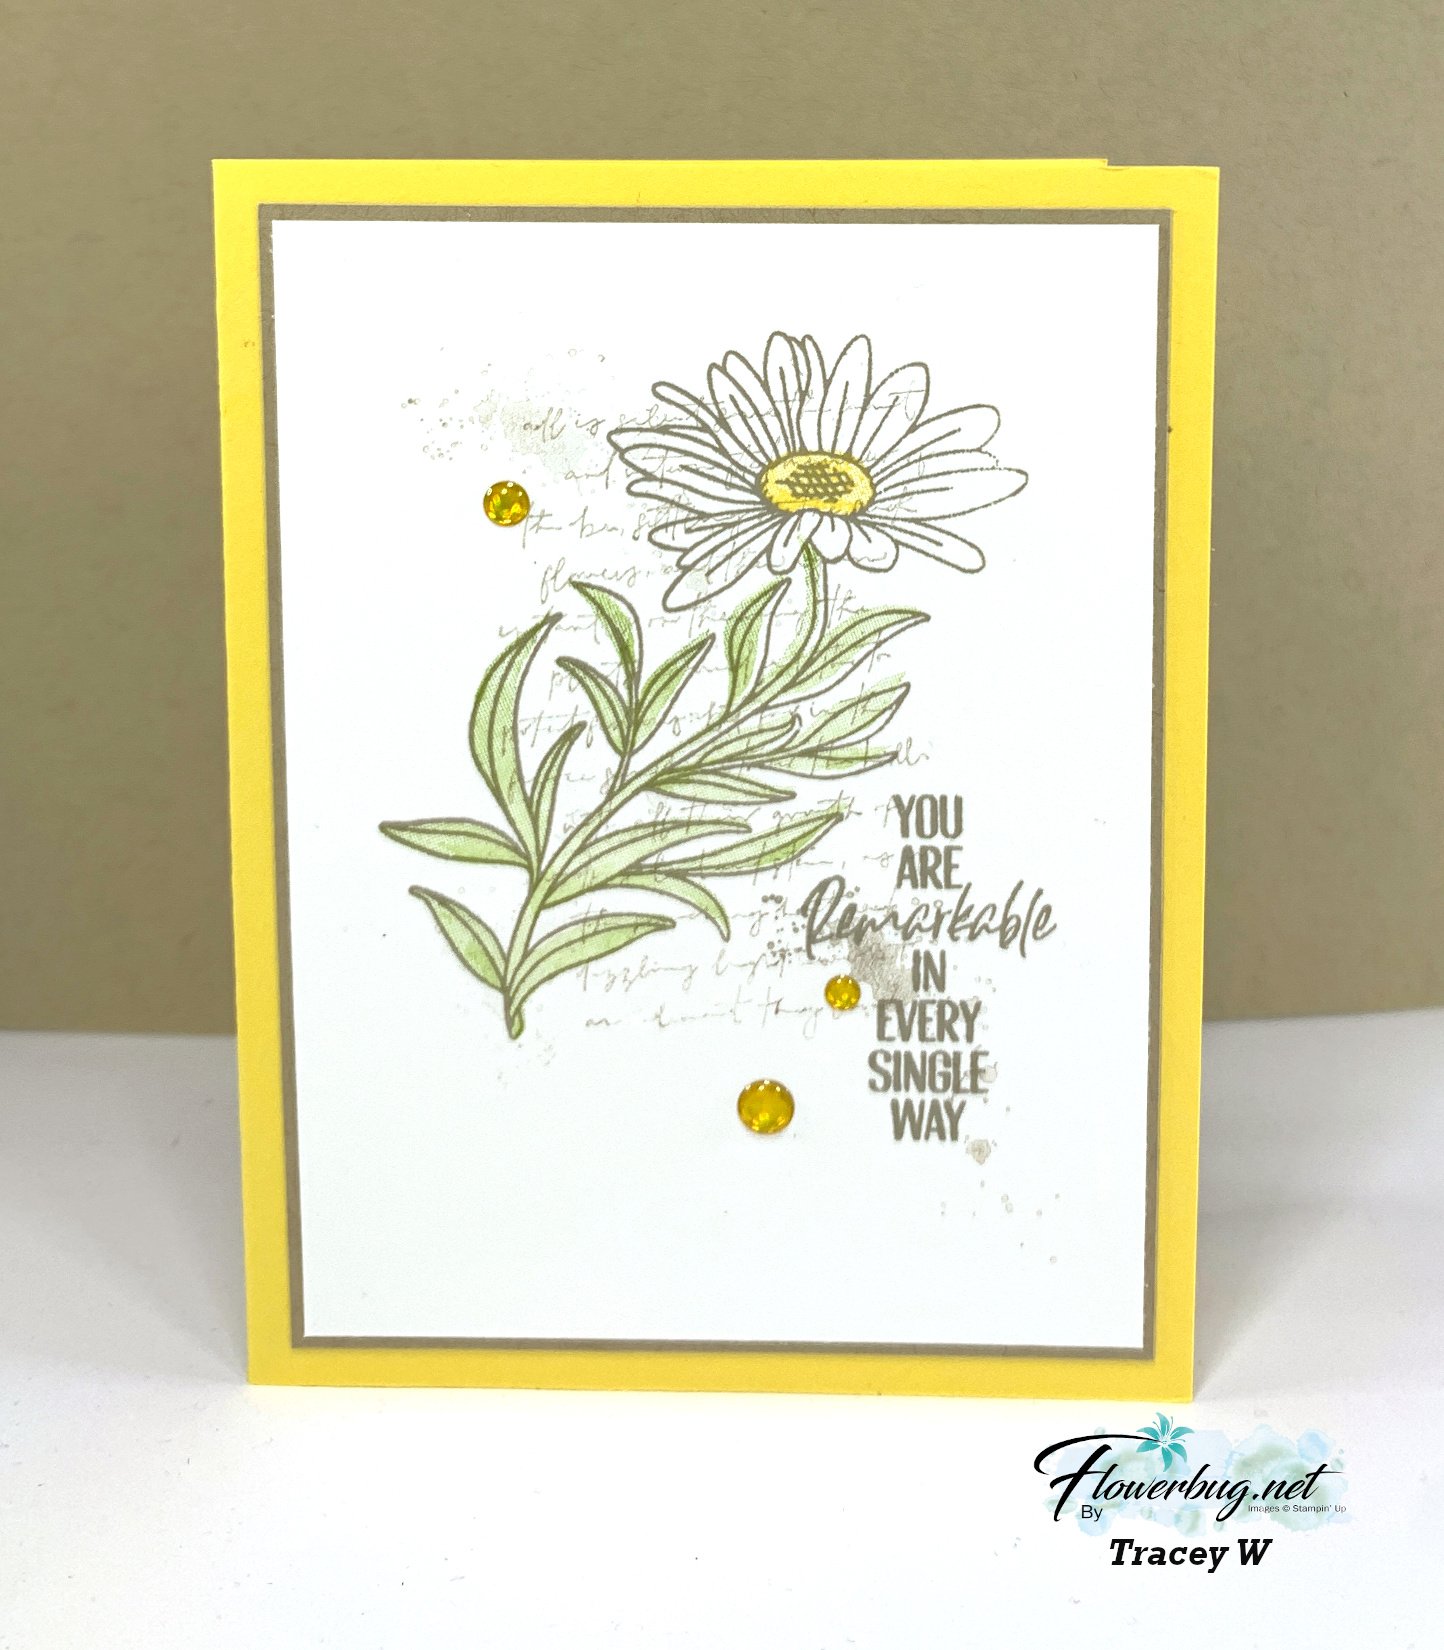
    Next is a pretty card made by Tracey. She chose to use the You are Remarkable stamp set seen here.  

    She also stamped a soft background behind the flower using the Elements of Text set.  Her color include Daffodil Delight & Crumb Cake with a bit of green on the leaves.  

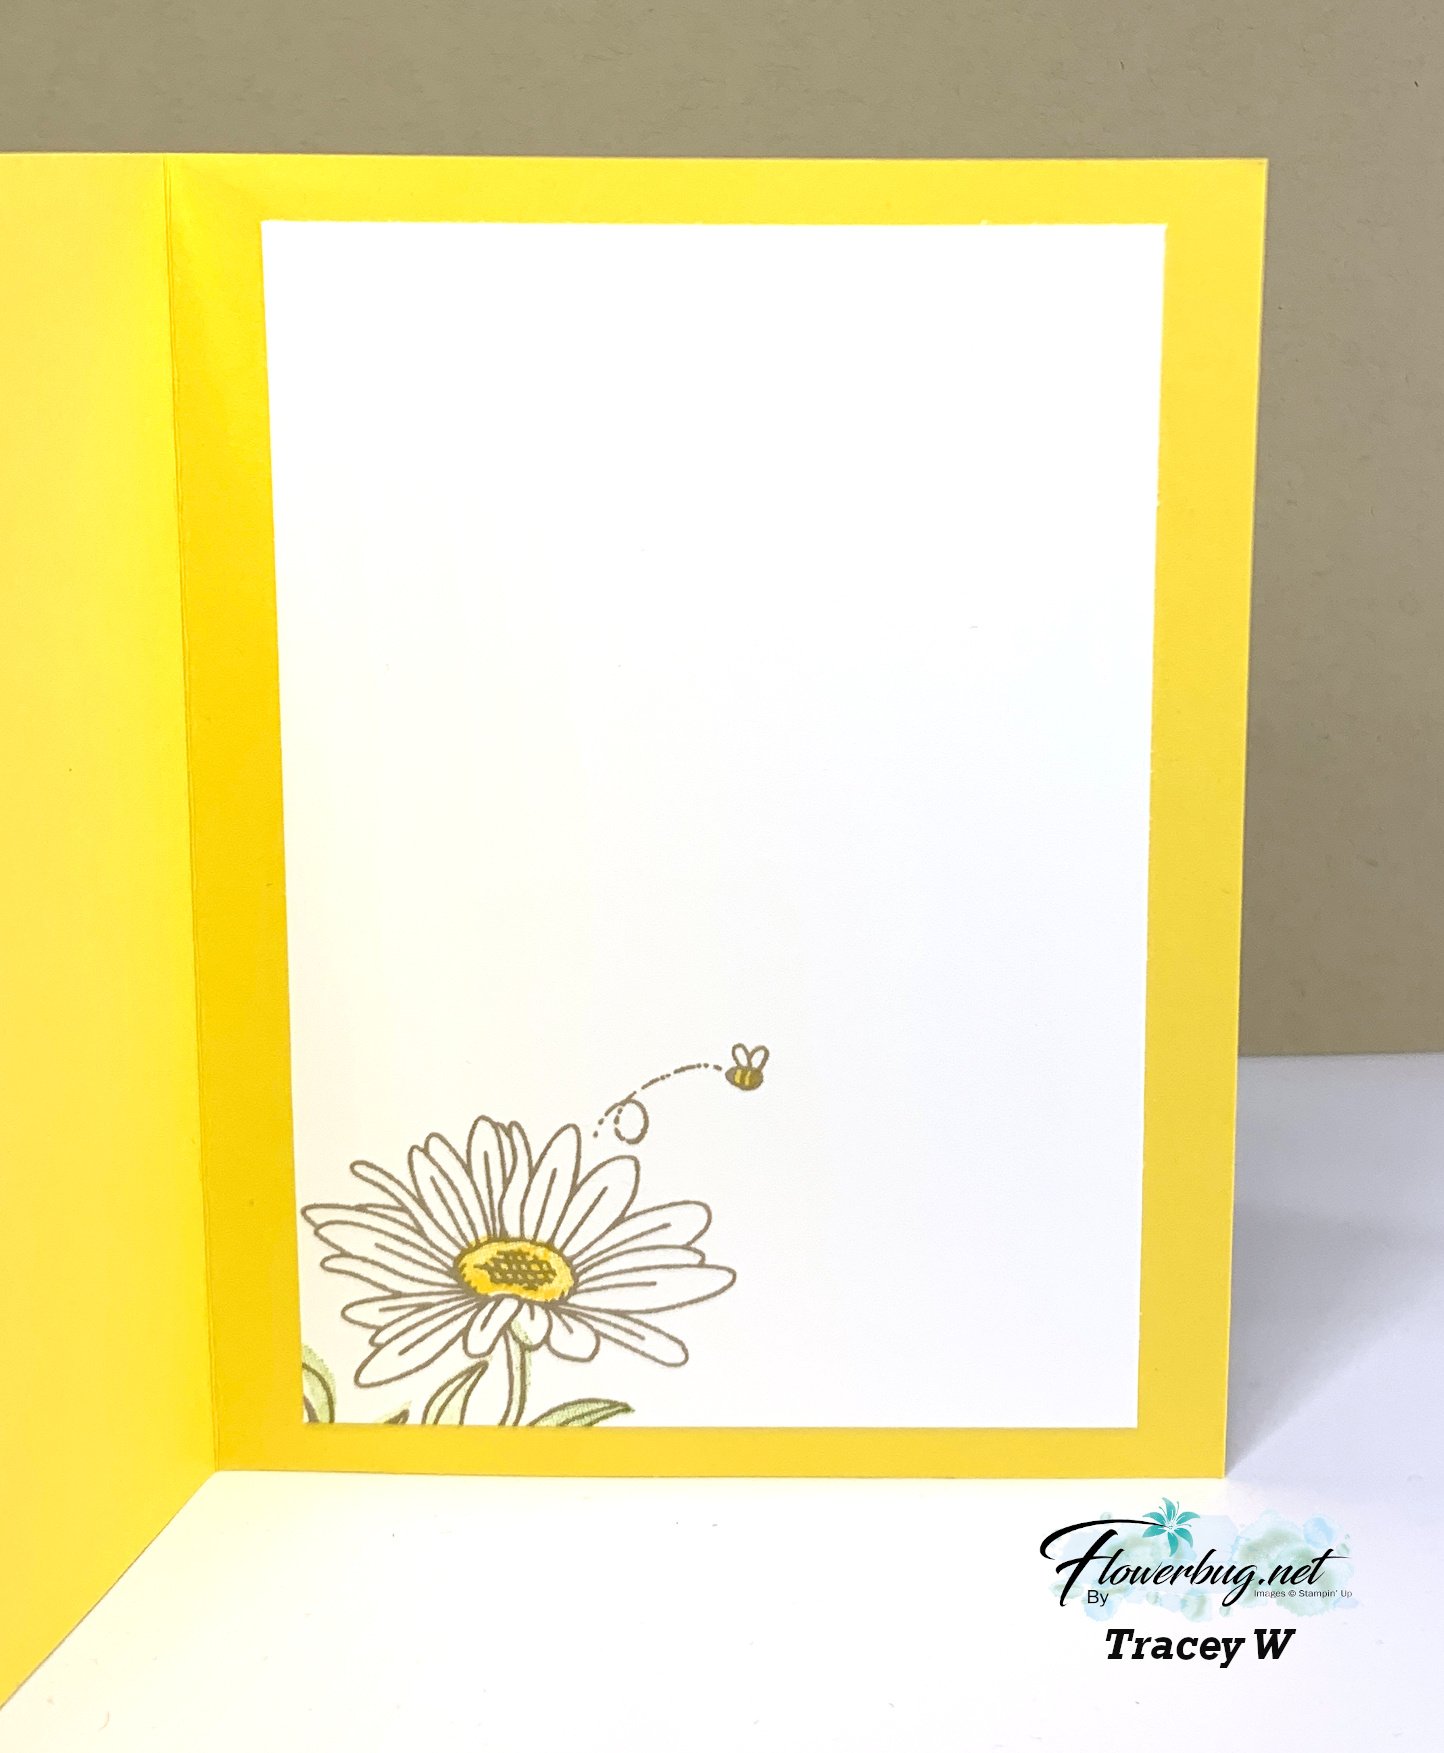
    I love how she stamped the inside; that bee is adorable. 

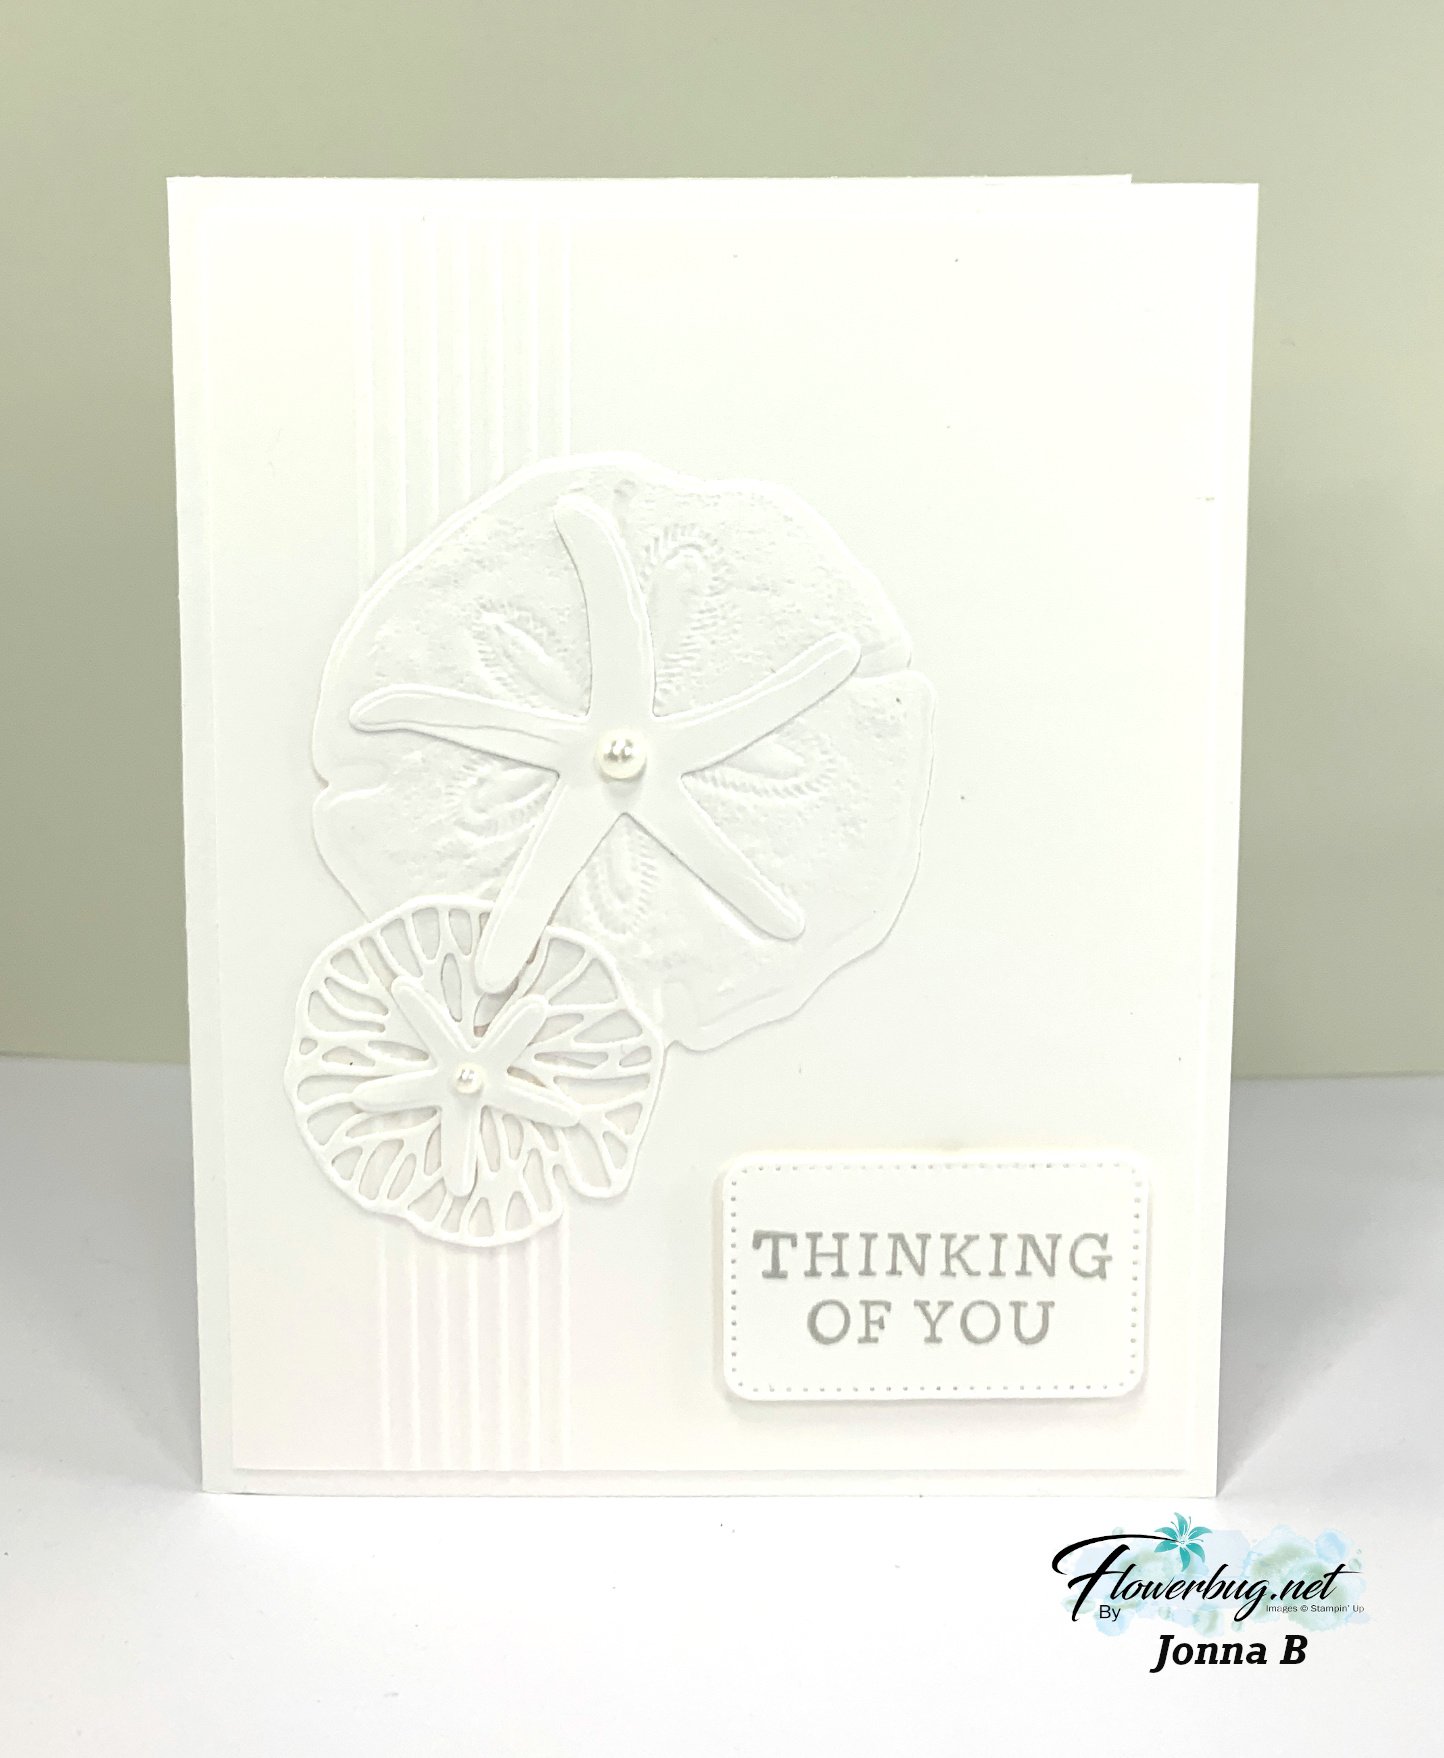
    And lastly is this beautiful all White card made by Jonna.  

    White on White is hard to photograph; I wish you could see how elegant it is in person!  

    She used the Seaside Wishes bundle along with a bunch of score lines on the left side. This little touch anchors the seashells wonderfully!  

    I hope you've enjoyed seeing my talented team swaps this month!  

    ~~~

    March Specials:

    *current host code link:  

    PNQMAWXD

    Get a free Floral Delight tutorial with any online order in March!

     Free Iridescent Foil gems!

    Leave a Reply

    Your email address will not be published. Required fields are marked *

  • More amazing Clean & Simple swap cards by the Flowerbug’s


    I shared 4 of our Team swaps yesterday and today I'm sharing more. They're all incredible! 

    Our theme was to create cards that are 'Clean & Simple' without any designer paper.  This is NOT easy for some advanced stampers! 

    First up is Karen's card which is just her style: 

    She used the Mini corrugated 3D embossing folder seen here and linen thread.  Plus the Painted Lavender & Friends for Life die-cuts on her Basic Beige & White card.  

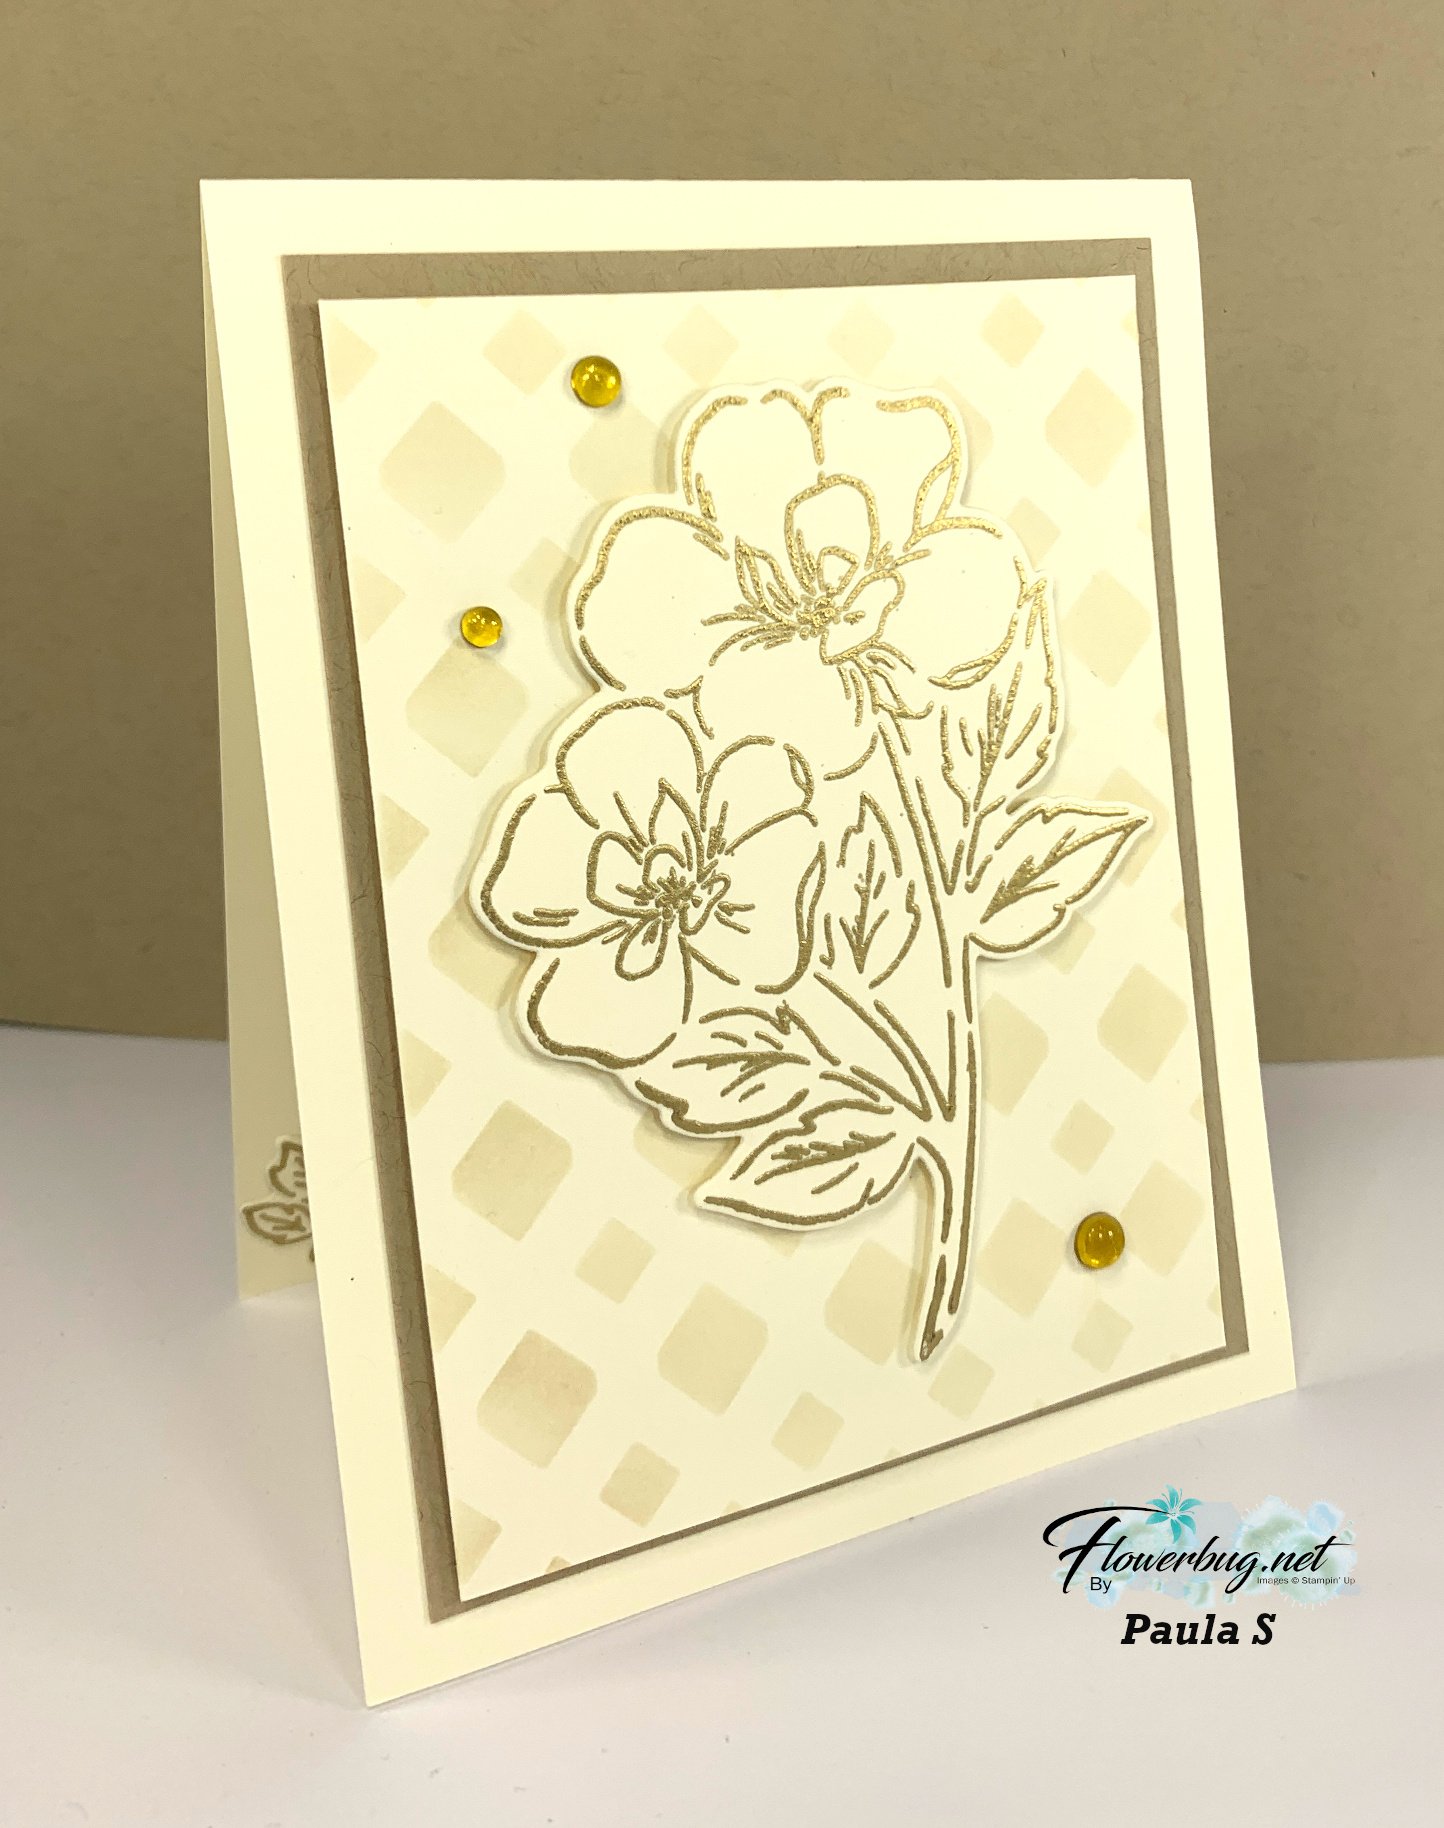
    Next is a stunning card made by Paula.  She used the new Thankful Garden bundle seen here.

    Her colors include Very Vanilla & Crumb Cake. She heat embossed the floral image in Gold embossing powder. The background is made with the Thankful Garden stencils included in the bundle.  

    Just gorgeous Paula!!

    And look at the incredible card Jacki made!  

    She used the Friends for Life dies and the Waves 3D embossing folder.  Simply White with a pop of Black for an elegant look. 

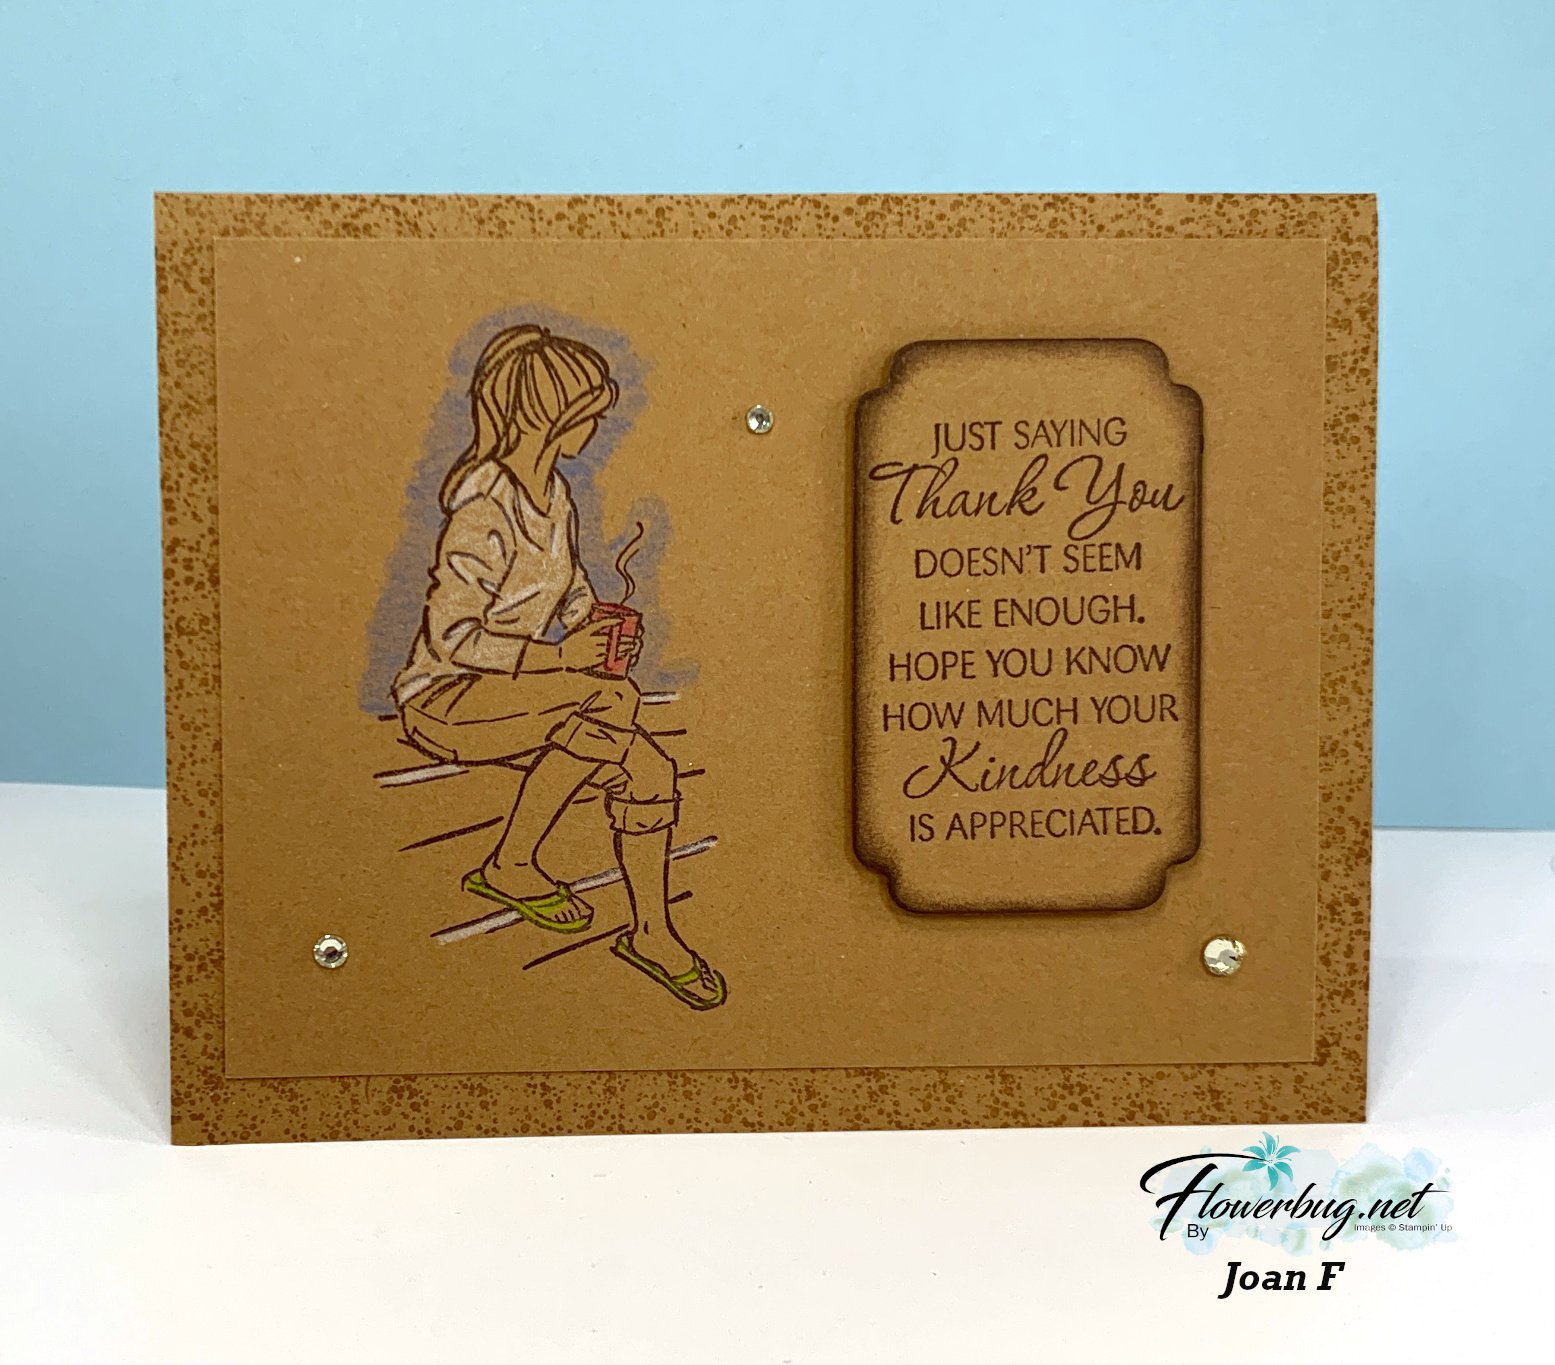
    Next is Joan's monochromatic card featuring the Coffee with Friends stamp set:

    She used Pecan Pie and colored the images in with watercolor pencils.  Beautifully done!  

    I'll share the last of our swaps tomorrow! 

    ~~~

    March Specials:

    *current host code link:  

    PNQMAWXD

    Get a free Floral Delight tutorial with any online order in March!

     Free Iridescent Foil gems!

    Leave a Reply

    Your email address will not be published. Required fields are marked *


Notice: LeeAnn Greff, Independent Stampin’ Up! Demonstrator, Manager. The content of this website is my sole responsibility as an independent Stampin’ Up! demonstrator and the use of, and content of, the classes, services, or products offered on this website is not endorsed by Stampin’ Up! Copyright 2025