Stamp the curvy trees image on the White CS using Shaded Spruce ink. Color the trees with a Light Shaded Spruce Blends marker. Add a tiny star using Cherry Cobbler ink on one tree. Adhere it to the Cherry Cobbler layer and to the main card.
Punch out three pieces of Classic Christmas designer paper with the Postage Punch seen here. Adhere to the White CS.
Stamp the greeting in Cherry Cobbler ink on a 1/2" strip of White CS. Punch the ends with the Banners Pick a Punch. Add it to the card with mini dimensionals.
Finish with a few Holiday rhinestones.
You can see this stamp set here; it's only available through January 4th. And the Classic Christmas Designer Paper is herewhile supplies last.
Remember that everyone who orders any of these products or places an online order with me in November will receive a free 22 project PDF tutorial featuring the Curvy Celebration products!
Check over your wish list and see how many stamp sets are on it. Might be a good time to place an order. With the Bonus Days happening you can double dip!
Plus the Trucking Along bundle is back in stock! See it here; get it while you can.
I'm extremely excited & proud to share this project with you. If you know me well, you know I love to create one sheet wonders. I've made quite a few over the last 10 years or so. I'm so lucky that my husband is willing to create the templates for me; I'm not sure I'd love them as much without his help!
I'm calling this project a 4-Card Wonder because it creates 4 cards. I originally made this for a Team meeting project. I wanted it to be quick, create multiple cards and of course be easy and cute!
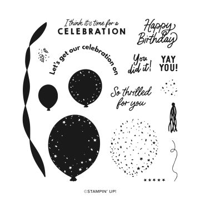
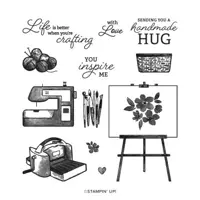
Grab your favorite colors of ink and stamp your own background. Then cut it up using the measurements above! It's so fun to create your own stamped paper. It's a bit addictive!
*Tip – choose stamps that include large & small images. When stamping your paper start with the largest stamps first and finish with the smallest; filling in any empty areas.
I chose the Beautiful Balloons bundle. My colors include Bubble Bath, Berry Burst, Pool Party & Parakeet Party.
I kept the cards quite simple but you could sure jazz them up a bit more. Make the cards like mine or this can be a starting point for your creative process.
You can watch the video on this project here. It's the first project. Or click on the photo down below to watch it below. *Remember to follow me on either my FB page here (Tuesday Live videos) or my YouTube channel here.
Here's the full PDF tutorial for you. Download it here.
~~~
July Specials:
Bonus Days!
Get a $5 coupon for each $50 order you place in July. Redeem in August!
Birthday ‘Tackle’ Treat box with video tutorial & measurements!
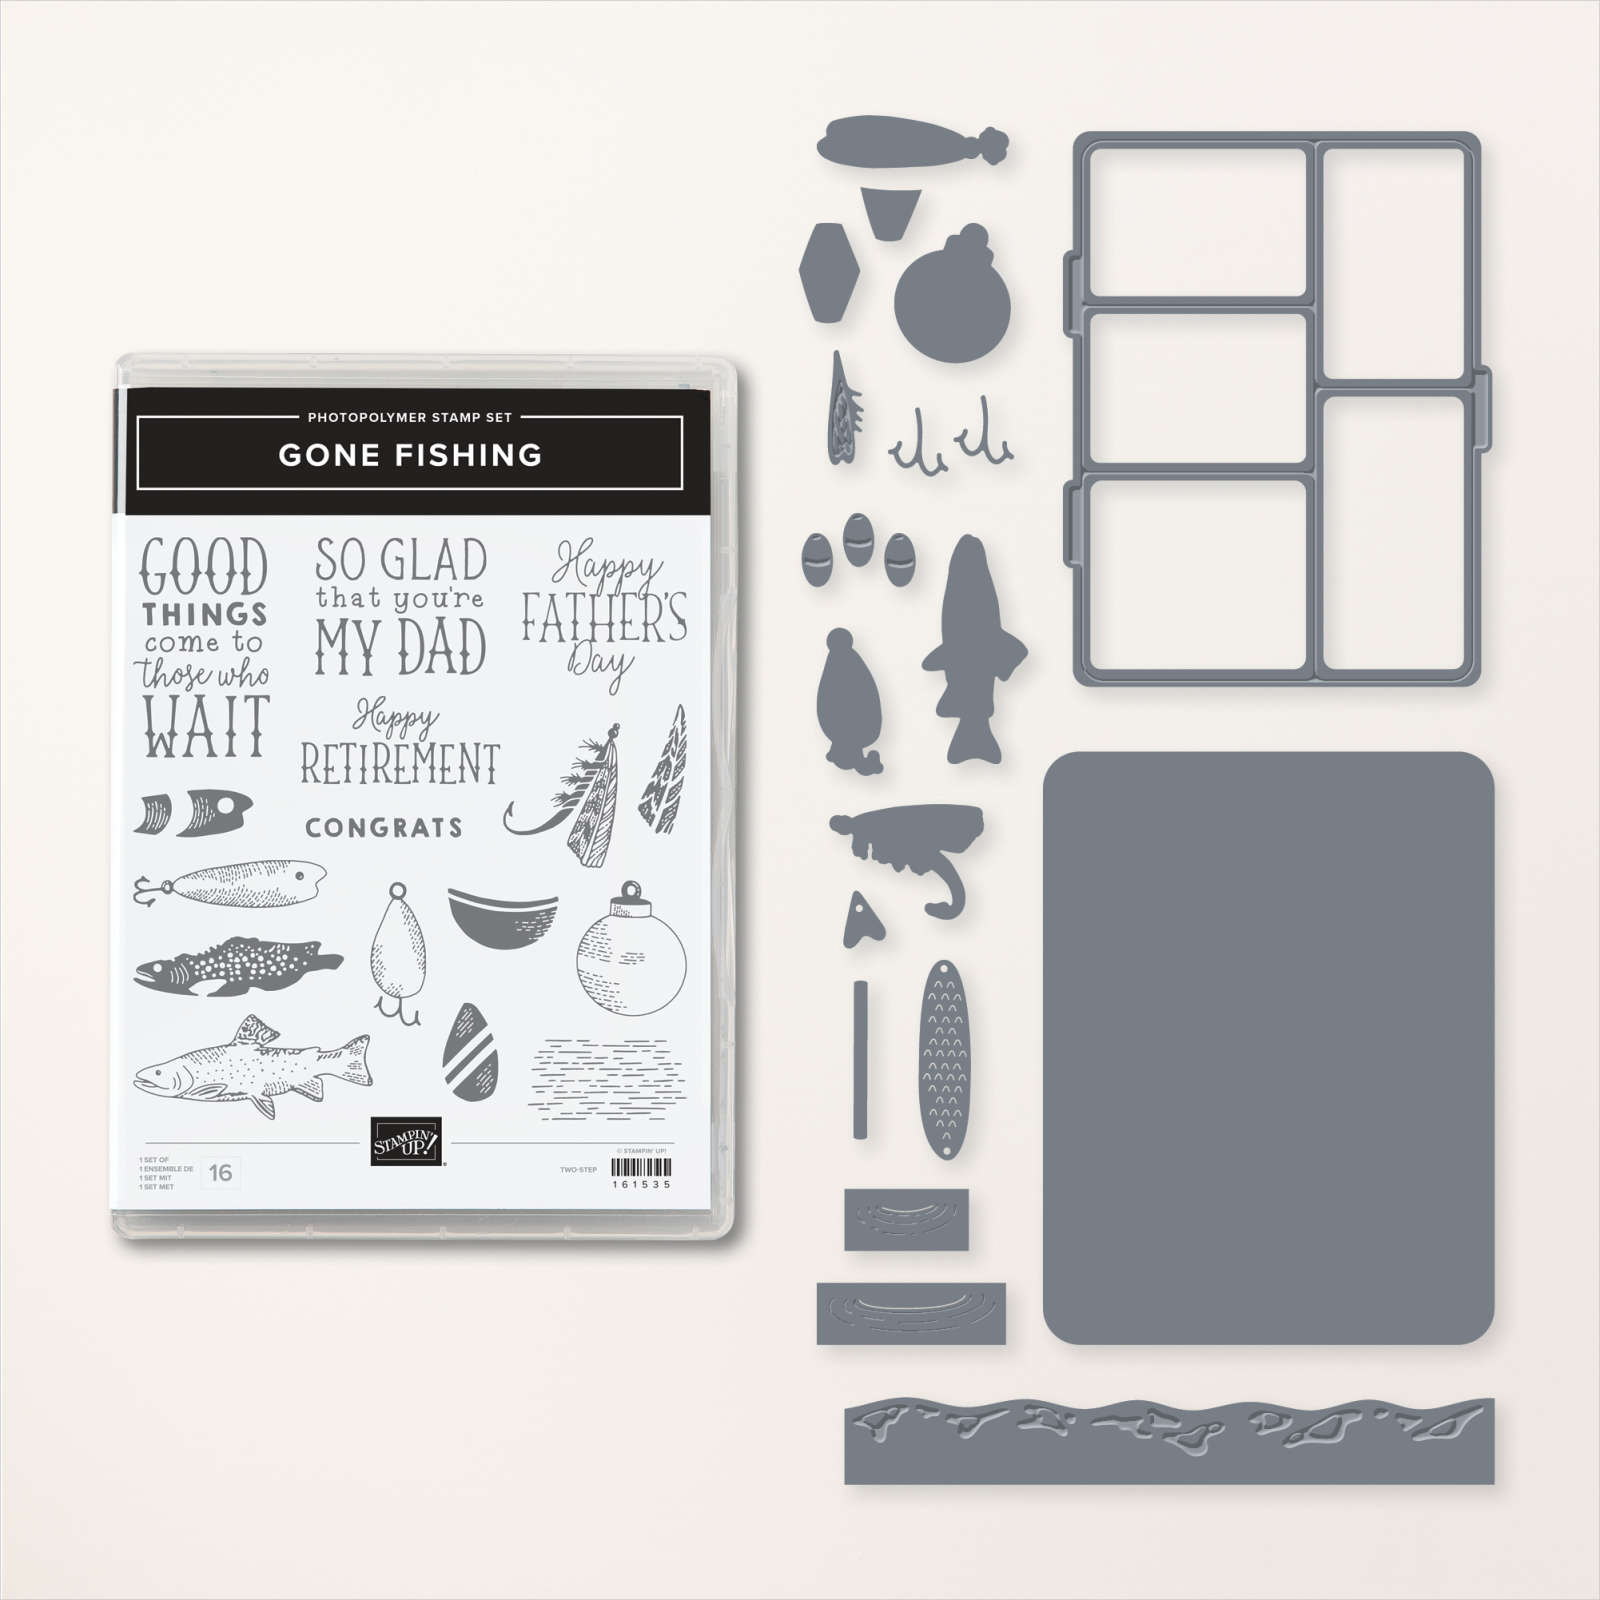
I was so inspired by the 'Tackle' box Candace created for her 'Artist of the Month' projects I had to try making one. She made hers with the Gone Fishing suite. And she made this project up herself – she's incredible with box designs! I decided to recreate it on a video and share it with you.
Isn't it amazing? I thought it would be really challenging to make, but with her box as my starting point it wasn't bad at all. And the Gone Fishing dies make the 'window' front a breeze.
I chose to use Berry Burst as my box color because I wanted it to be bright and happy for a Birthday gift. I went to the dollar store and found some fun candy treats to add. I put the loose candies in small baggies I had on hand.
The box is quite easy to put together. After scoring the box lid, be sure to die-cut the 'window' using the Gone Fishing die. Then you adhere it to a window sheet and add to the inside front of the box lid.
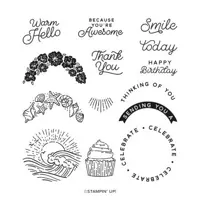
I chose the Circle Sayings bundle for my greeting tag. *see it here It's quite a versatile set and pairing it with the coordinating 2 2/8" circle punch was so smart of Stampin' Up! *I added a die-cut stitched Lemon Lime Twist circle from the Stylish Shapes dies.
You can watch the video on this project here. It's the last project. Or click on the photo below to watch it below. *Remember to follow me on either my FB page here (Tuesday Live videos) or my YouTube channel here.
~~~
July Specials:
Bonus Days!
Get a $5 coupon for each $50 order you place in July. Use the coupon in August!
Notice: LeeAnn Greff, Independent Stampin’ Up! Demonstrator, Manager. The content of this website is my sole responsibility as an independent Stampin’ Up! demonstrator and the use of, and content of, the classes, services, or products offered on this website is not endorsed by Stampin’ Up! Copyright 2025


Leave a Reply