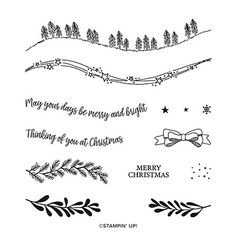
Stamp the curvy trees image on the White CS using Shaded Spruce ink. Color the trees with a Light Shaded Spruce Blends marker. Add a tiny star using Cherry Cobbler ink on one tree. Adhere it to the Cherry Cobbler layer and to the main card.
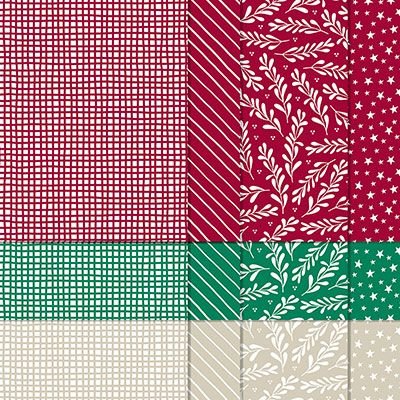
Punch out three pieces of Classic Christmas designer paper with the Postage Punch seen here. Adhere to the White CS.
Stamp the greeting in Cherry Cobbler ink on a 1/2" strip of White CS. Punch the ends with the Banners Pick a Punch. Add it to the card with mini dimensionals.
Finish with a few Holiday rhinestones.
You can see this stamp set here; it's only available through January 4th. And the Classic Christmas Designer Paper is herewhile supplies last.
Remember that everyone who orders any of these products or places an online order with me in November will receive a free 22 project PDF tutorial featuring the Curvy Celebration products!
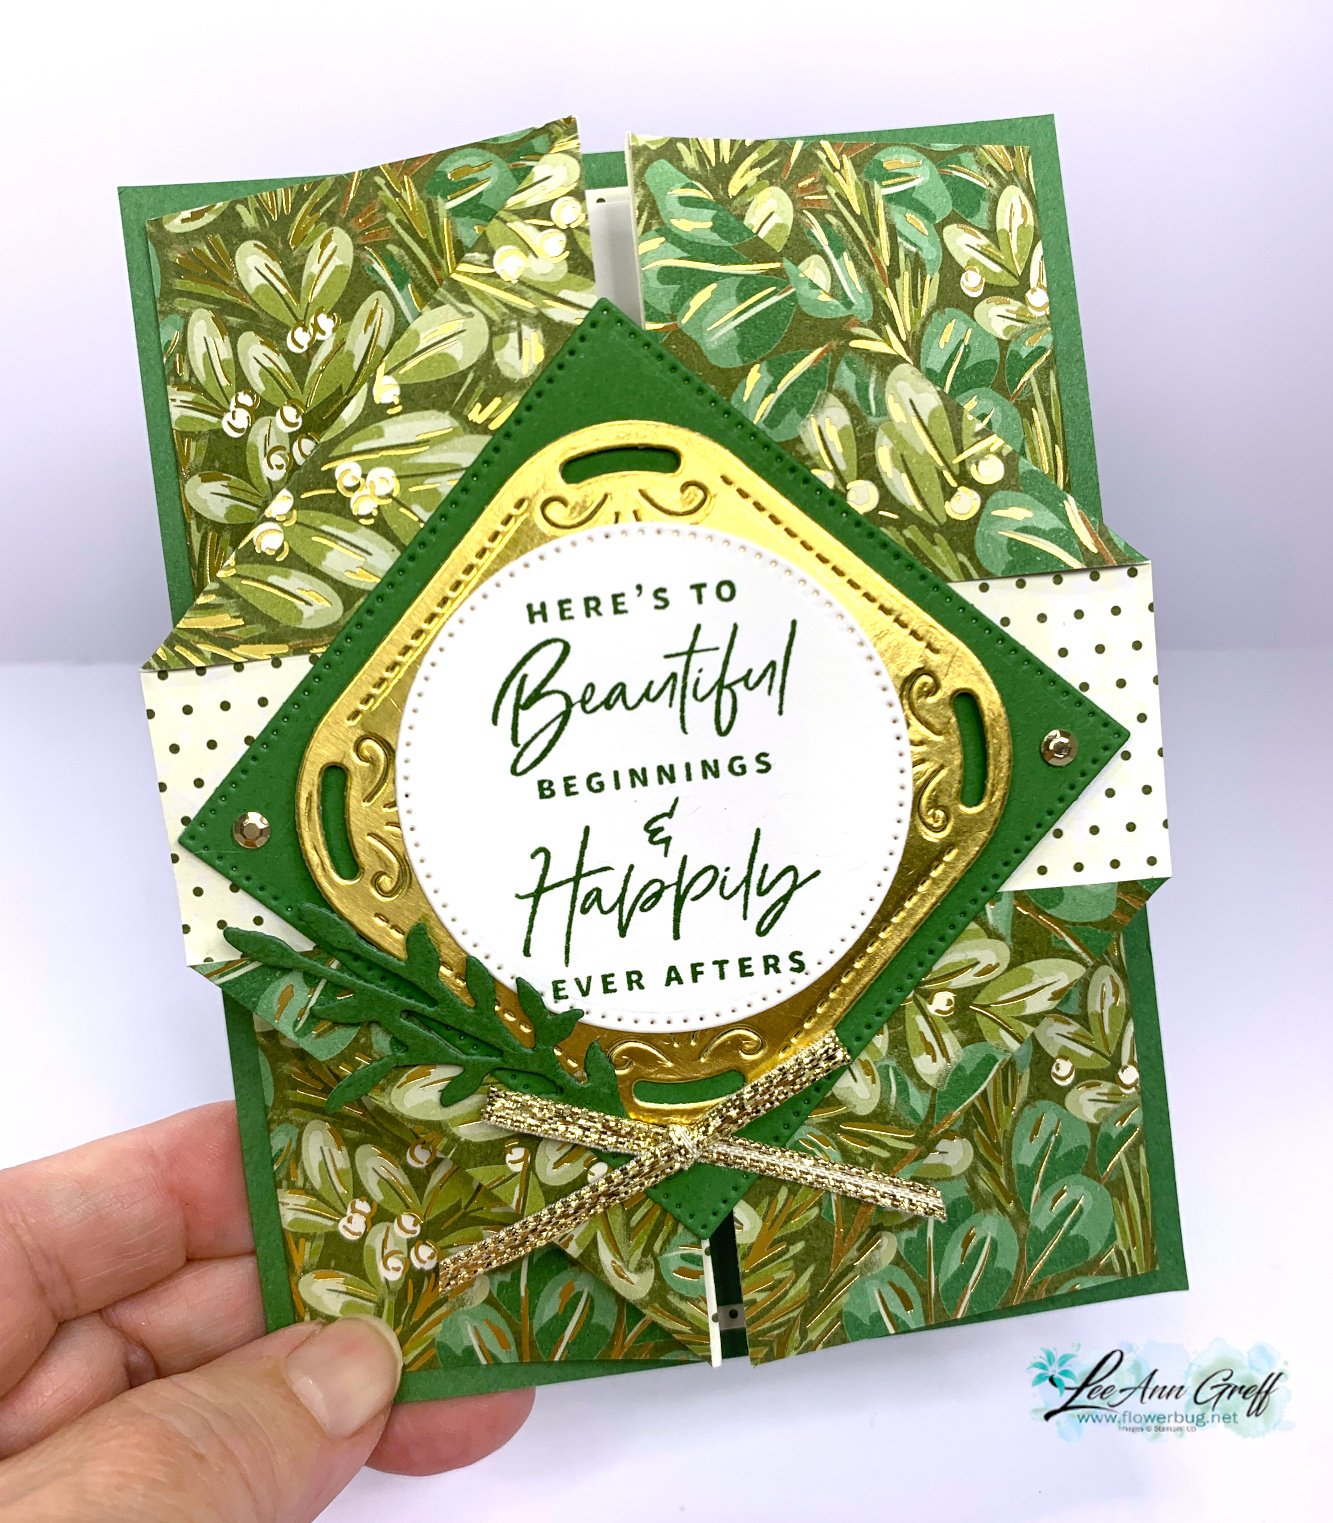
I chose to feature the stunning Season of Green & Gold specialty designer series paper seen here online. It's filled with shades of green with gold foil accents and is part of our Online product line.
I cased my friend Susie Wood who made the card on the left below:
She used the Regal Flora designer paper in Cherry Cobbler with Blackberry Bliss. So very pretty! Find more projects by my talented friend from Iowa here on her blog.
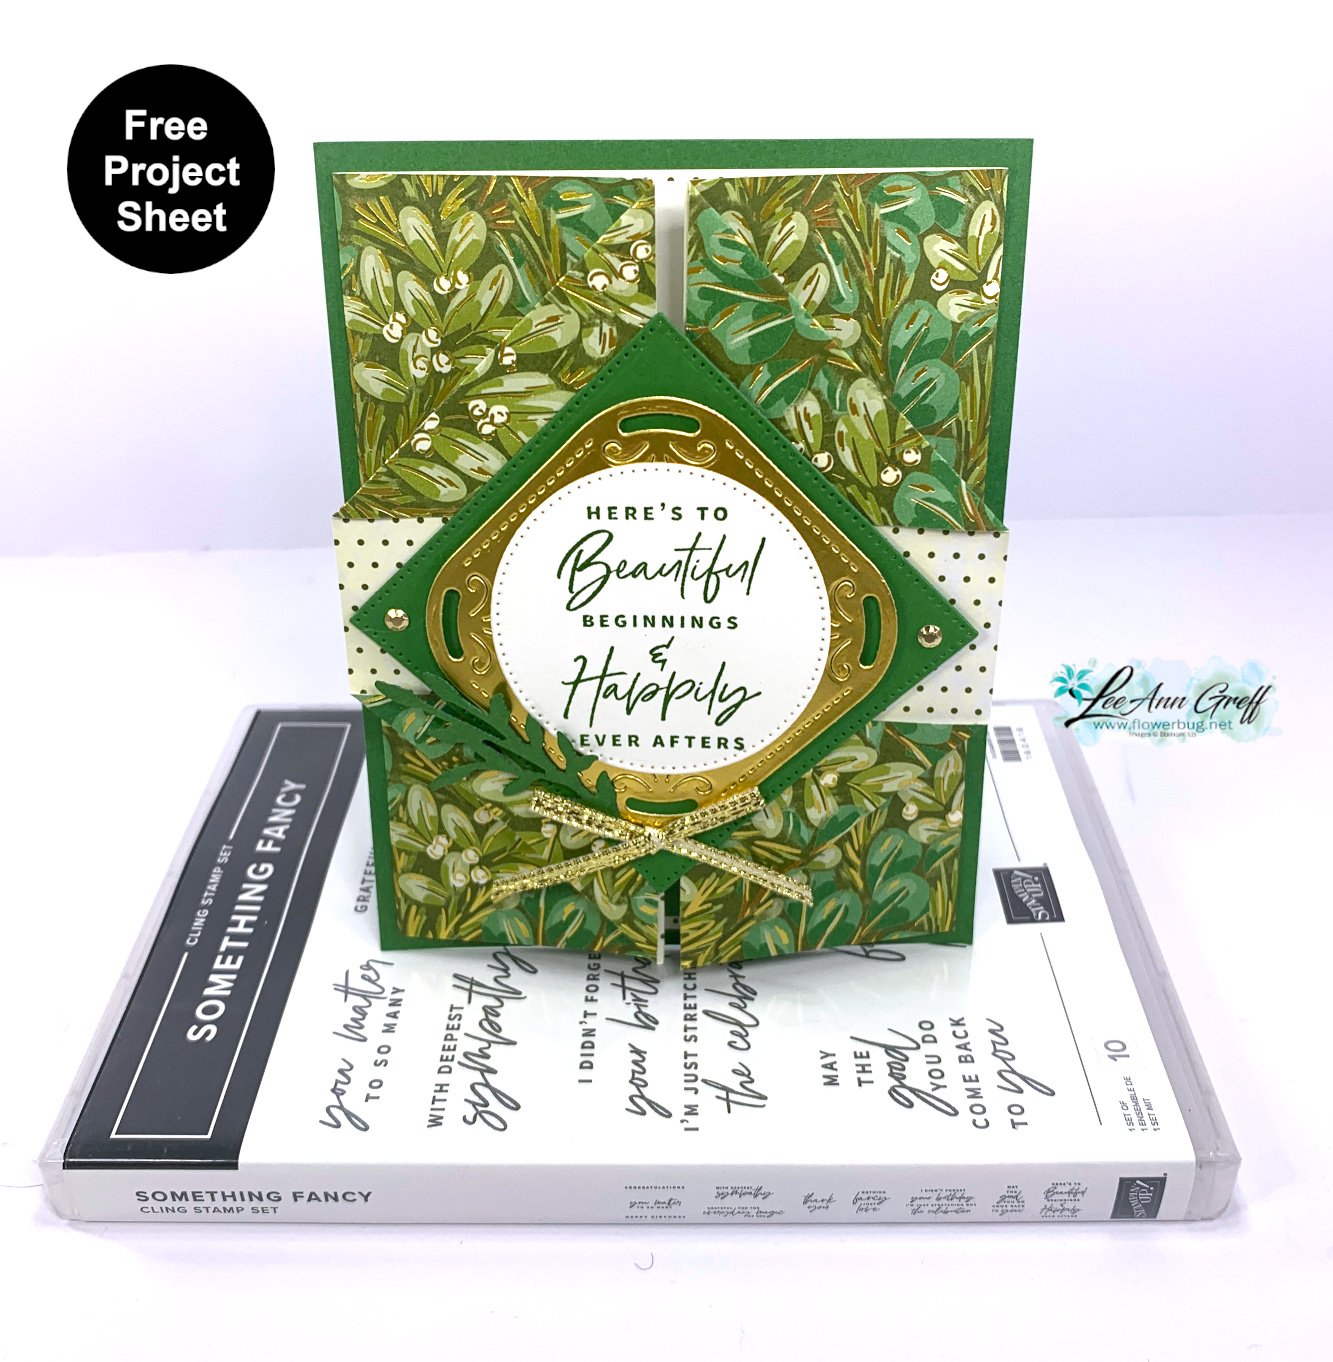
I love this neat fold!
Details:
The pretty gold die-cut is from the Peaceful Season bundle seen here.
The greeting is from the Something Fancy stamp set seen here
The leaf die-cuts are from the Delicate Forest dies seen here
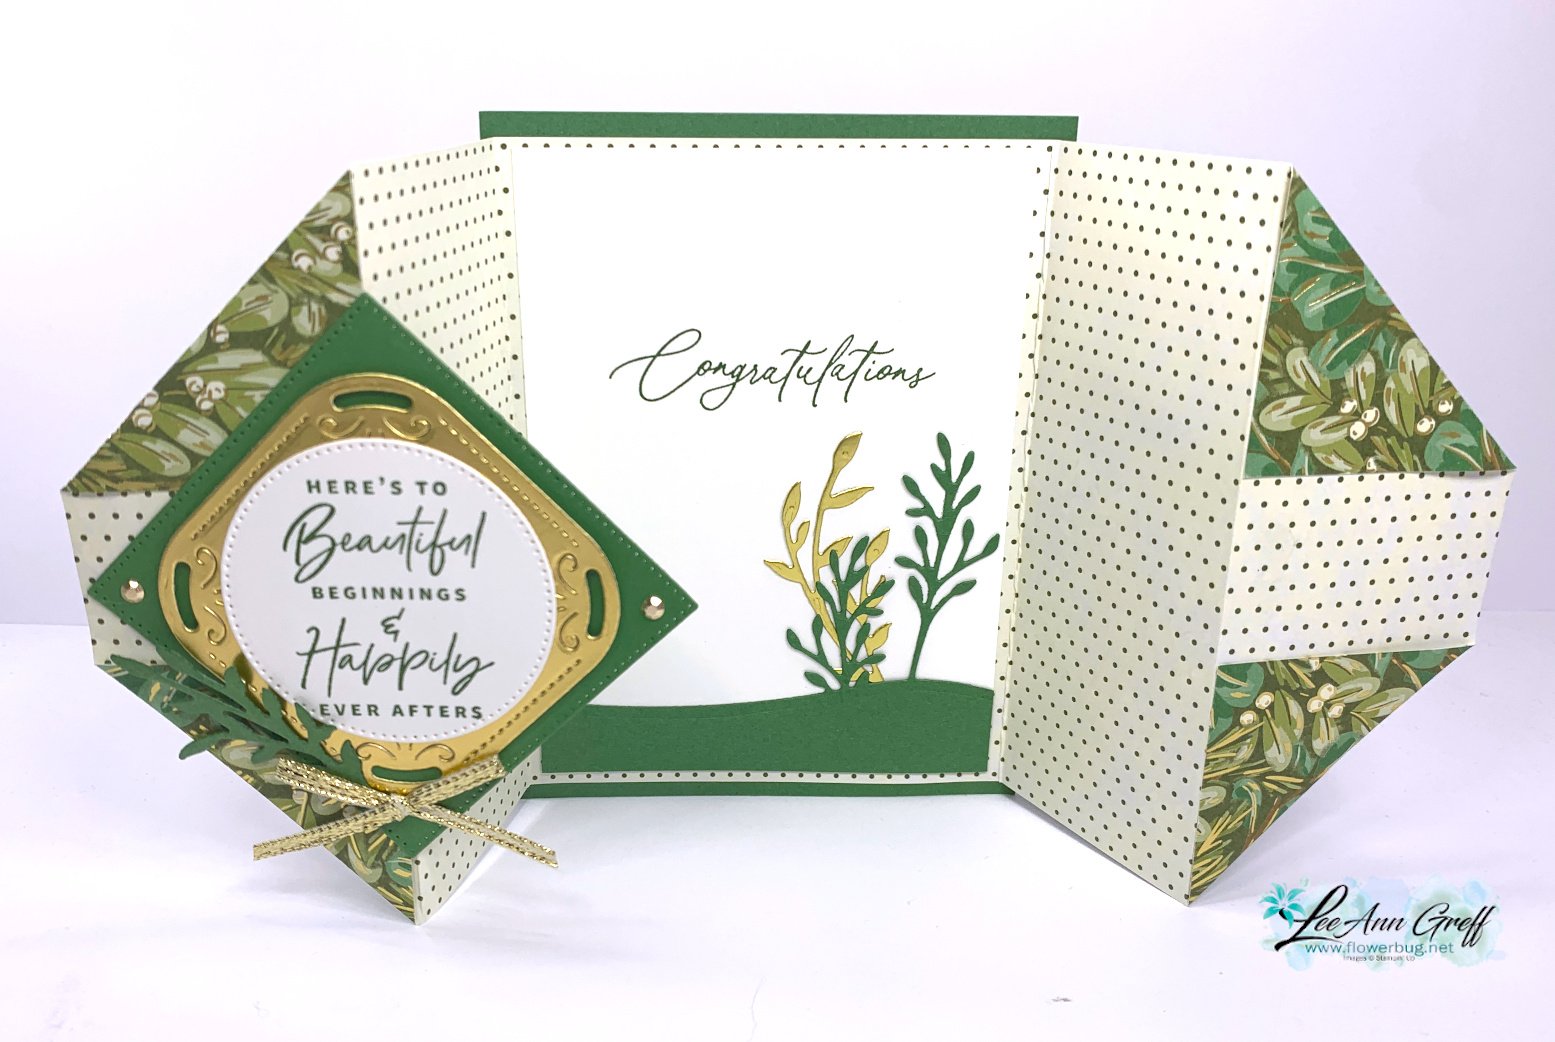
Look at the extra details inside too. Wedding cards are fun because you can go over the top a bit! This gorgeous card will be given to my youngest son who's getting married this week. I'm so thrilled for him and his fiance'. We're excited to welcome her into our family!
It used a pieces of designer paper measuring 12" X 5 1/4" that is adhered to a card base of 4 1/4" X 5 1/2". It's scored at 2", 4", 8" and 10". Then the corners are folded down. Here's the simple template I drew:
To get the rest of the measurements please check out the free project sheet here. Click on the link to download or print the directions:Download Diamond Gatefold card
I shared this card and another very easy fun fold card on the following video. Be sure to follow me here on my YouTube channel; I share lots of fun folds and techniques every week!
I shared this card and another very special fun fold card on the following video. Be sure to follow me here on my YouTube channel; I share lots of fun folds and techniques every week!
Aren't they pretty? The patterns include gold foil on one side of each sheet. 4 of 5 designs are fancy folds.
You have a choice between a pre-cut kit or a PDF tutorial. Both now include a video tutorial!
The tutorial includes photos, measurements, the supply list and step by step instructions. You'll also receive a link to an unlisted video tutorial. This will be sent via email after purchase.
The kit to go is $31 and includes the following:
10 pre-cut cards with die-cuts
1/2 pkg. Season of Green & Gold DSP (6" X 12")
a share of Iridescent sheet ribbon and Neutral sequins
the PDF tutorial & video link
Click here to pre-order the kit to go.Click hereto purchase the PDF tutorial $16.
The PDF tutorial will be sent to you immediately after purchase. Please check your spam or junk folder.
You'll need inks, greeting images, a scissors (some fussy cutting), adhesives and a paper trimmer to cut your new designer paper.
Products used:
Stamps – Everyday Greetings & Greetings of the Season
Inks – Garden Green, Mossy Meadow
Cardstock – Garden Green, Mossy Meadow, Old Olive, Gold Foil, Vanilla, White
Dies & Folders – Stylish Shapes, Unbounded Love, Magical Meadow, Thoughtful Wishes, Golden Greenery, Greetings of the Season dies. Distressed Tile, Exposed Brick & Timber embossing folders.
Other – Die-cut machine, adhesives, paper snips scissors, Paper trimmer
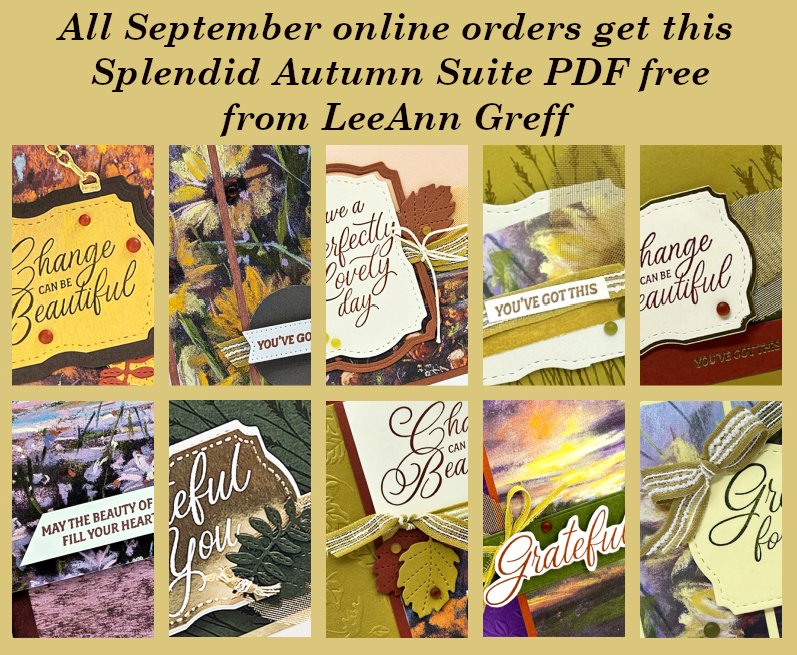
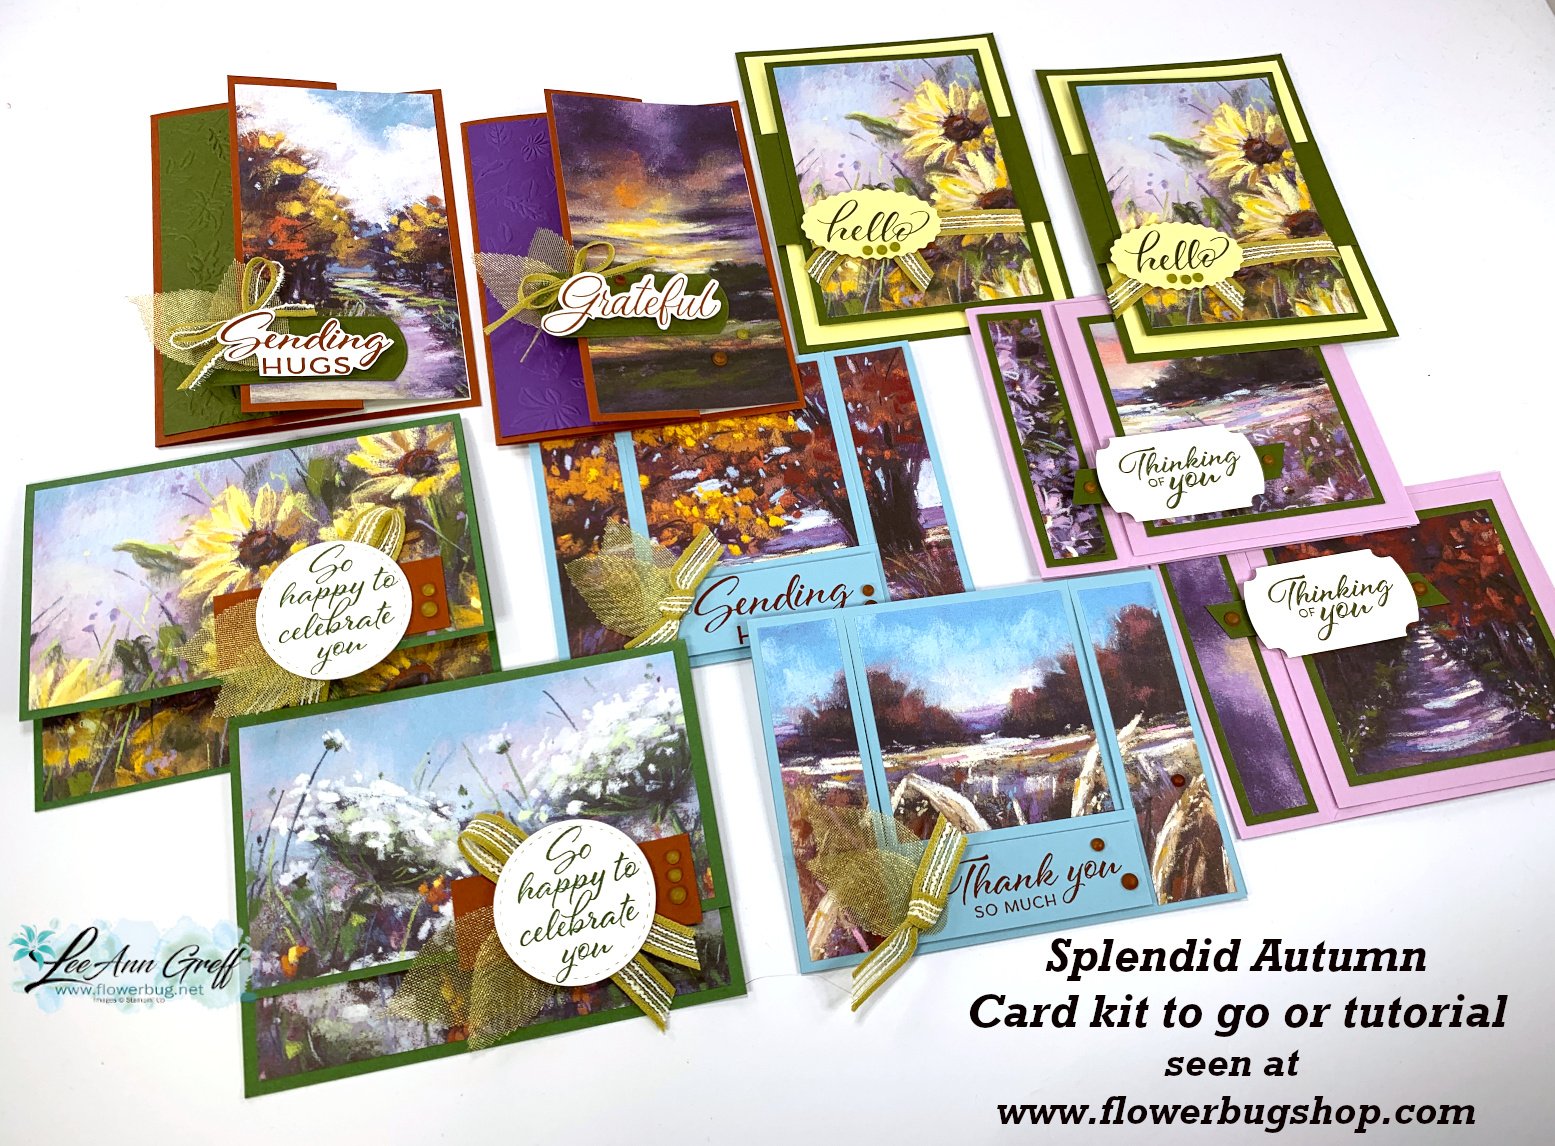
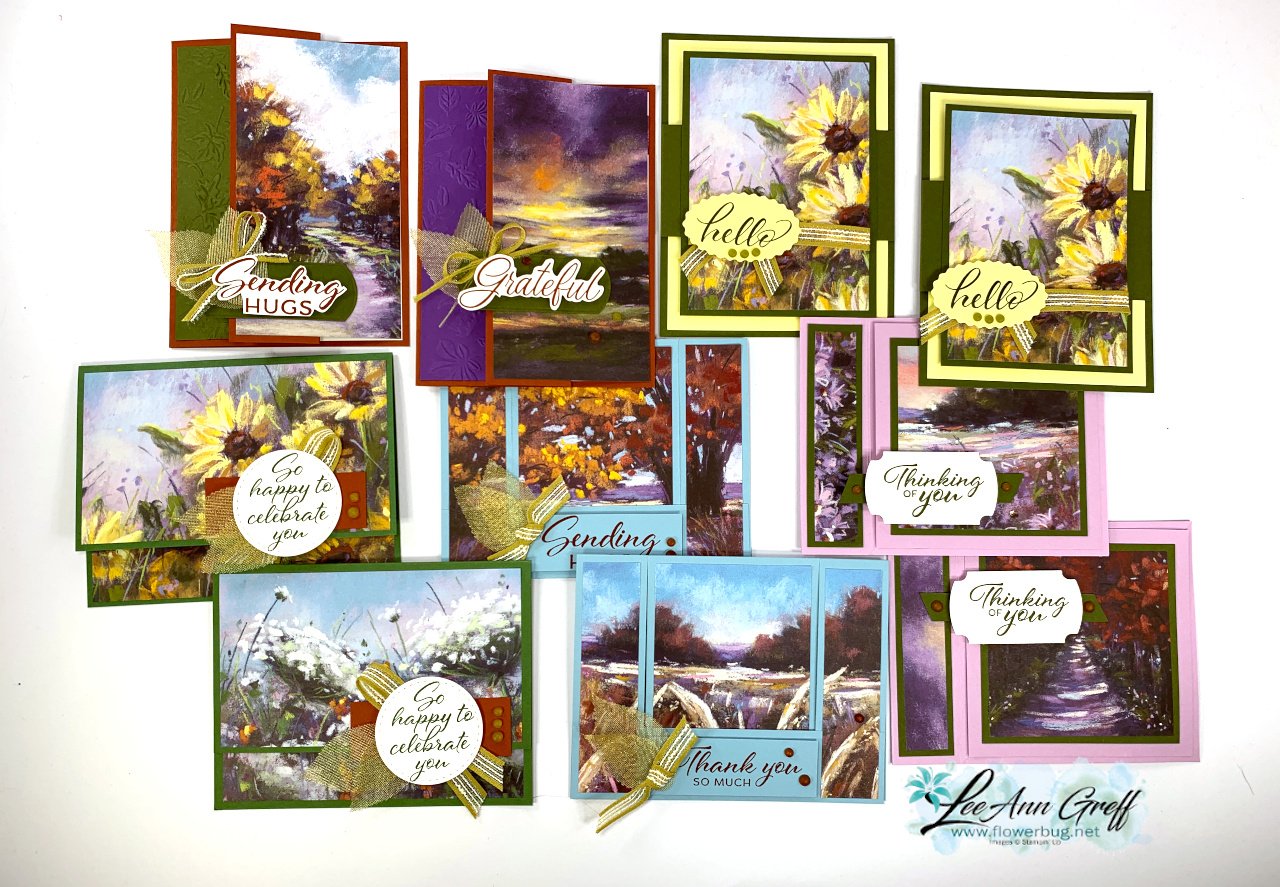
New, beautiful Splendid Autumn card kit to go; now with an exclusive video tutorial!
Stampin' Up! knows we love scenic designer series paper and they created another winner with the Splendid Autumn DSP. I chose to feature it for one of my September card kits to go.
Each of the cards are a unique fun fold layout. I chose these designs specifically to show off the pretty papers.
I offer both a pre-cut kit with products or the PDF tutorial option. Both include the tutorial and now an unlisted video on how to assemble each card! The PDF tutorial is emailed to you immediately after purchase from my shop. The video link is emailed to you soon after. The pre-cut card kit is mailed out at the end of September.
*this is the kit my subscribers will receive.Subscribe here if you're interested in receiving a card kit filled with both products AND a pre-cut card kit. My subscribers get their kits at a reduced rate.
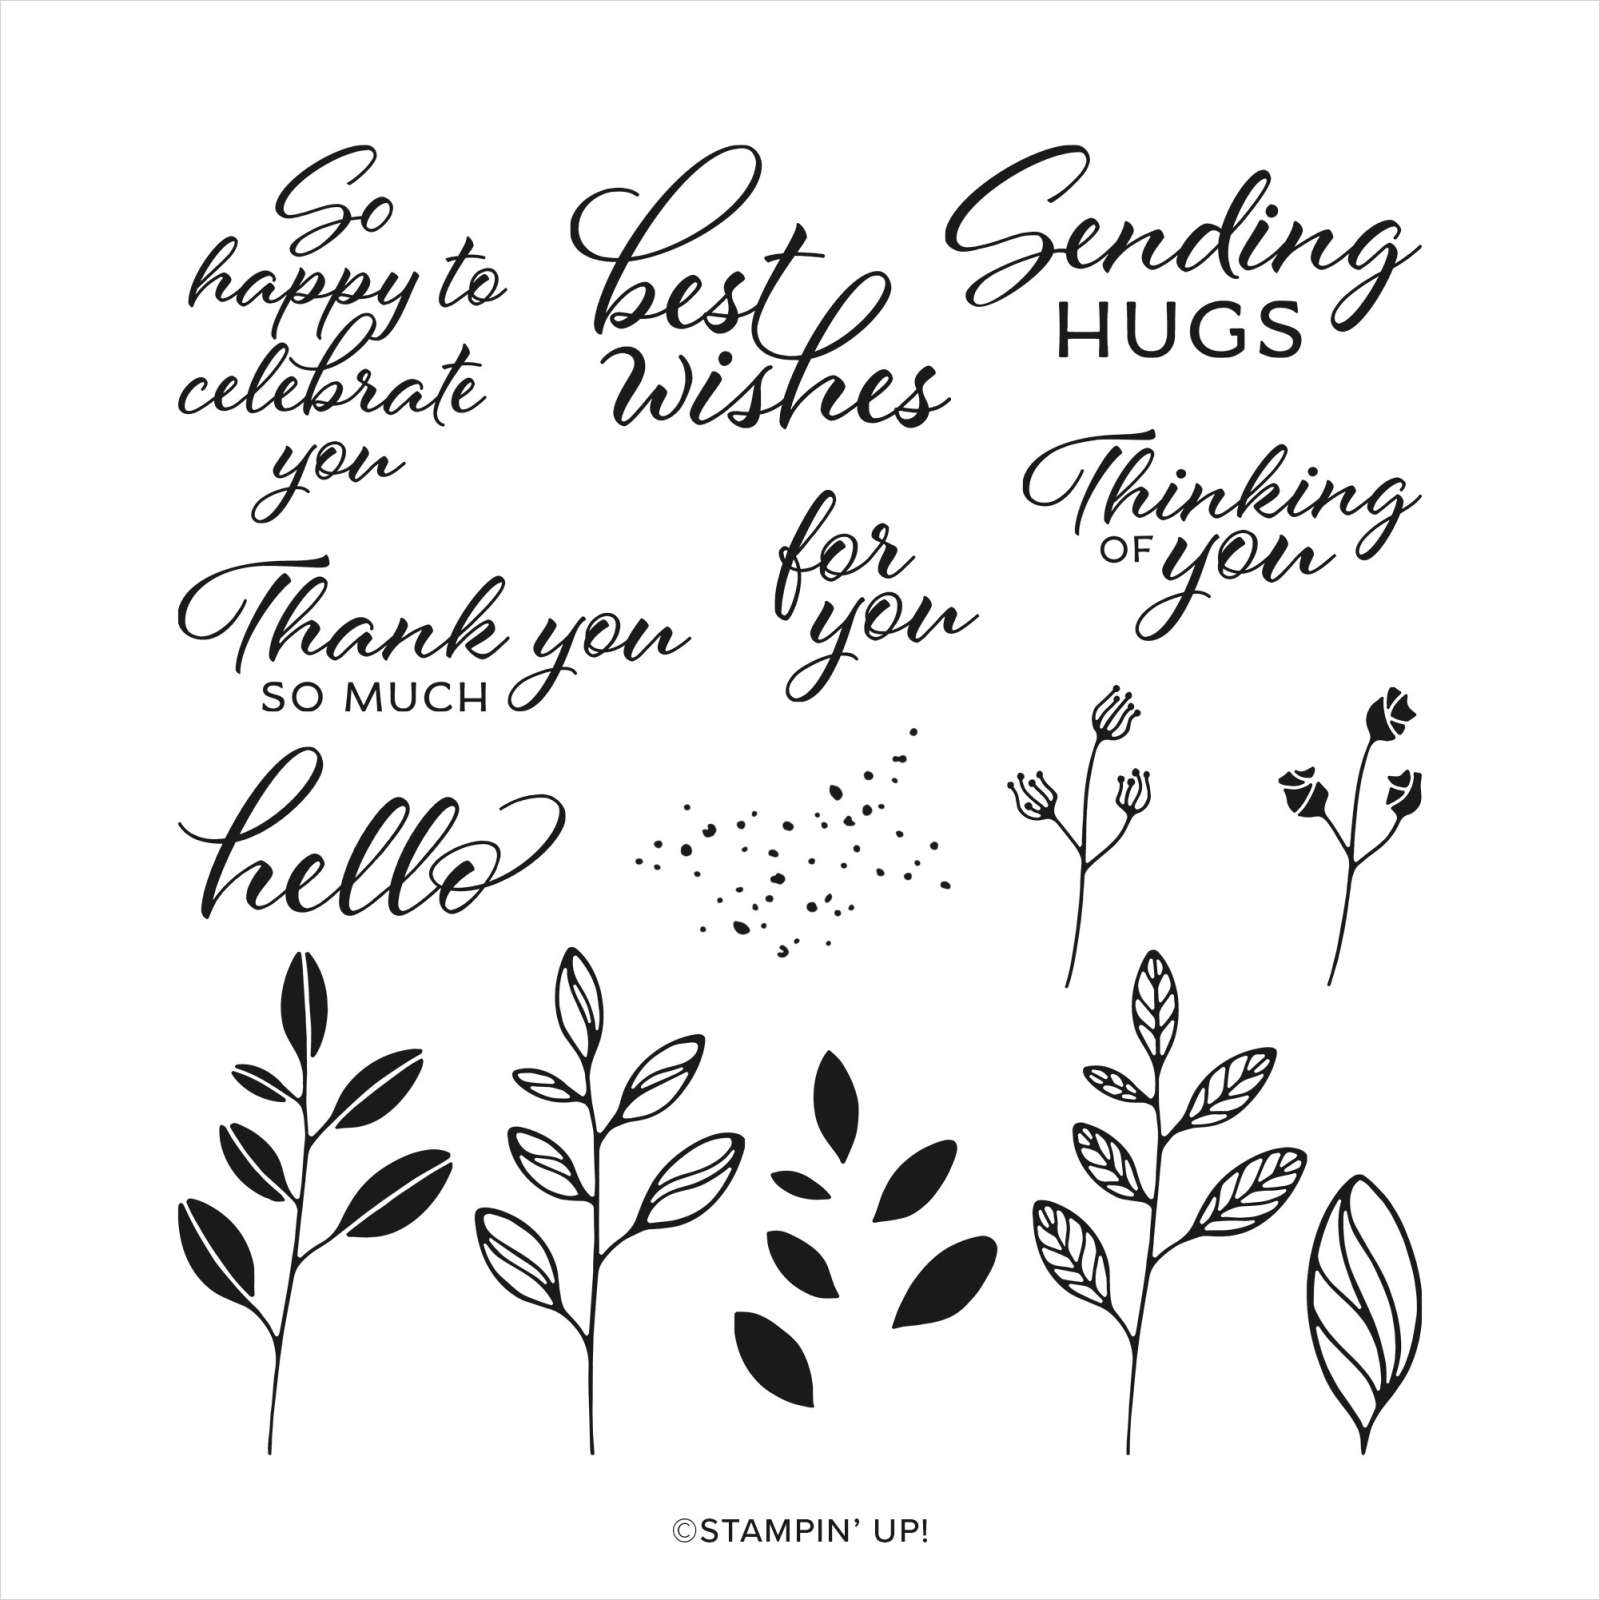
I used the Layering Leaves stamp set for my greetings. I LOVE it; it's a go-to for an all occasions greeting set.
Notice: LeeAnn Greff, Independent Stampin’ Up! Demonstrator, Manager. The content of this website is my sole responsibility as an independent Stampin’ Up! demonstrator and the use of, and content of, the classes, services, or products offered on this website is not endorsed by Stampin’ Up! Copyright 2025
























Leave a Reply