Curvy Celebrations!! Woo hoo; it’s available today!
Stampin' Up! is releasing brand new product today!! Most of these Curvy Celebration items are from the upcoming spring catalog! Demonstrators could pre-order these items early but now you can get them too.
I love these products so much I'm giving away a huge 22 project PDF tutorial to everyone who either purchases any of these items from me or places an online order in my store.
I chose to use two of the colors in the Classic Christmas 6" designer paper pack; Cherry Cobbler & Sahara Sand. I cut 3/4" long strips and adhered them to a 5 1/4" X 4" piece of White CS. Then I used the dotted, curvy die to cut about 4" down from the top. Then I turned the die over to cut the other end and trimmed it to fit the card.
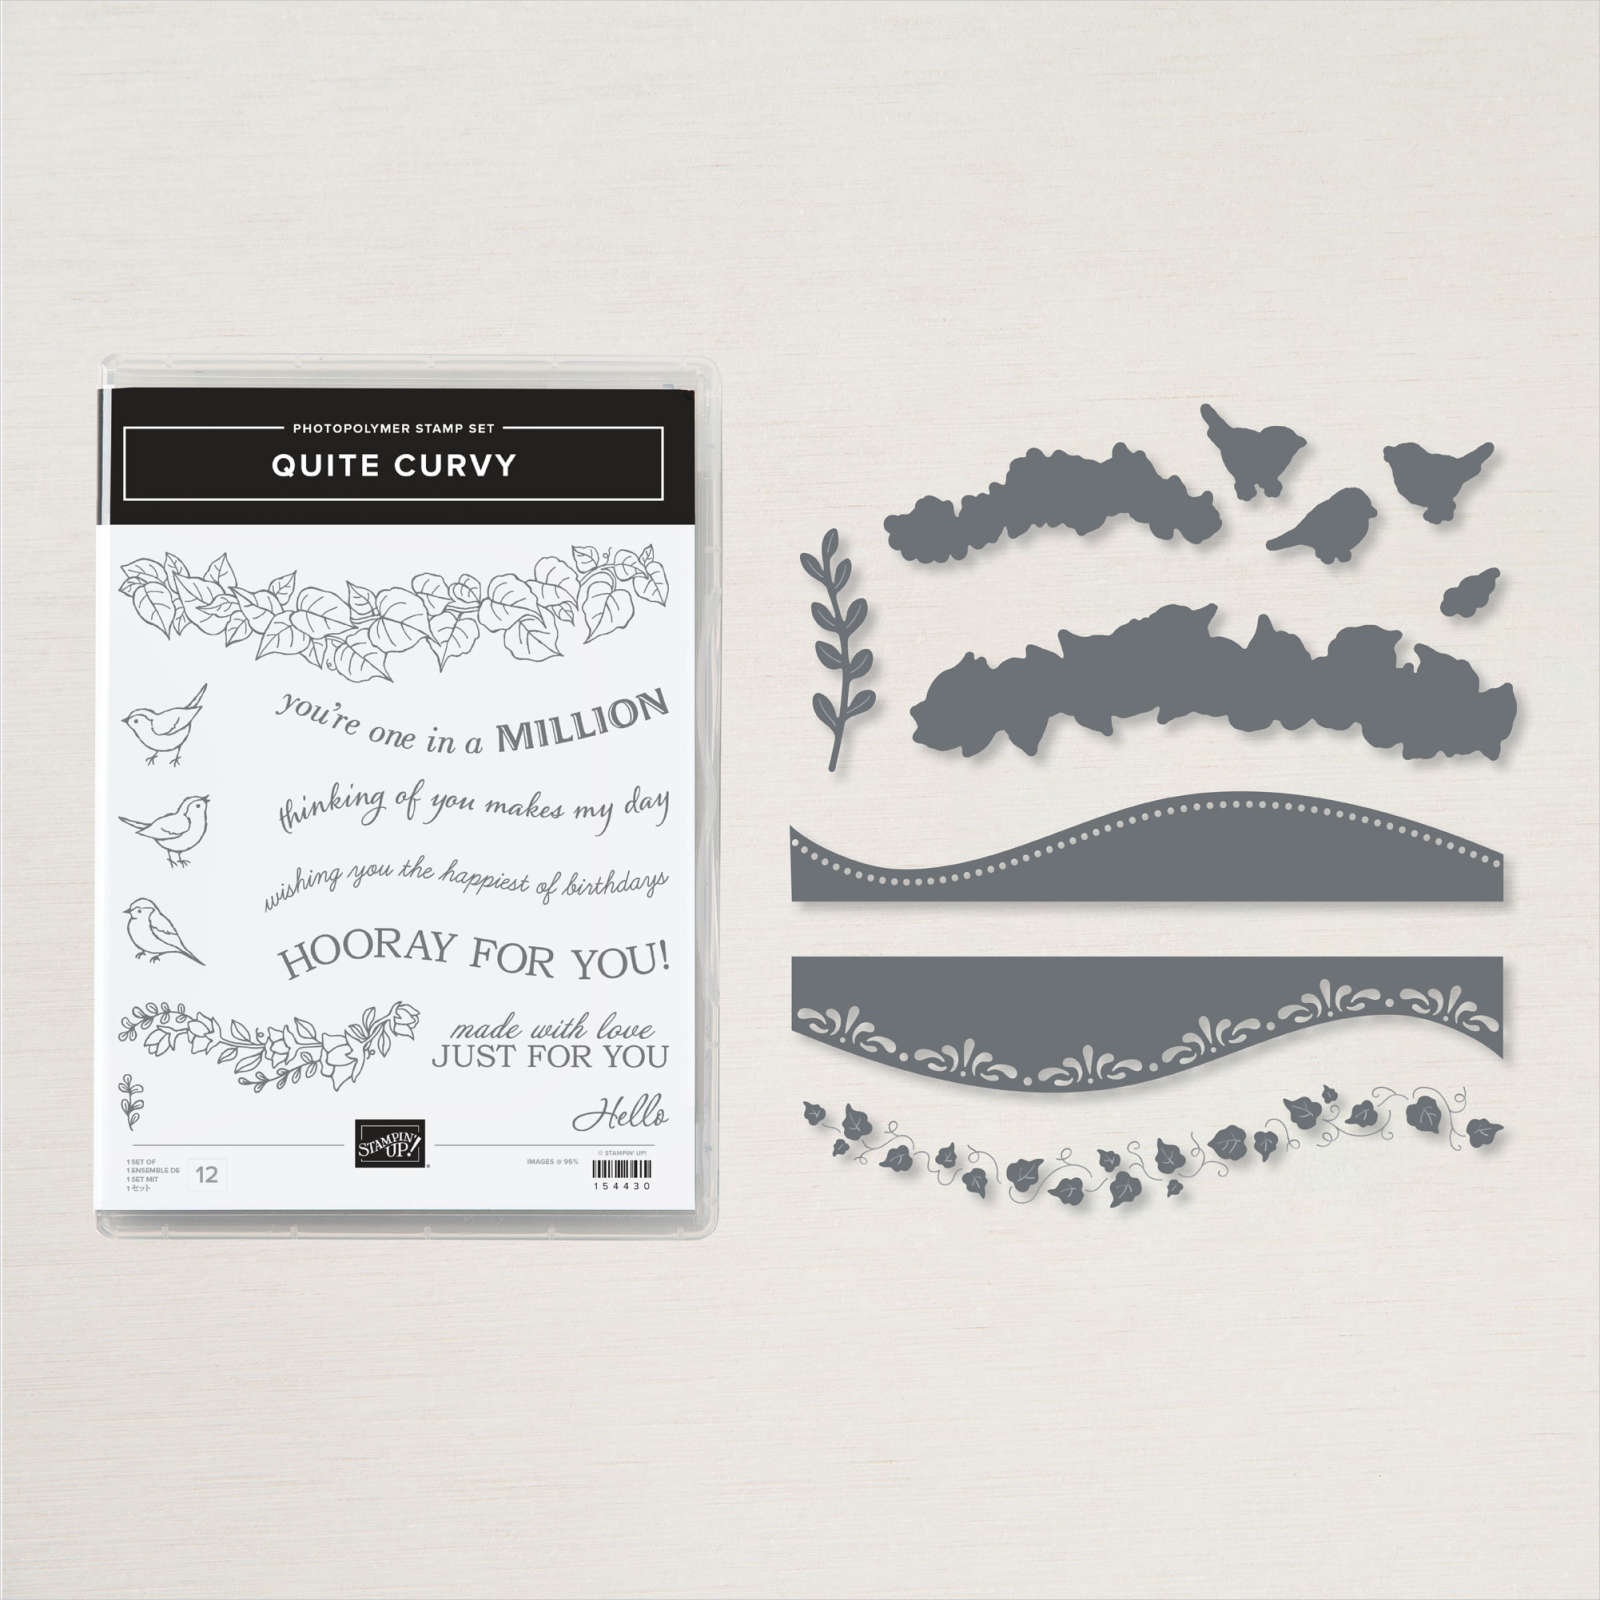
The greeting is from the Quite Curvy stamp set which is available in the bundle at 10% off.
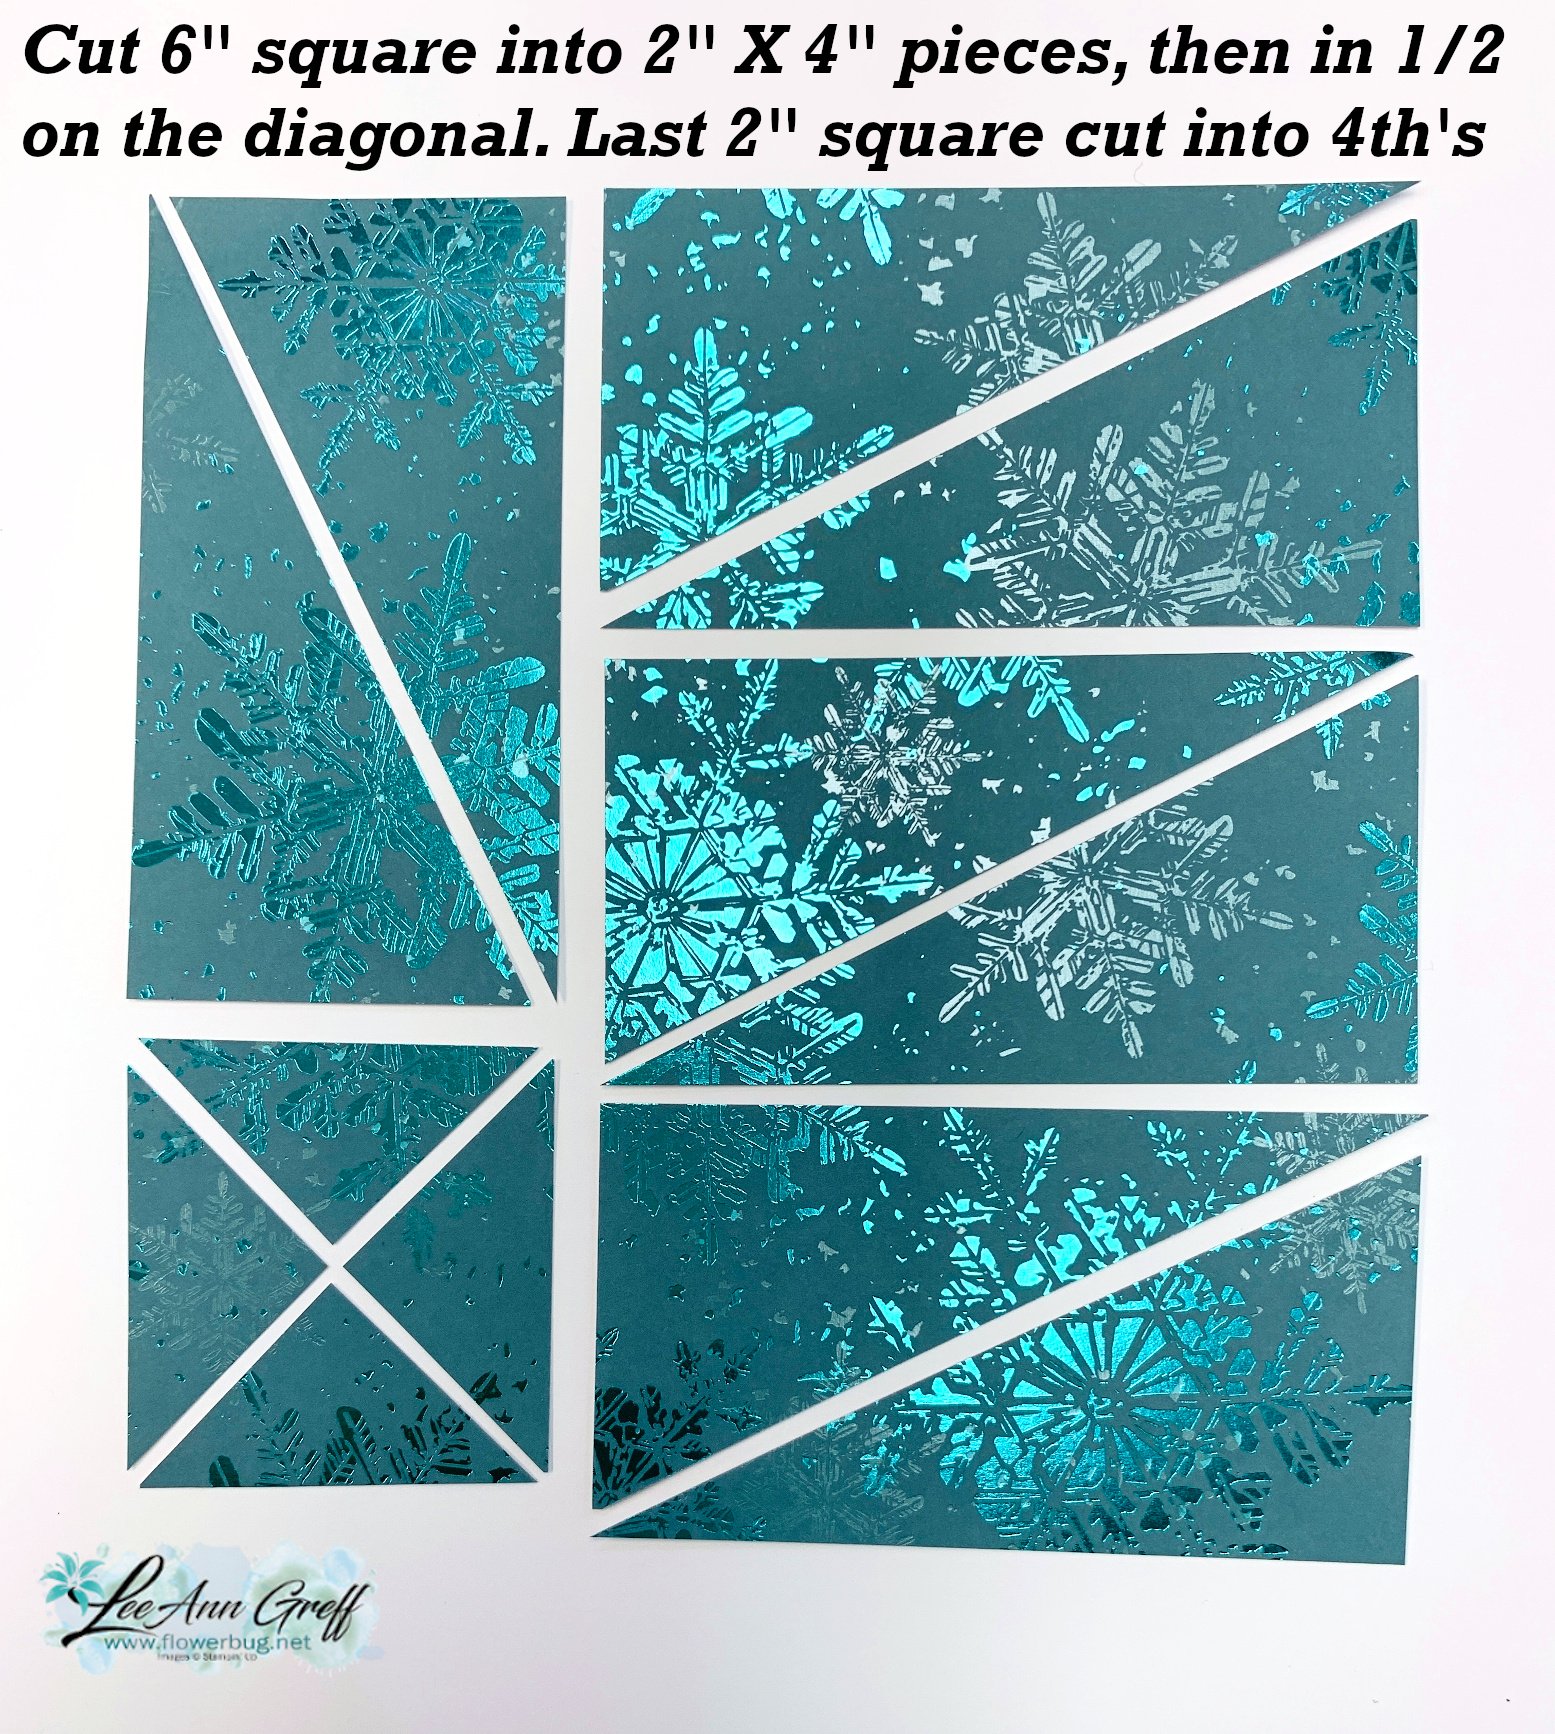
I made a bunch of these cards for our Flowerbug's October Christmas card swap. You might wonder how I achieved the starburst effect with the Snowflake Magic designer paper. Keep reading plus watch the video seen here or below!
Our Online Exclusive products can be ordered by anyone. The name means that they are only seen online and not in any printed catalog.
These products may run out at any time. Some will be reordered and others will not. We never know!
Many will remain in the Online store for up to 1 year before they'll be discontinued.
Online Exclusives allow Stampin' Up! to offer timely products for seasons and holidays. Most of their other products are in catalogs that are printed over a year in advance!
Watch the video tutorial below:
~~~
October Specials:
Amazing Starter Kit choices!
Choose one and enjoy the 20% discount on all future orders!Click here
Beautiful cards made with the Rustic Christmas Countdown kit!
I created these pretty cards with the Rustic Christmas Countdown kit. It's meant to be used as an advent calendar but I thought they'd make great Christmas cards.
I will not be surprised if this kit sells out soon. It's gorgeous! The envelopes for the advent calendar are approximately 3" X 4"; a good size to add a treat inside.
I added Mossy Meadow & Cherry Cobbler card bases, some textured strips of the same colors and a few greetings.
The greetings mostly cover up the numbers printed on the wood & gold paper elements in the kit.
For greetings I used the Brightest Glow (annual catalog) and Beary Cute (Holiday catalog) along with circle punches and Tailored Tags dies.
We made these projects at my October Flowerbug's Team meeting. So pretty but super easy!
You could make up to 25 cards using this kit just by adding card bases, a few layers and greetings. The red adhesive-backed sequins, Dimensionals, Cherry Cobbler and craft twine all comes in the kit.
While you're shopping our kits be sure to check out the huge selection of kits in our Kit Collection. These kits are all inclusive and can be the answer to quick, seamless crafting or a fabulous gift for any creative person. See them all here.
Heartfelt Hexagon cards with free printable project sheets
Today I'm sharing a few more cards made with the Heartfelt Hexagon punch bundle. See the first project here.
When creating this next card I chose to use the Delightful Floral designer paper seen here. I had a few large scraps in the package and created this card:
It's a classic layout that's perfect for using up those random pieces of designer paper you might have. I like to layer one of the pieces to bring in another color layer; Pretty Peacock here. Then I simply added a layered Hexagon punch combined with the pretty Elegant Edge Tag Topper punch. You can see it here online.
My Lemon Lime Twist strip is 1" X 3 1/2" which is perfect for that delicate edge.
It's quite easy to layer the Hexagon punch. Punch a second contrasting piece, cut it in half horizontally and add the stamped punched piece to it leaving a small border at the top & bottom. You can see how this is done in the video below.
Next is an easy card layout featuring designer paper scraps. This time I chose the beautiful All About Autumn specialty designer paper. This has been so popular they cannot keep it in stock! It's currently unavailable but should return the week of October 30th.
Notice: LeeAnn Greff, Independent Stampin’ Up! Demonstrator, Manager. The content of this website is my sole responsibility as an independent Stampin’ Up! demonstrator and the use of, and content of, the classes, services, or products offered on this website is not endorsed by Stampin’ Up! Copyright 2025


Leave a Reply