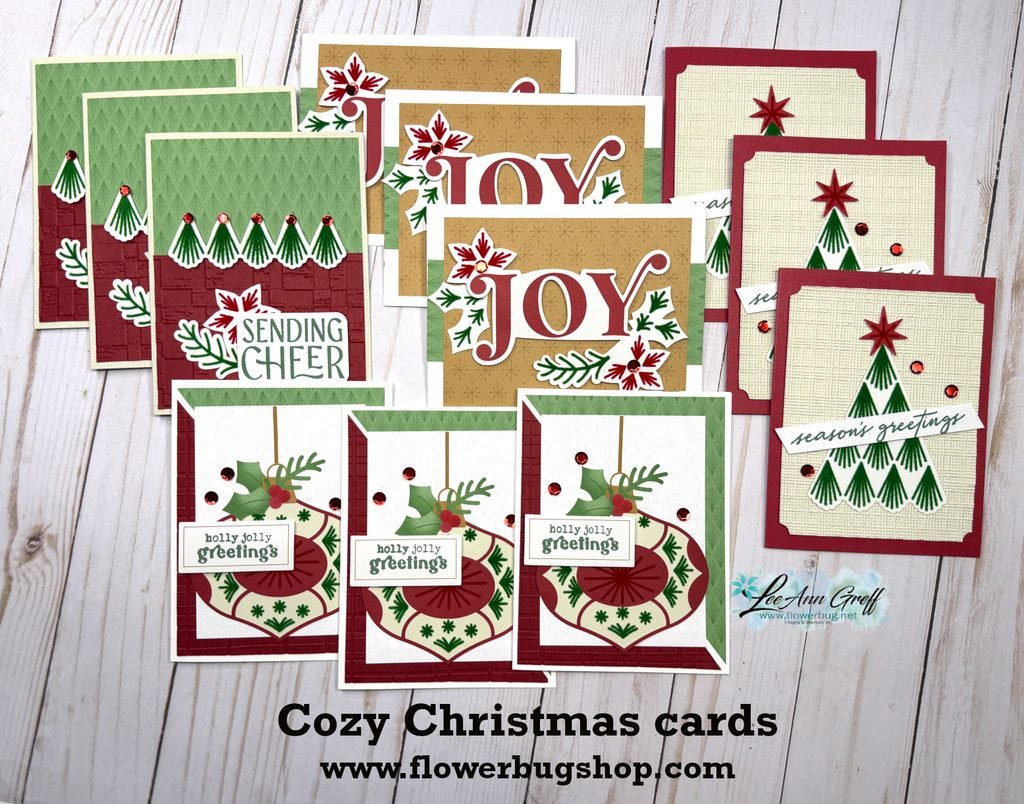
I had fun creating these fantastic Christmas cards with a former Paper Pumpkin kit from last year. I have a limited quantity of these available this month in a kit to go.
There are 12 cards with envelopes in this kit. I was able to change the kit from 9 to 12 cards. There are so many fantastic die-cut elements included in this one.
This kit includes the pre-cut kit, envelopes, adhesives and gems. You will need a few greetings, inks and embossing folders if you choose to make them like I did.
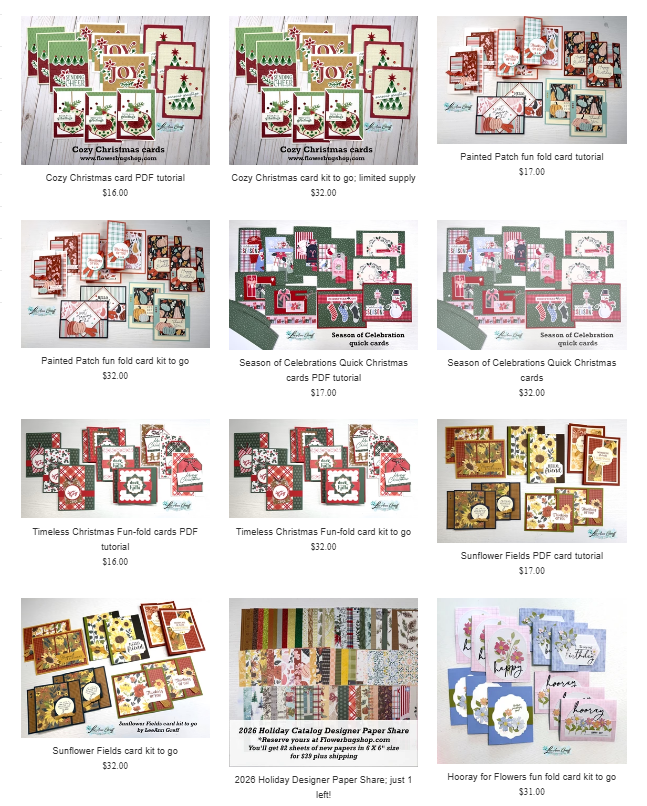
See it here in my store. It’s $31 plus shipping. The PDF tutorial is $17 and is seen here. The tutorial is emailed to you immediately after payment. The pre-cut kit is mailed out at the end of October.
Remember that if you order more than one kit shipping is combines and you’ll save $$.
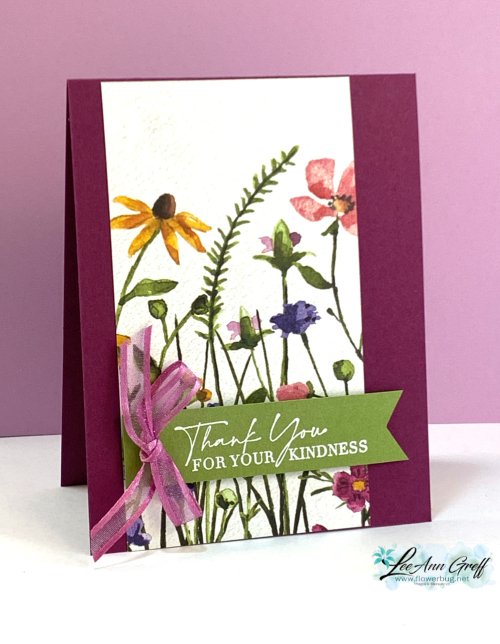
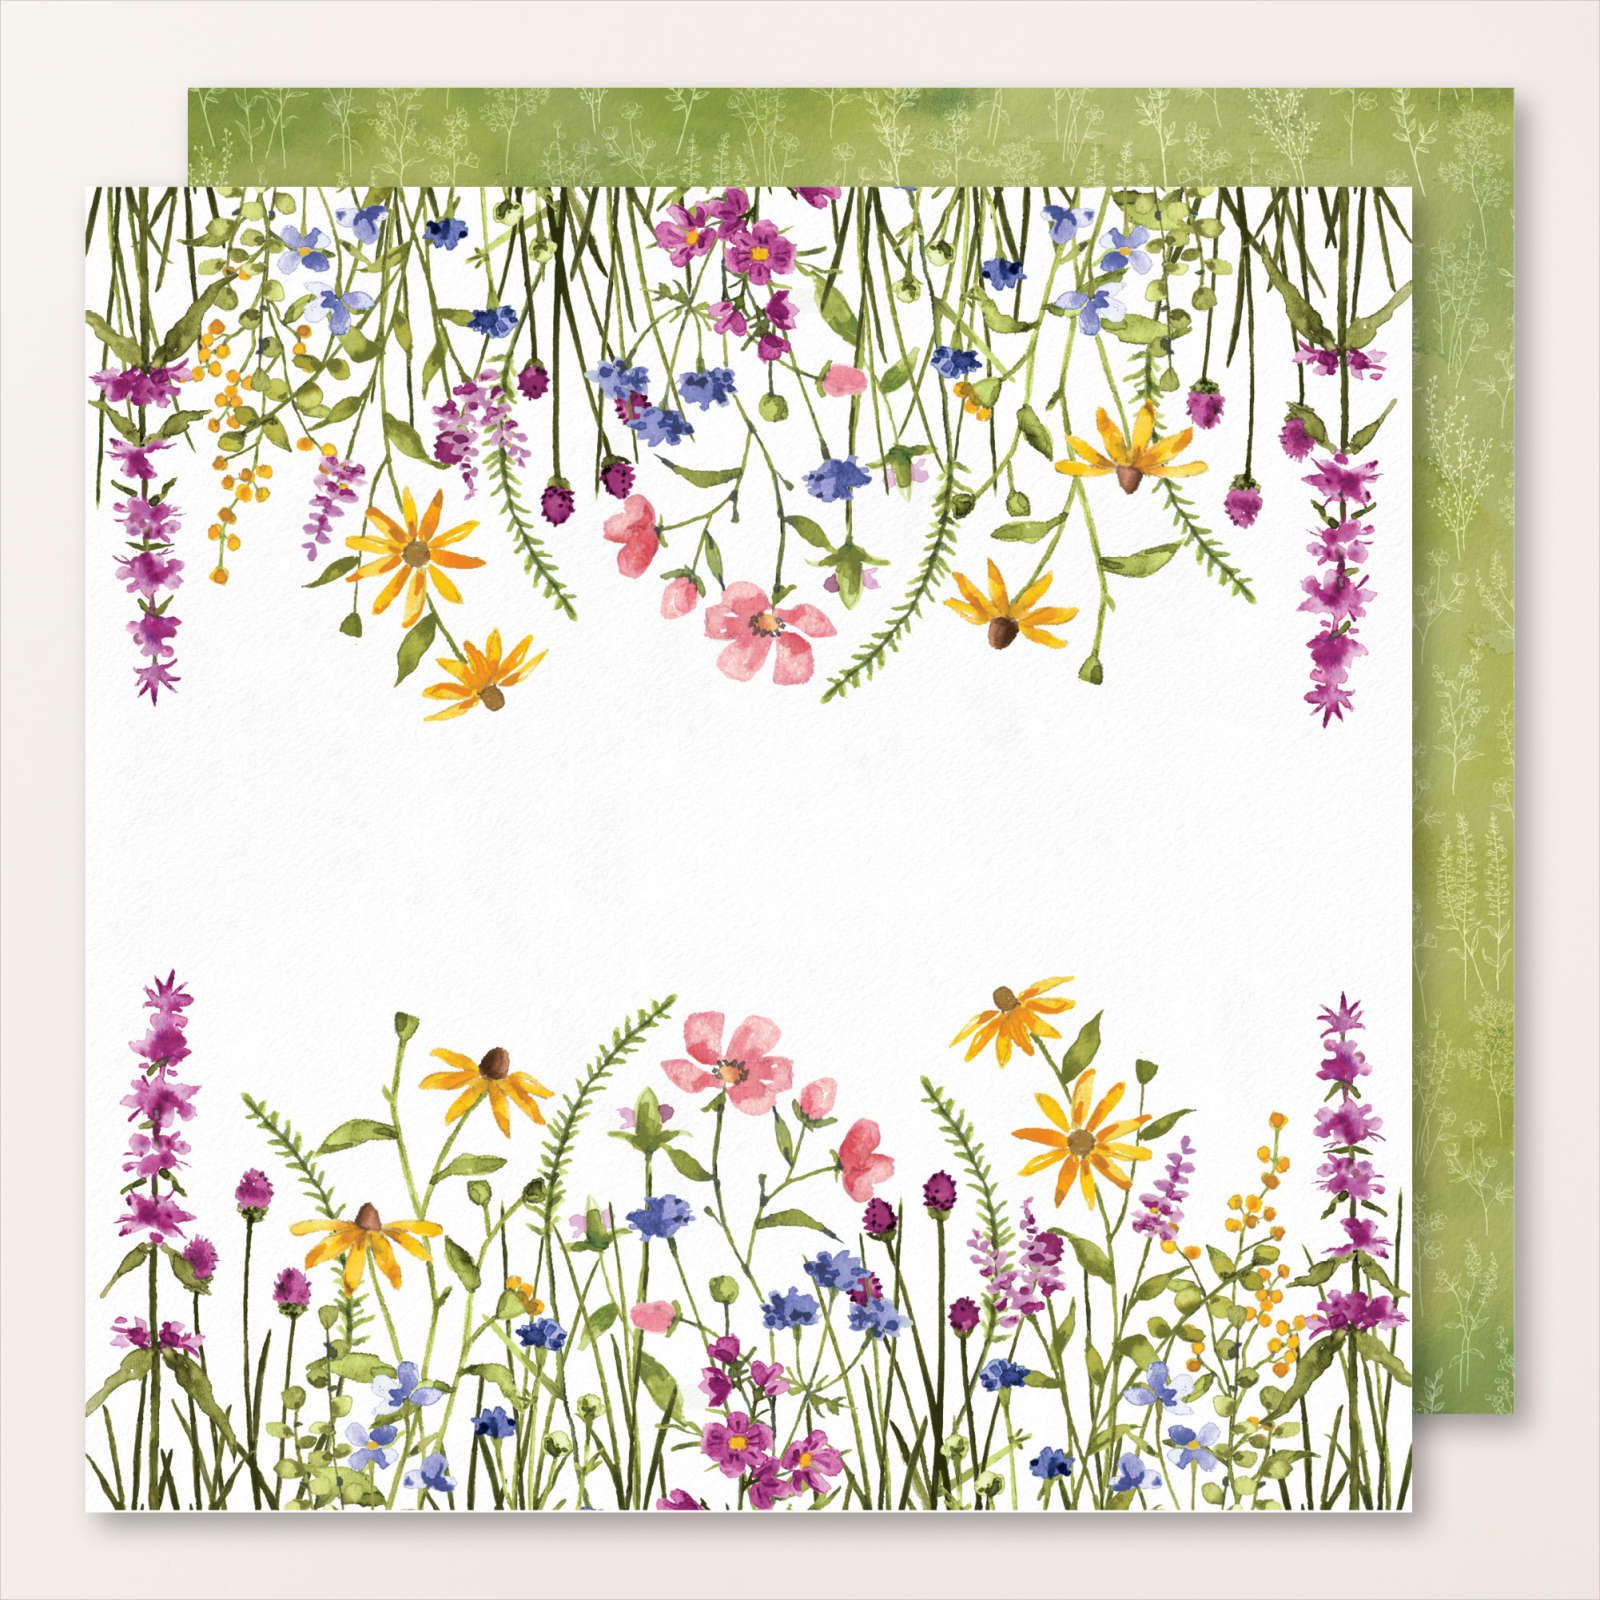
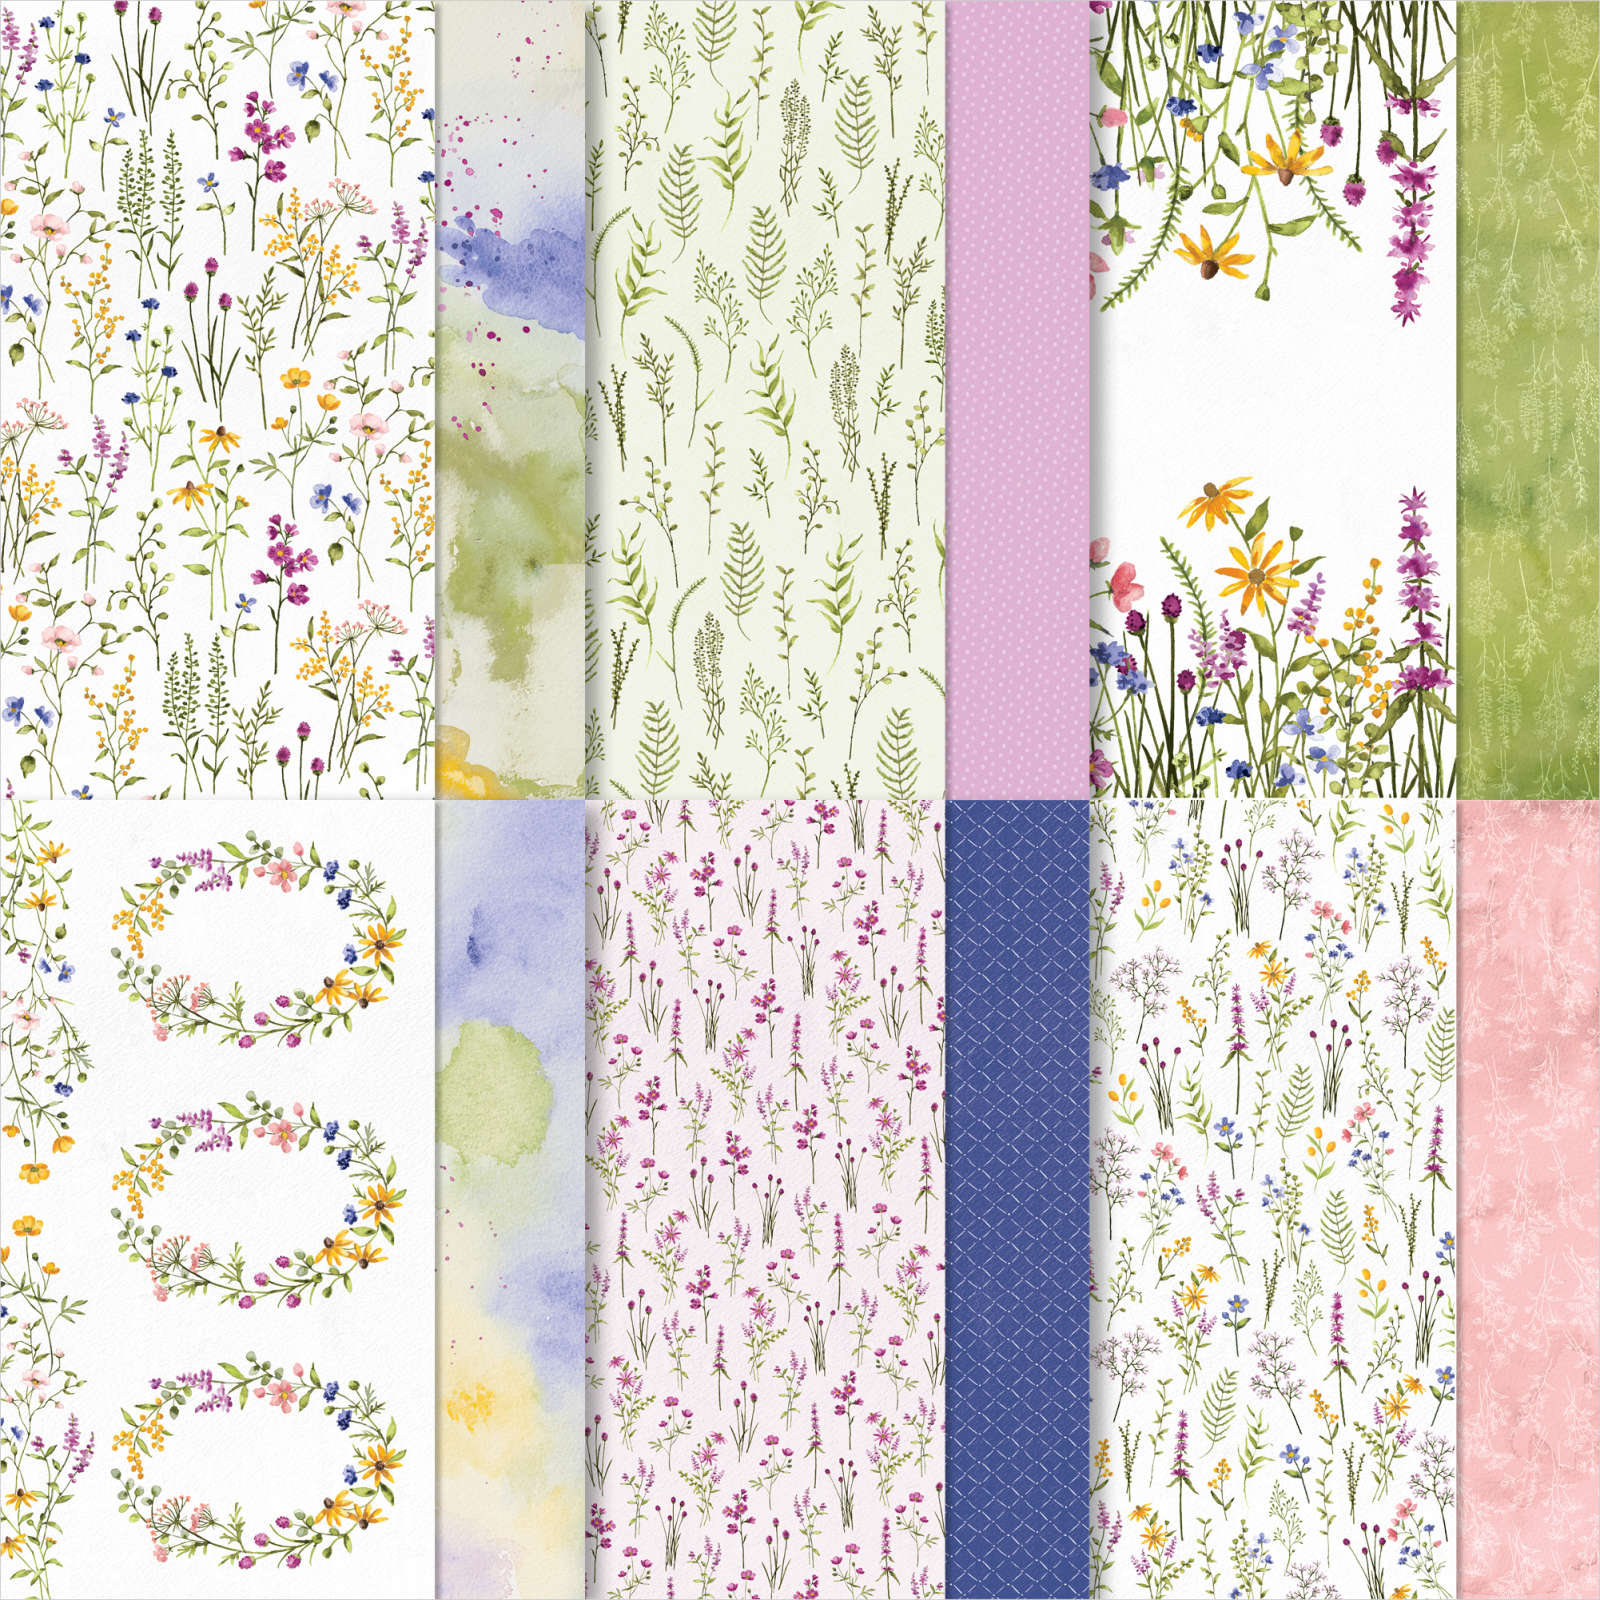
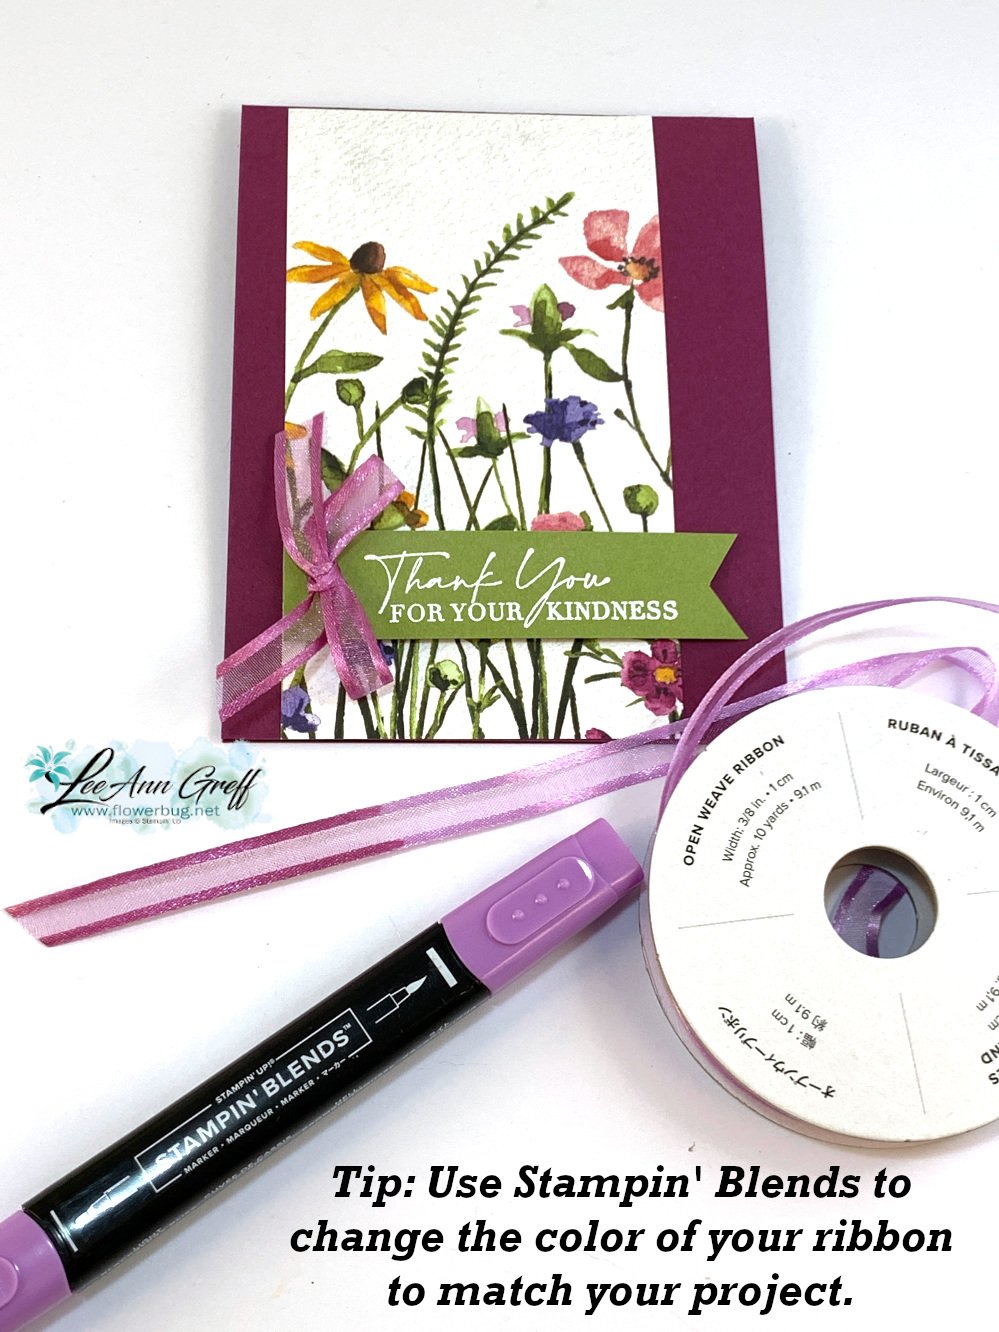
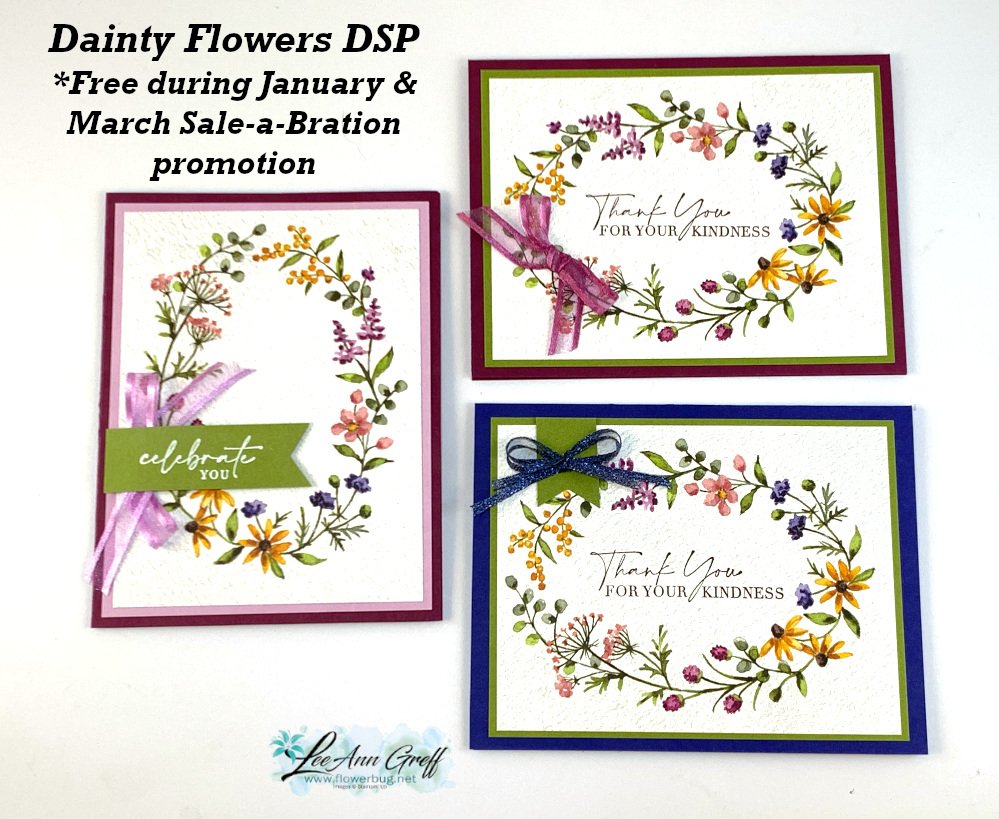
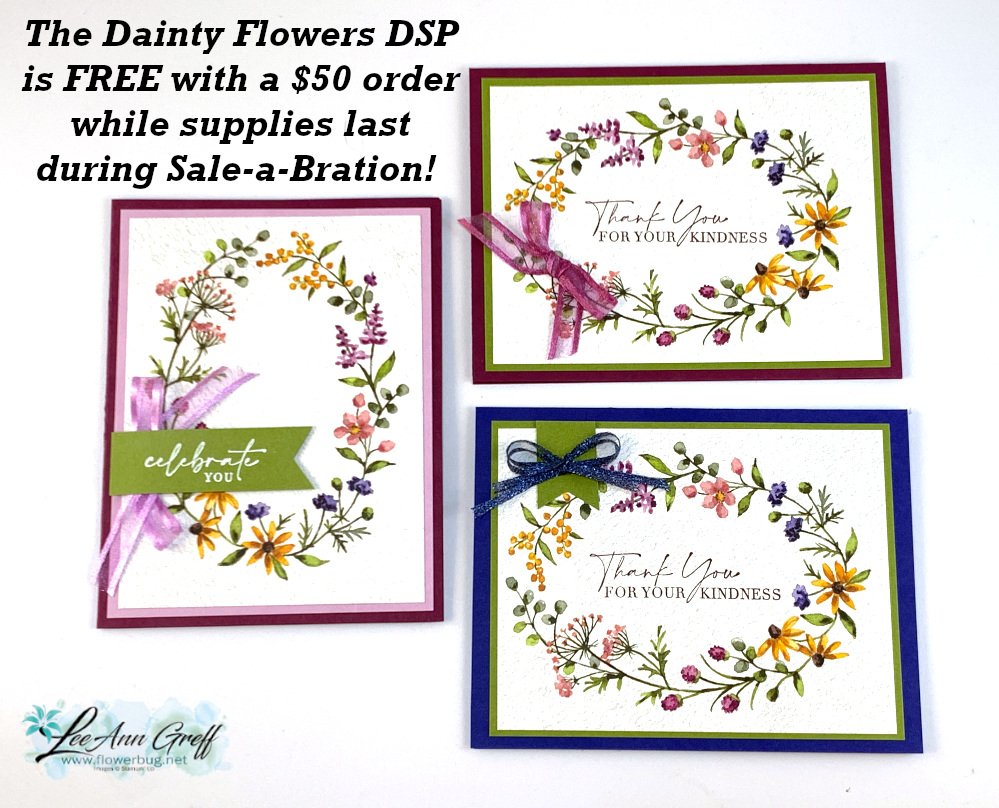
I made this pretty card in just a few minutes with 1/8 of a 12 X 12" piece of the Dainty Flowers designer paper. That means you can get 8 cards from each sheet!
I made the first cut across at 5 1/2". Then cut each piece at 3" wide. This gorgeous print is just one of many in this pack. It's free with any $50 order during our Sale-a-Bration promotion from January 5th – February 28th. See it here.
If you don't have the ribbon color you want, color it with a Blends marker. Our Blends markers come in a 2-pack of light and dark; try both to see which one fits your needs. And did you know that if you go over it more than once you can get a darker shade? This works on both paper AND ribbon!
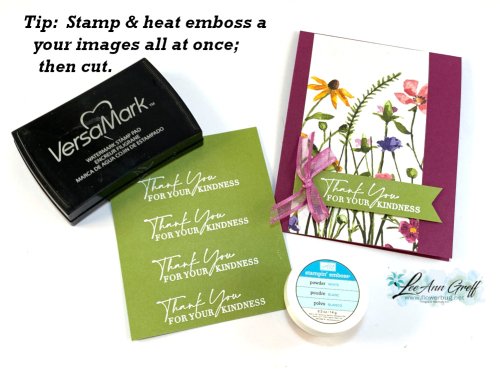
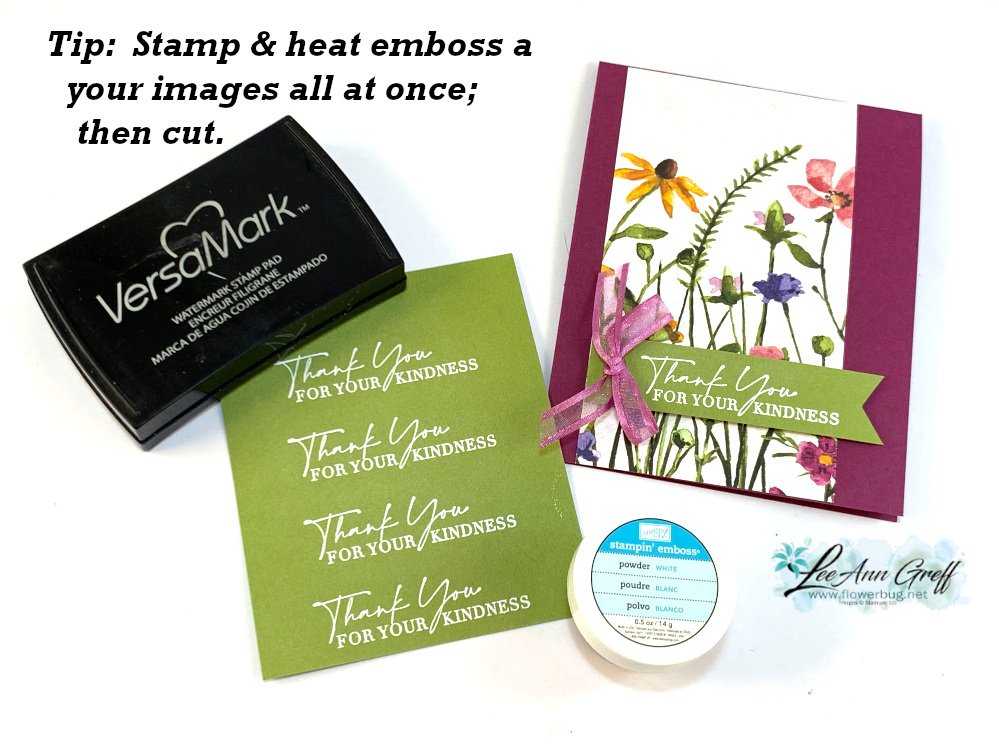
I inked the greetings (from Dainty Delight) in Versamark ink and stamped on the Old Olive CS. Then covered in White embossing powder before heat embossing with the Heat Tool. Now I could trim them into strips for my cards.
Tip; you cannot do an entire page at once or the ink dries before you can get powder on it. I did 4-5 at a time and it works fine. It all depends on how fast you can cover it with powder.
**Before stamping I swiped my card stock with the embossing buddy. This is an anti-static bag that prevents excess powder from sticking where you don't want it. The embossing buddy is included in our Embossing Additions Tool Kit seen here.
You can see more cards in this video I shared on Tuesday. Click here or on the photo below:
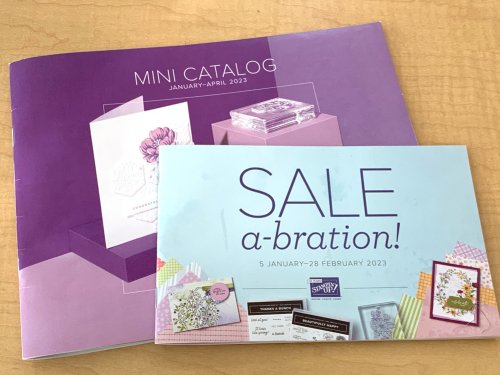
If you're local to me in Minot, ND be sure to stop in for my New Catalog party tomorrow.
Great displays, yummy food, a neat take-a-way projects & of course great deals too!!
It's Saturday, January 7th from 1- 4 pm.
~~~
The Dainty Flowers designer paper is one of my top picks this year. There are multiple sheets in the pack that are perfect for quick but beautiful cards. See my video here.
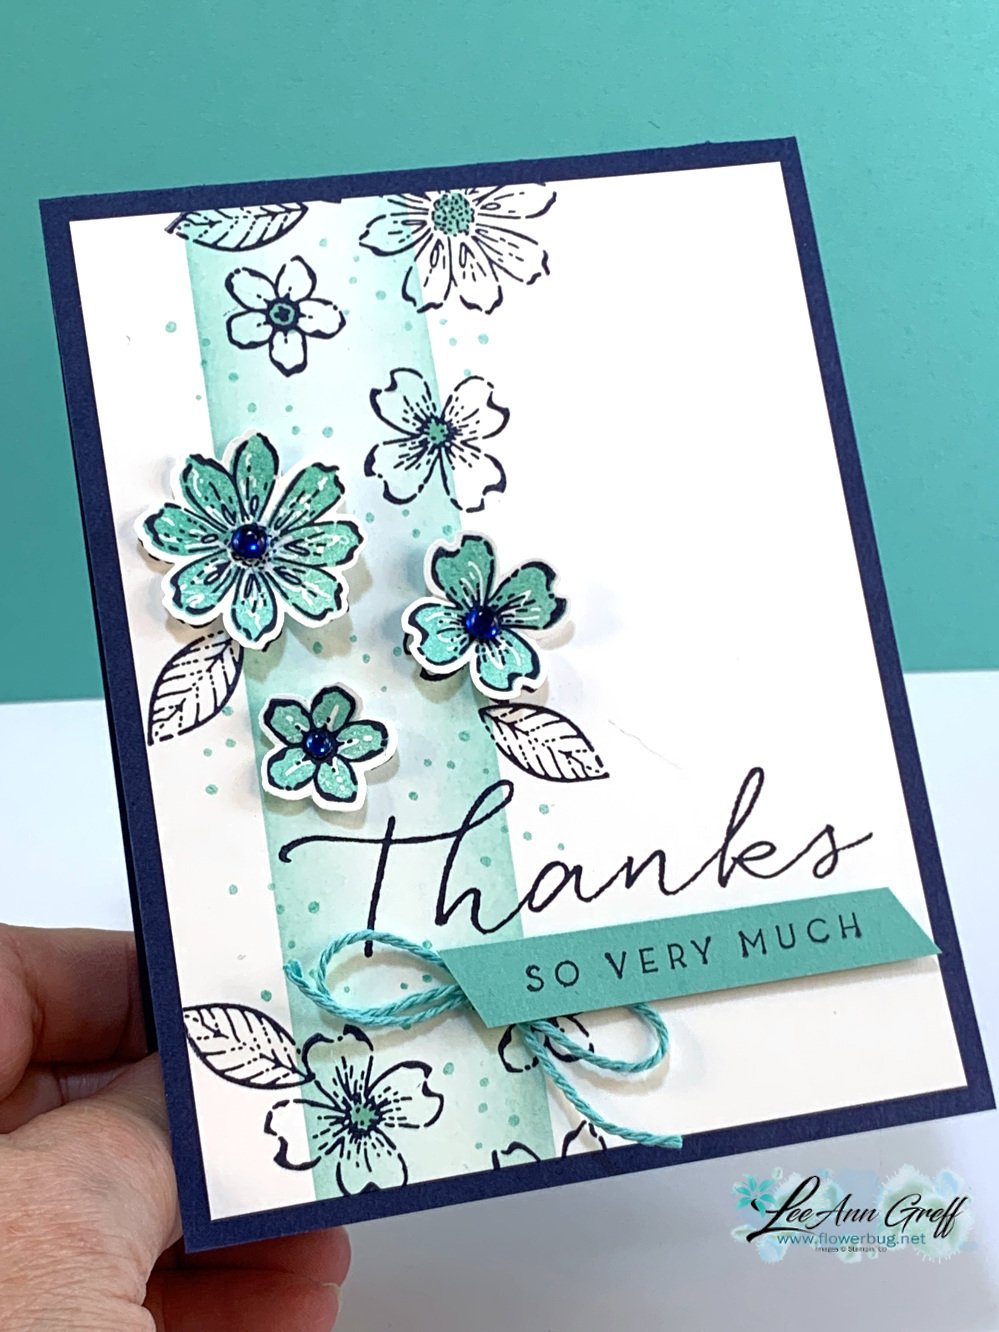
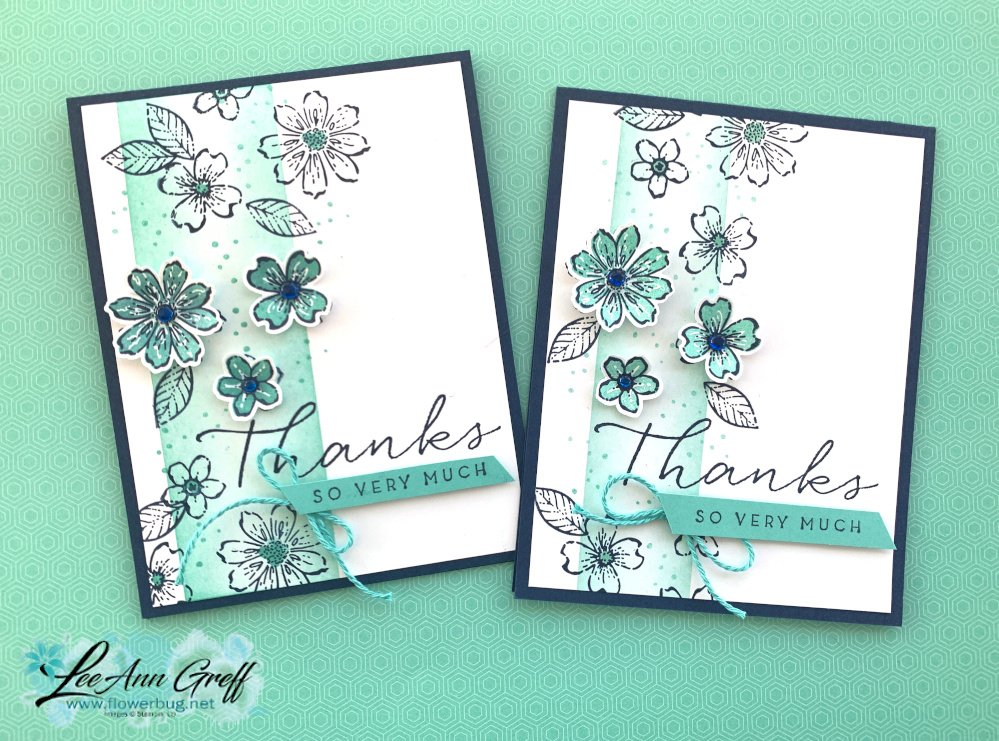
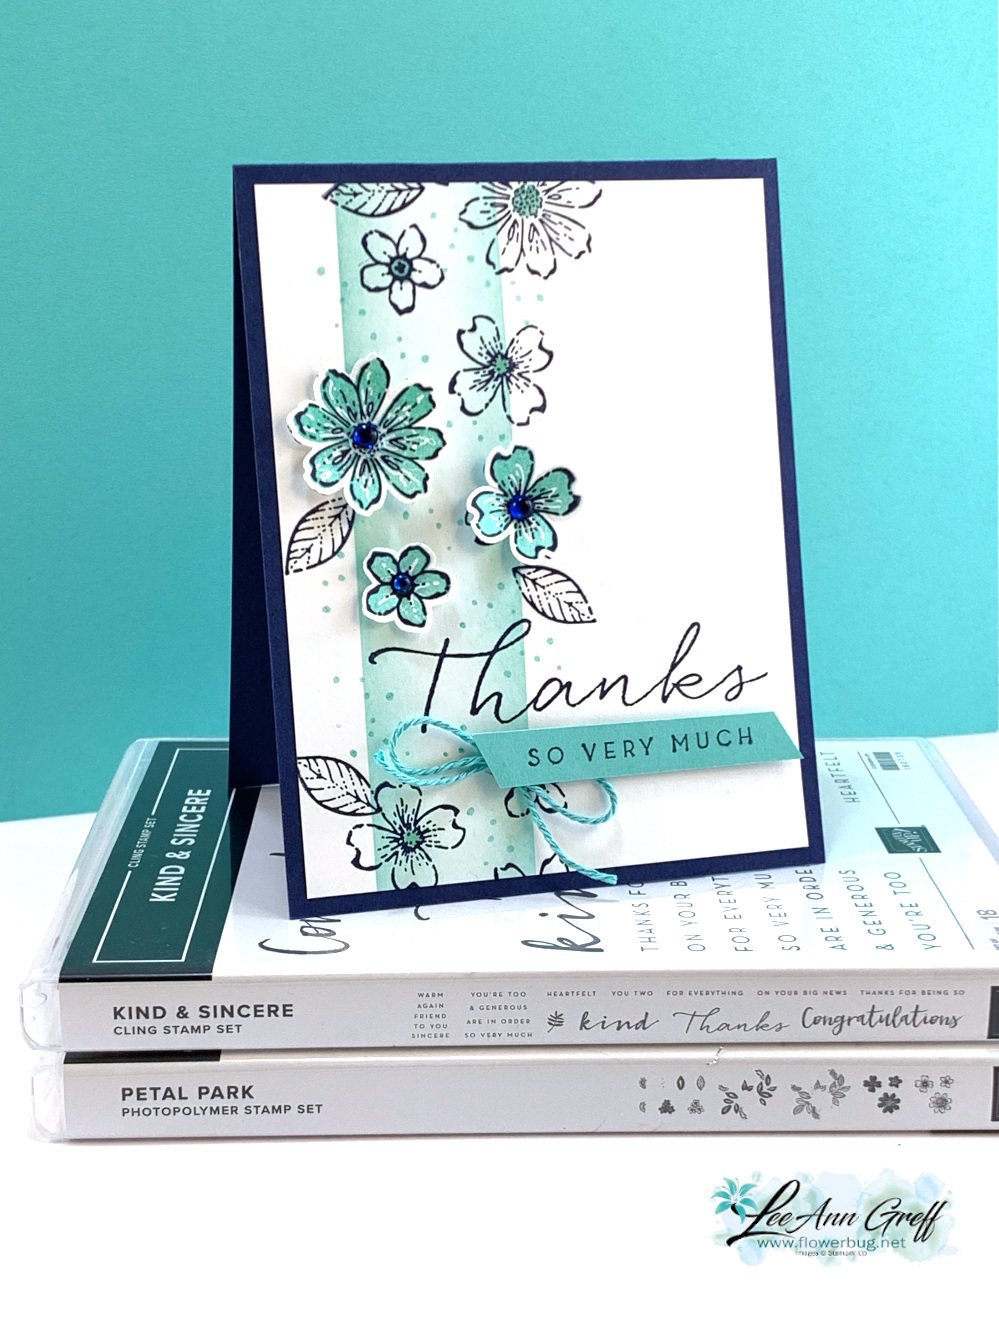
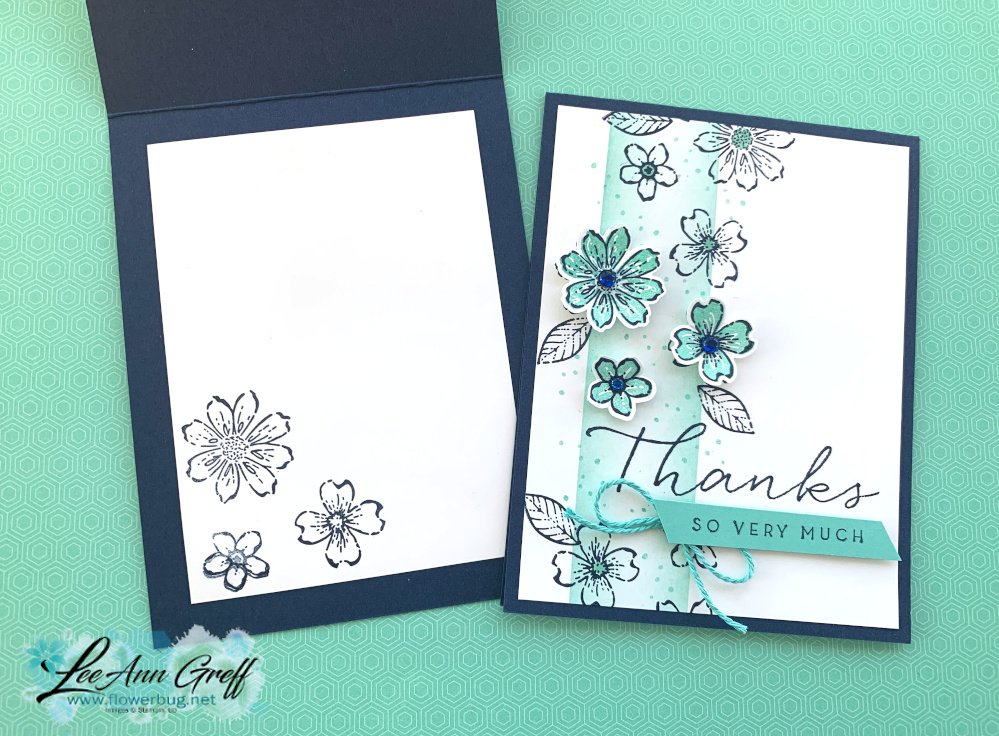
Petal Park with Kind & Sincere and a masked background technique with video tutorial
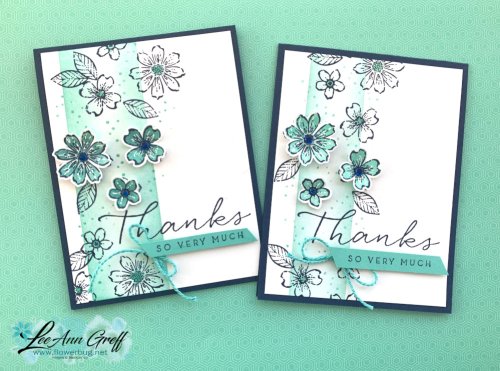
This is the other card I shared on my Stamp with Me Live on Monday evening. You can see it hereon my YouTube Channel now.
I used post-it notes and a Blending Brush to achieve this soft line of color and then stamped my flowers and dotted image around it. I love the effect!
I did stamp a set of flowers on a separate piece of White card stock and punched them out so I could curl the petals and pop them up. I like to add more dimension to my cards this way.
I also did the same with my smaller greeting, stamping it on a scrap of Coastal Cabana to add below the 'Thanks'.
Notice: LeeAnn Greff, Independent Stampin’ Up! Demonstrator, Manager. The content of this website is my sole responsibility as an independent Stampin’ Up! demonstrator and the use of, and content of, the classes, services, or products offered on this website is not endorsed by Stampin’ Up! Copyright 2025






















Leave a Reply