/


Latest Post

Control Freaks New Catalog Blog Hop


It's time for our monthly Freak's blog hop!!  Our focus today is the new Annual Catalog.  We have lots of amazing projects to share with you using brand new products. 

You may have arrived from Tami's blog; I'm sure you loved her projects!  Or maybe you just started here.  To see all 12 posts be sure to click on the icon at the bottom of each post. 
It's been so fun to play with exciting new products from the 2020 Annual Catalog!  Are you ready for some glitz & shine?

I chose to play with the Forever Gold Laser-cut Specialty Paper today.  It's part of the Forever Greenery suite of products.  You can see it best on page 152 of your annual catalog. It has 6 sheets; 3 each of 2 single sided designs. One side is gold and the other is white which you can color, spritz or sponge.  I chose to use the gold sides for my projects here.  

You can see the details & measurements for each one under the photo. 

I chose to use jewel toned card stock for each card; I think it looks rich & regal with these colors.  The card above is Blackberry Bliss with Very Vanilla.  The pretty golden leafy medallion is all one piece; just punched out from the pack.  I added a 1" X 4 1/4" strip of Vanilla under it and a stamped die cut above with a few metallic pearls.  The stamped image is from Dandelion Wishes and the die is from the Stitched So Sweetly dies. 
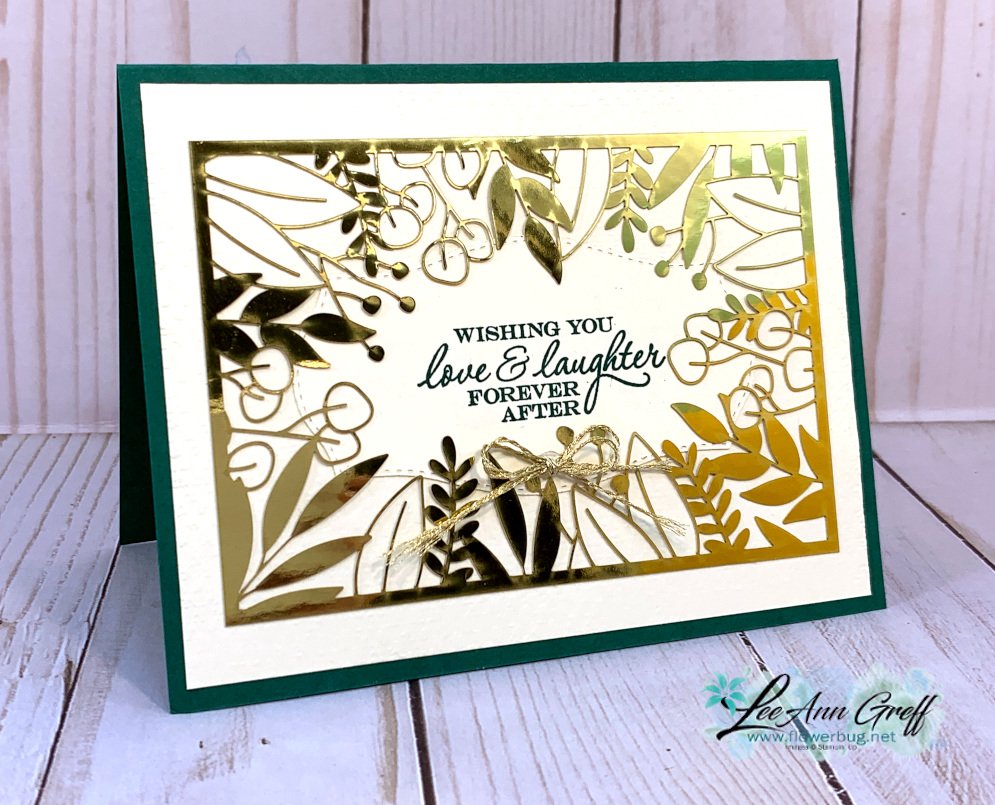
This card is Shaded Spruce with Vanilla.  It's hard to see but the large 4" X 5 1/4" vanilla is textured with our Tasteful Textile embossing folder. The greeting is stamped on a die from Tasteful Labels using the Heart to Heart stamp set.

Once I had these pieces adhered I could add the laser cut piece on top. I added a bit of liquid multipurpose adhesive to the edges and a few leaves and it's done!

The laser cut card front pops out so easily from the rest in the sheet. No fussy cutting or die-cutting with these! 

This is probably my favorite one of the three. This laser-cut piece is delicate and leafy; it leaves a perfect area for a greeting in the stitched center. The card is Night of Navy with a 2" strip of the World of Good designer paper across the middle. 

I stamped the 'Always' greeting (Field of Flowers set) on a 1 1/2" X 2 1/4" piece of Very Vanilla card stock and sponged the edge with Misty Moonlight ink.  The 'In My Heart' greeting is embossed with Gold embossing powder on Misty Moonlight card stock and punched out with the Classic Label punch. 

Did you spy the cute little flowers on this card?  They're from the new Confetti Flowers Border punch. Each one has a Metallic pearl on it.  

I hope you enjoyed seeing these pretty cards with the beautiful Forever Gold Laser-cut Specialty Paper.  If you like shine and glitz you'll love it! 

~~~

Thanks for stopping in to see my projects.  Now you're off to see what Cindy has to share.  I know you'll love it; I always do.
 

All Posts

  • The Christmas Scottie bundle isn’t just for Christmas! Check out this HAPPY birthday card & video!


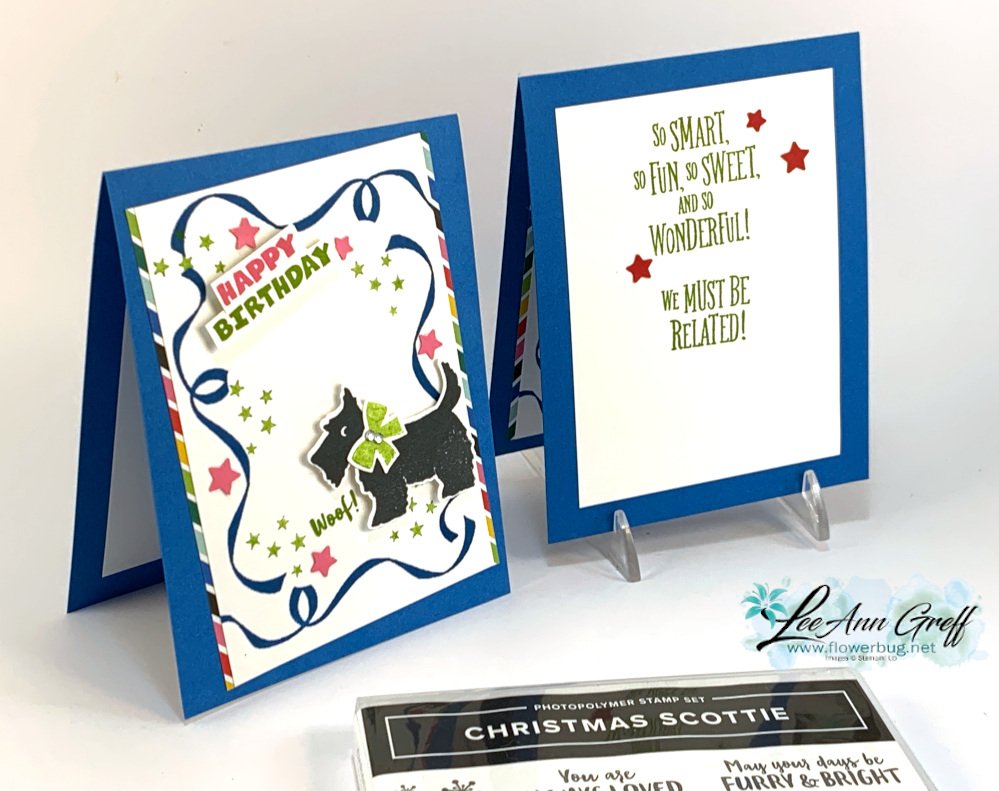
    We made this adorable birthday card at my September card club classes.  I wanted to showcase this stamp & punch bundle but I wasn't ready to make a Christmas card yet. I came up with this fun birthday card:

    Isn't it fun!  It truly is a 'Happy' card perfect for anyone; male, female, kids or adults!  I shared the step by step 'how to' in a recent FB Live video seen here. 

    My favorite part of this card is the fun ribbon & star border.  And it's super easy too.

    Measurements:

    • Pacific Point 4 1/4" X 11" scored at 5 1/2"
    • White front 3 1/2" X 5", inside 3 1/2" X 4 3/4"
    • White scraps for the dog, bow & greeting
    • Polished Pink & Real Red scraps for stars
    • Celebrate Everything host DSP 1/2" X 5"

    Supplies include:  

    • Inks – Black, Pacific Point, Granny Apple Green, Real Red & Polished Pink
    • Card stock – Pacific Point, White, Polished Pink & Real Red.  Celebrate Everything host DSP
    • Other – Witch Hat Builder punch for stars, Scottie dog punch, paper snips, Basic rhinestone jewels, punched stars are done with the Witch Hat punch
    • Greetings are from the Christmas Scottie & the Grand Kid set.

    Besides this card I shared another CUTE Waterfall card in the video.  I just love this bundle!! See it here.

    Click on the photo below to see the video.  Or click here. 

    ~~~

    September Specials


    New weekly deals come out on September 1st, 8th, 15th & 22nd! 

    Order online here

    Host code links: KSAEED9Y or JPJ4FKYJ

    Get free cards from me with online orders!

    Earn free products with my loyalty rewards! 

    Click here to download yours and earn a $50 shopping spree!

    Leave a Reply

    Your email address will not be published. Required fields are marked *

  • A WOW Waterfall card with the Christmas Scottie stamp set; with video & measurements!


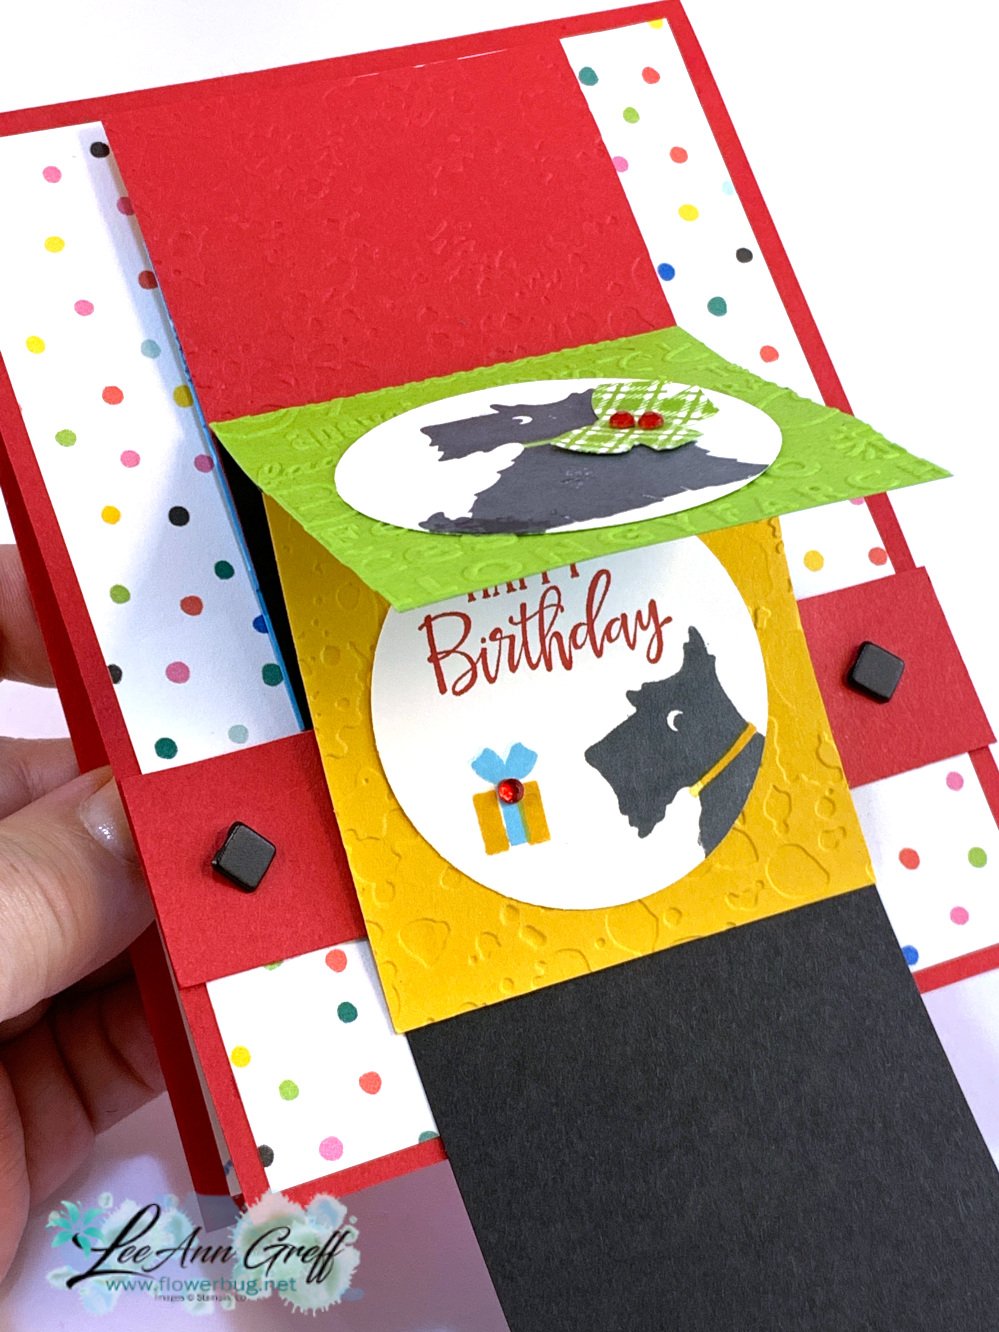
    I LOVE this waterfall card I made on this week's FB live!  It's filled with bright primary colors and is interactive too!  

    Isn't it cute!  Eye catching and super fun to play with.  This stamp set is not just for Christmas as you can see.

    Check out the video here or below to see how it's done.  I even made a mistake YOU can learn from.  You just never know what will happen on a Live video!  


    Supplies:

    • Colors – Real Red, Black, Tahitian Tide, Granny Apple Green & Crushed Curry.  
    • Designer paper is Celebrate Everything host DSP in the Holiday Catalog
    • Brads, Best Trio punch & 2" circles. 
    • Greetings are from the Peaceful Moments set

    Measurements:

    • Red card 4 1/4" X 11" scored at 5 1/2", strip 4 1/4" X 1"
    • Celebrate Everything DSP is 4" X 5 1/4"
    • Black waterfall strip is 2 1/2" X 10" scored at 5 1/4", 6", 6 3/4" & 7 1/2"
    • Colored squares are 2 1/2", White circles are 2”

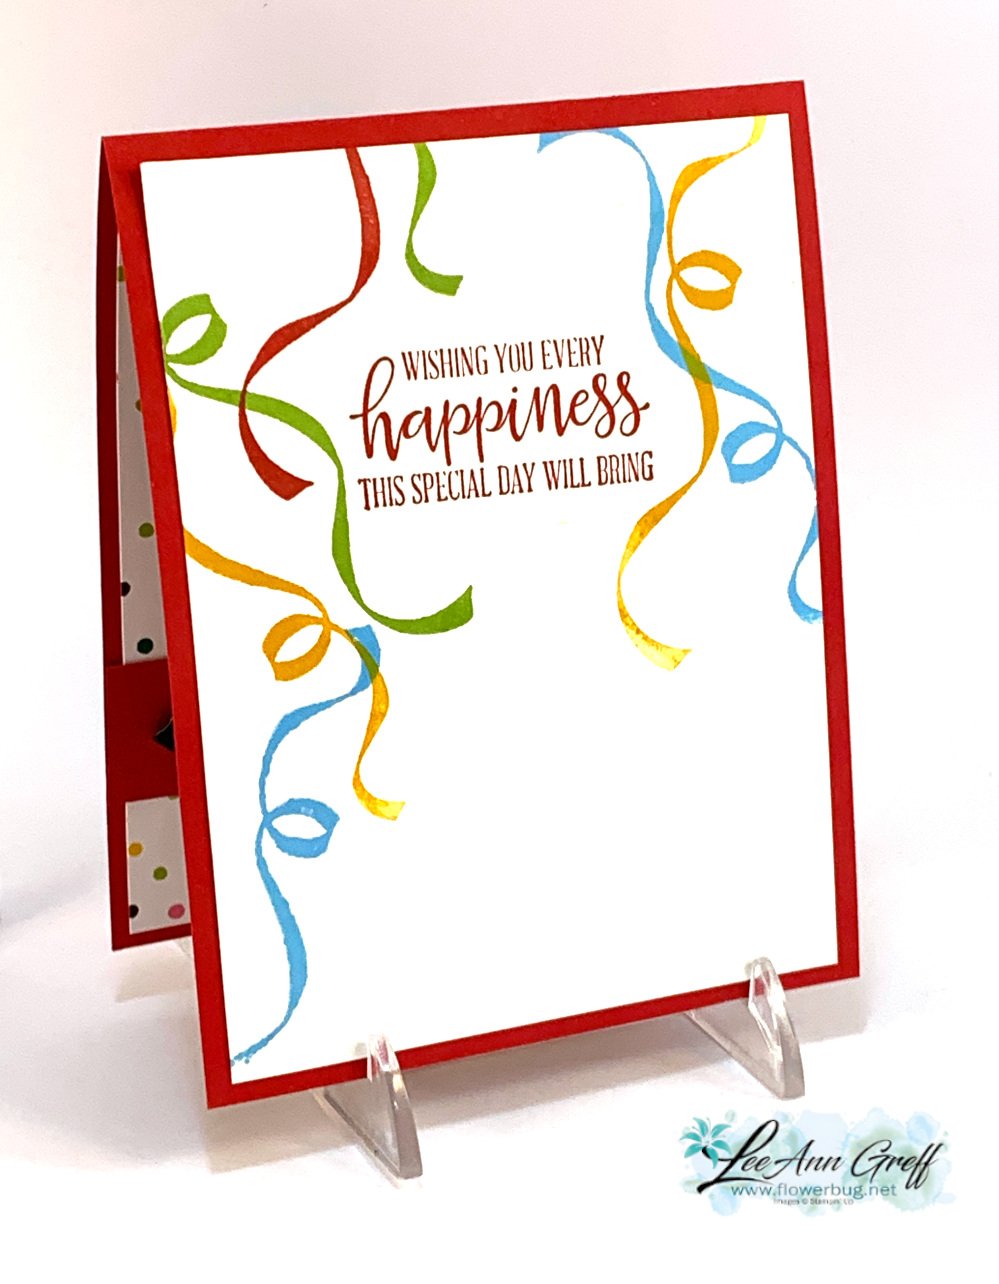
    Here's the inside view.  I had to use the fun ribbon image; it's my favorite stamp in this set! 

    Besides this card I shared another fun birthday card featuring this bundle.  I just love this bundle!! See it here.

    Click on the photo below to see the video.  Or click here. 

    ~~~

    September Specials


    New weekly deals come out on September 1st, 8th, 15th & 22nd! 

    Order online here

    Host code links: KSAEED9Y or JPJ4FKYJ

    Get free cards from me with online orders!

    Earn free products with my loyalty rewards! 

    Click here to download yours and earn a $50 shopping spree!

    Leave a Reply

    Your email address will not be published. Required fields are marked *

  • CUTE Pillowbox ‘treat box’ you’ll love!


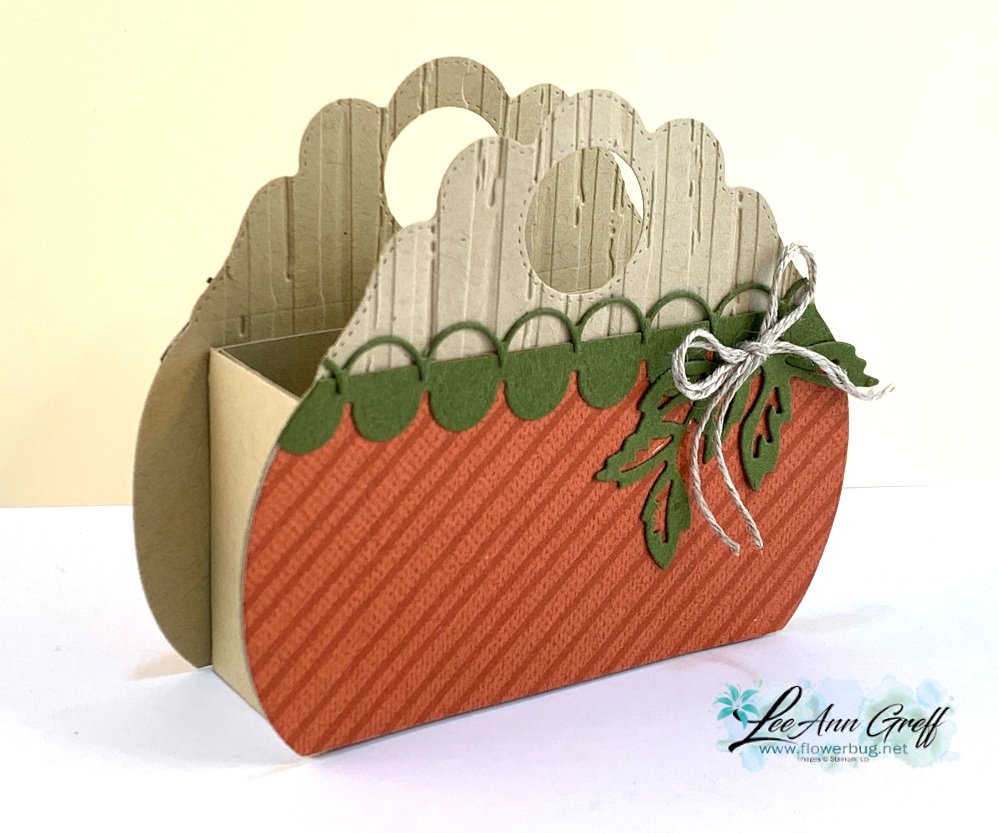
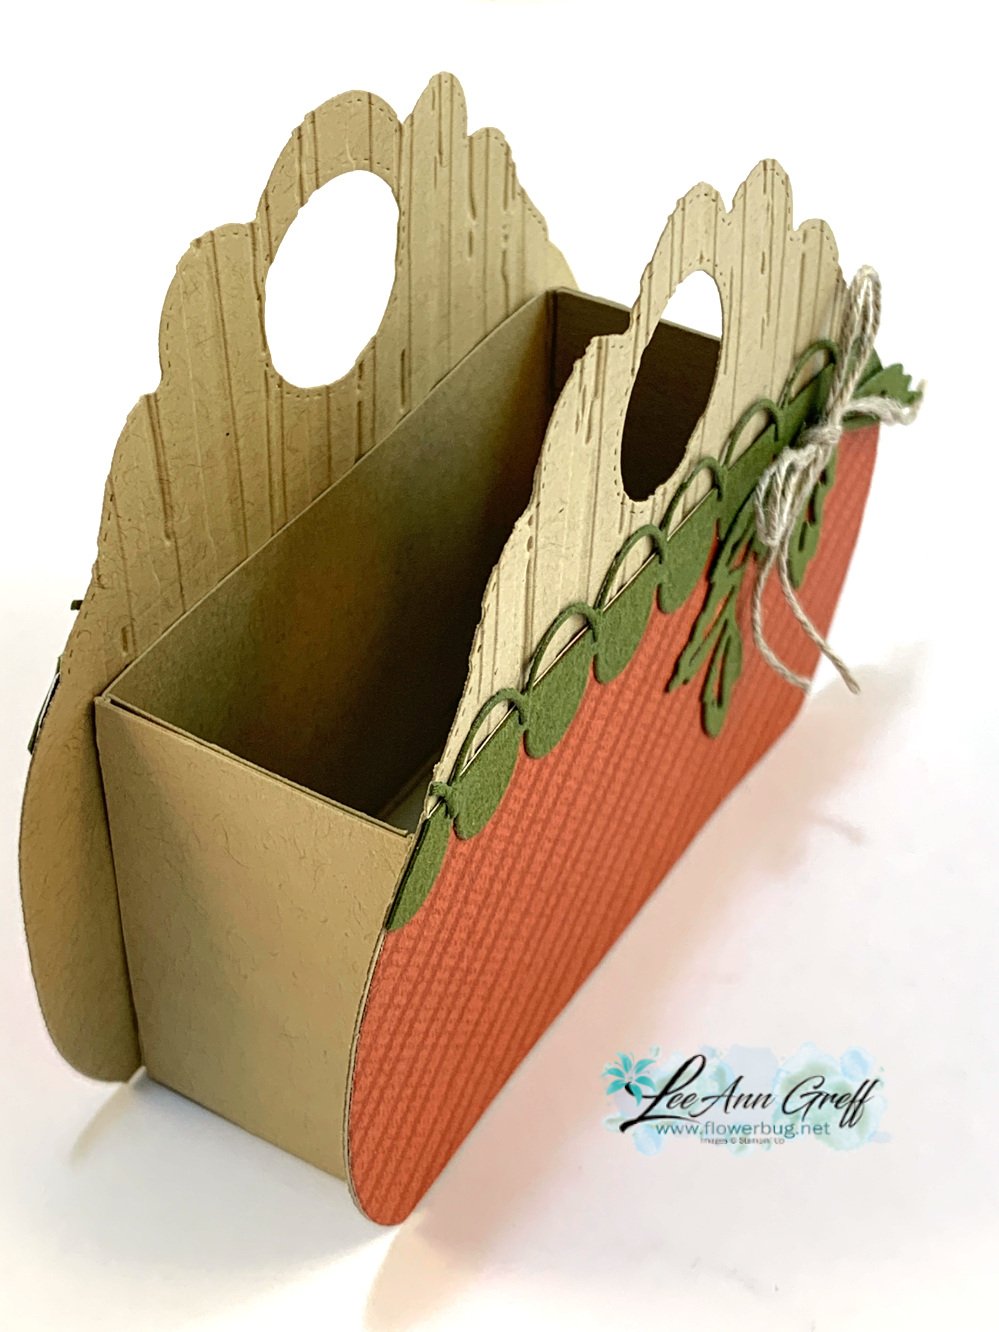
    I made this cute box using the Pretty Pillow Box dies.  Does it look like a pumpkin to you?  

    It does use the Pretty Pillow box dies for the flat shape of the front of this box, but the box itself is made from a piece of card stock (see measurements below). I found this idea from fellow demonstrator Lynda Emerson.  As usual I changed it up a bit from hers. 

    Products used:

    Crumb Cake card stock, He’s the Man DSP, strips of Mossy Meadow for apple die trim & for the leaves die-cuts, Pretty Pillow Box dies seen here, Stylish Shapes (for the circle die-cut), Penned Flower & Apple Blossom dies, Stripes & Spatters EF, Linen Thread for the bow, Simply Scored Scoring tool

    The inside of the box would hold quite a few treats; it's a good size!  

    Measurements:

    • Crumb Cake 5 ¼” X 7 ¼” scored at 2" on all 4 sides, plus two die-cut pillow box pieces
    • He’s the Man DSP 2 ¼” X 4 ½”

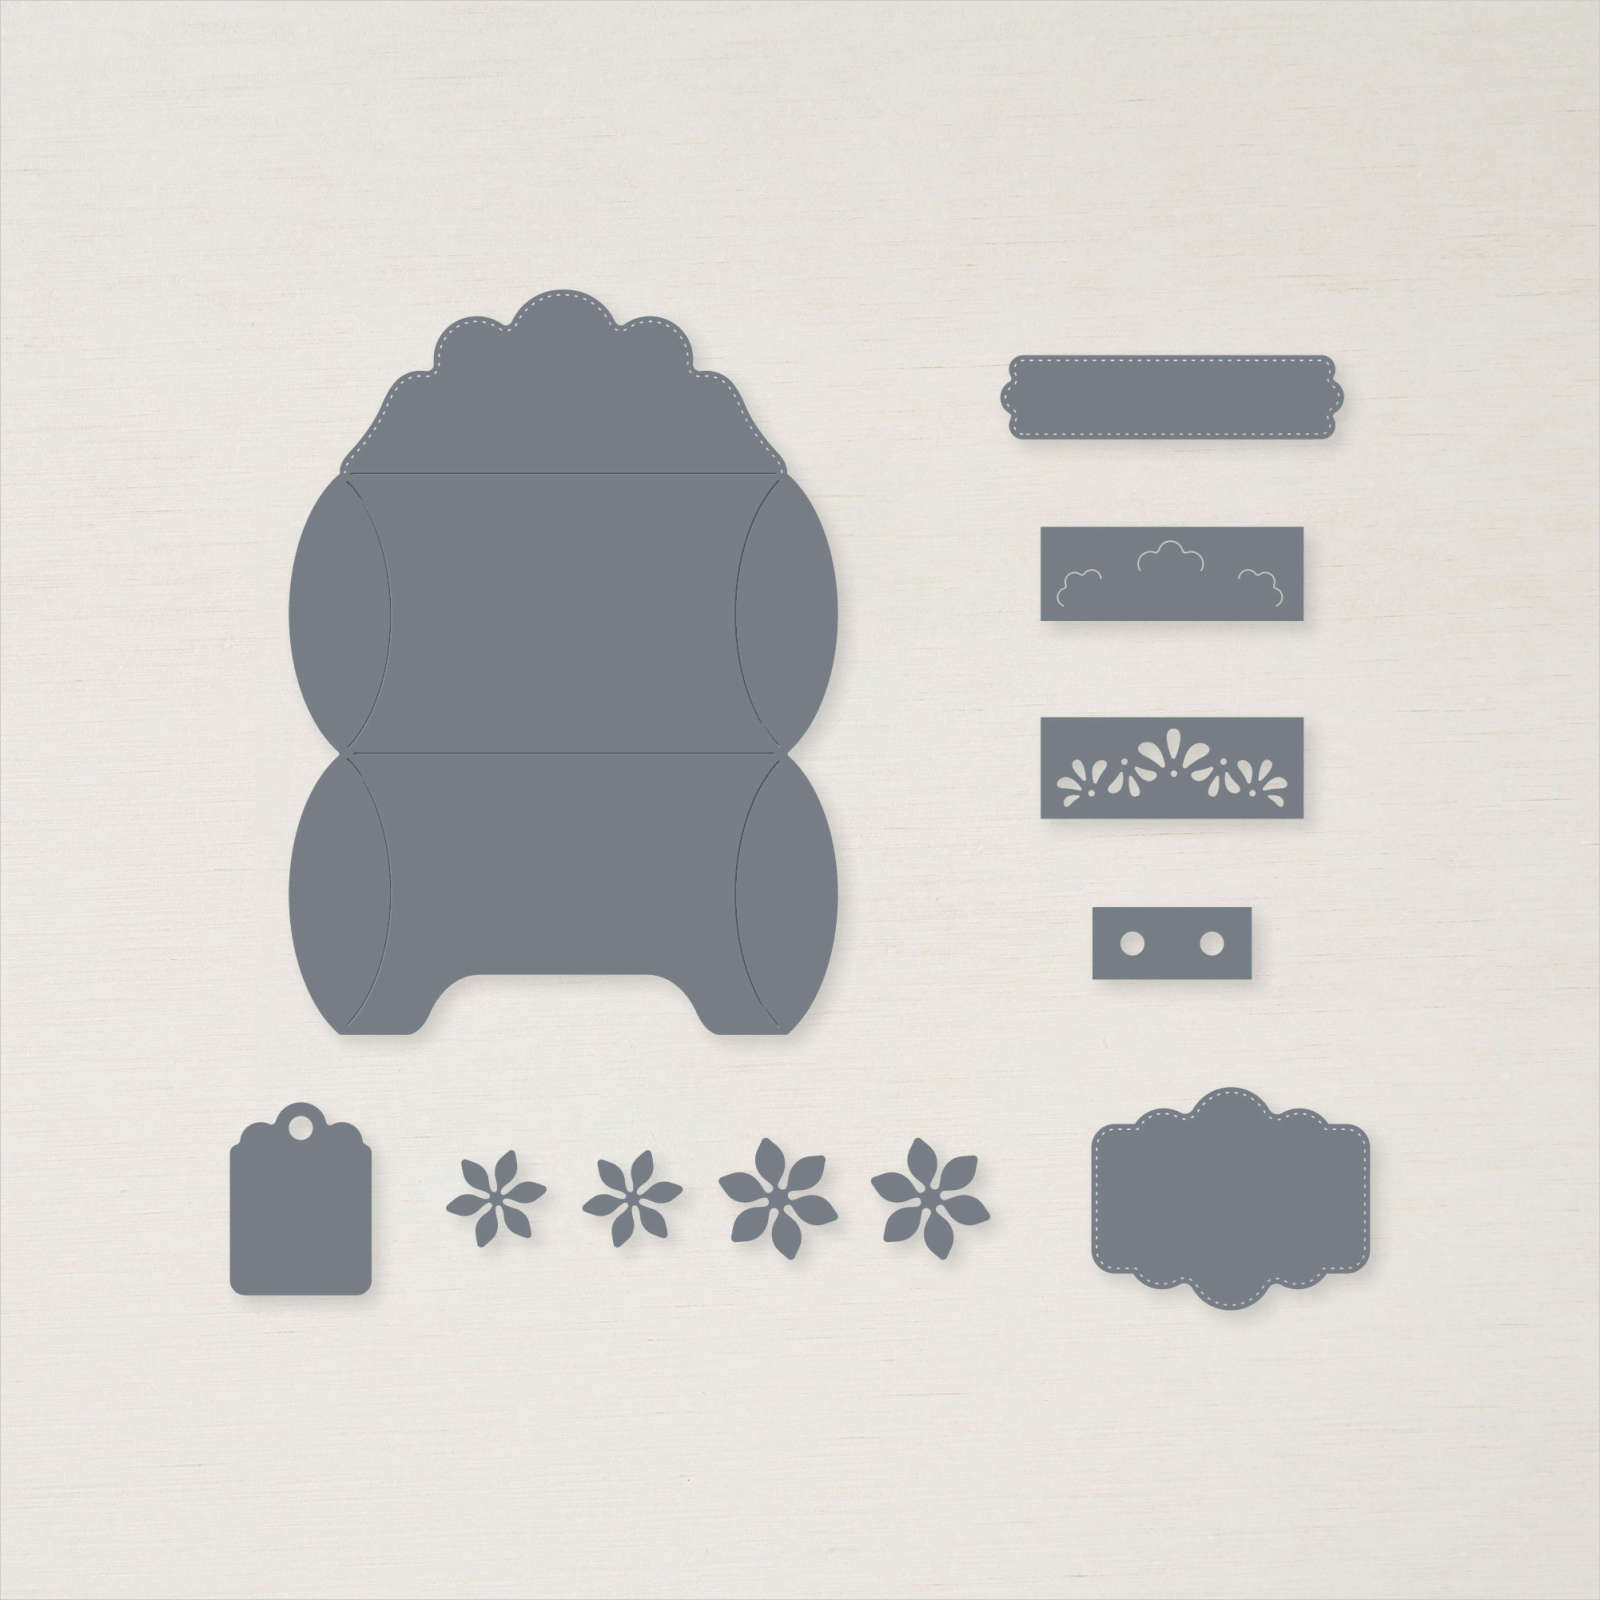
    Here is what the Pretty Pillow box dies look like: 

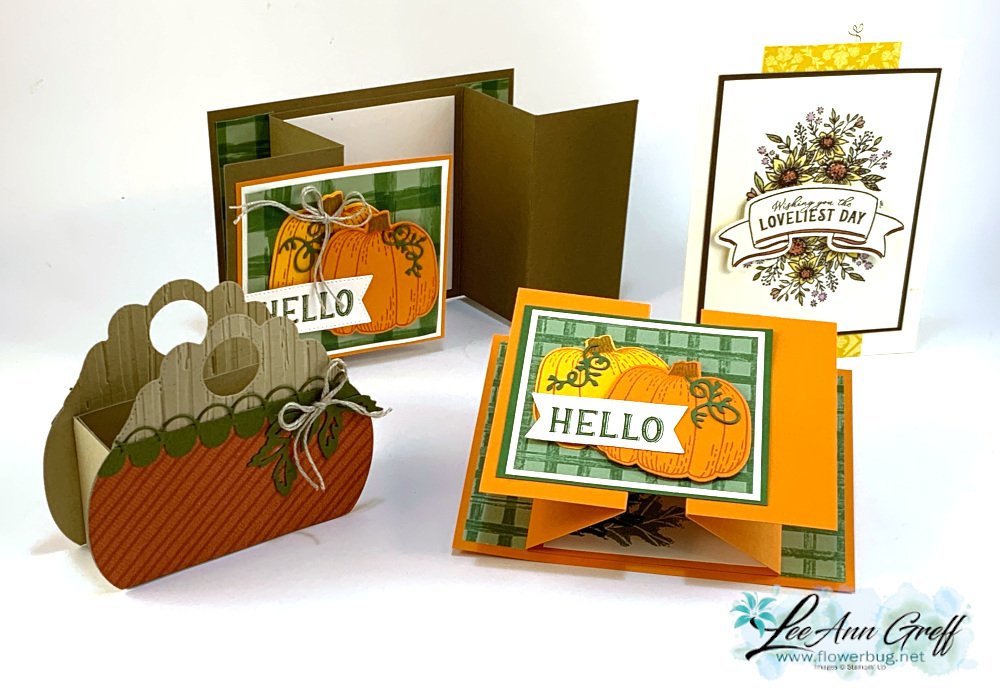
    Here are all of the projects I made. The other two cards feature the Hello Harvest bundle.  


    ~~~

    September Specials


    New weekly deals come out on September 1st, 8th, 15th & 22nd! 

    Order online here

    Host code links: KSAEED9Y or JPJ4FKYJ

    Get free cards from me with online orders!

    Earn free products with my loyalty rewards! 

    Click here to download yours and earn a $50 shopping spree!

    Leave a Reply

    Your email address will not be published. Required fields are marked *


Notice: LeeAnn Greff, Independent Stampin’ Up! Demonstrator, Manager. The content of this website is my sole responsibility as an independent Stampin’ Up! demonstrator and the use of, and content of, the classes, services, or products offered on this website is not endorsed by Stampin’ Up! Copyright 2025