/


Latest Post

Control Freak’s Blog Hop; Favorite Colors theme!


Welcome to the January Blog Hop from our talented Control Freaks group!  Our theme this month is to use our favorite Stampin' Up! color and make it monochromatic!  

If you just stopped in from Wendy's blog I'm sure you enjoyed her projects. She is super creative!

I haven't joined a blog hop in awhile and I've missed it!  This color theme was perfect for me as my Flowerbug's Team swapped monochromatic cards last week.  I've been sharing them here all week long.

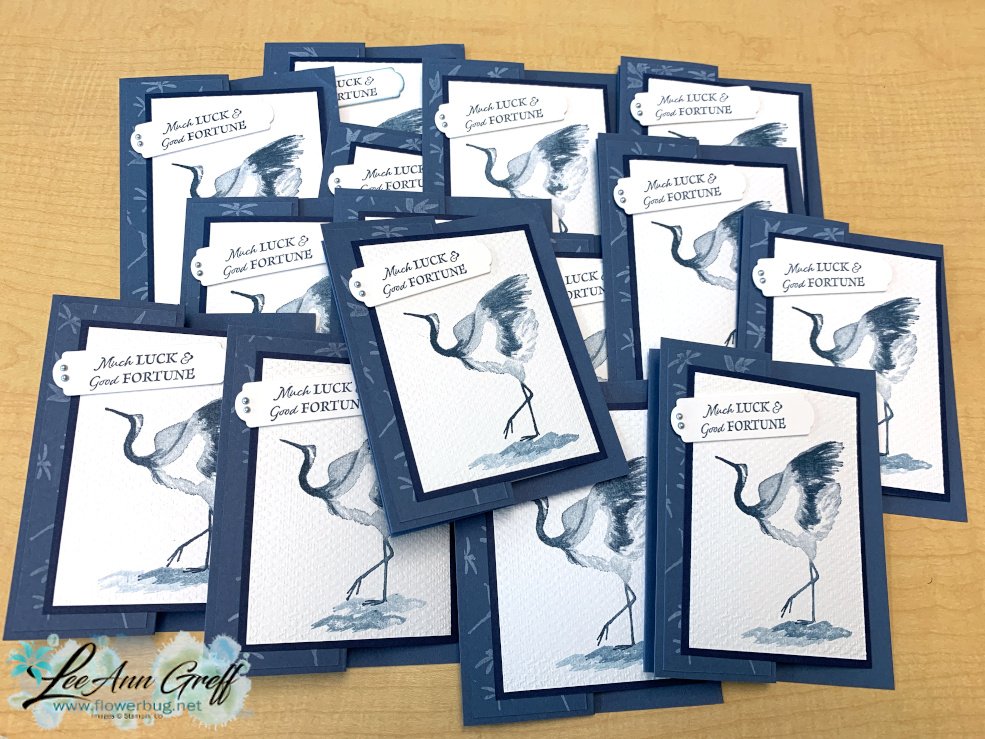
My first card features a new stamp set called Crane of Fortune.  
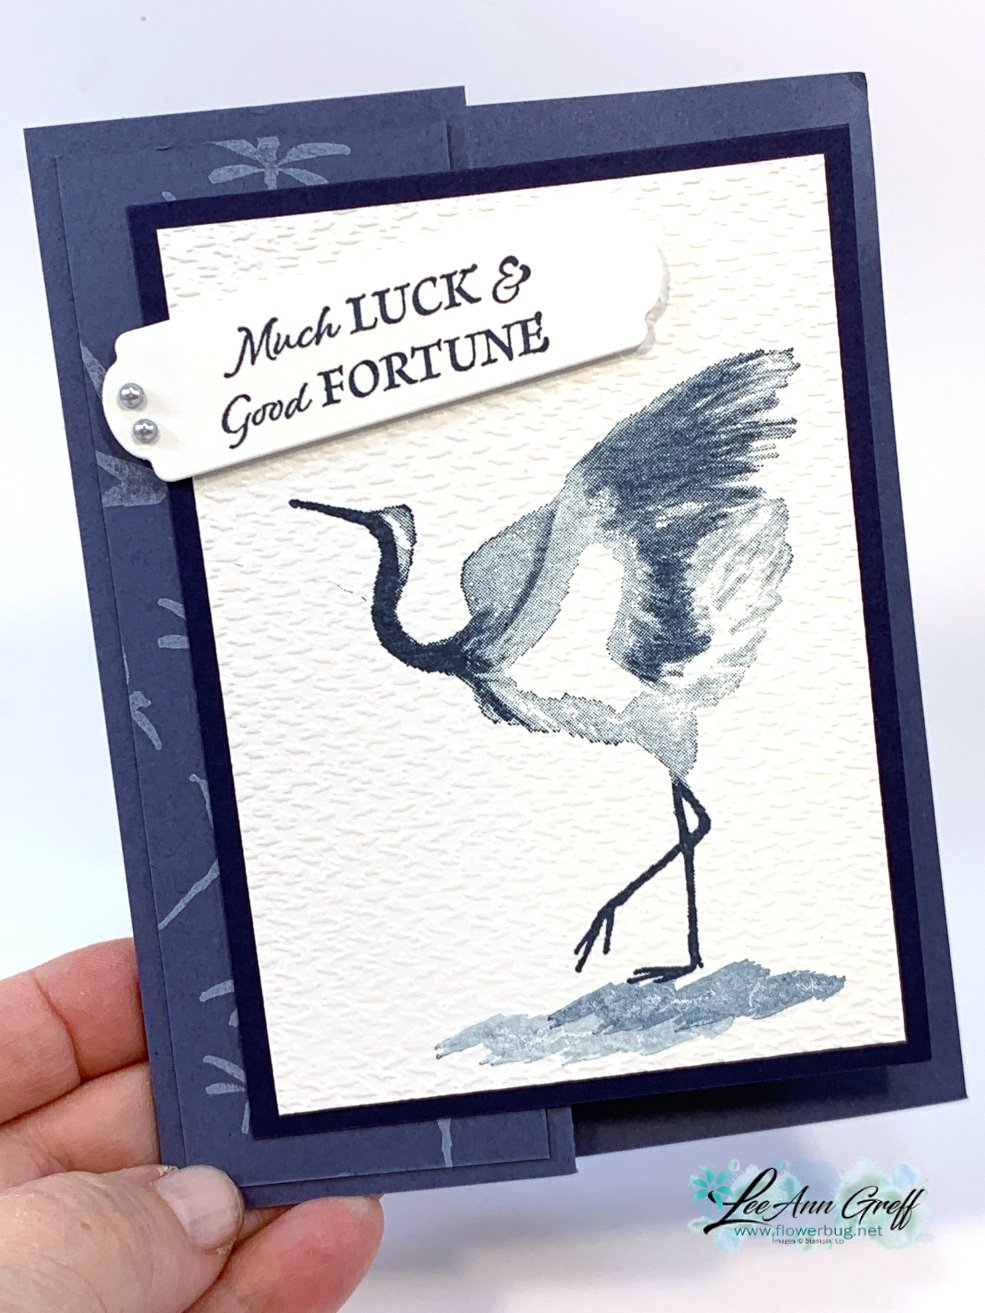
I chose to feature Misty Moonlight with Night of Navy & White.  The Crane of Fortune stamp set is new in our Stampin' Up! January-June catalog.  It's a Distinktive stamp set which means you get multiple hues of color with one inking.  These are my favorite type of stamps.  Look how pretty the images are in one color and so easy too! 

After I stamped the crane I textured it with the Tasteful Textile 3D embossing folder.  

This card is a very simple fun fold.  Here are the measurements:

  • Score your 5 1/2" X 8 1/2" card base at 2 1/8" & 4 1/4"
  • Misty Moonlight layer 1 7/8" X 5 1/4"
  • White layers are 3 1/4" X 4 1/2"
  • Navy layer is 3 1/2" X 4 3/4"


I stamped some of the dragonflies on the front layer of Misty Moonlight.  I used White Craft ink for a soft, subtle effect.  As you can see I made quite a few of them for our Team swap!  
Next is a pretty card in Soft Succulent & White.  

I used the new Artfully Layered stamp set along with the Stitched Rectangle dies.  This technique is called Triple Time Stamping. 

To achieve this layered effect I stamped all three of the White layers at the same time. Then you adhere each piece to a Soft Succulent layer and put the pieces back together; almost like a puzzle.  It's a great way to create quick, eye catching cards. 

Measurements:

  • Soft Succulent – 5 1/2" X 8 1/2" card base, 4 1/8" X 2 7/8" & 3" X 1 5/8"
  • White – 5 1/4" X 4", 4" X 2 5/8" & 2 3/4" X 1 3/8" 

Thanks so much for stopping in today. Click on the icon below to see what Melissa has created for you. You won't want to miss it! 
All Posts

  • A neat vertical ‘Book Binding’ card fold with video tutorial


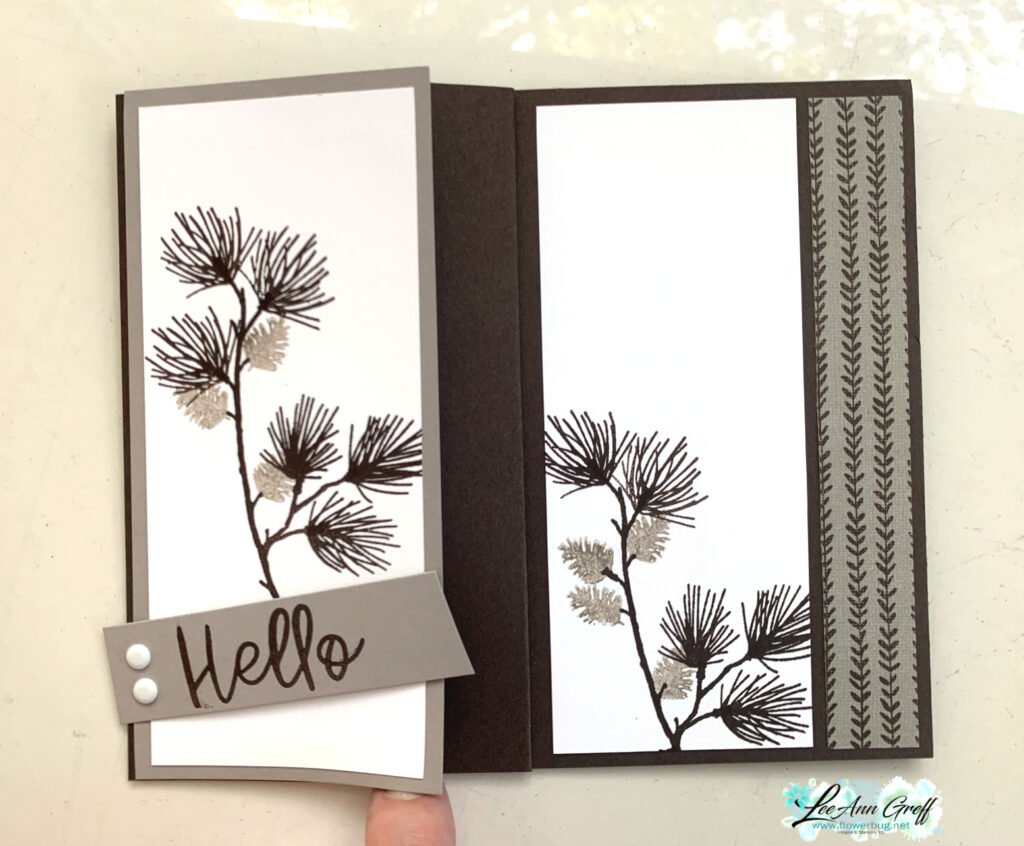
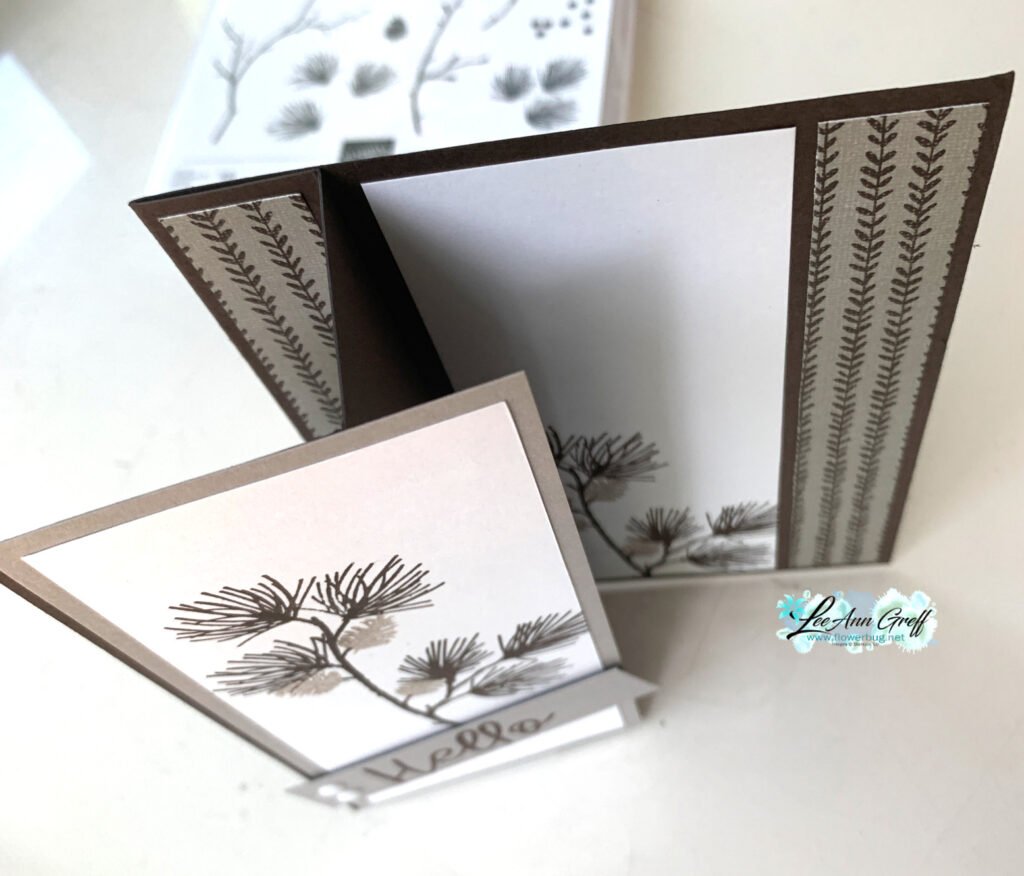
    Here’s the second card I shared on last week’s video. It’s a neat book binding card that’s vertical instead of the usual horizontal card.

    The colors include Gray Granite & Early Espresso with White. I chose these colors to match the Toile designer paper from the Holiday Catalog. See it here.

    The view above shows the card open. The card starts as a normal 8 1/2″ X 5 1/2″ card base but has two extra score lines. See the measurements and directions here on the free project sheet. Click on this link to download or print it.

    I made multiples of this card for an online swap I participated in. I love swapping and making multiples of the same card.

    Click play on the video below to see how it’s made.

    ~~~

      To see all of the new Online items click here.  Or download & save the Download Online Exclusives flyer 

    Get a free project tutorial with any online order in September! 

    Leave a Reply

    Your email address will not be published. Required fields are marked *

  • Double Flap fold with Branching Out with video & free project sheet


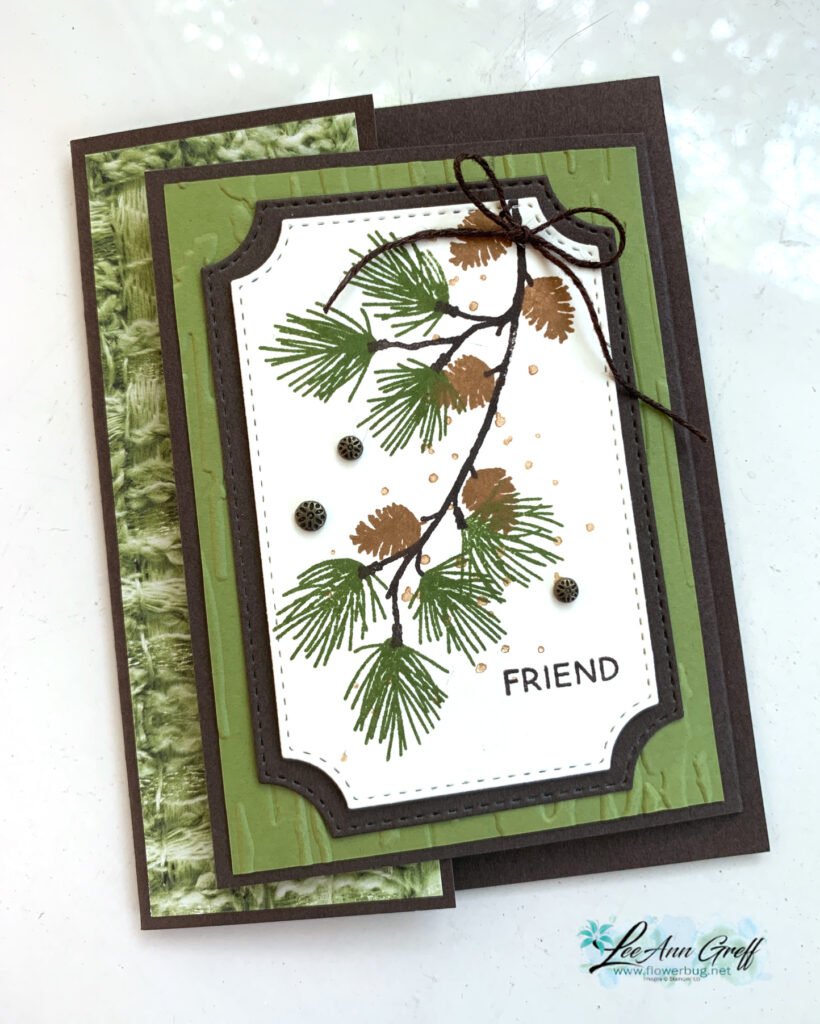
    I shared this card on last week’s Live:

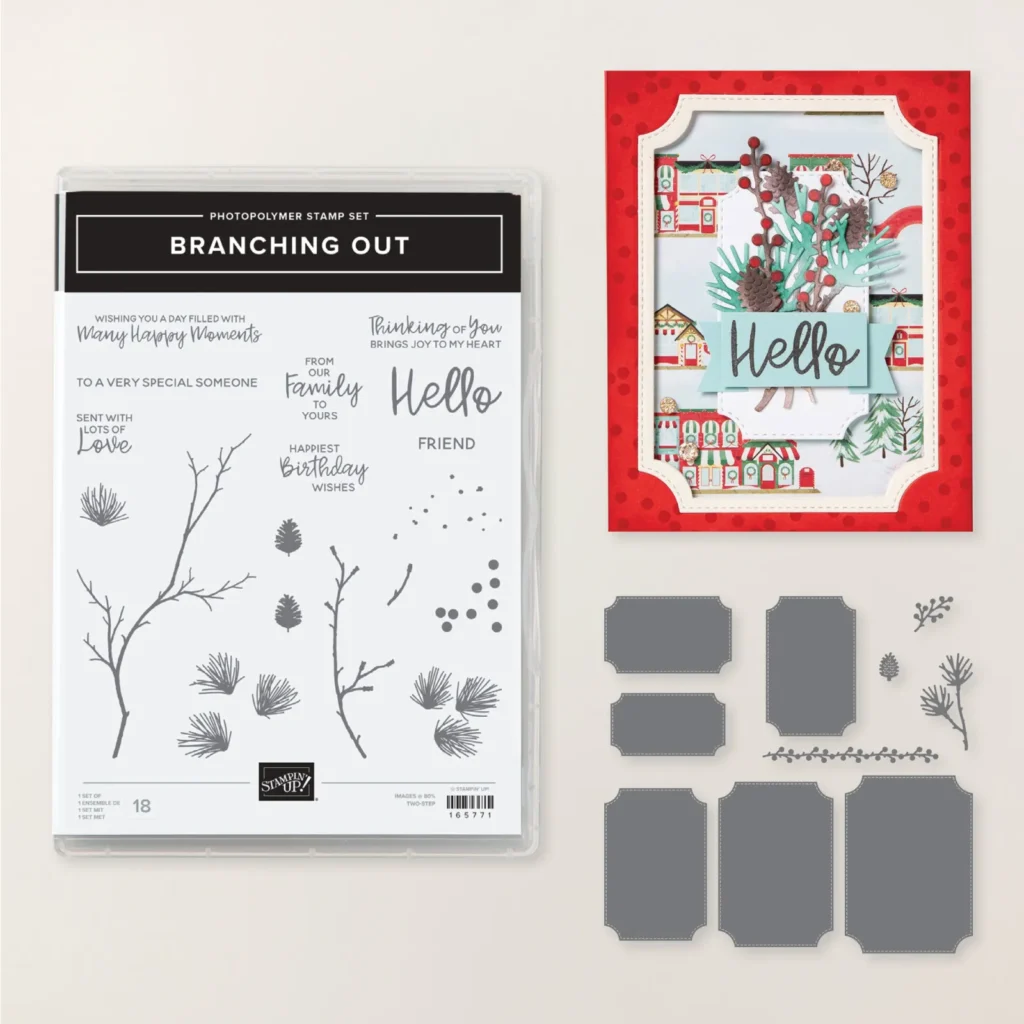
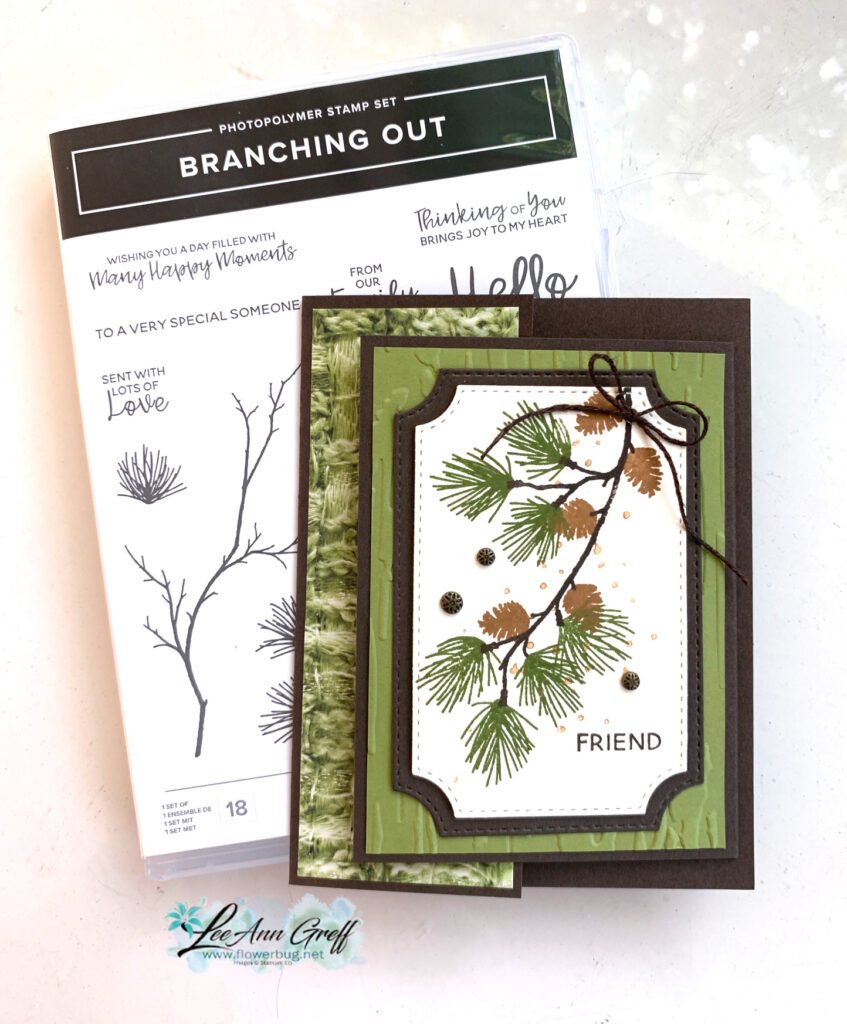
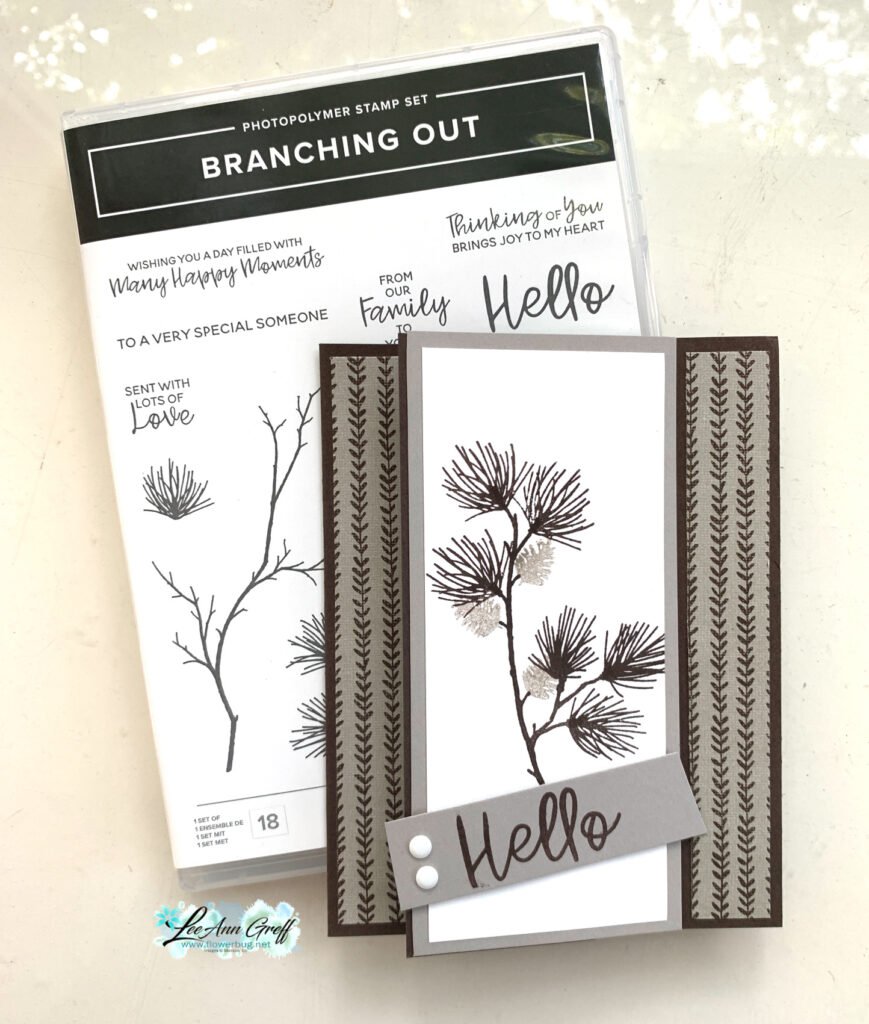
    It features the new Branching Out bundle from the 2025 Holiday catalog from Stampin’ Up! See the bundle here.

    My colors include Early Espresso with Old Olive, Pecan Pie & White.

    It opens with two flaps; one on the right opens first. Then the left does too. As you can see I textured the Olive layer with the Birch Wood 3D embossing folder. The notched frame dies are included in the Branching Out bundle.

    The designer paper on the left is the Need for Tweed seen here.

    I created a free project sheet for this card. Click on the following link to print or download it. Branching Out Double flap card

    Watch the video below to see how to make this card plus one more neat fun fold card too.

    ~~~

      To see all of the new Online items click here.  Or download & save the Download Online Exclusives flyer 

    Get a free project tutorial with any online order in September! 

    Leave a Reply

    Your email address will not be published. Required fields are marked *

  • Autumn Garland Kit


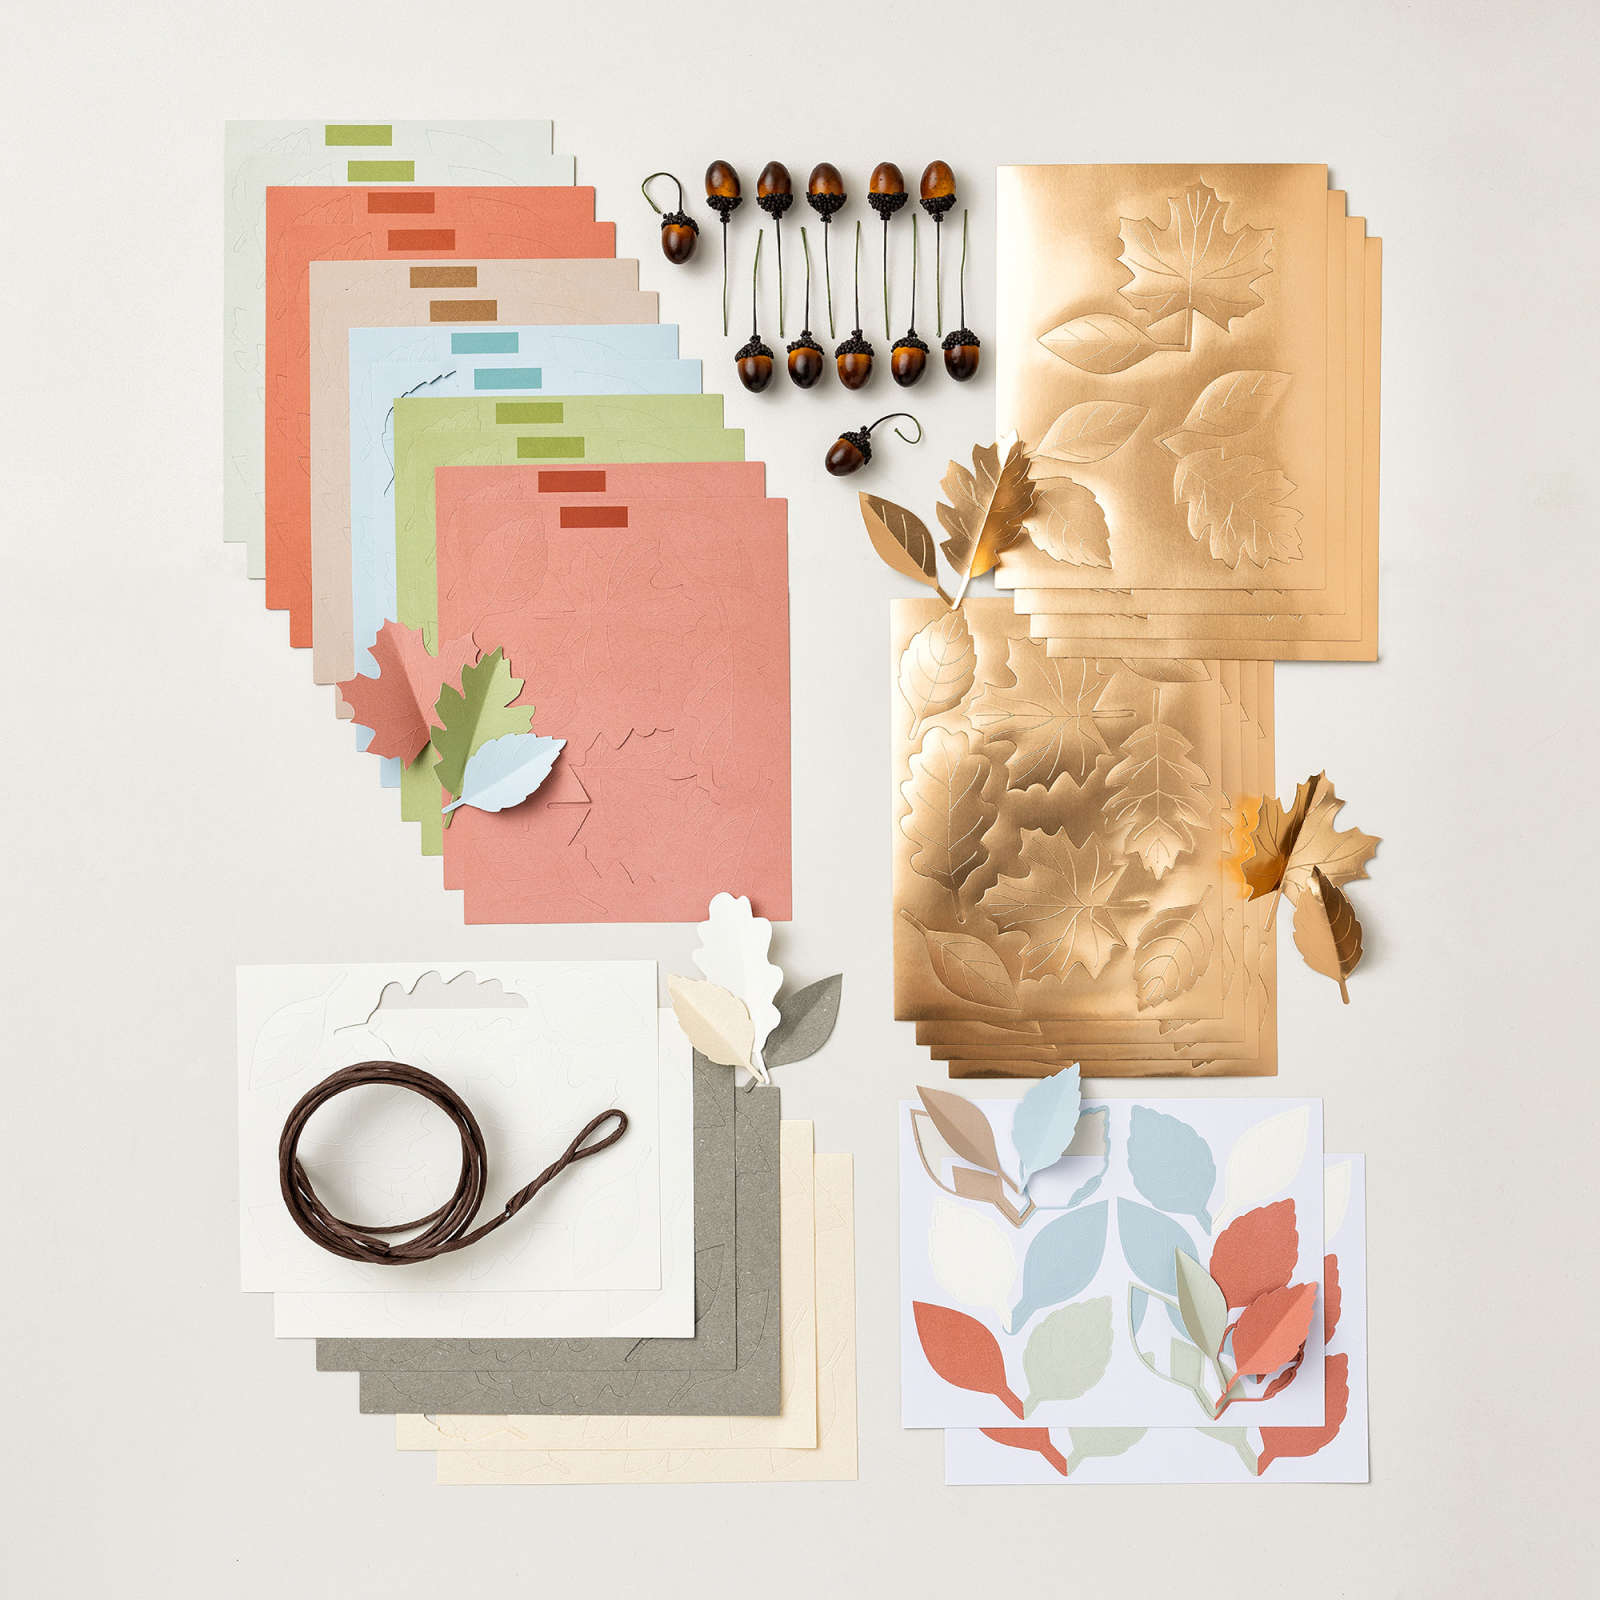
    I love this autumn garland kit!  I made it for my open house display and am in love! 

    I’ll show my own photos soon but wanted to share the video for it here.  It took me about 1 hour and 15 minutes to make and it’s huge & gorgeous!  I had many extra leaves left. The copper leaves and acorns add beautiful accents.  

    It comes with everything you need but hot glue. 

    You can see it online here.  

    ~~~

    ~~~

      To see all of the new Online items click here.  Or download & save the Download Online Exclusives flyer 

    Get a free project tutorial with any online order in September! 

    ~~~

      To see all of the new Online items click here.  Or download & save the Download Online Exclusives flyer 

    Leave a Reply

    Your email address will not be published. Required fields are marked *


Notice: LeeAnn Greff, Independent Stampin’ Up! Demonstrator, Manager. The content of this website is my sole responsibility as an independent Stampin’ Up! demonstrator and the use of, and content of, the classes, services, or products offered on this website is not endorsed by Stampin’ Up! Copyright 2025